
You’re right we don’t have any pictures of the back :o.
The extra piece the same colour as the dress is indeed for the back, yes 😉

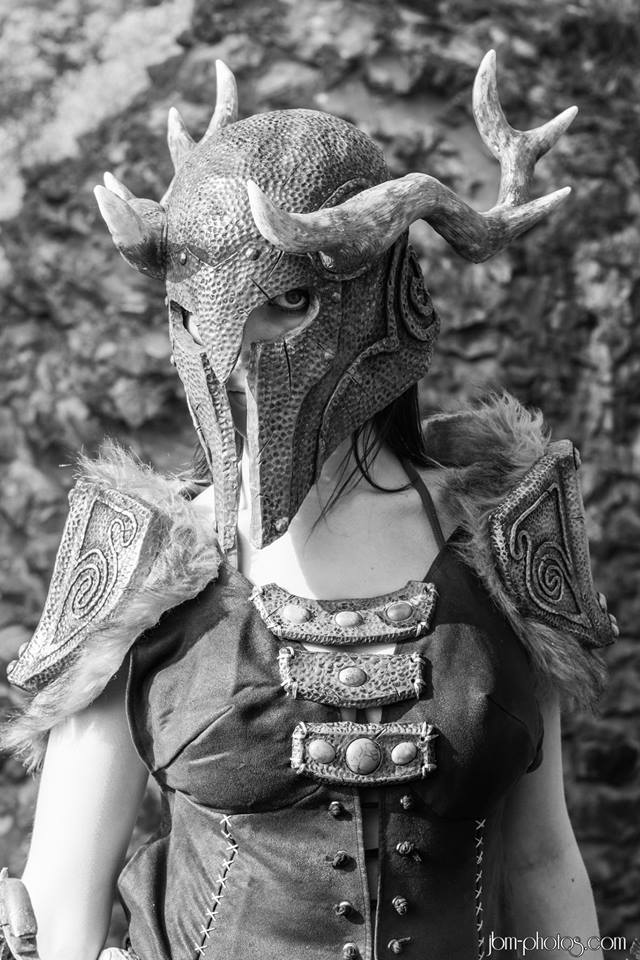
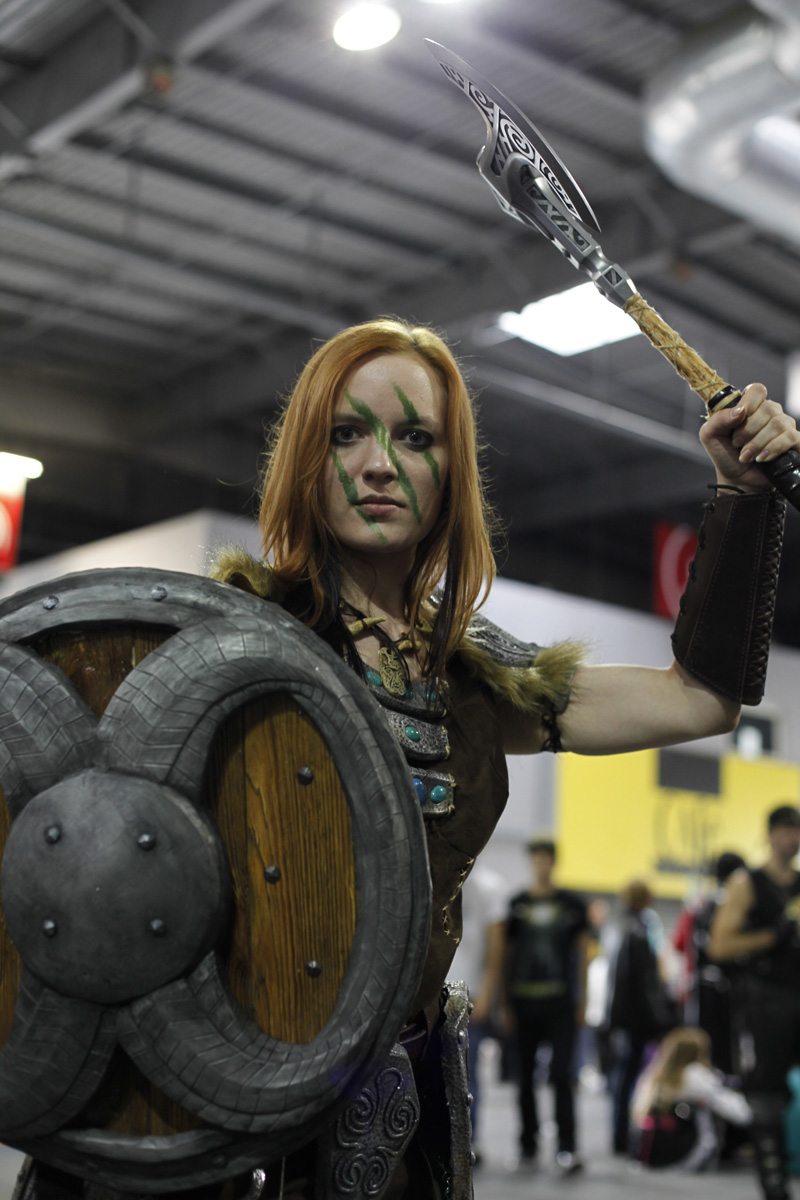
Cosplay: Aela the Huntress
[02/27/20 EDIT:] This cosplay was made in 2013, when we started with cosplay. Even if the overall method remains valid, certain techniques have been improved over time, practice and the appearance of new materials.
References
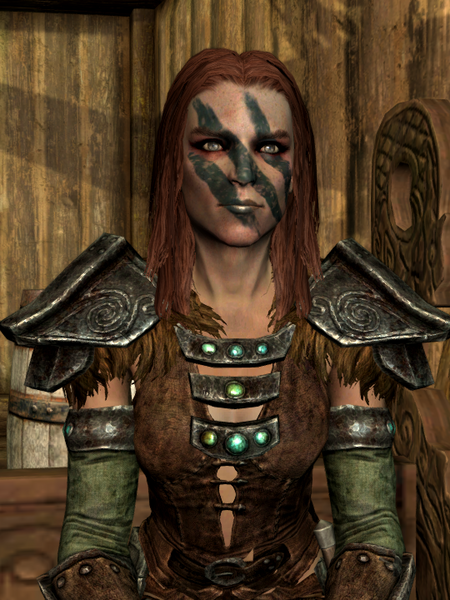
For my first cosplay, I chose to work on Aela the Huntress’ outfit from Skyrim. This armor is an Ancient Nord Armor that we can find in the game. If you can’t find enough Aela references, you can still search some female draugr images, as they wear the same outfit…
Defining the costume parts
It is better to first define the elements that will be part of the cosplay. This step allows you to foresee the pieces/material you will need to order and help you anticipate the delivery times…

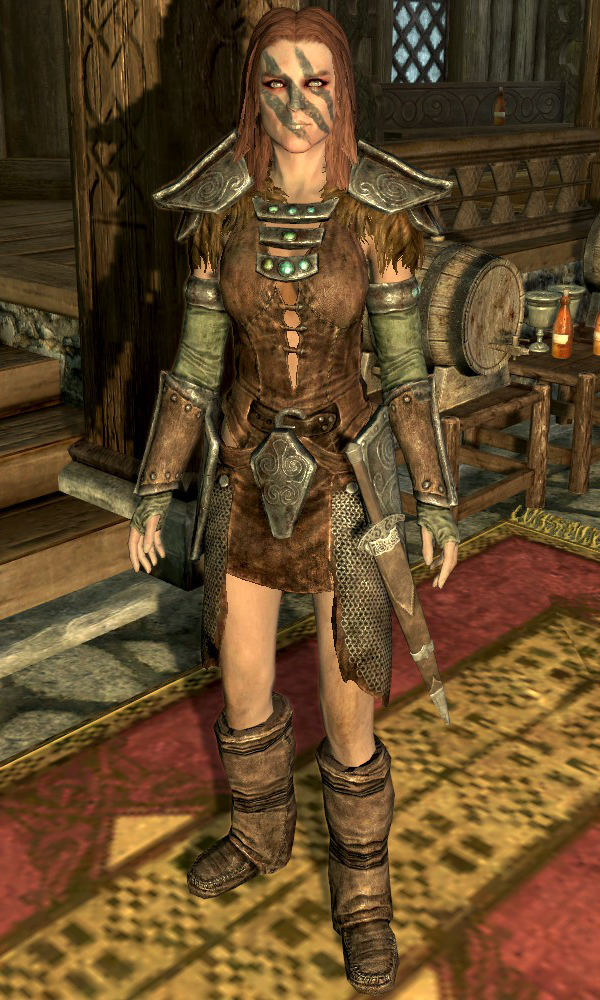
Below is the list of the different parts I identified for Aela’s outfit:
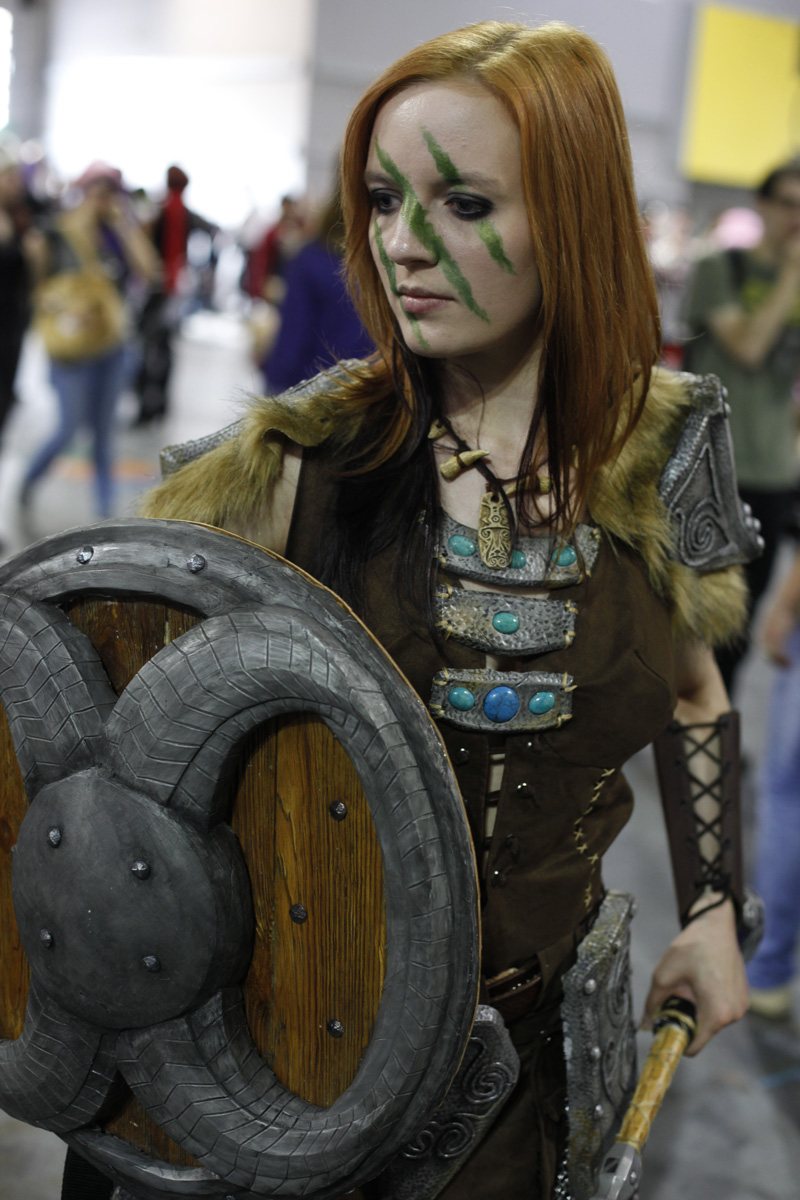
- A suede dress (brown fabric) with a cute leather belt, some rings in the back and green sleeves,
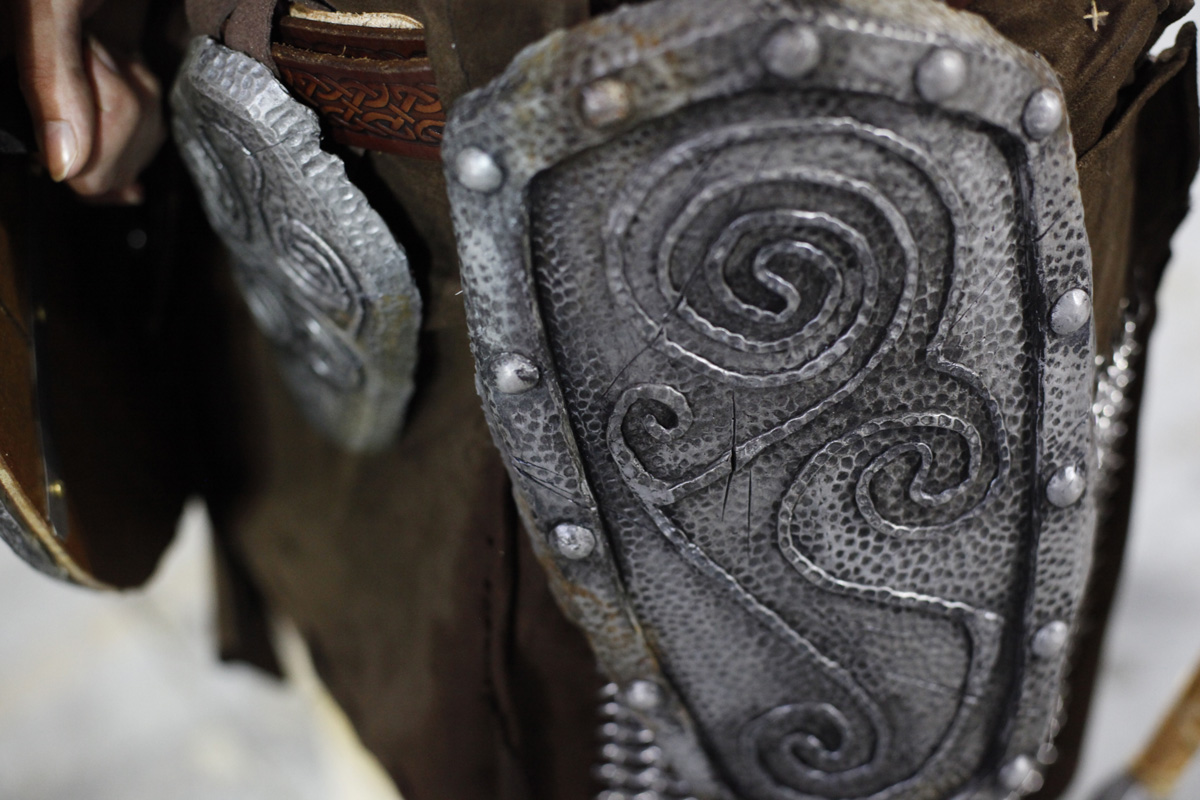
- Furry shoulder pads (it’s gonna be fluffy!) – Armor pieces (thigh + belt) – leather gauntlets,
- Collars + bracelets embedded with turquoises (blue-green stones),
- Two chain mails,
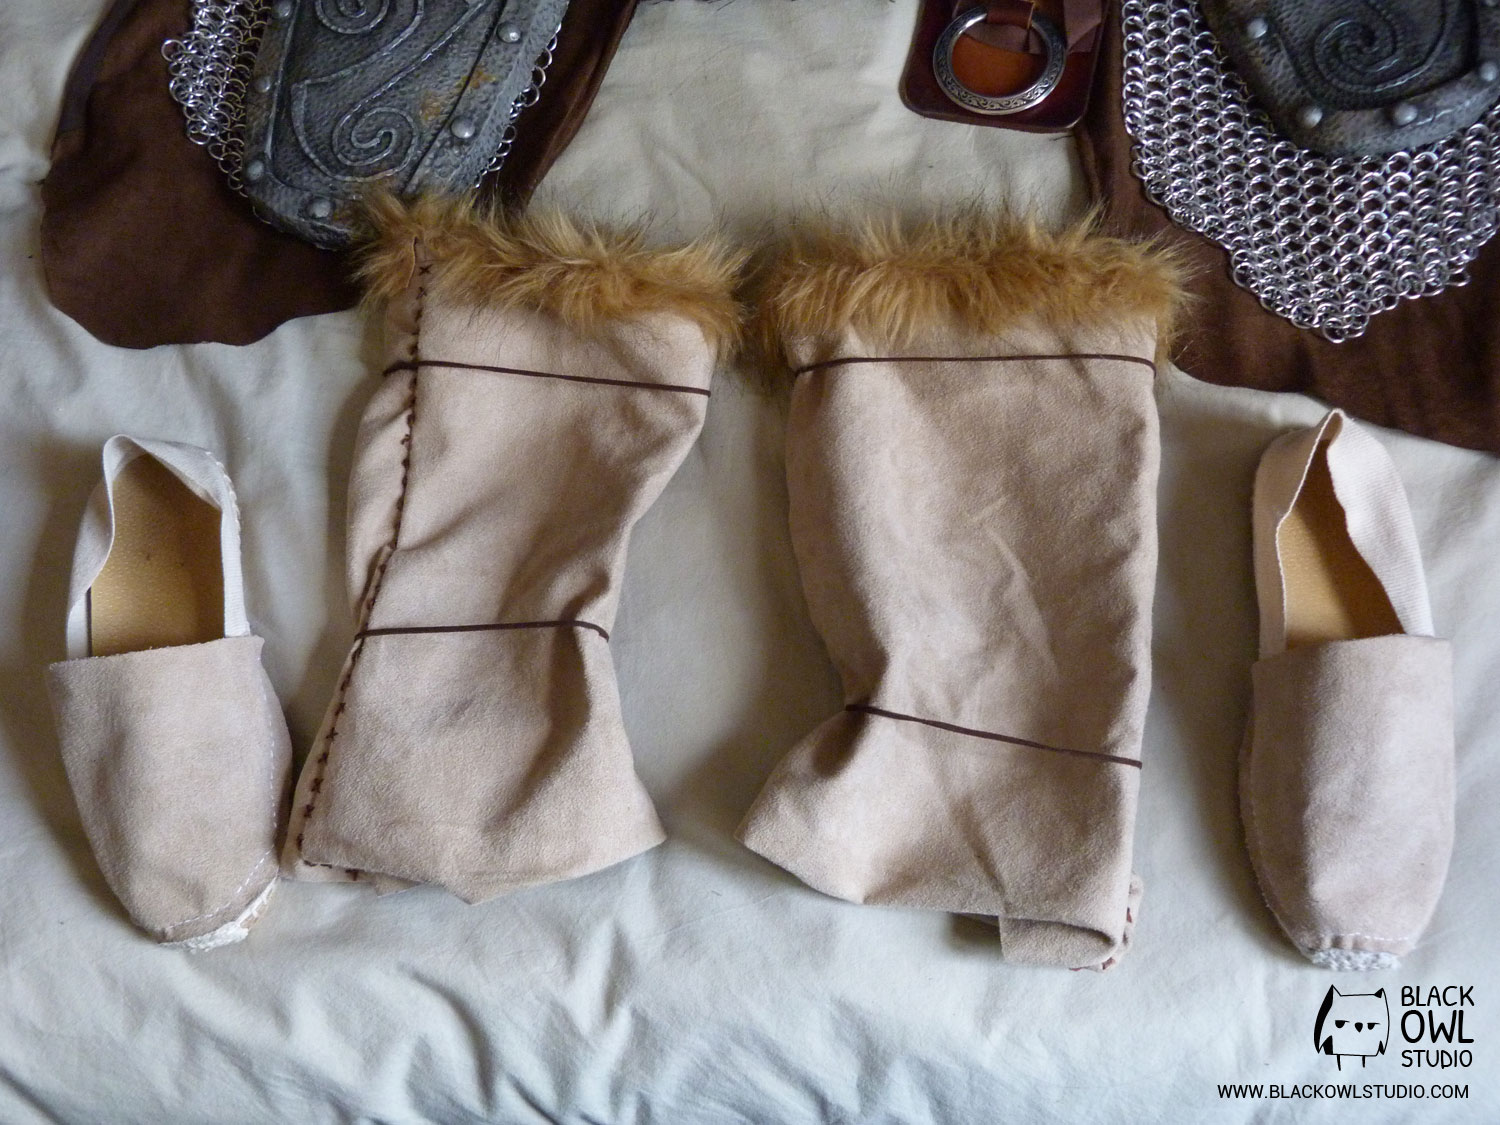
- Suede shoes, laced with some cord,
- The accessories: Gauldur amulet, axe (genuine Nordic stuff!)
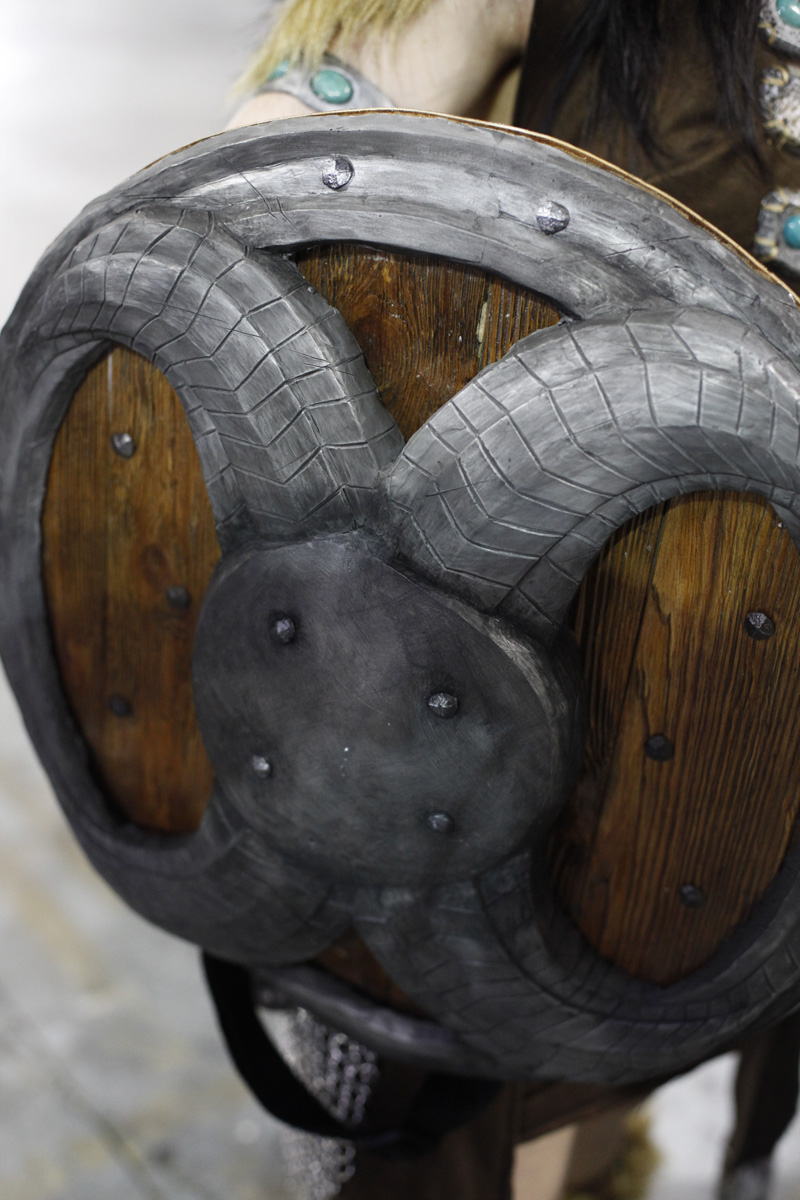
and shield.
Once all the elements are defined, we still have to figure out how to make them. I advise you to make some research before starting your cosplay. If you plan on going into this sort of project, have a look around on specialized forums and more importantly, allocate a consistent budget to it… Don’t expect to come out with a full cosplay for 30€, you little monsters, because you’ll end with a painted vegetable crate on your head! (Although it looks quite funny, it is not very realistic).
Let’s get it started!
I will add more steps to this part of the process while I go along with the costume fabrication (dress, armor pieces, shoes, axe, amulet, etc.).
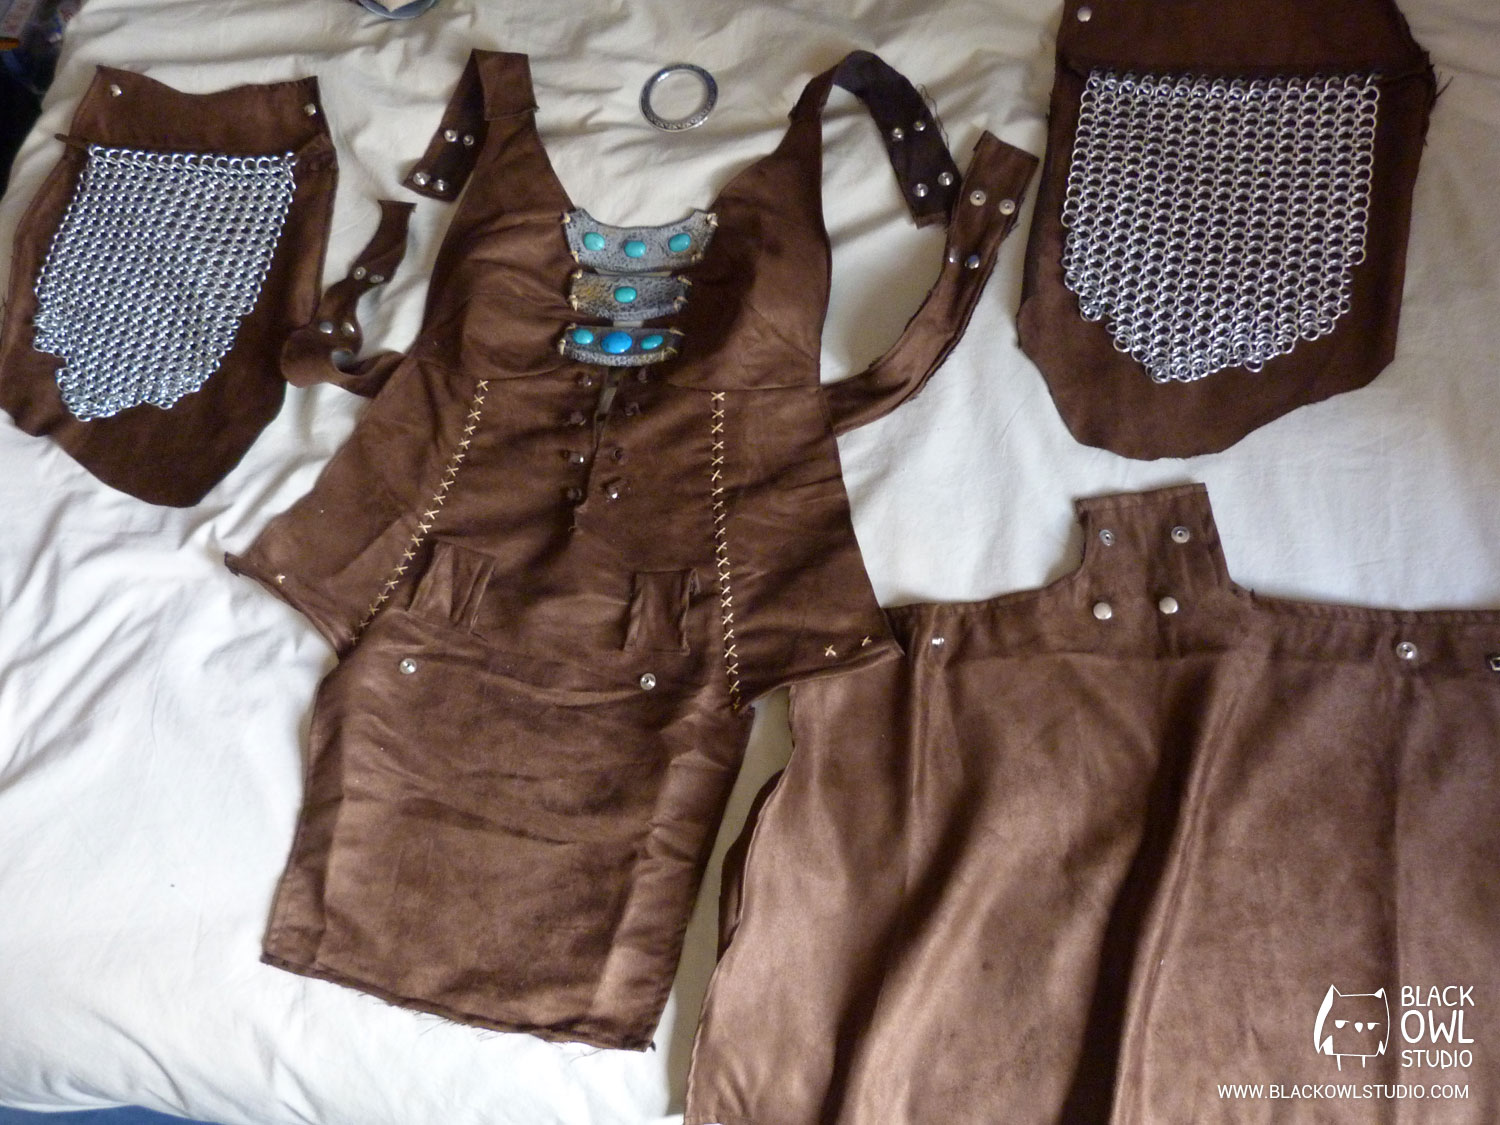
The dress
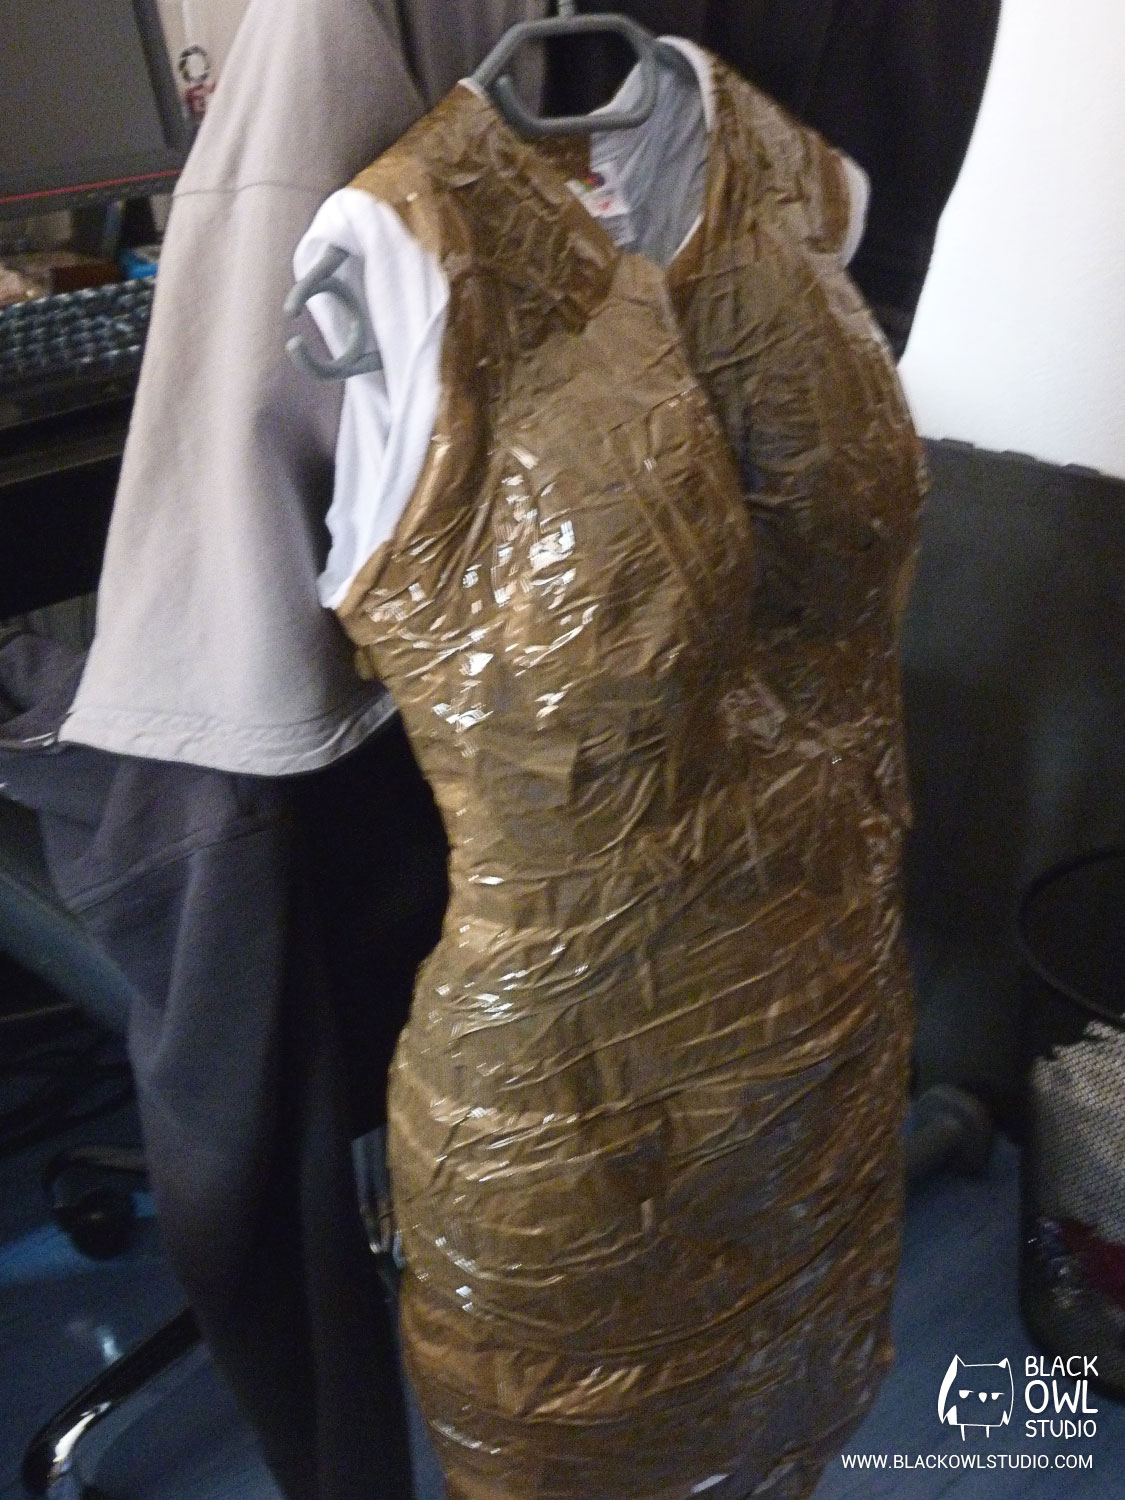

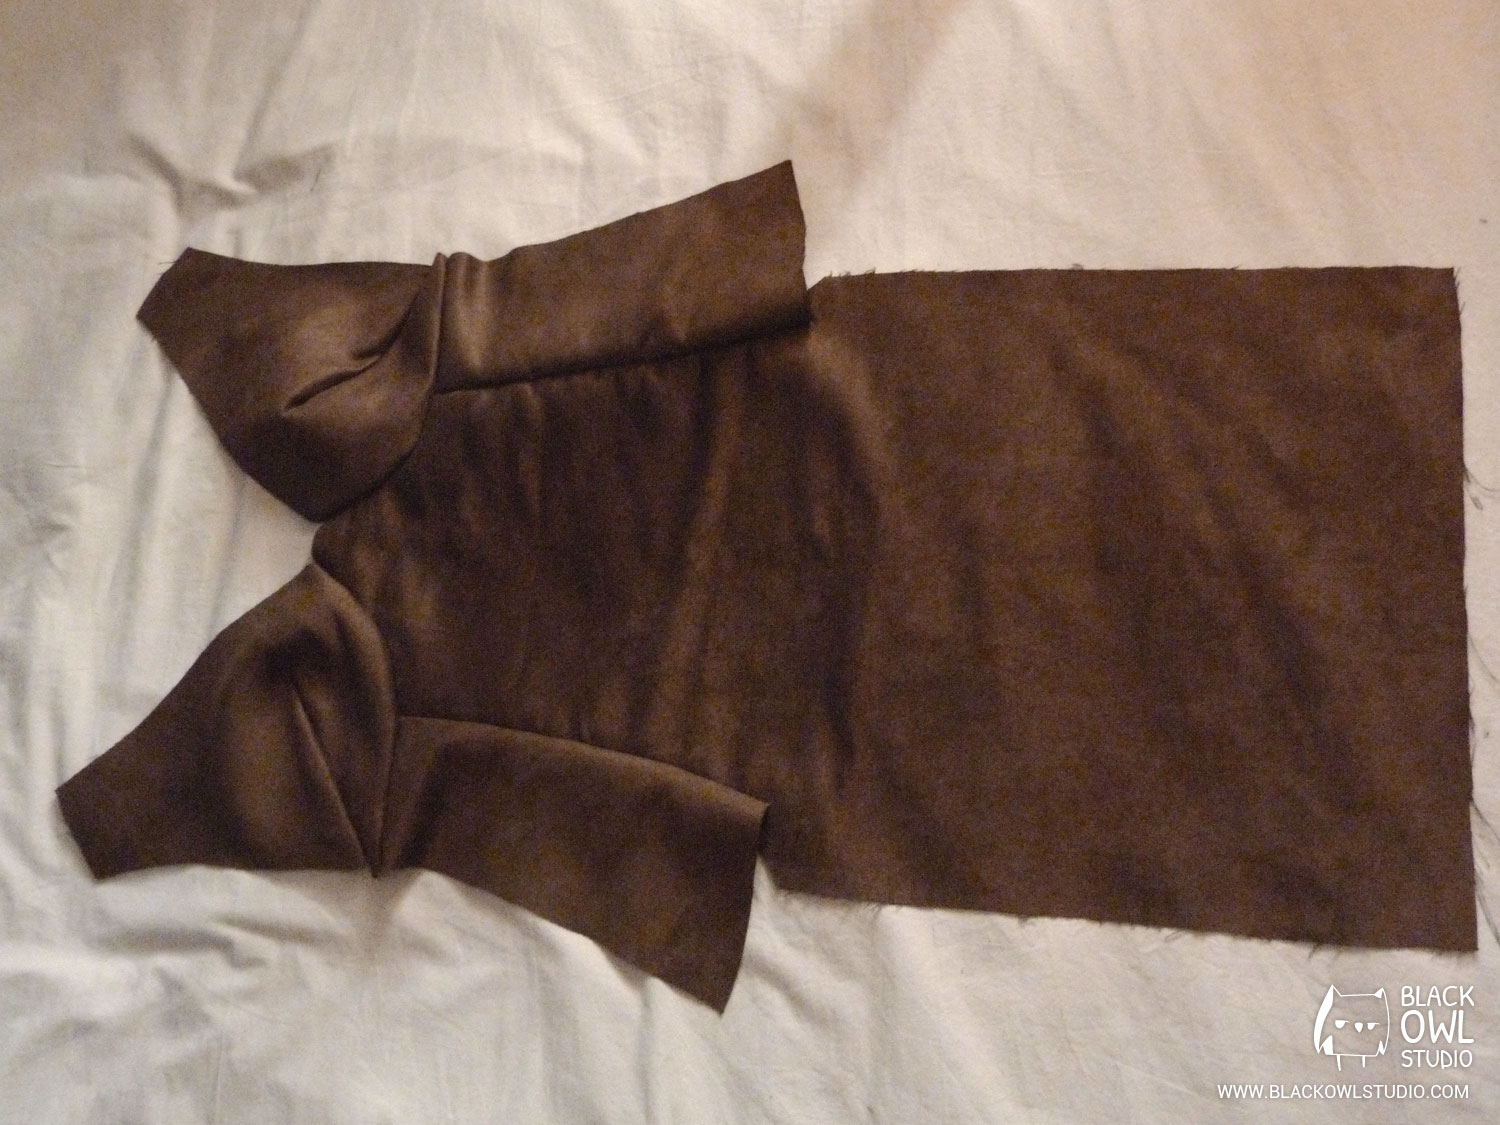
To create the sewing pattern, I taped myself (with a little help of course!), then, cut the different parts making up the dress until I got flat pieces.
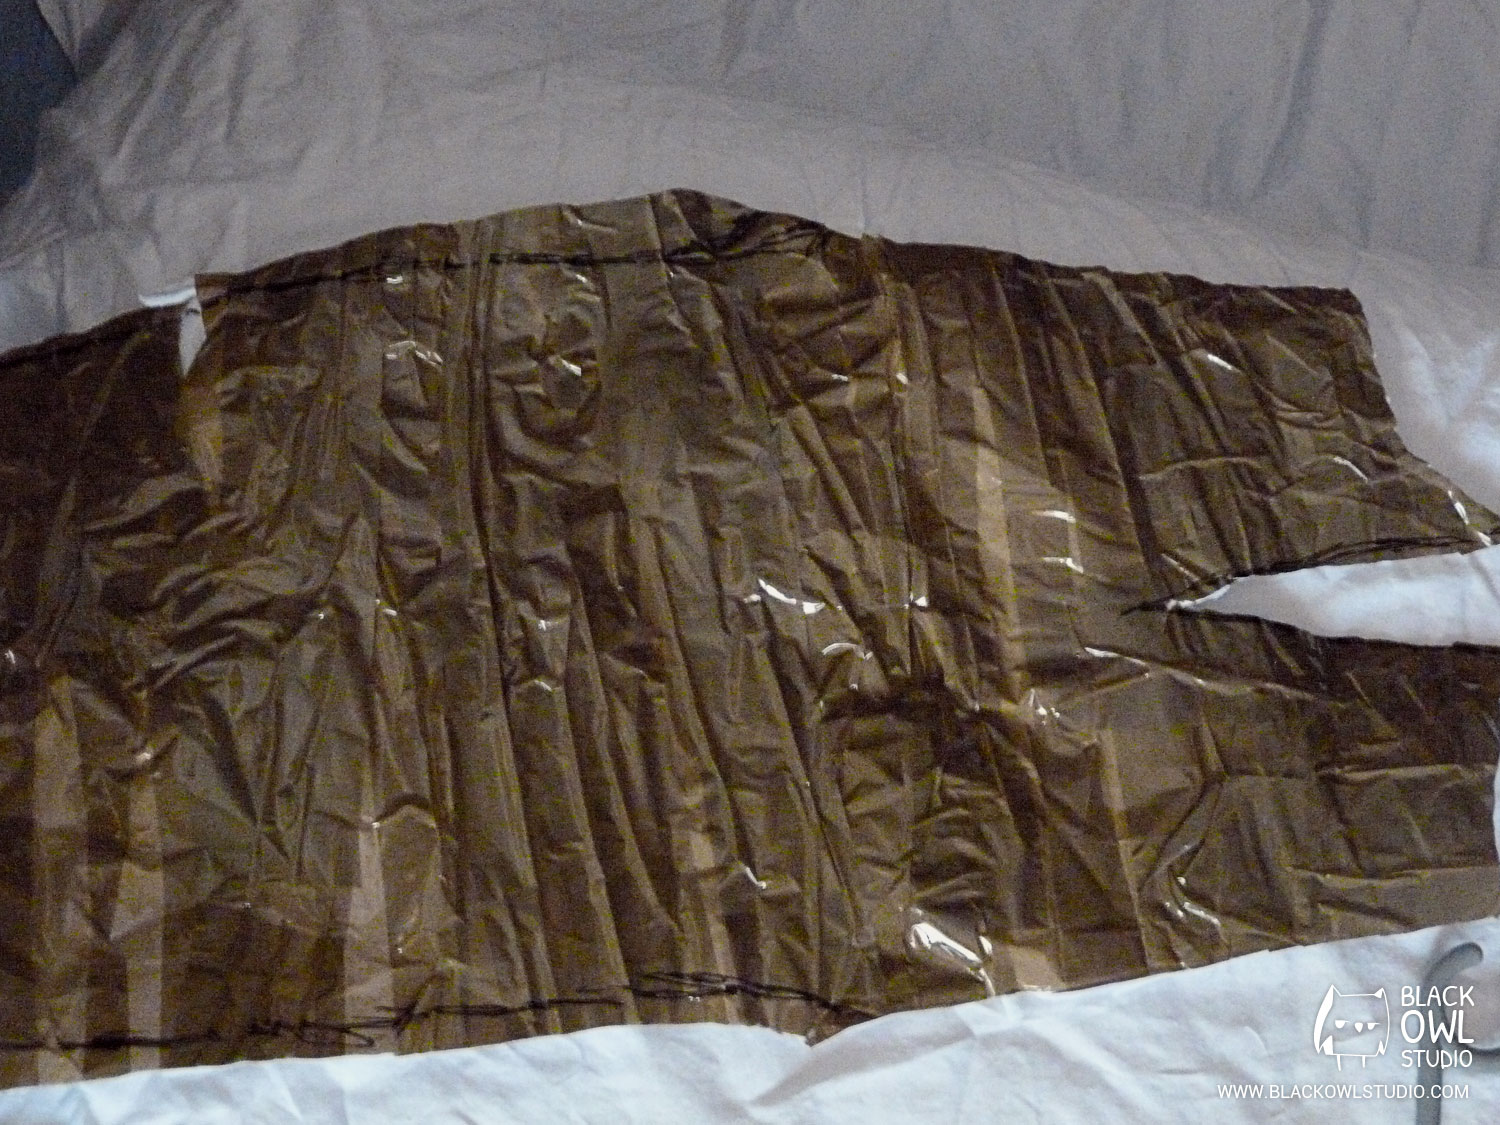
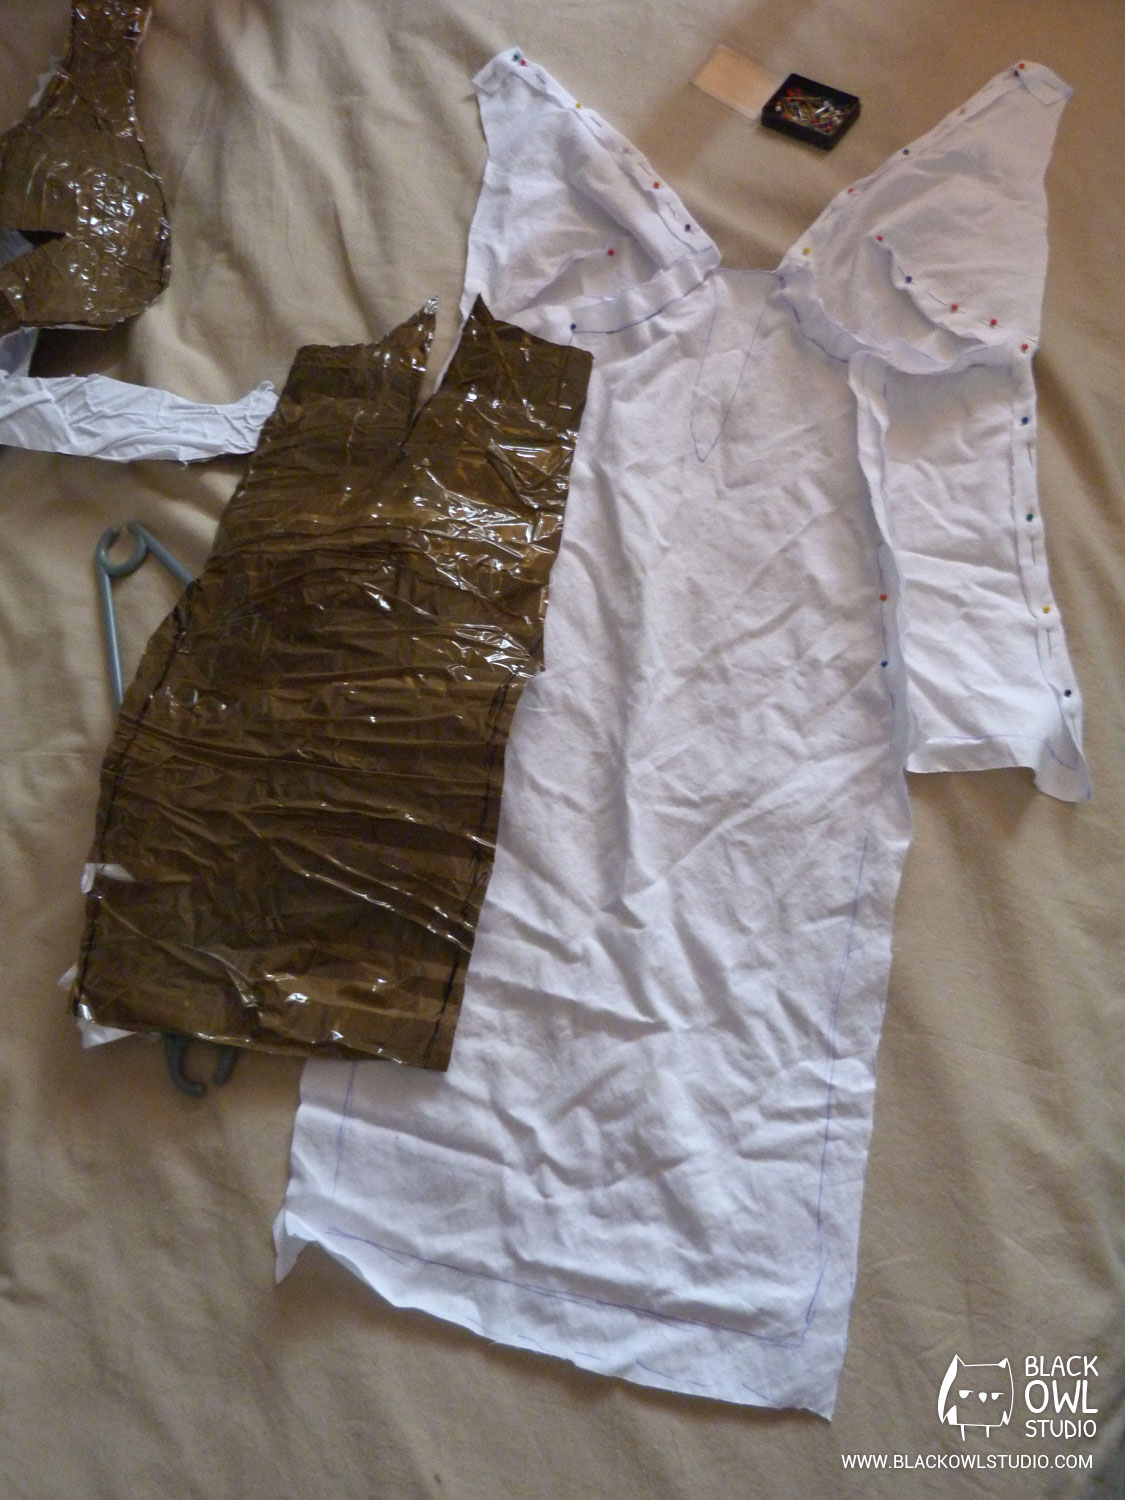
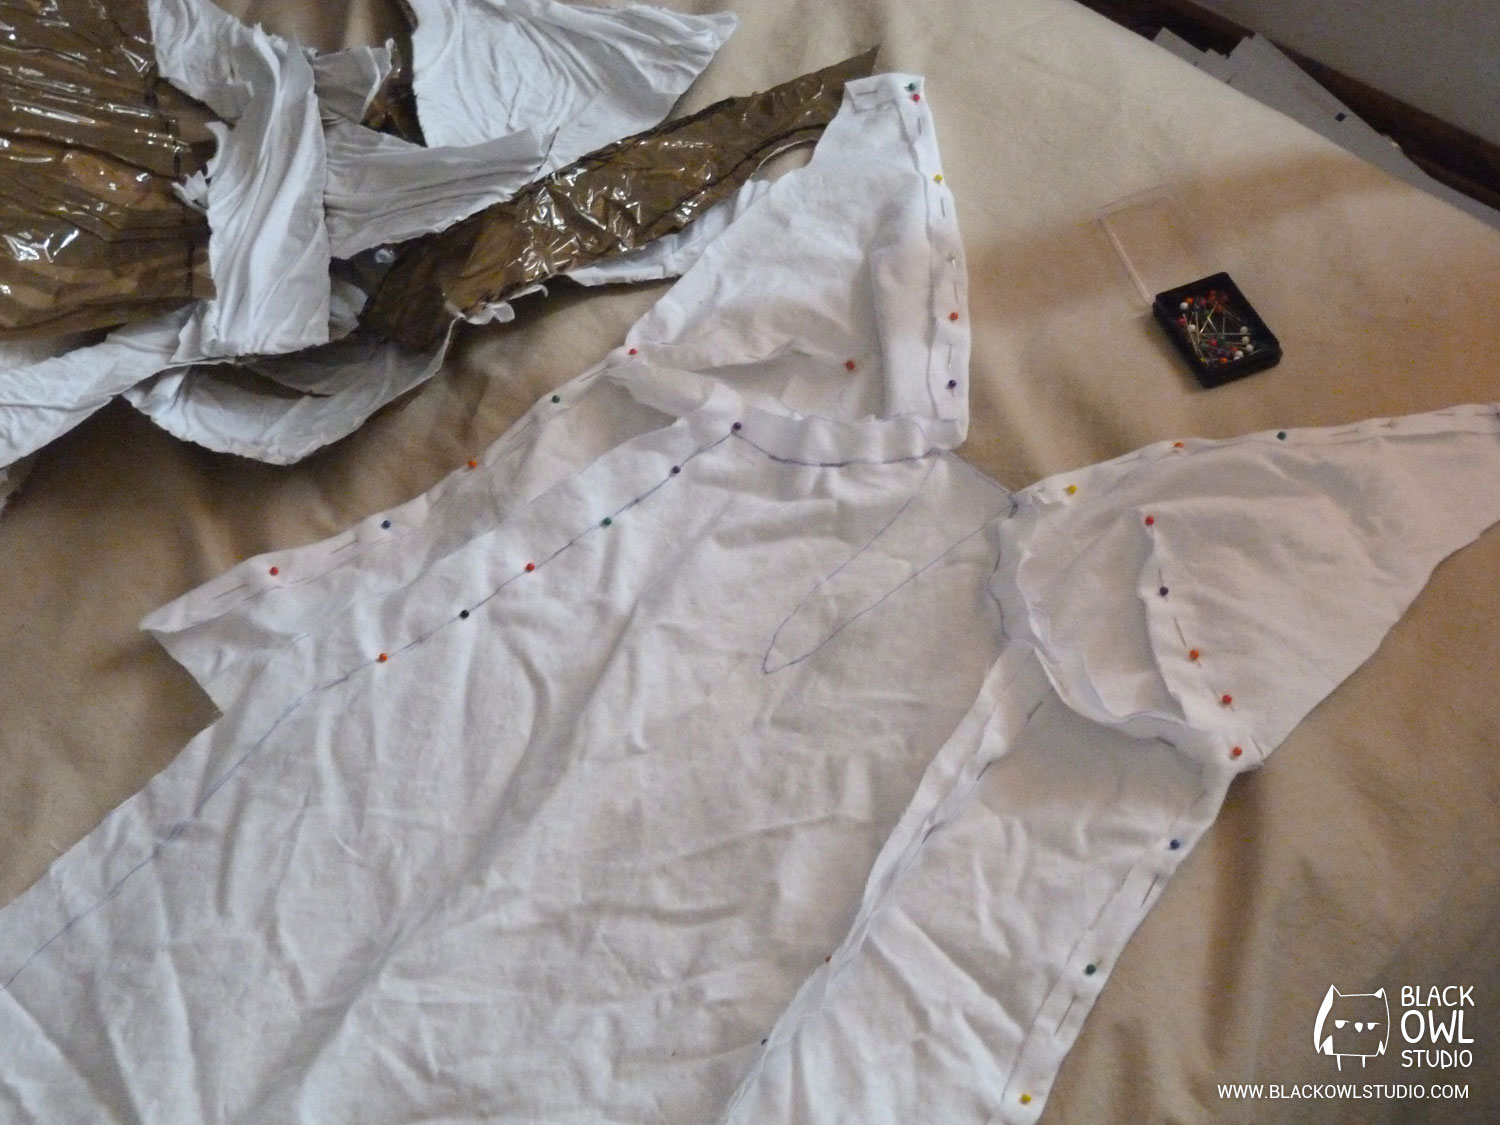
Since I was not really confident, I made a “test” dress with cheap fabric first. It prevented me to make mistakes with a fabric costing 15€/meter… 🙂
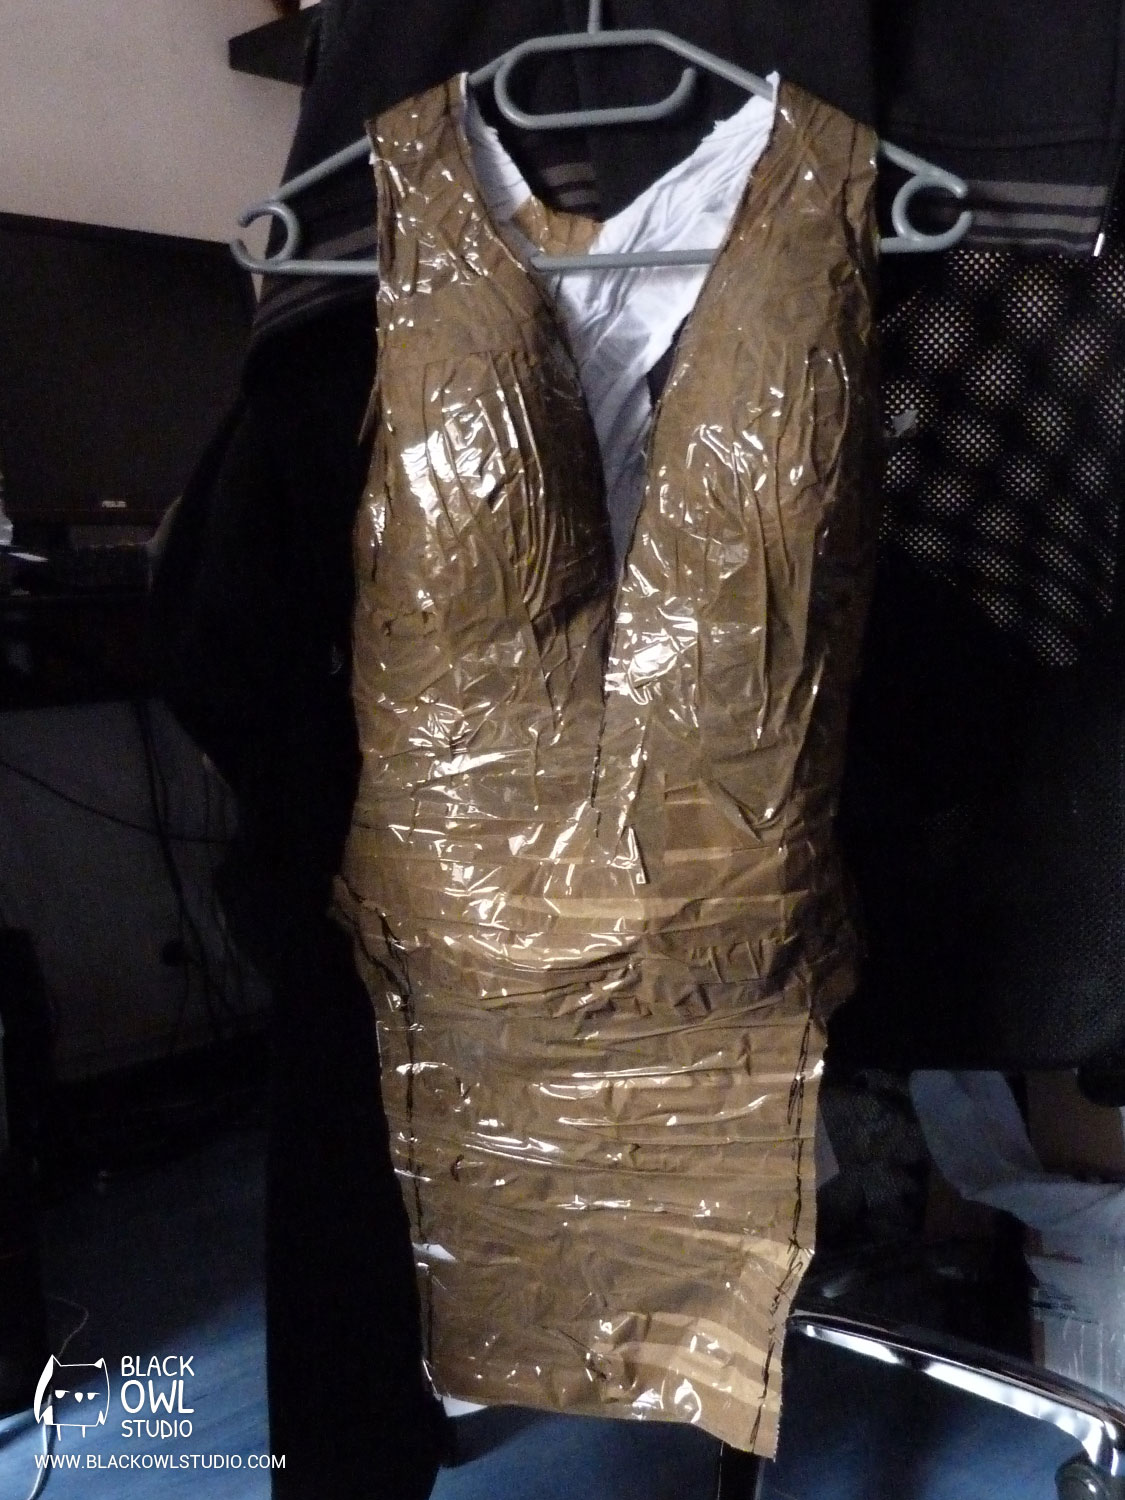
For this, we take the pattern pieces, place them on the fabric and draw the outline. Don’t forget to add a margin! (It’s better for sewing…).
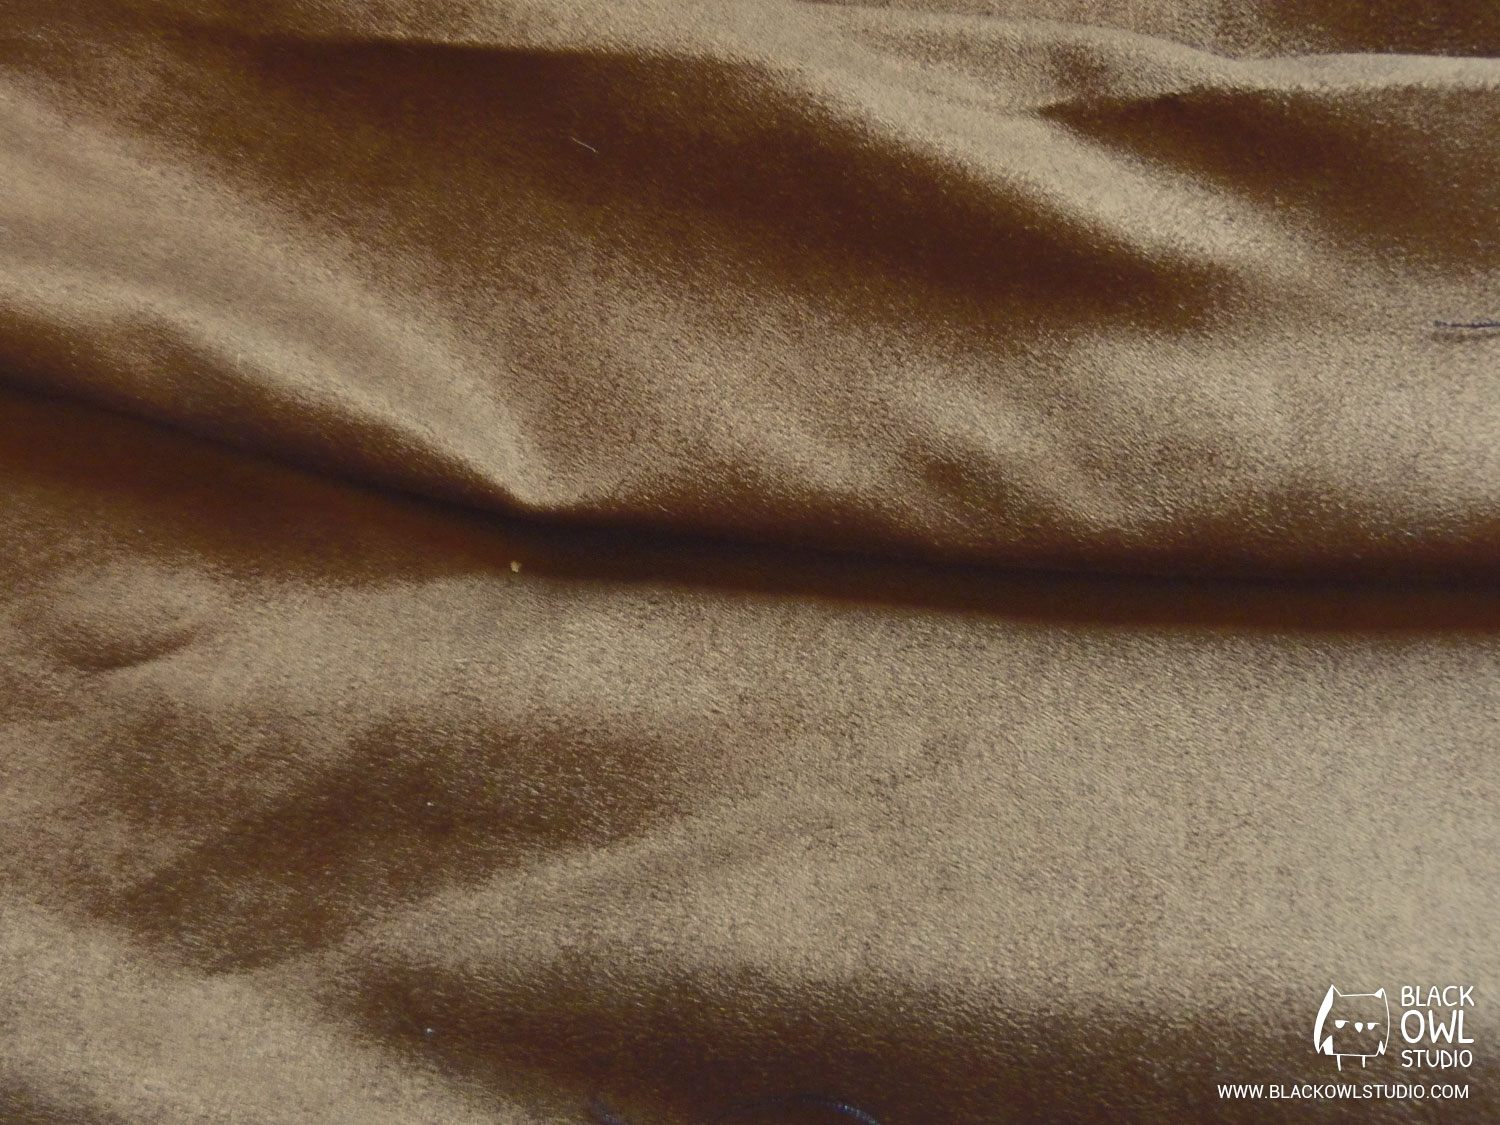
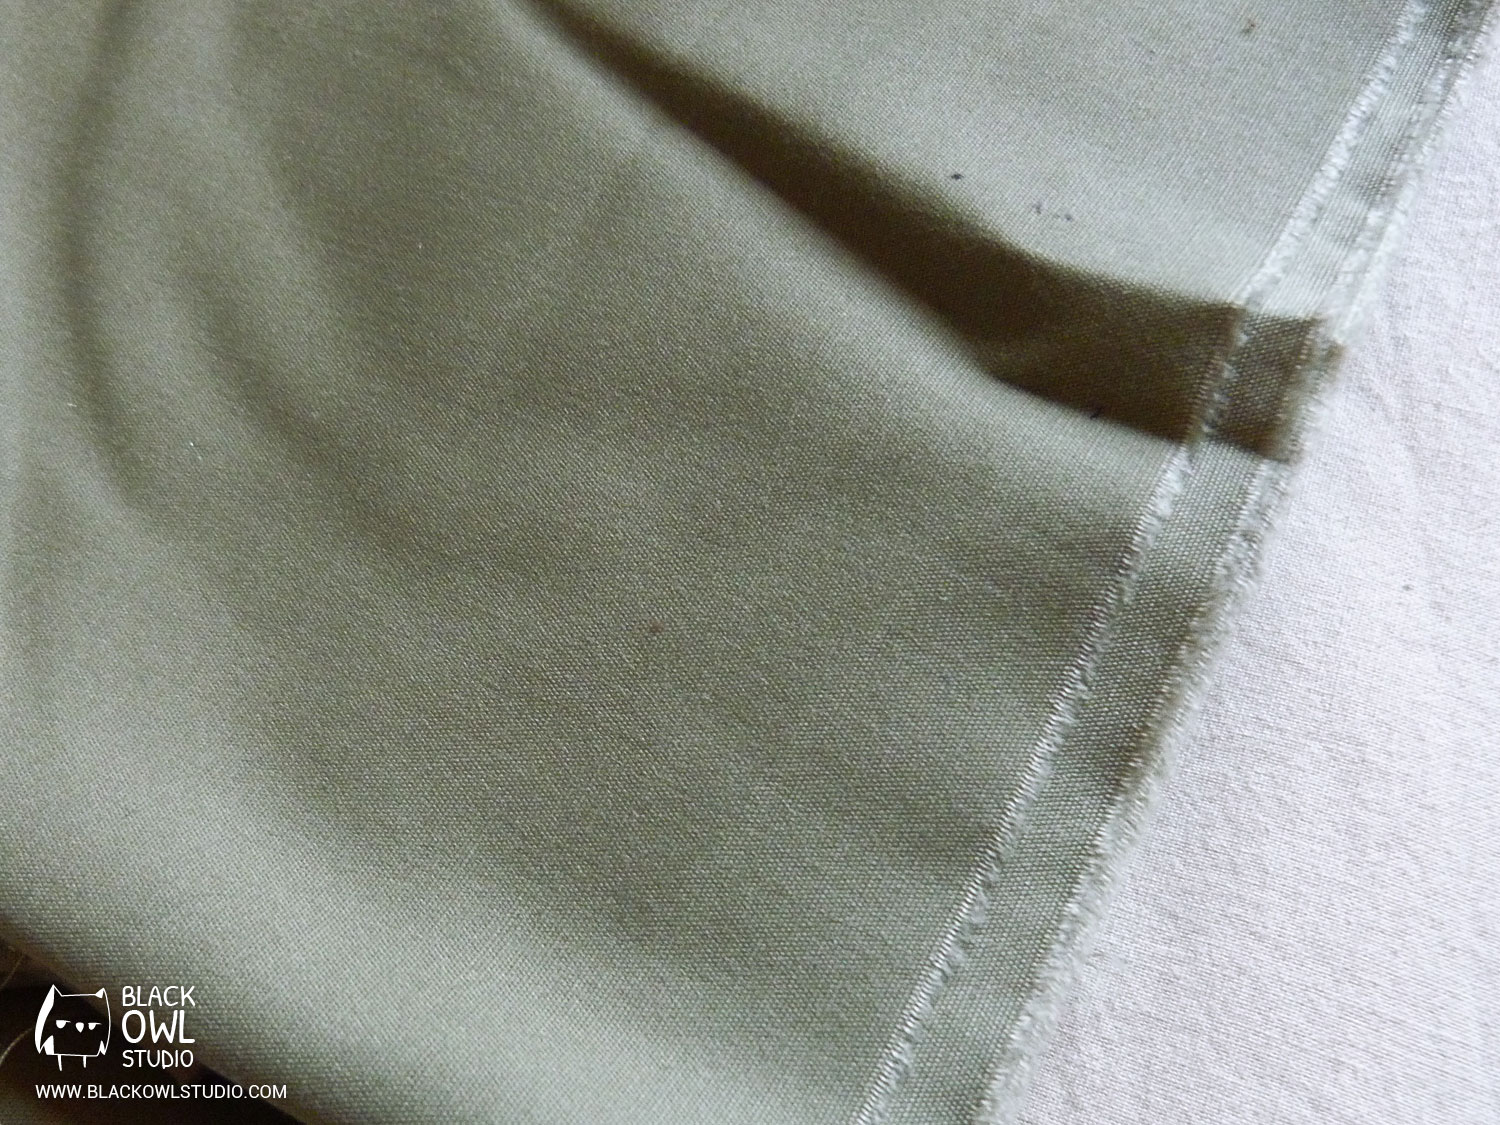
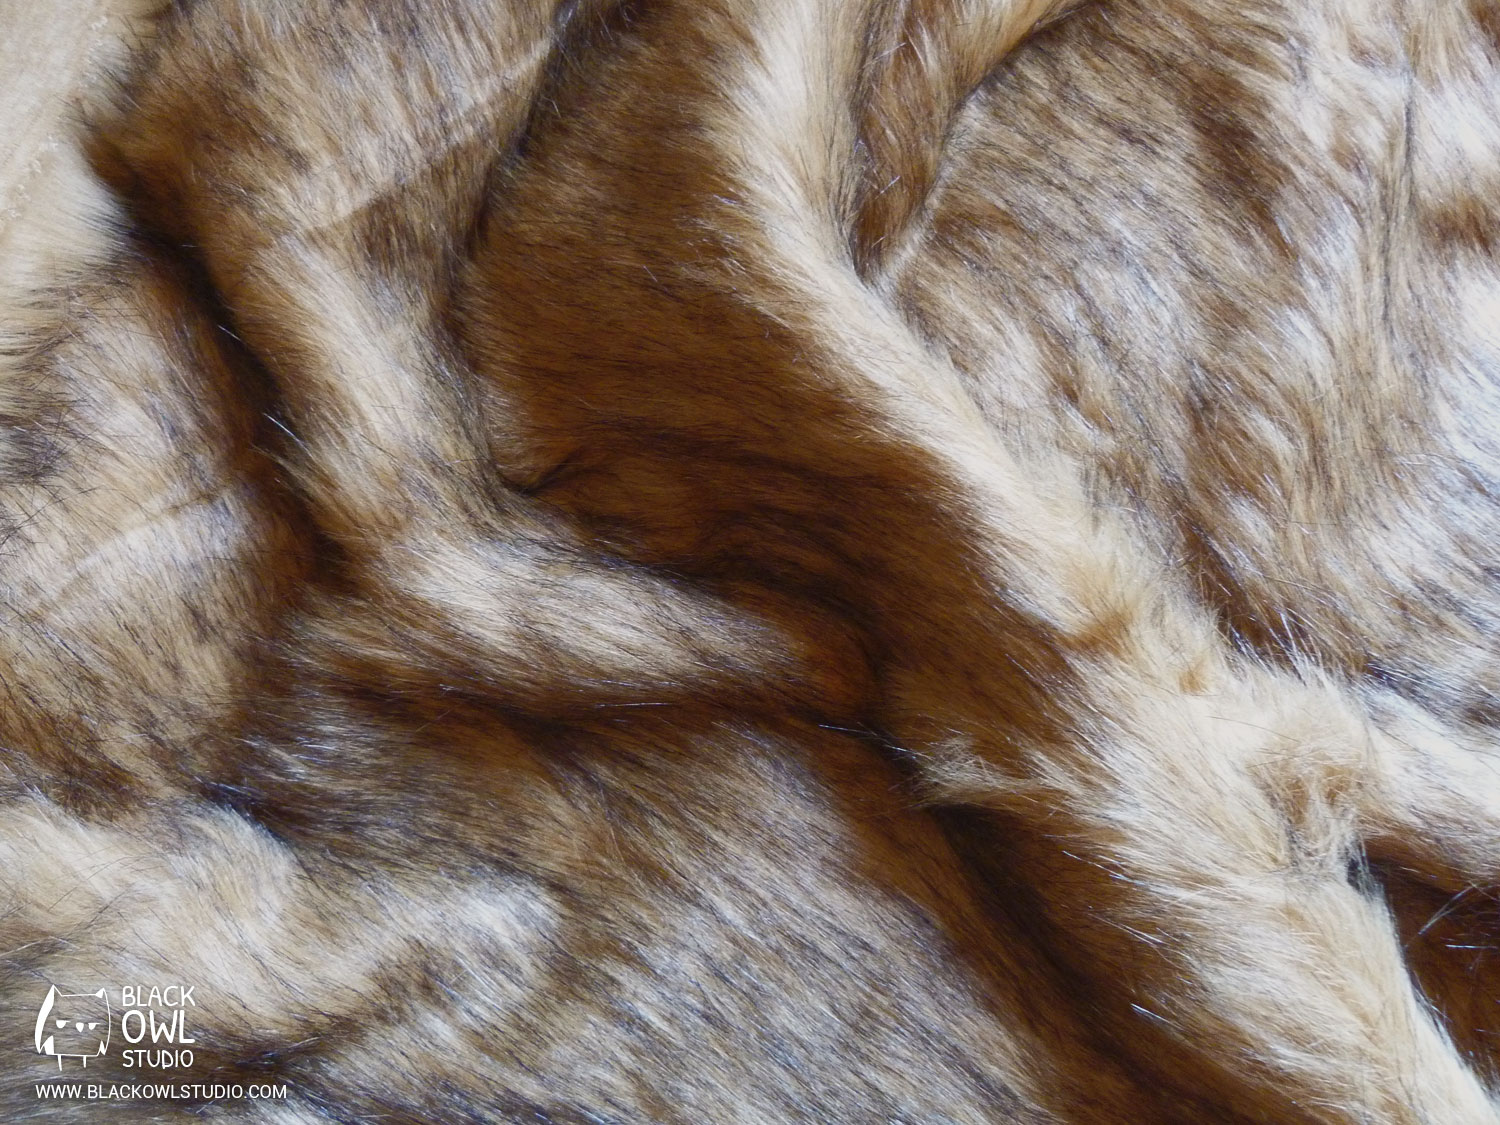
I bought some goods at the local haberdasherie (and on the Internet) to get all I need… Brown suede, green fabric and… faux fur! 😀
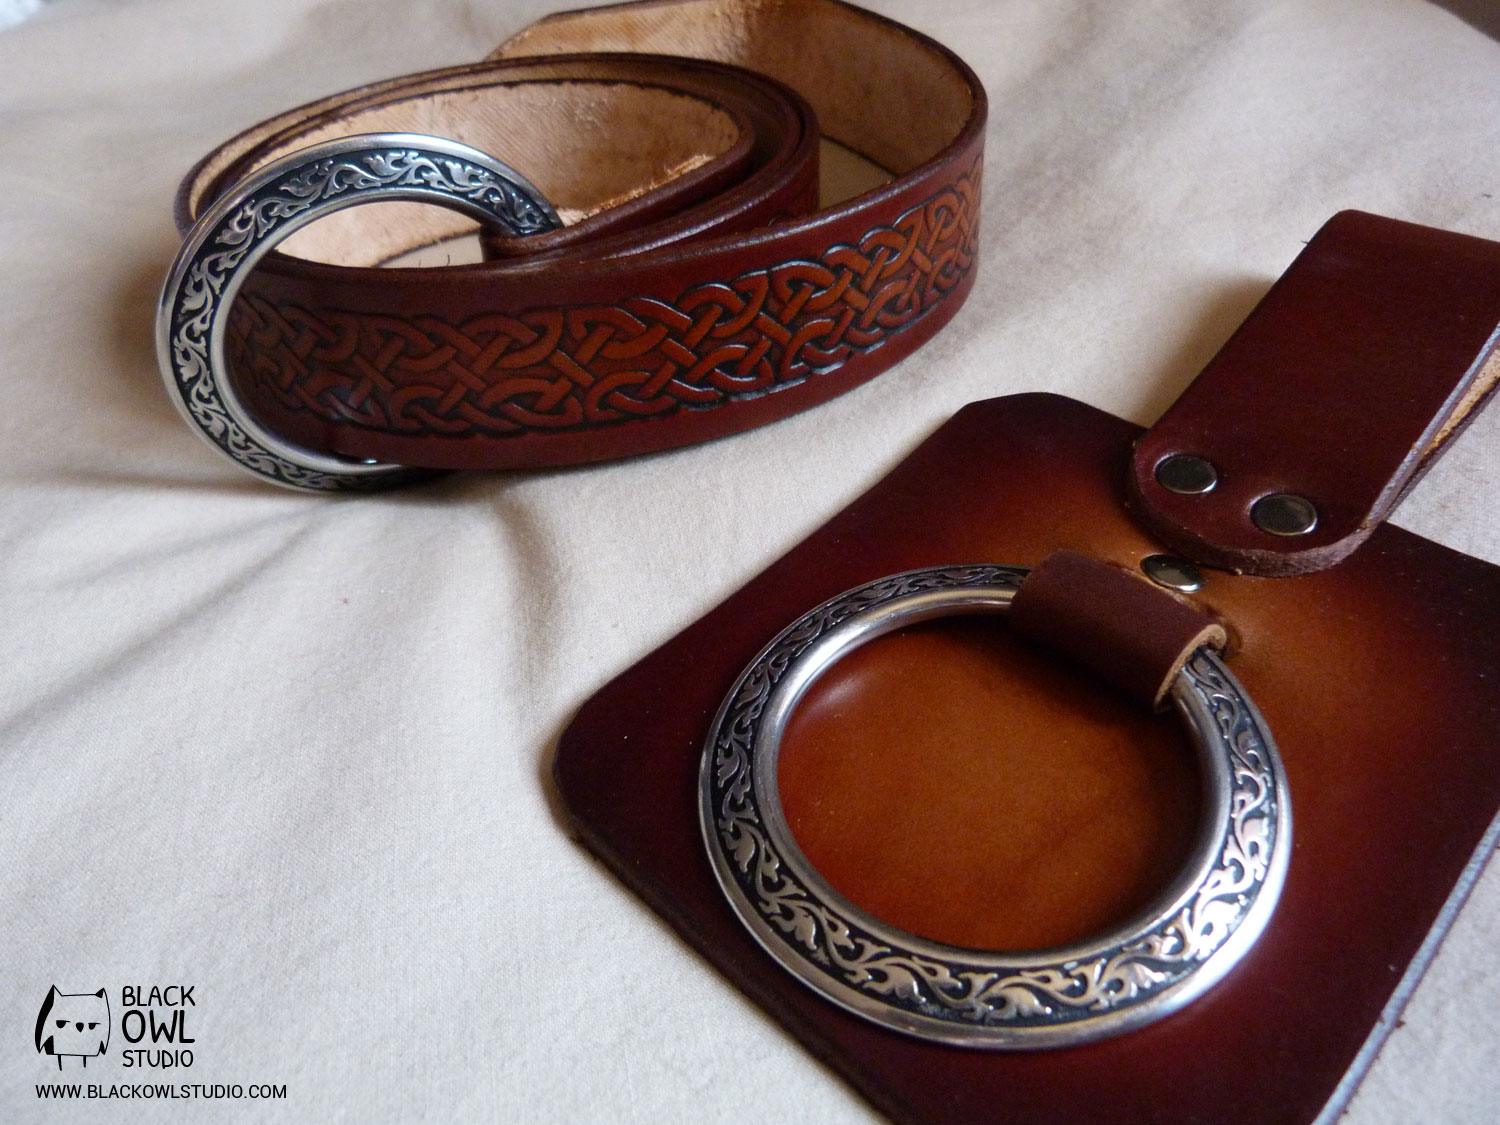
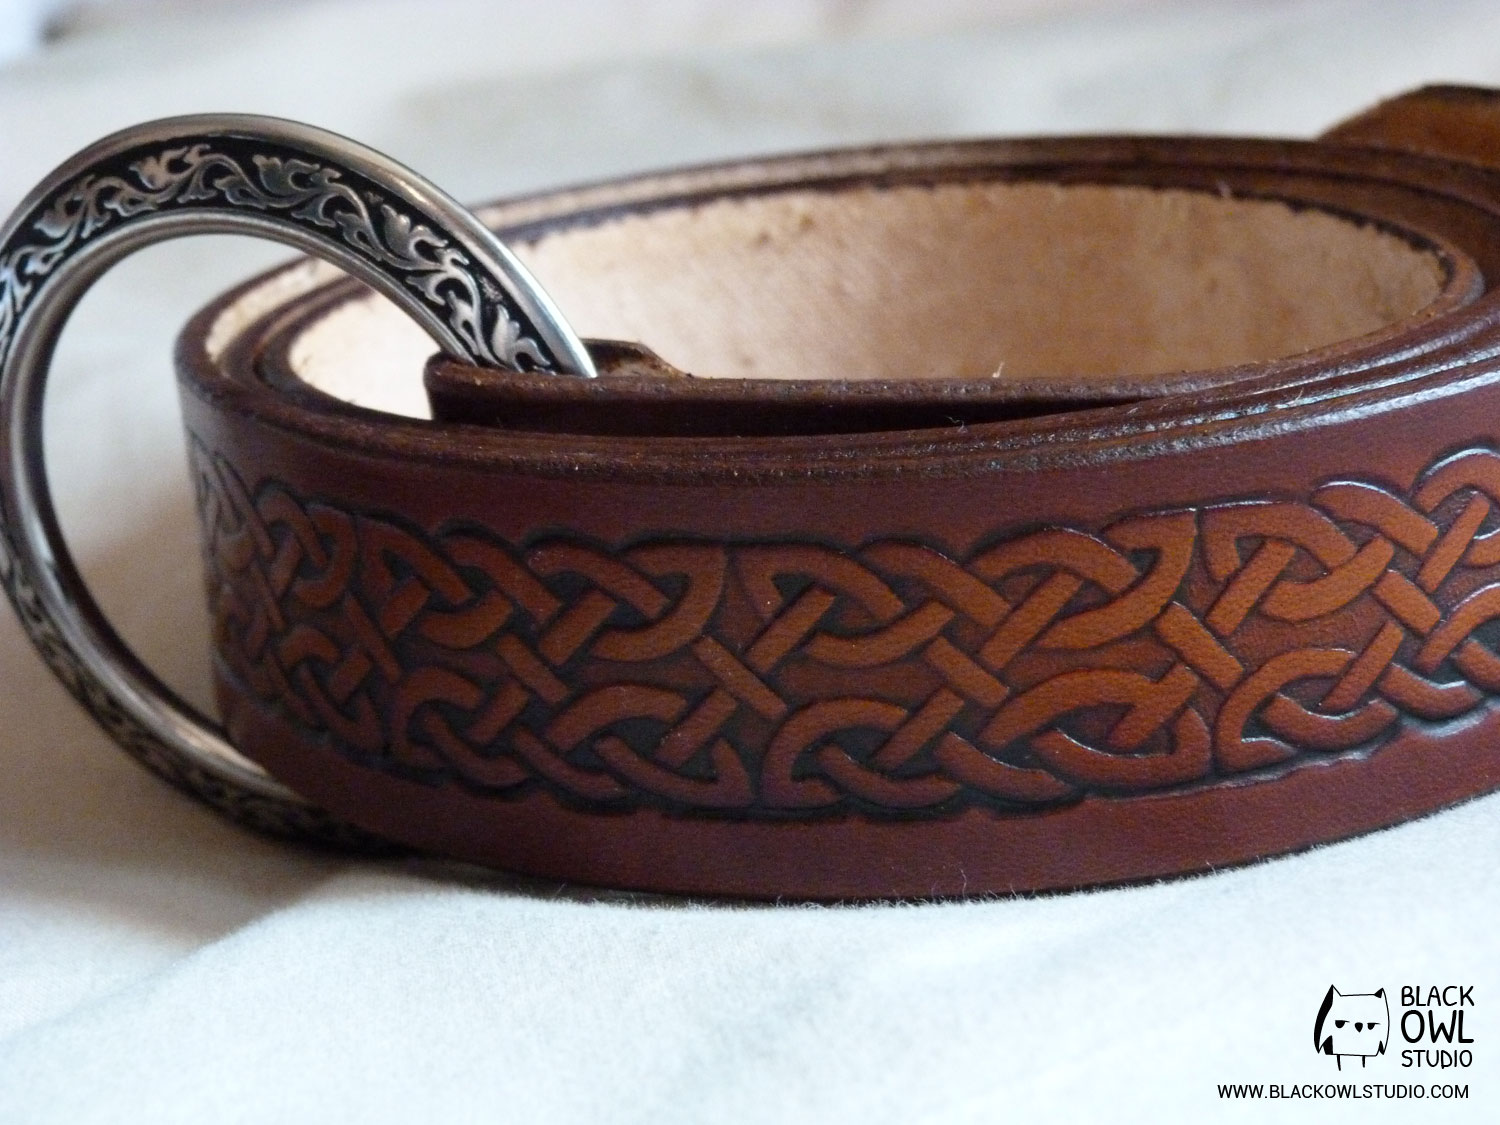
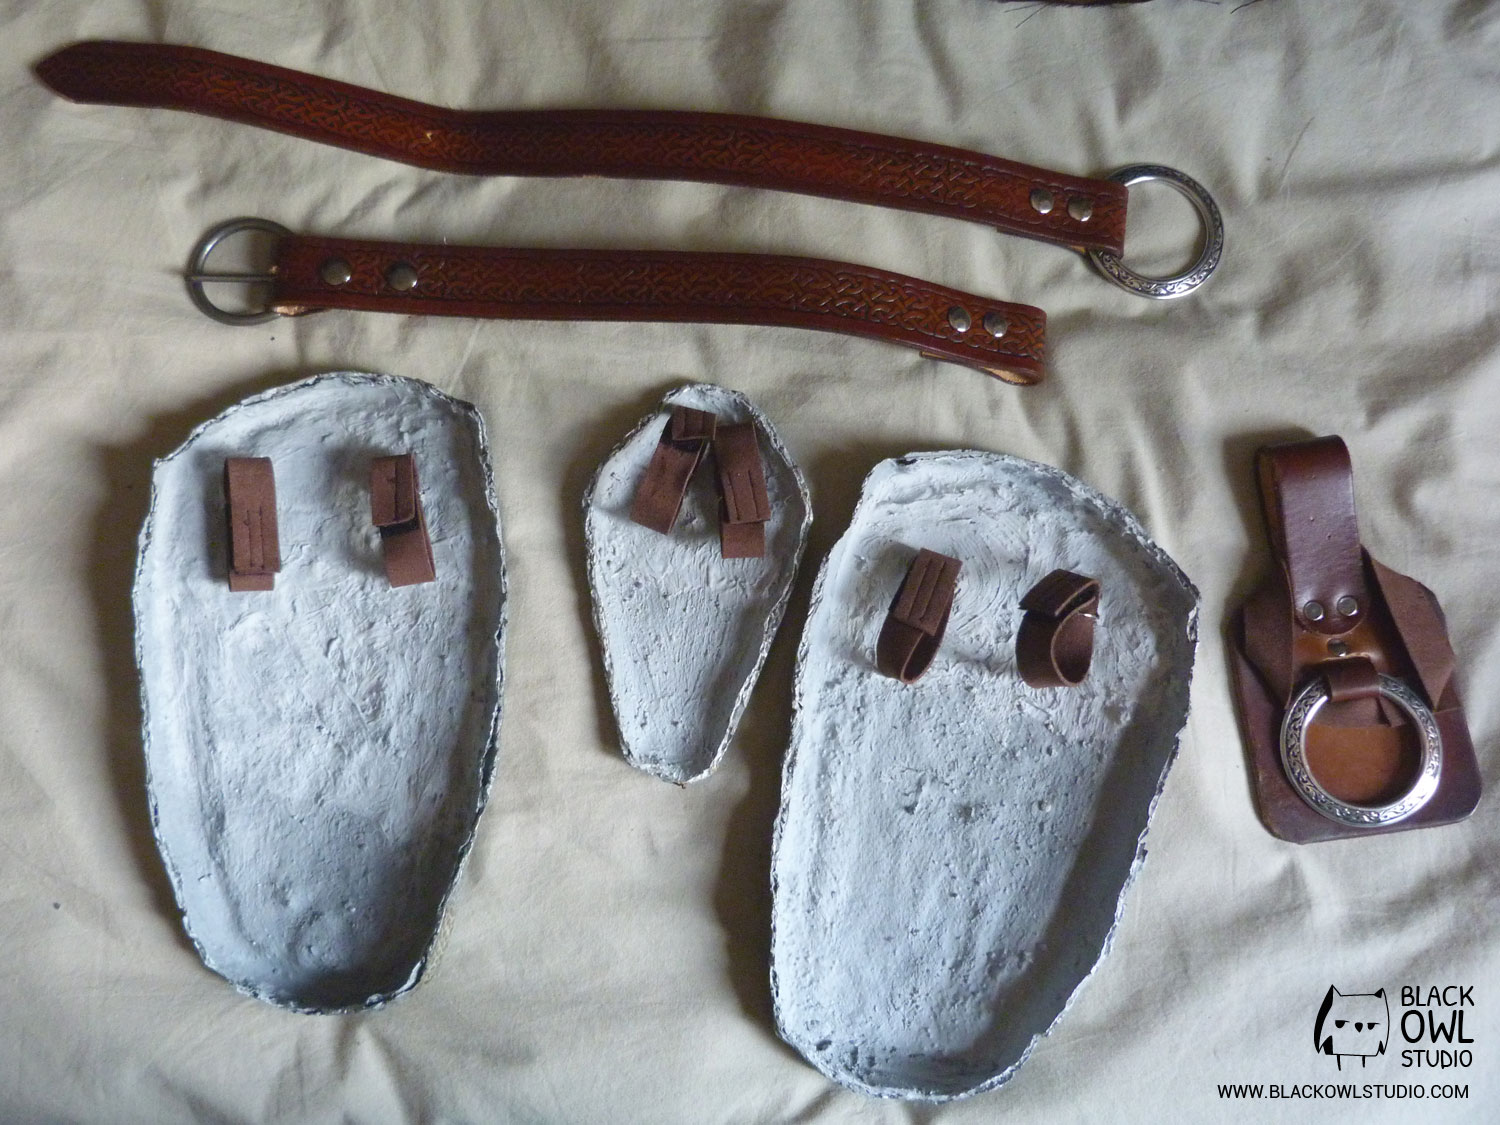
My belt and my axe holder have arrived! Many thanks to Earthly Leather Design !
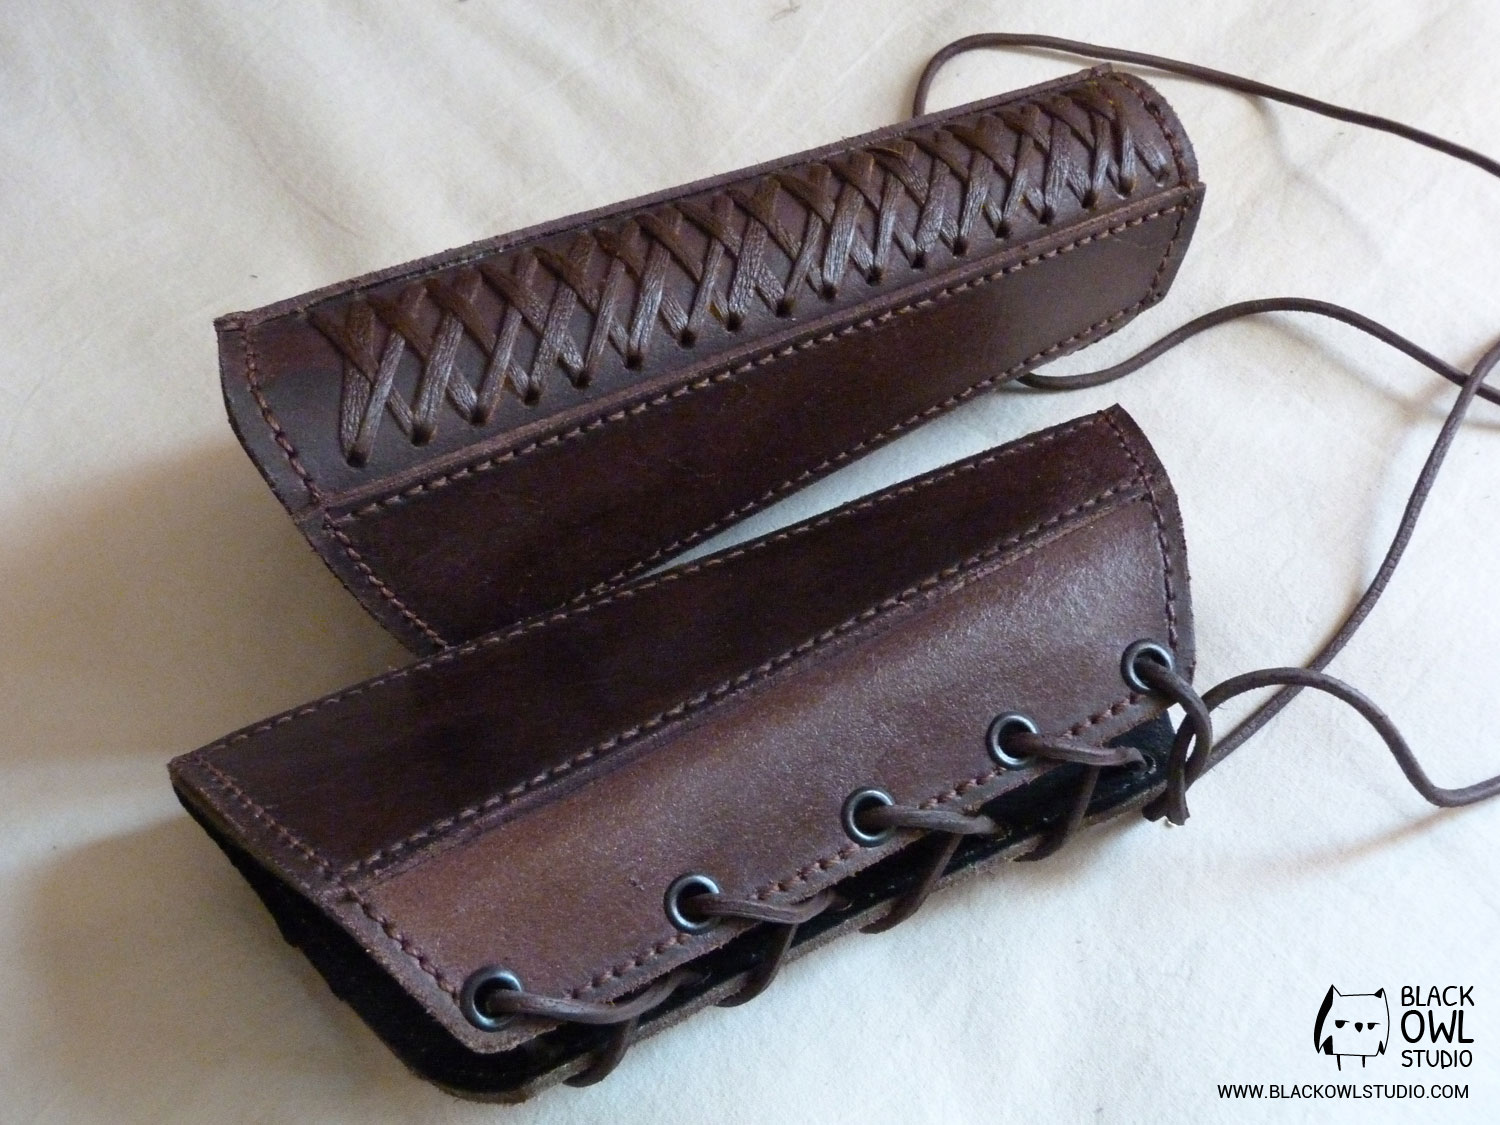
My gauntlets are here too ! 😀

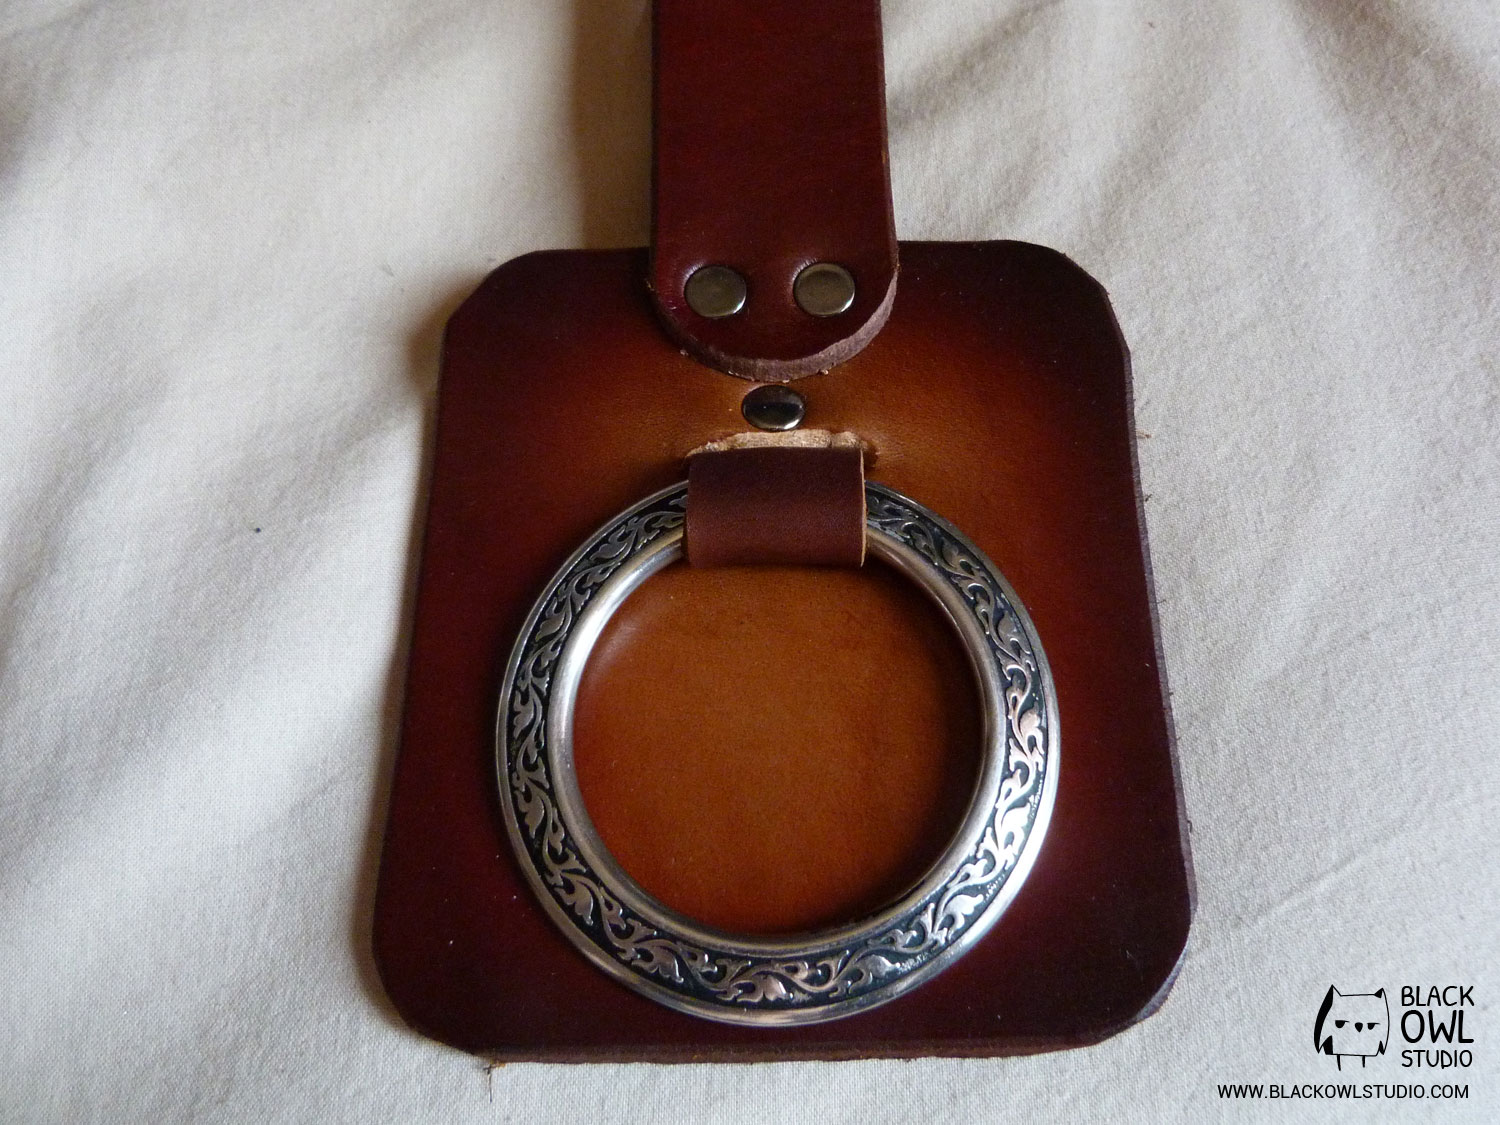
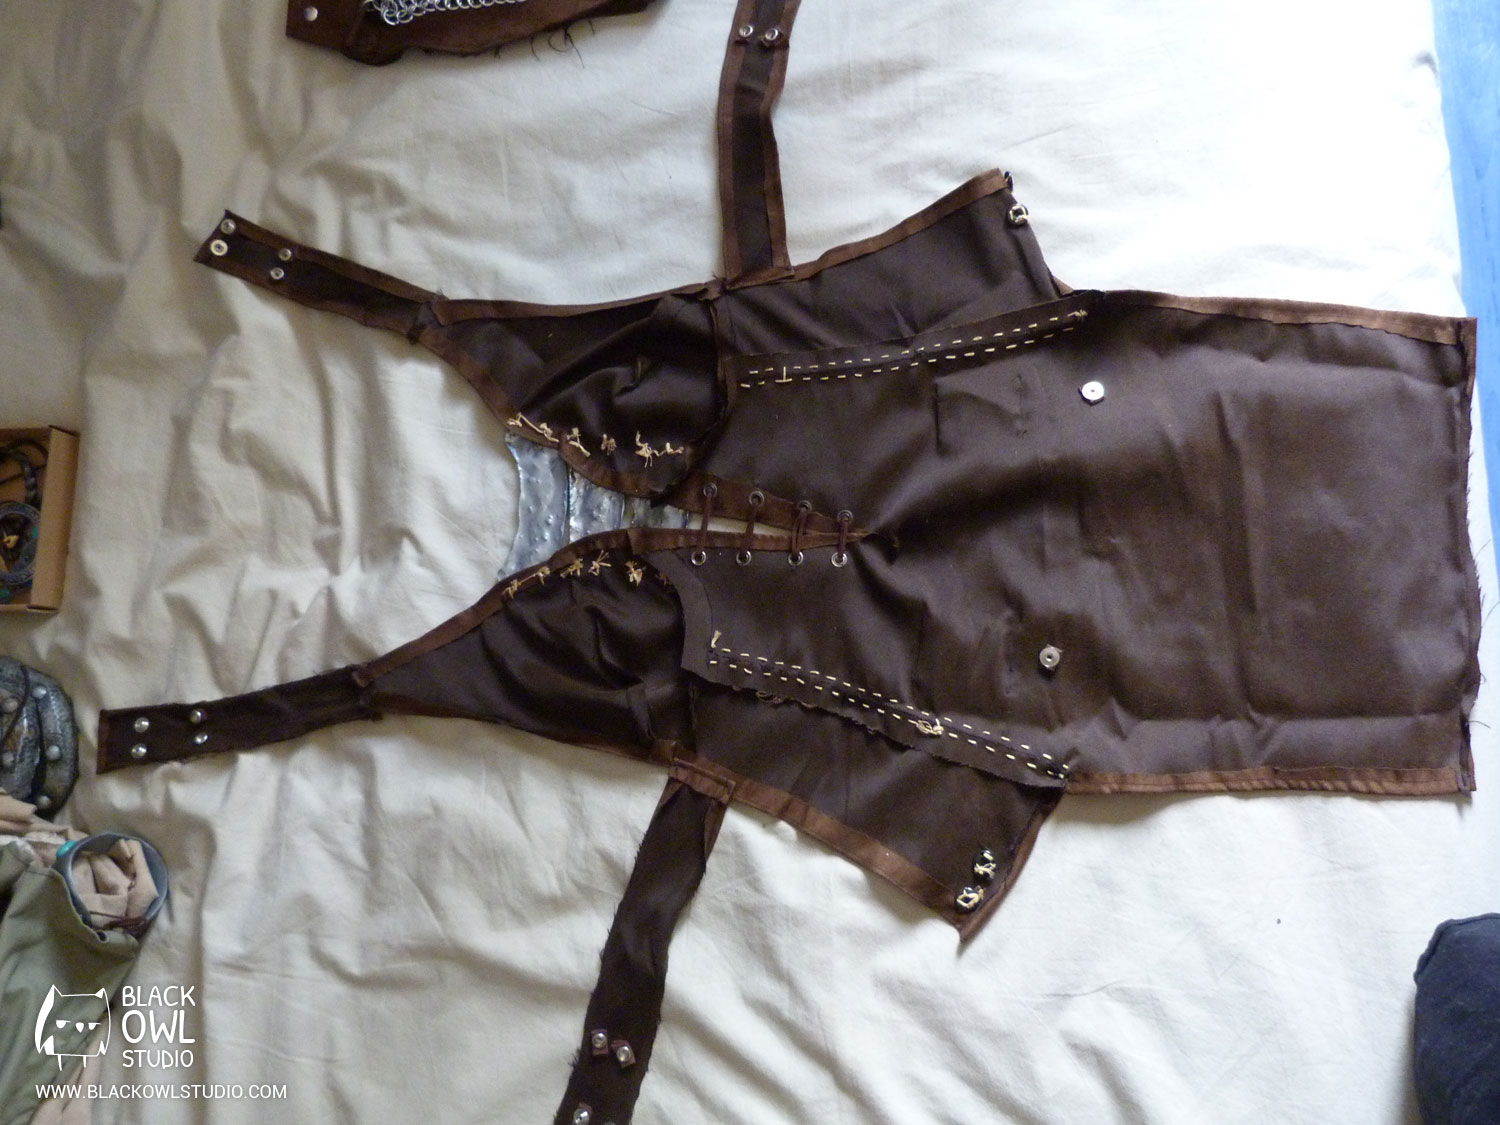
I had to modify the belt to match Aela’s. I split it in two pieces. On the front, it is attached with a regular belt buckle. On the back, a ring connects both parts of the belt to my dress.
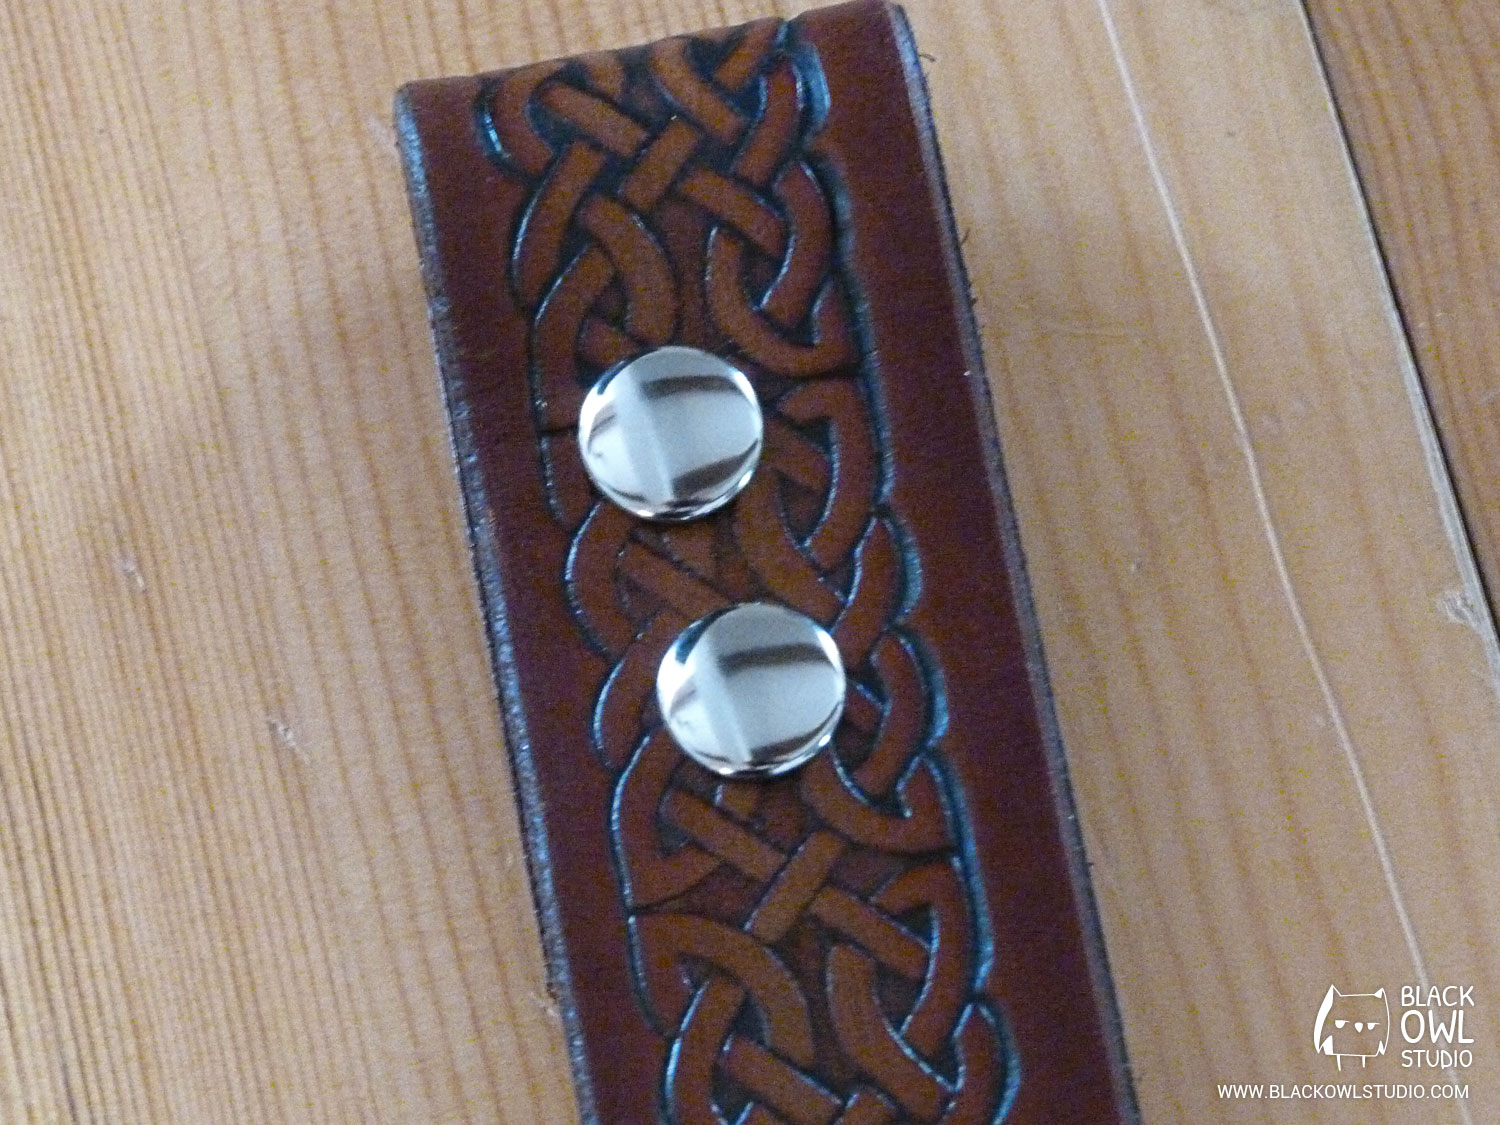
You can see on these pictures that we placed push buttons in order to make my dress easy to open.

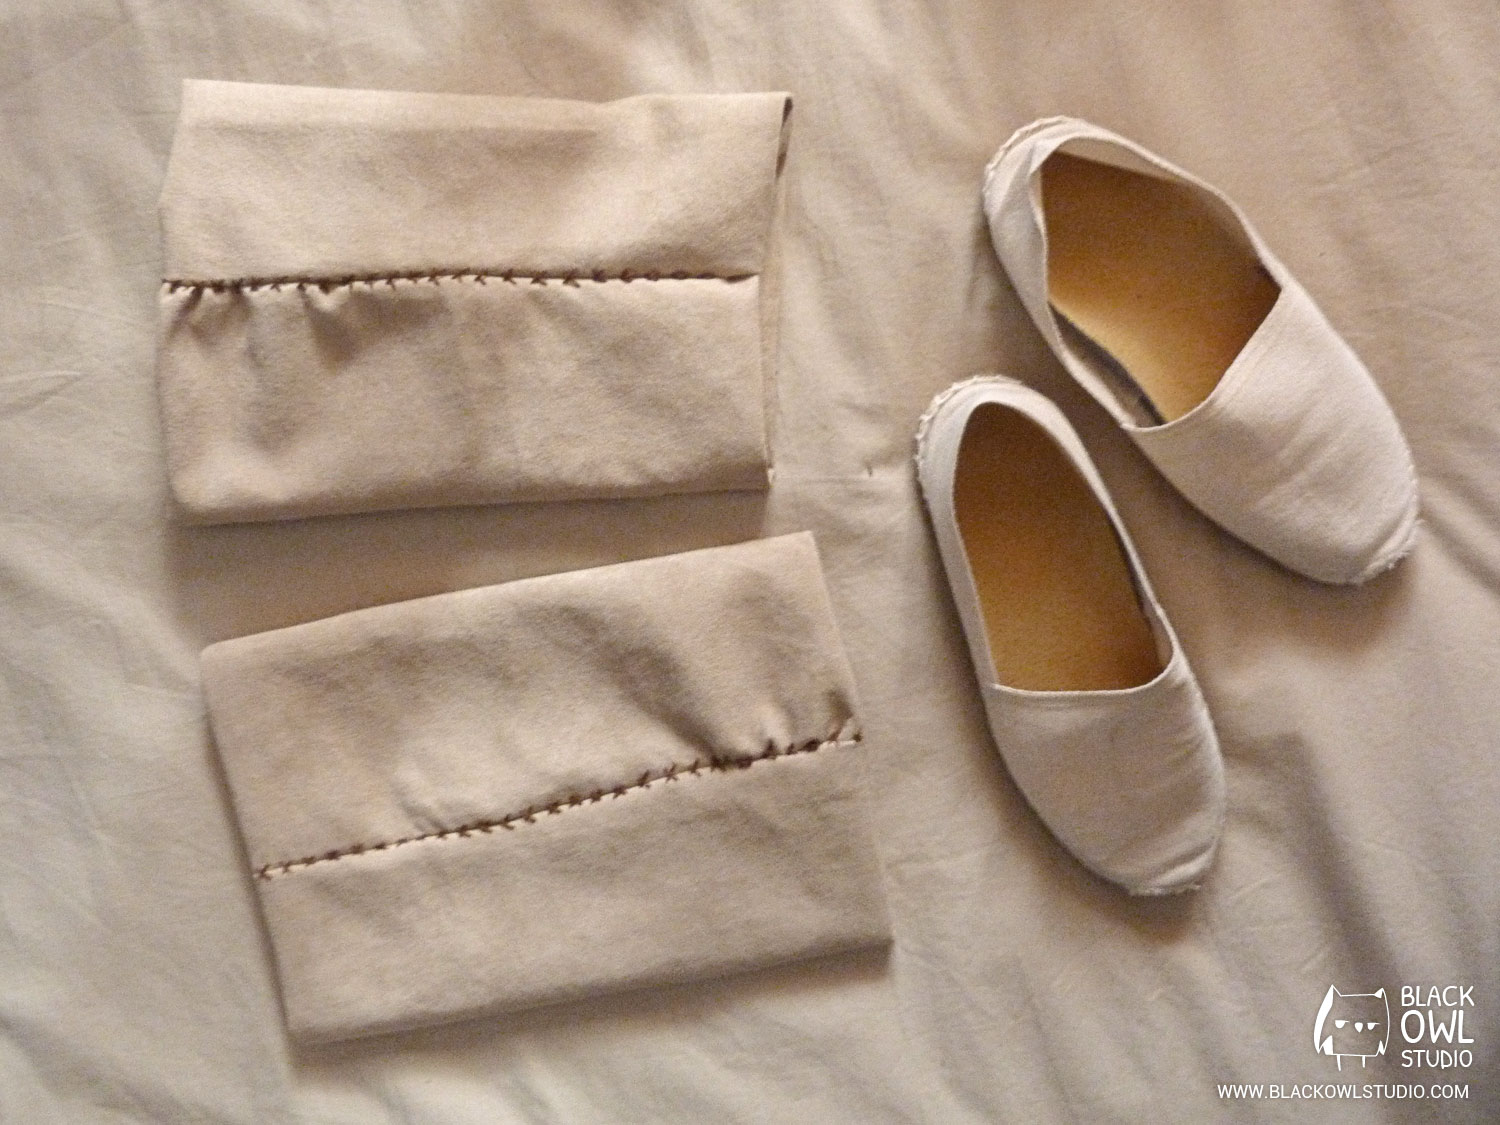
My dress progresses little by little (sewing is definitely not my thing), as well as my boots, which are in fact a pair of gaiters and espadrilles.
We had to hurry like crazy to finish our cosplays in time. We forgot to take pictures of each step, however, the different parts of the dress are at the end of this article! 😉
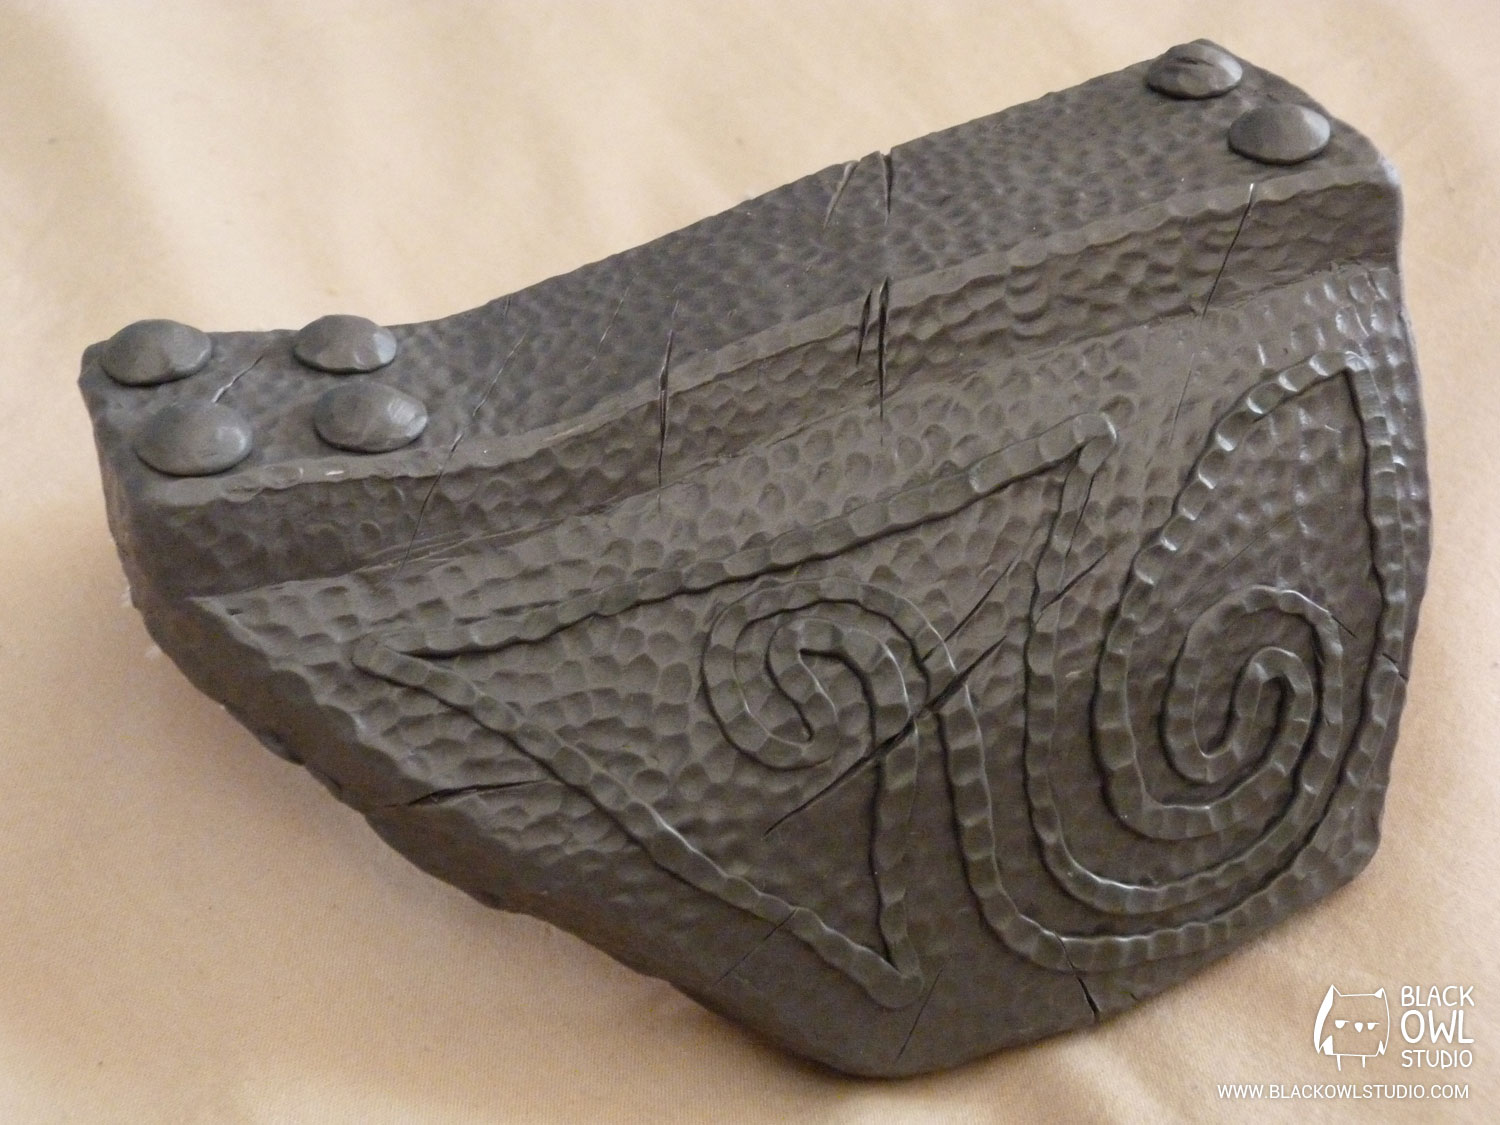
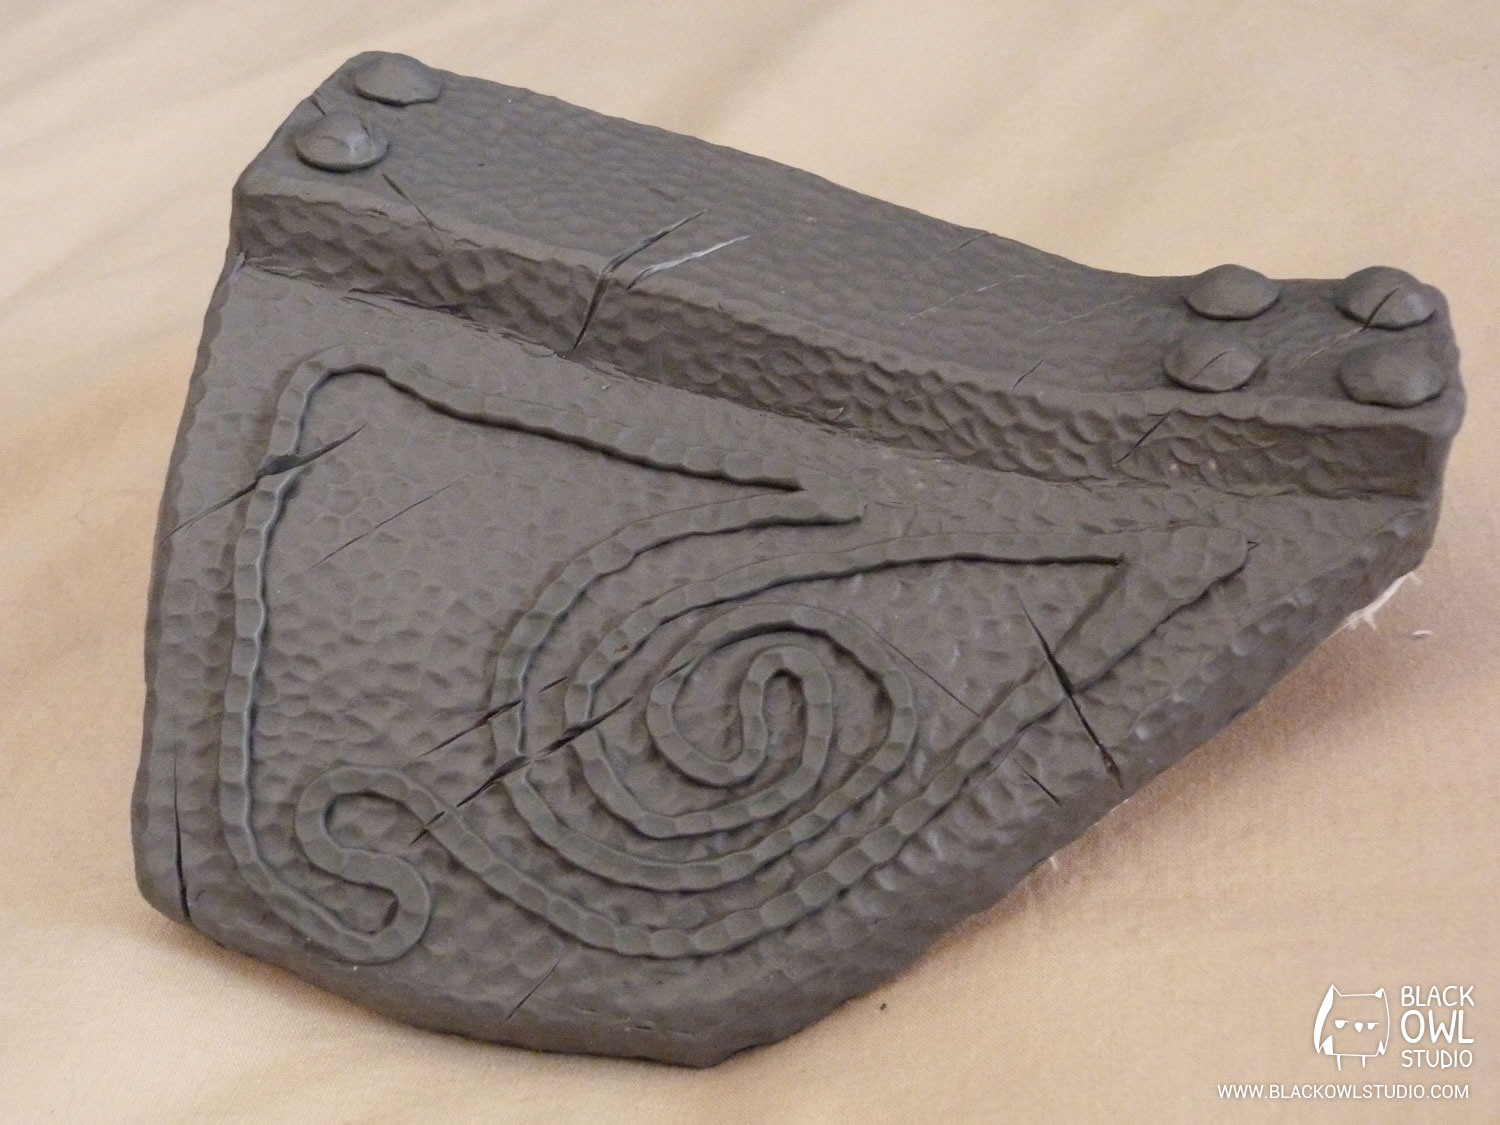
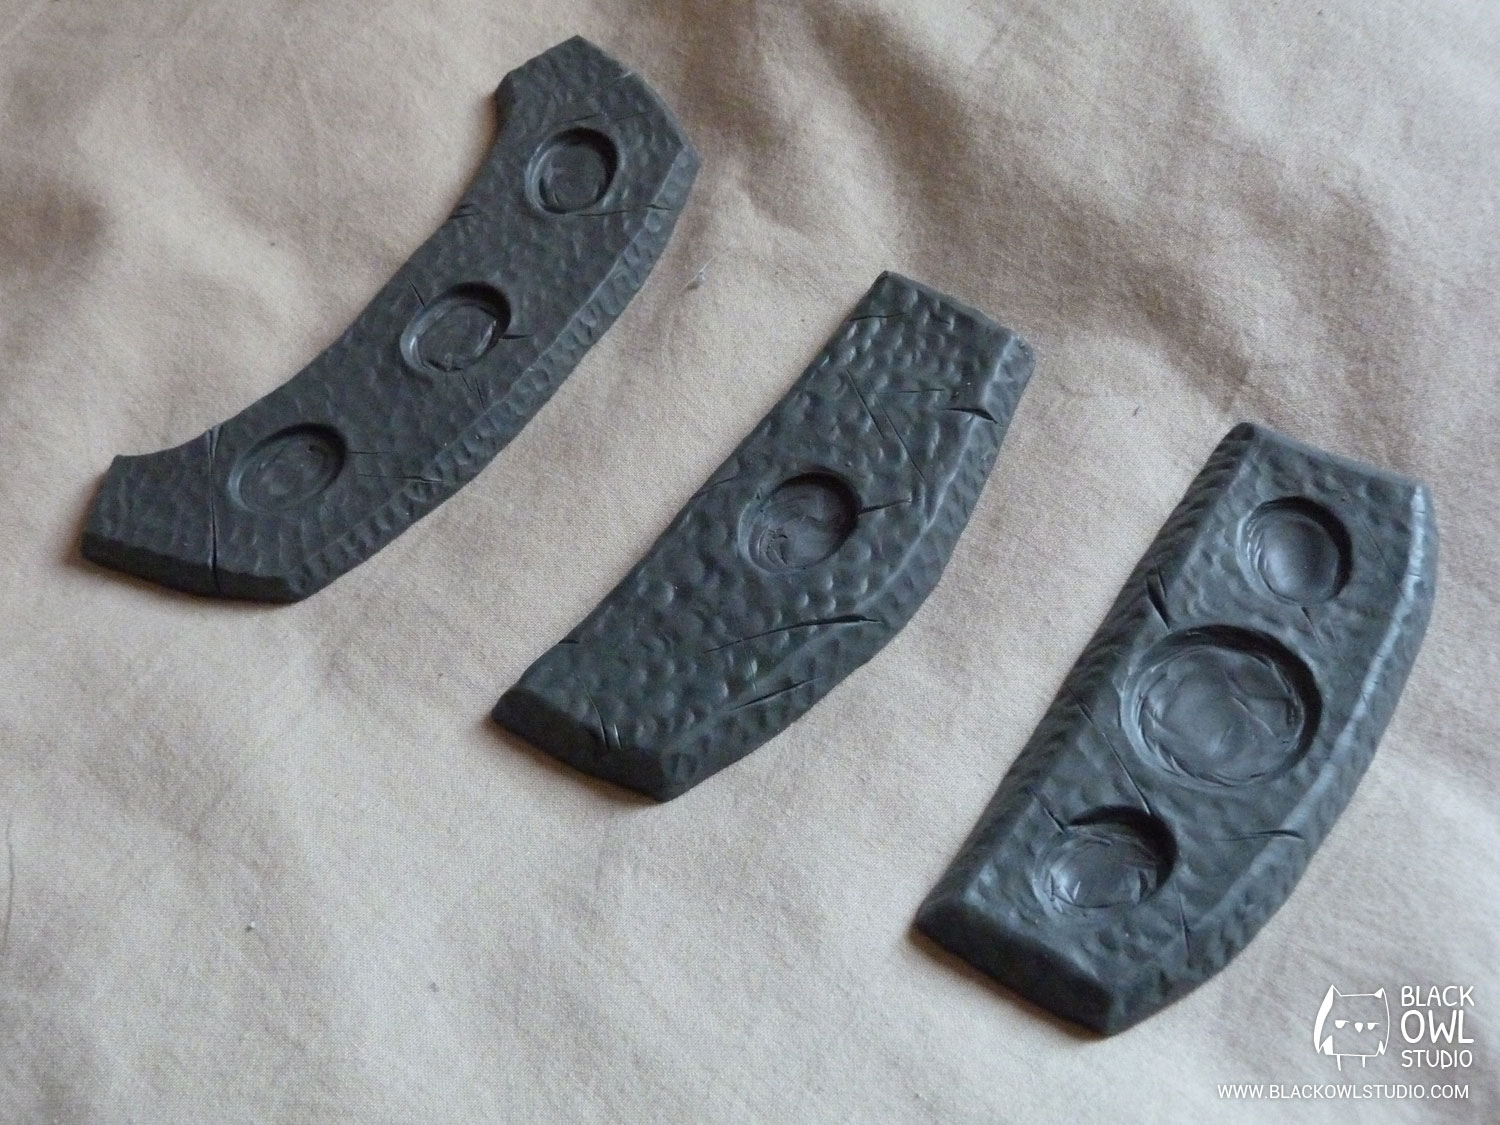
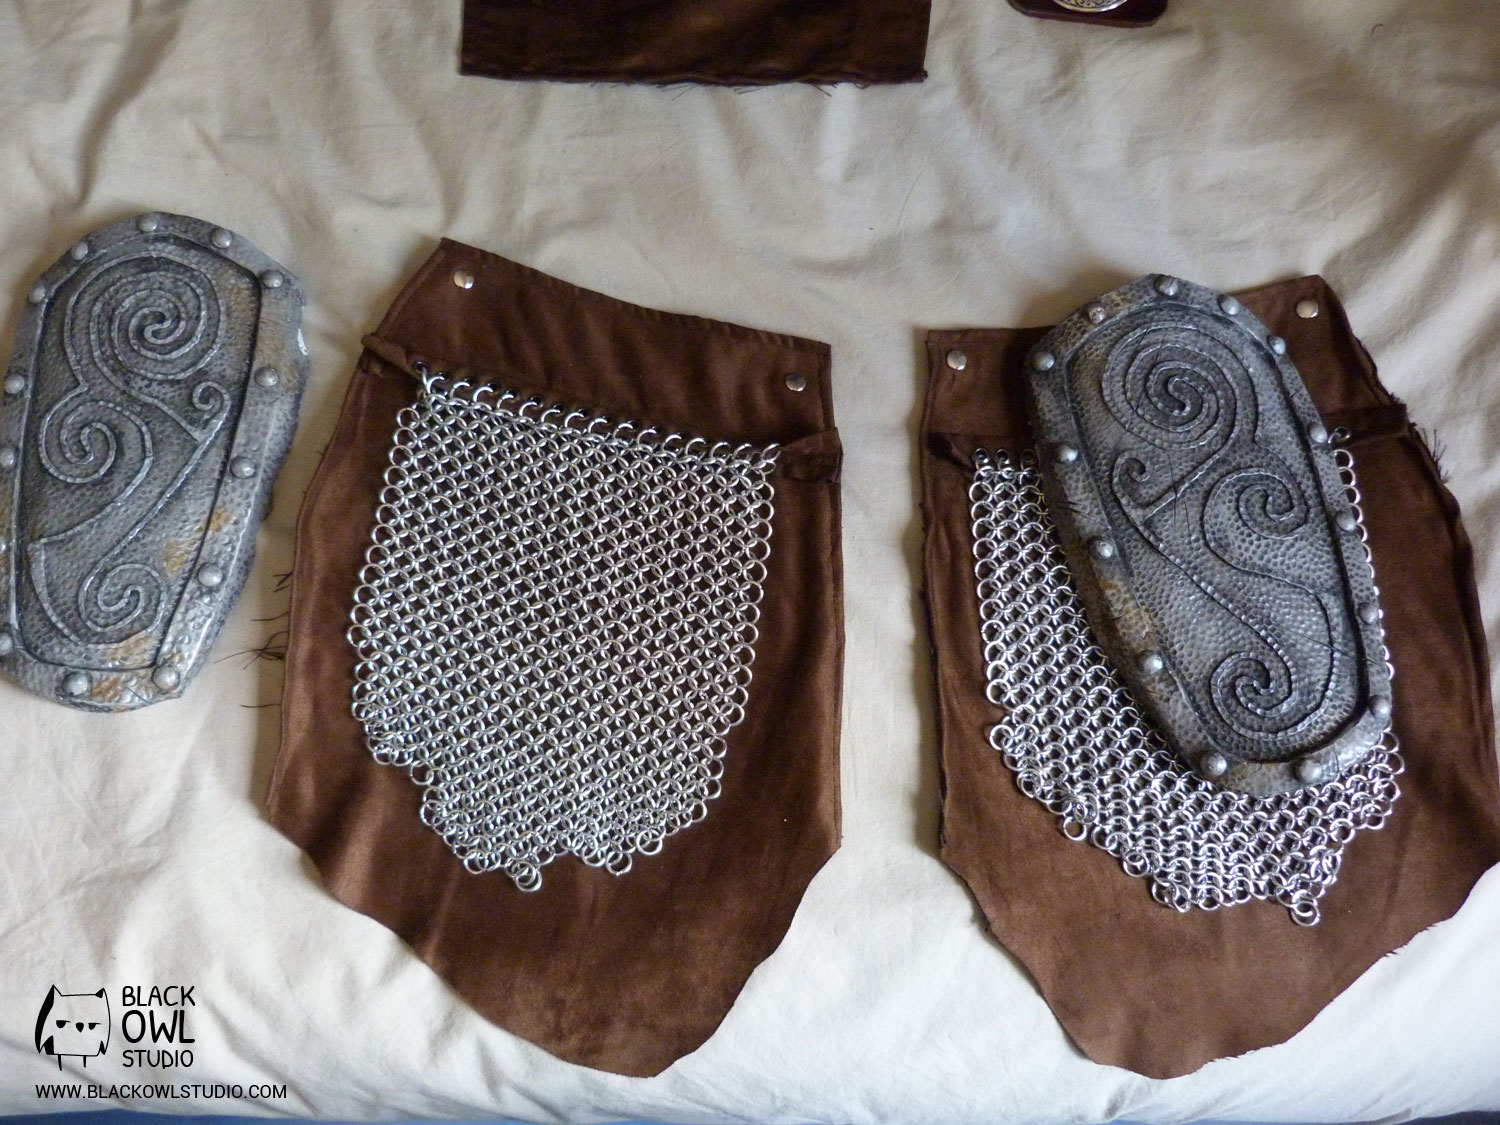
The Armor pieces
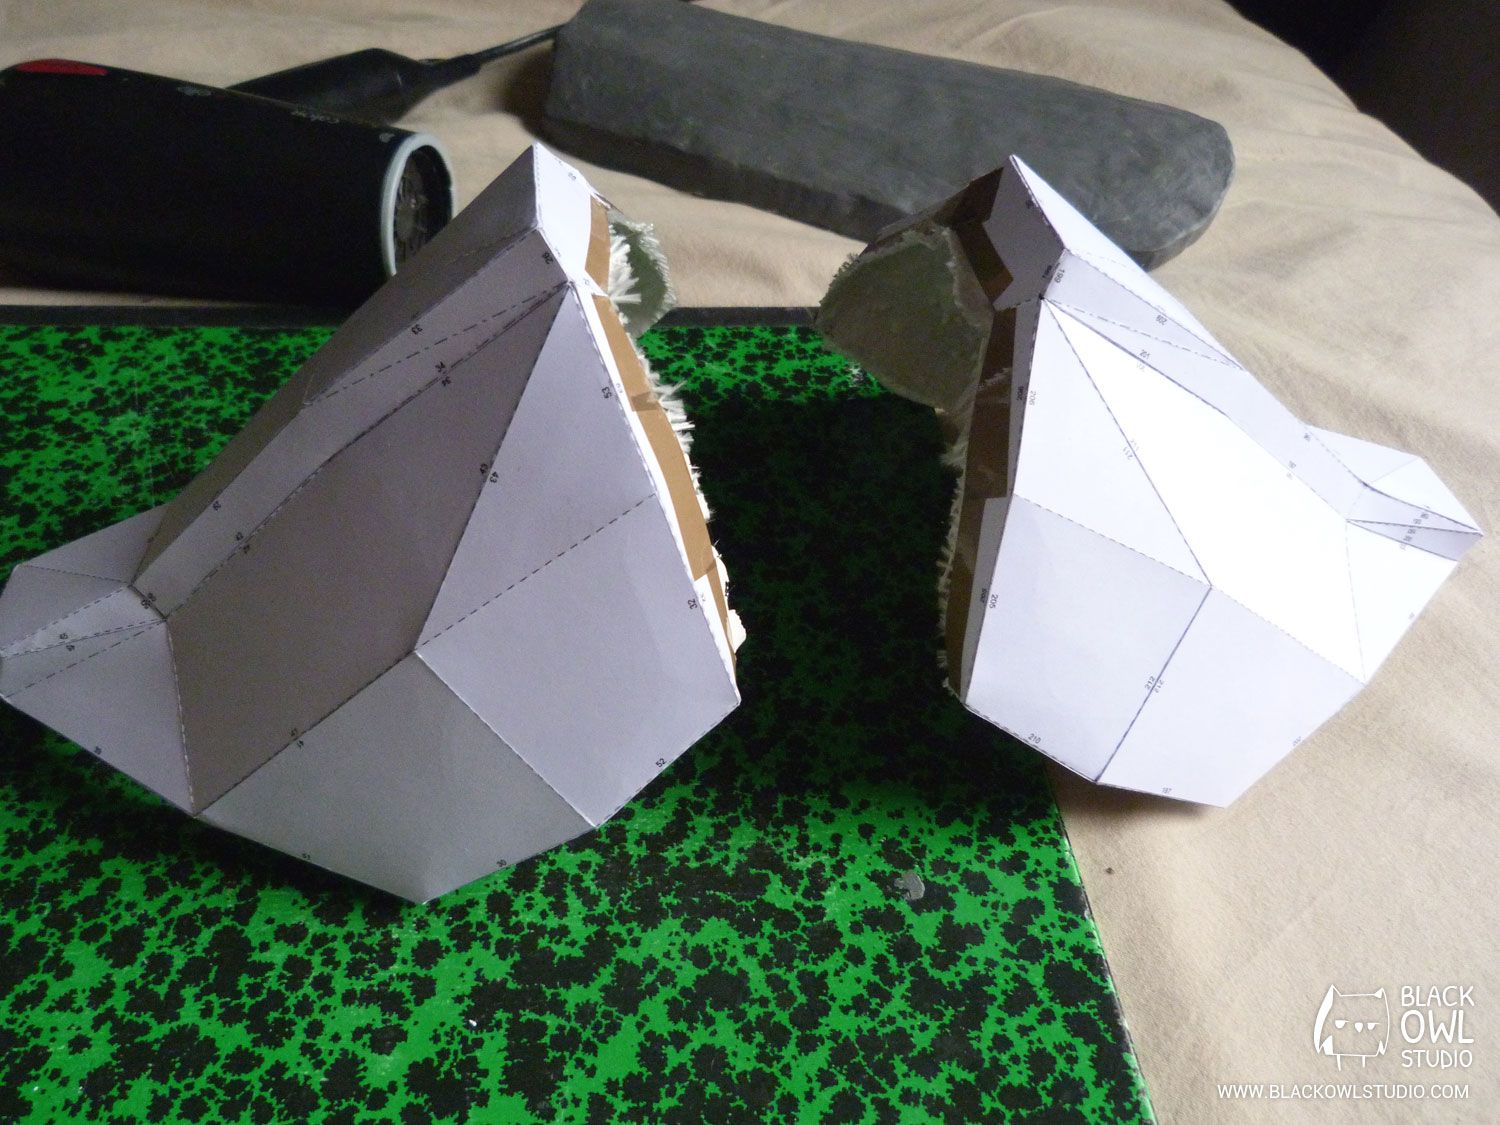
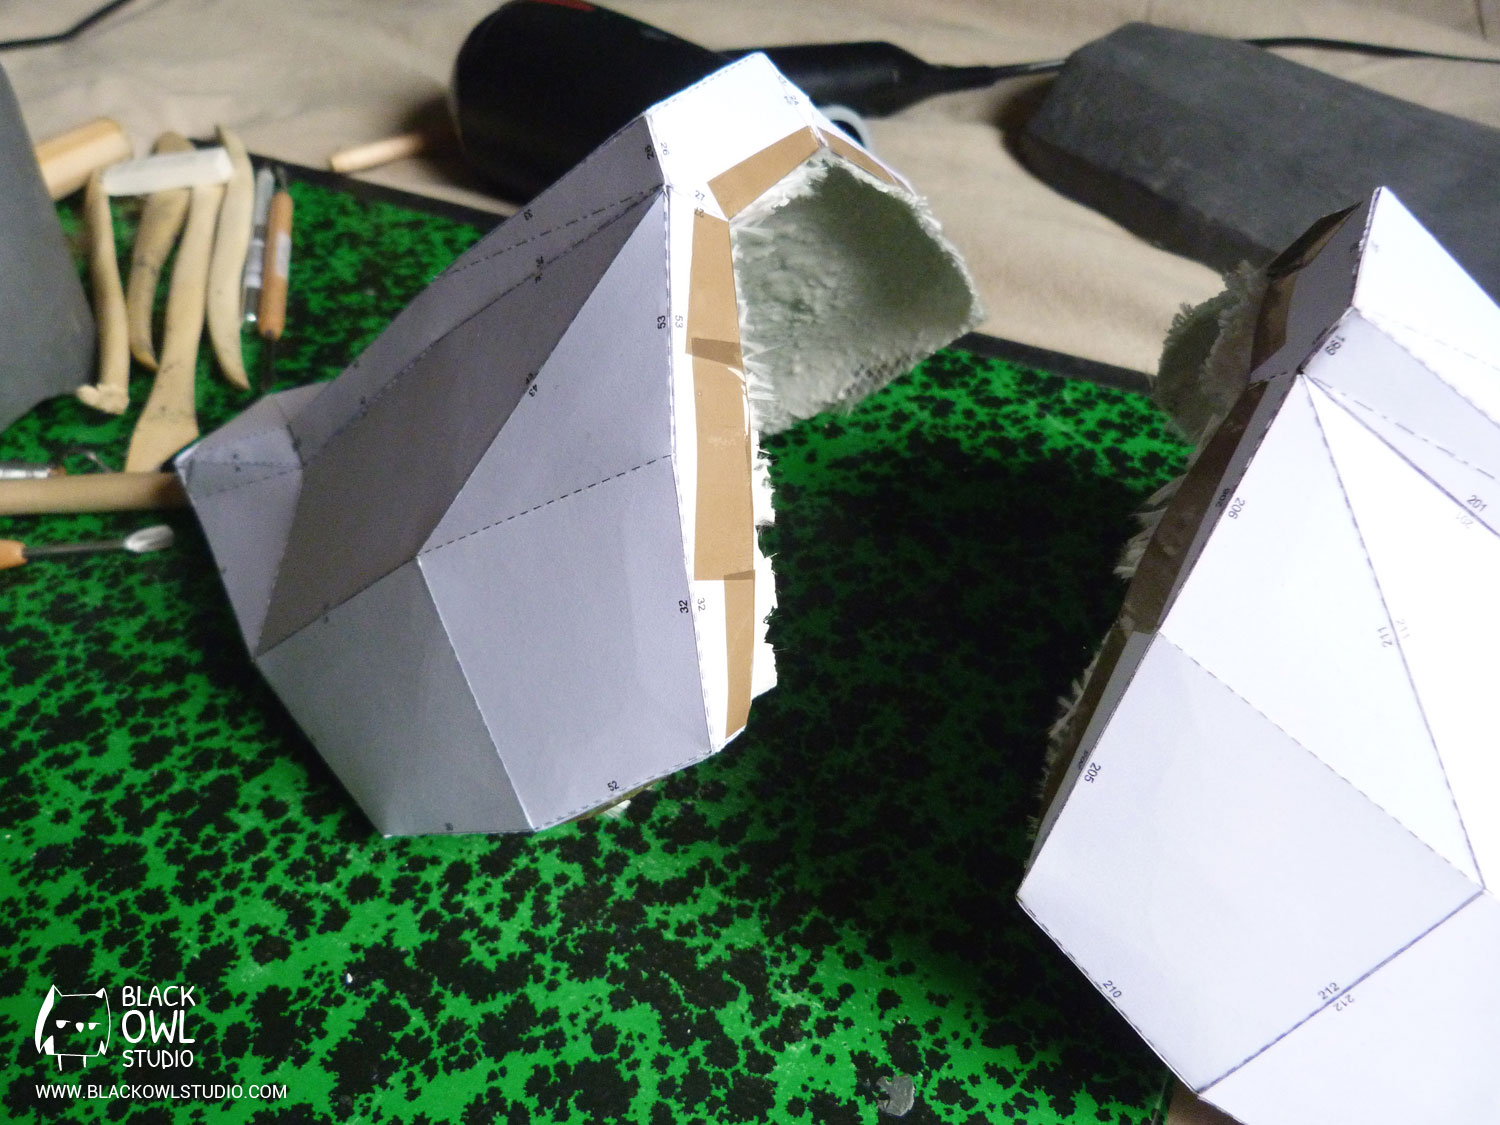
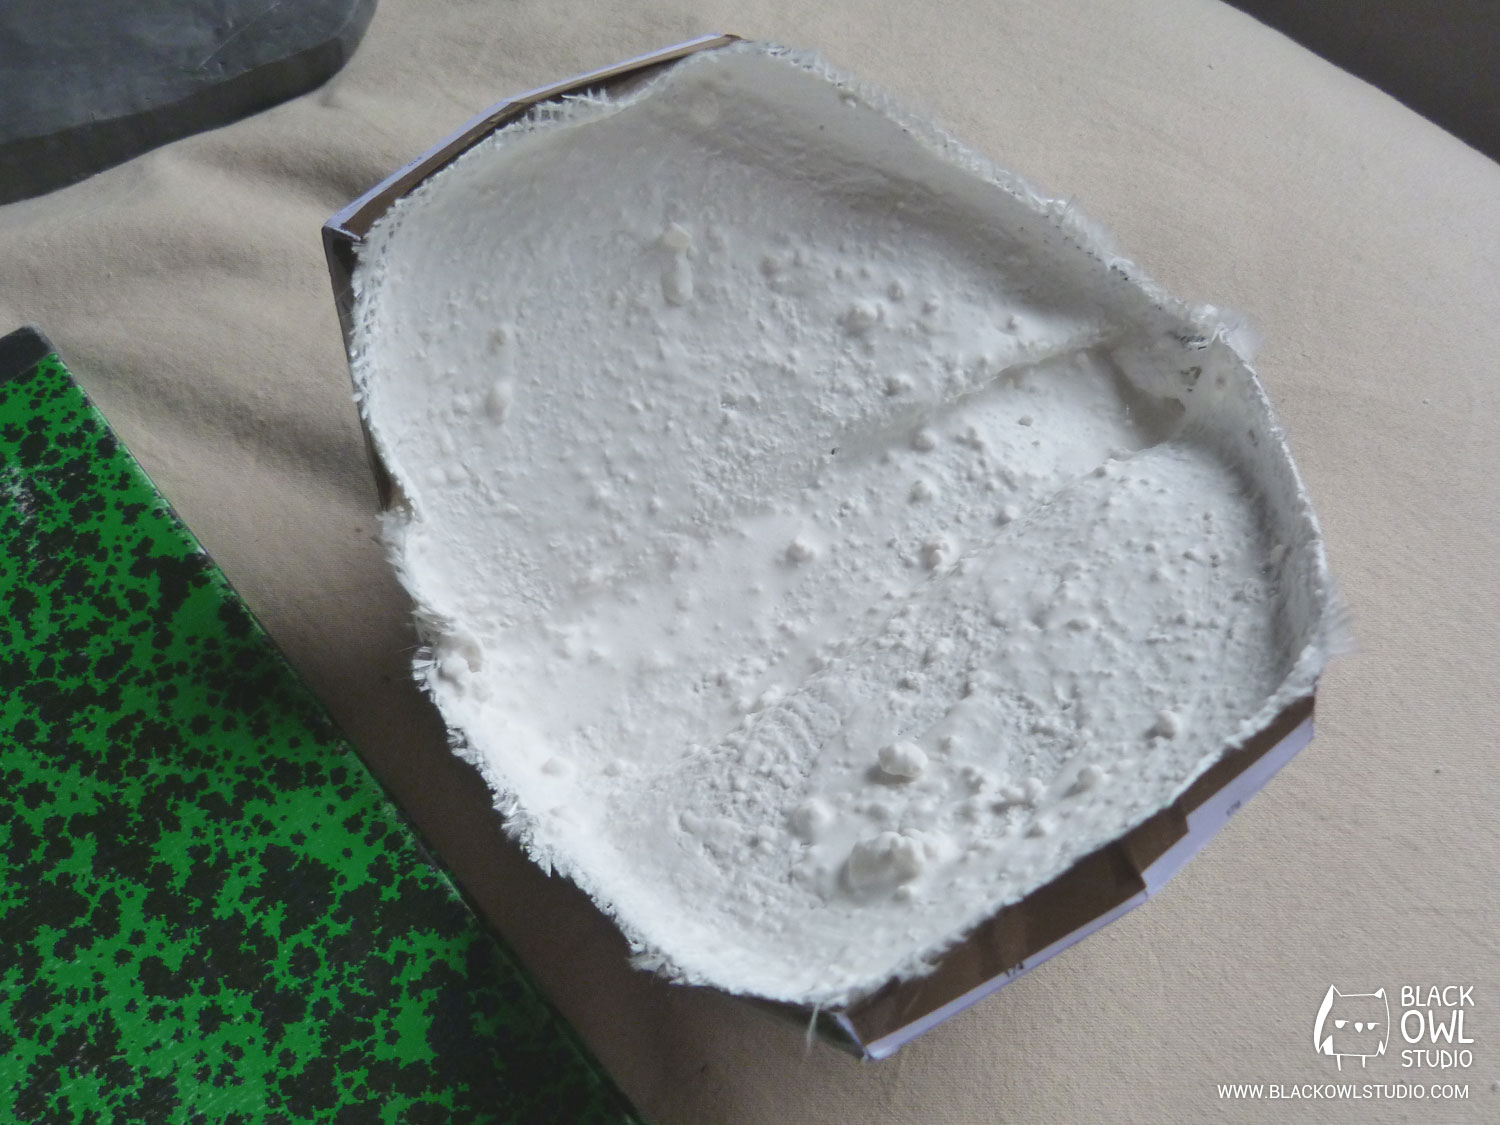
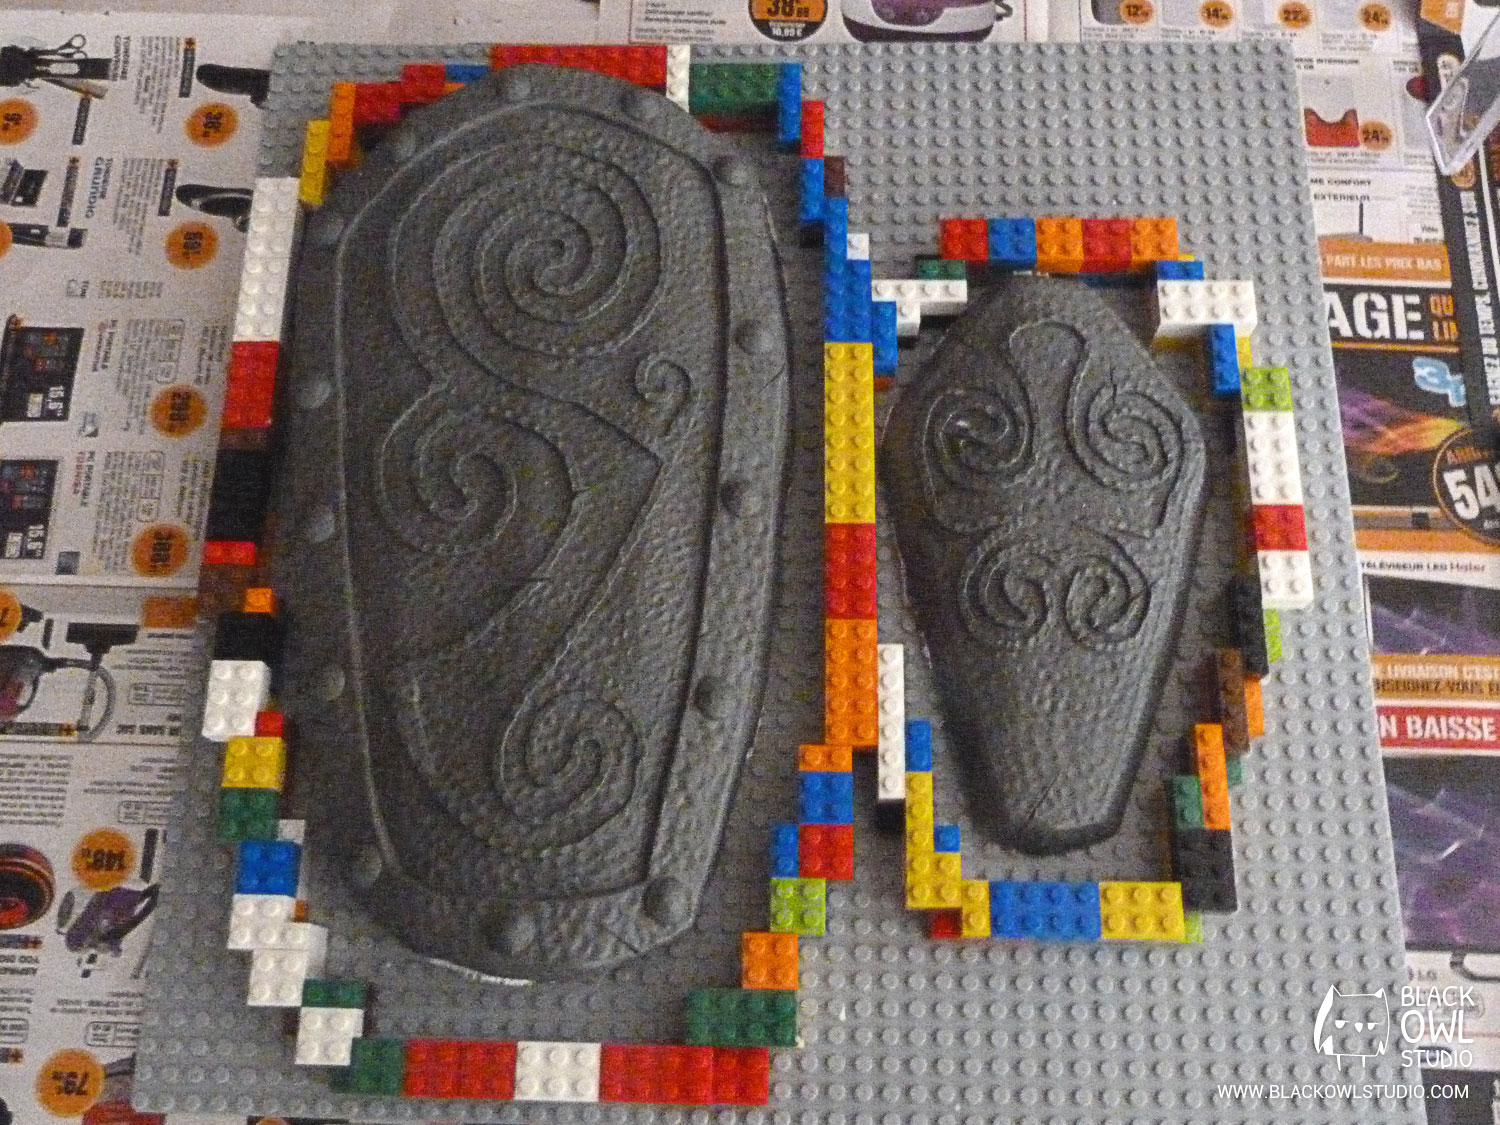
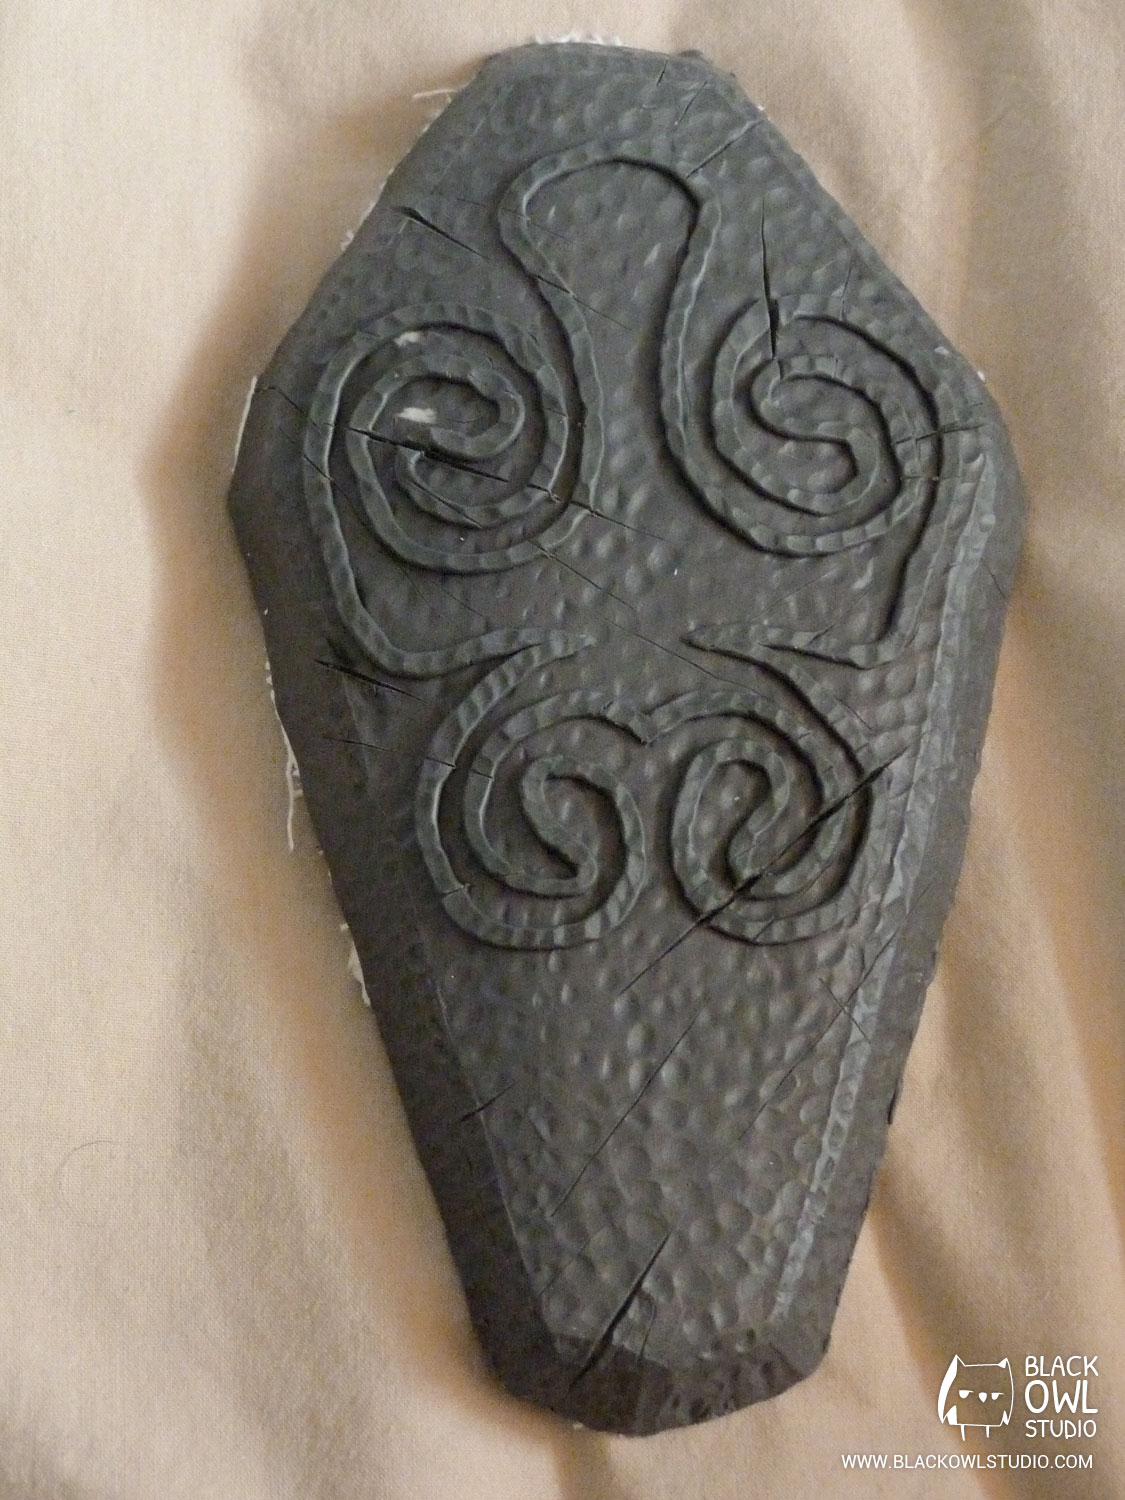
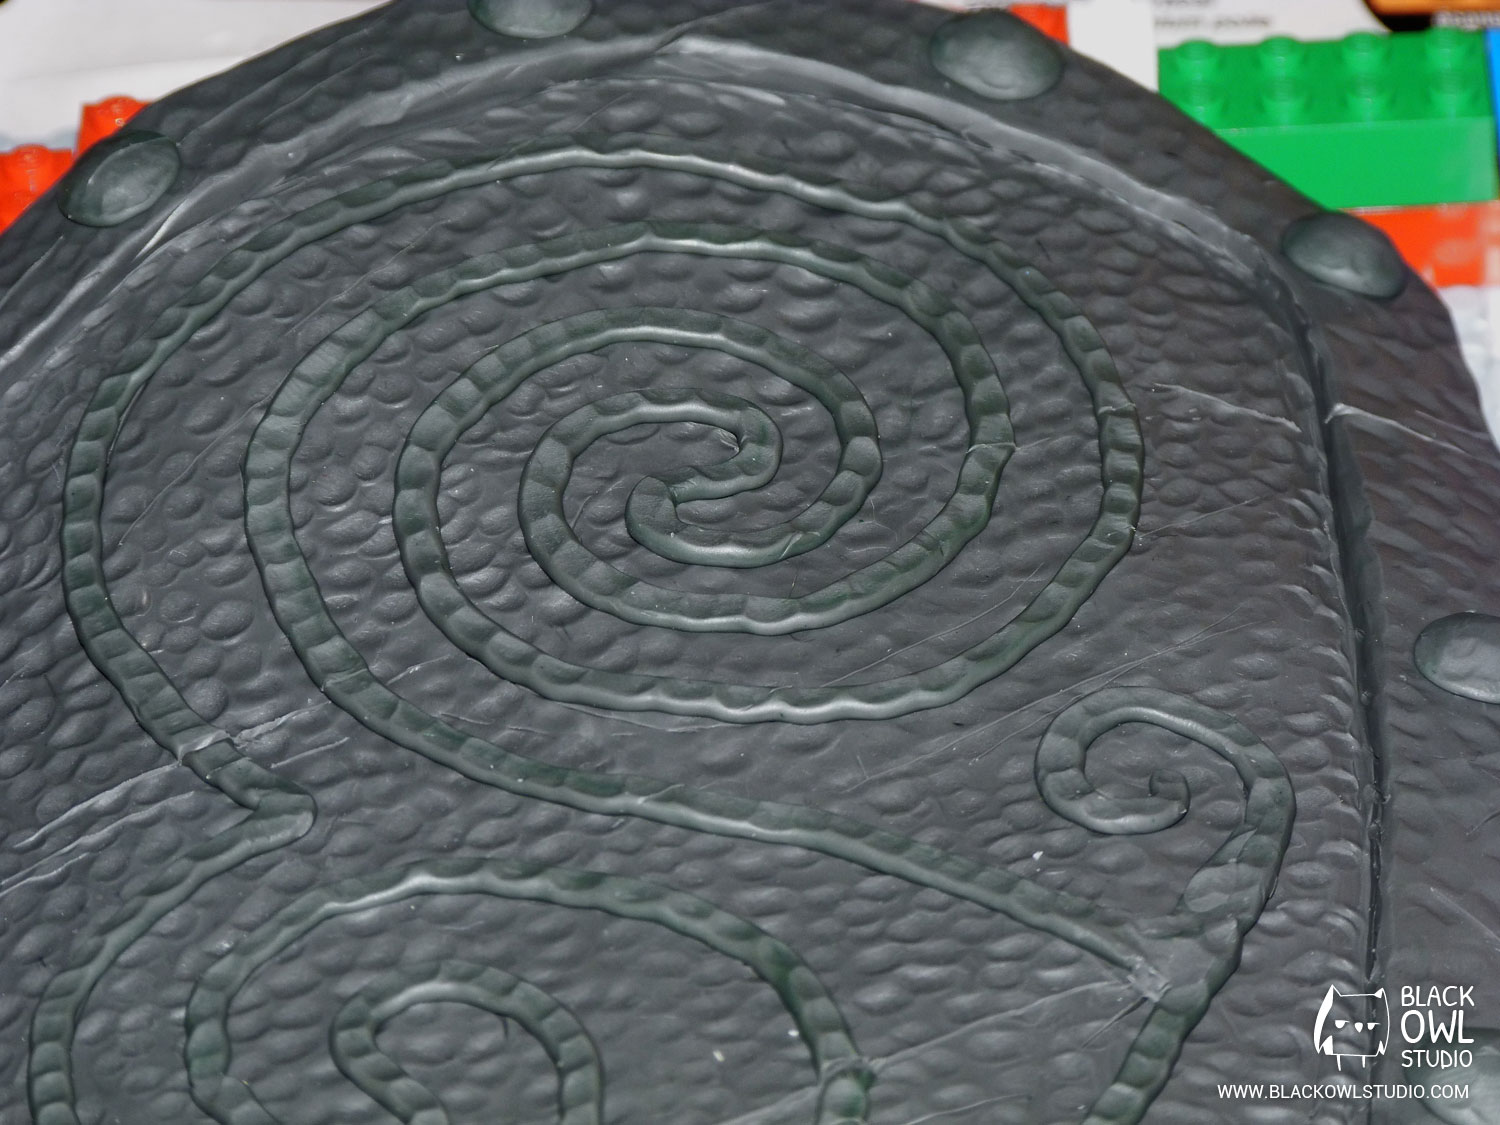
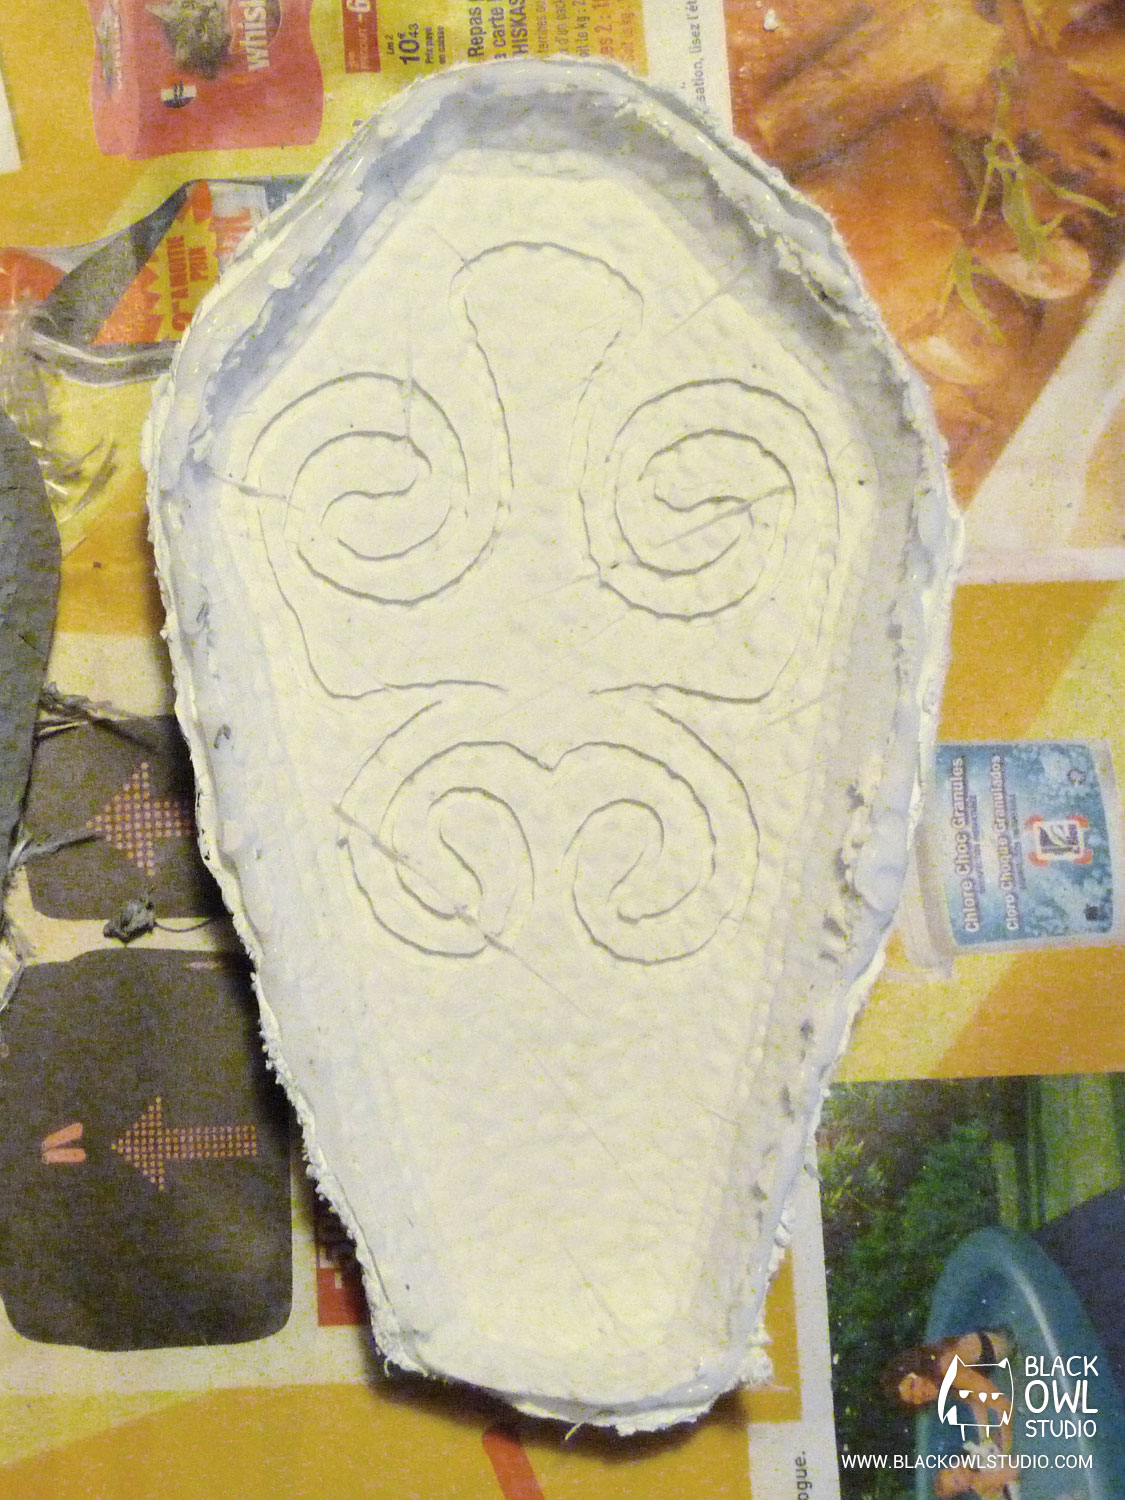
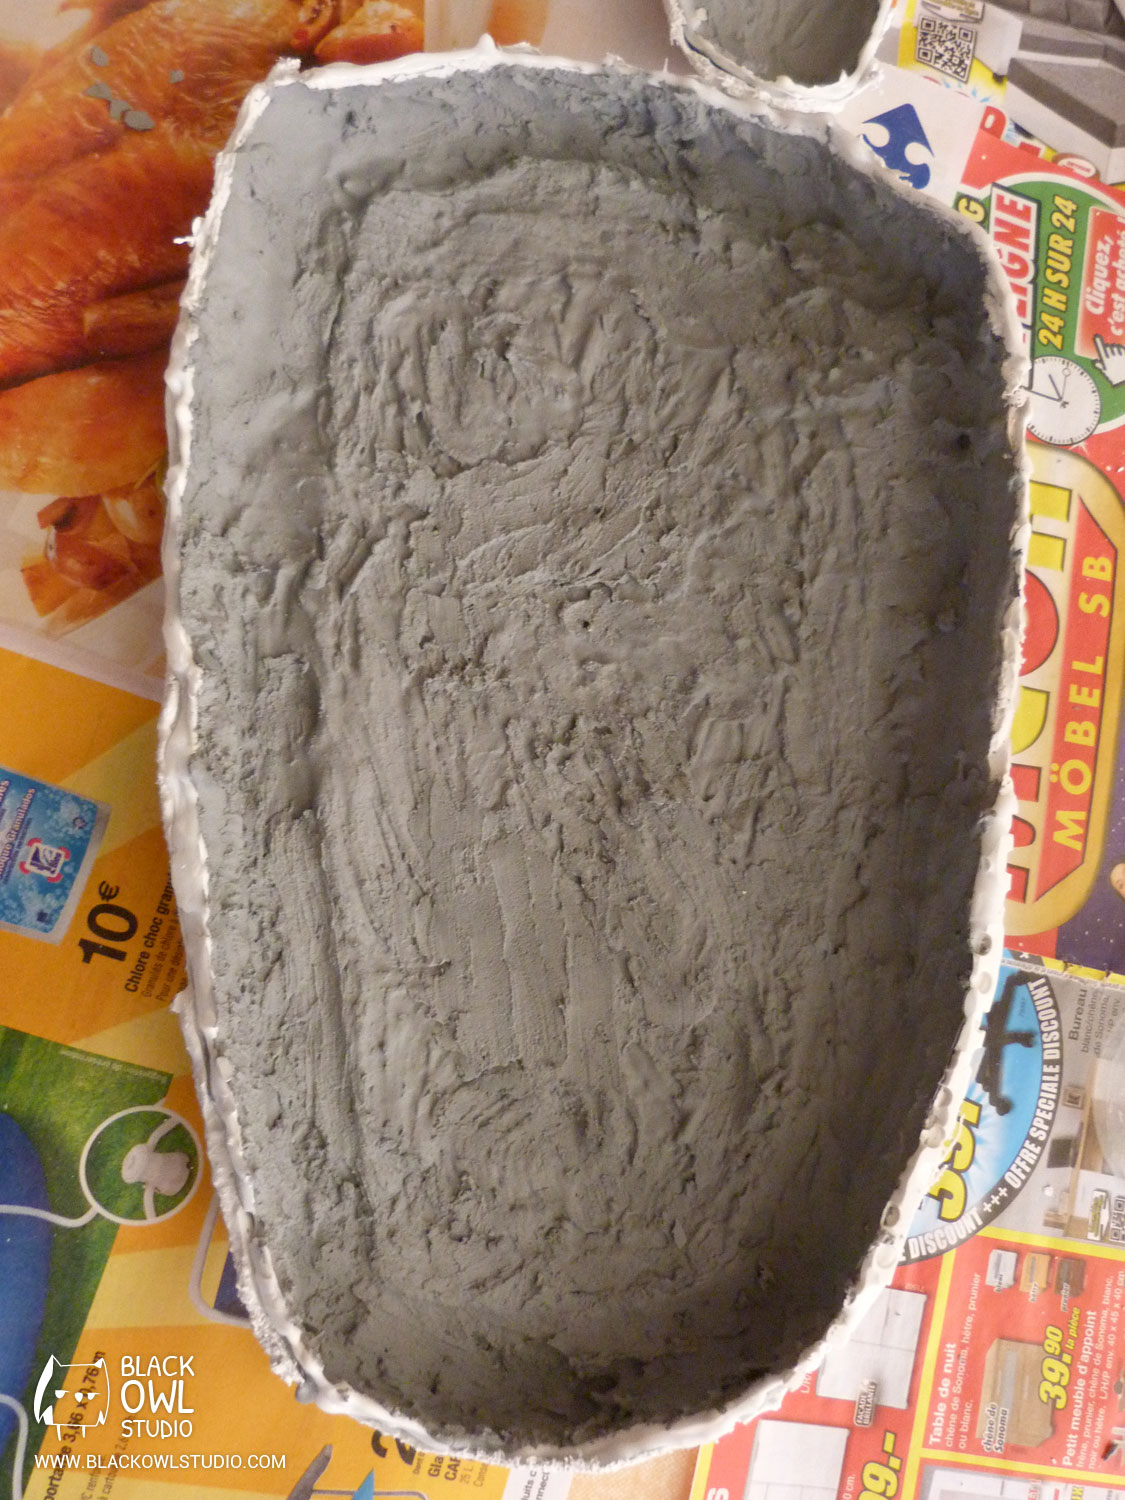
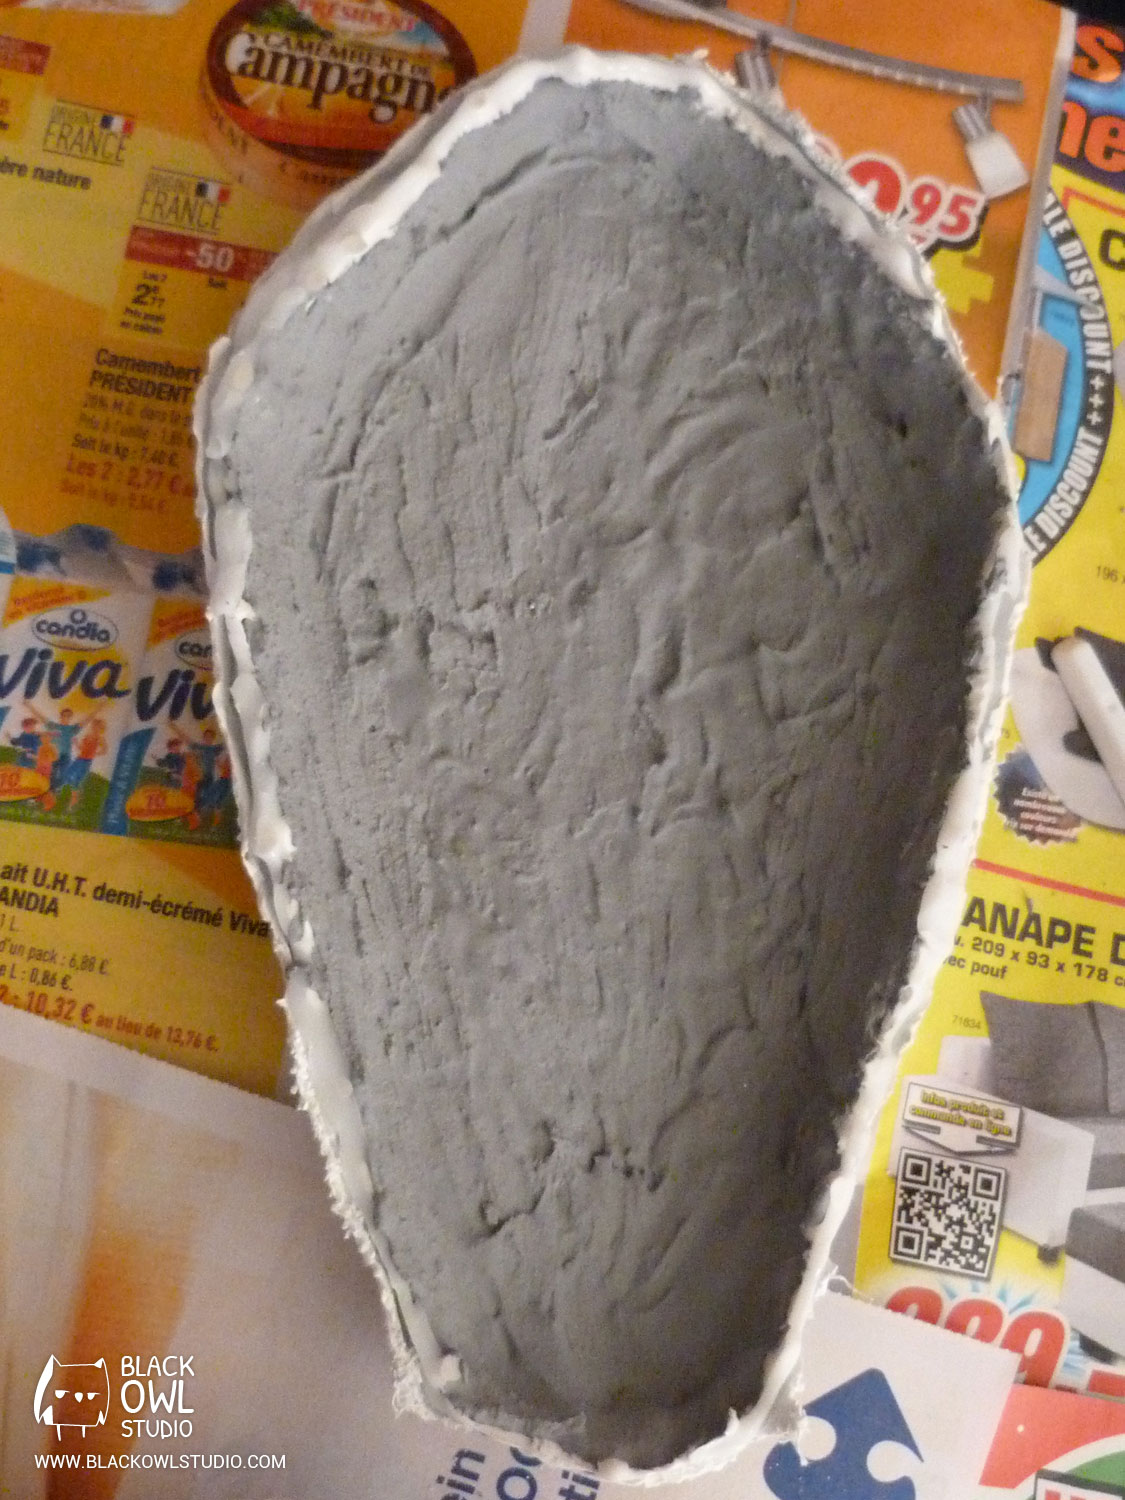
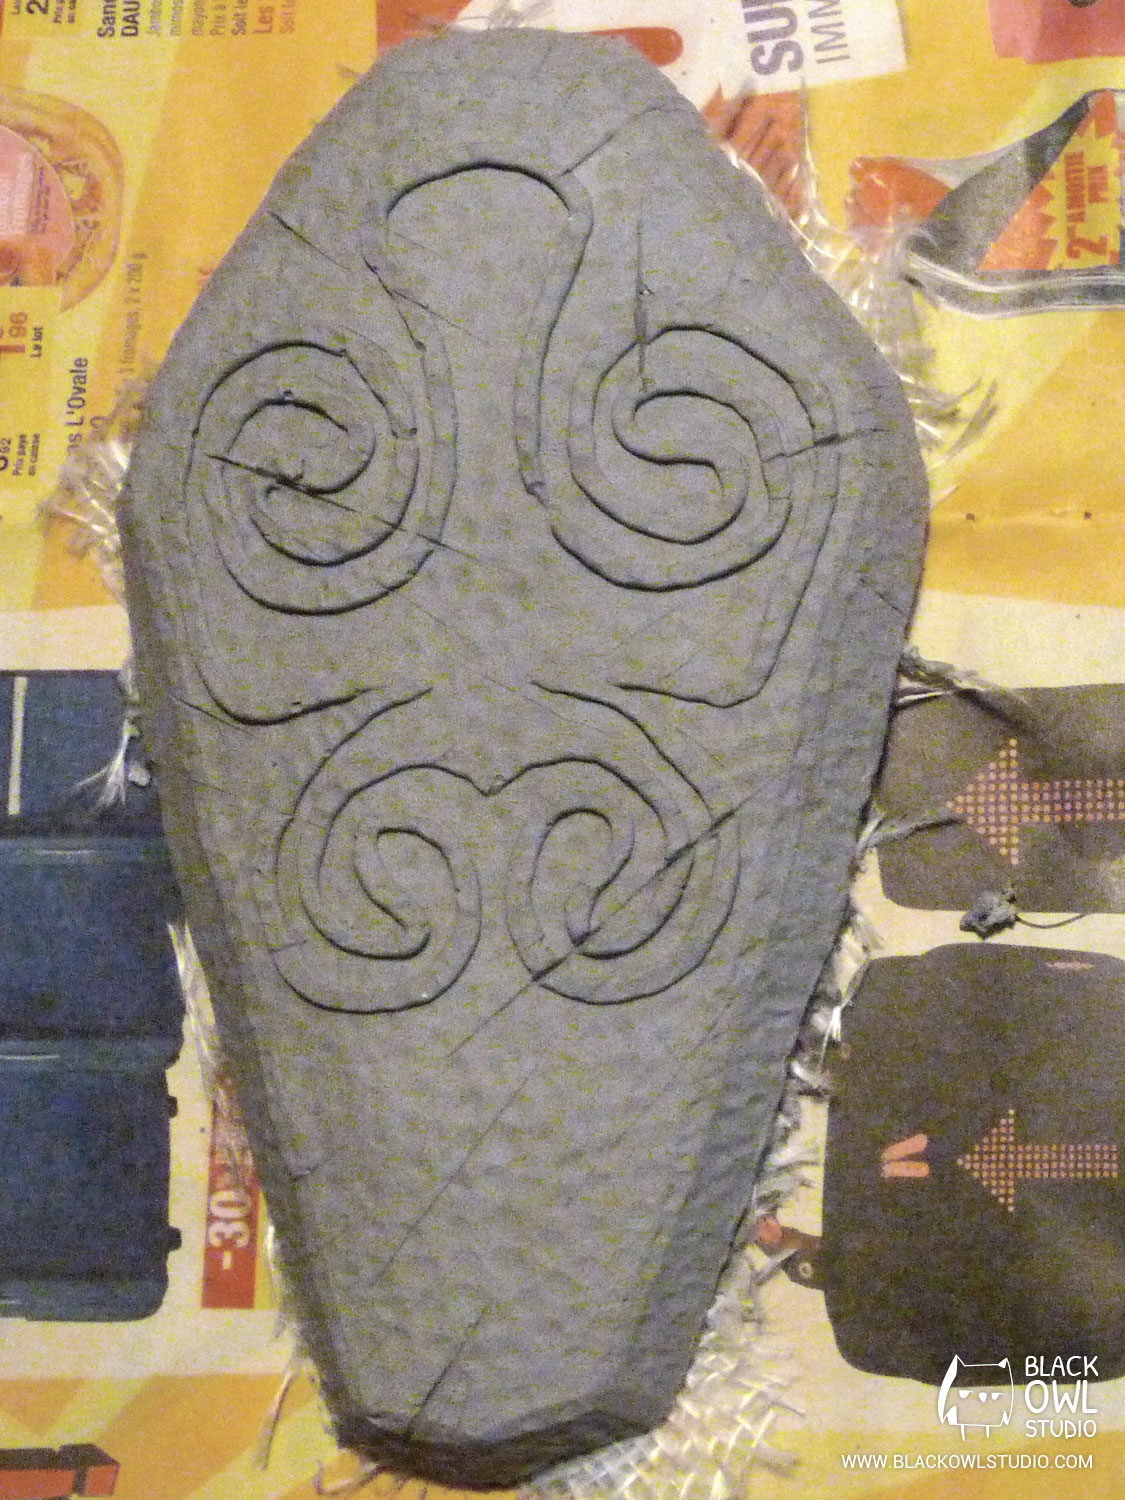
I first created the shapes in Pepakura to get the right proportions. Once it was cut, folded and glued, I strengthened the pieces with resin and fiberglass. Then, I covered them with Plastiline (it is a French brand, you can also use Monster clay), and sculpted their final look.


Once the piece is sculpted, we apply some silicone on it, wait until it dries, add more silicone, wait until it dries, then add more silicone again…

…Until we get a mold!
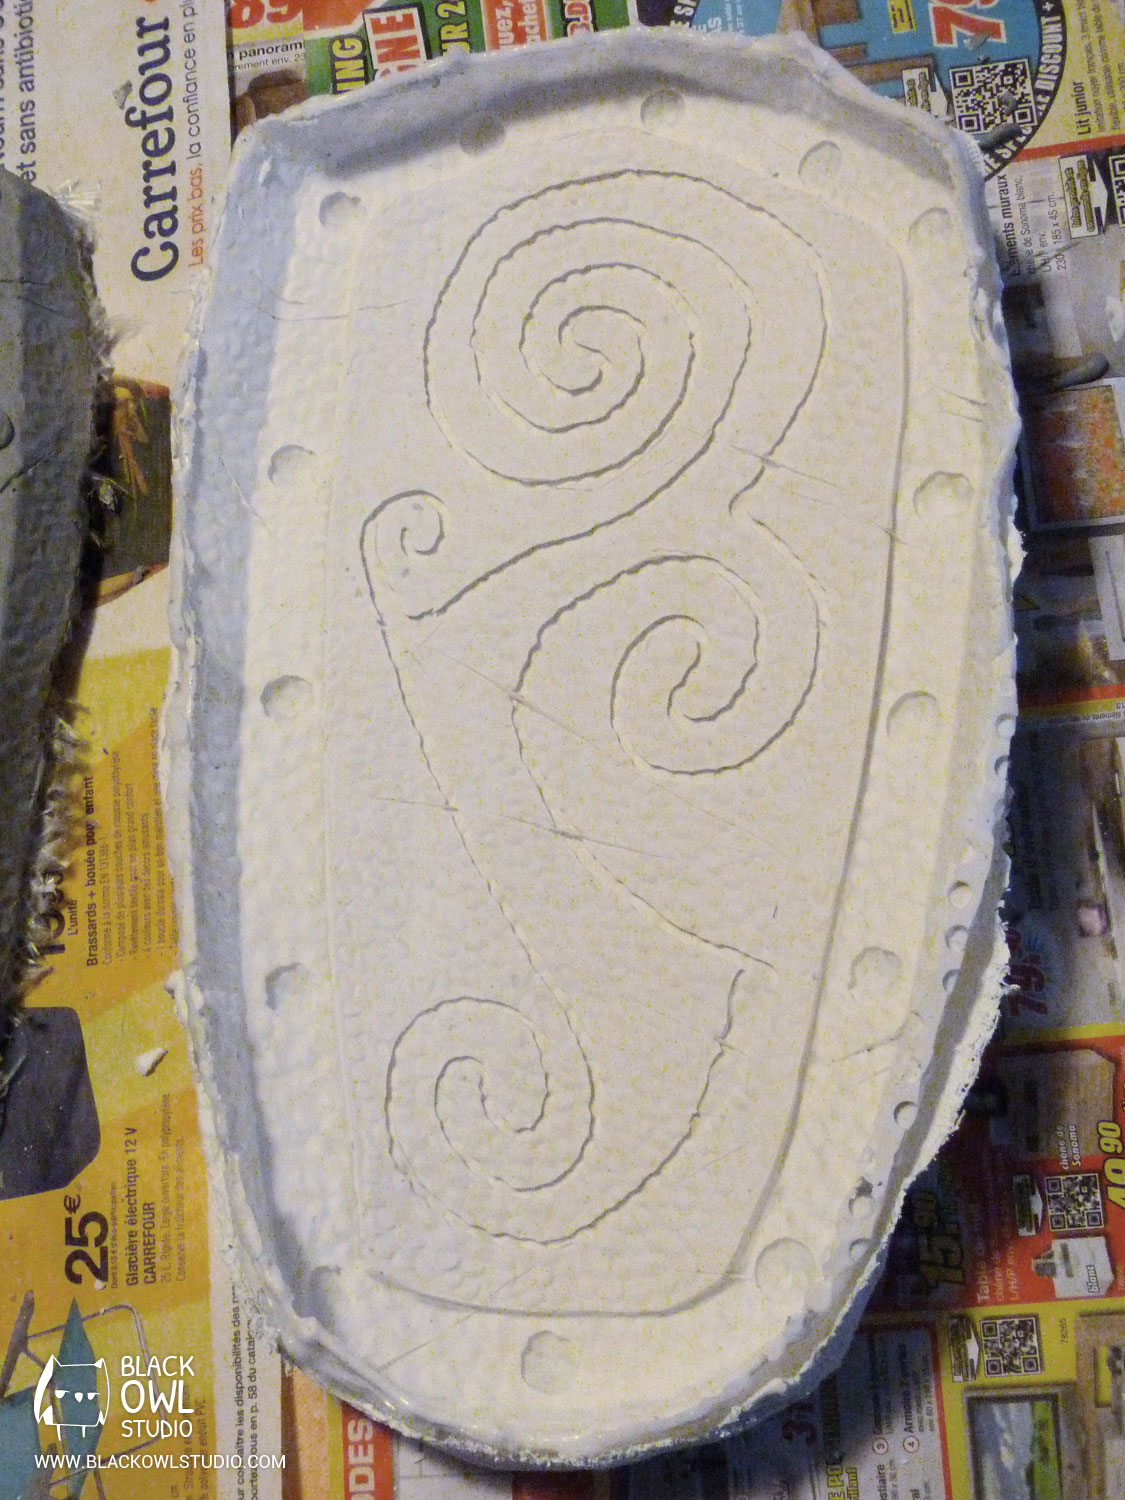
NB: To save silicone, you can add a thixotropic agent. It prevents silicone from dripping everywhere while applying it vertically (this can be very practical).
Then we make a support mold in resin + fiberglass or plaster bands, so the mold keeps its shape while we make resin casts.
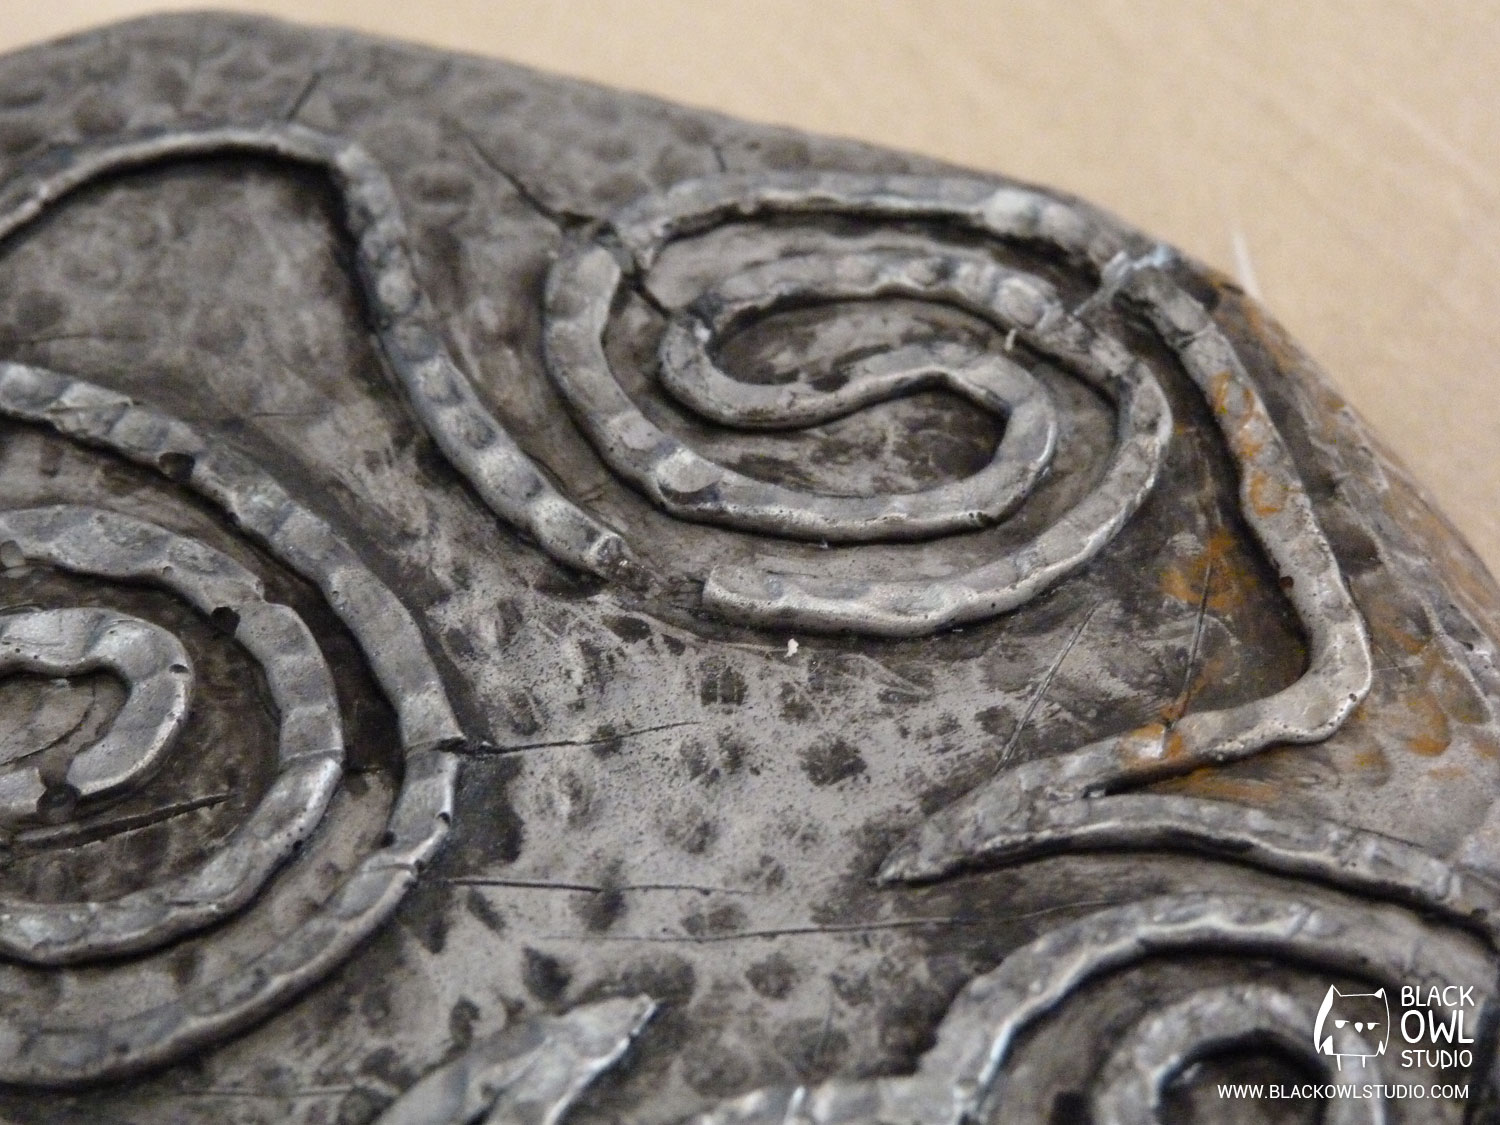
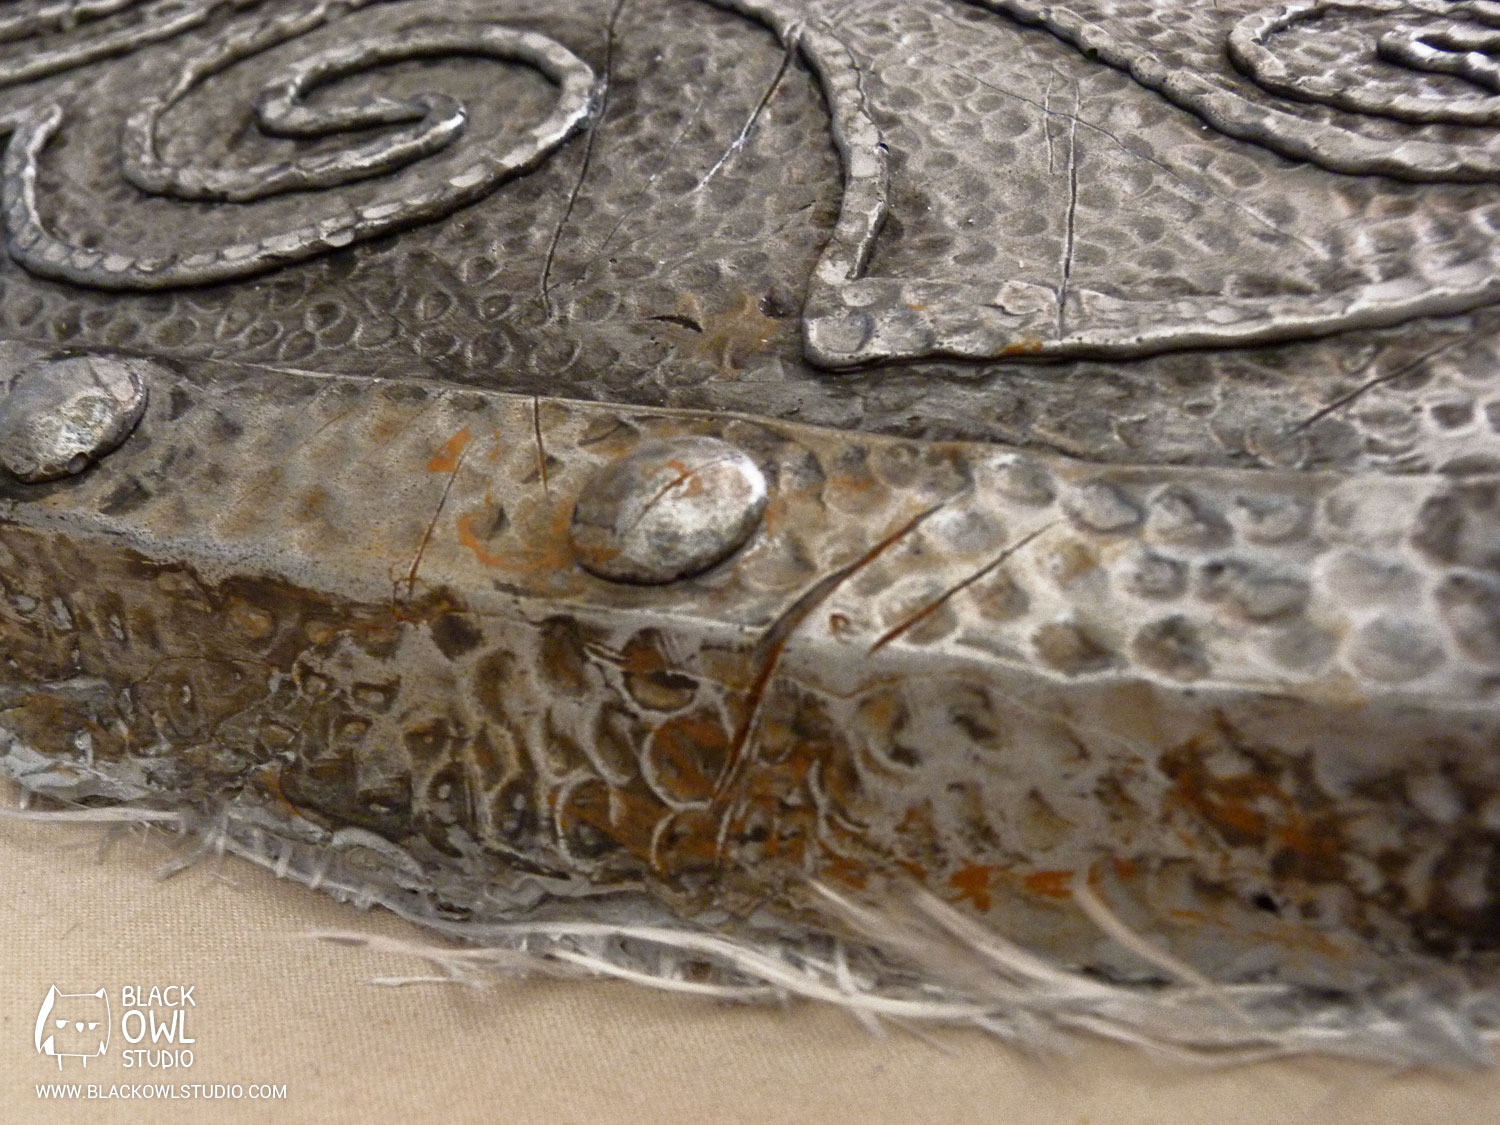
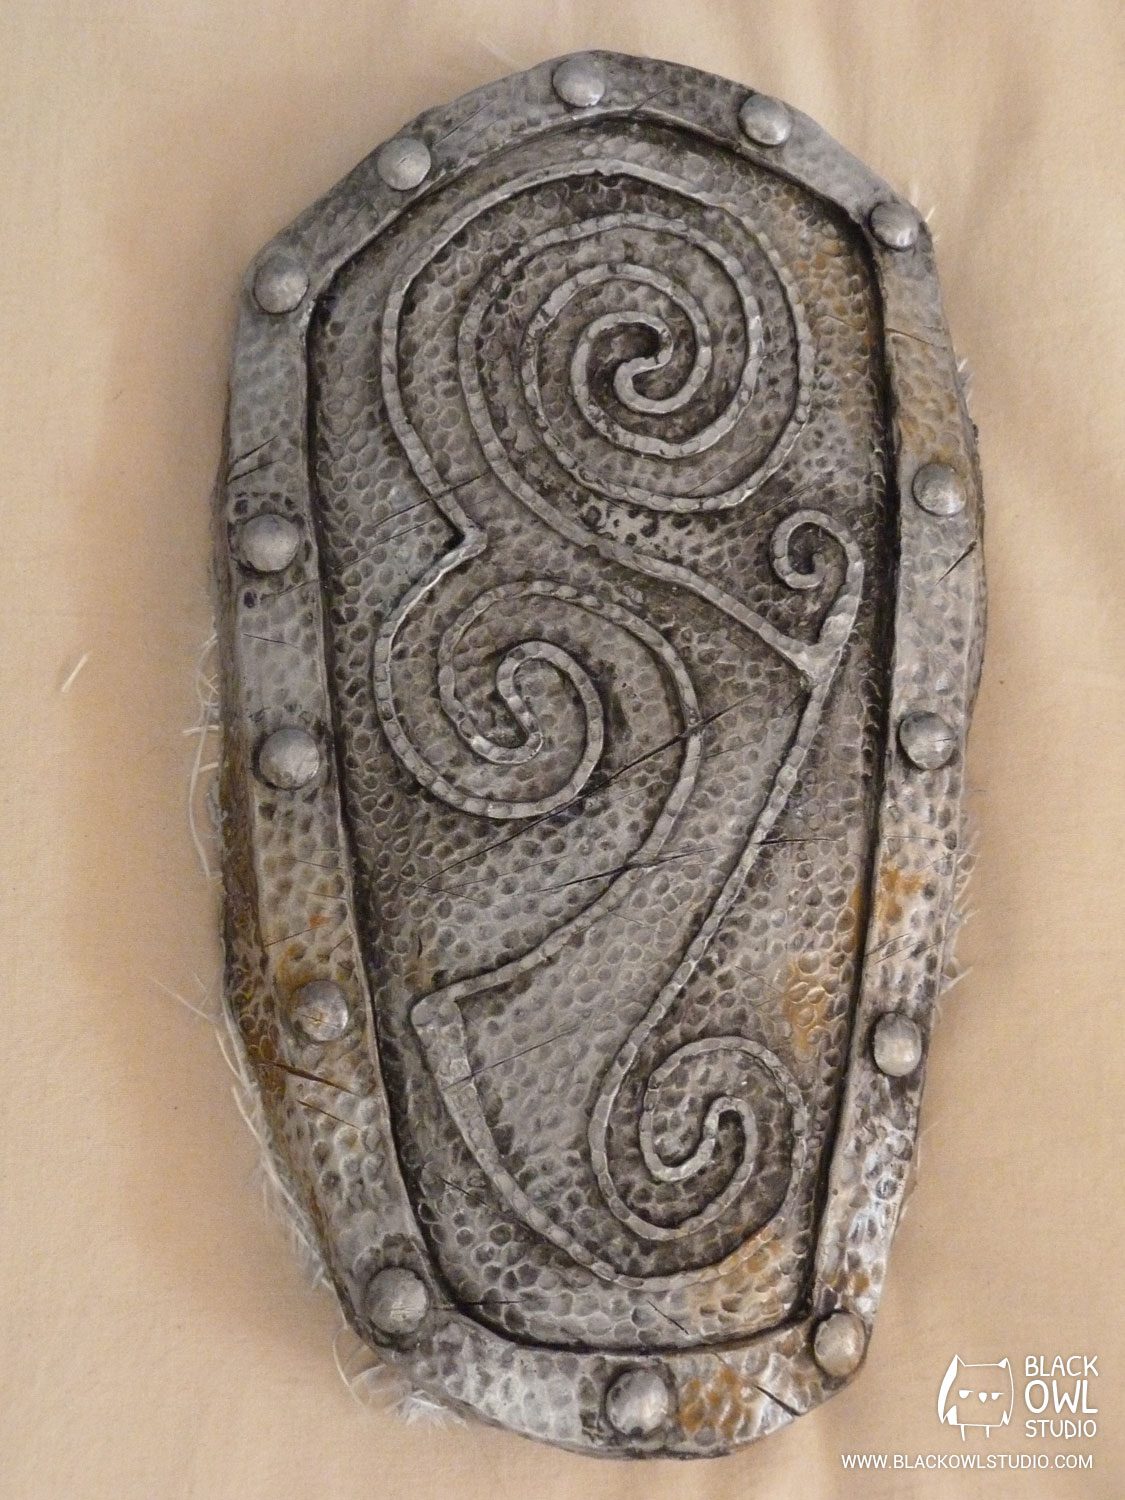
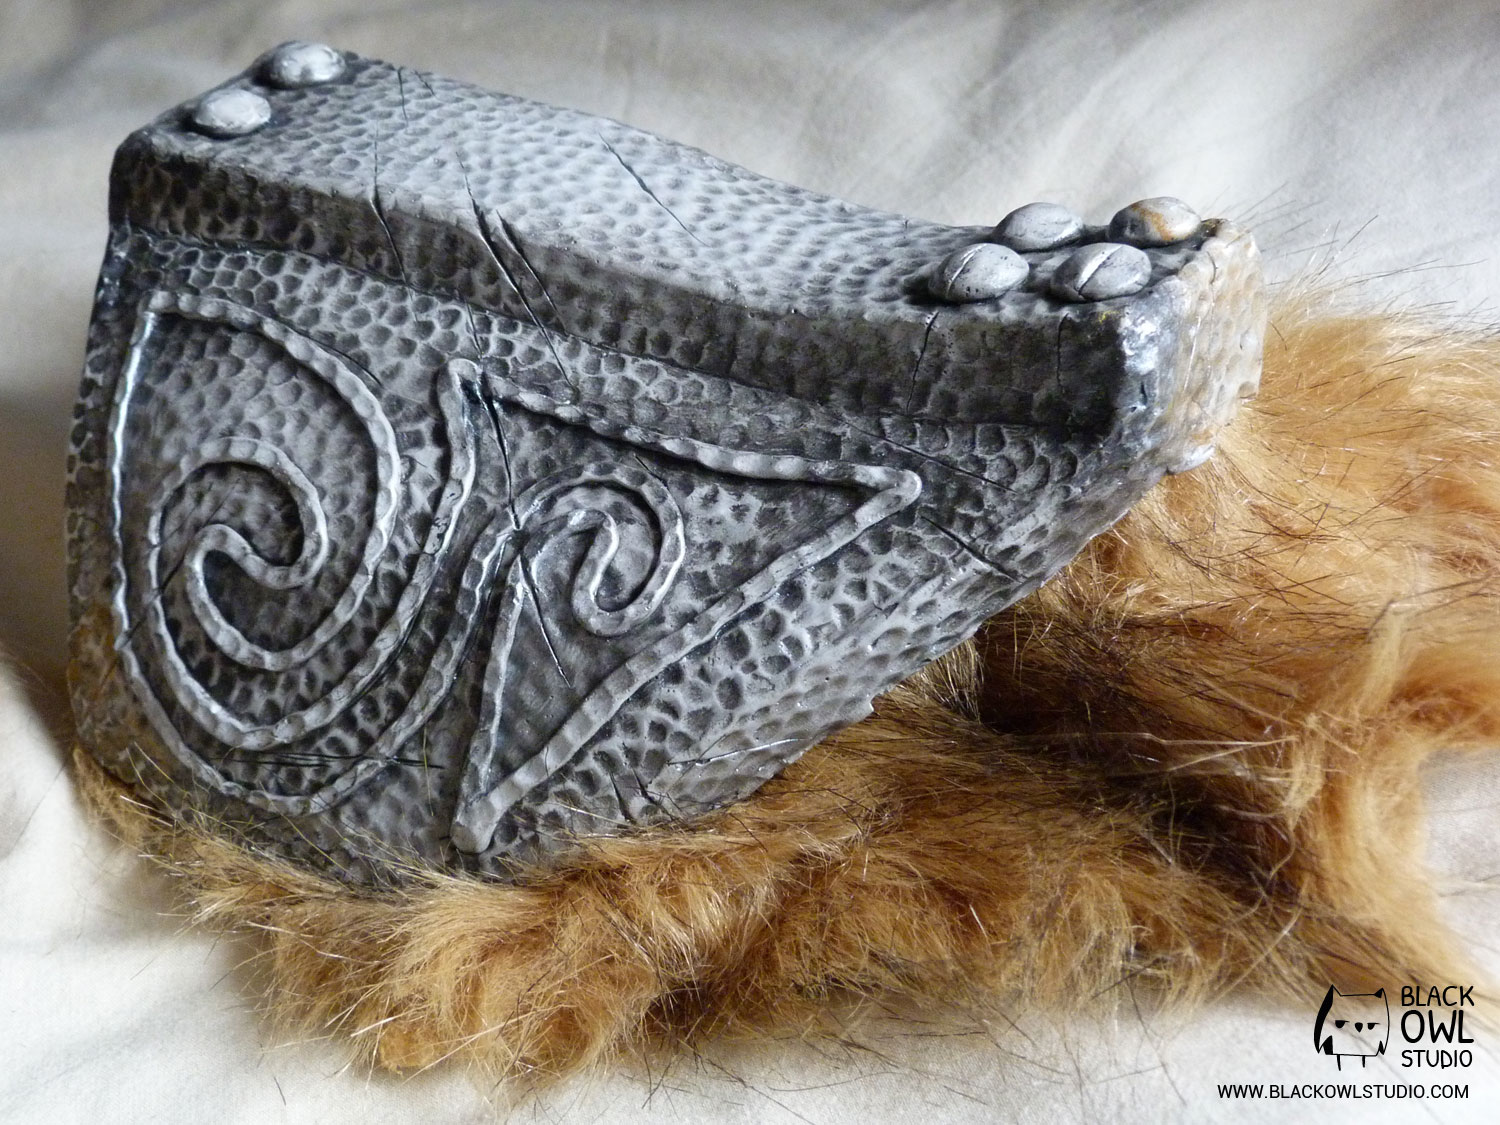
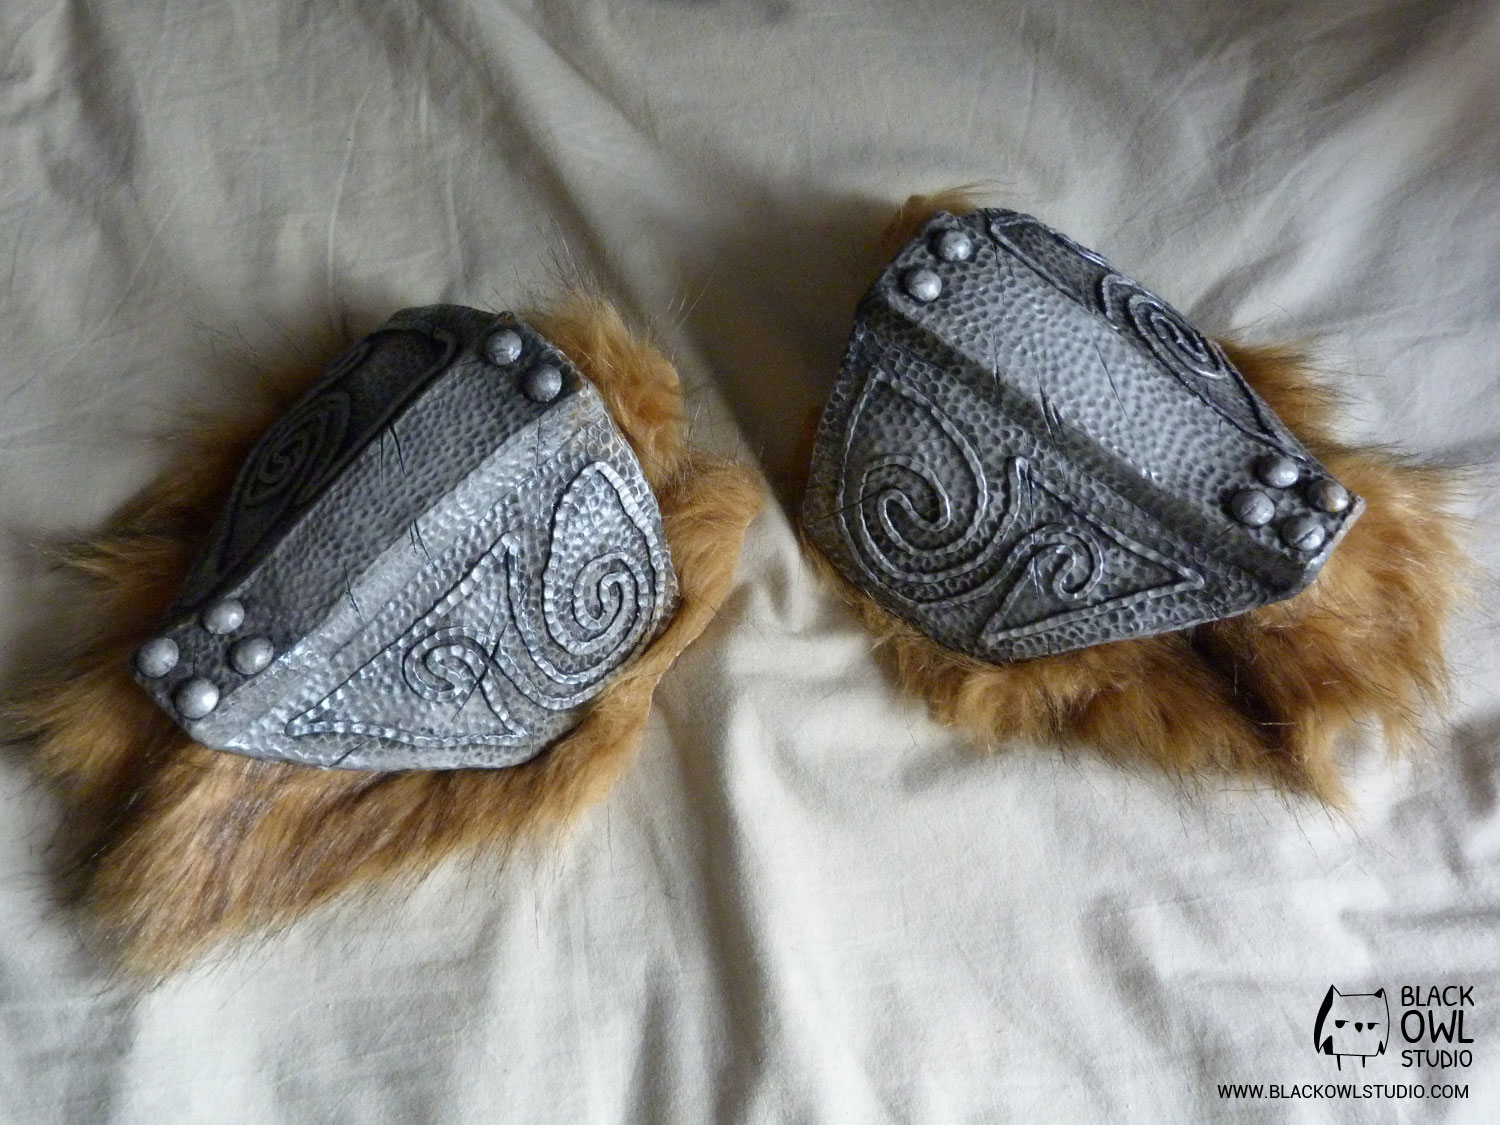
The molds are ready! For the armor parts, we chose to add aluminum powder in the resin to give them a metallic aspect (better know as “cold cast”). This aluminium filler thickens resin (it’s called a gel coat). Gel coat allows (like the thixo agent before with silicone) applying resin vertically. Be careful if your piece has details; use a small brush to apply the first gel coat layer.

Once the resin is dry, we unmold the pieces and polish them with steel wool (not sand paper!).
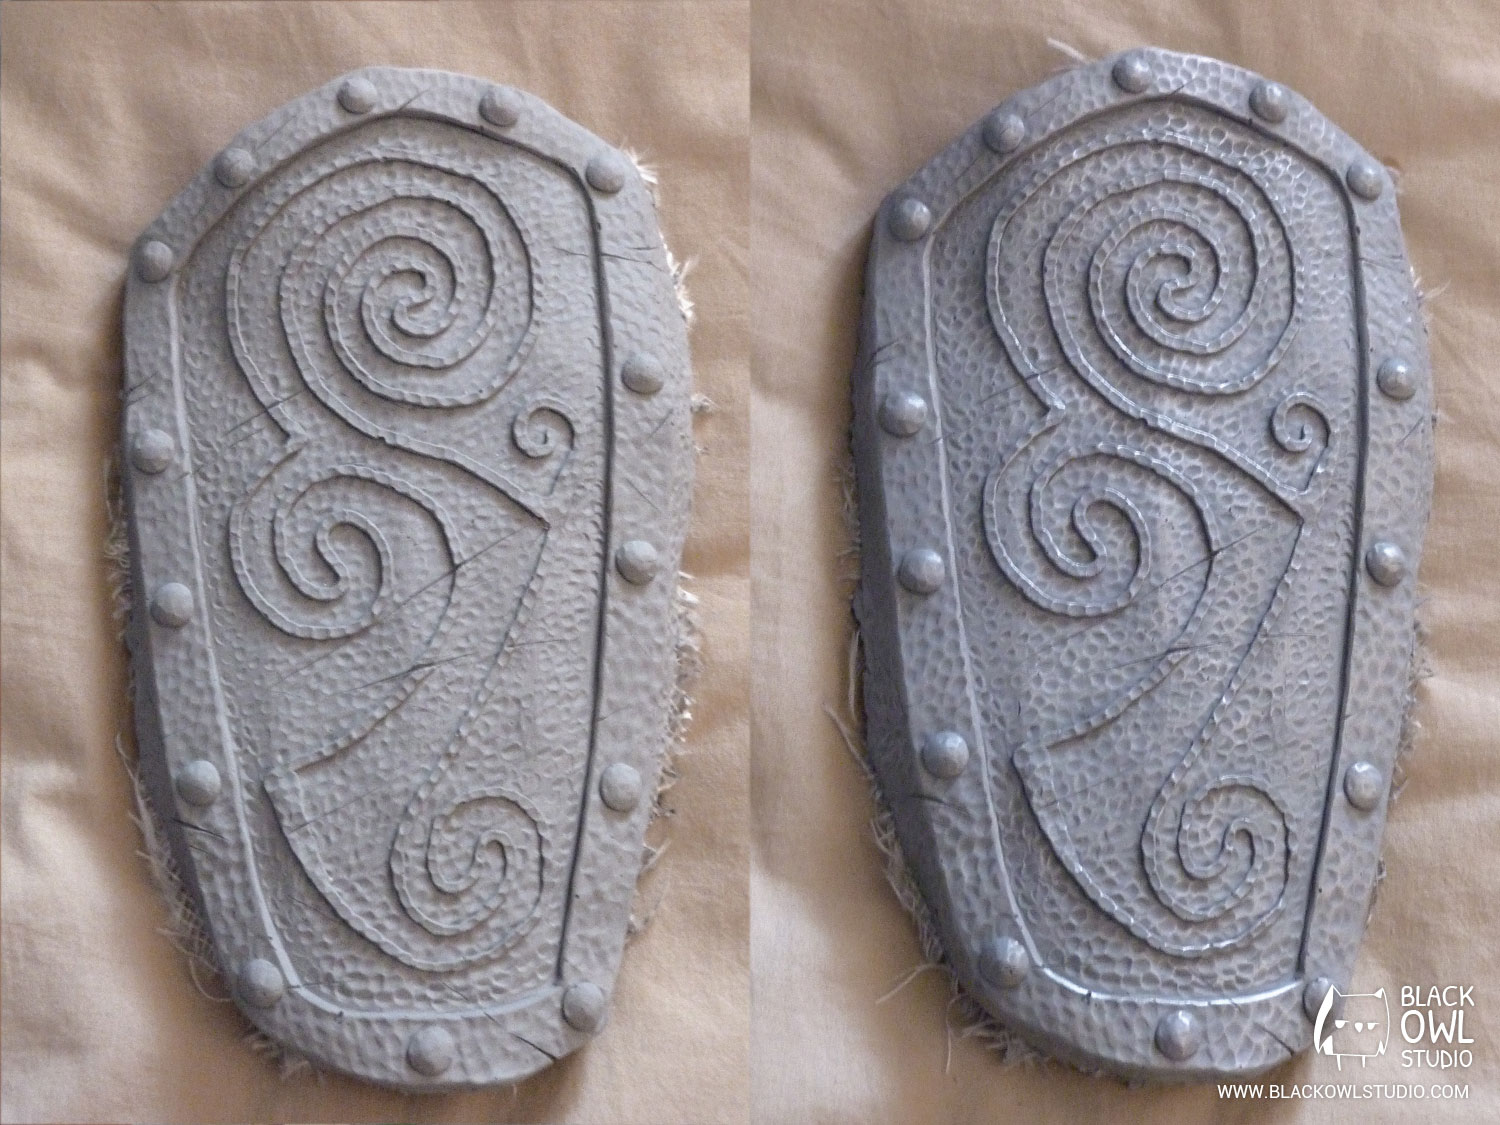


Tadaaa! It gives us a Metal look!
… Well, almost.
With a bit of painting to imitate rust and wear (it’s old iron after all), it’s far better!
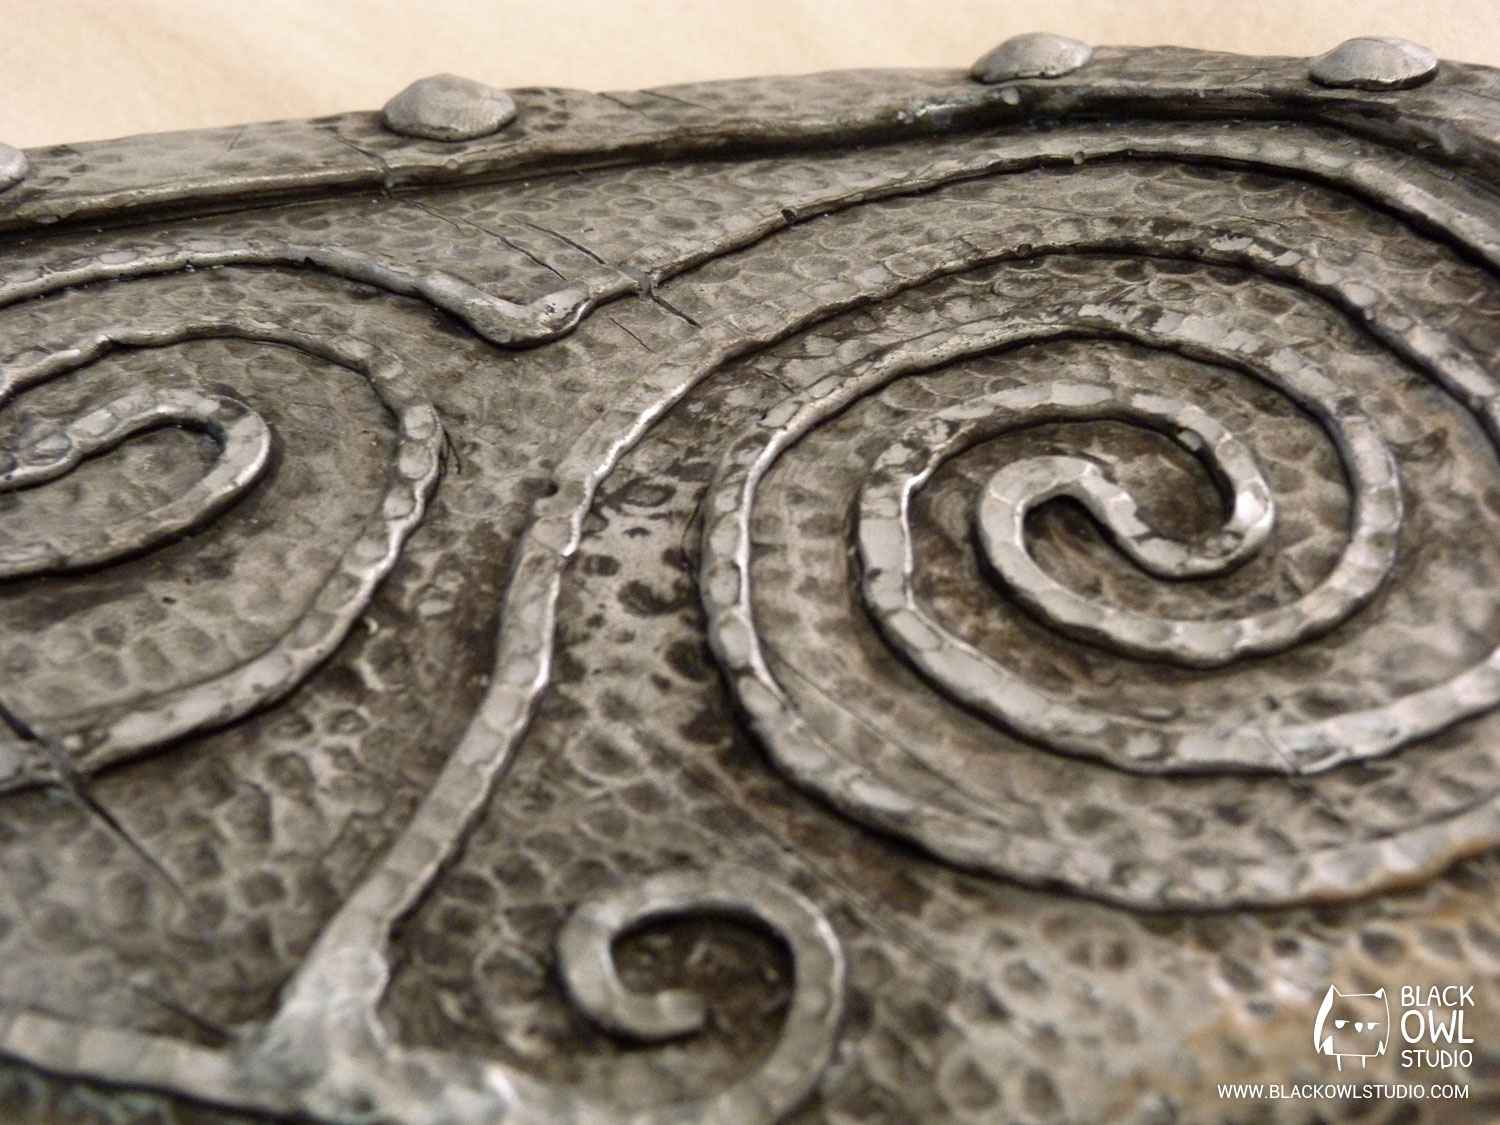

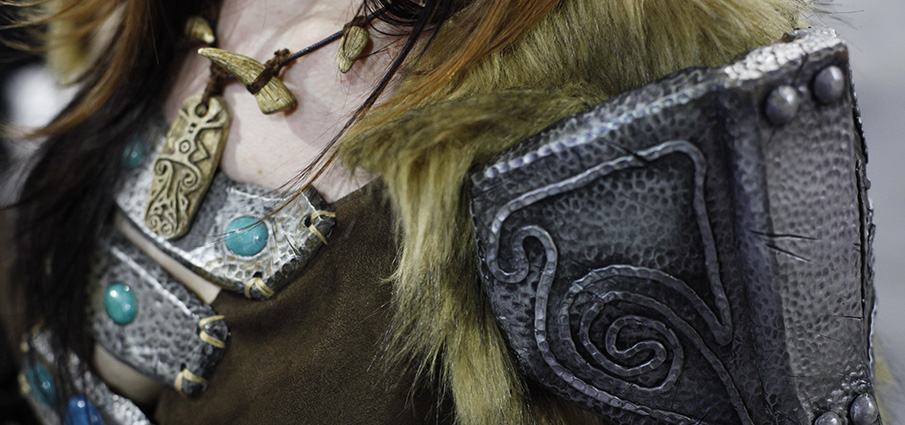
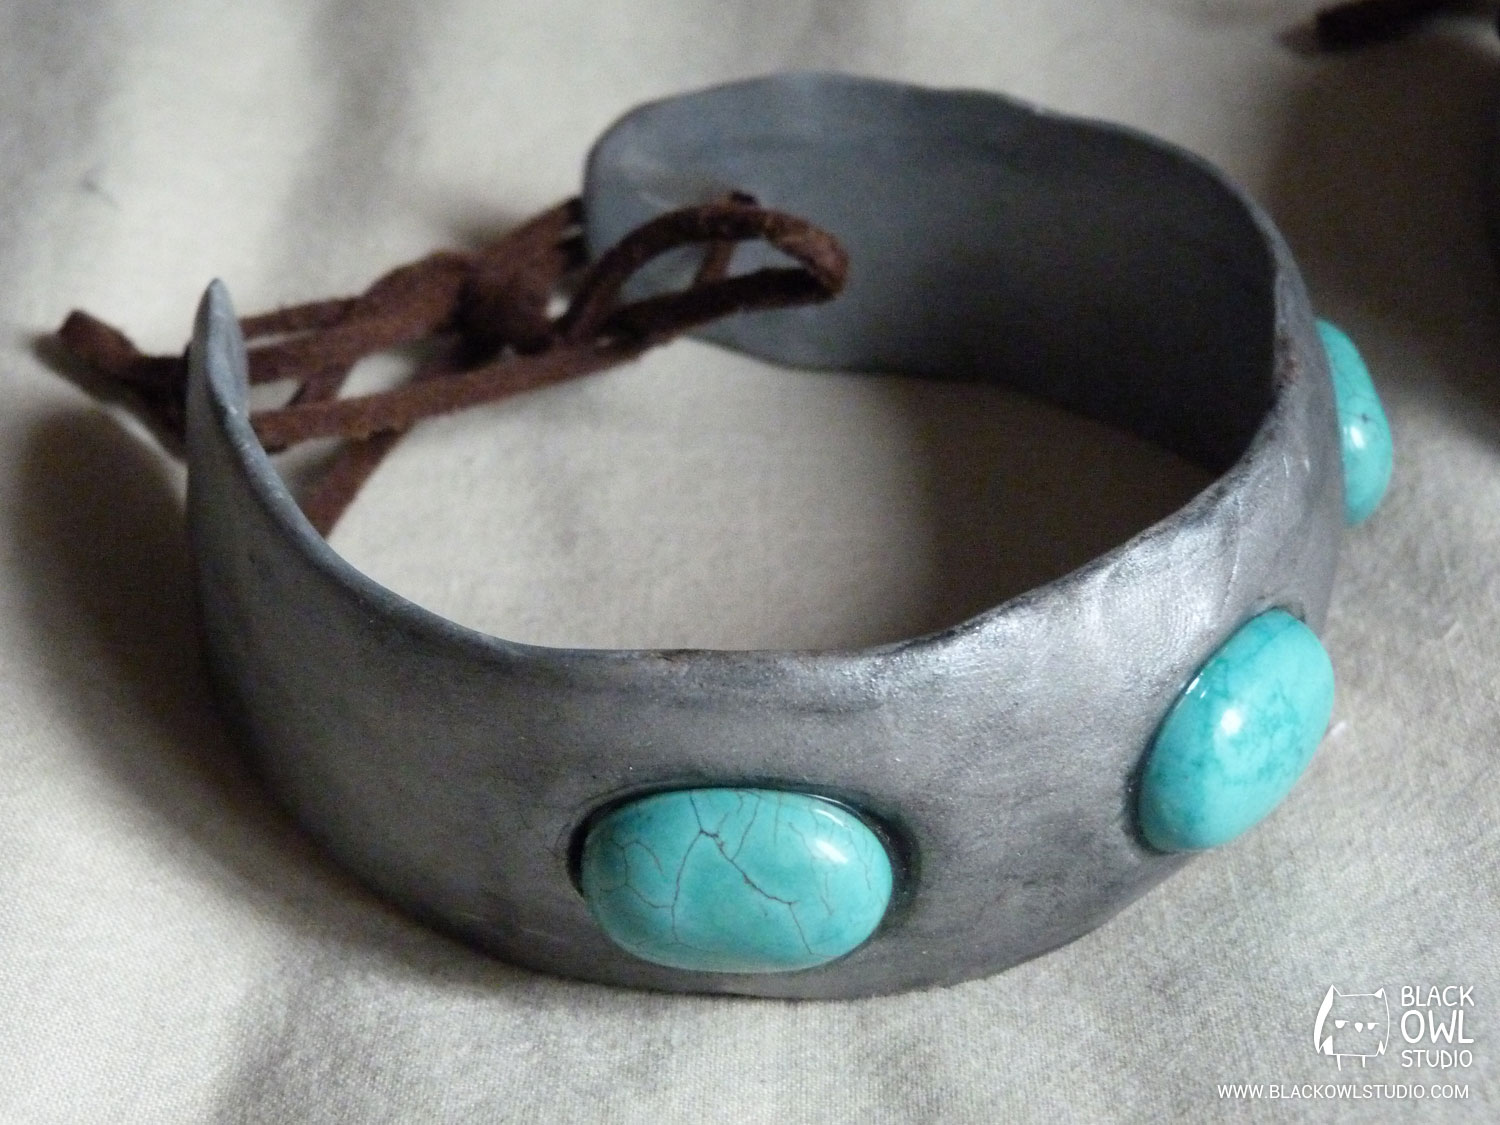
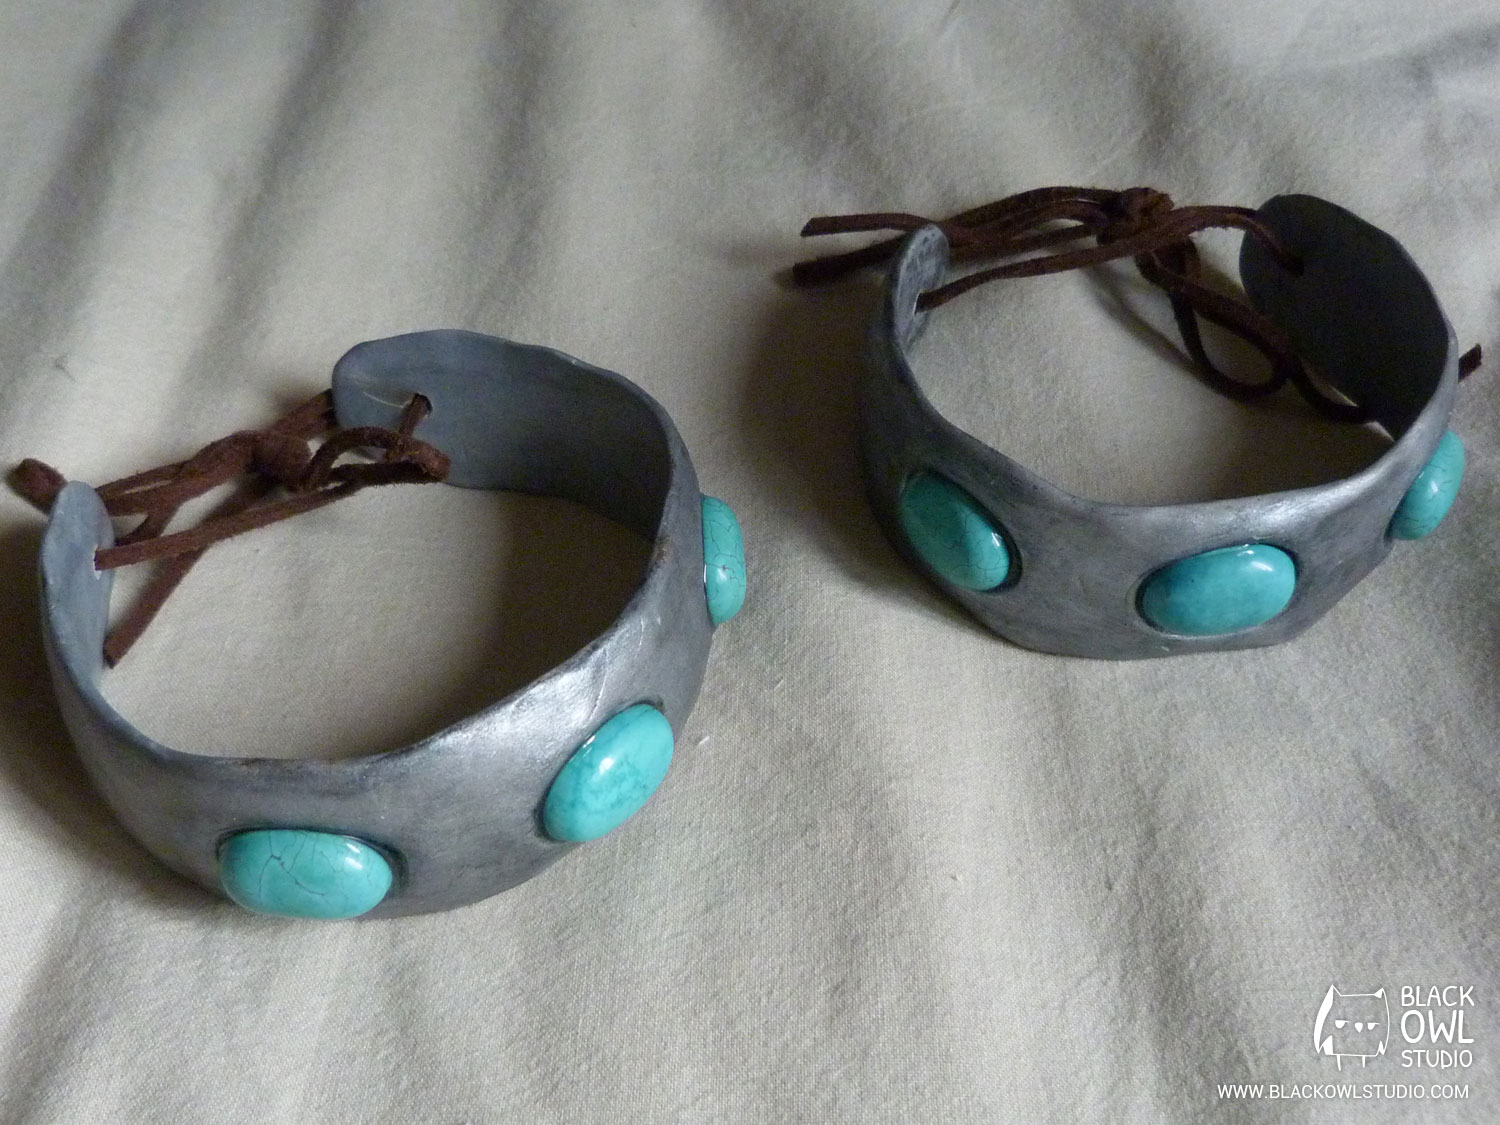
Collars are embedded with natural turquoise stones (except the big blue one which is synthetic).
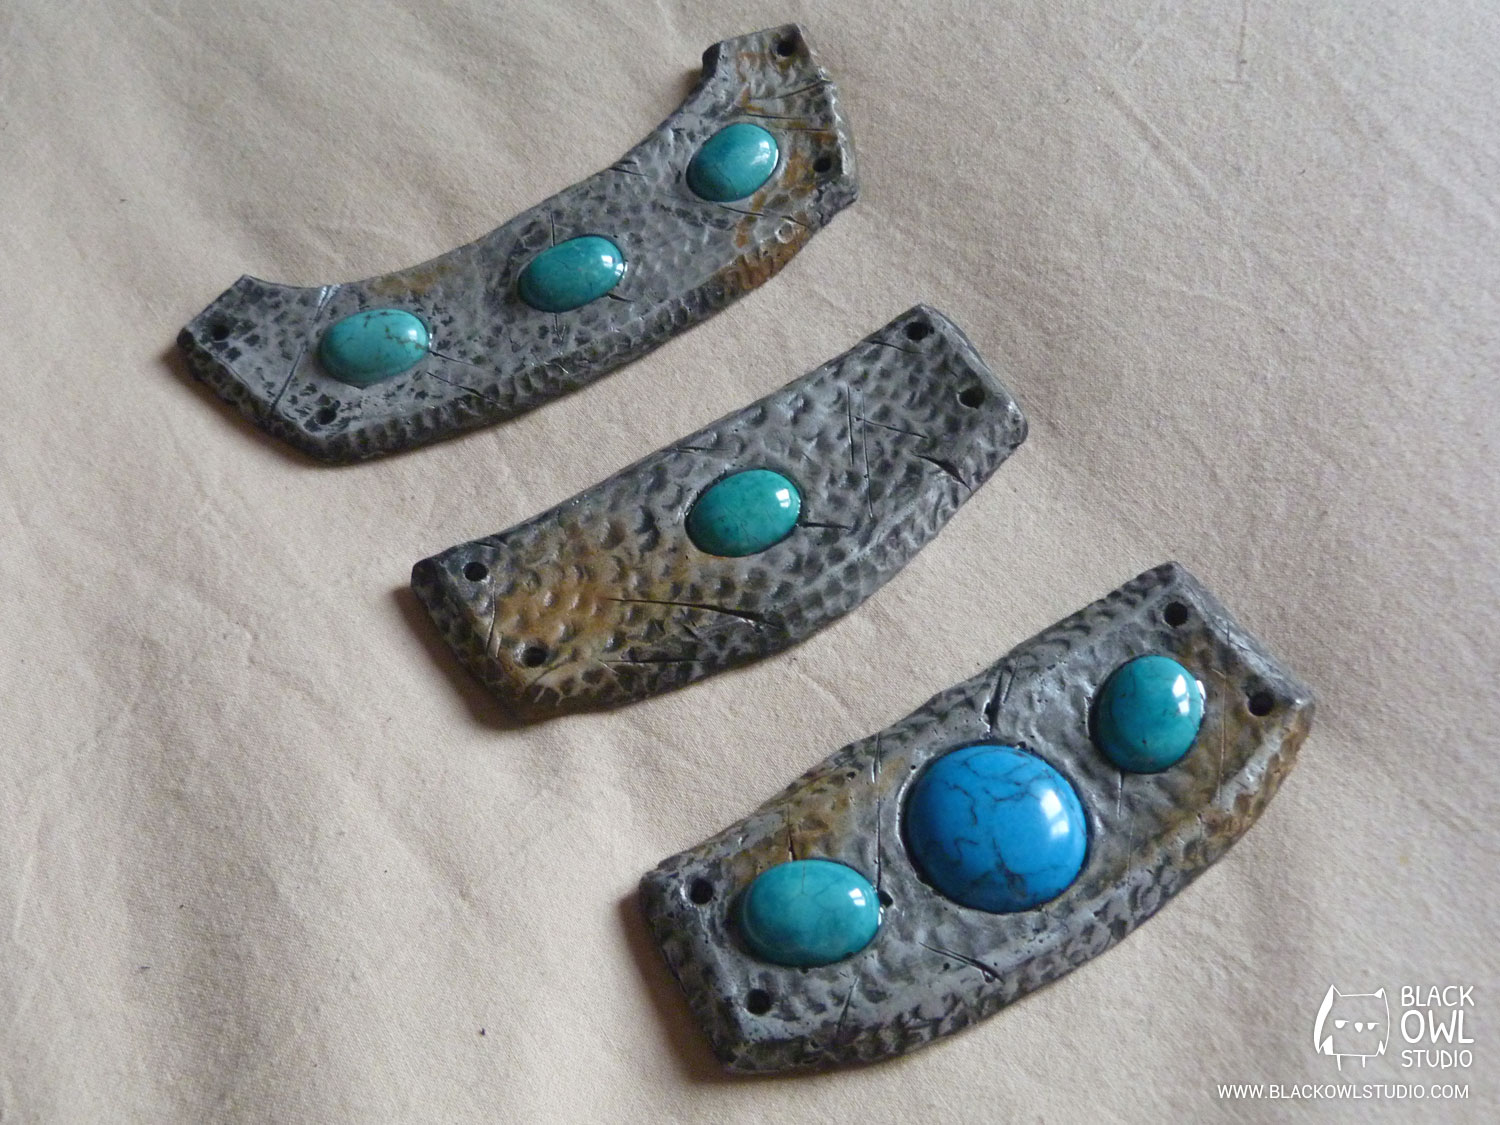
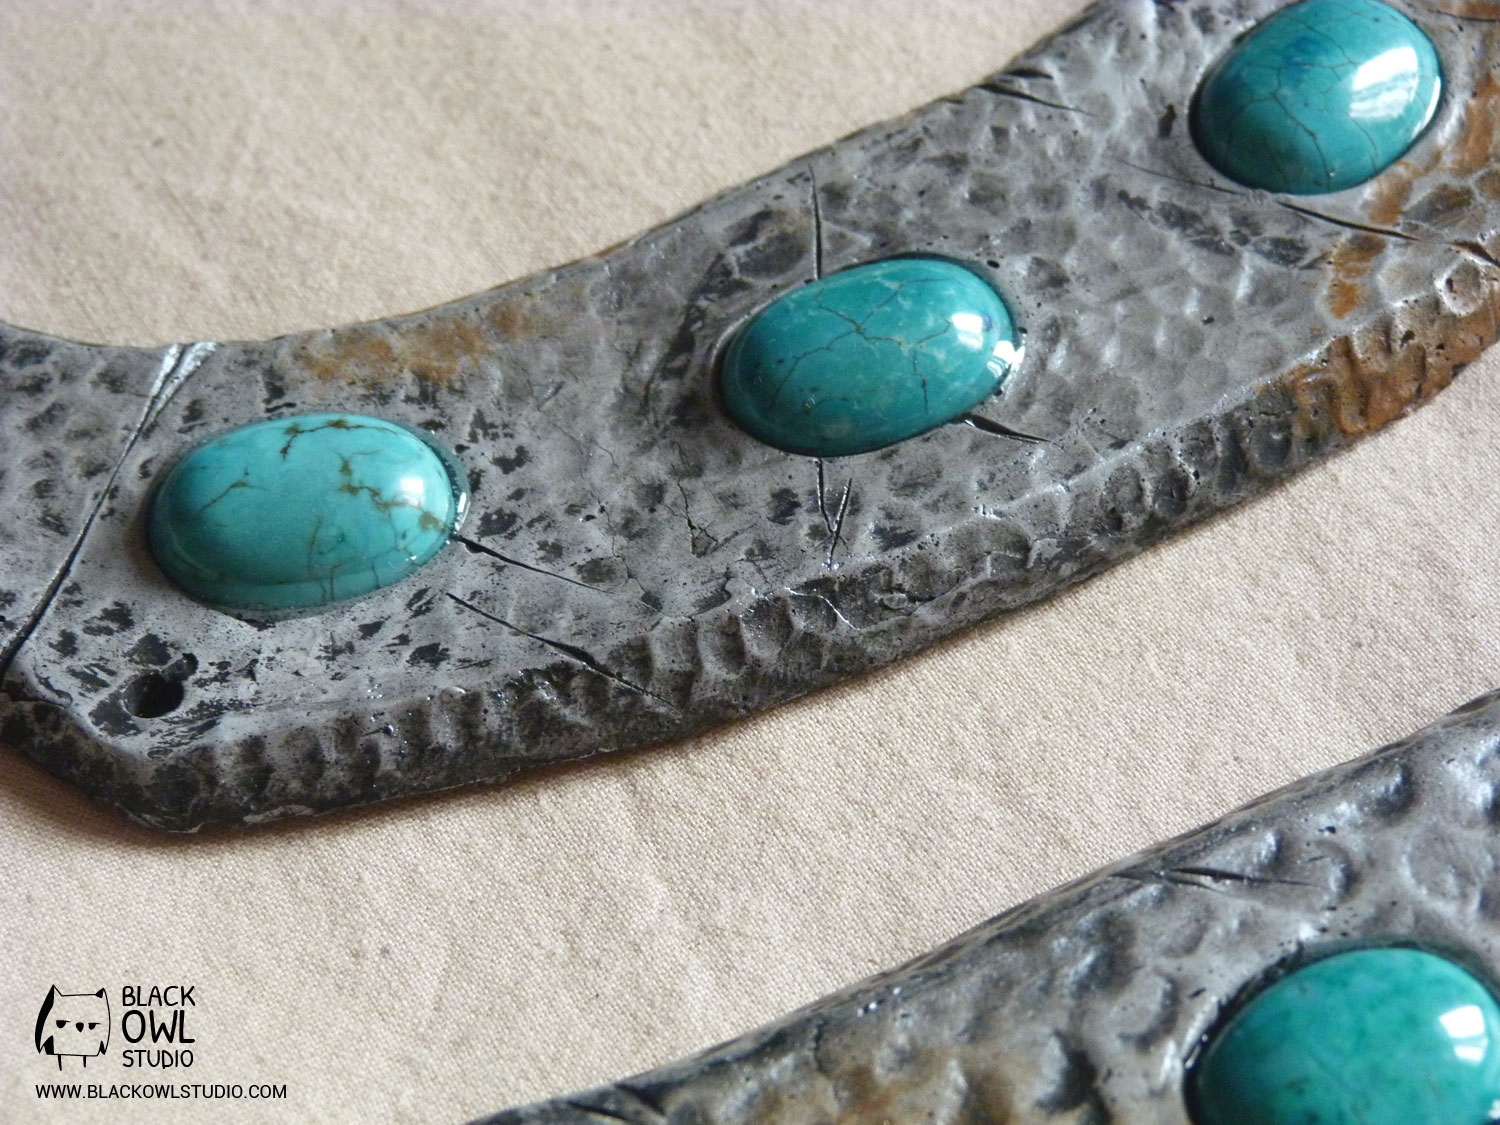
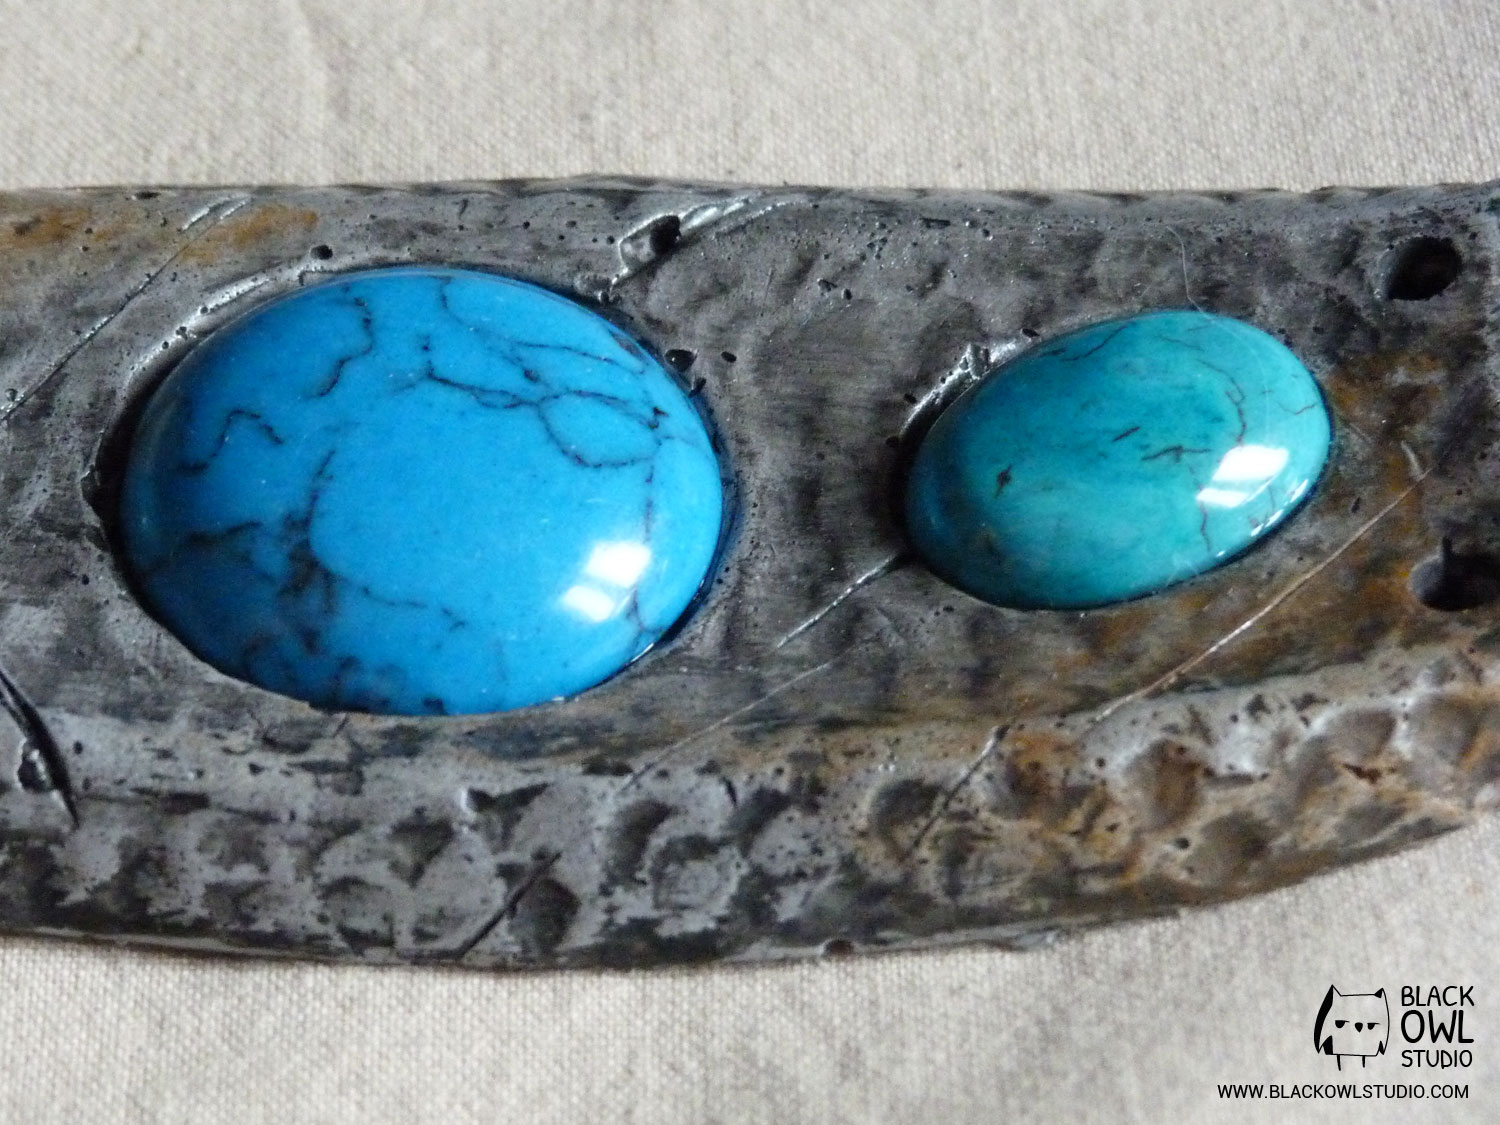
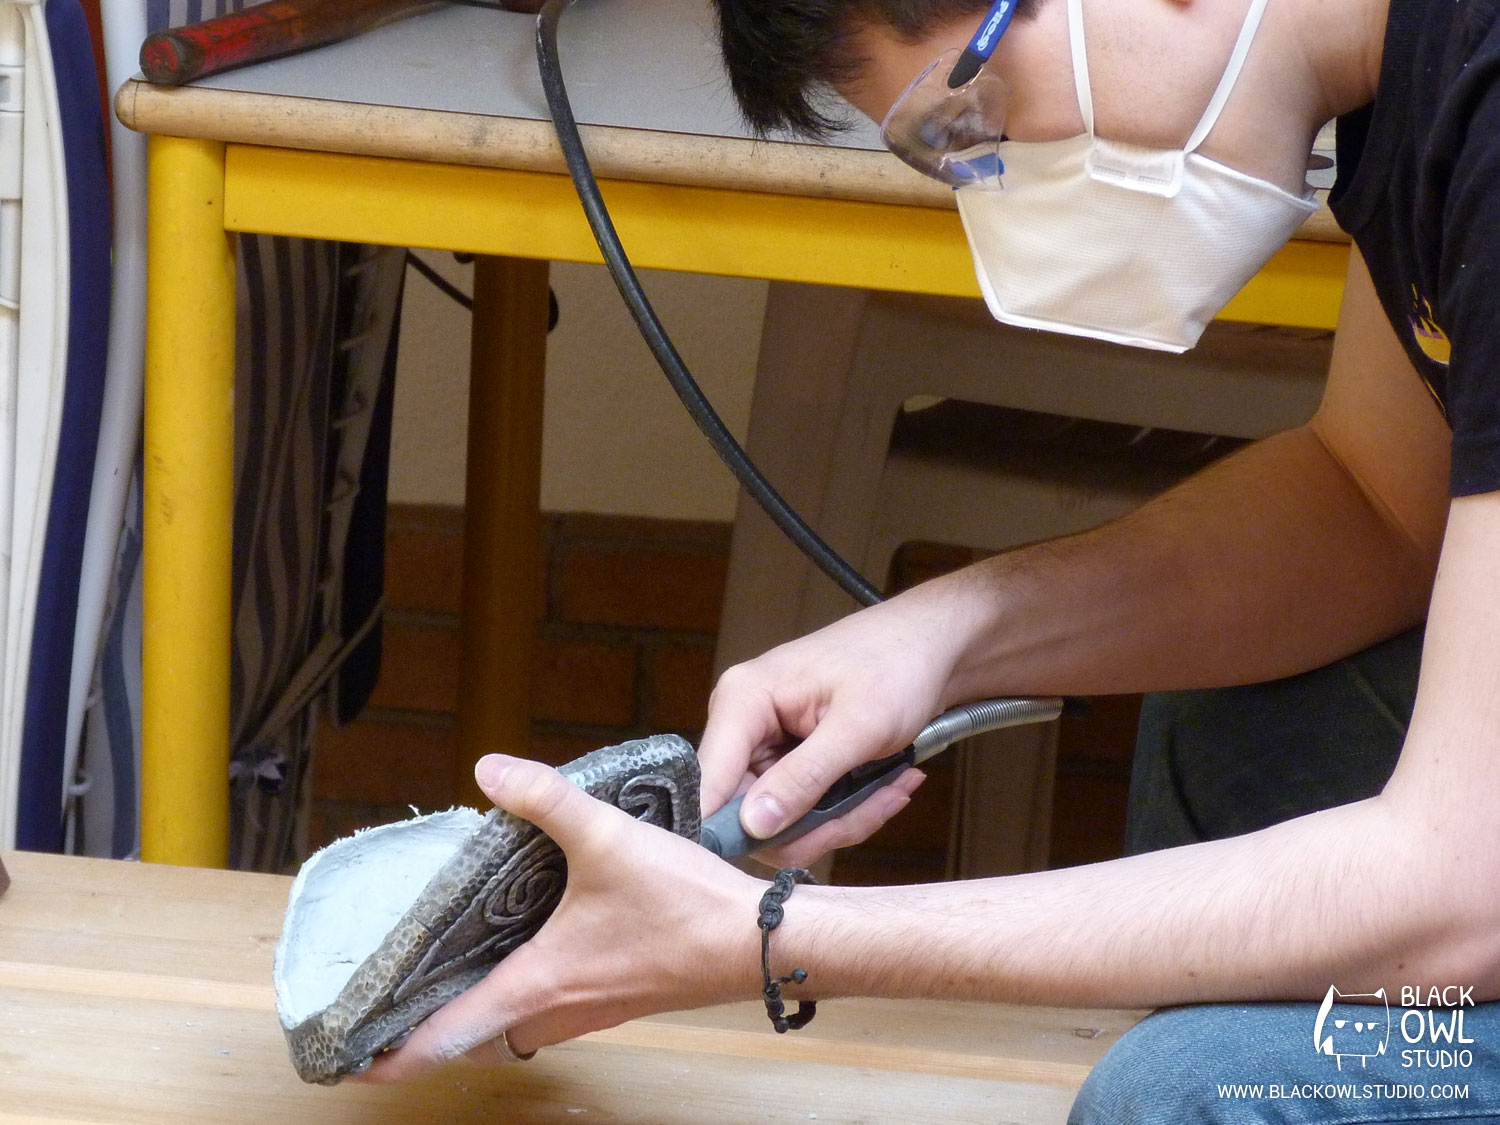
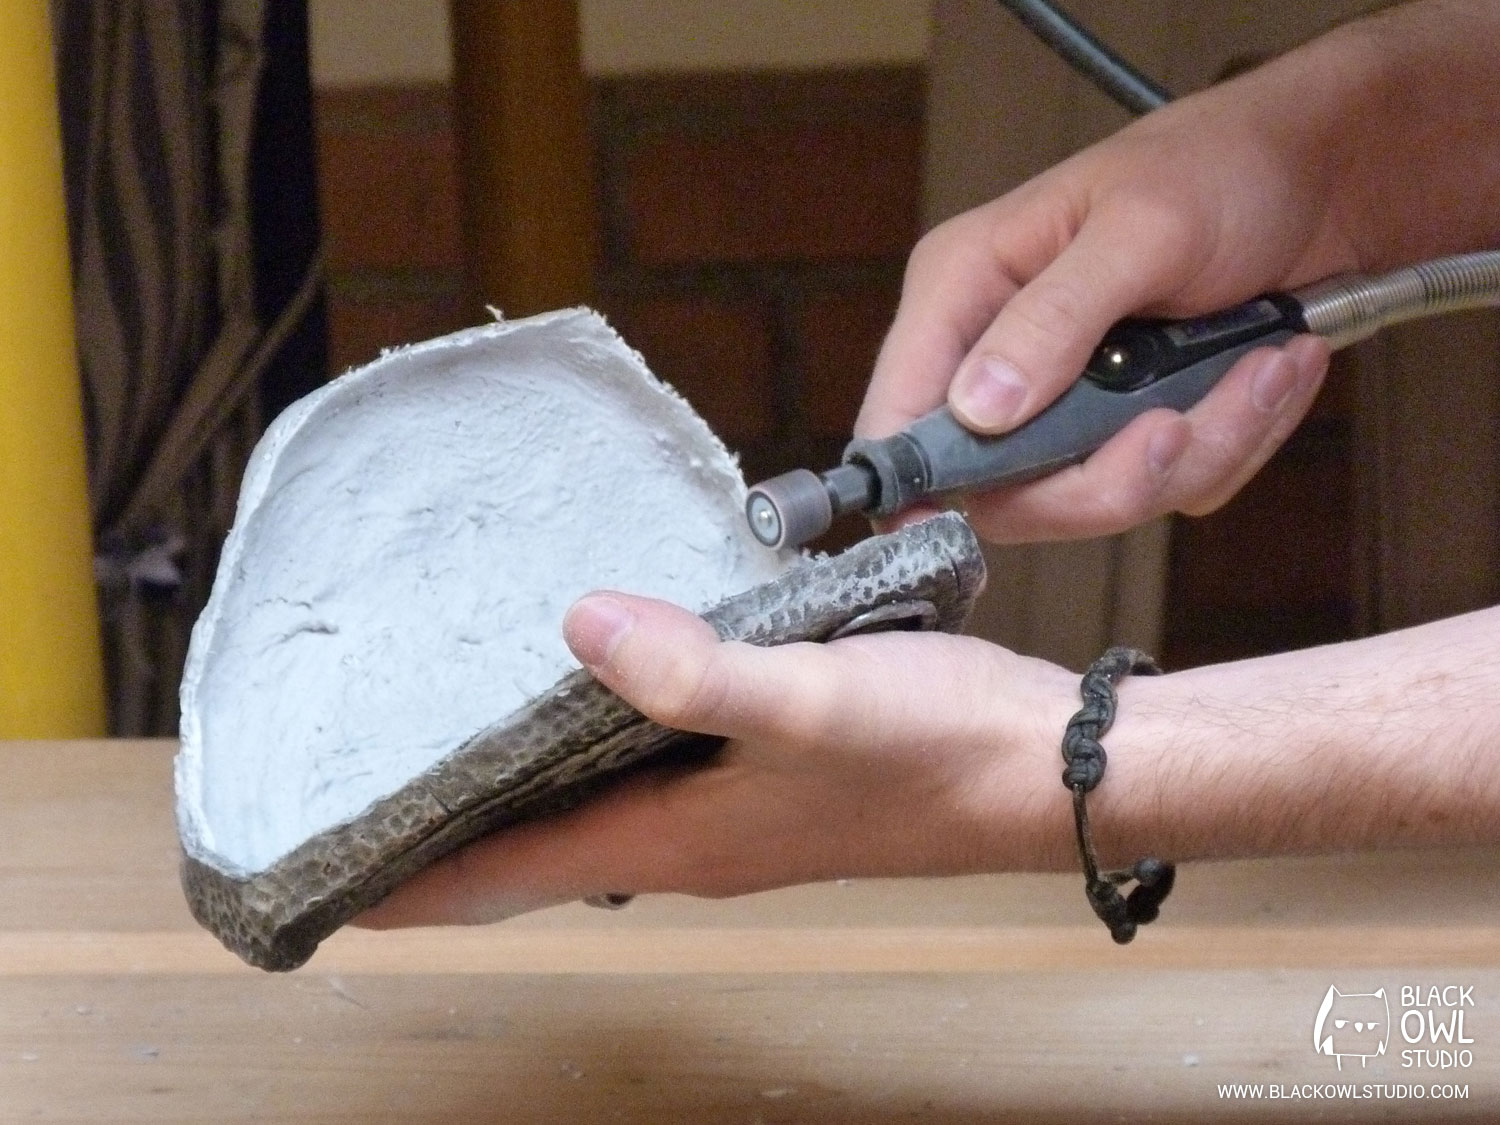
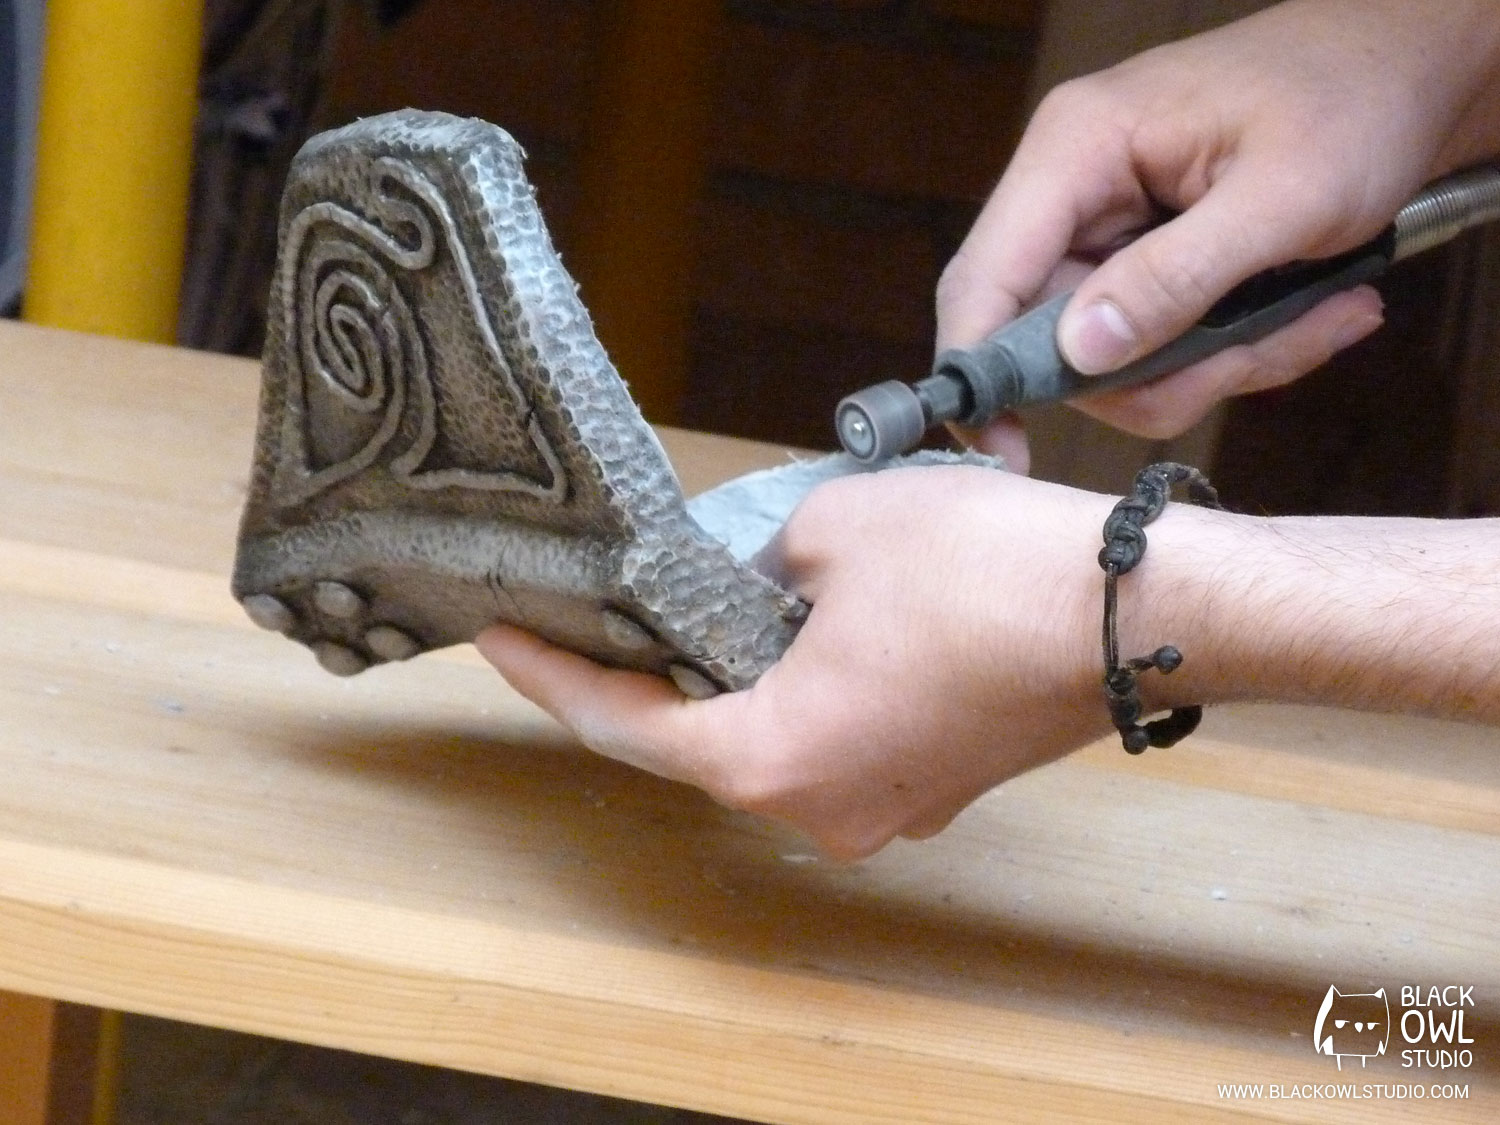
Resin edges can be rough (and a bit painful to wear). It can be a good idea to sand them with a Dremel.
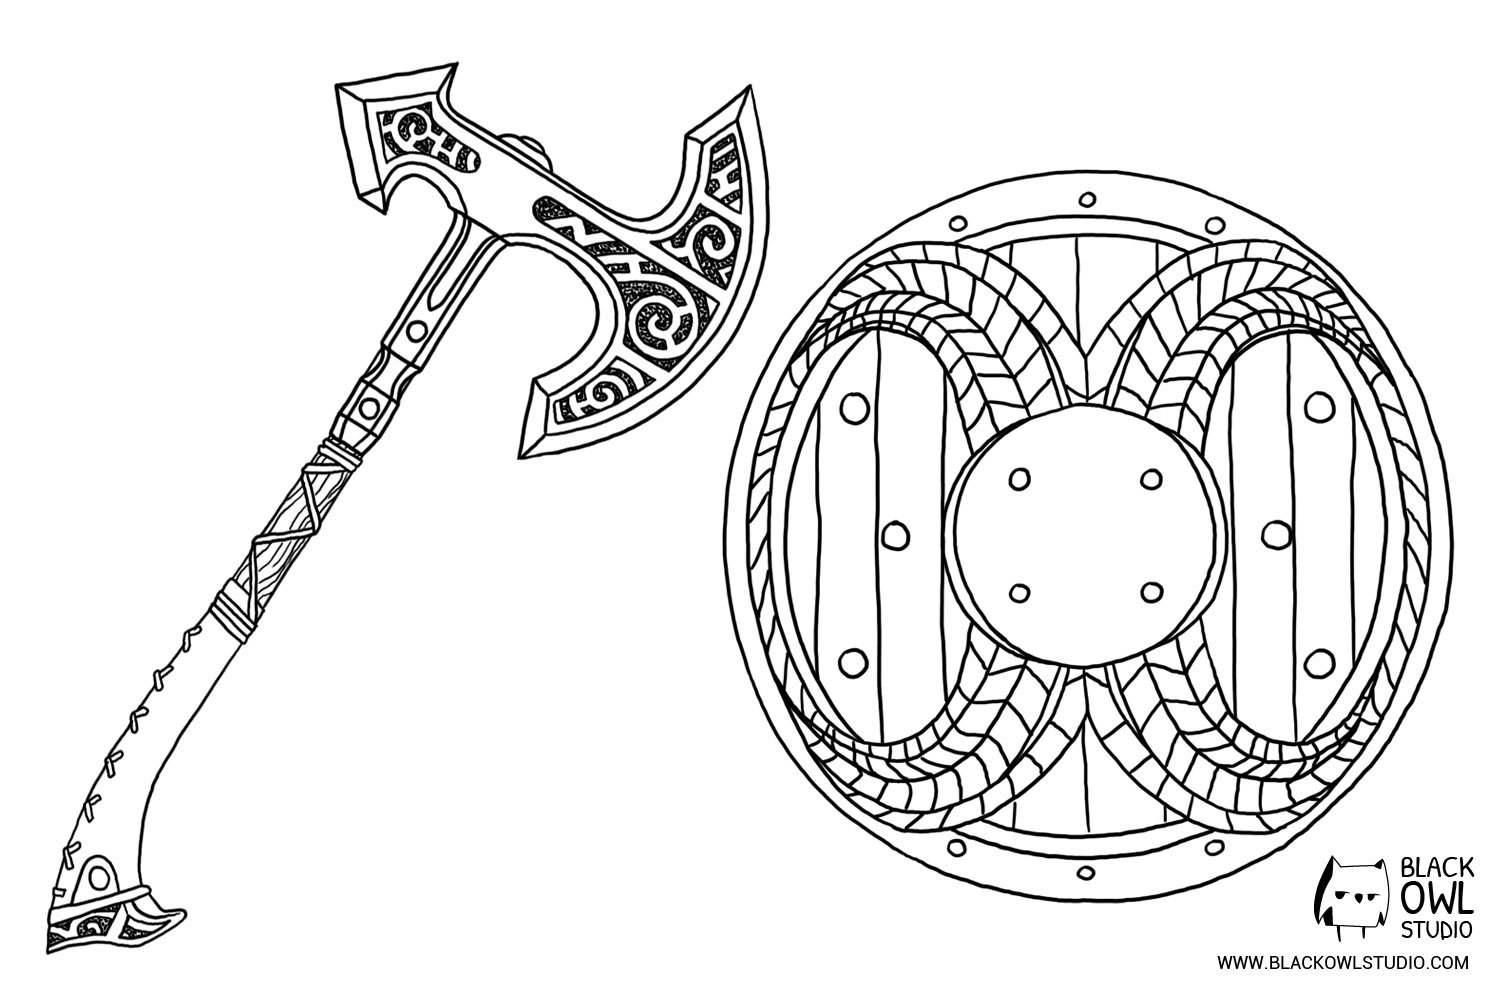
The axe :
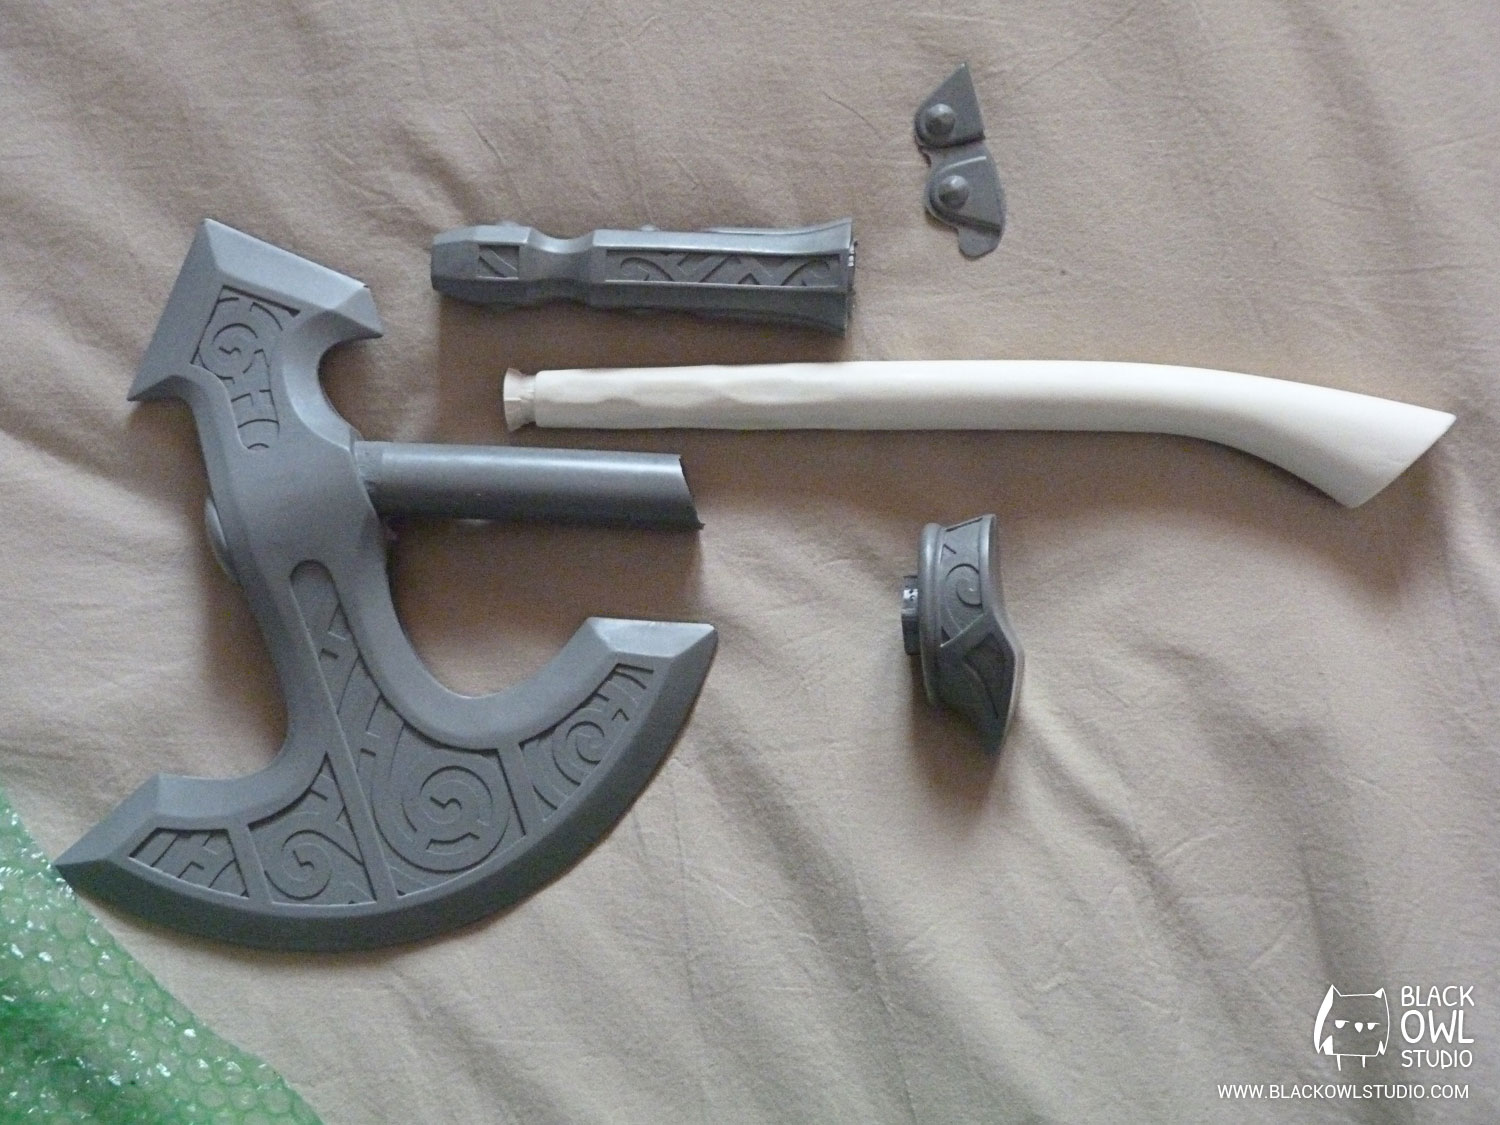
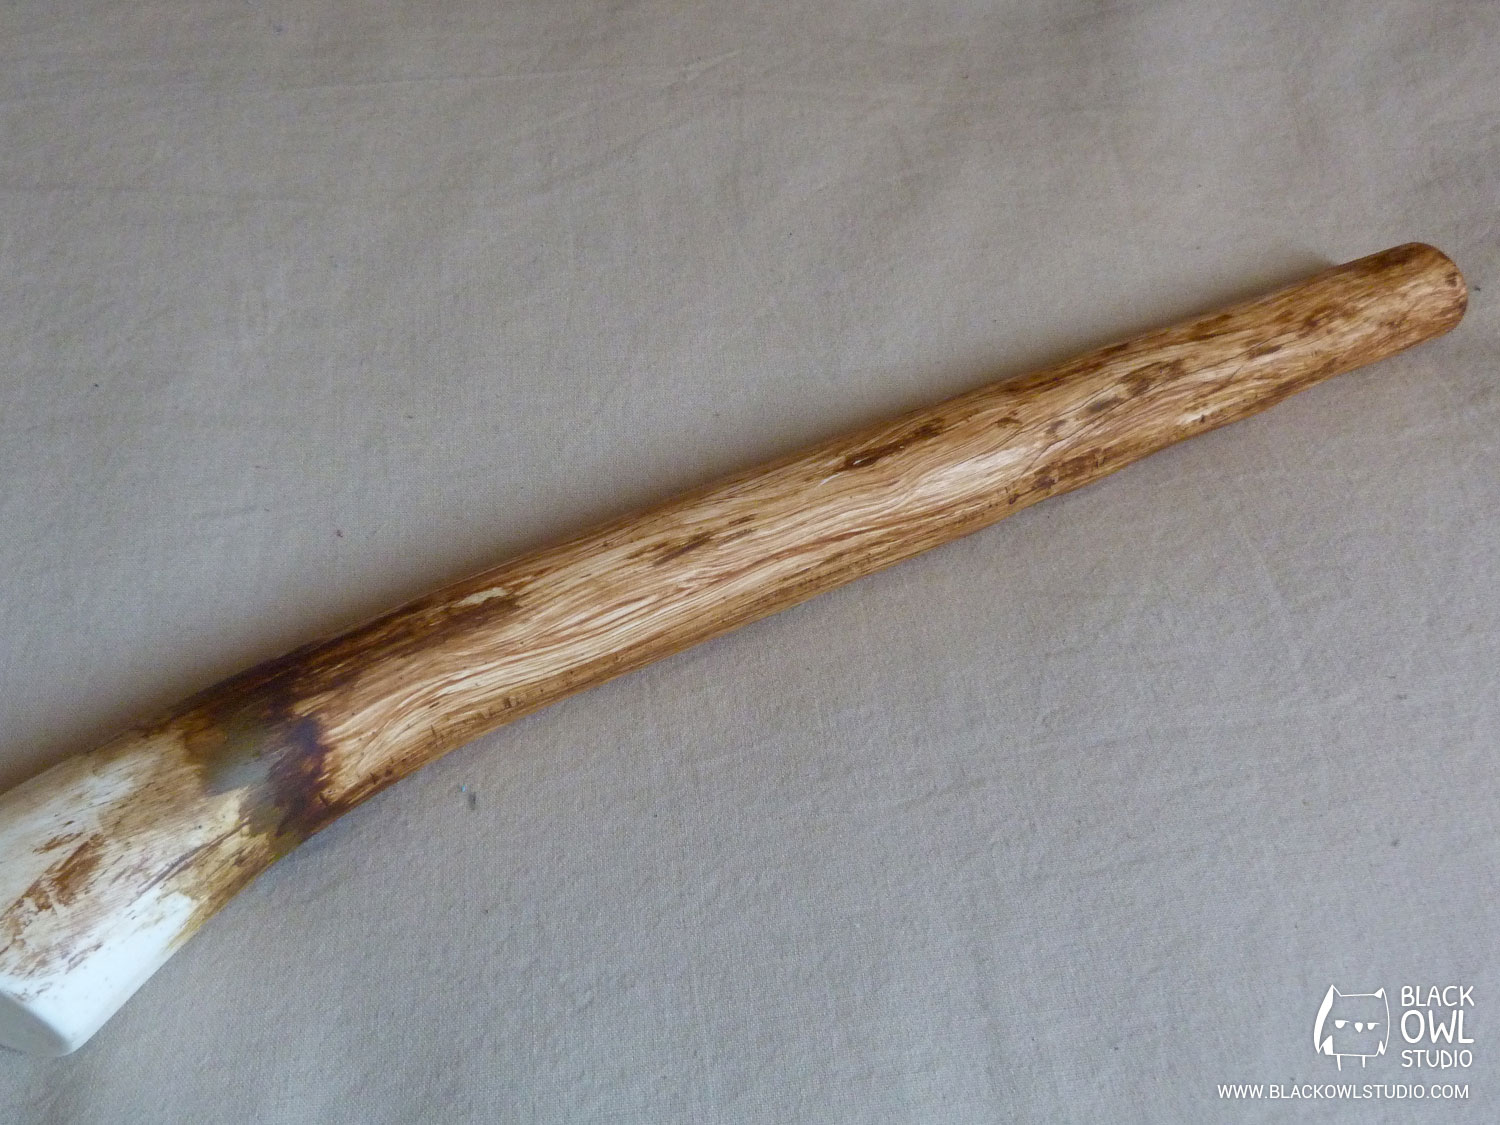
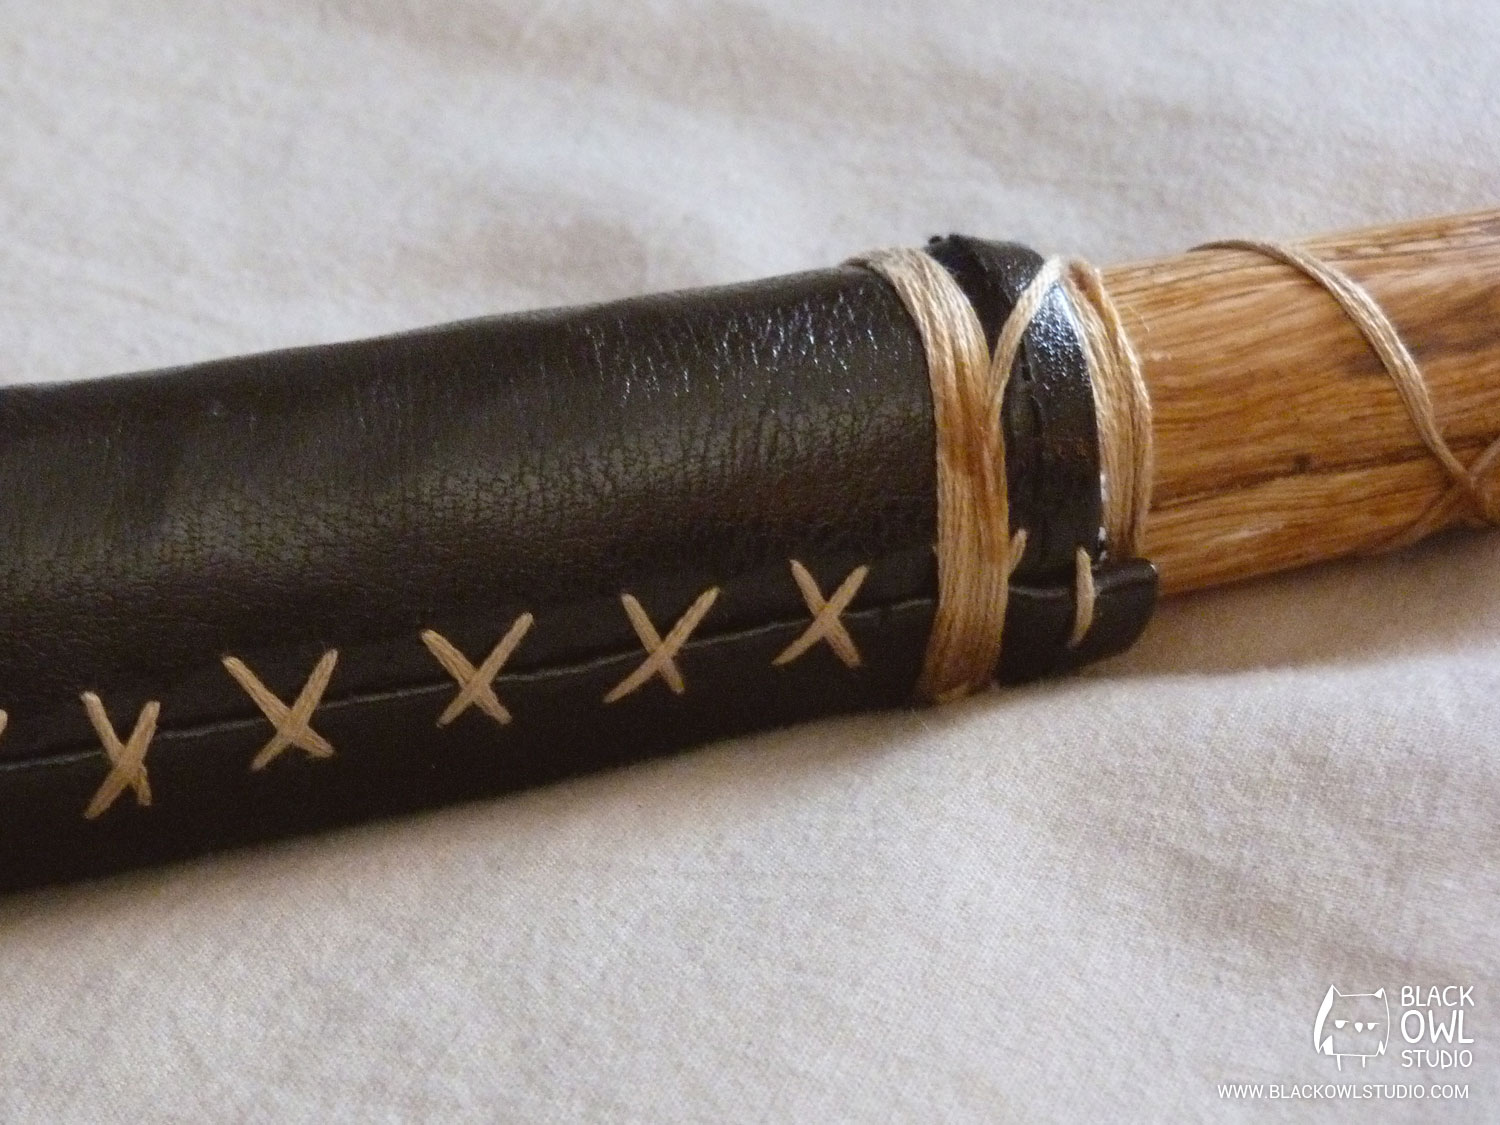
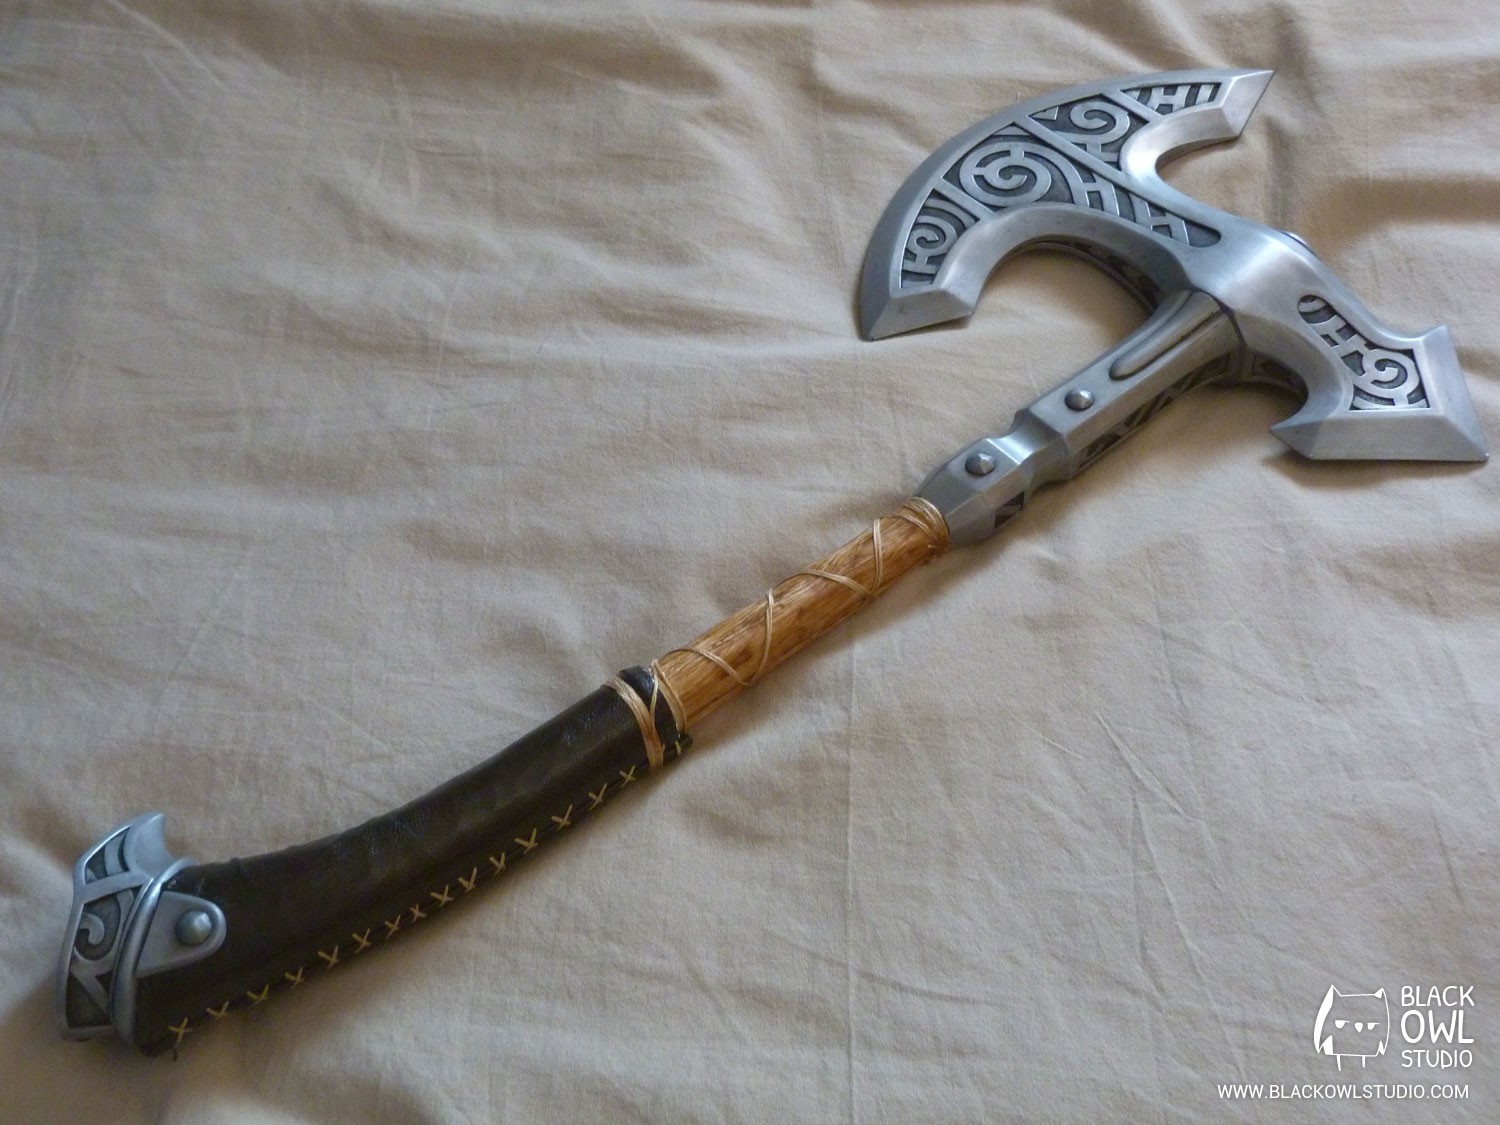
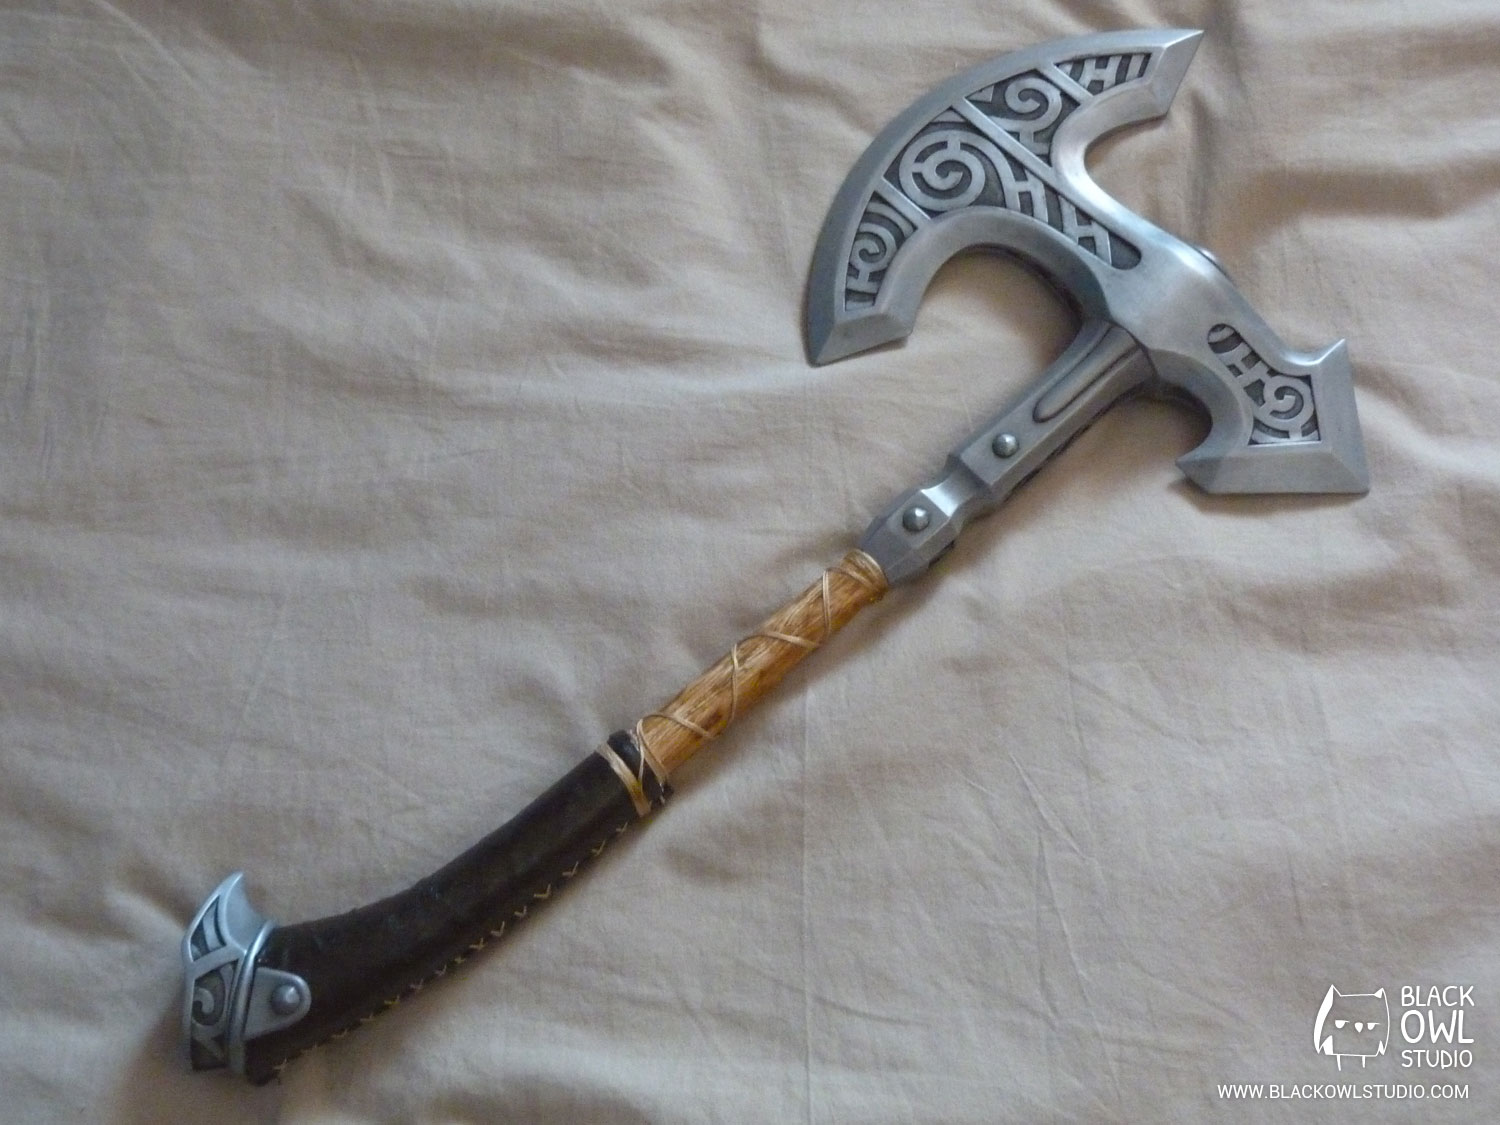
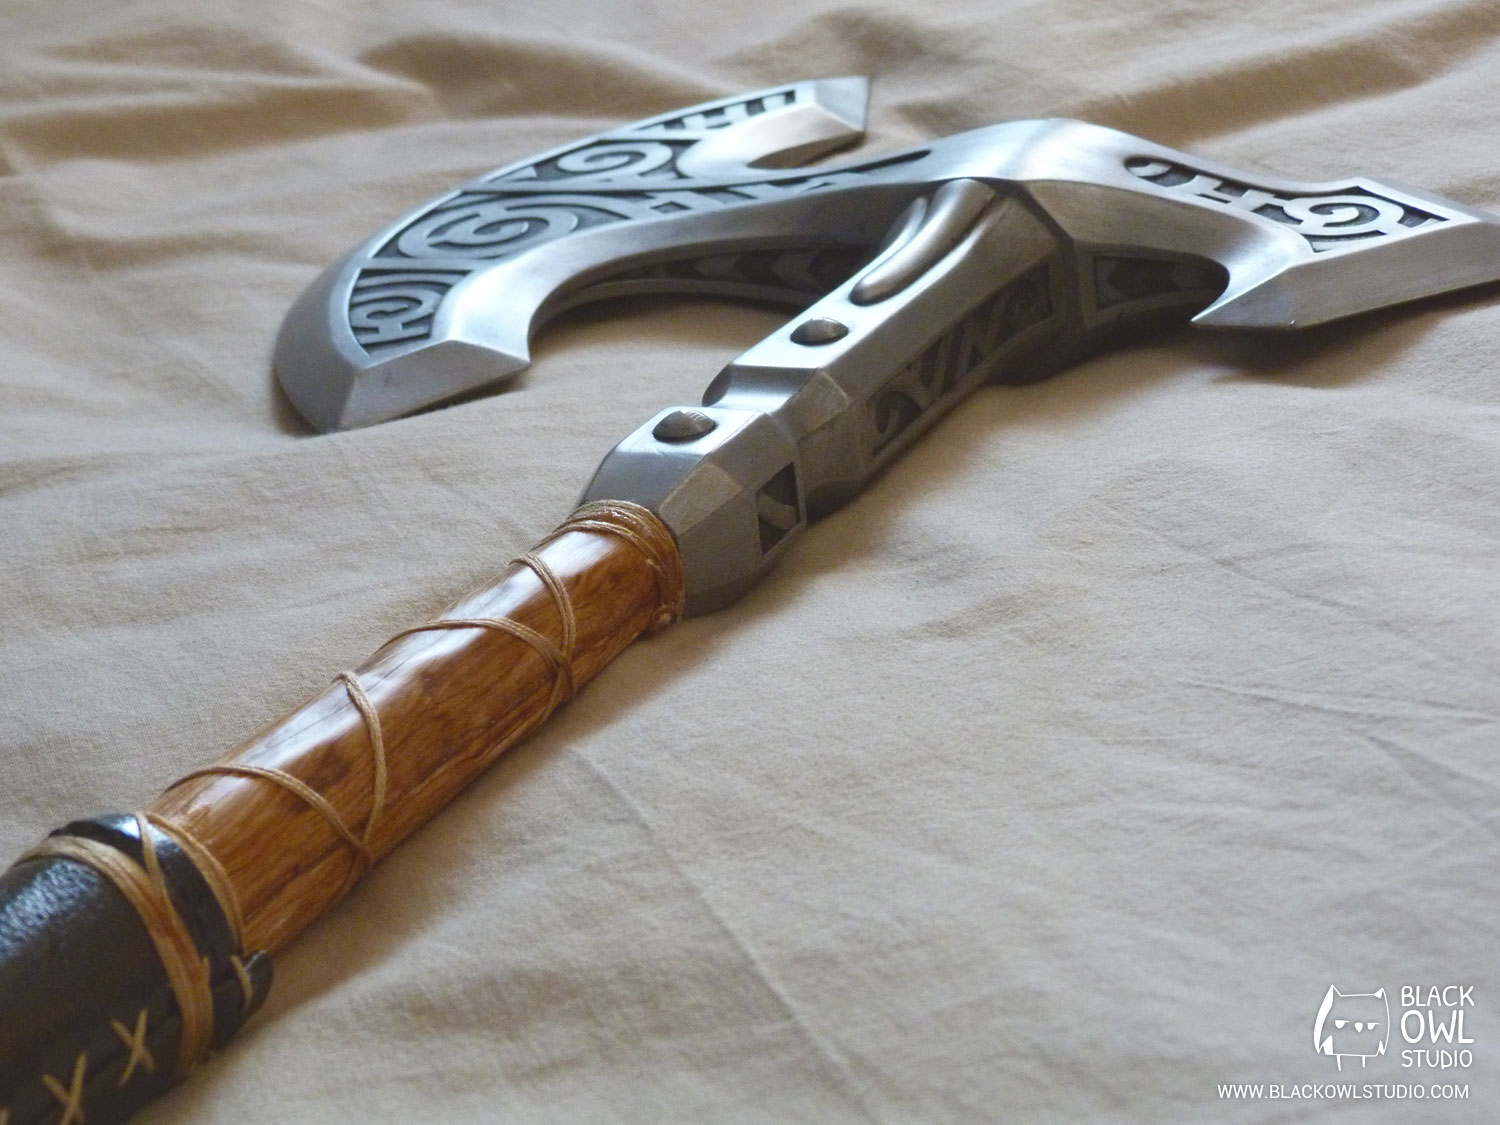
Don’t hesitate to have a look at the Steel War Axe (dedicated article) which has been made with a kit bought from Volpin Props
The chainmails :
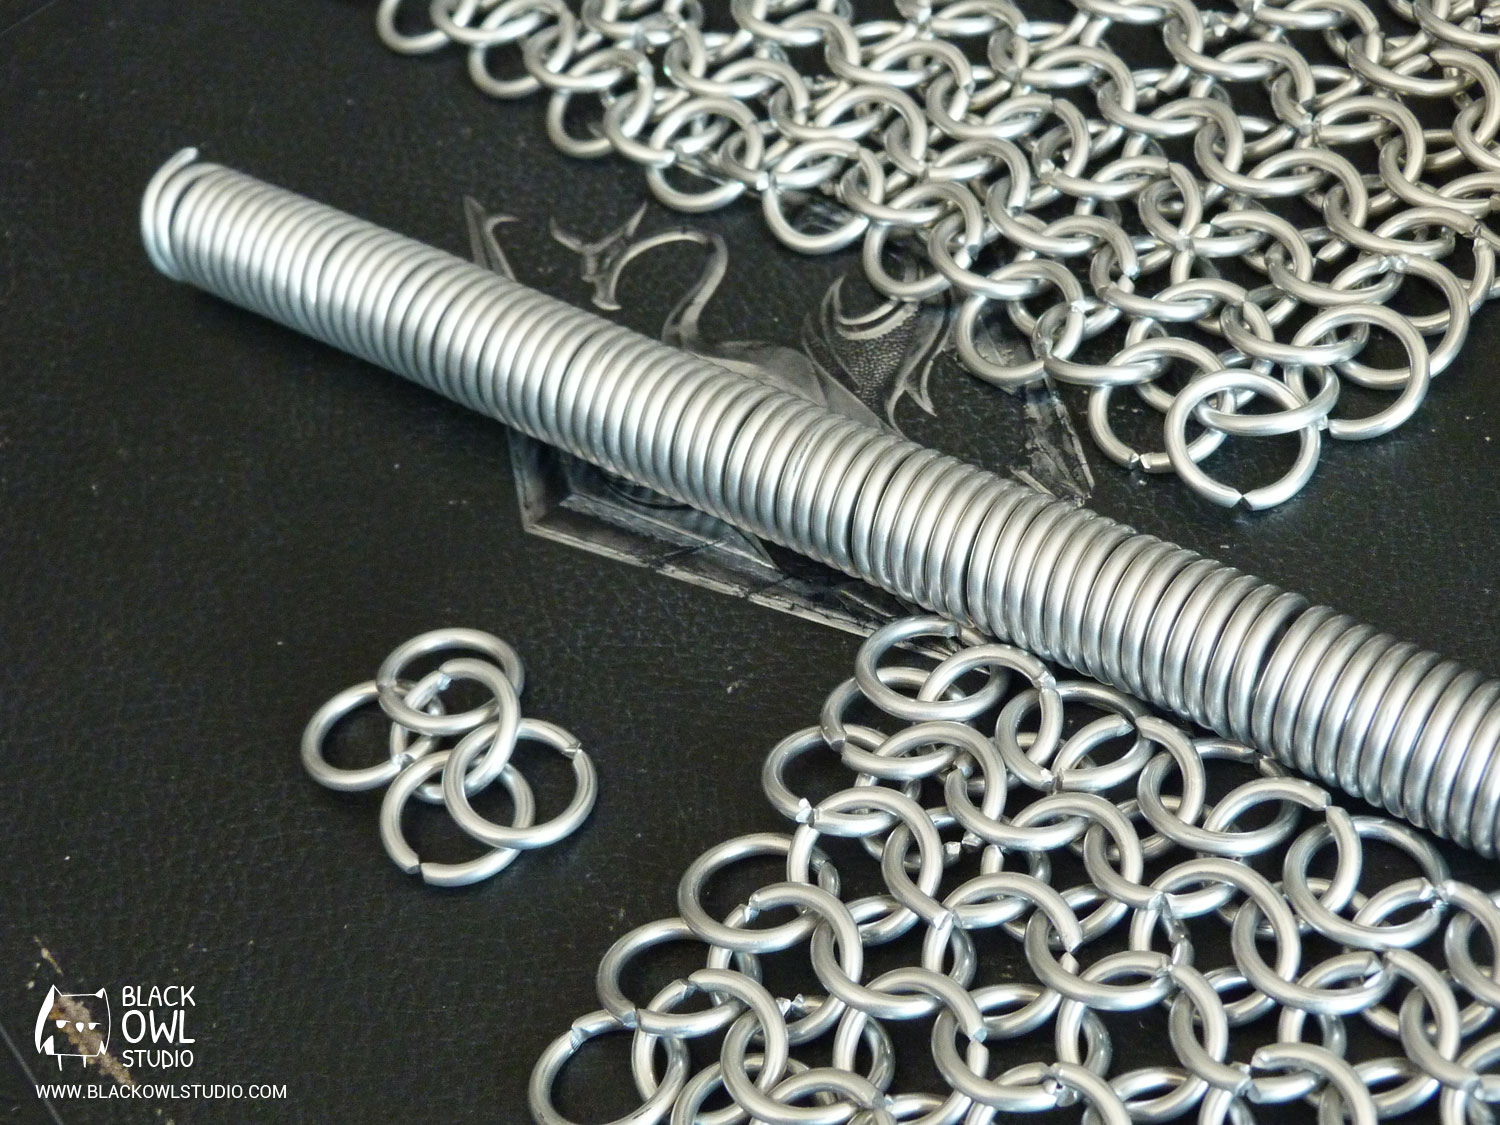
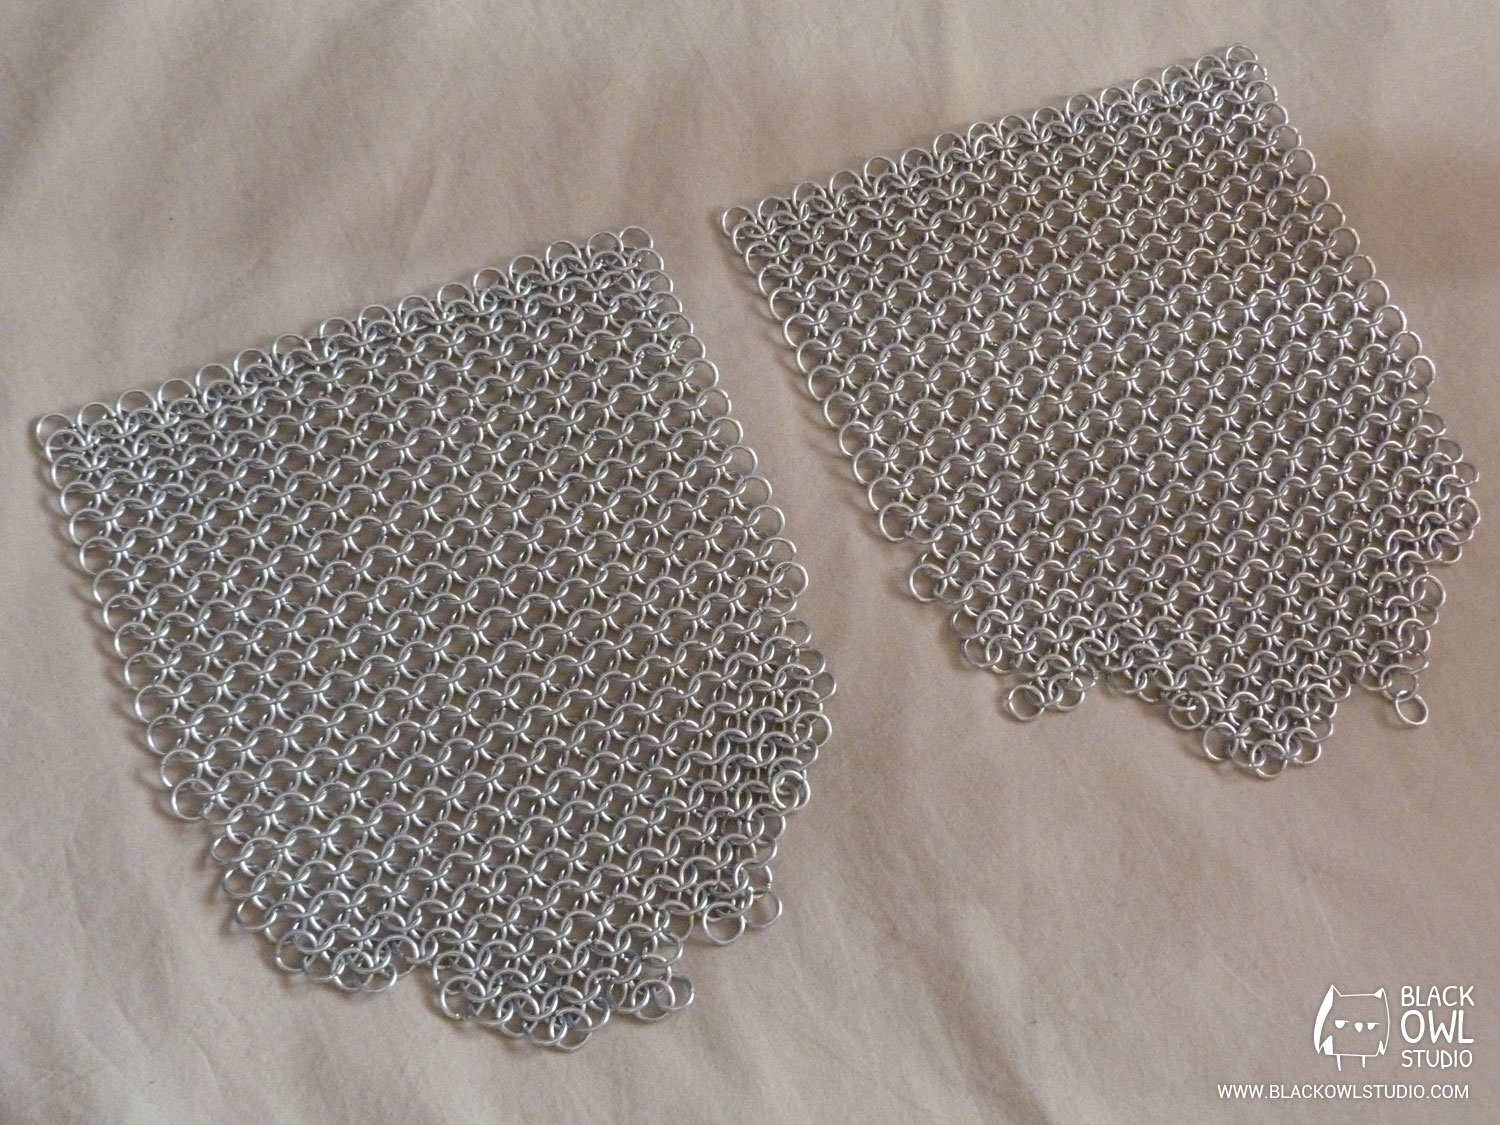
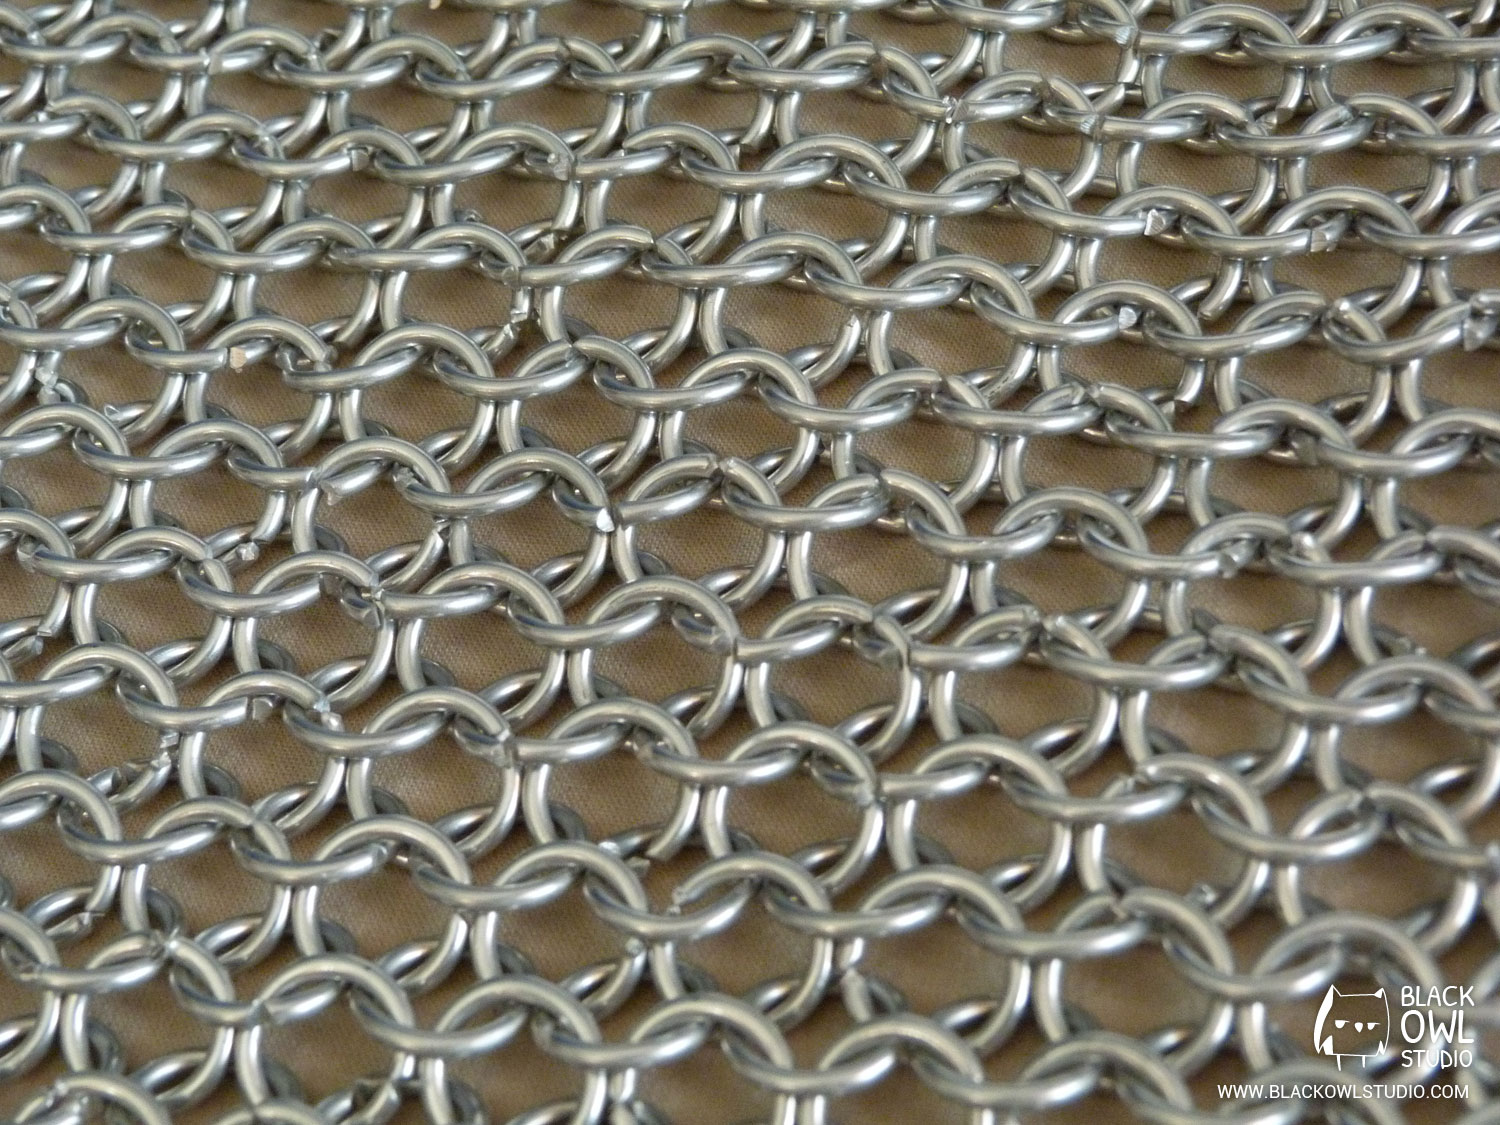
I invite you to have a look at my tutorial if you want to know how to make a chain mail. 😉
Gauldur amulet :
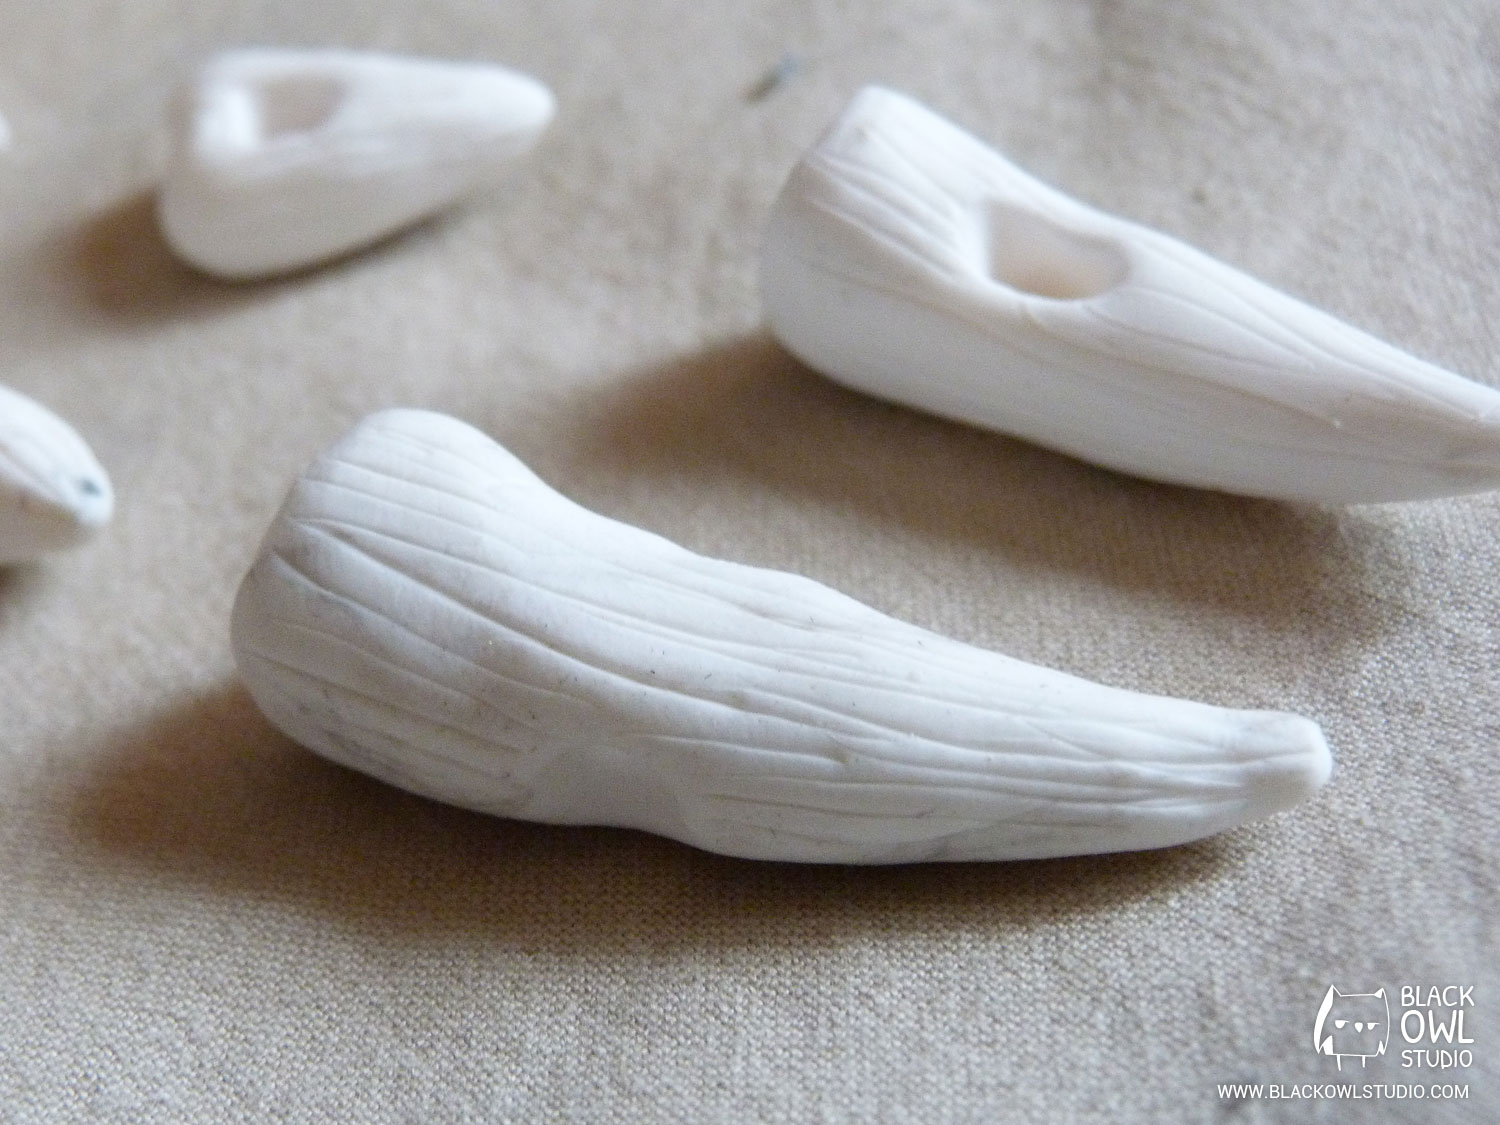
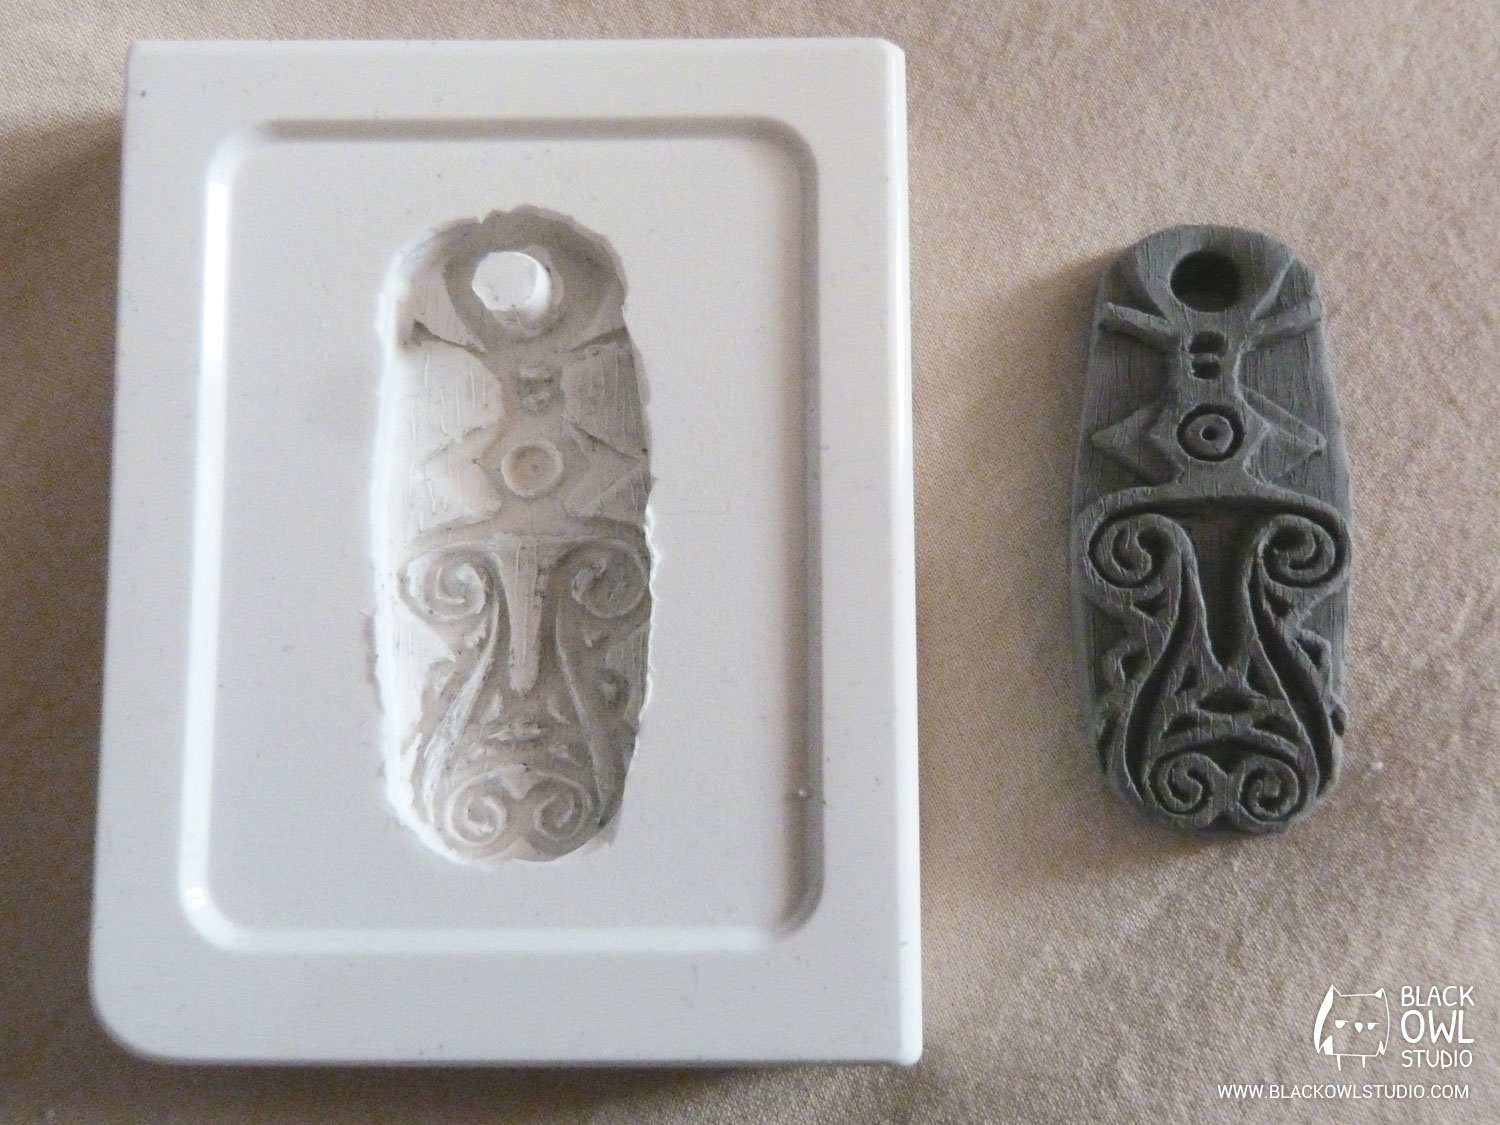
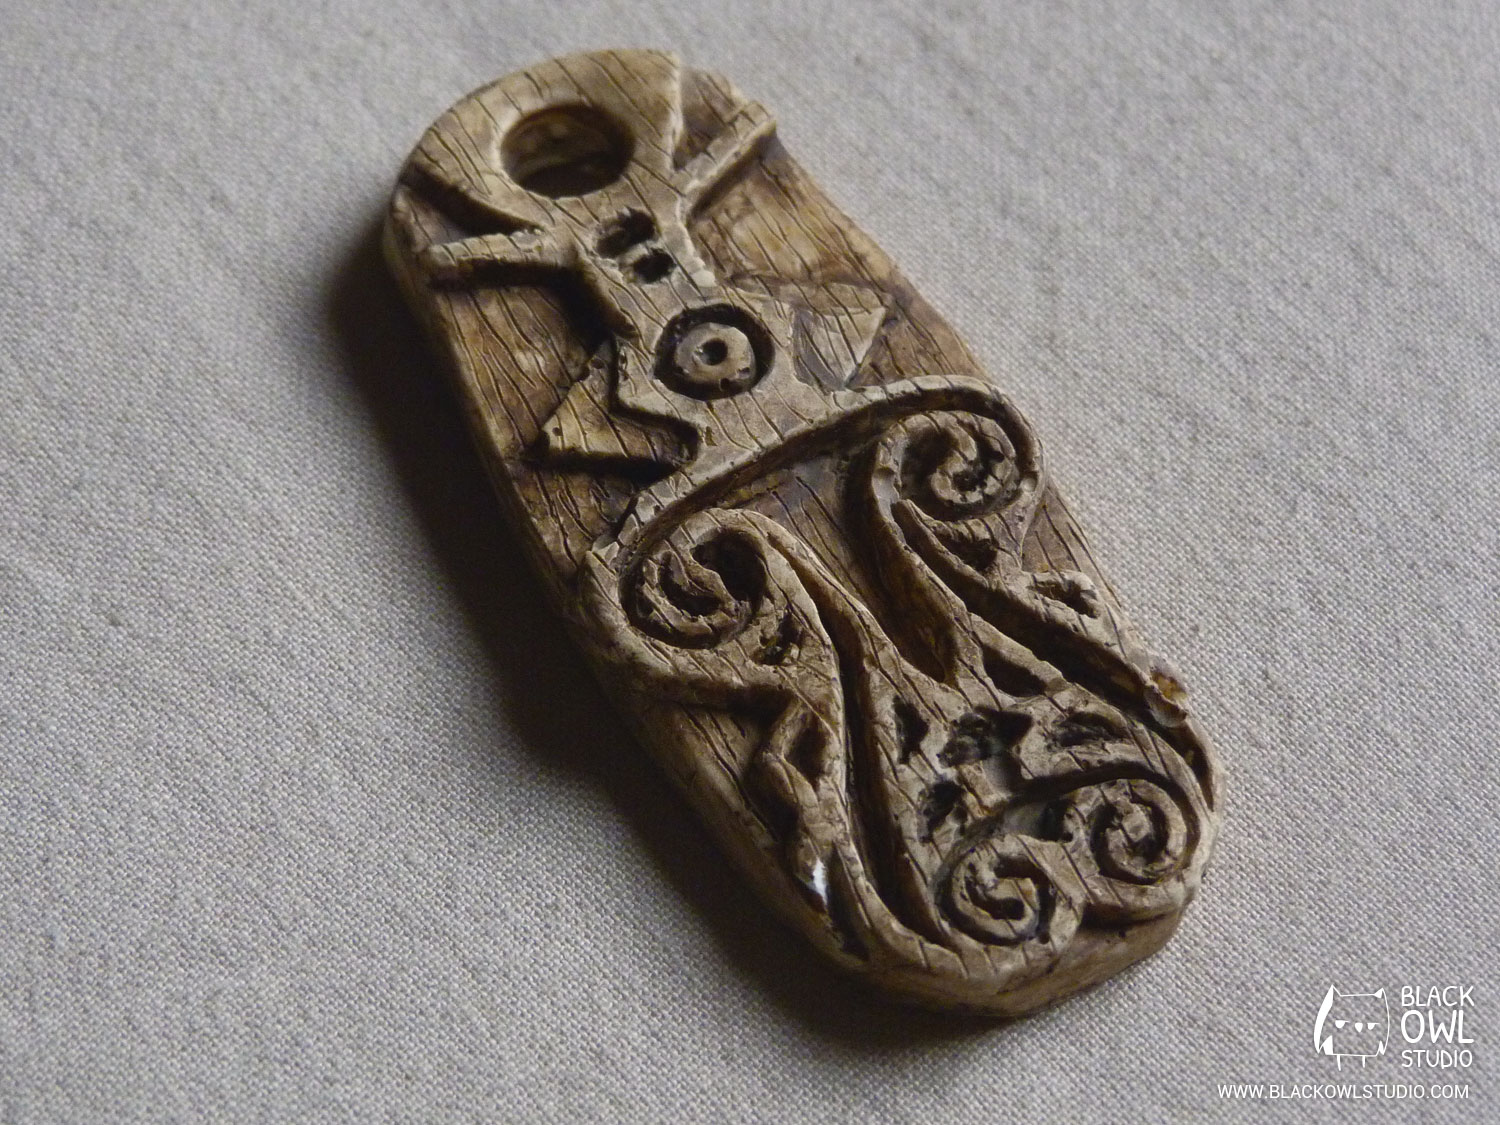
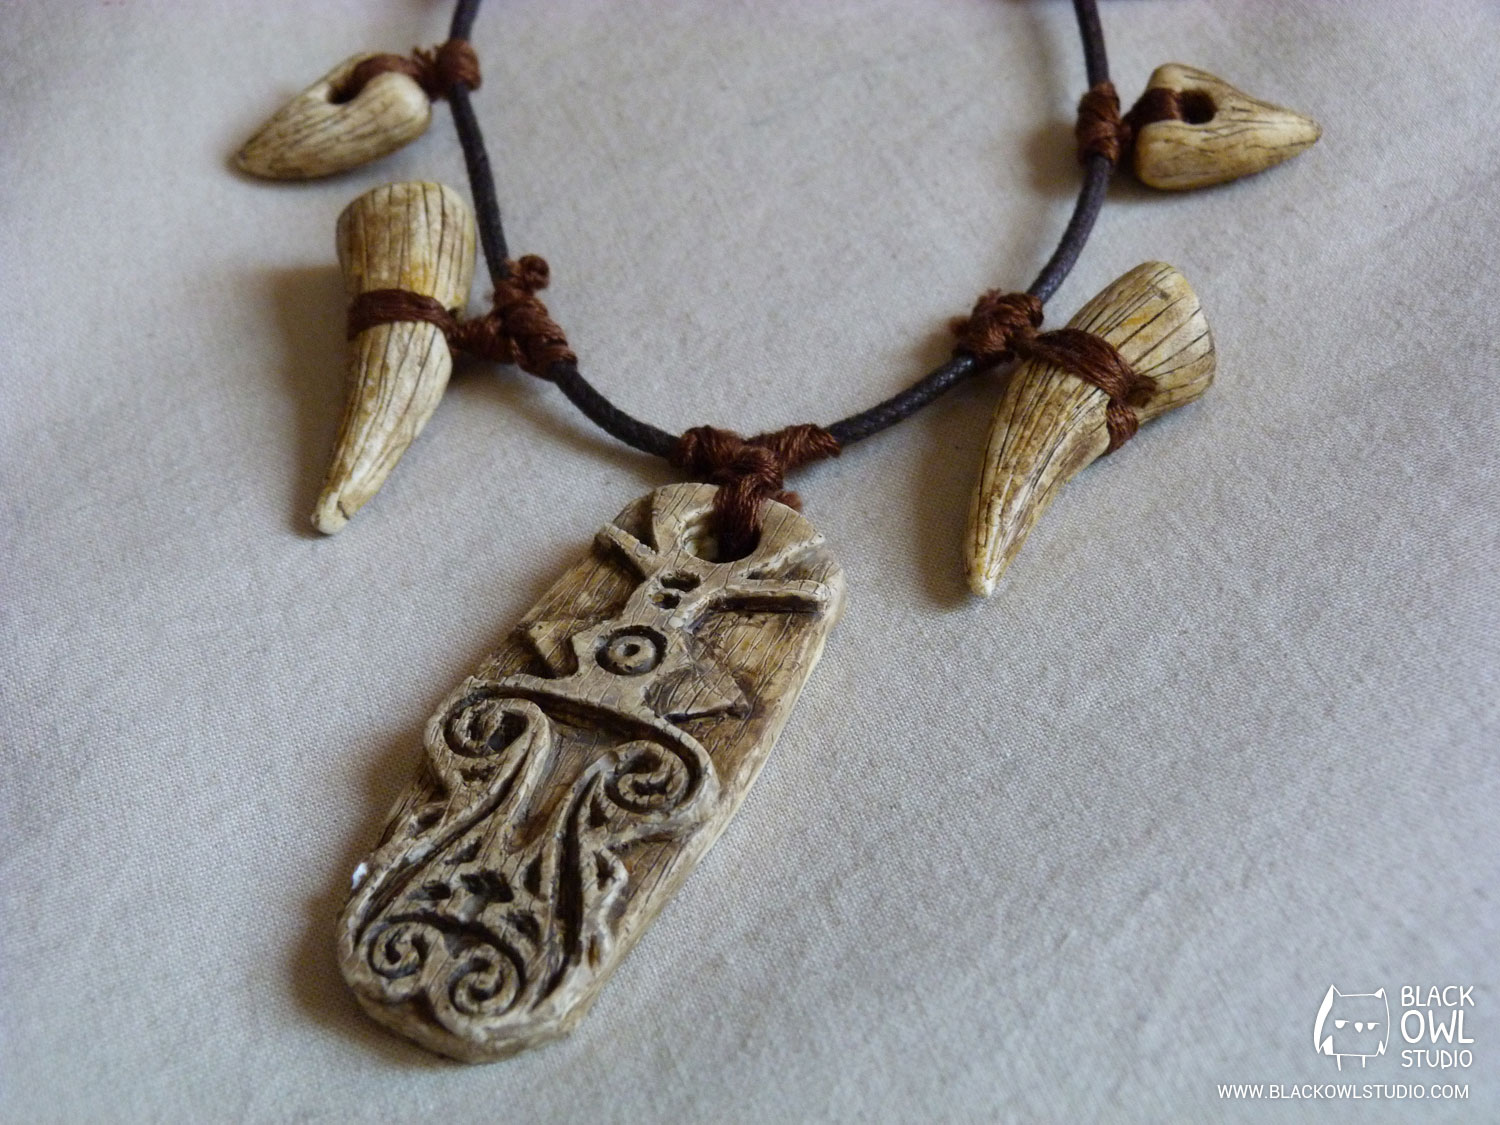
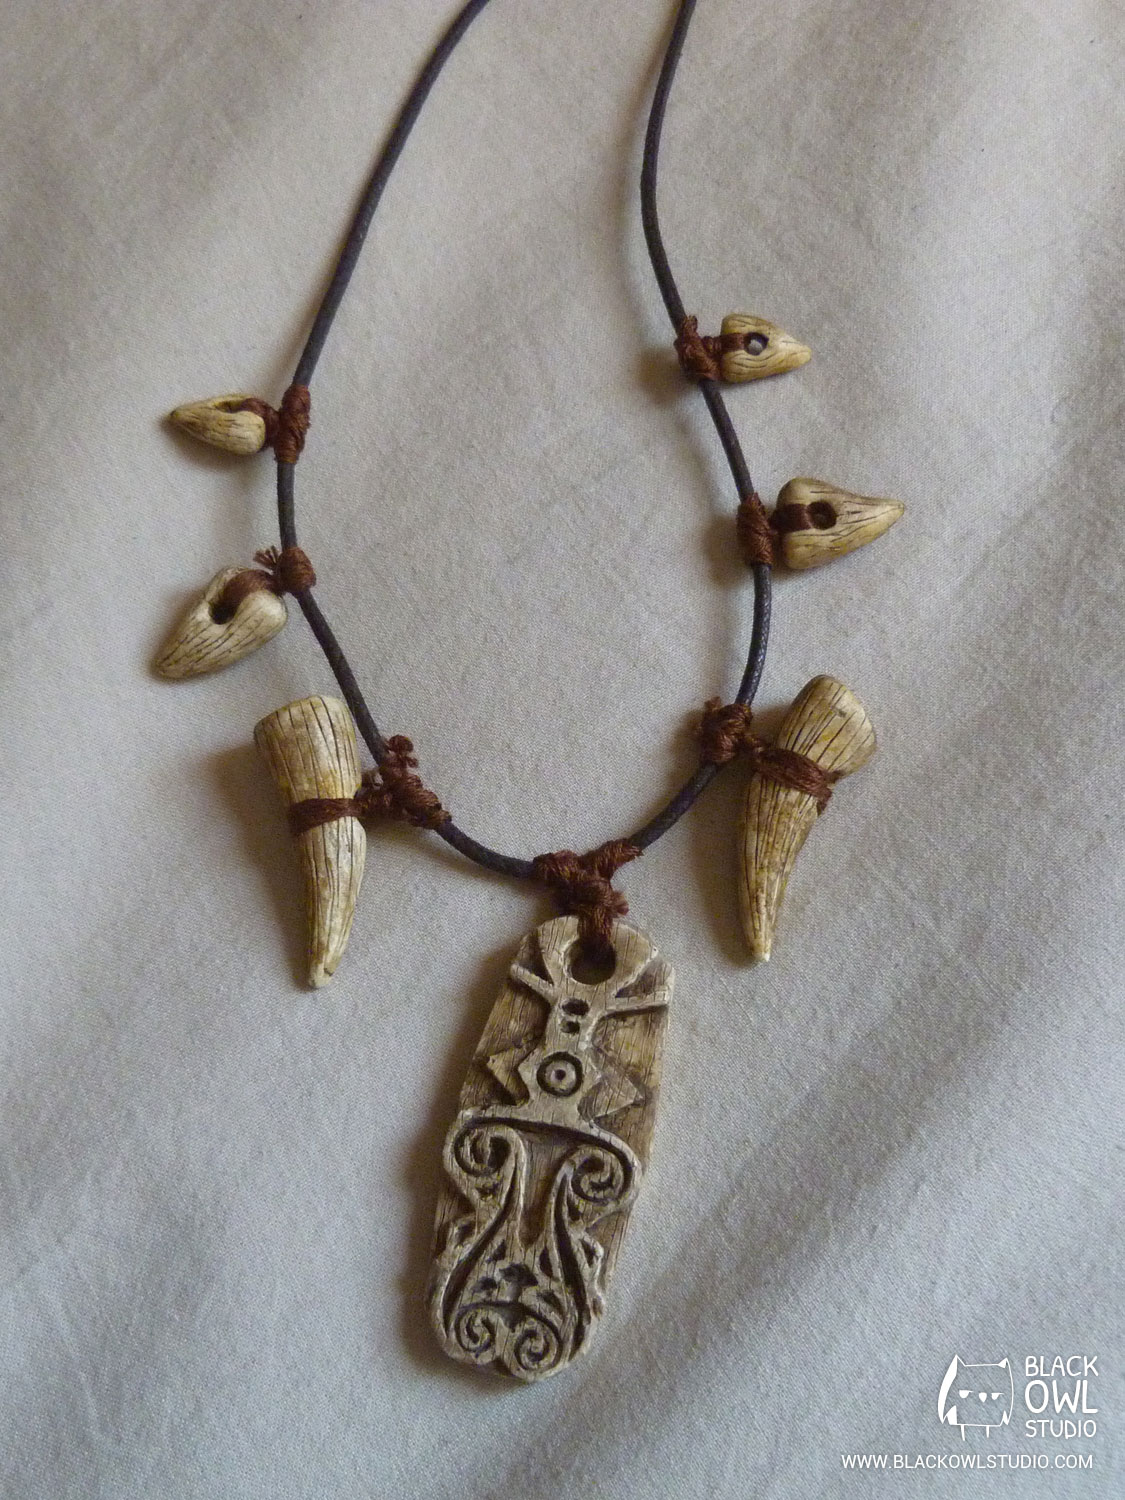

You can see the Gauldur amulet process here.
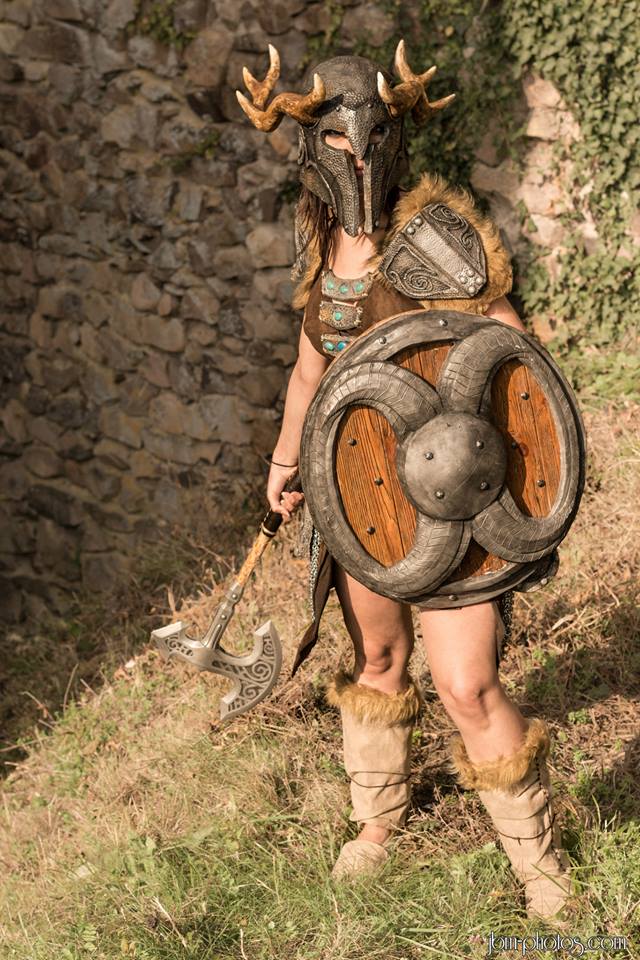
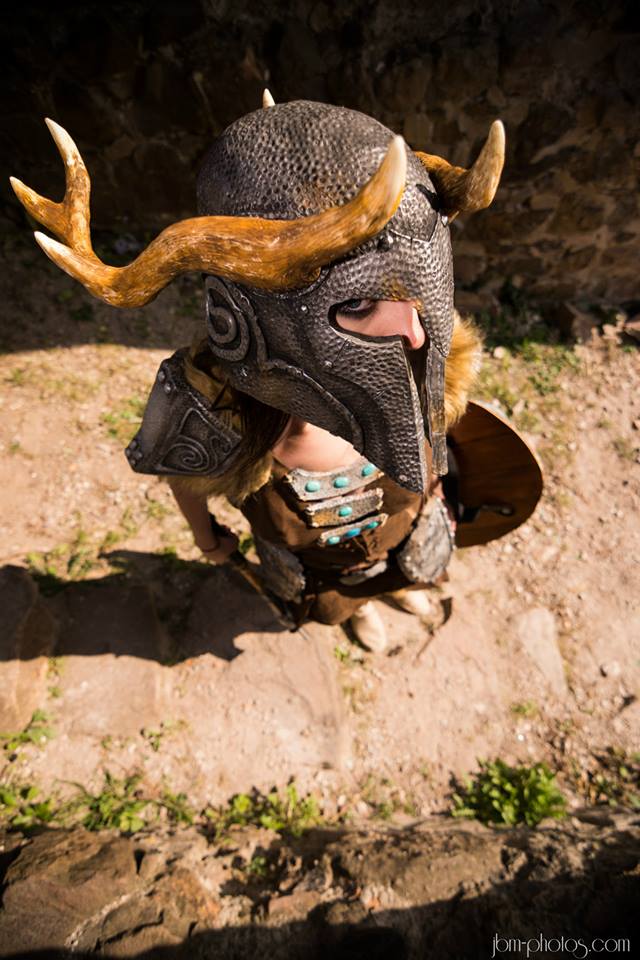
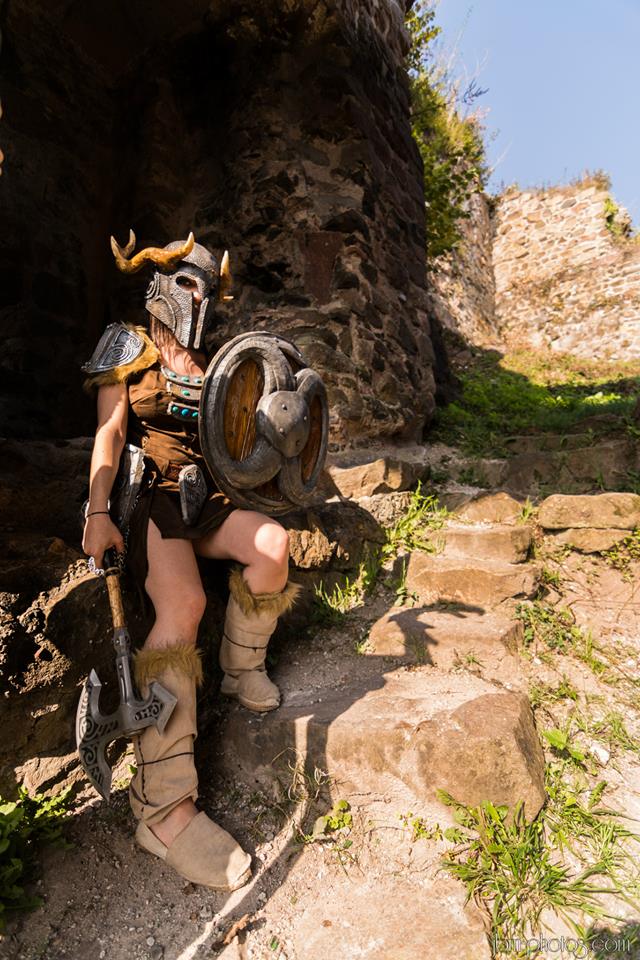
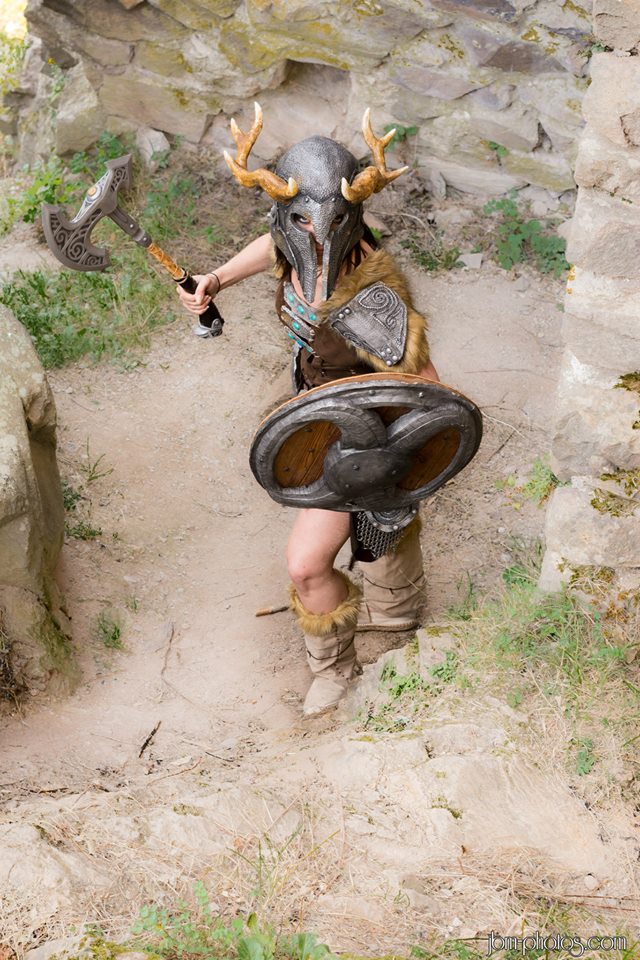
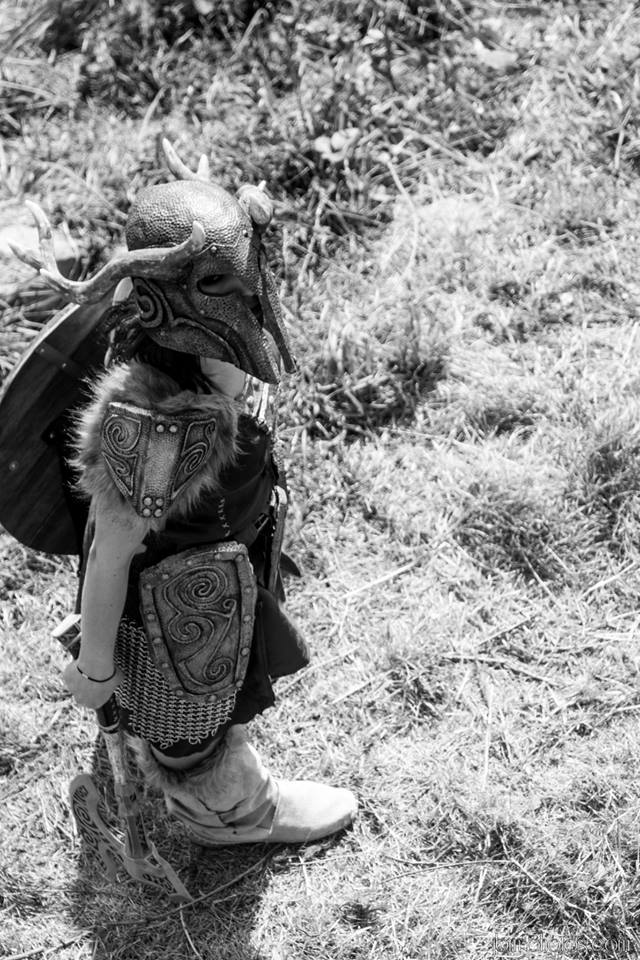
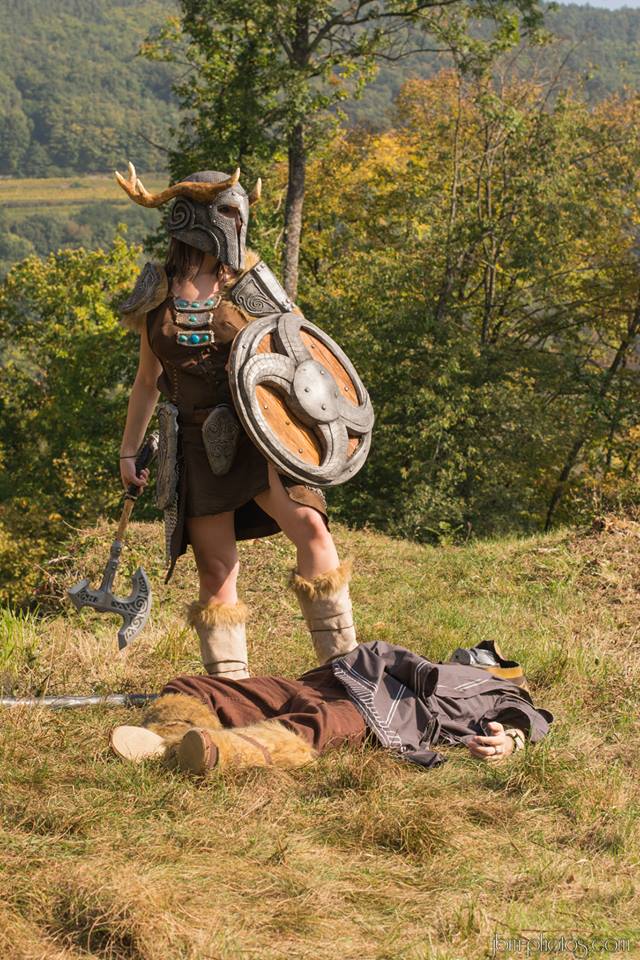
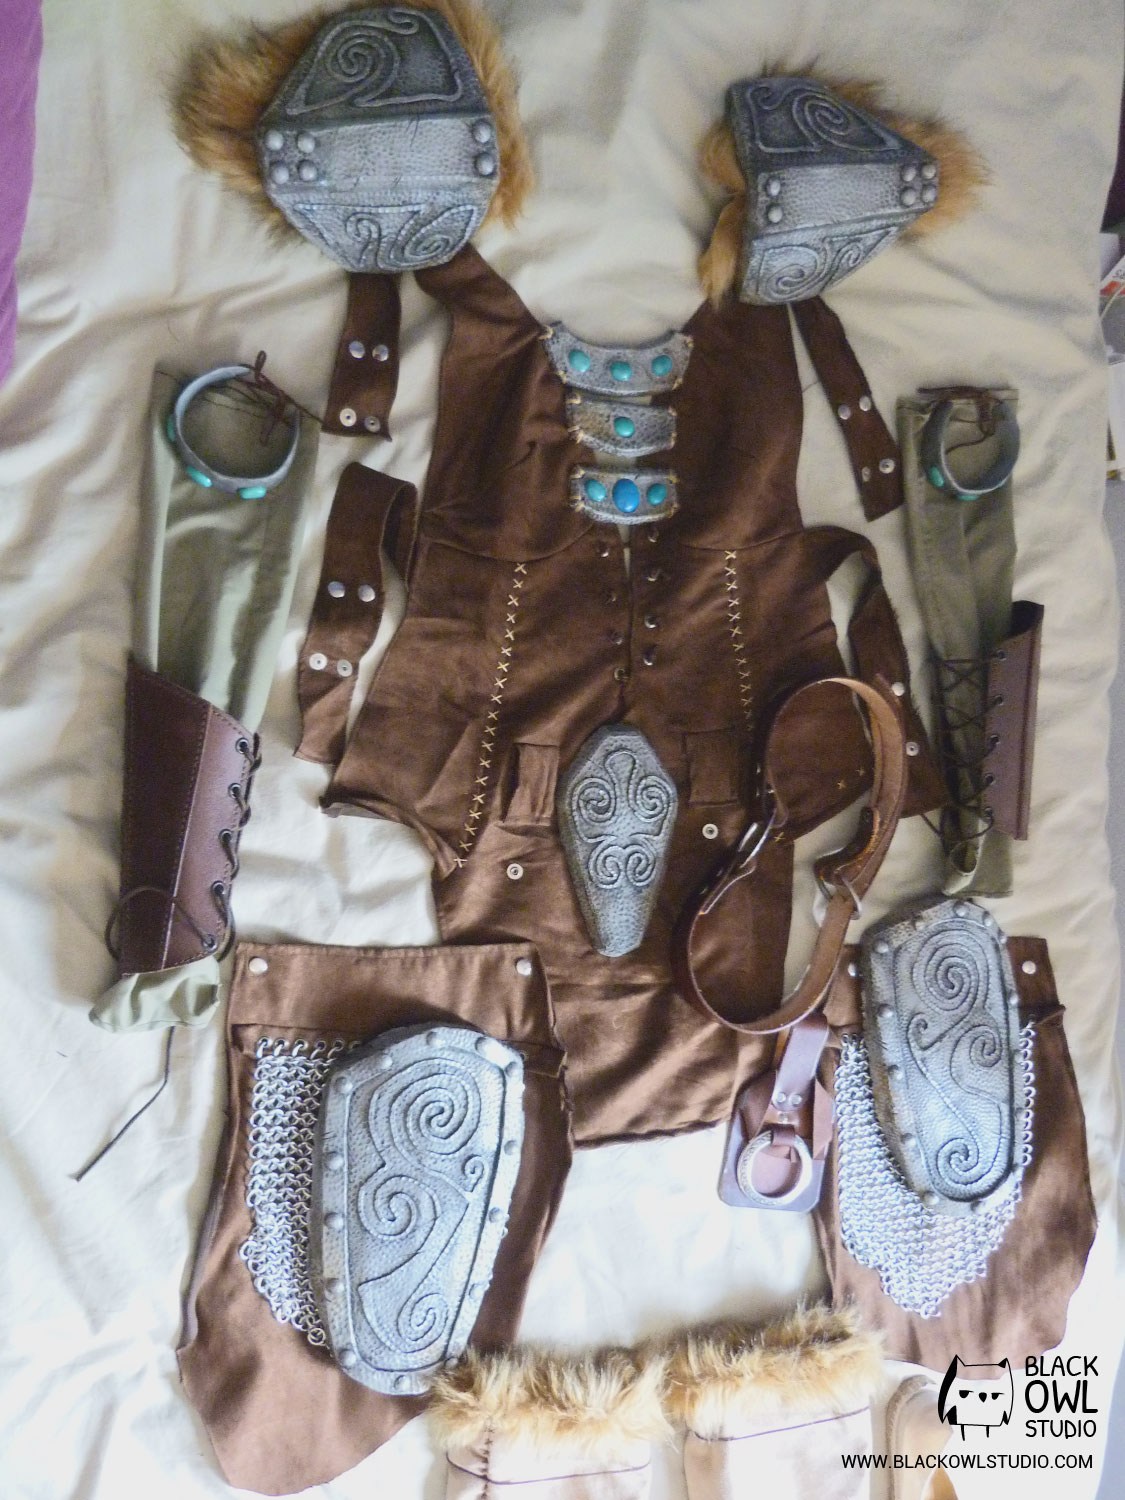
The whole costume
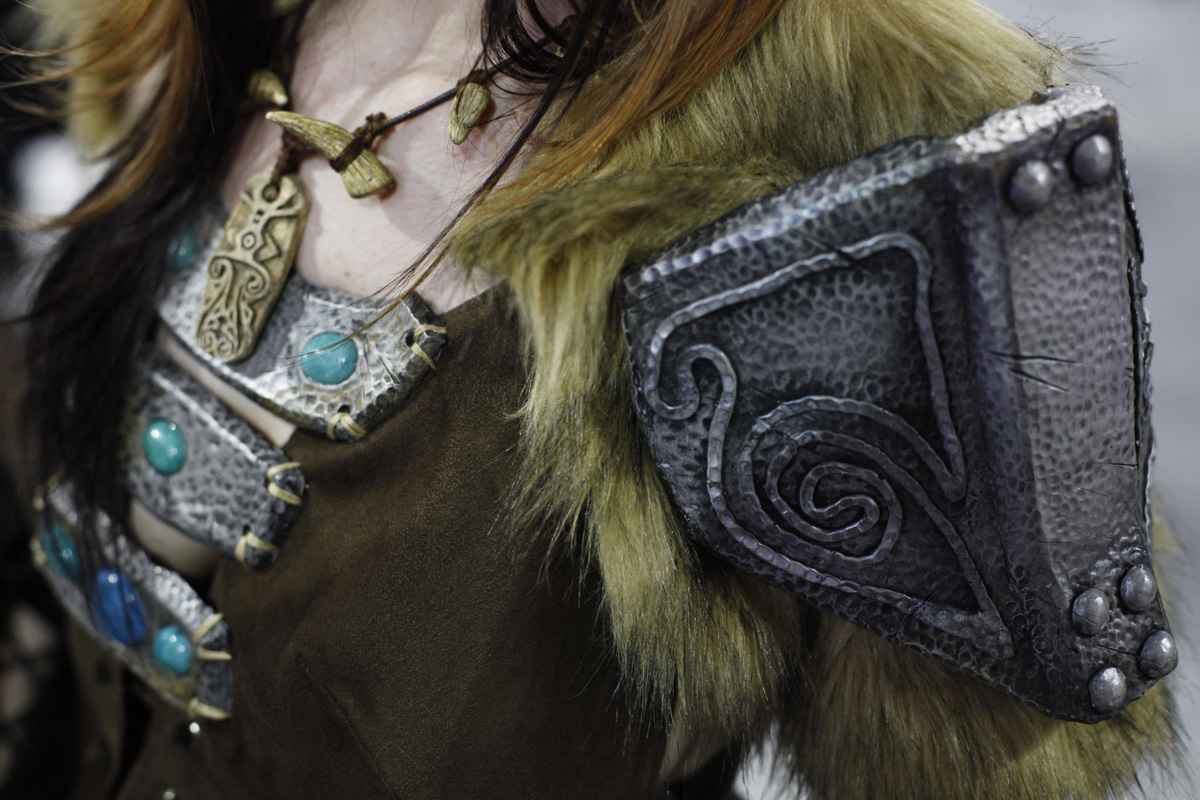
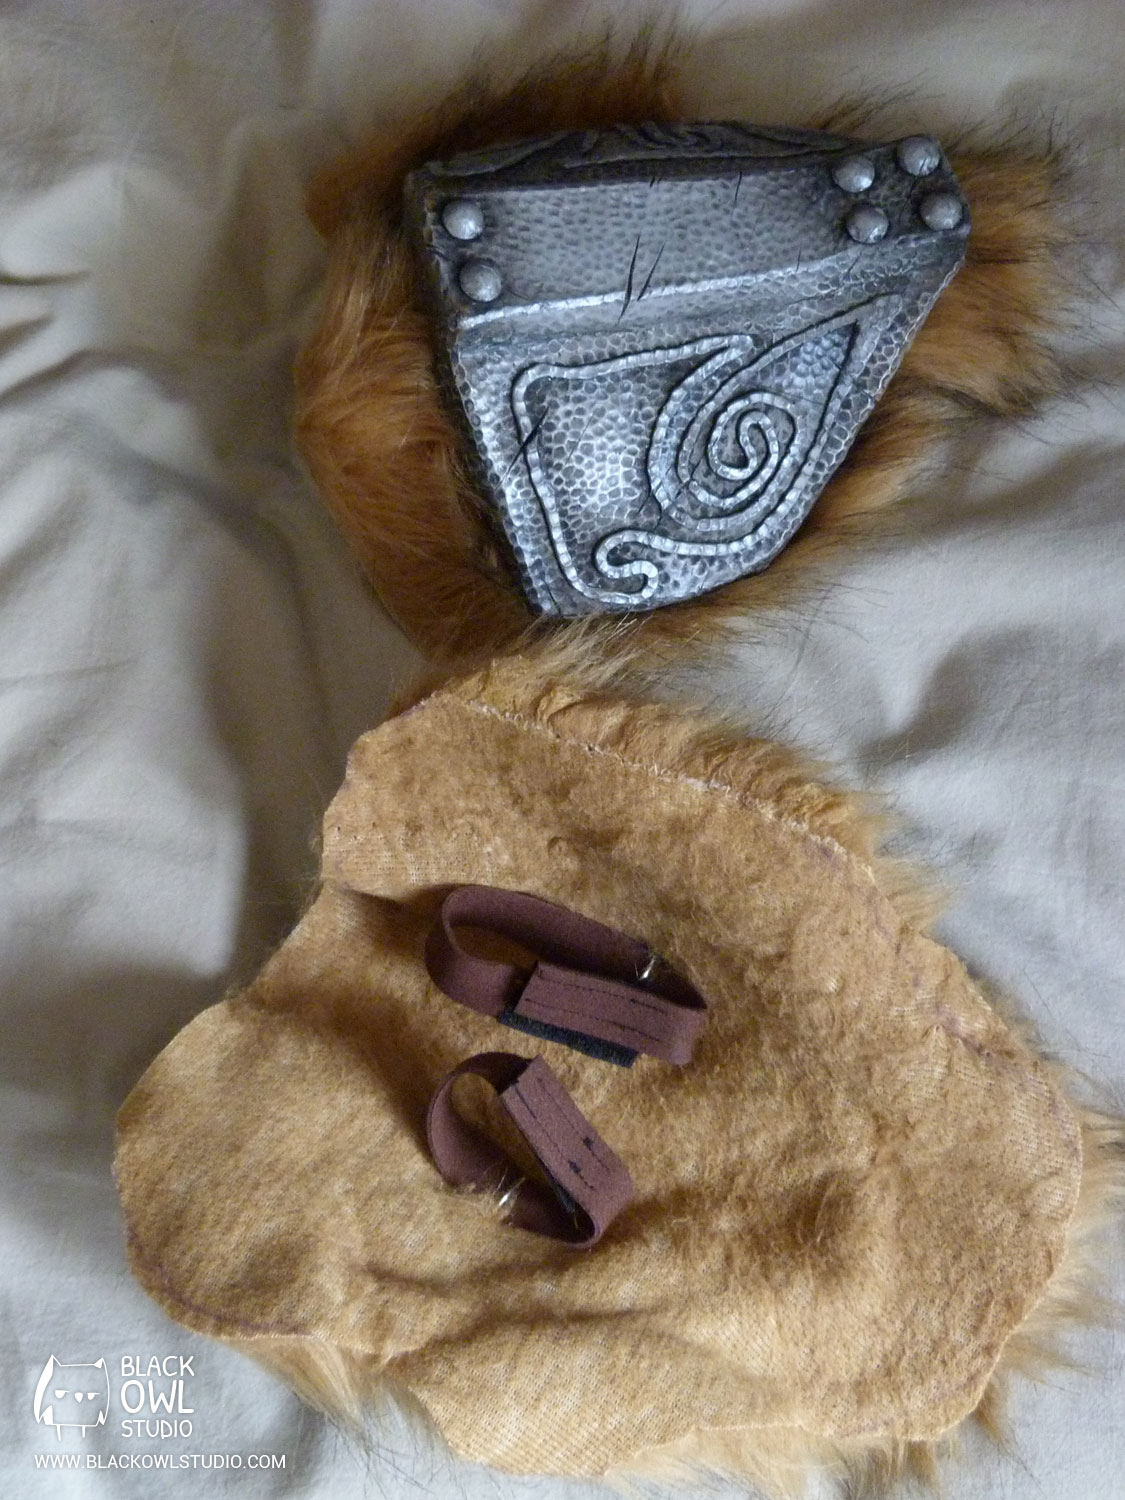
Shoulders are made of armor plates and fur. To attach them on dress straps, we placed lanyards (fixed into the resin with D rings) and cut two holes in the fur to let the lanyards pass (this also allows to keep the fur in position).
The bracelets are made with metallic silver Fimo clay. They are painted with acrylic. I glued some turquoises on them just like on the collars.
The armor plates are attached to the belt with the same method as the shoulder pads.
Shooting by JBM Photos (Hugstein Castle – 2014)
Shooting by VRTvingt.fr (Paris Manga 2013) :
Comments (3)


Wow, this all seems like so much work! But it looks like it was all worth it in the end, that outfit looks spot-on! Well done, and thank you for sharing.
Nicole
But, what does the back look like? And what’s that large extra piece the same colour as the dress? Is that for the back? I’m confused 🙁