Monk : Making-of
«In that moment, with victory at hand, I saw the nephalem in a new light : she is a hero who can defeat the champions of Heaven and Hell and a monk who protects the innocent. But within her beats a mortal heart… that will one day be tempted to corruption. On that day, will she have the strength to resist ? Or will she be our doom ?… »
The Diablo 3’s Monk, an interesting project but turned a bit tougher than expected ! It was supposed to be a «light costume», but it actually was a hell of a challenge… mainly with sewing.
At the beginning, this cosplay was made for Comic Con Paris 2017 so that I could wear a «comfortable» costume (means that I can sit with it) while judging at the French Championships of Cosplay. I got some additional pressure when I saw the other judges… Riki Lecotey, costume designer on Captain America : Civil War and Avengers : Infinity War (#nopressure) and Chris Donio, costume designer on Ant-Man (#nopressureatall).
References
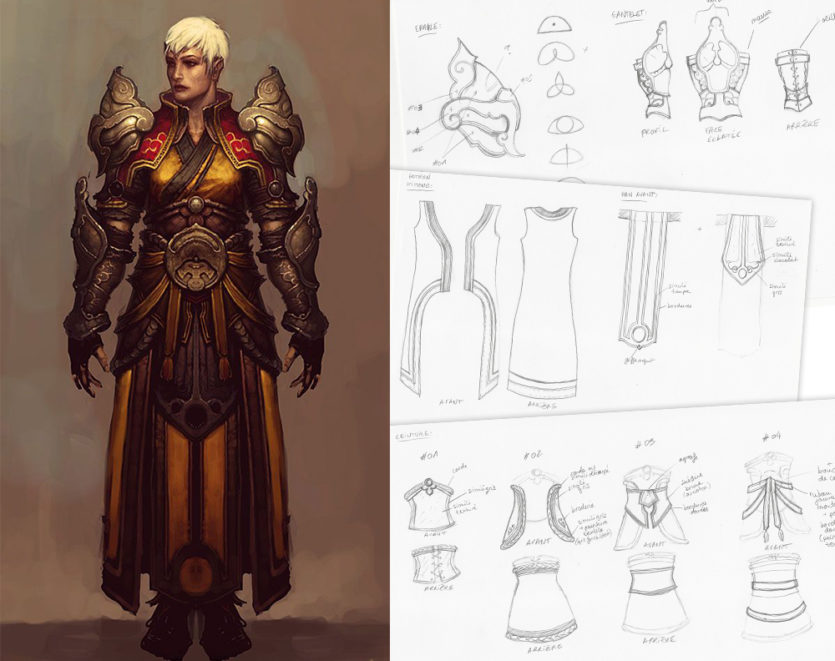
For the references, I chose an artwork from Blizzard. The outfit doesn’t exactly match any in-game model, but I liked the details and different pieces better 😛
I re-drew most of the parts with different perspectives, and superimposed the layers step by step to better understand the overall composition of the costume and identify each piece.
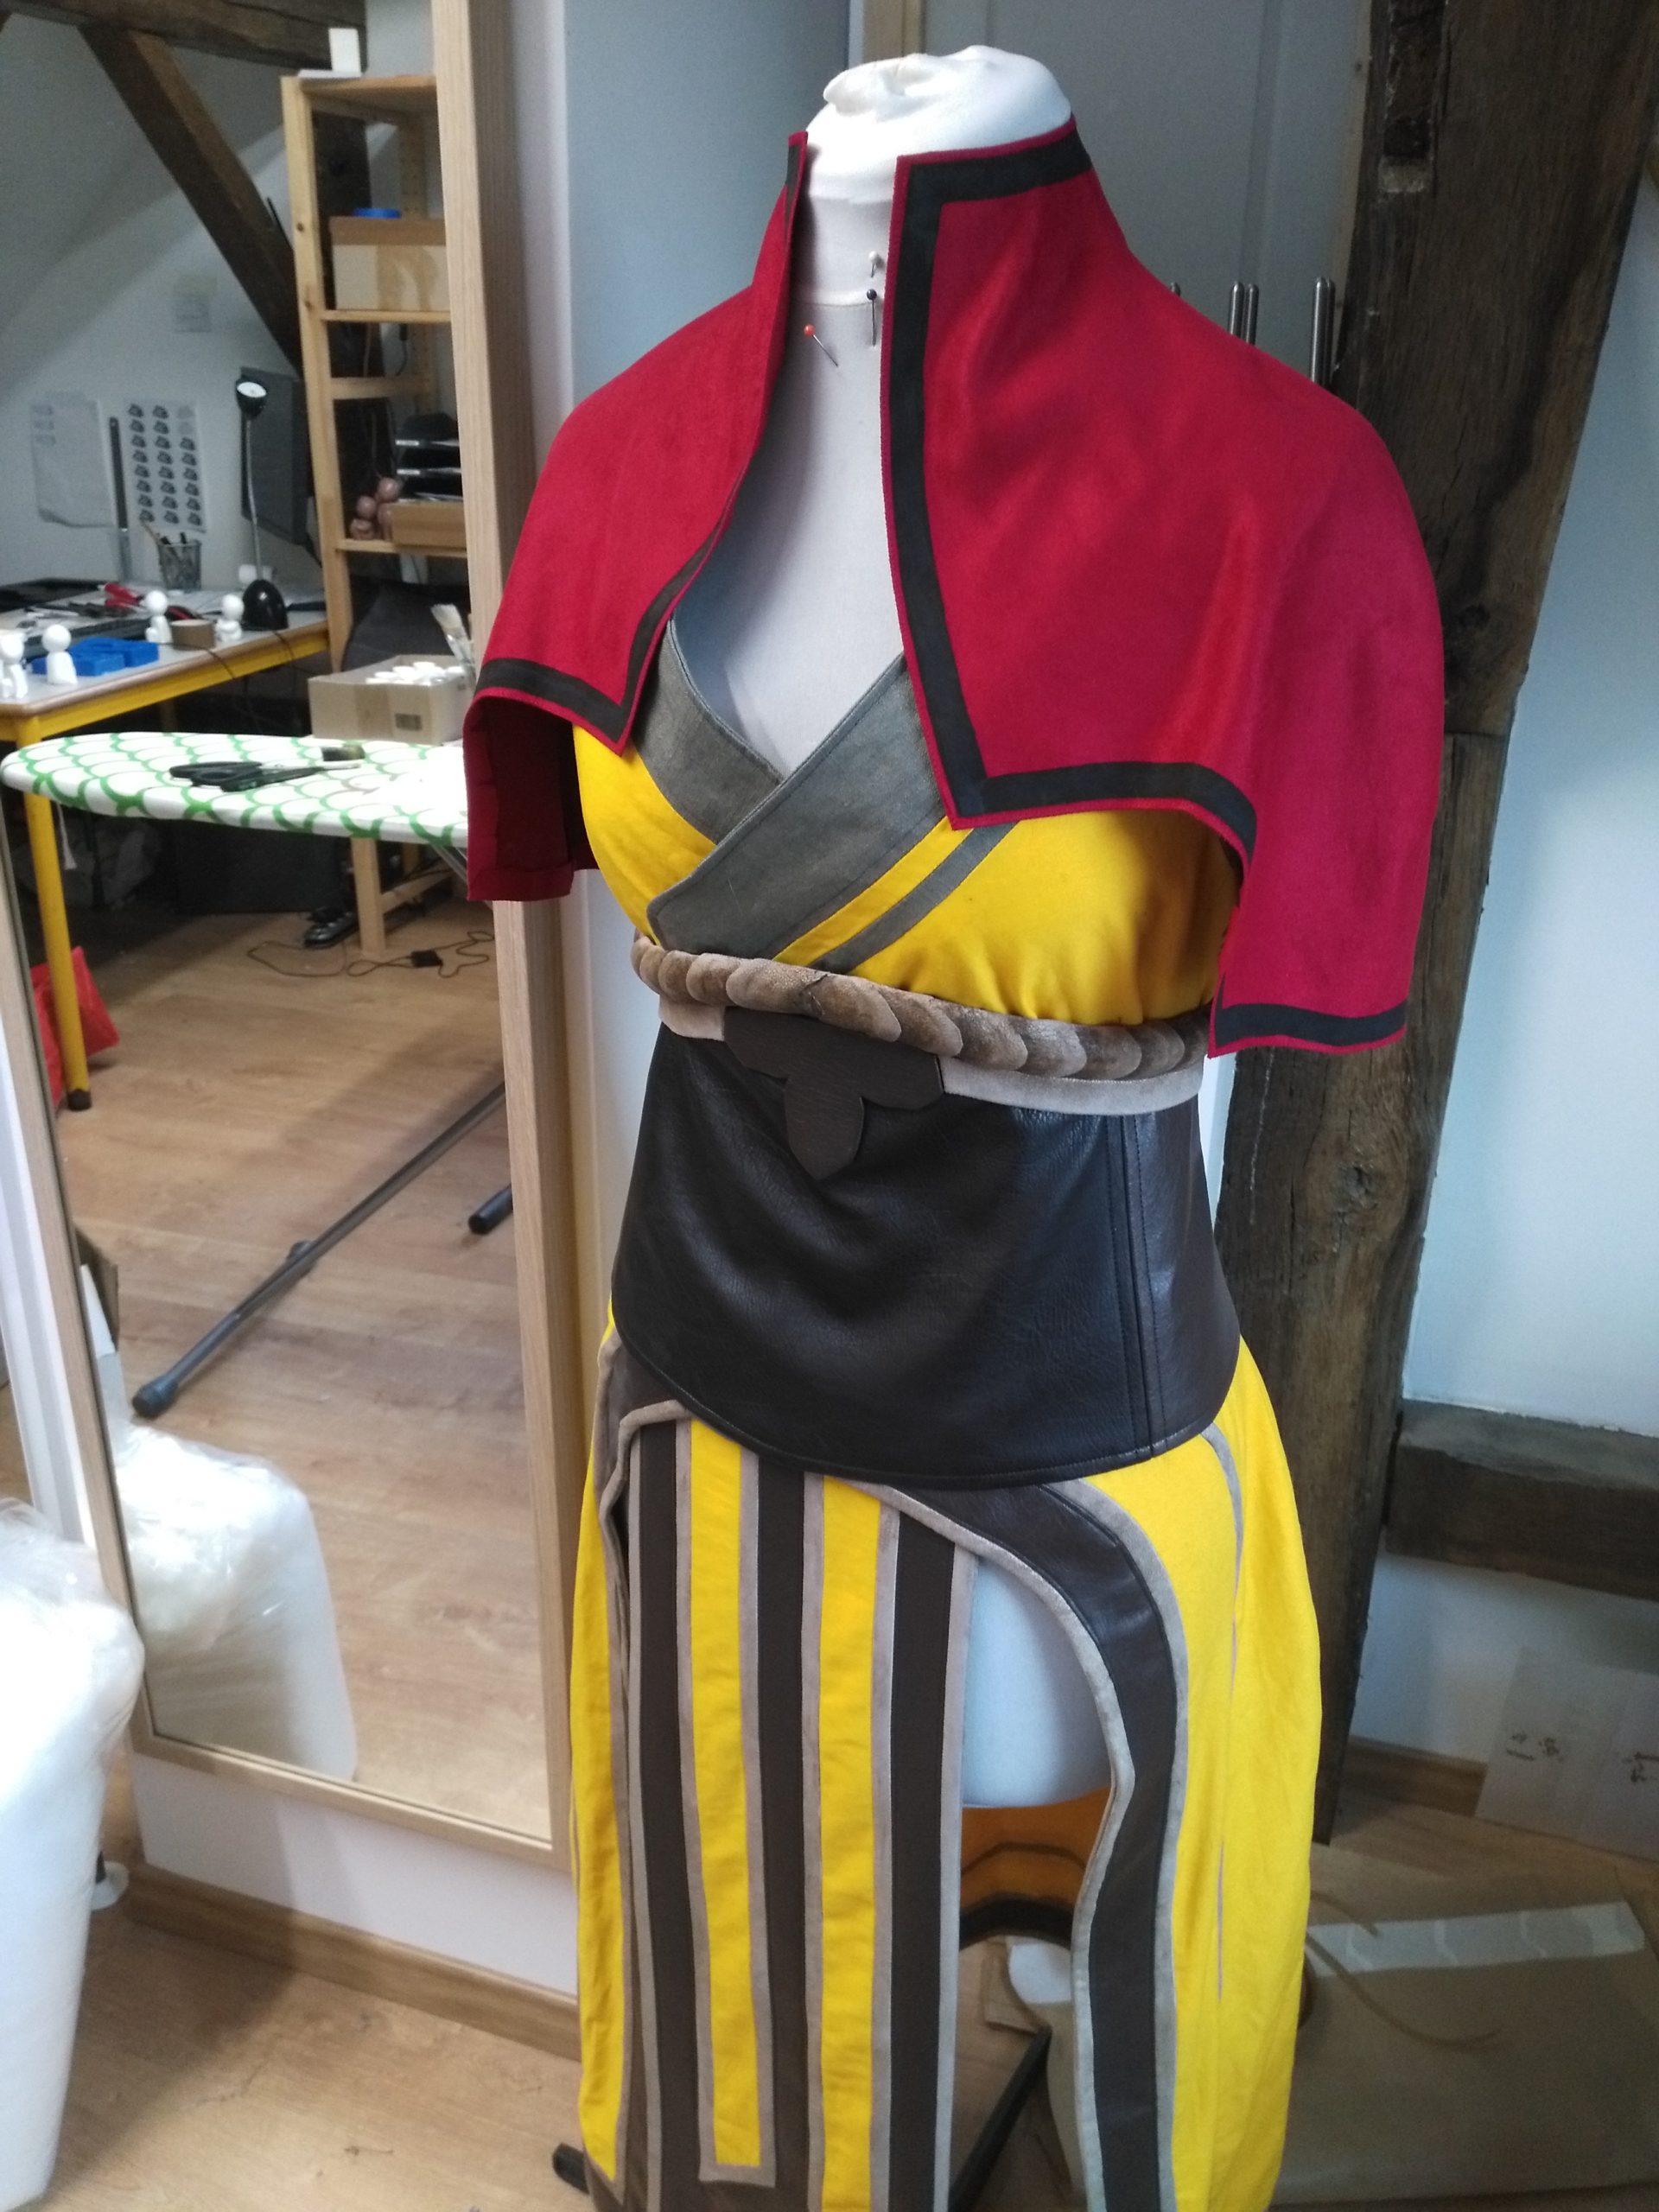
Kimono
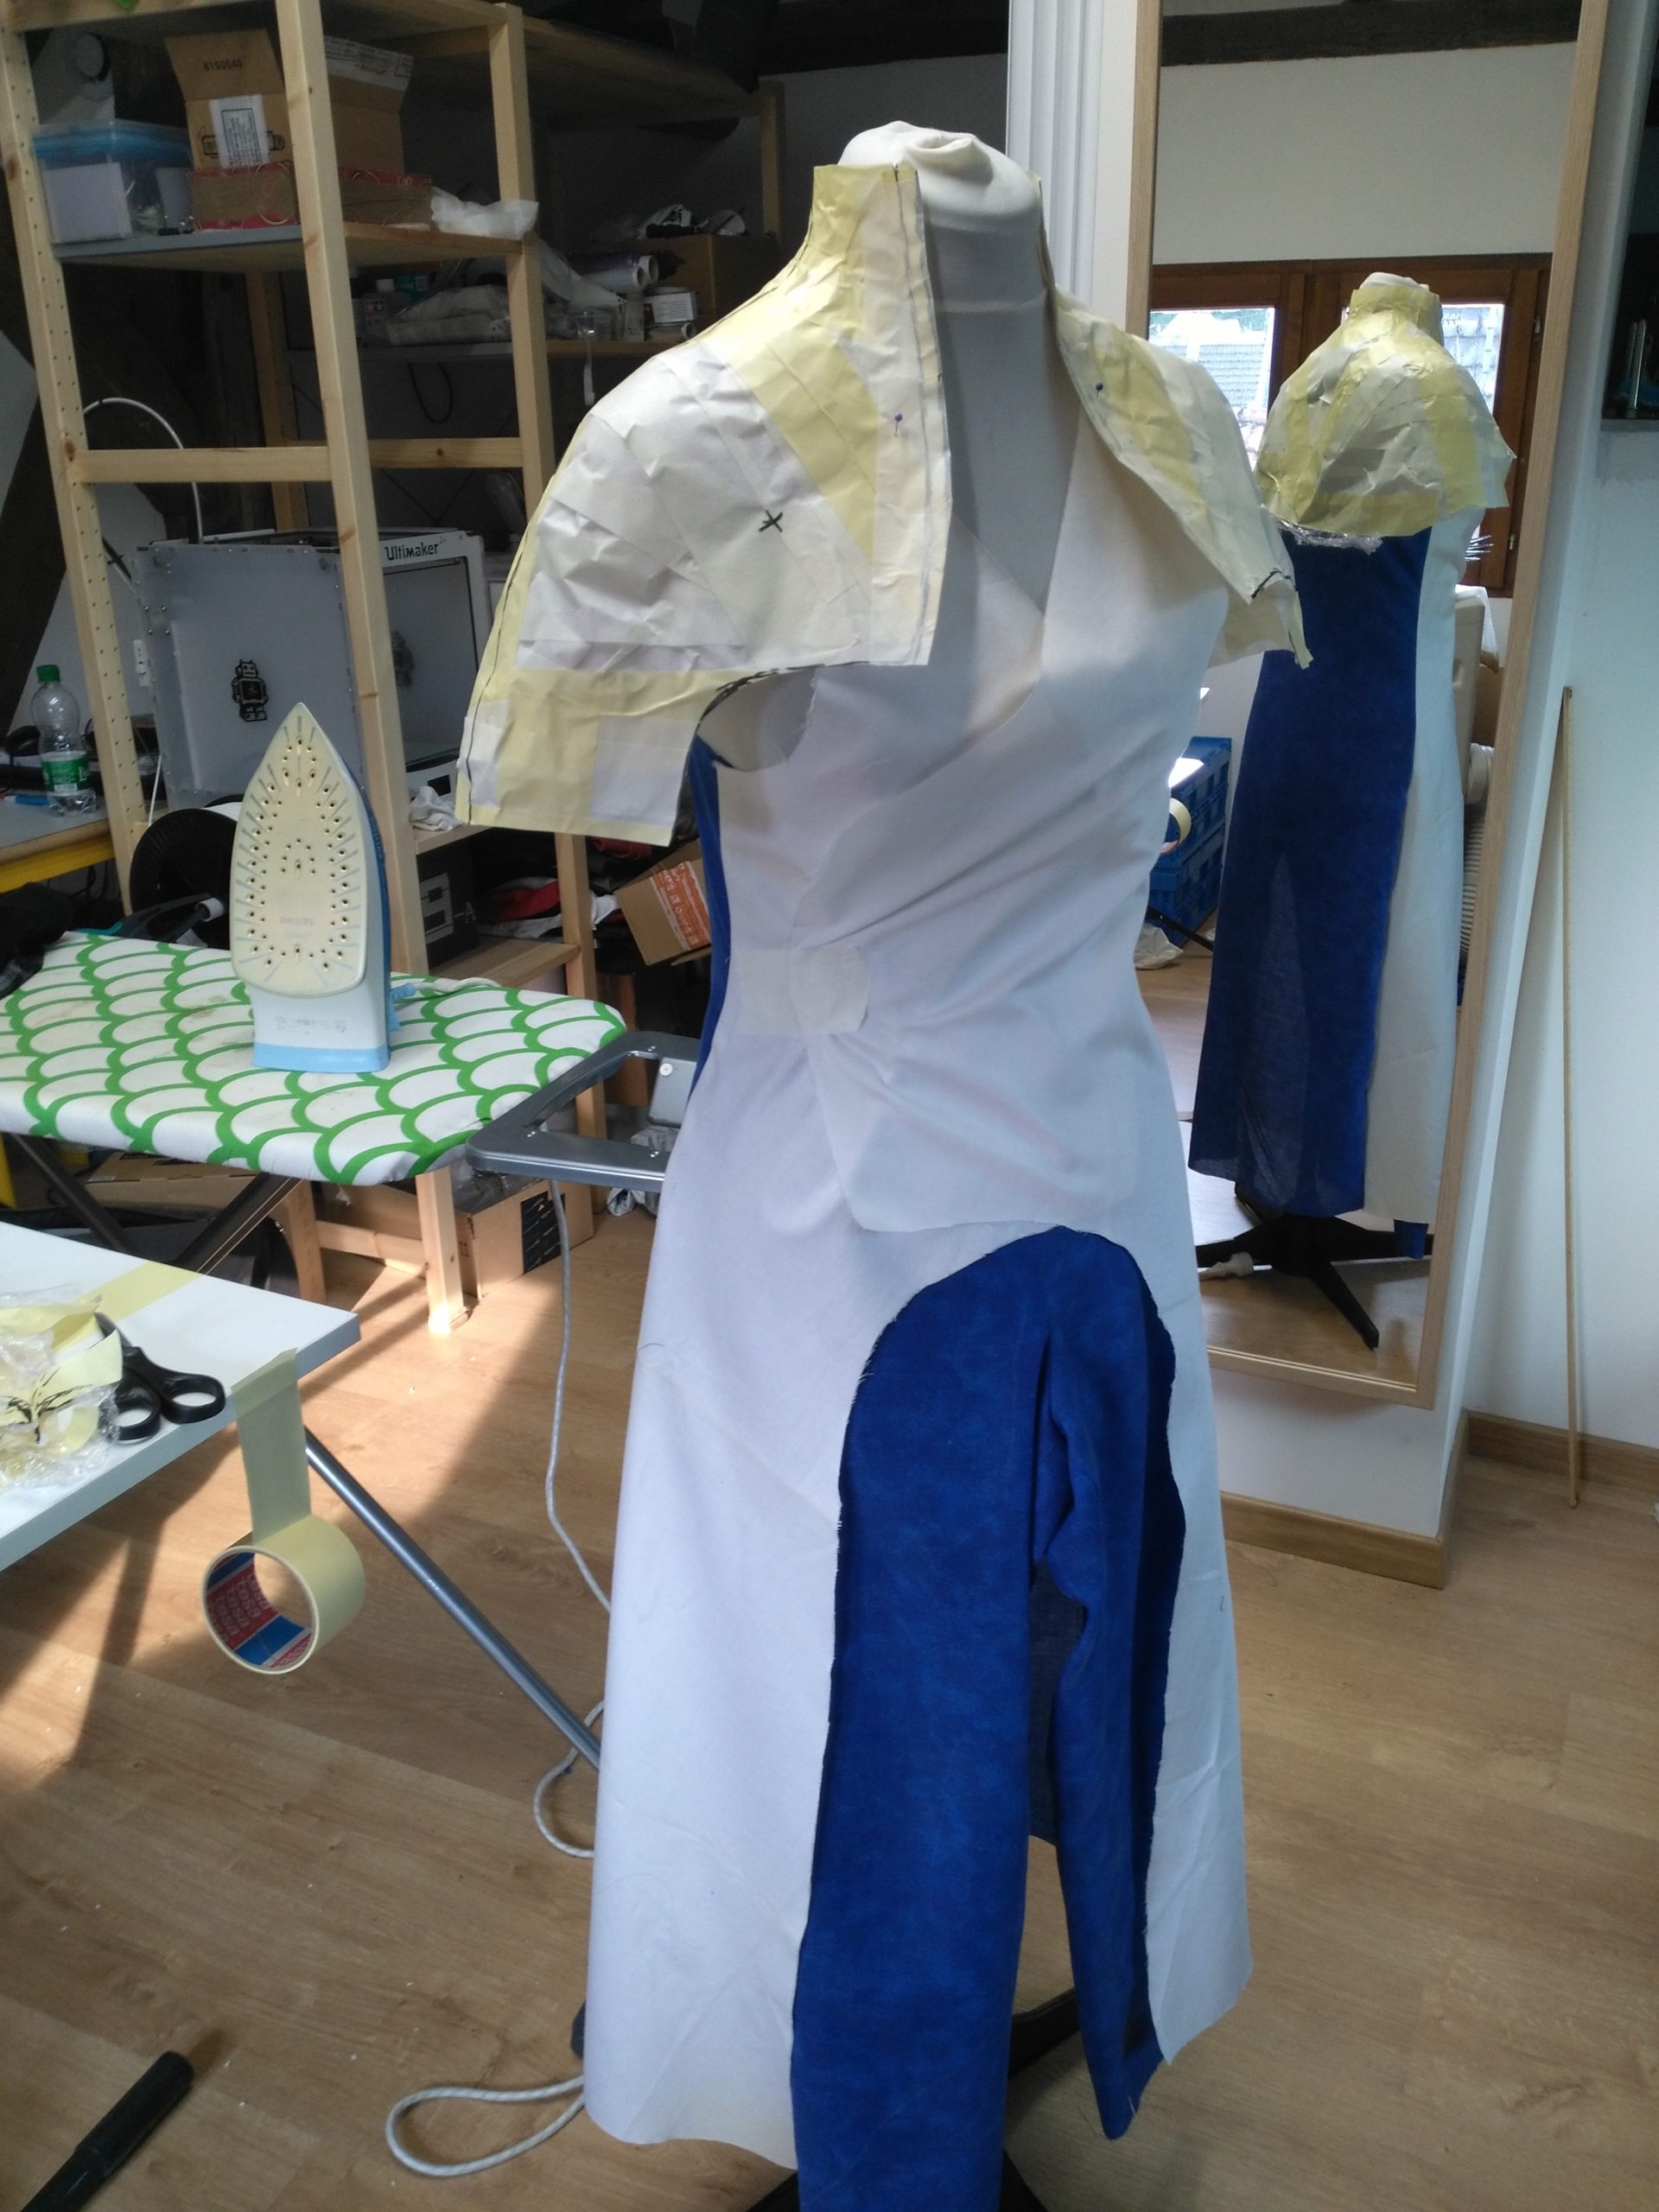
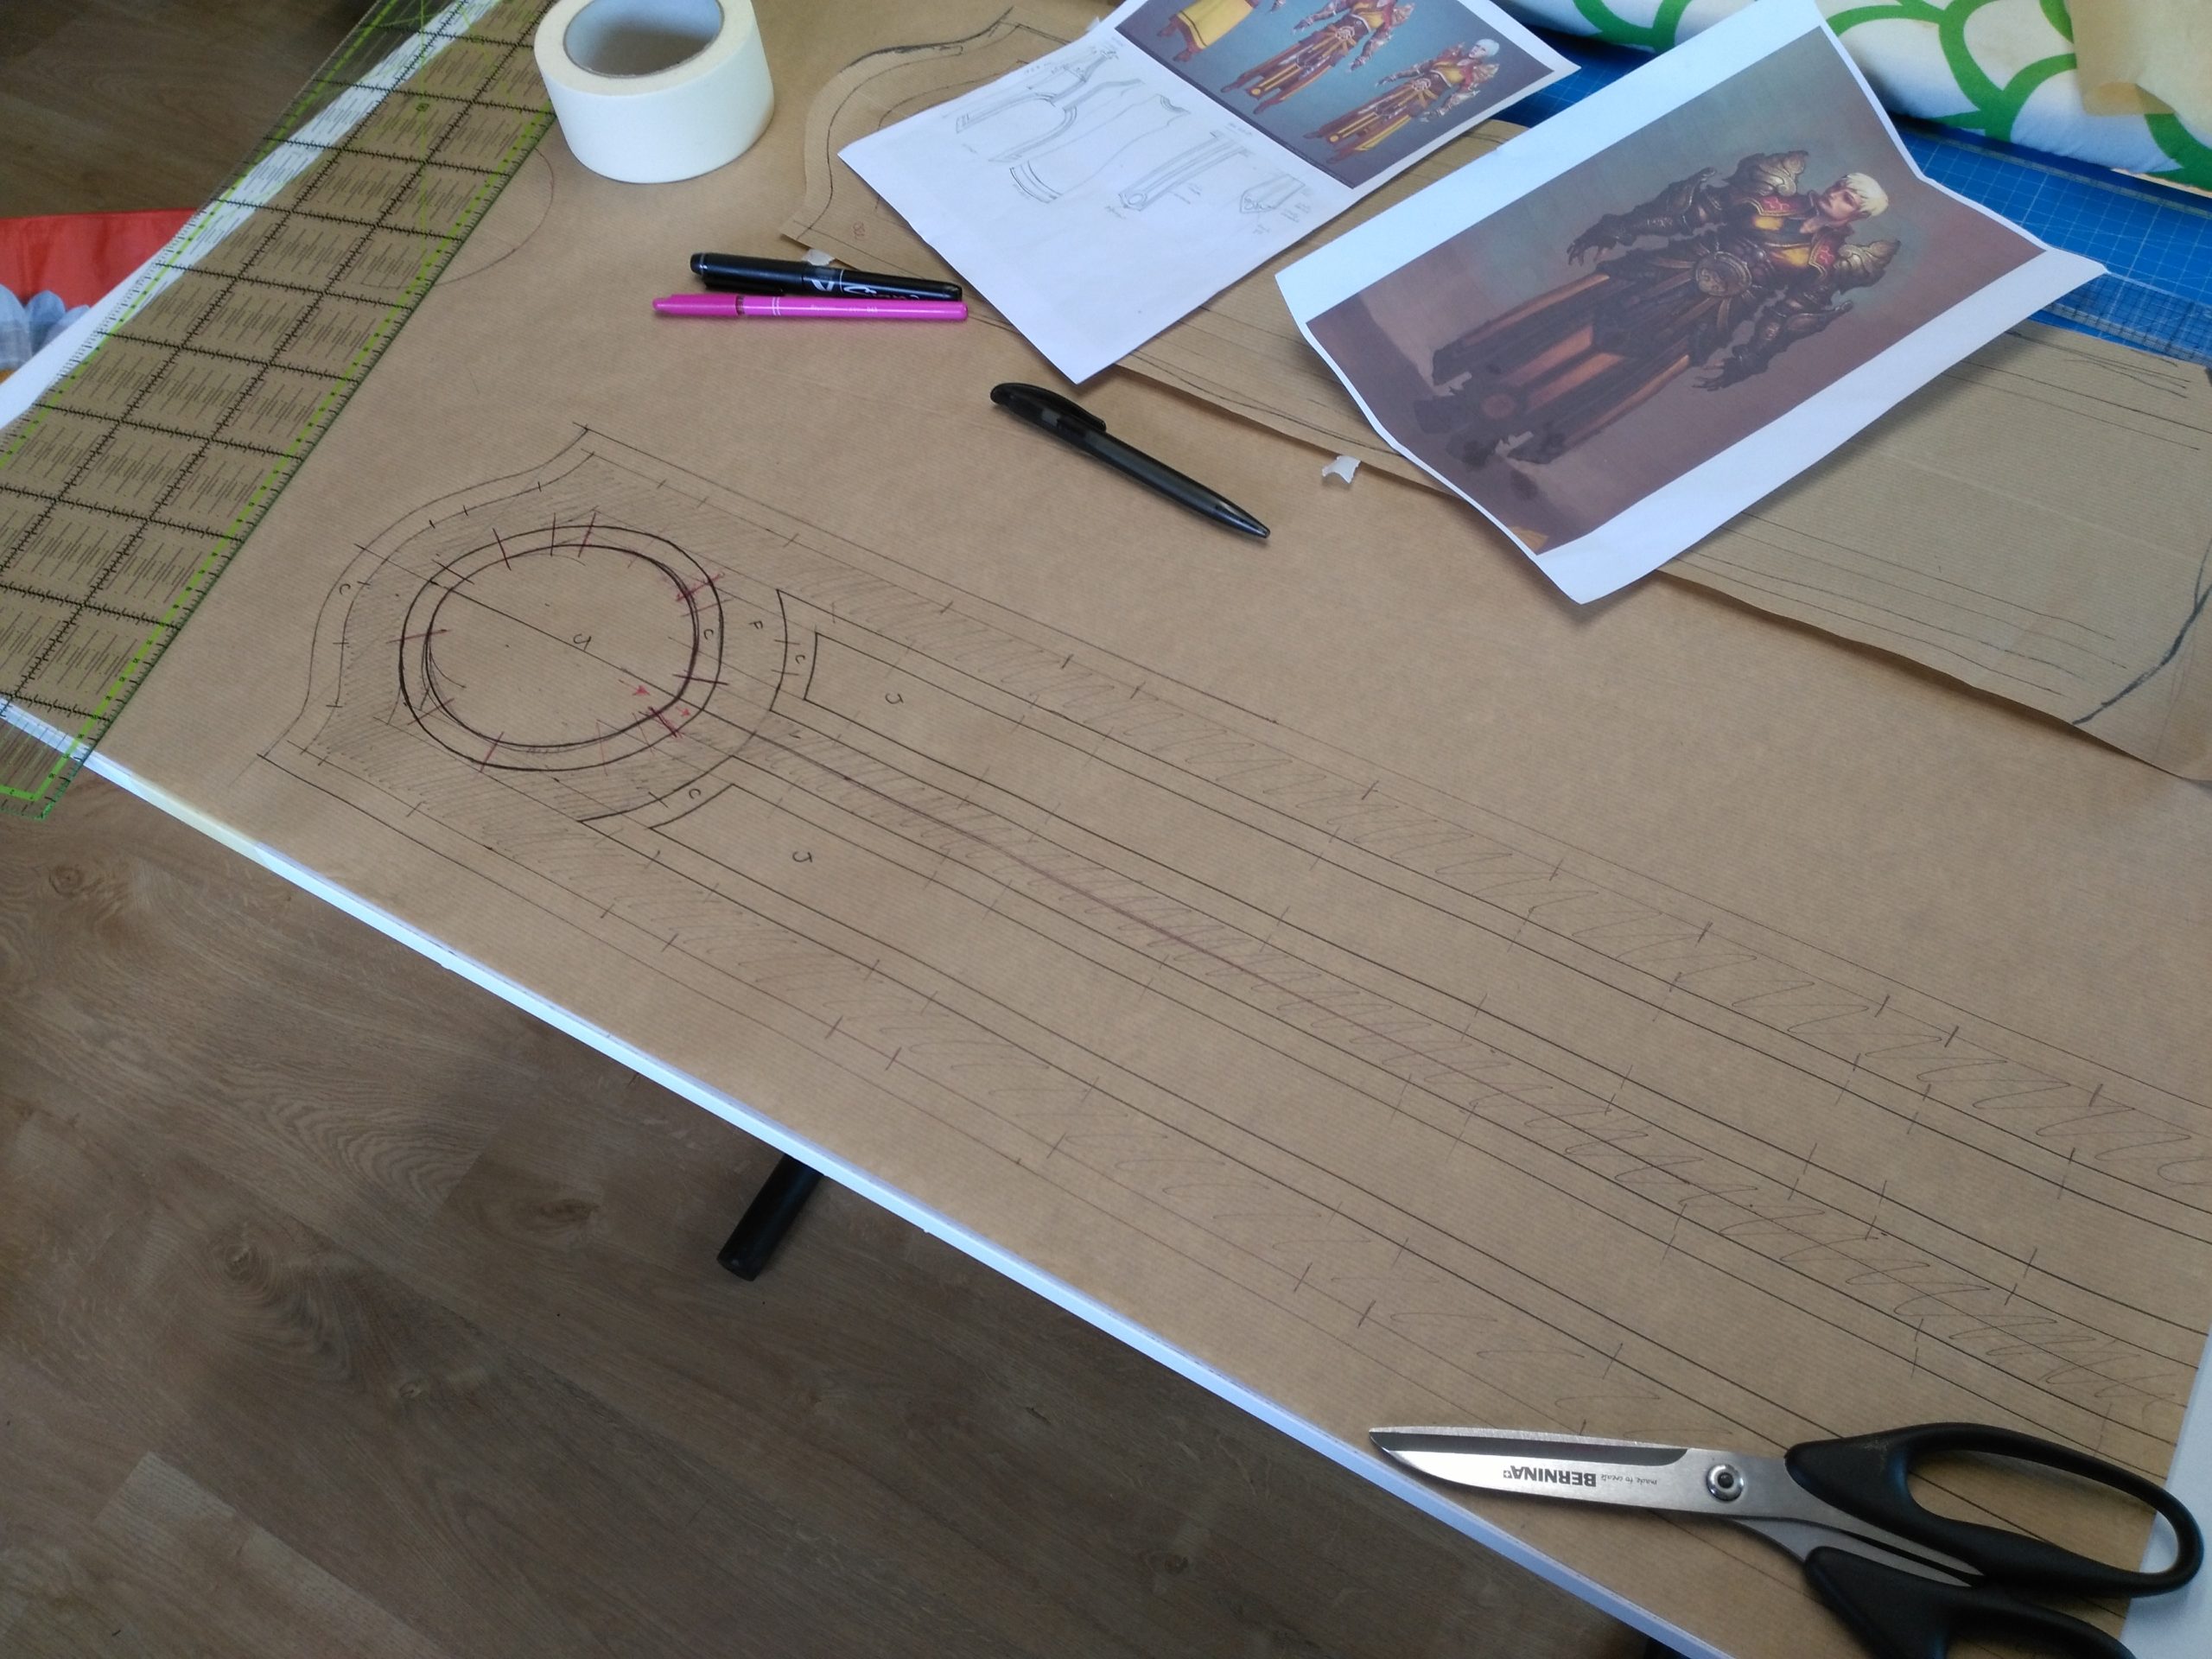
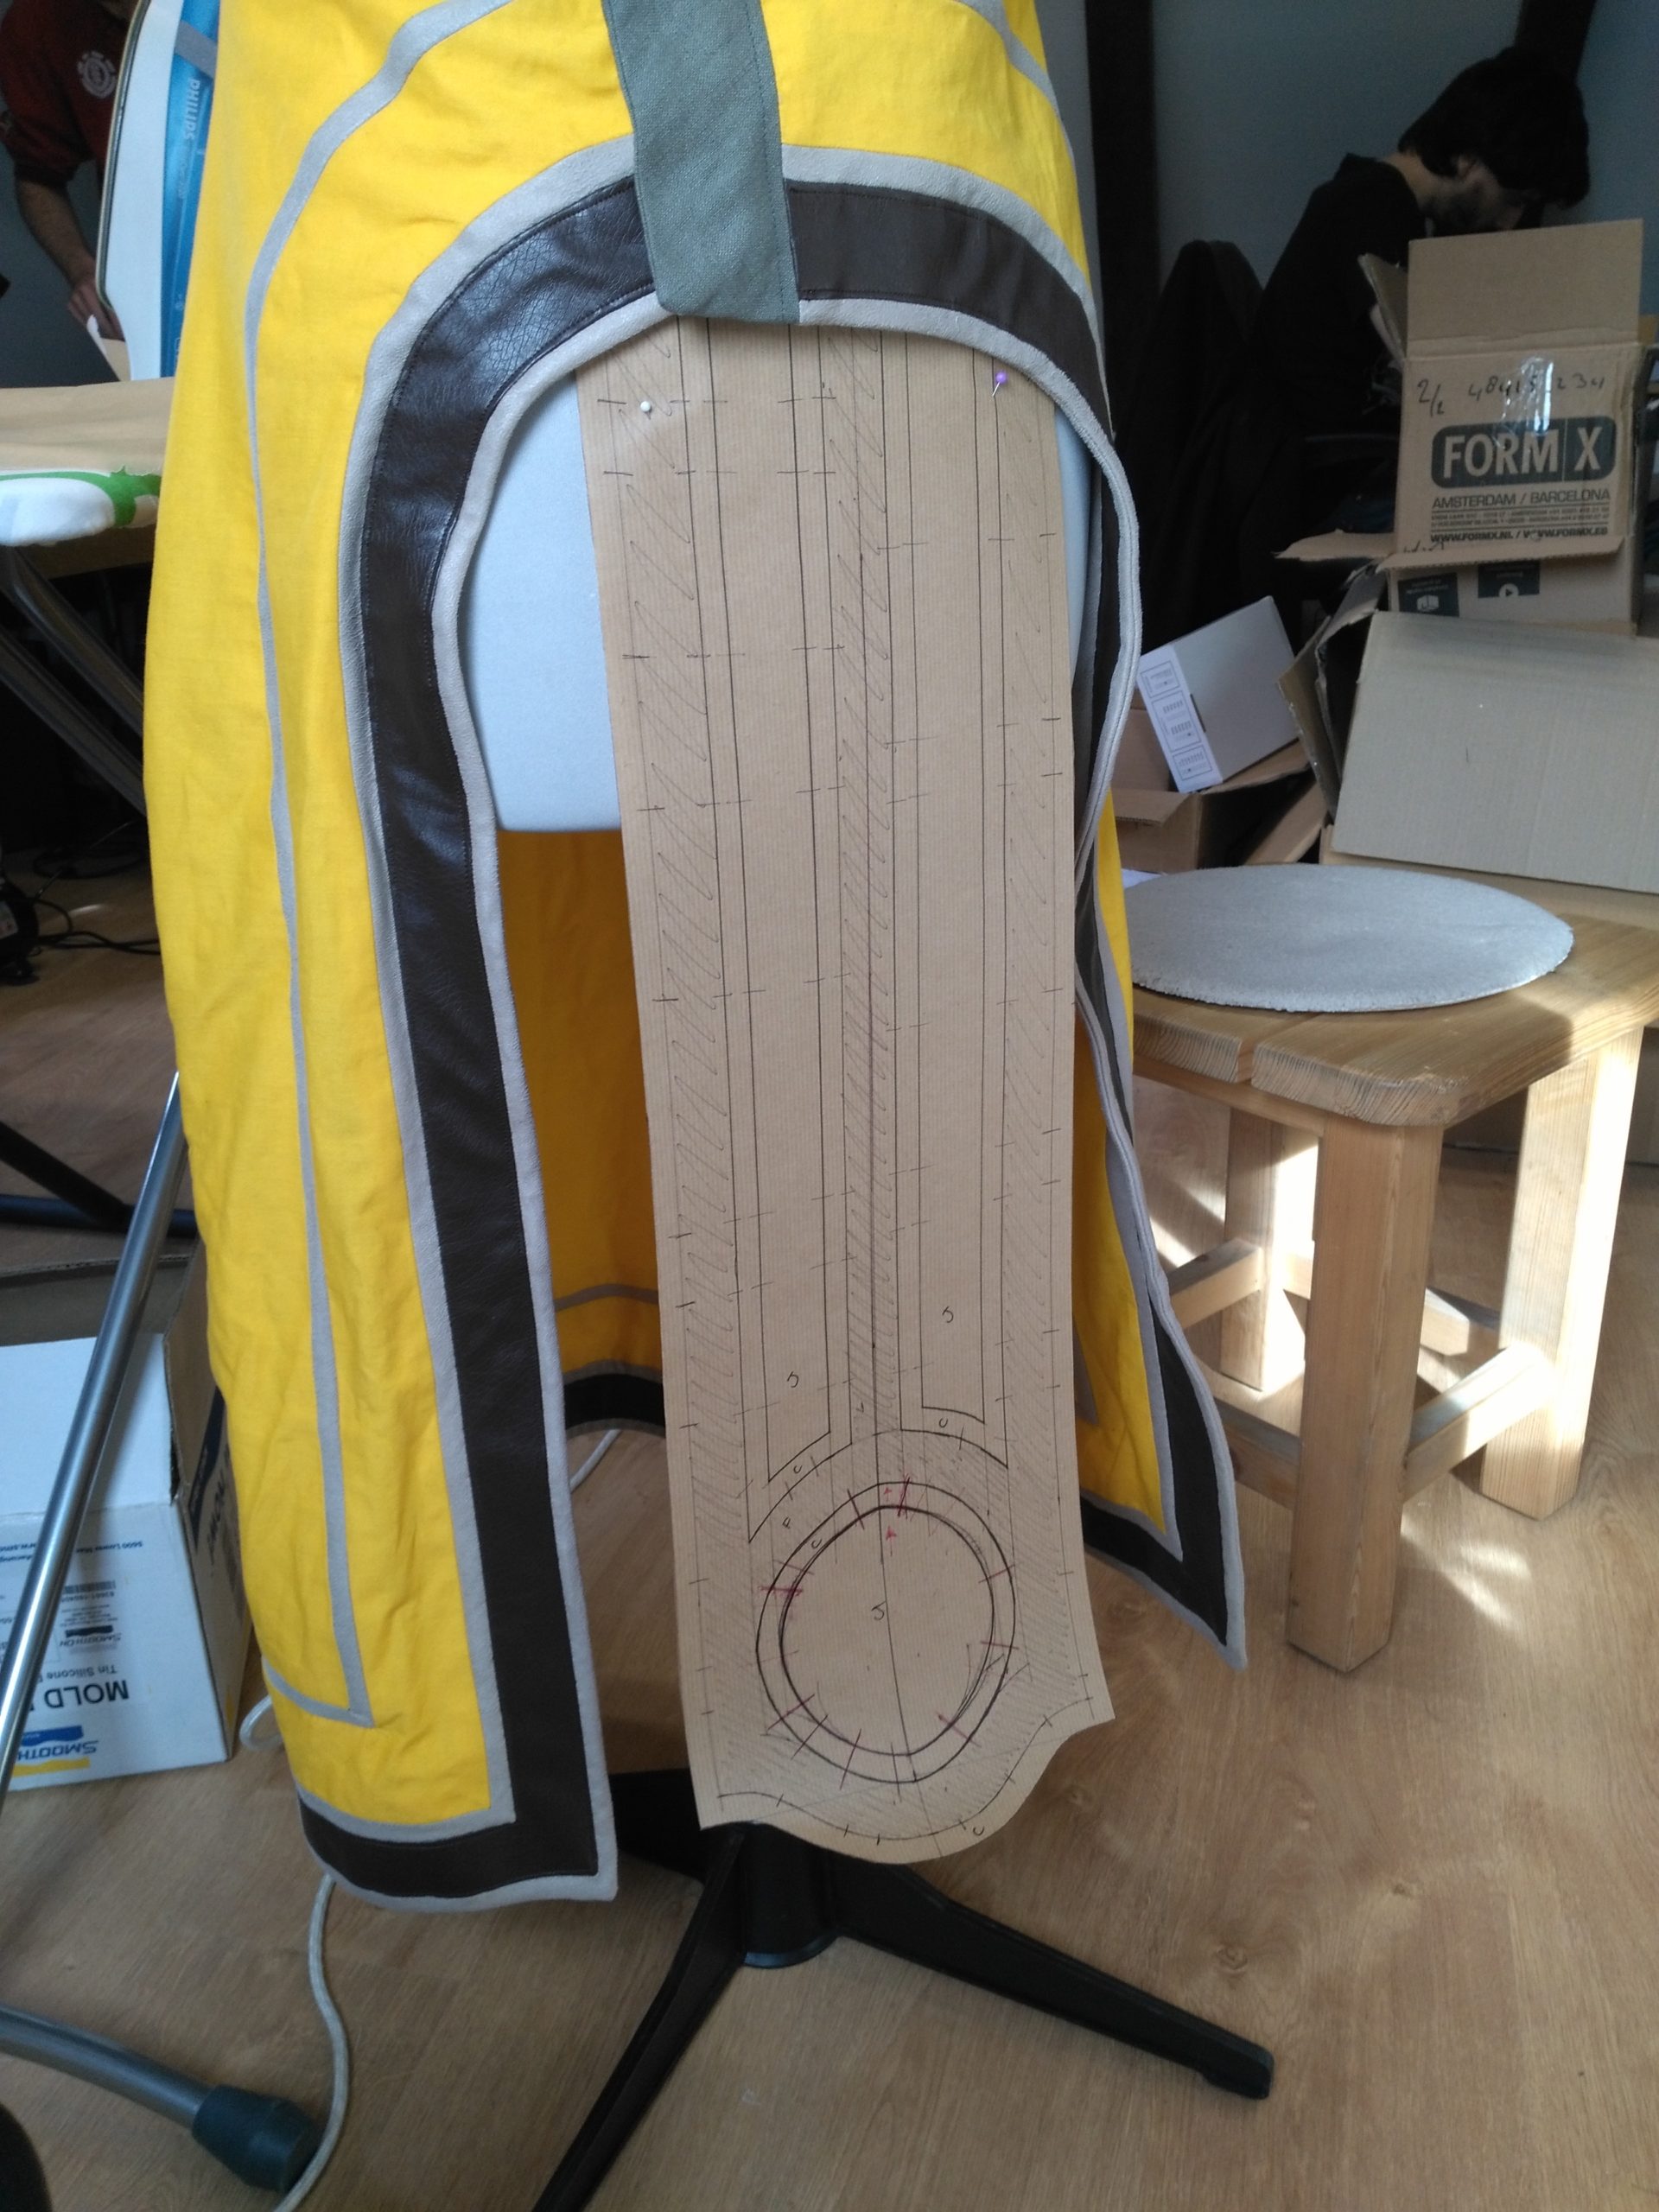
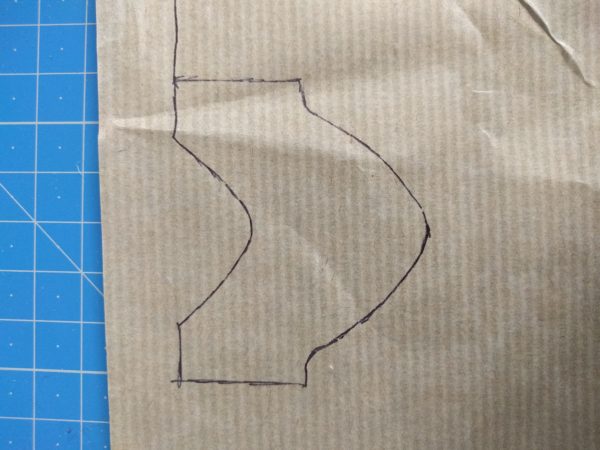
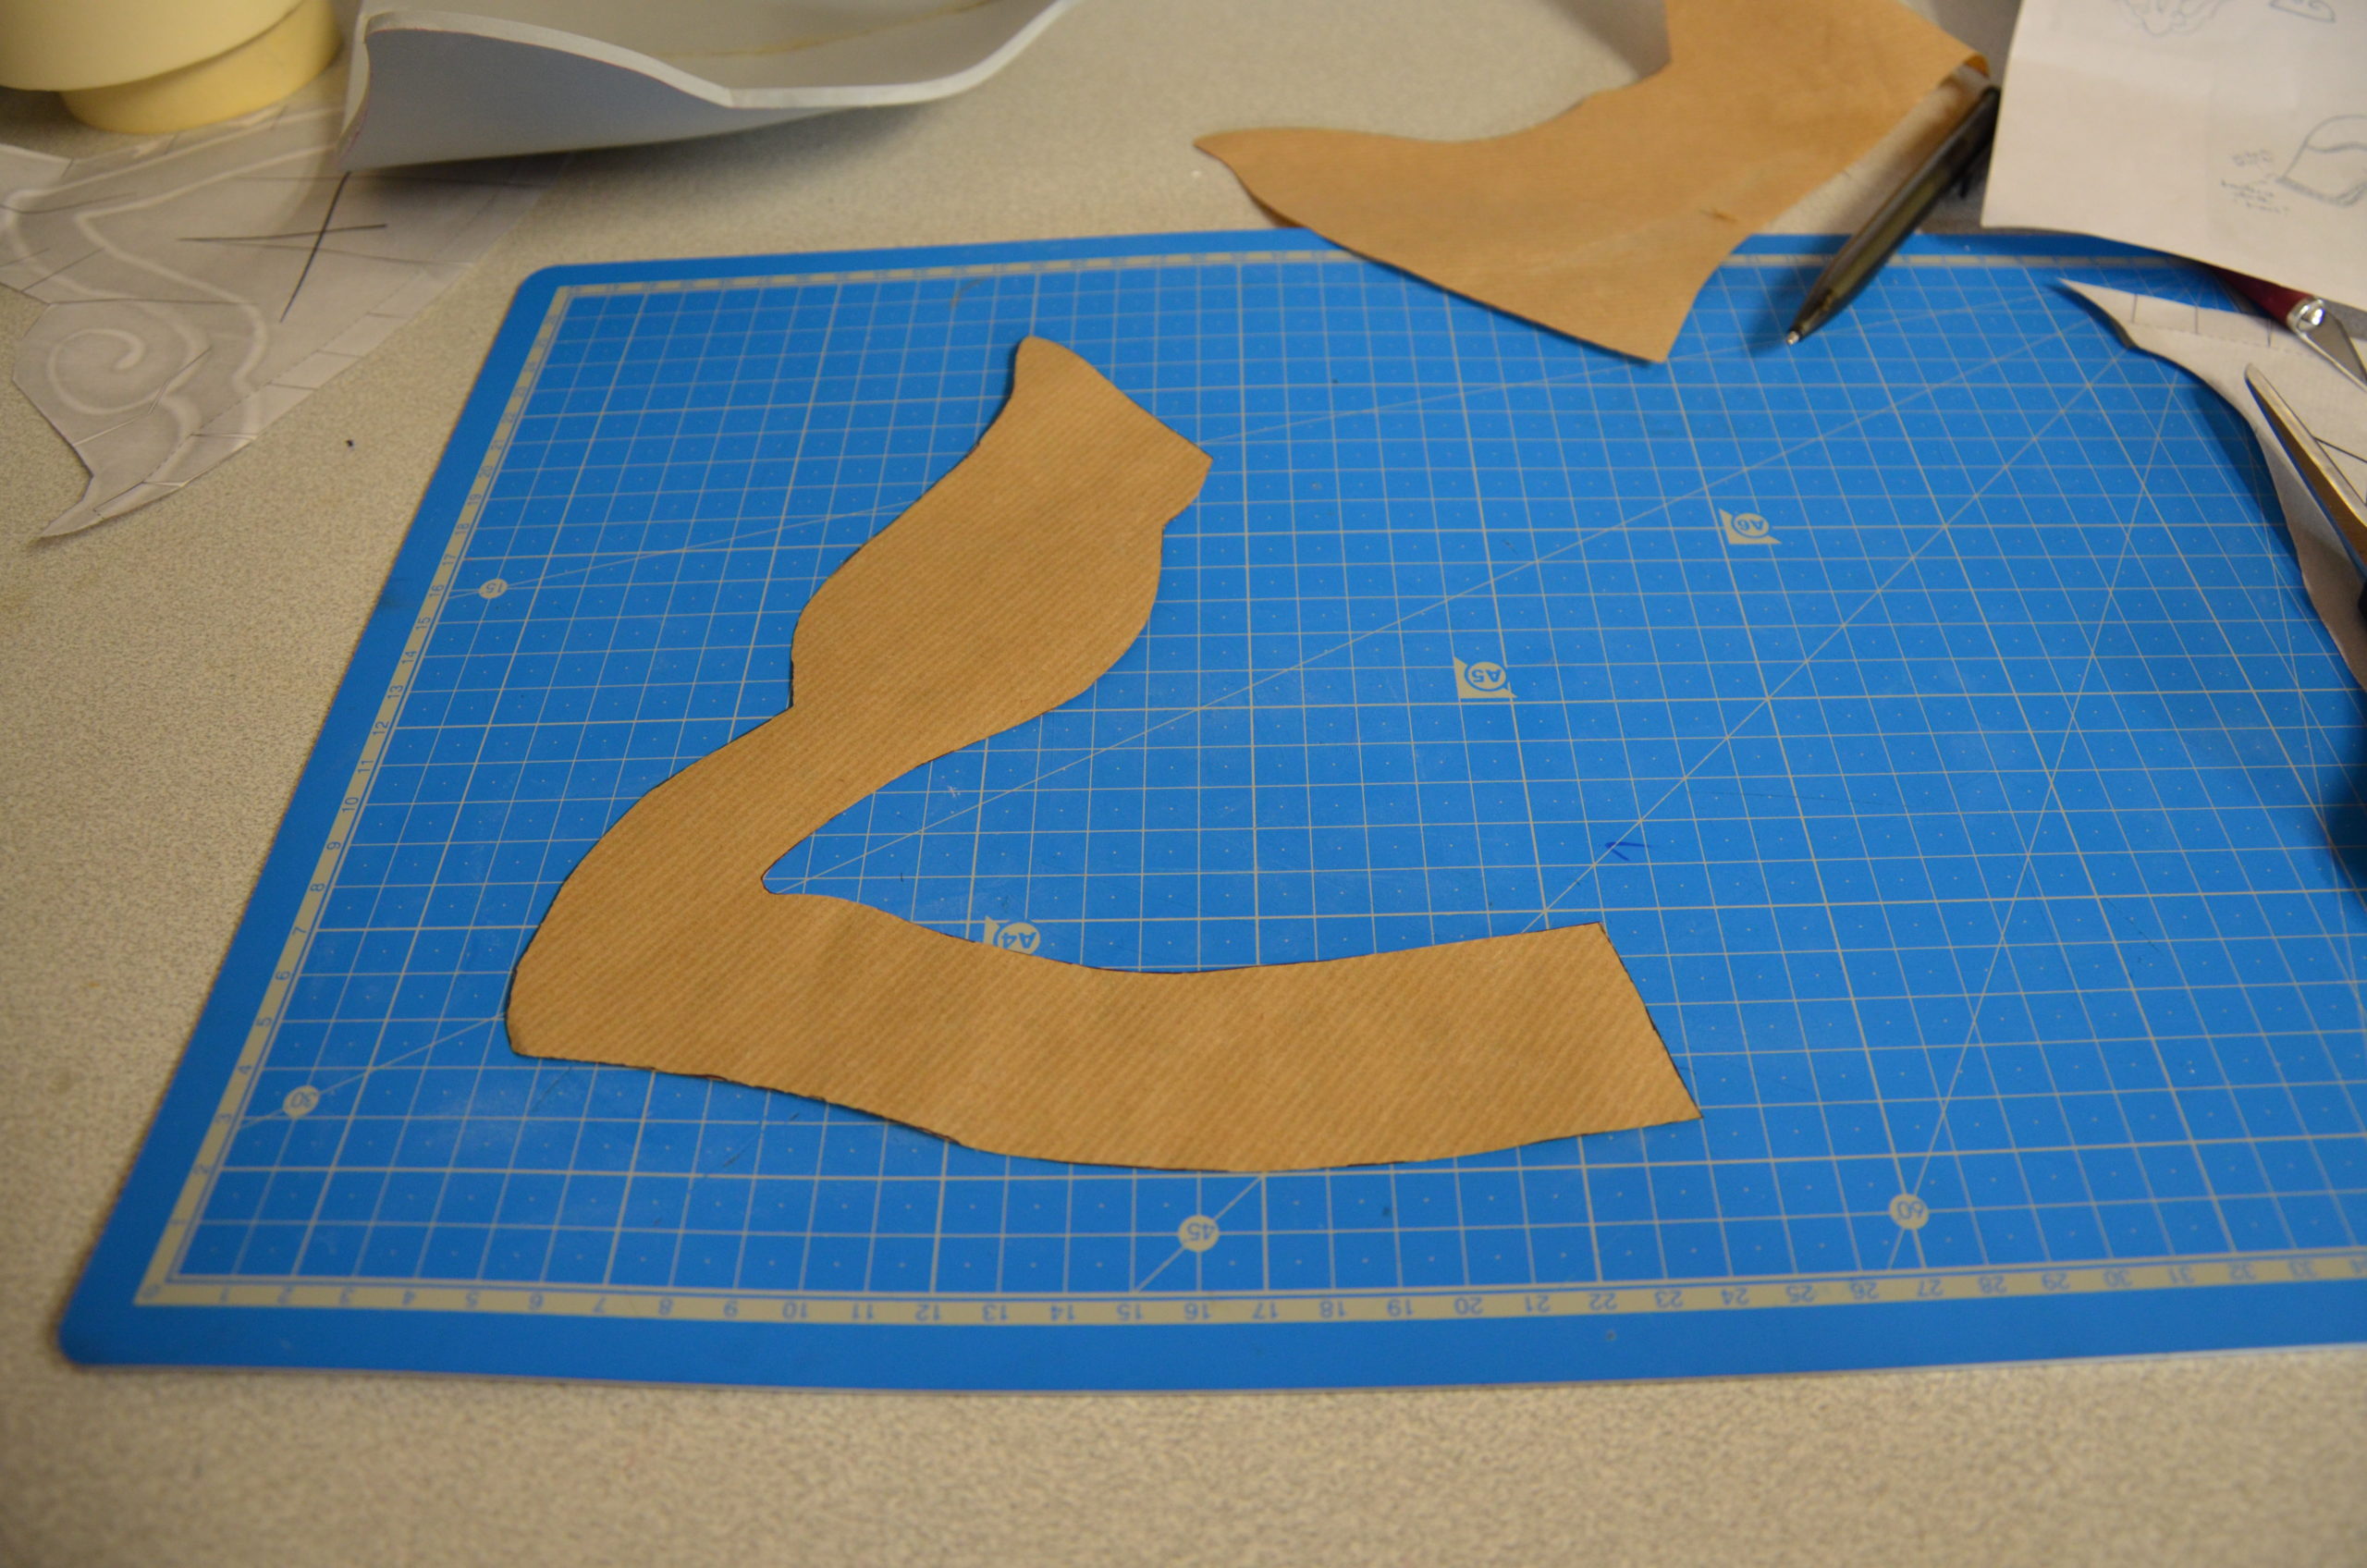
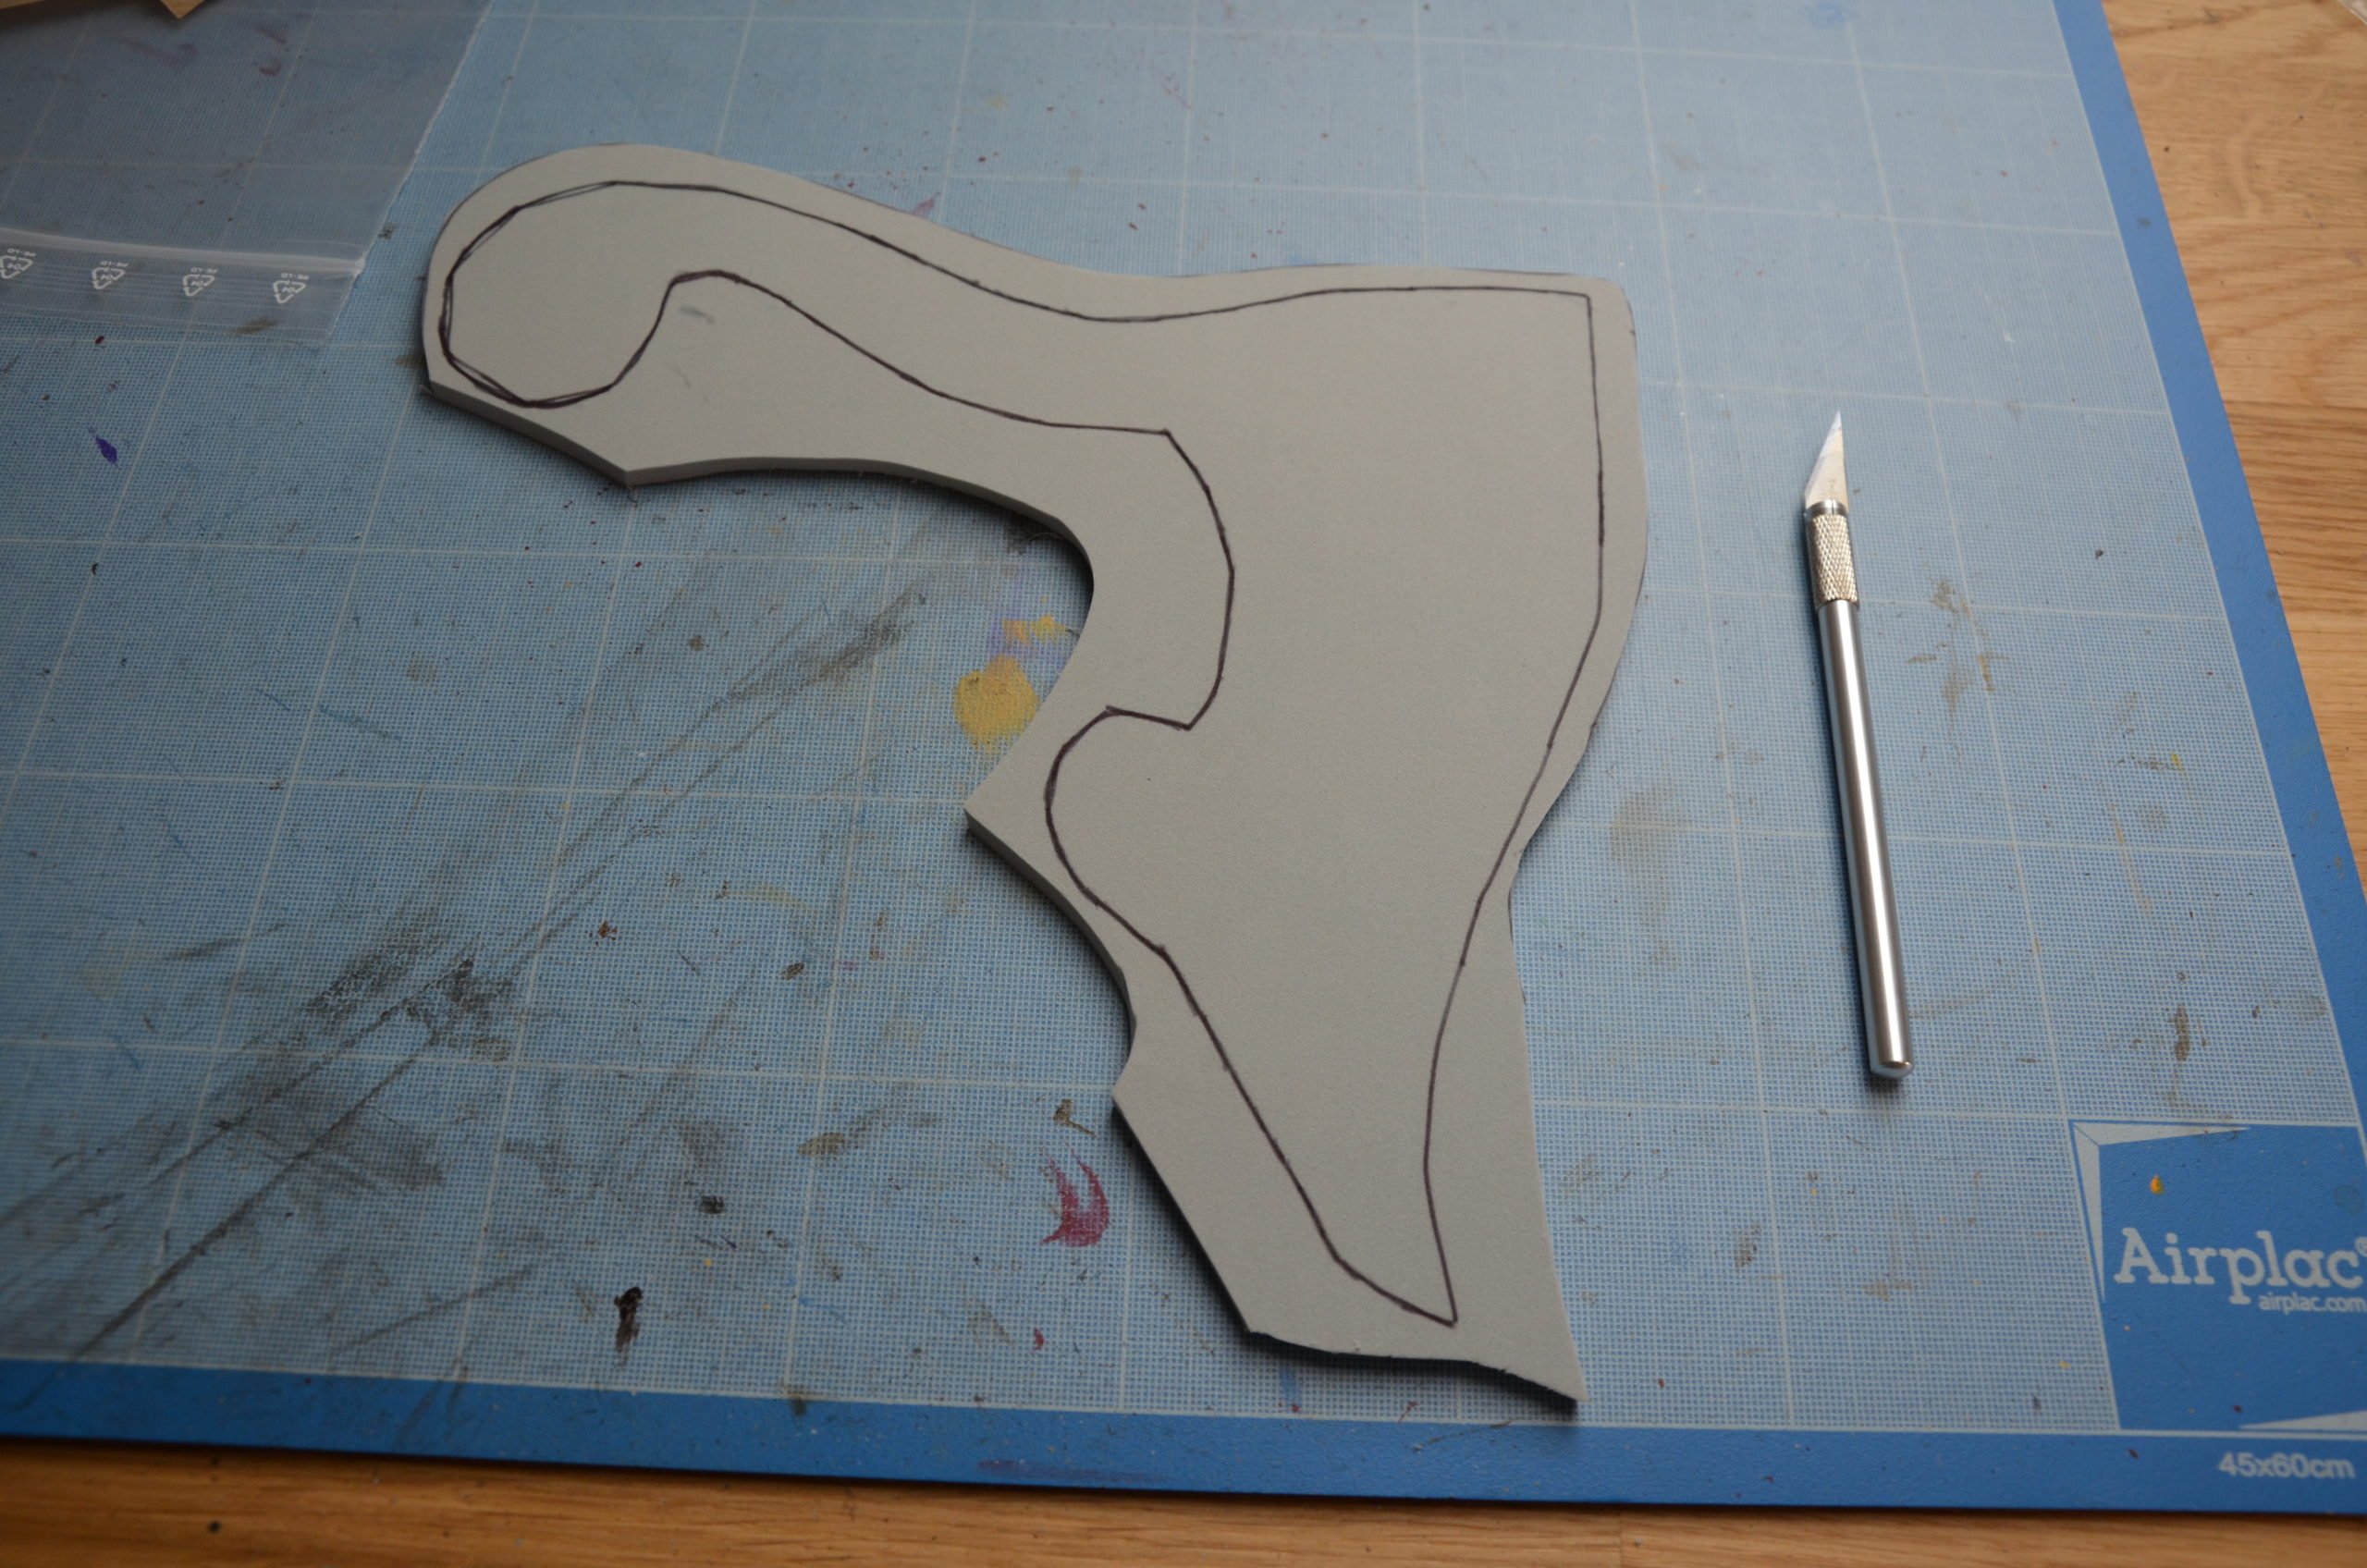
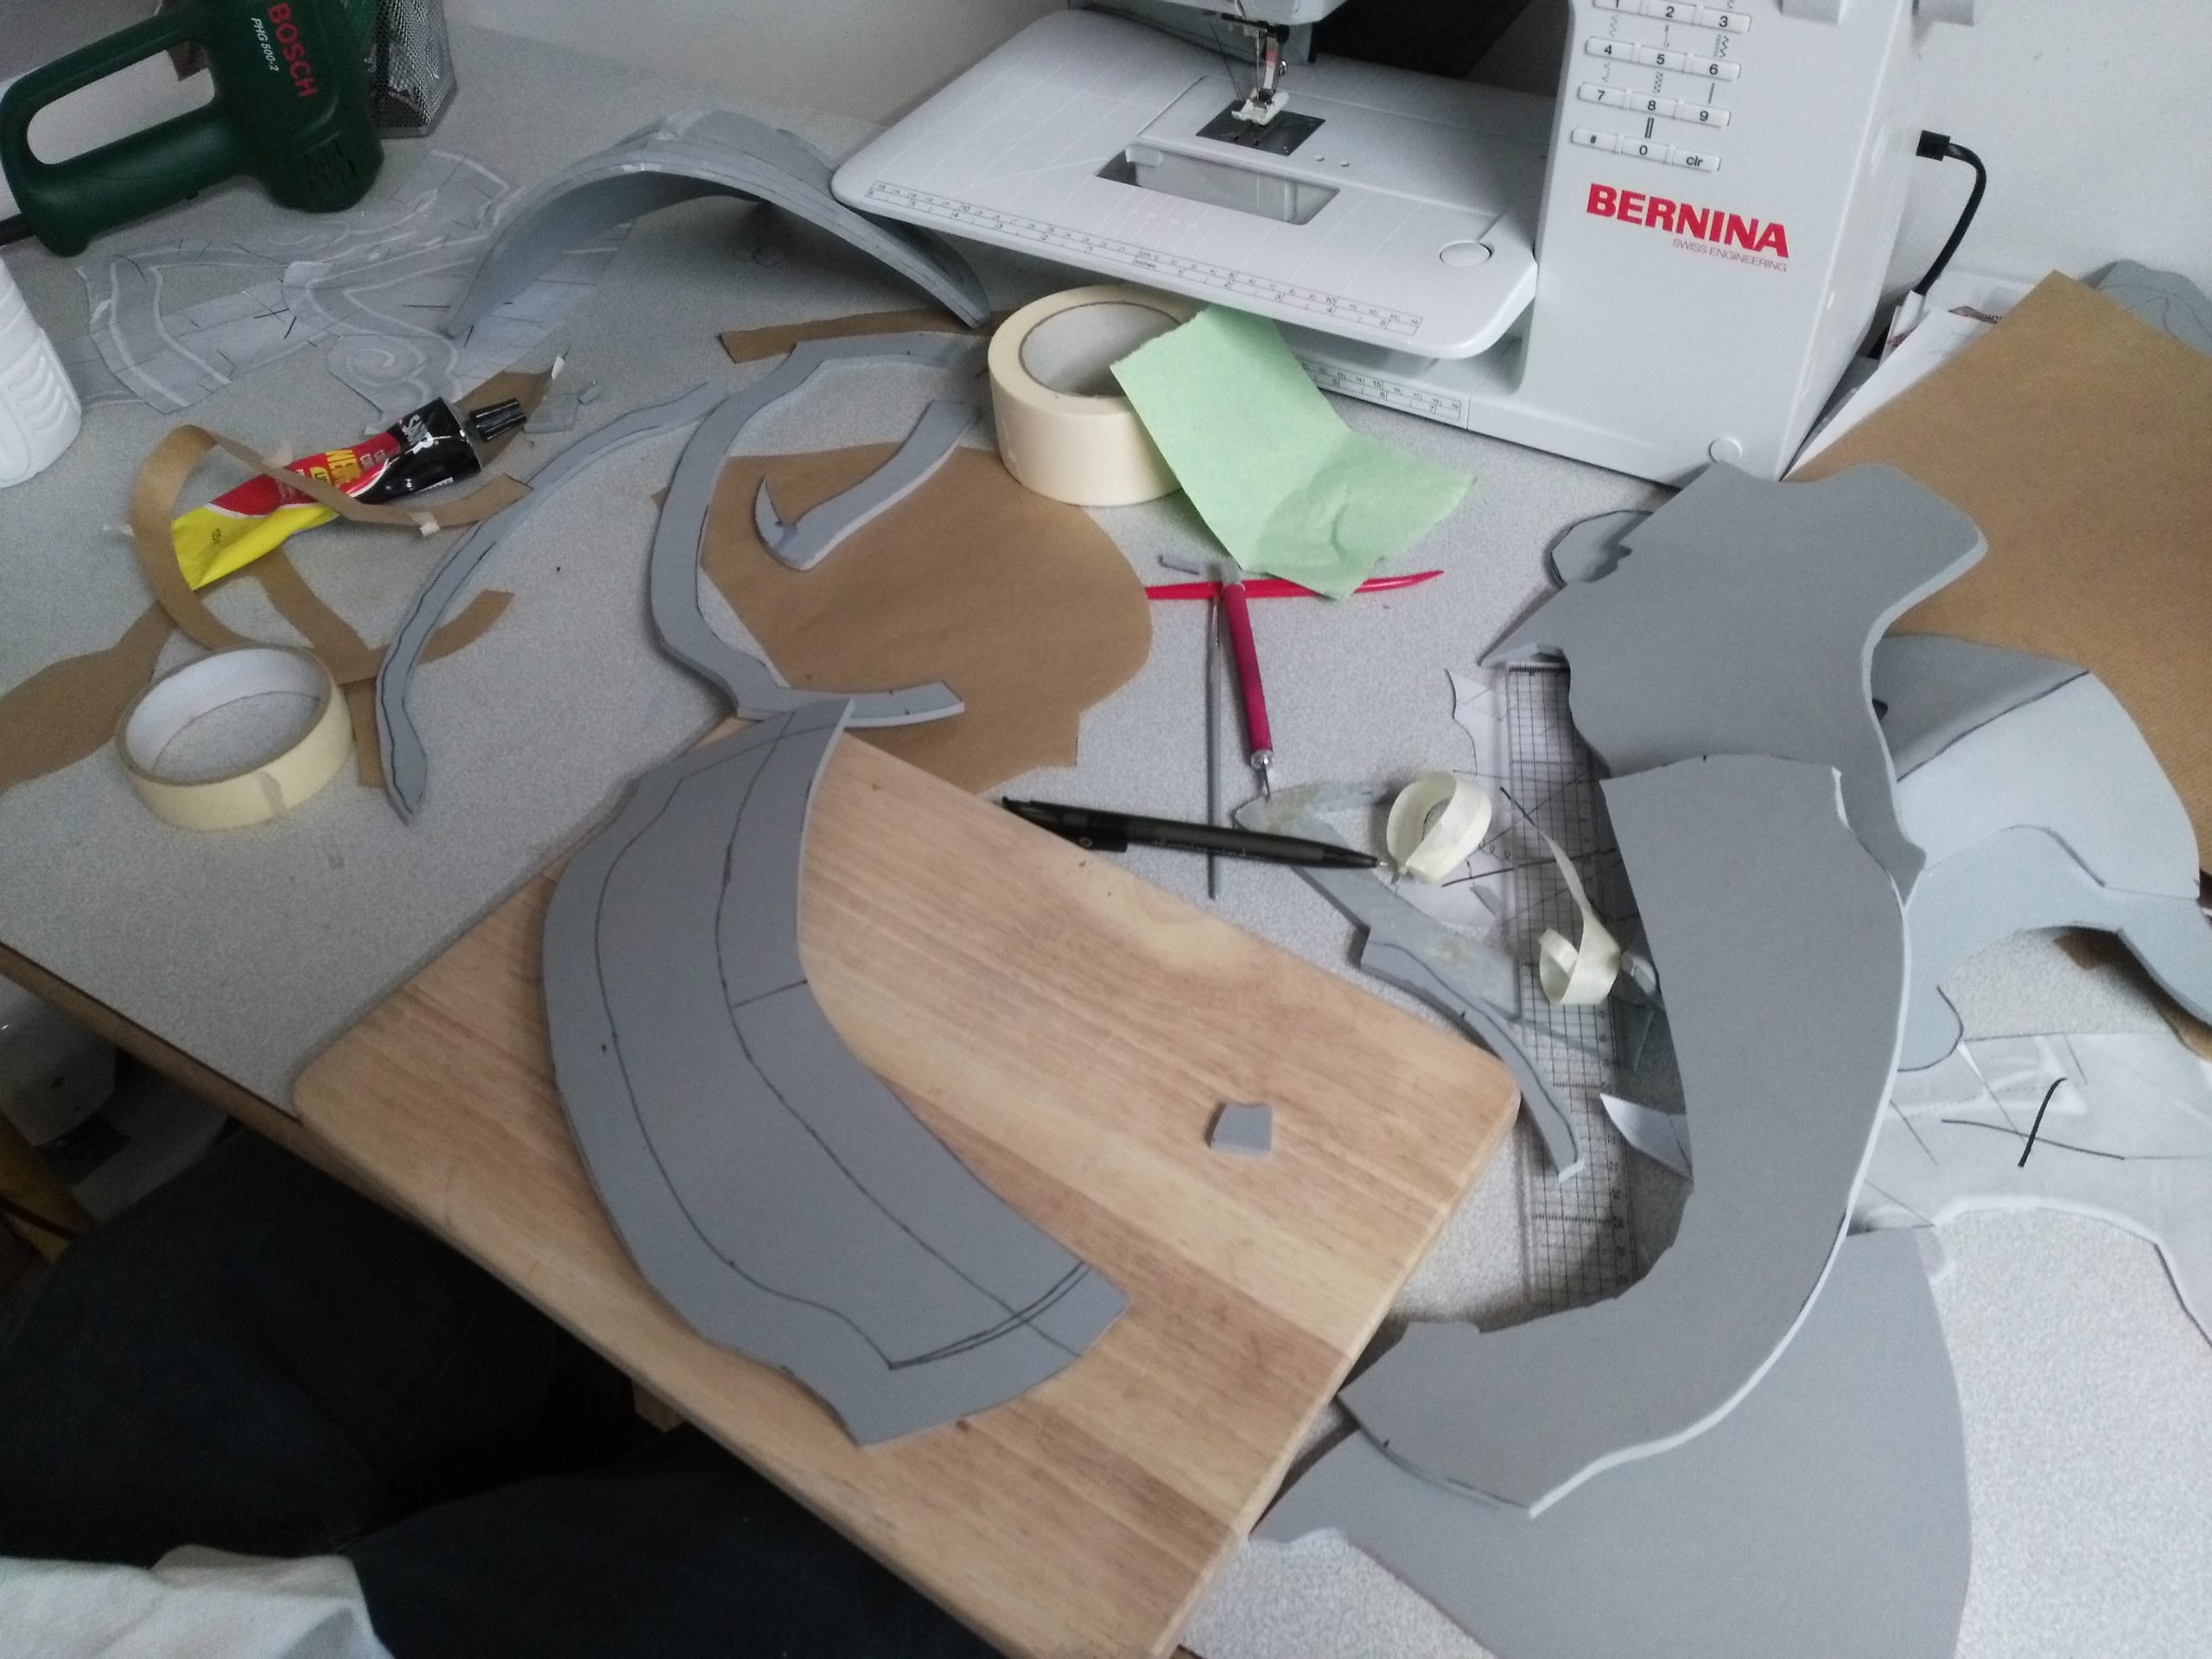
1. Patterns
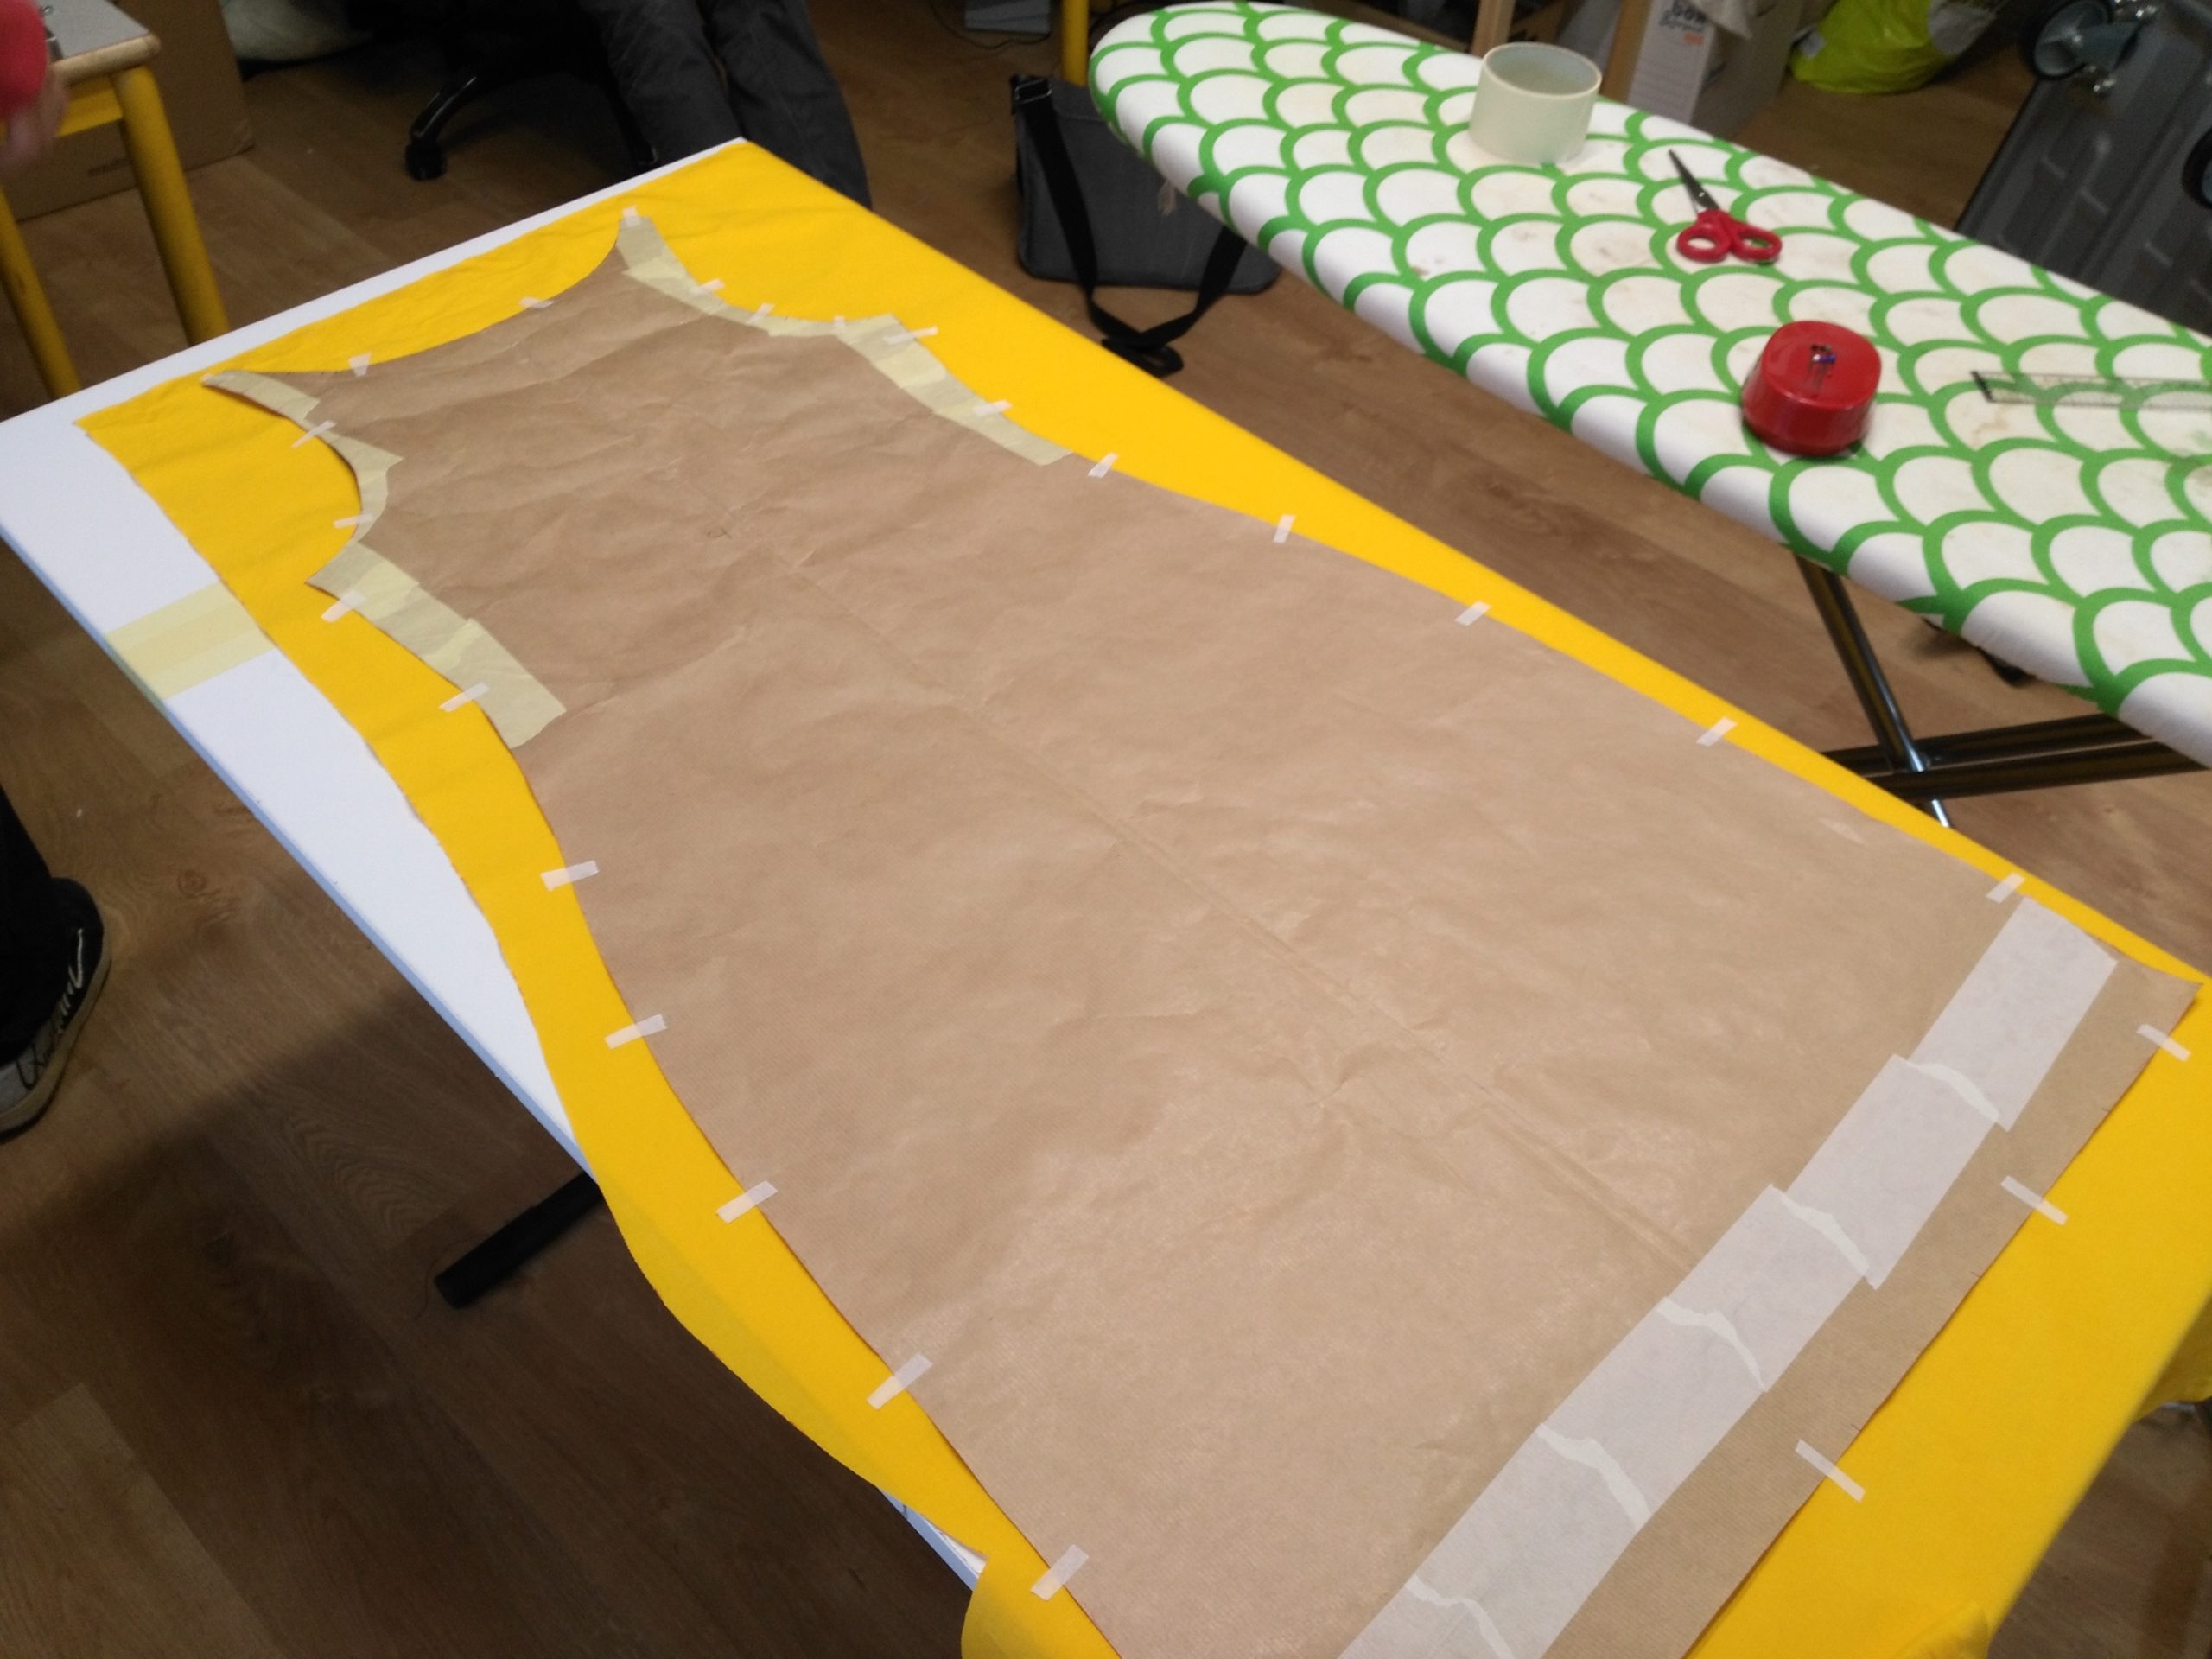
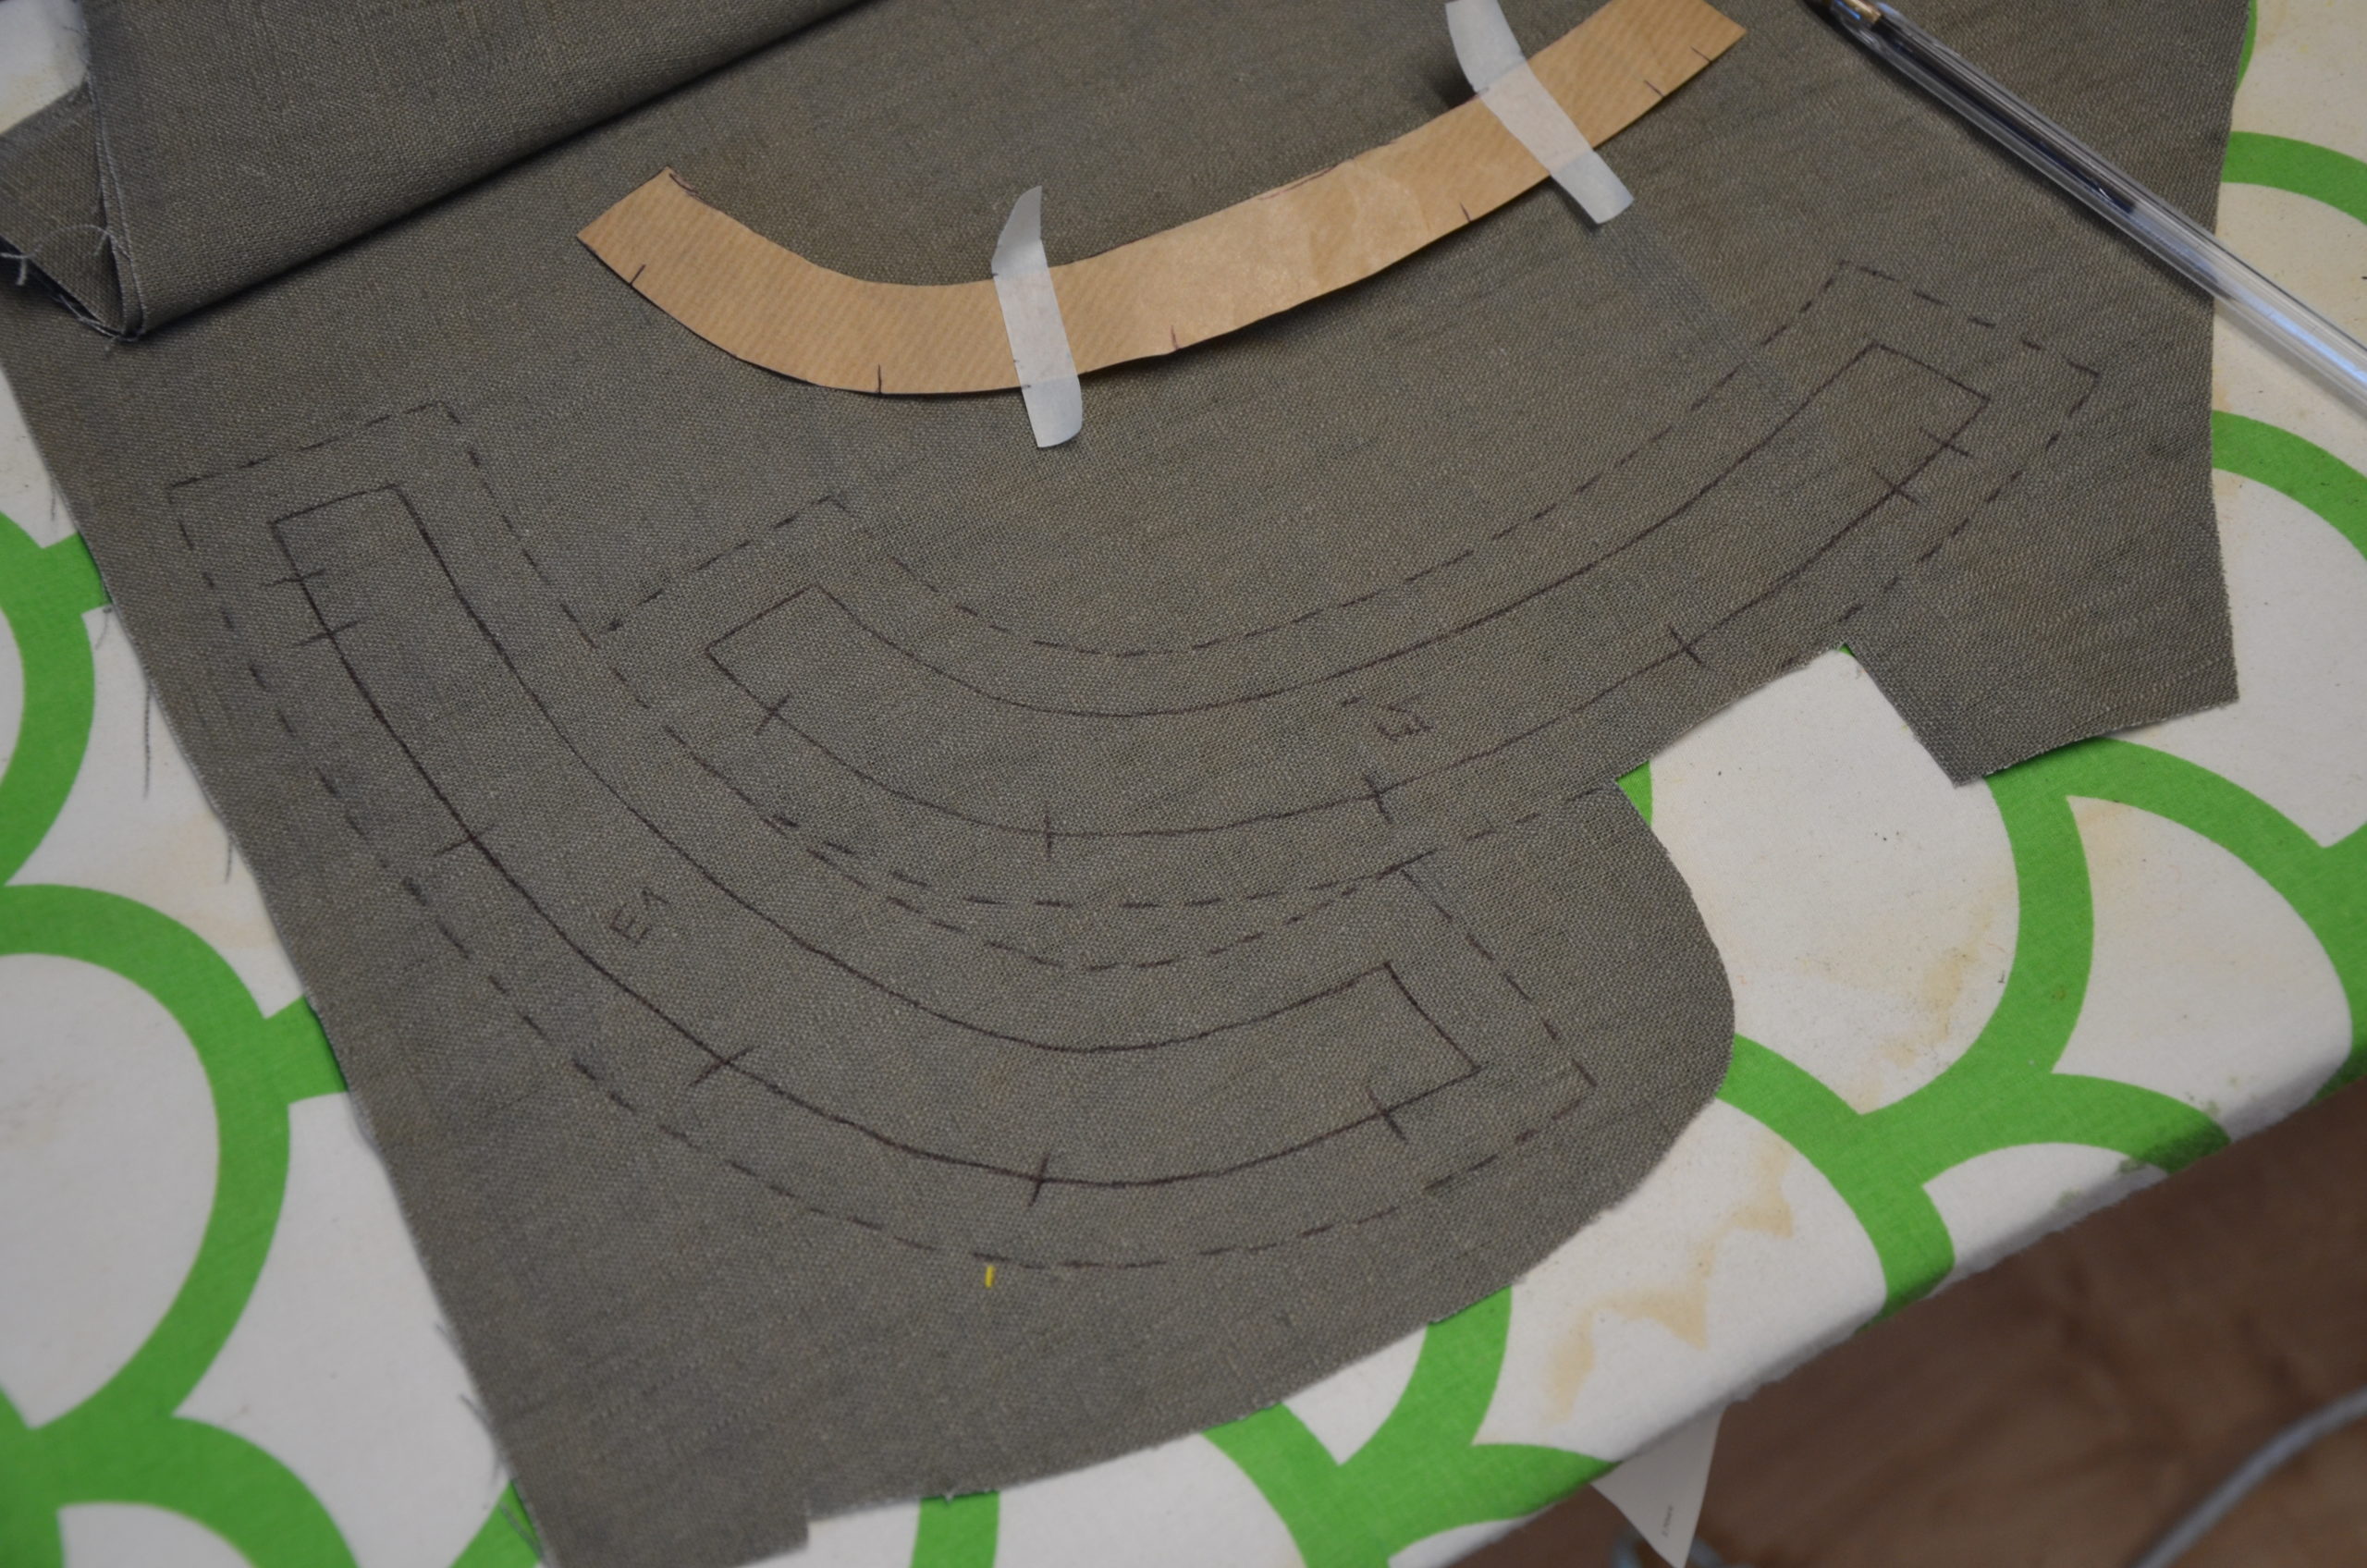
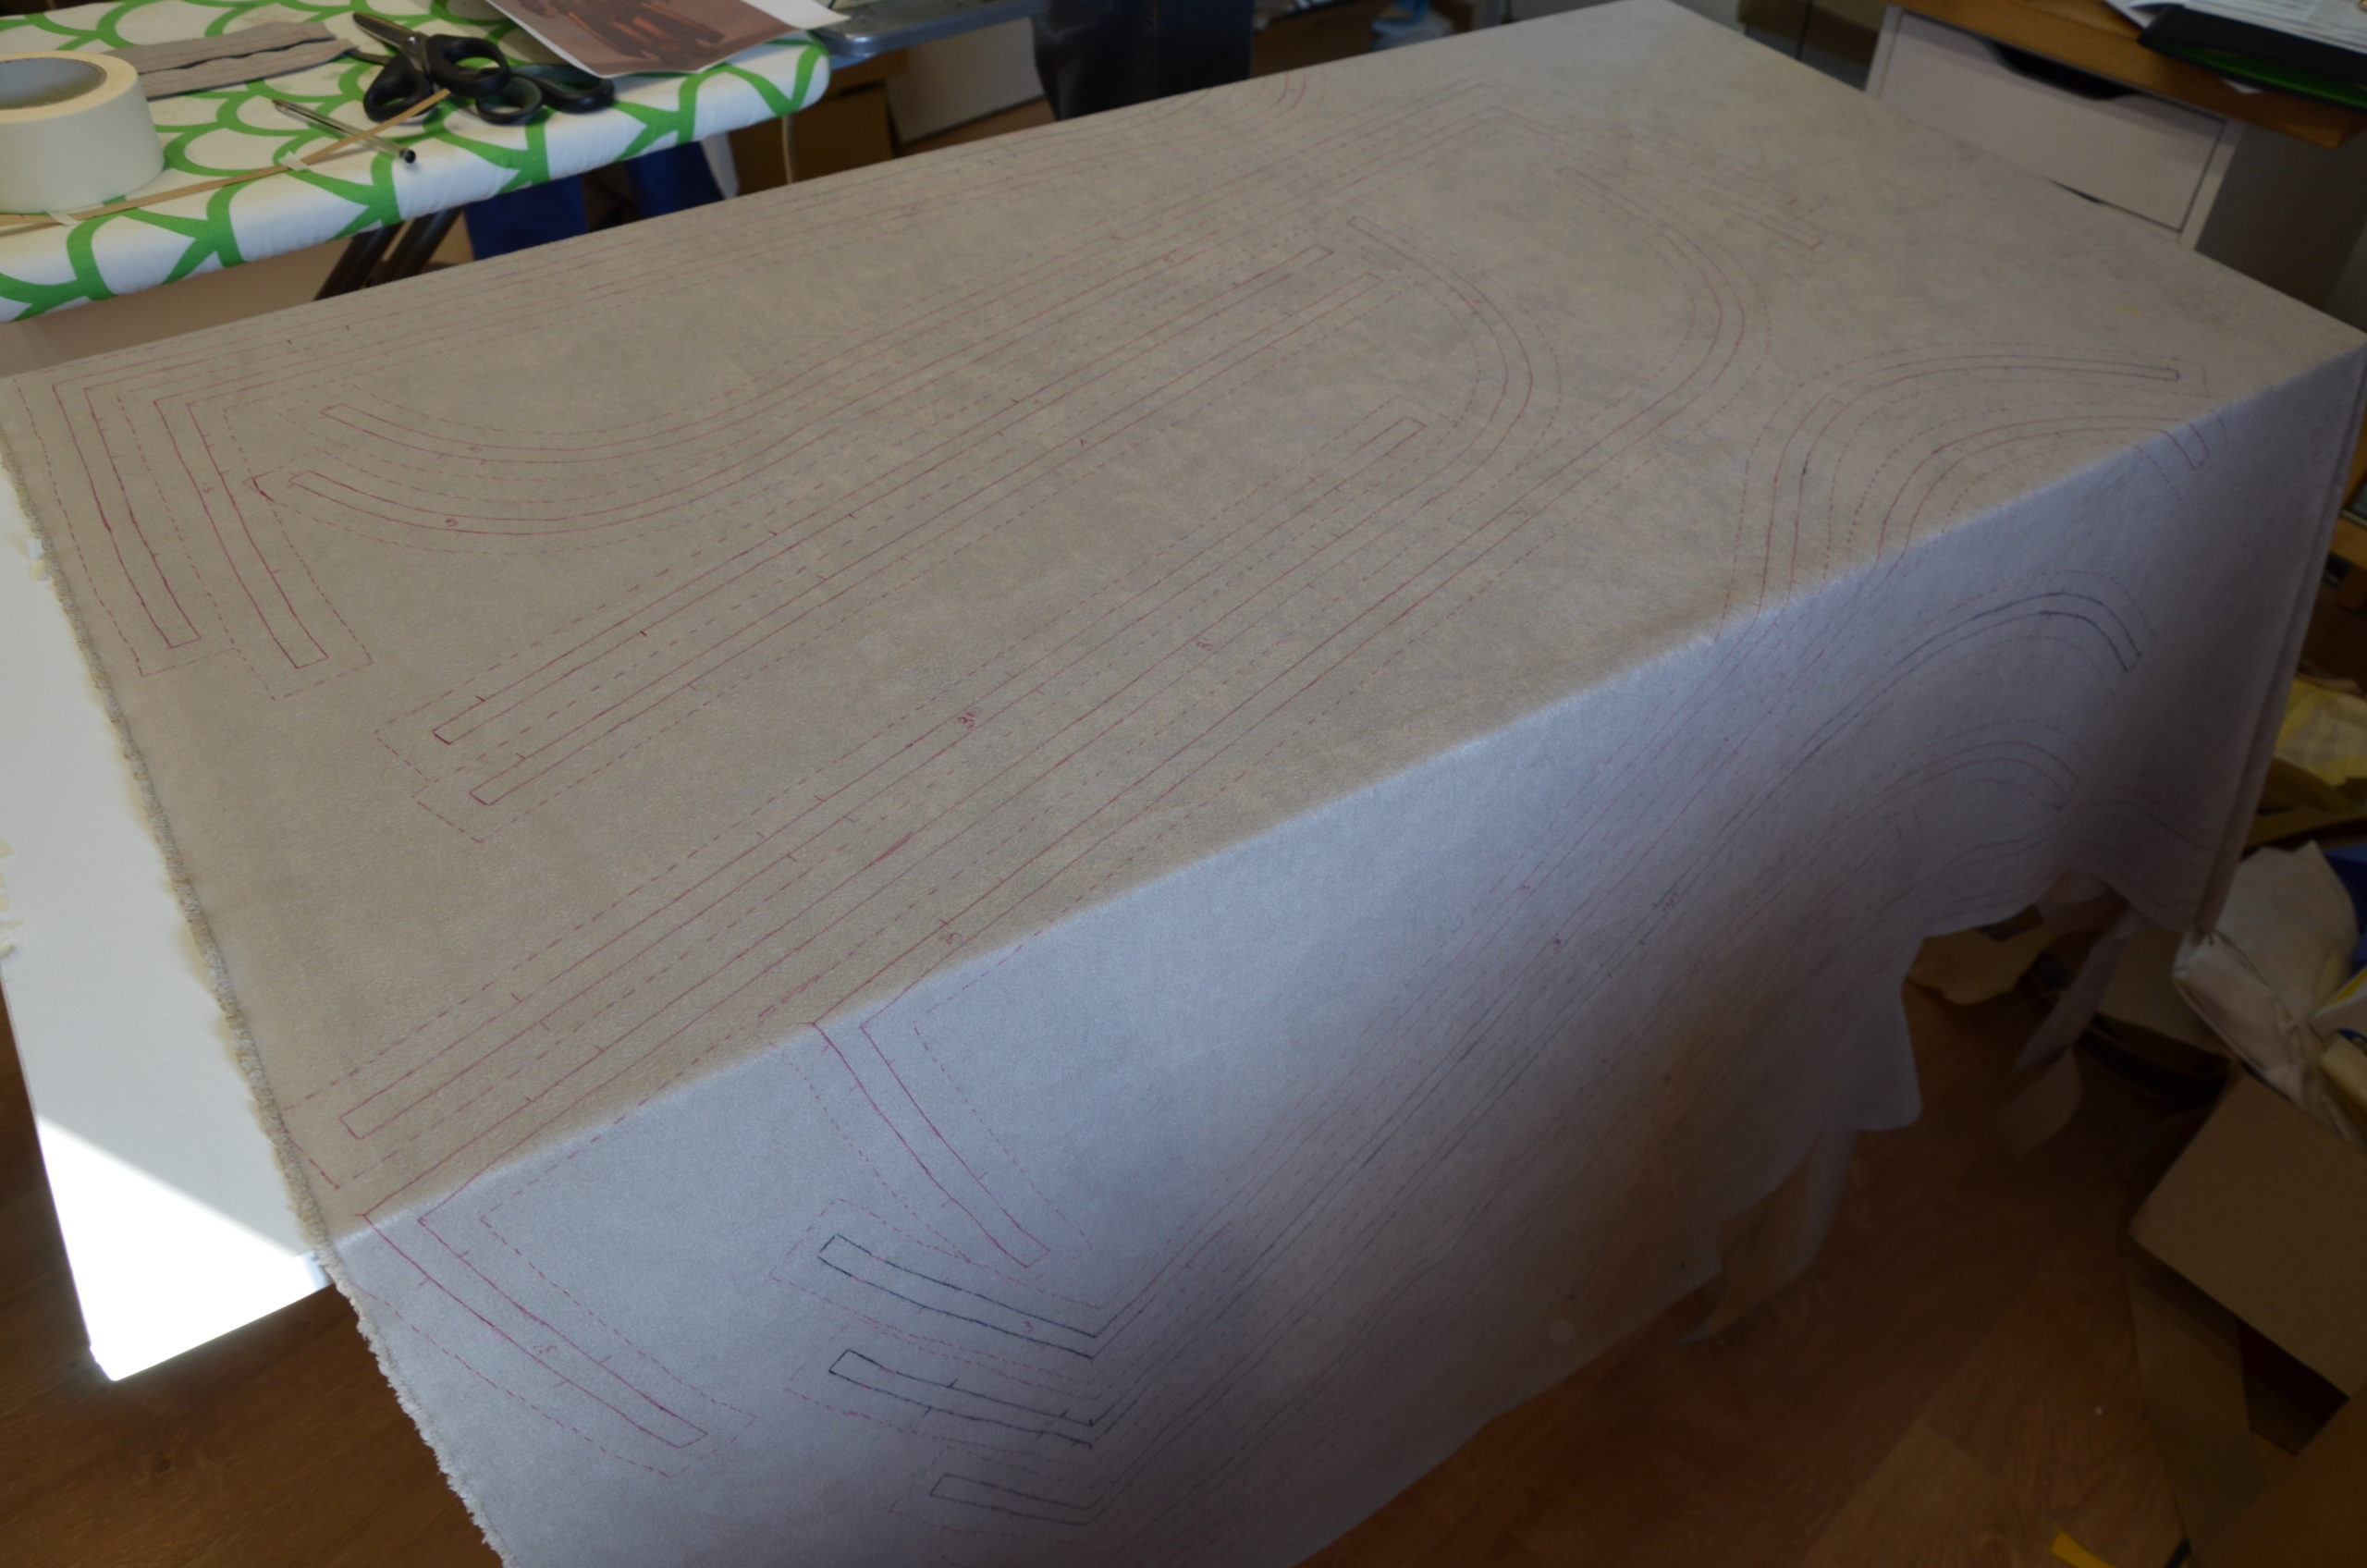
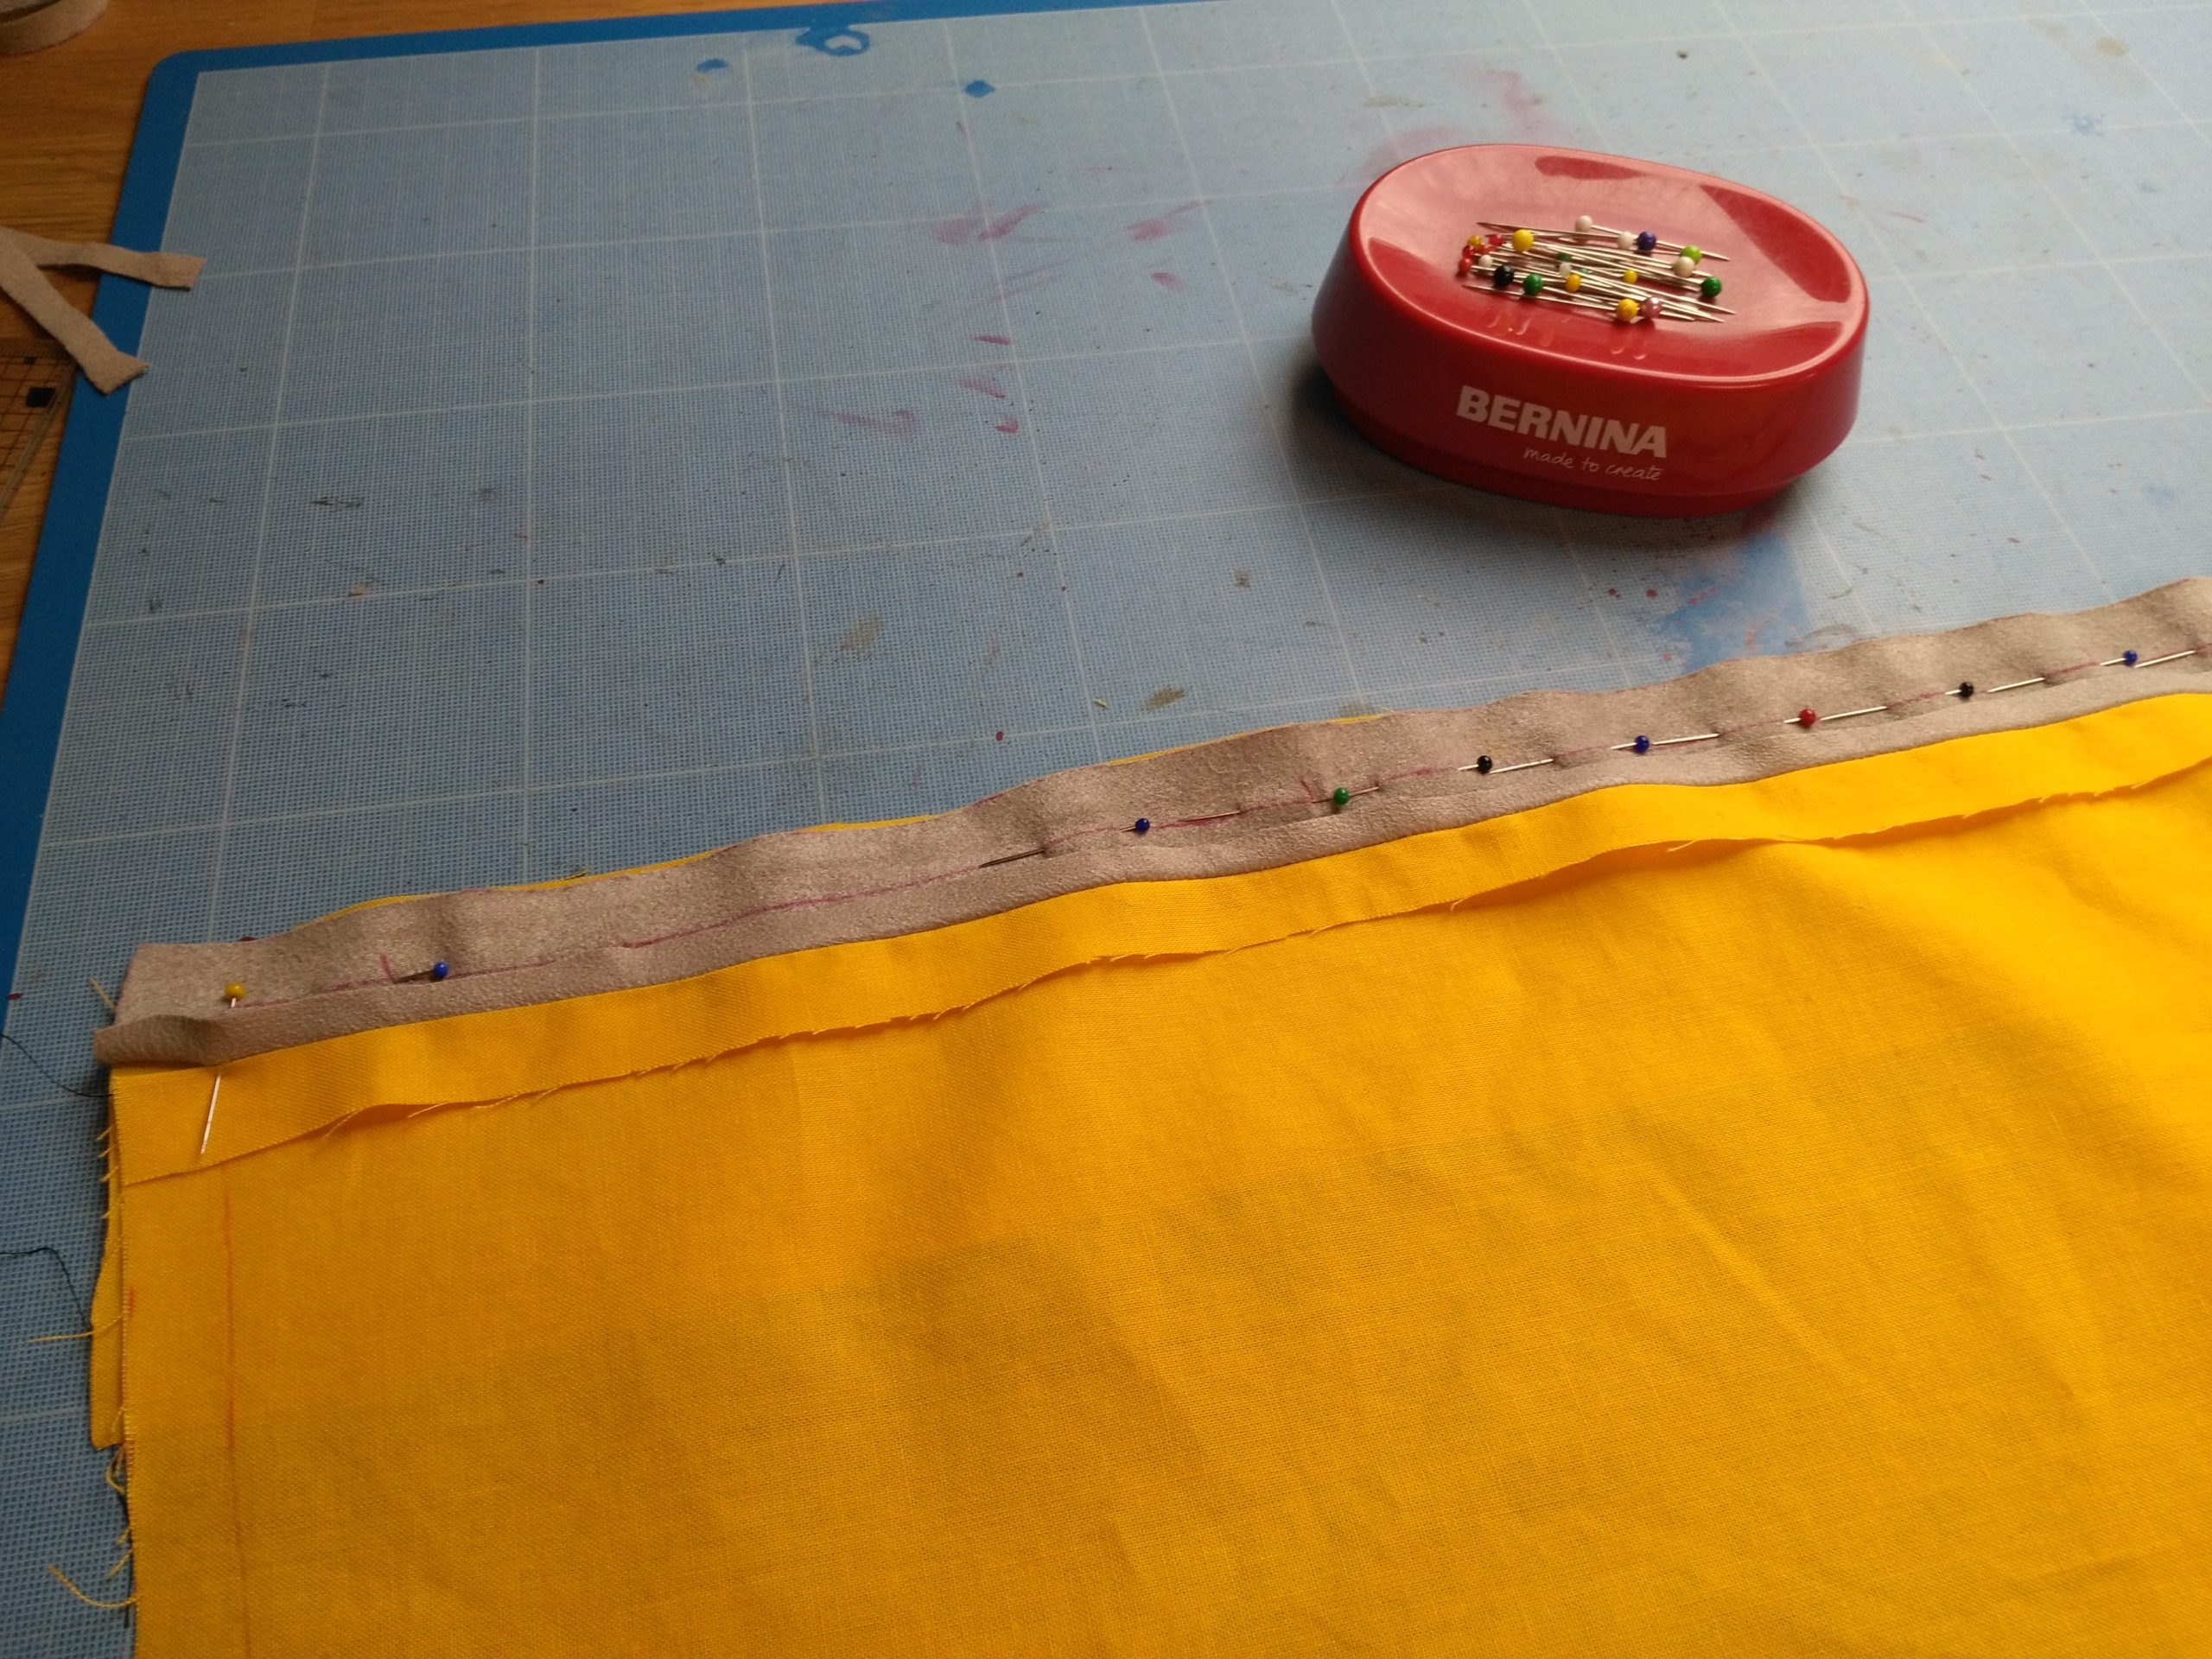
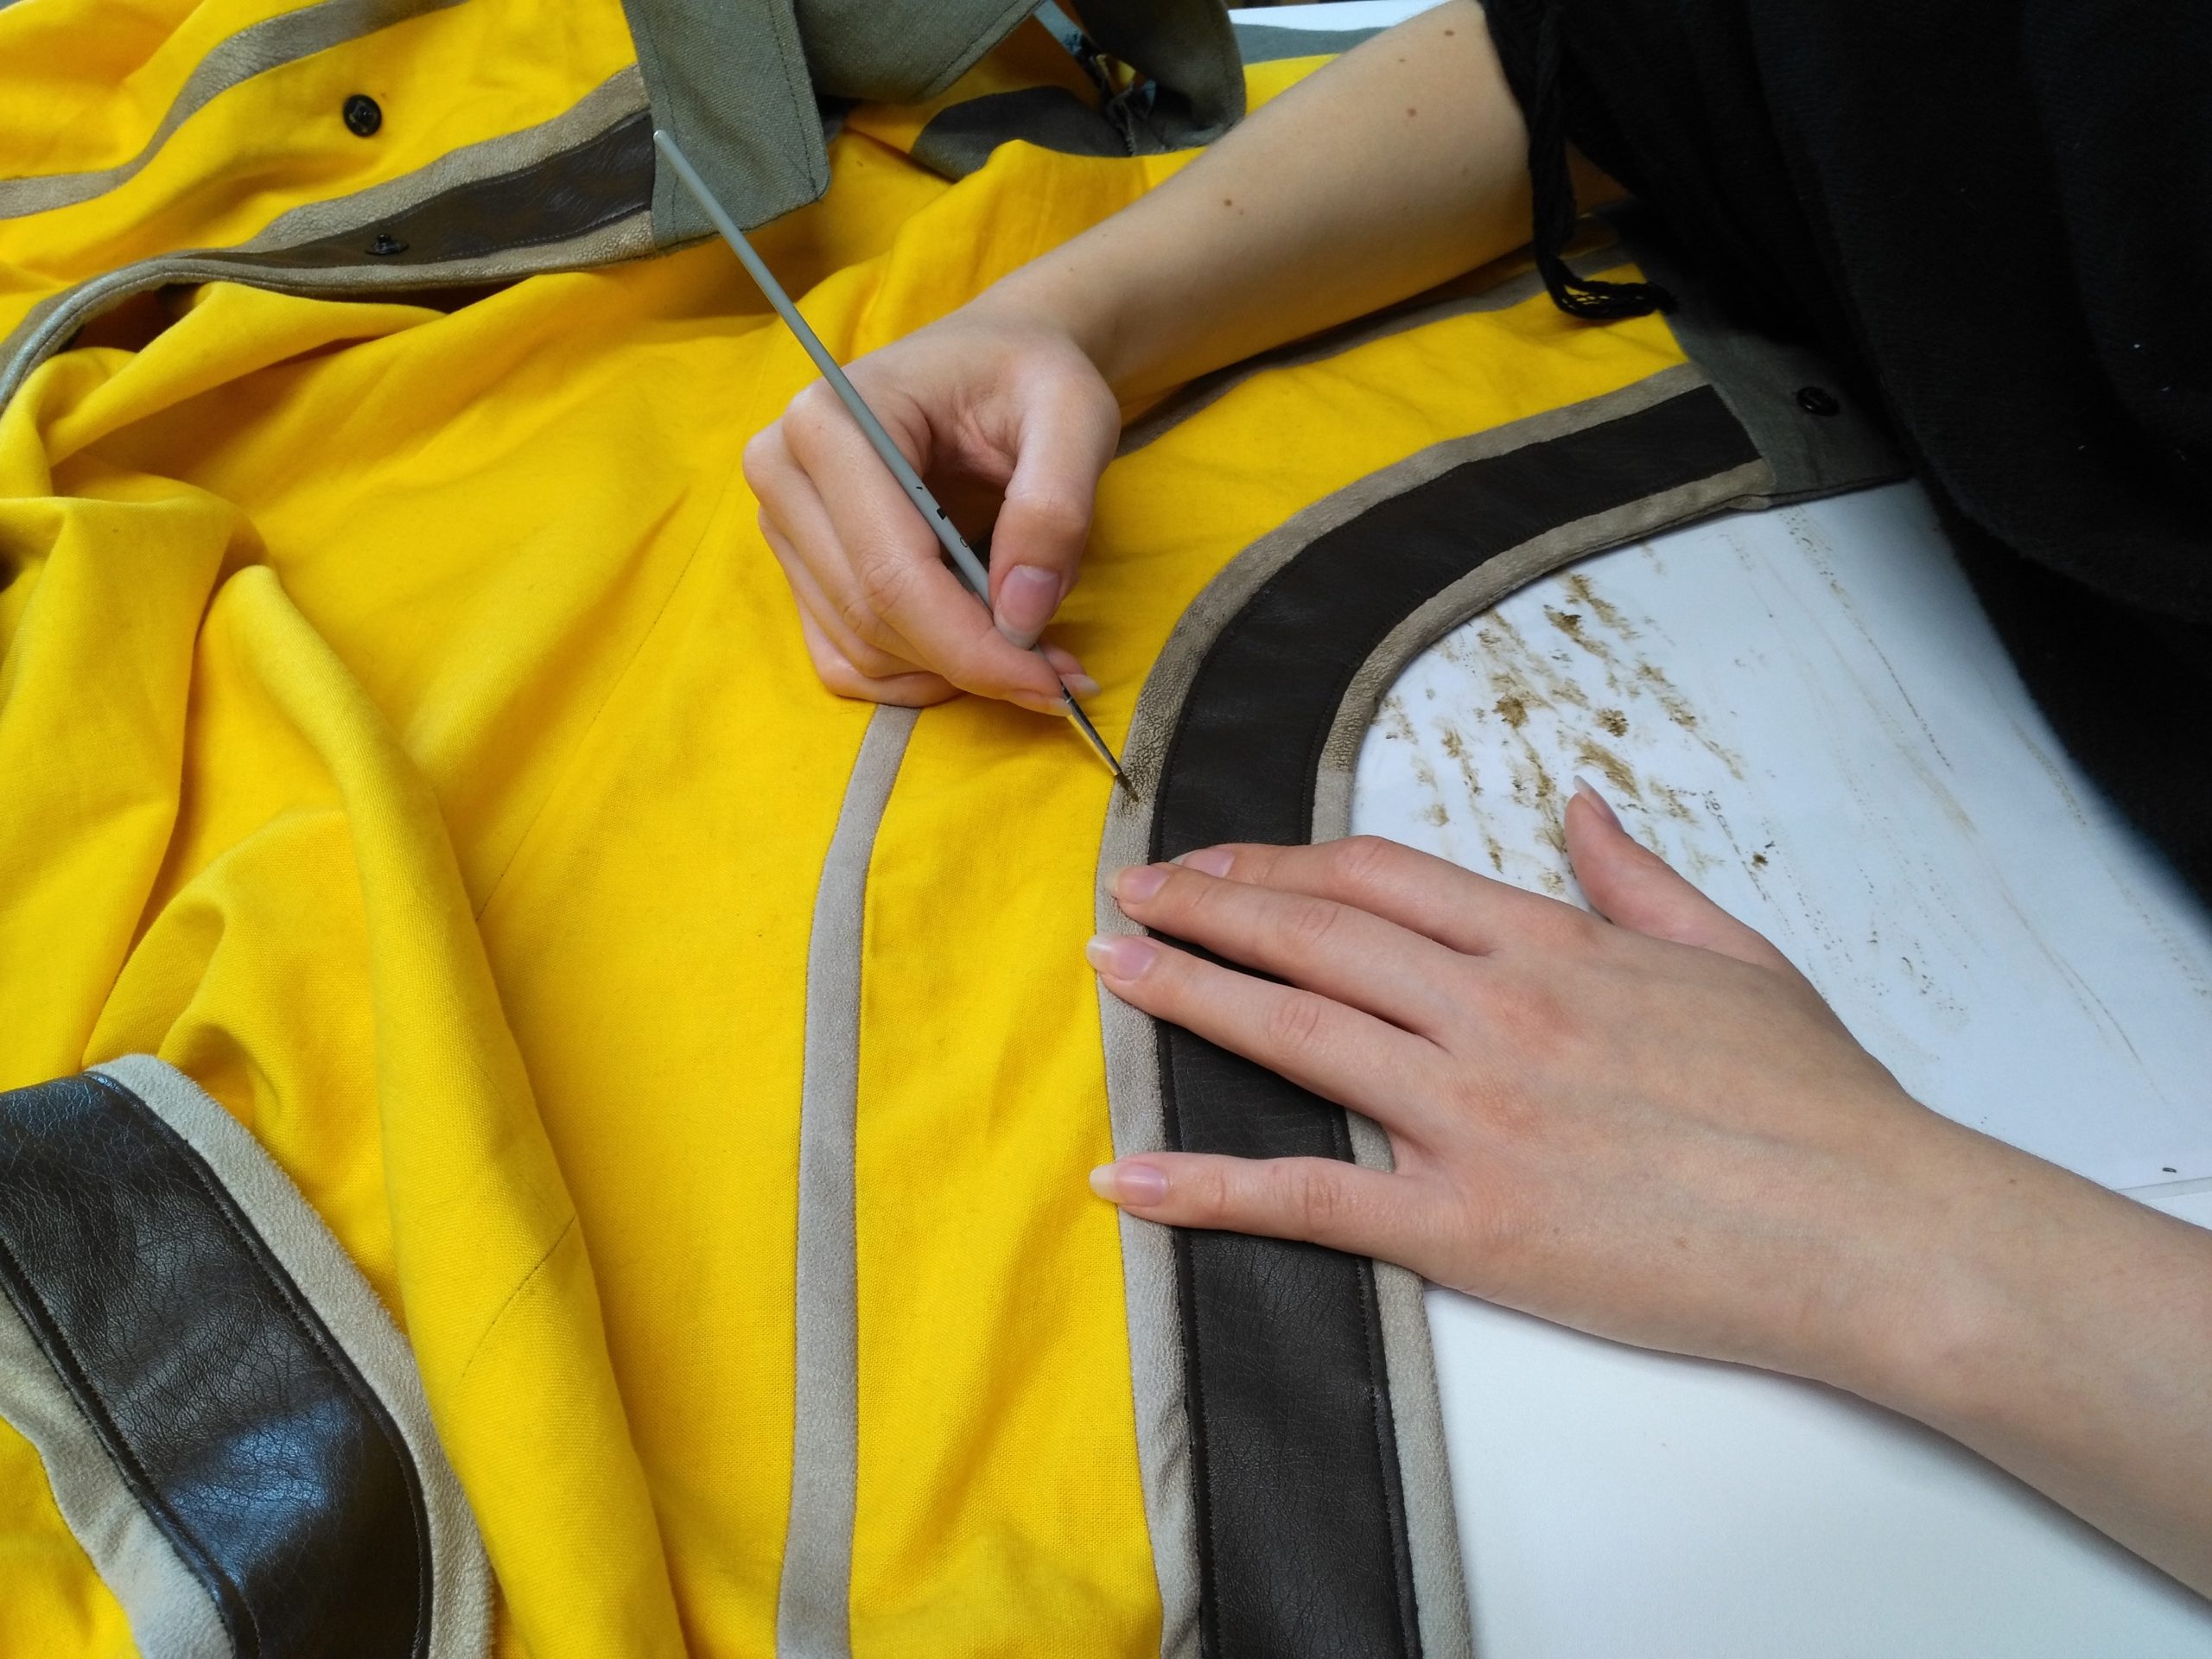
All fabric patterns were made by hand. For most of them, I first drew patterns on kraft paper with a few quick measurements, which I transfered to a draft fabric (hurray for the old bed sheets !). Once on the dress form, I cut some parts of it again to adjust it. When I was ok with the result, I re-drew the fabric piece on my kraft paper while keeping the improvements.
Some parts were made with the cellophane + tape method, that’s the case for the cape (see 2nd picture below).

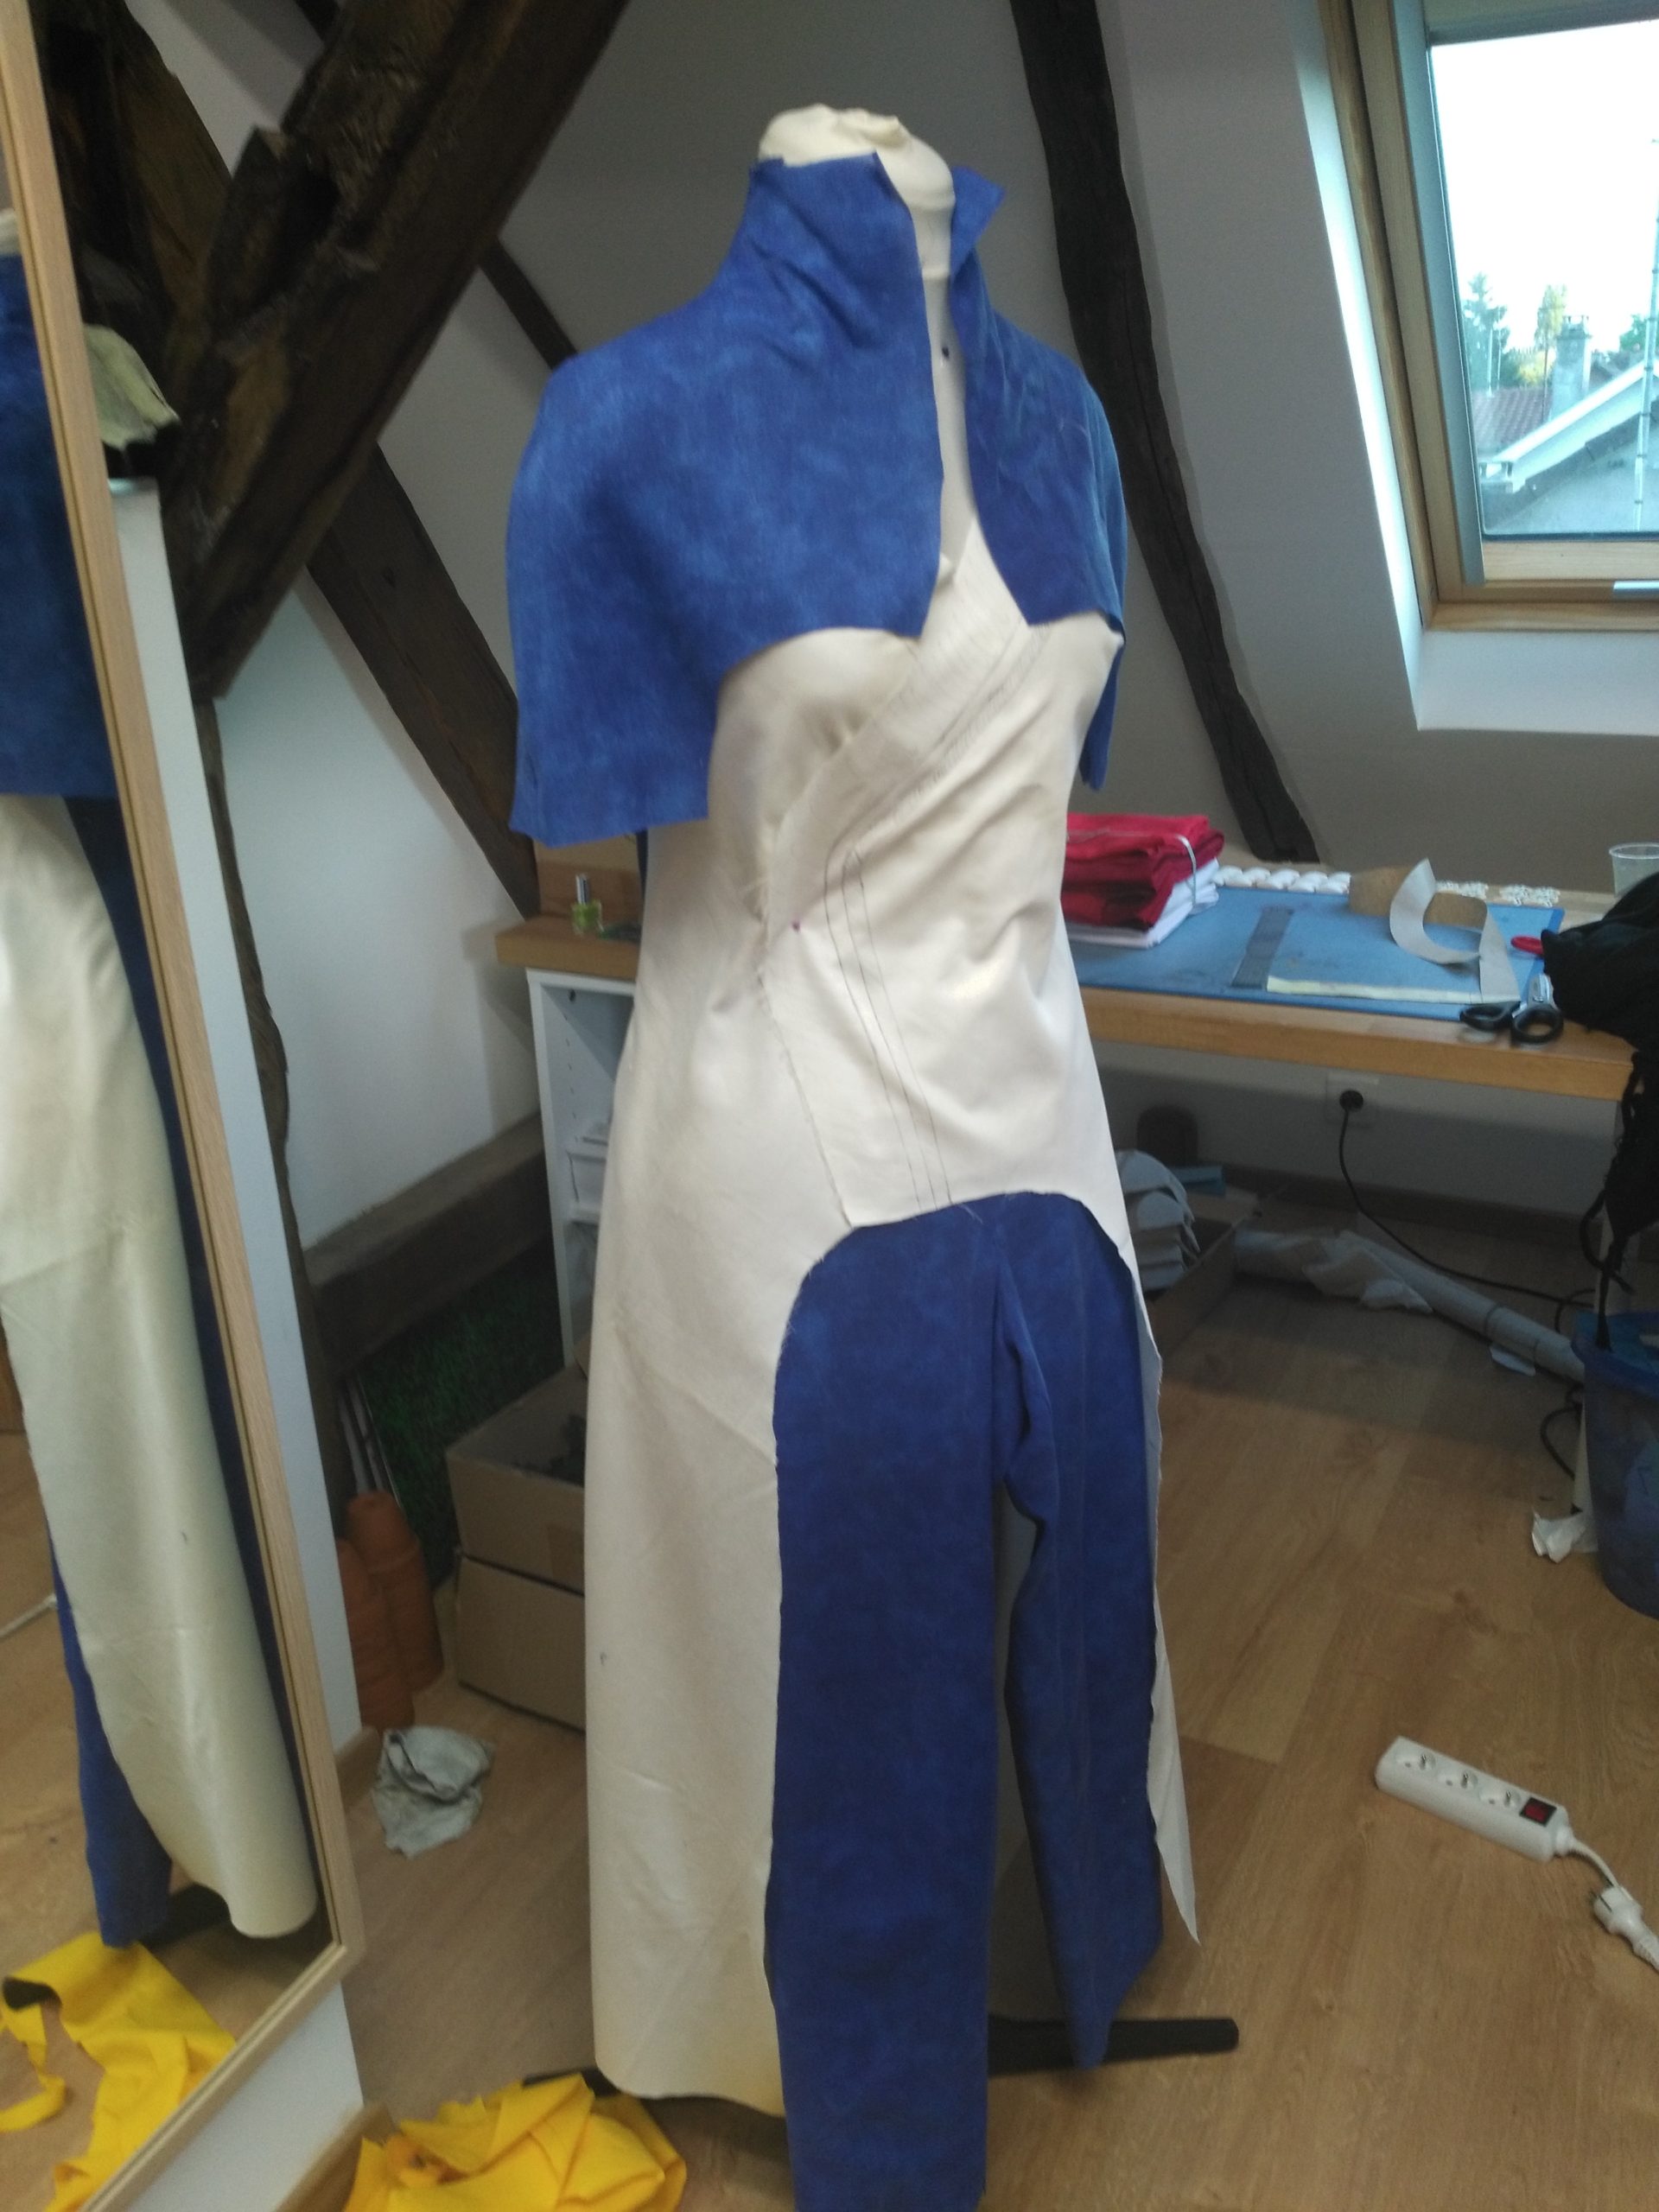
2. Assembly
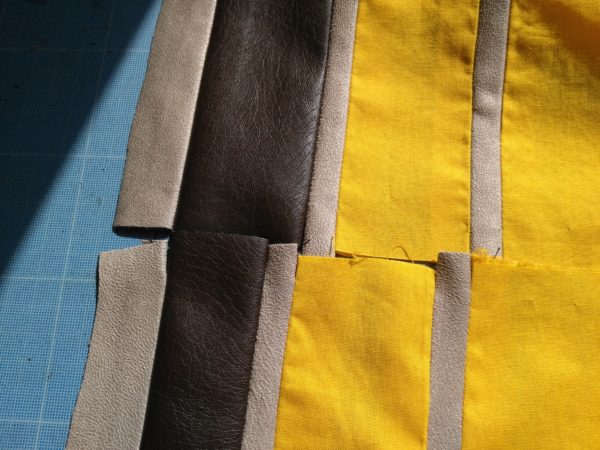
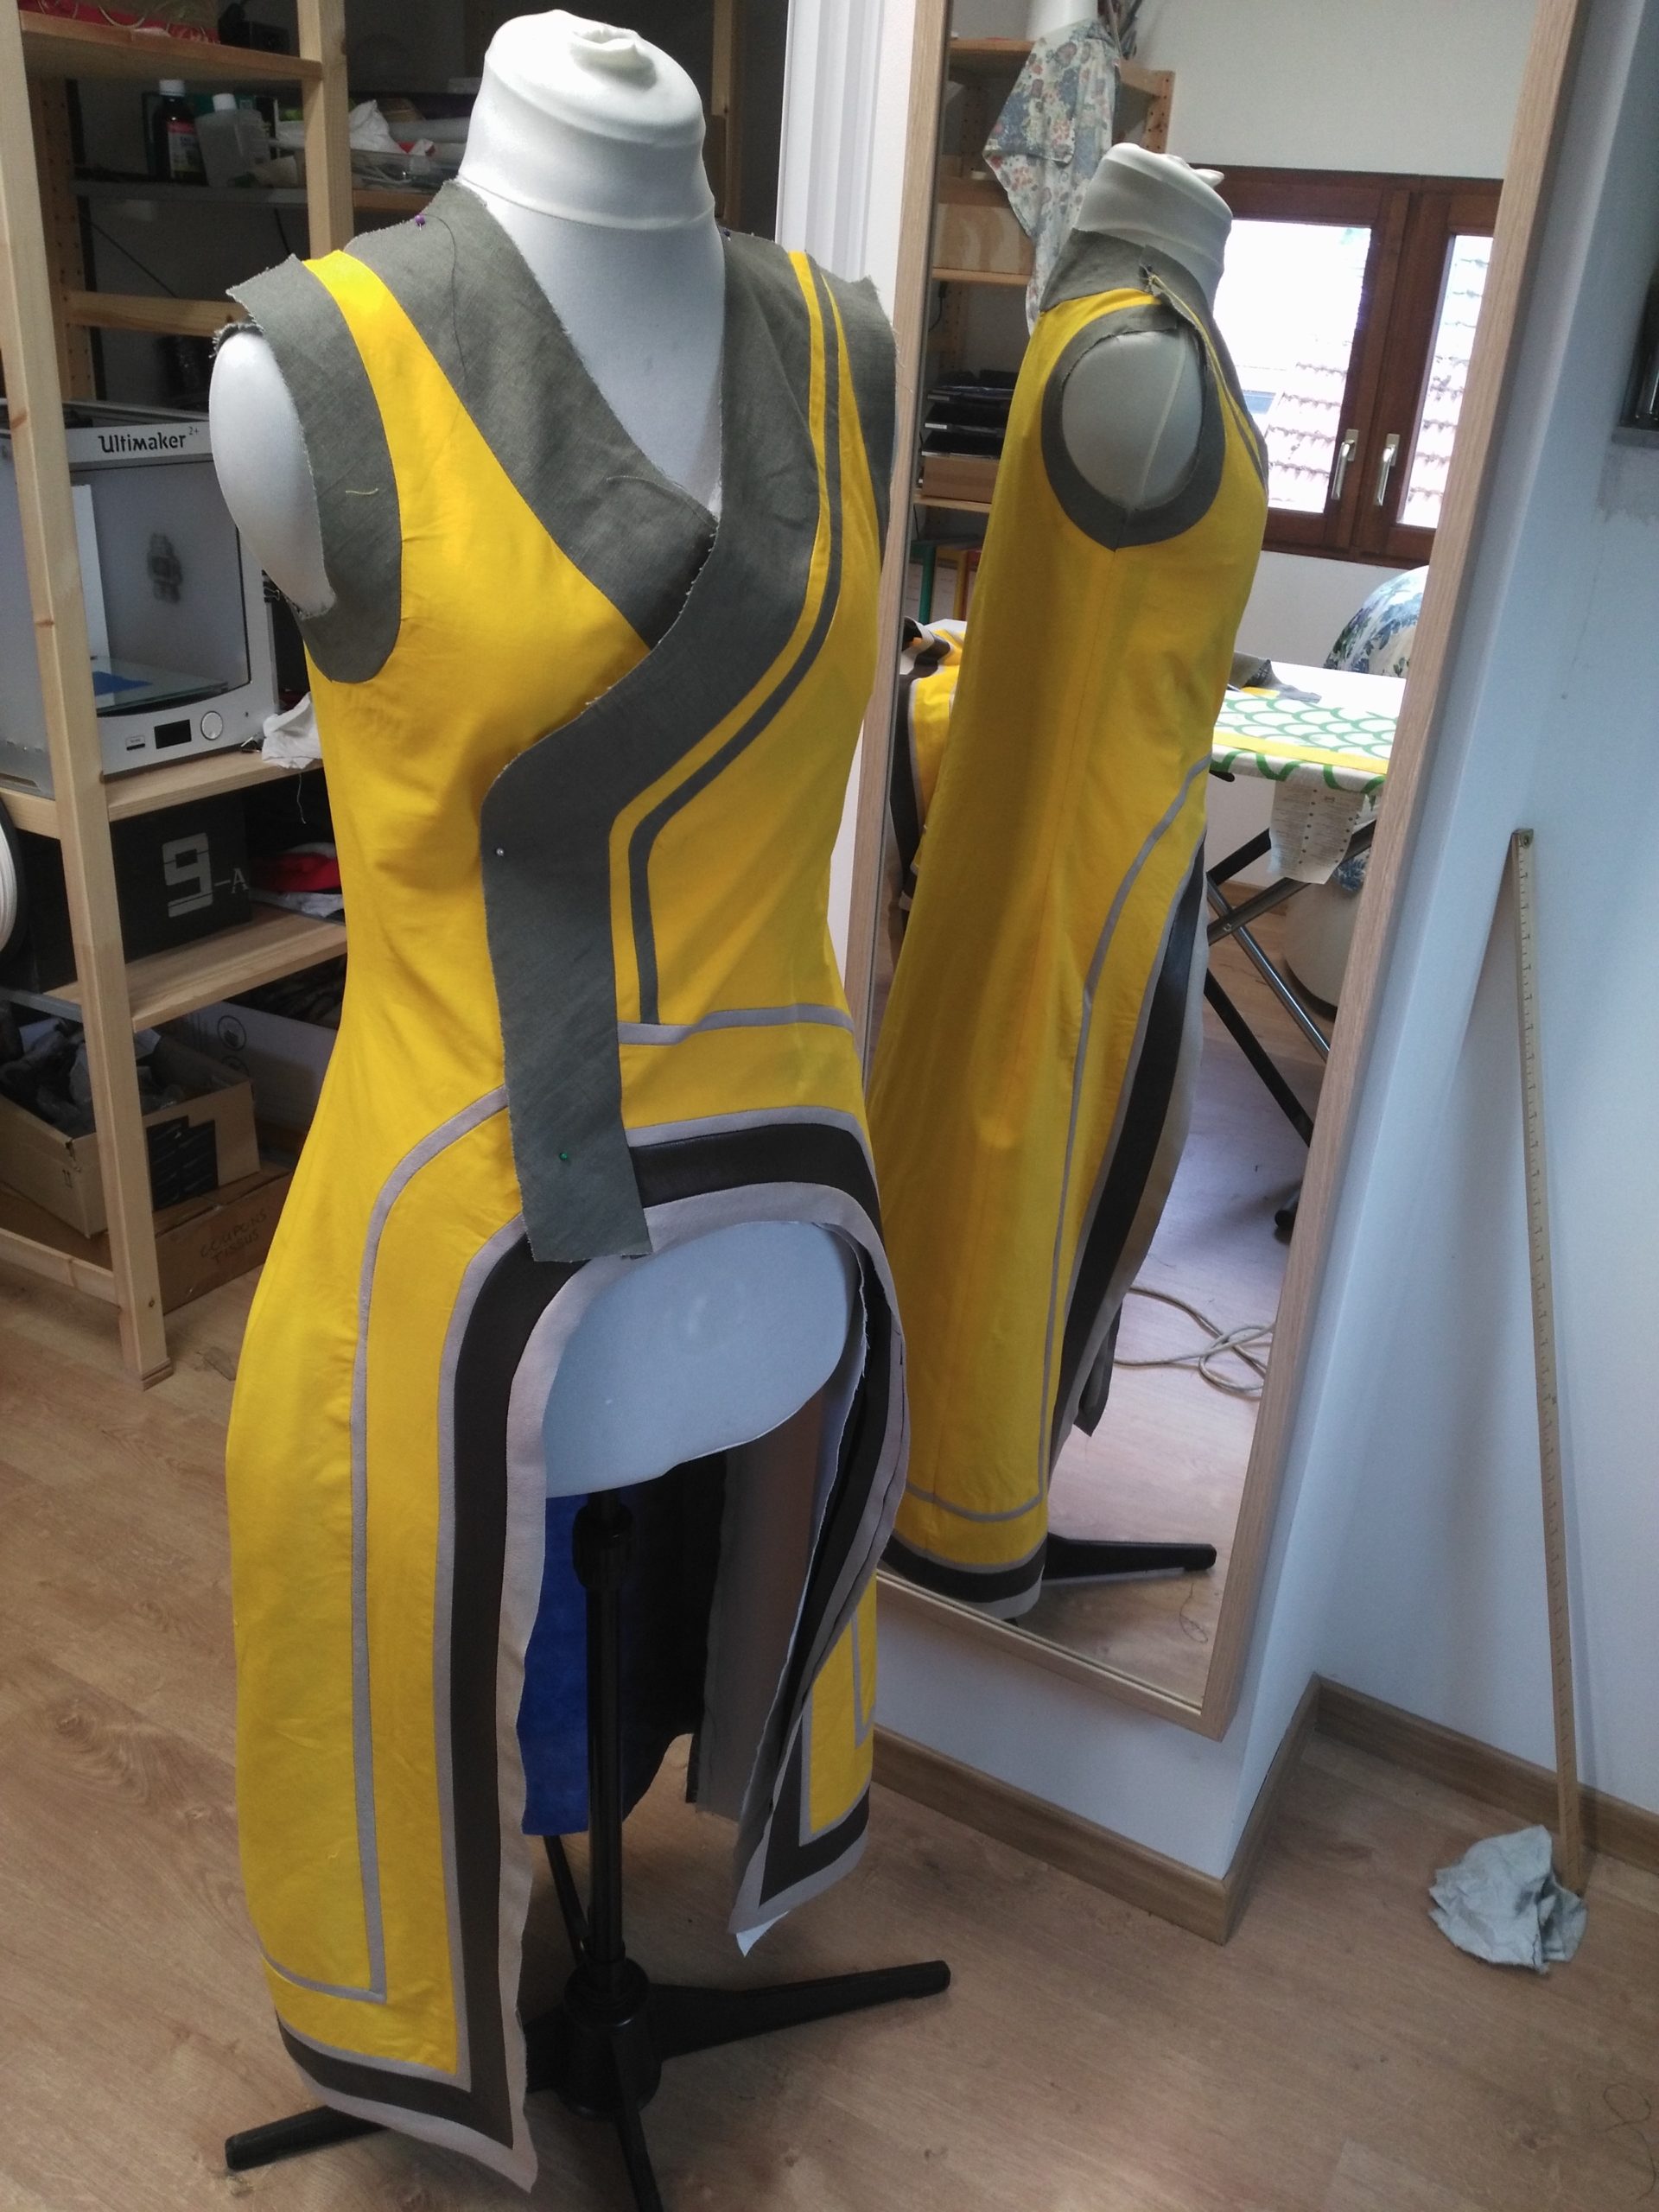
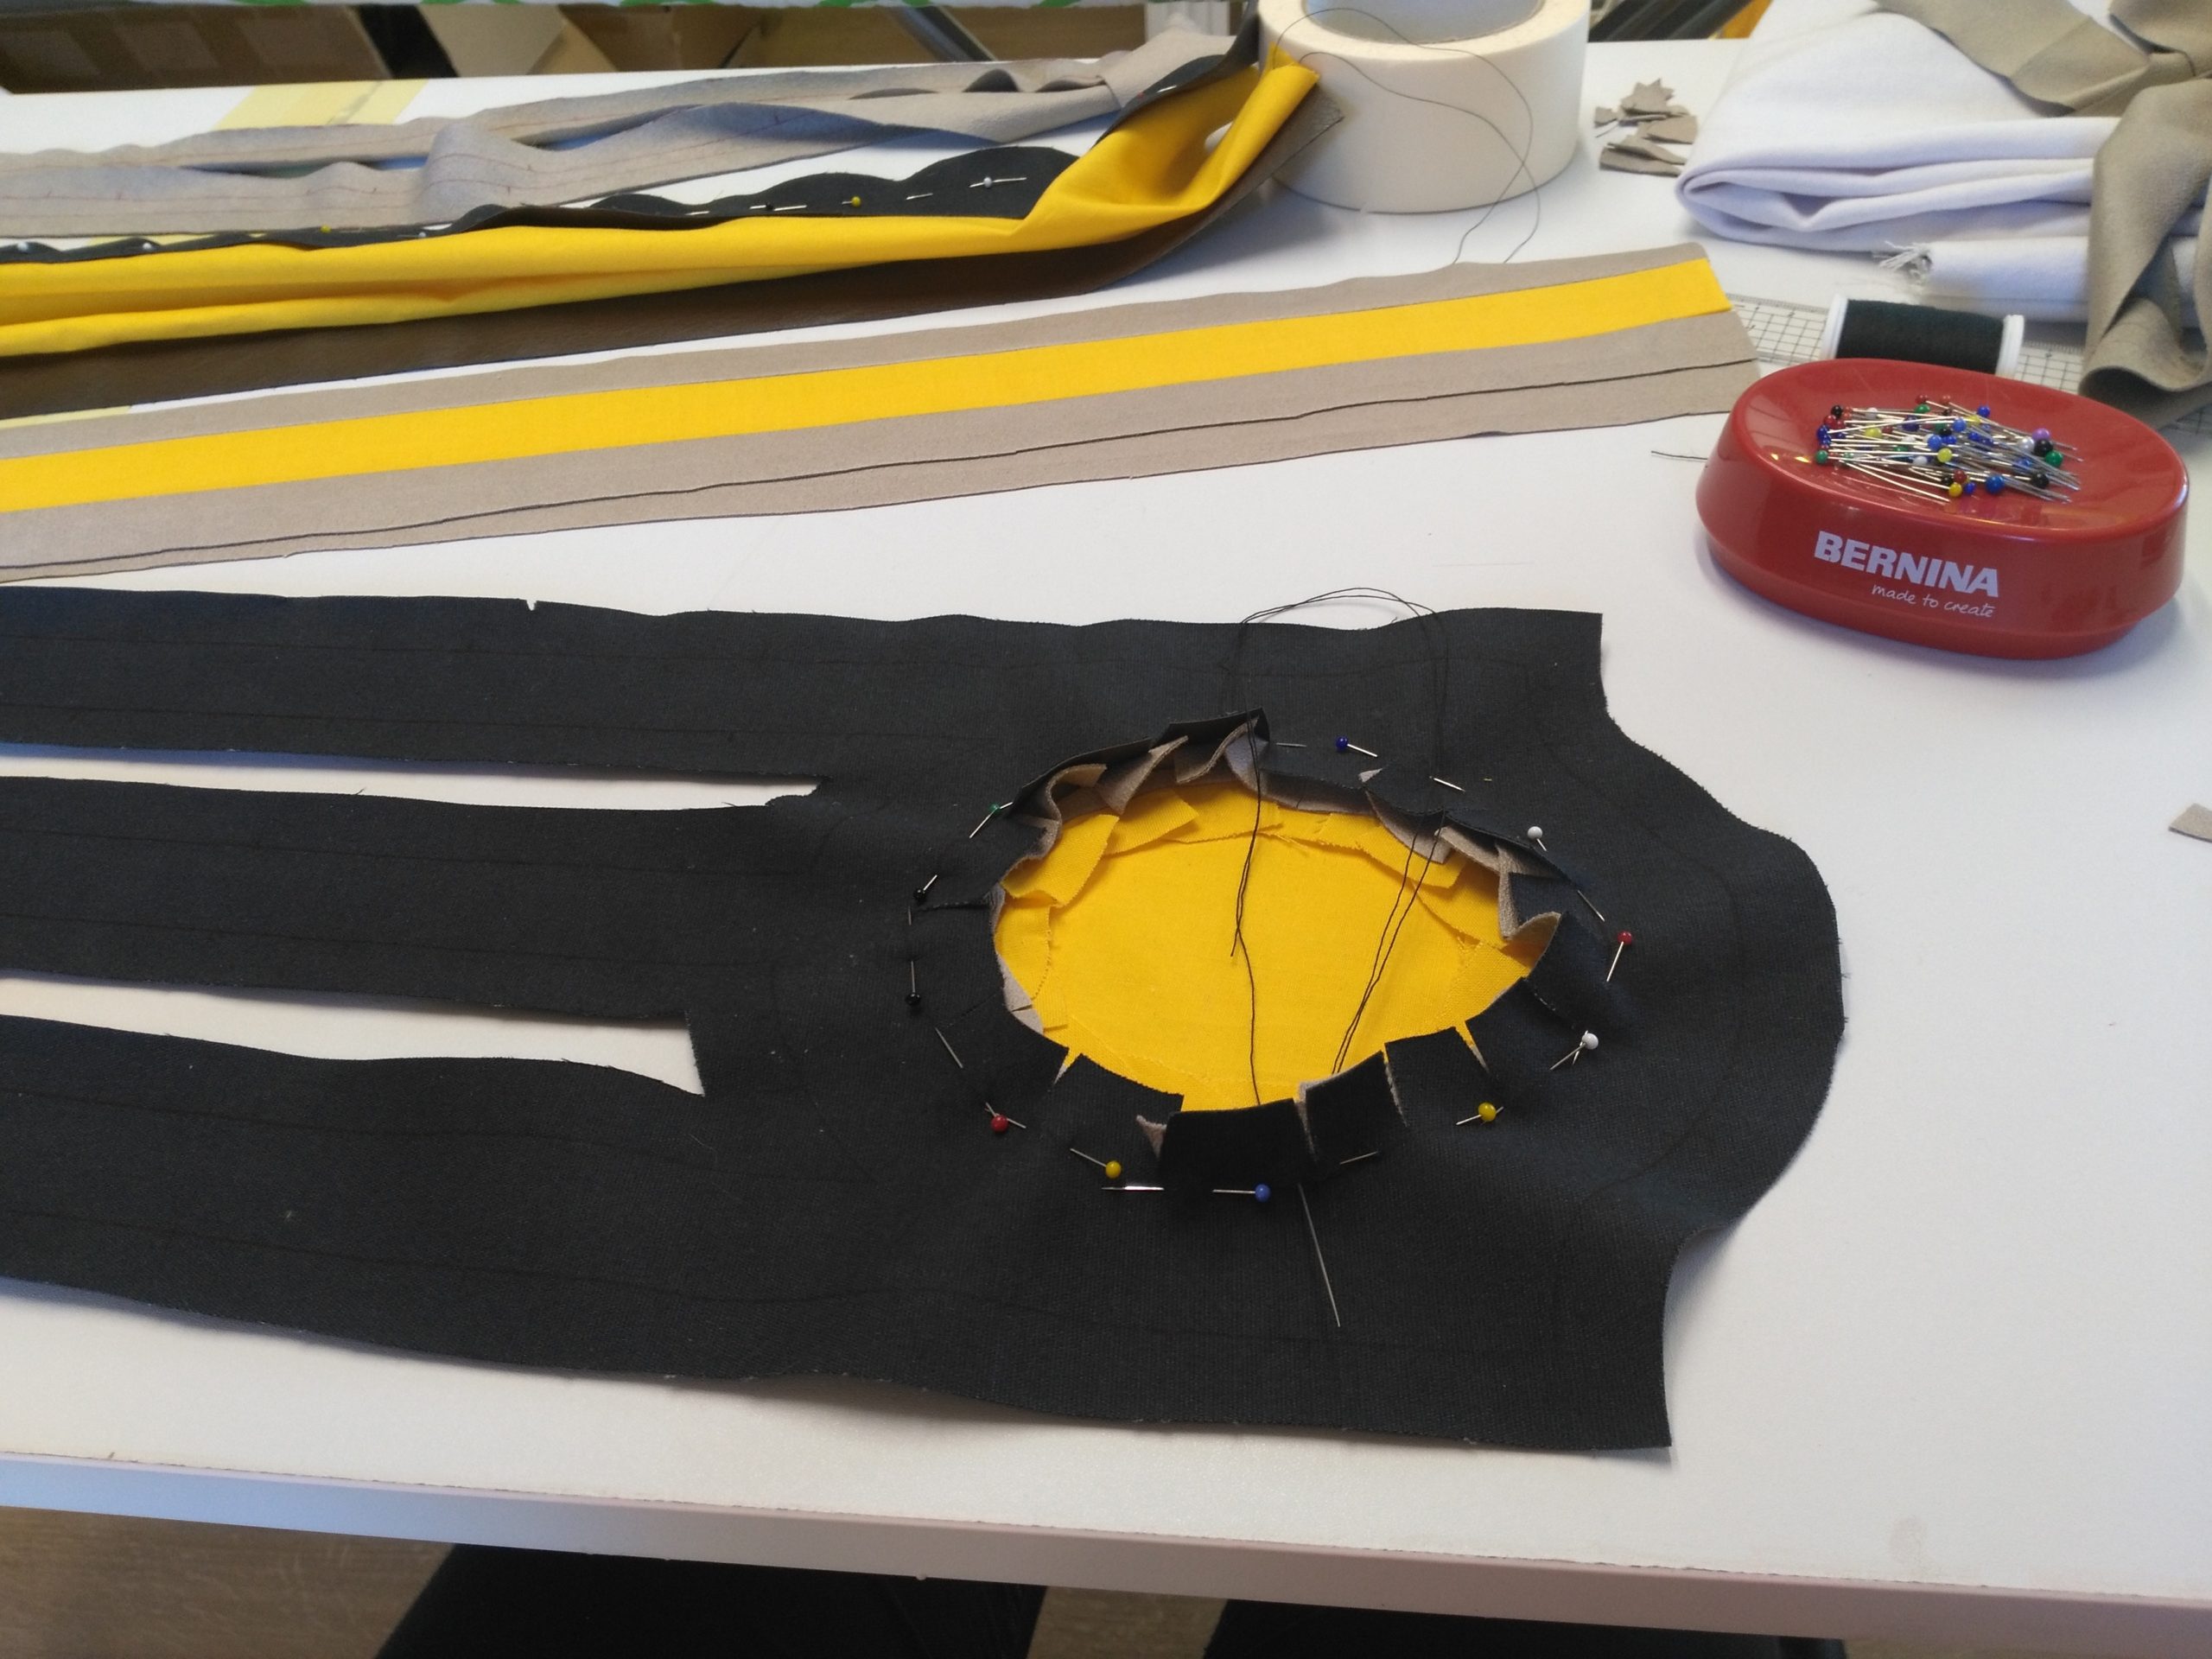
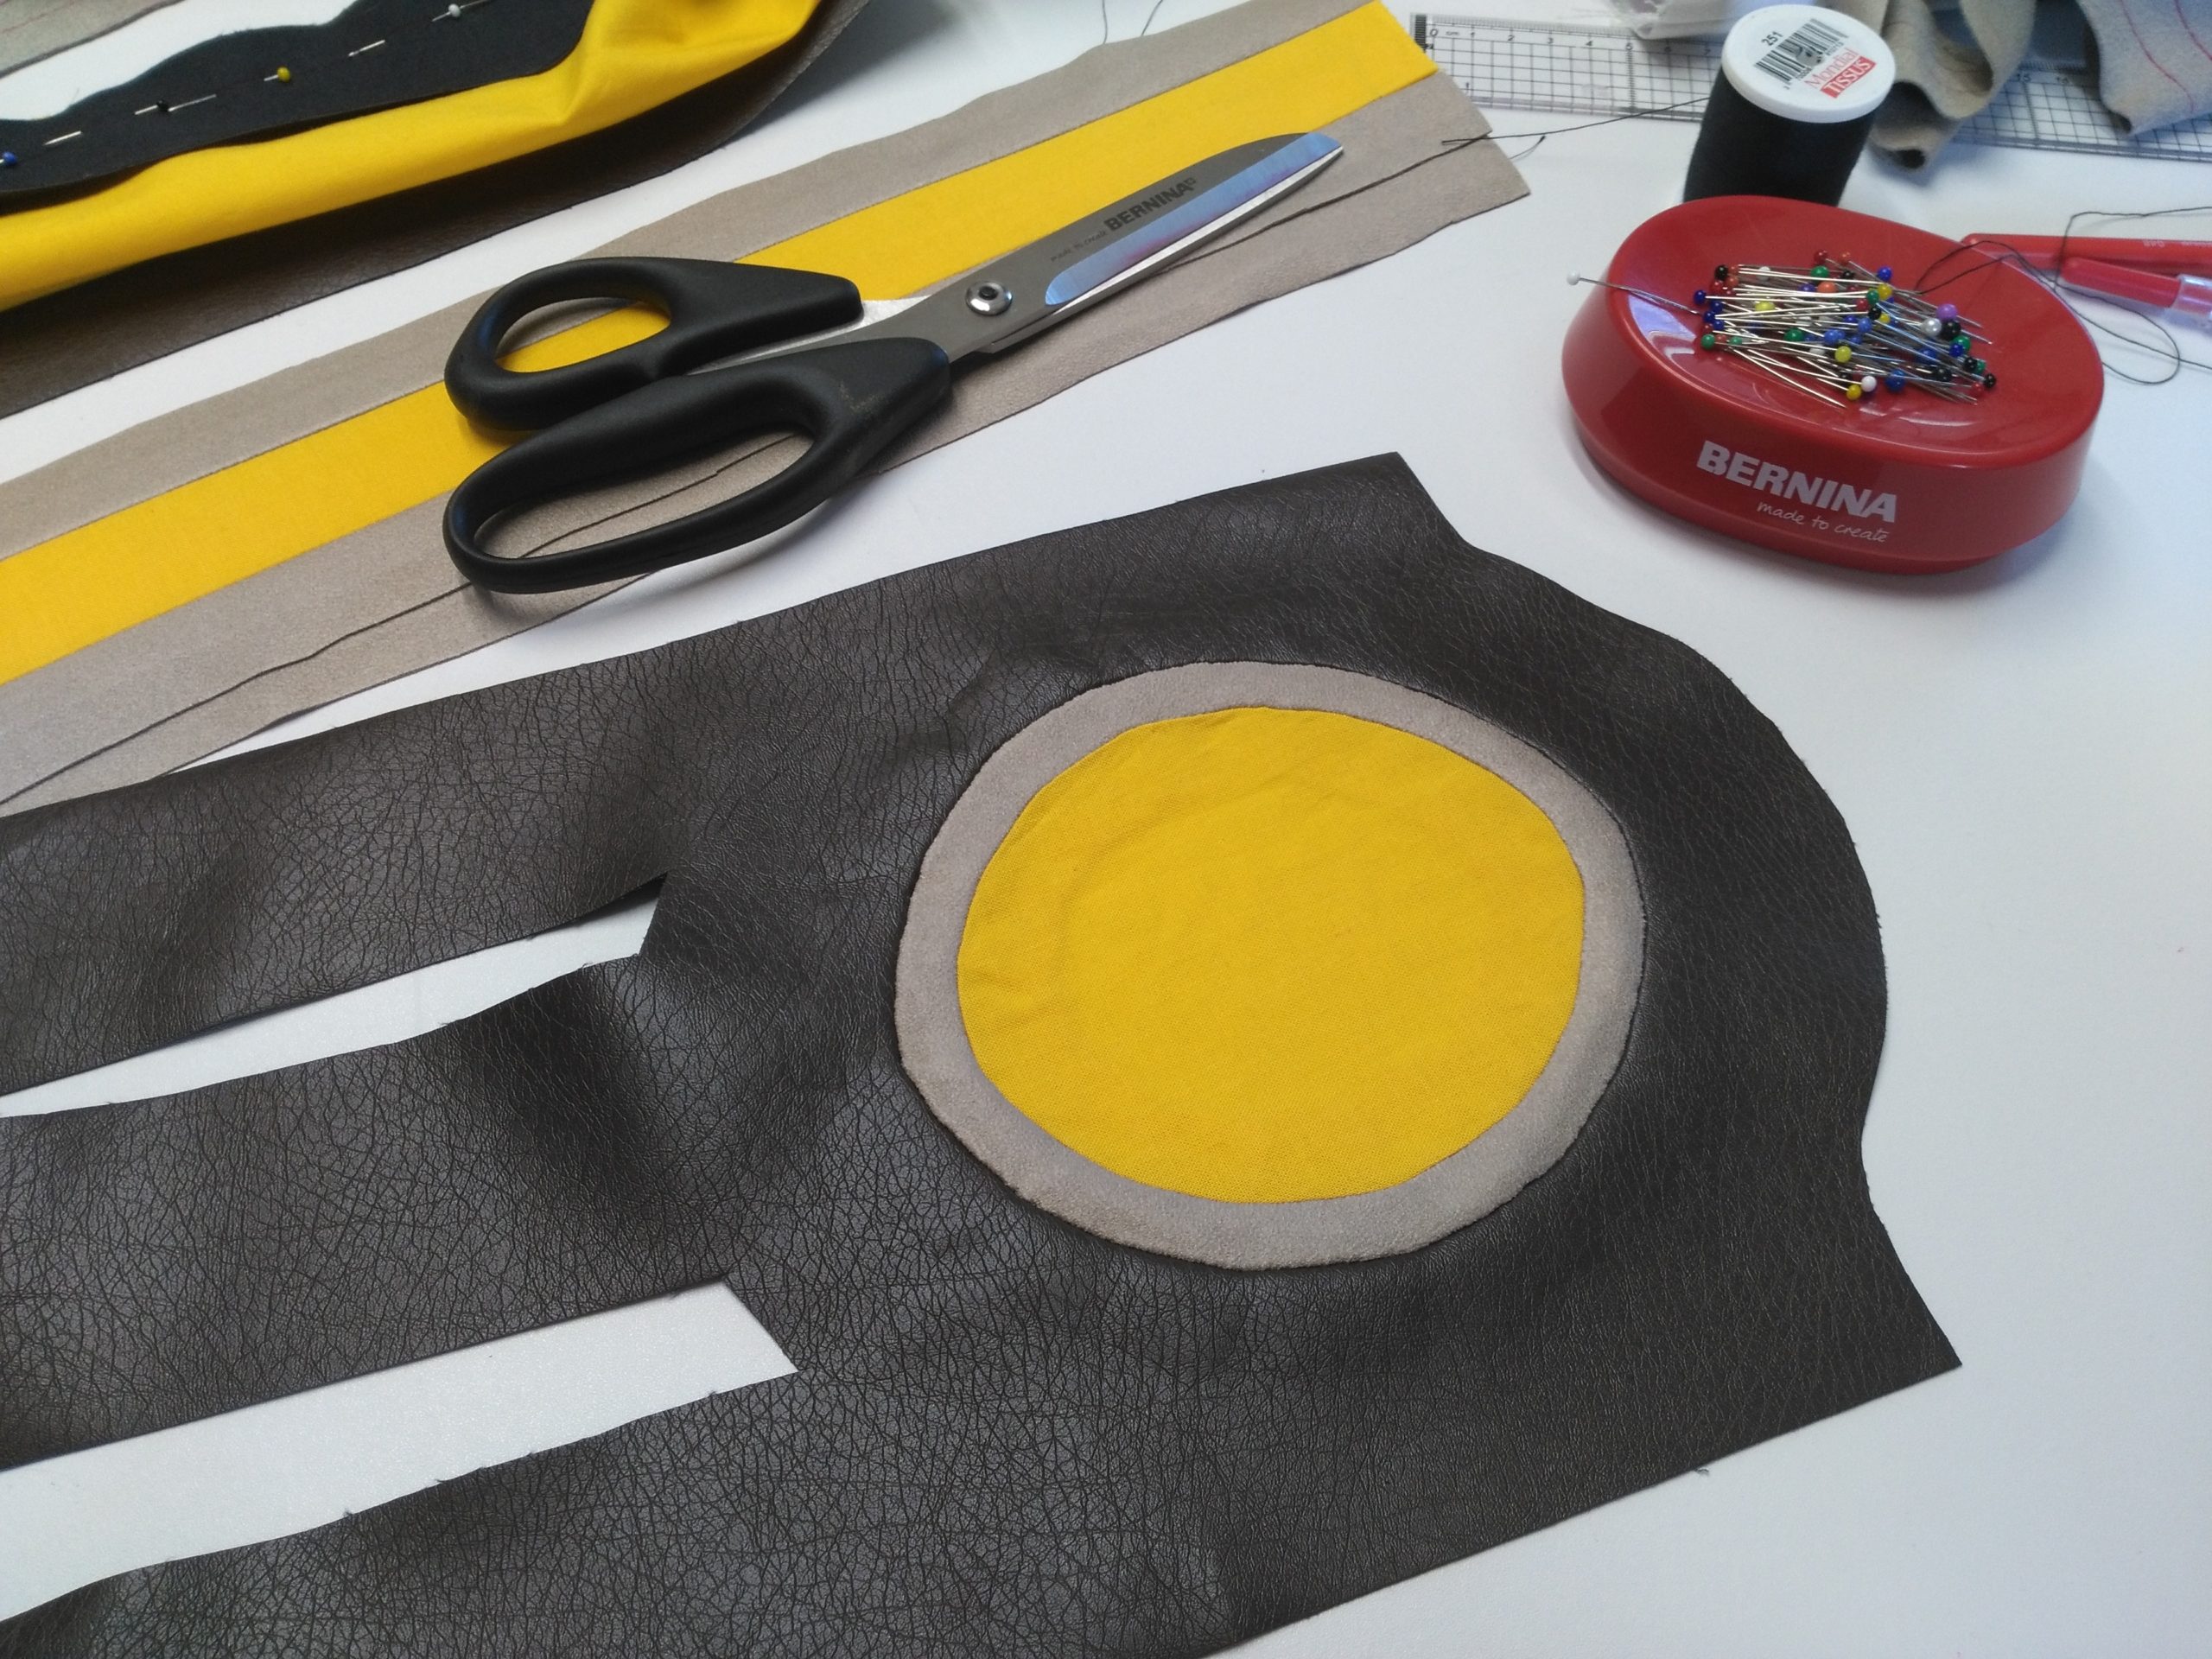
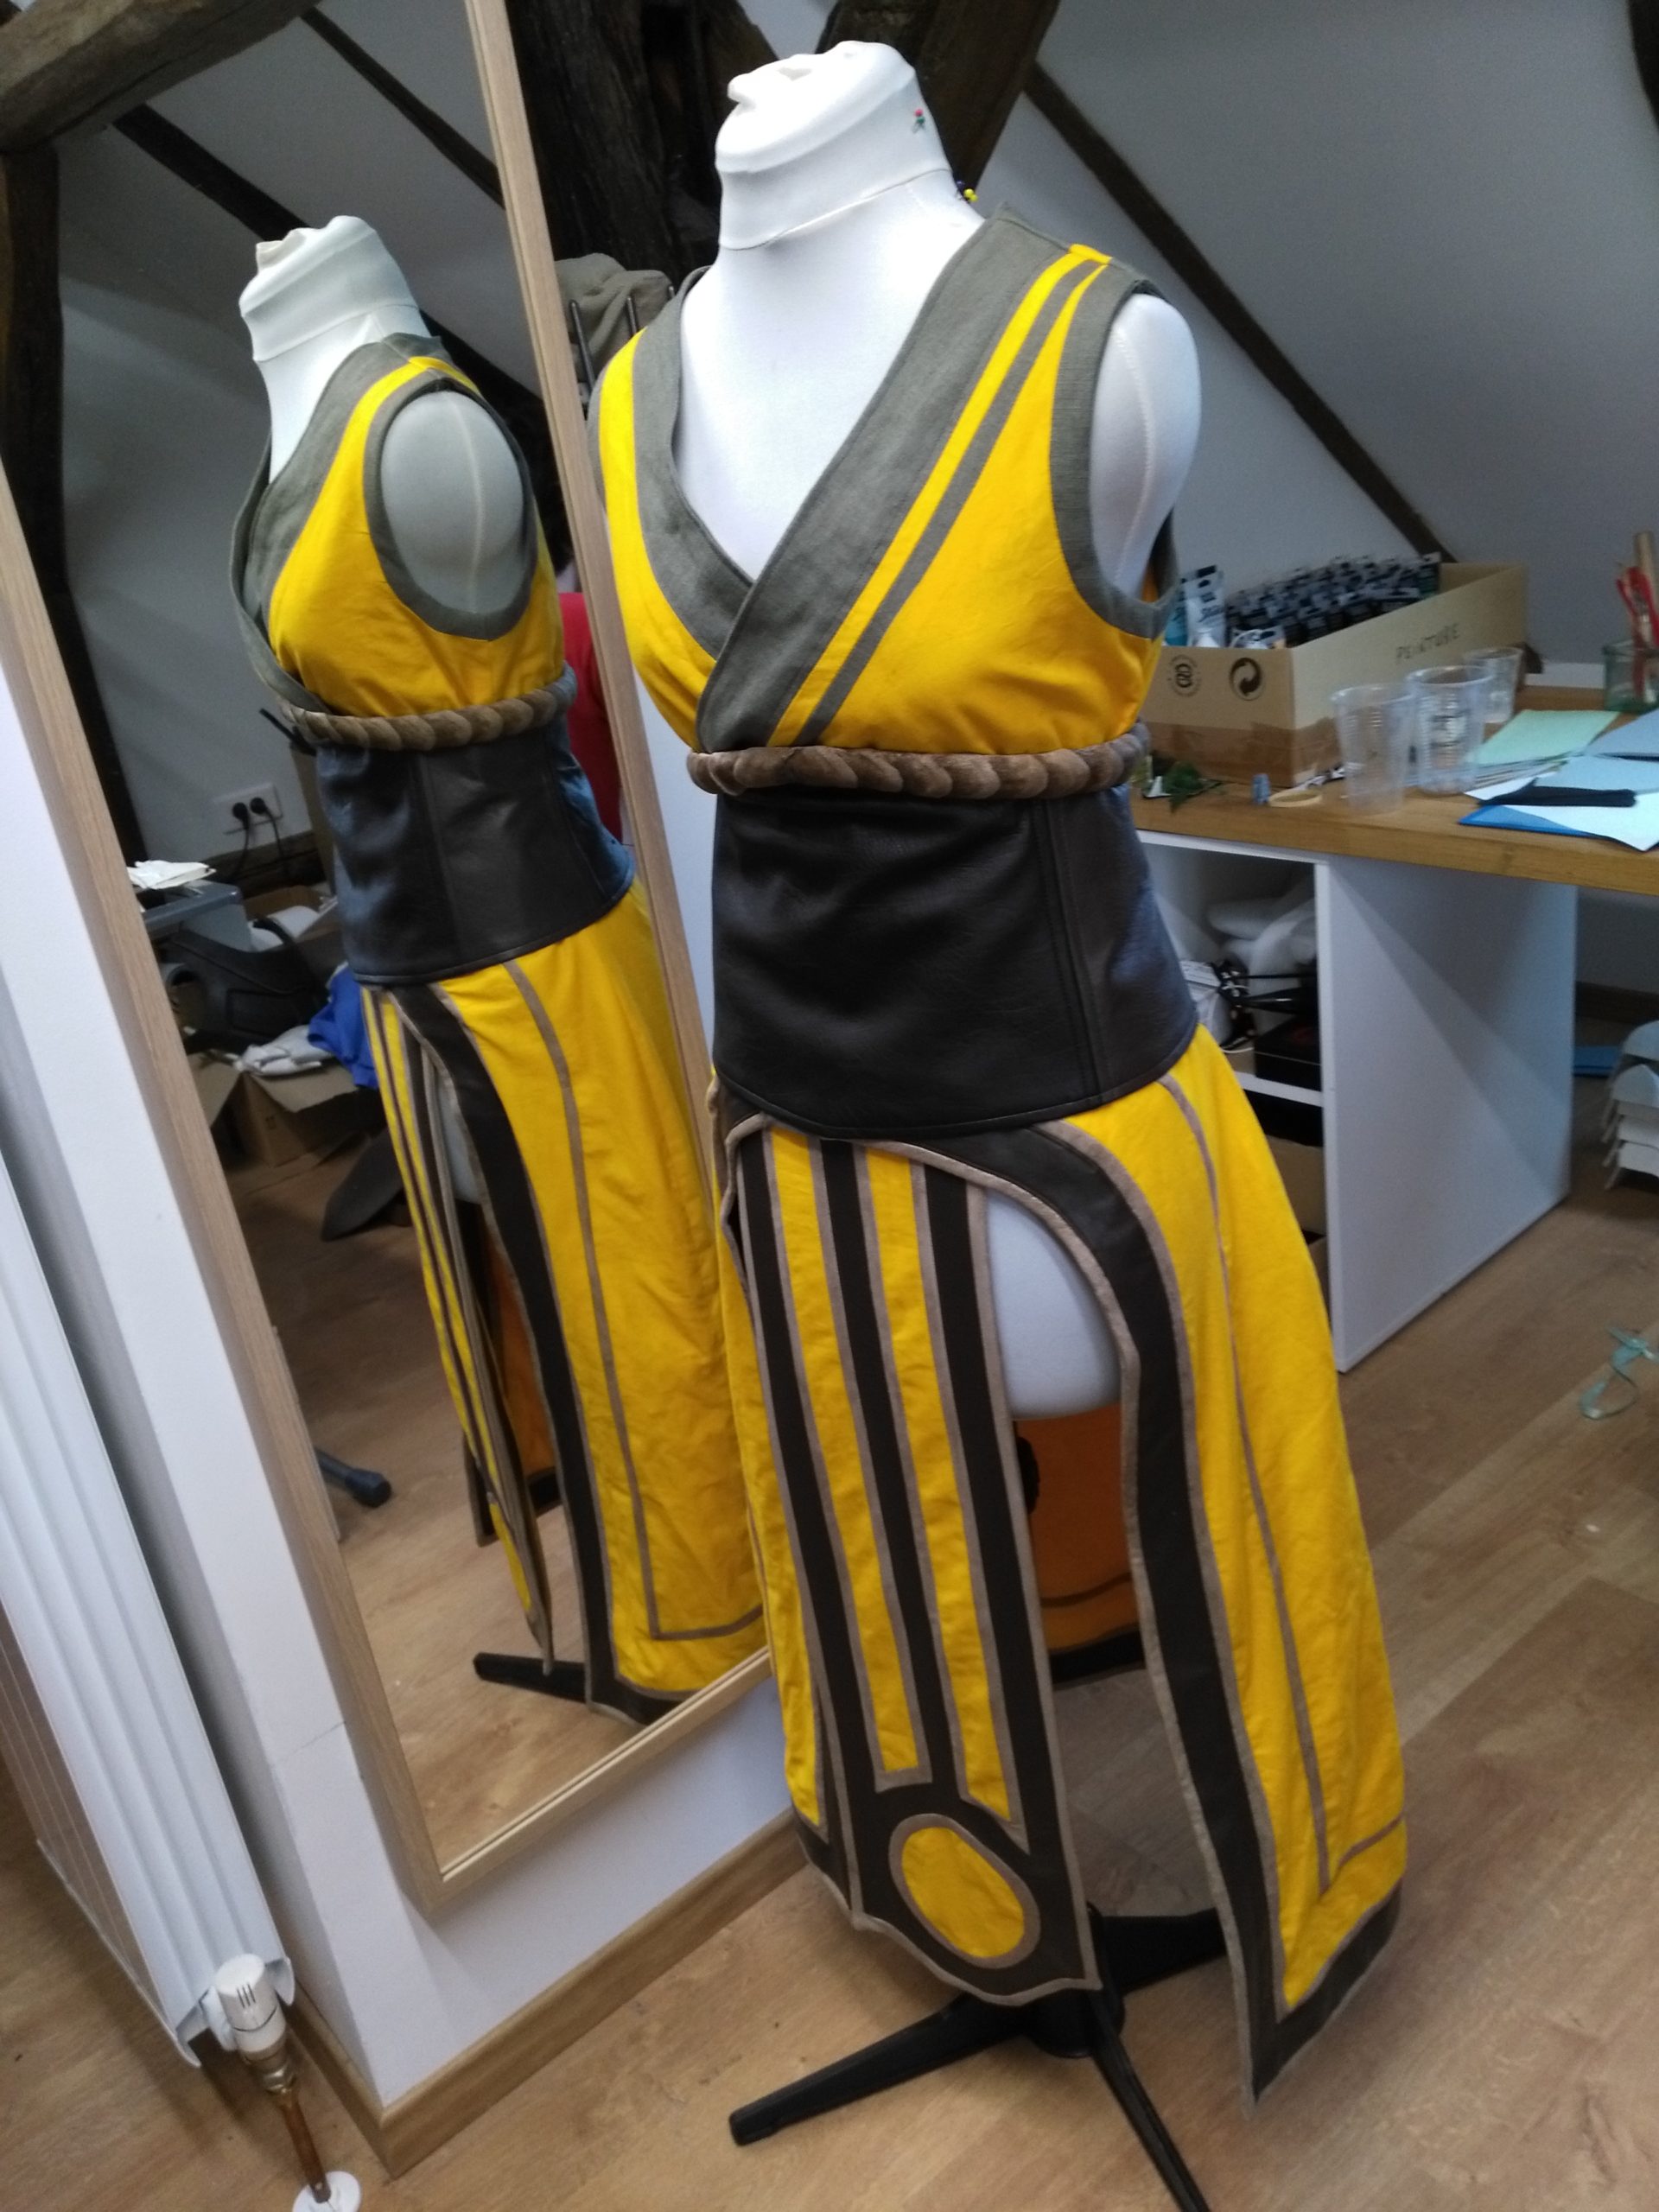
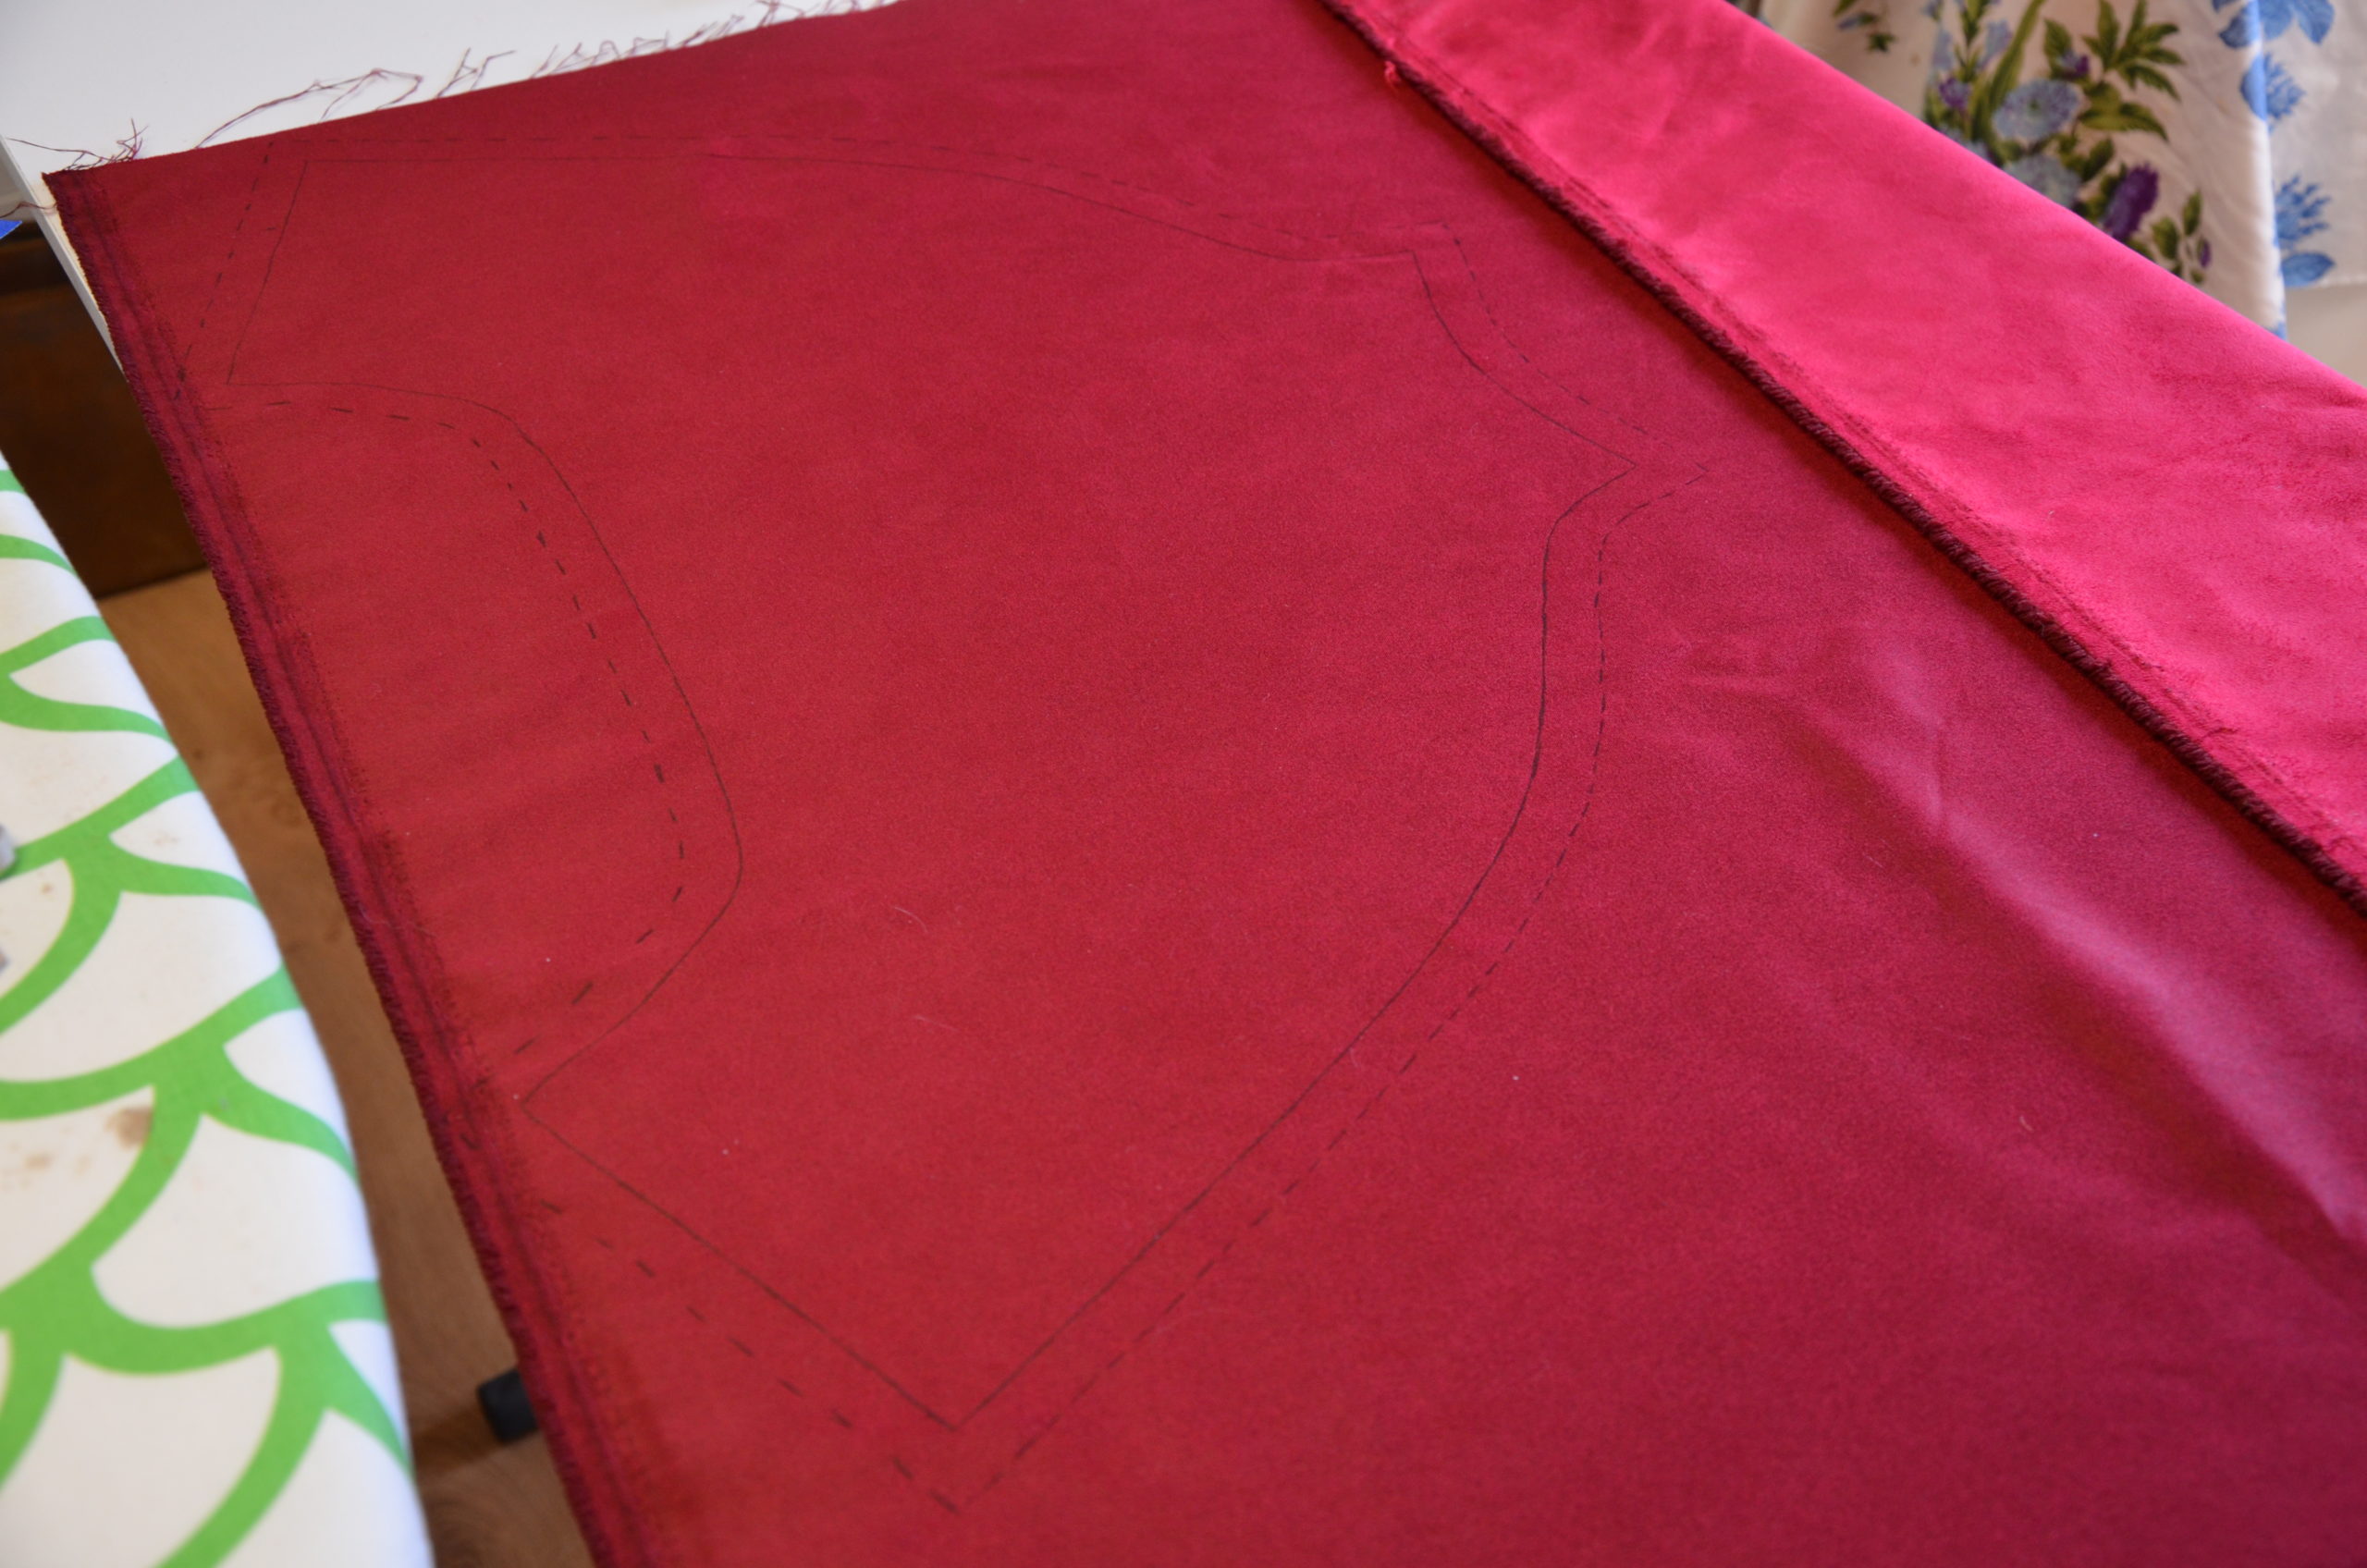
Patterns are transferred on the final fabrics, namely a nice yellow cotton, some mouse gray linen, a gray/beige soft-touch faux-leather, and a chocolate grained faux-leather.
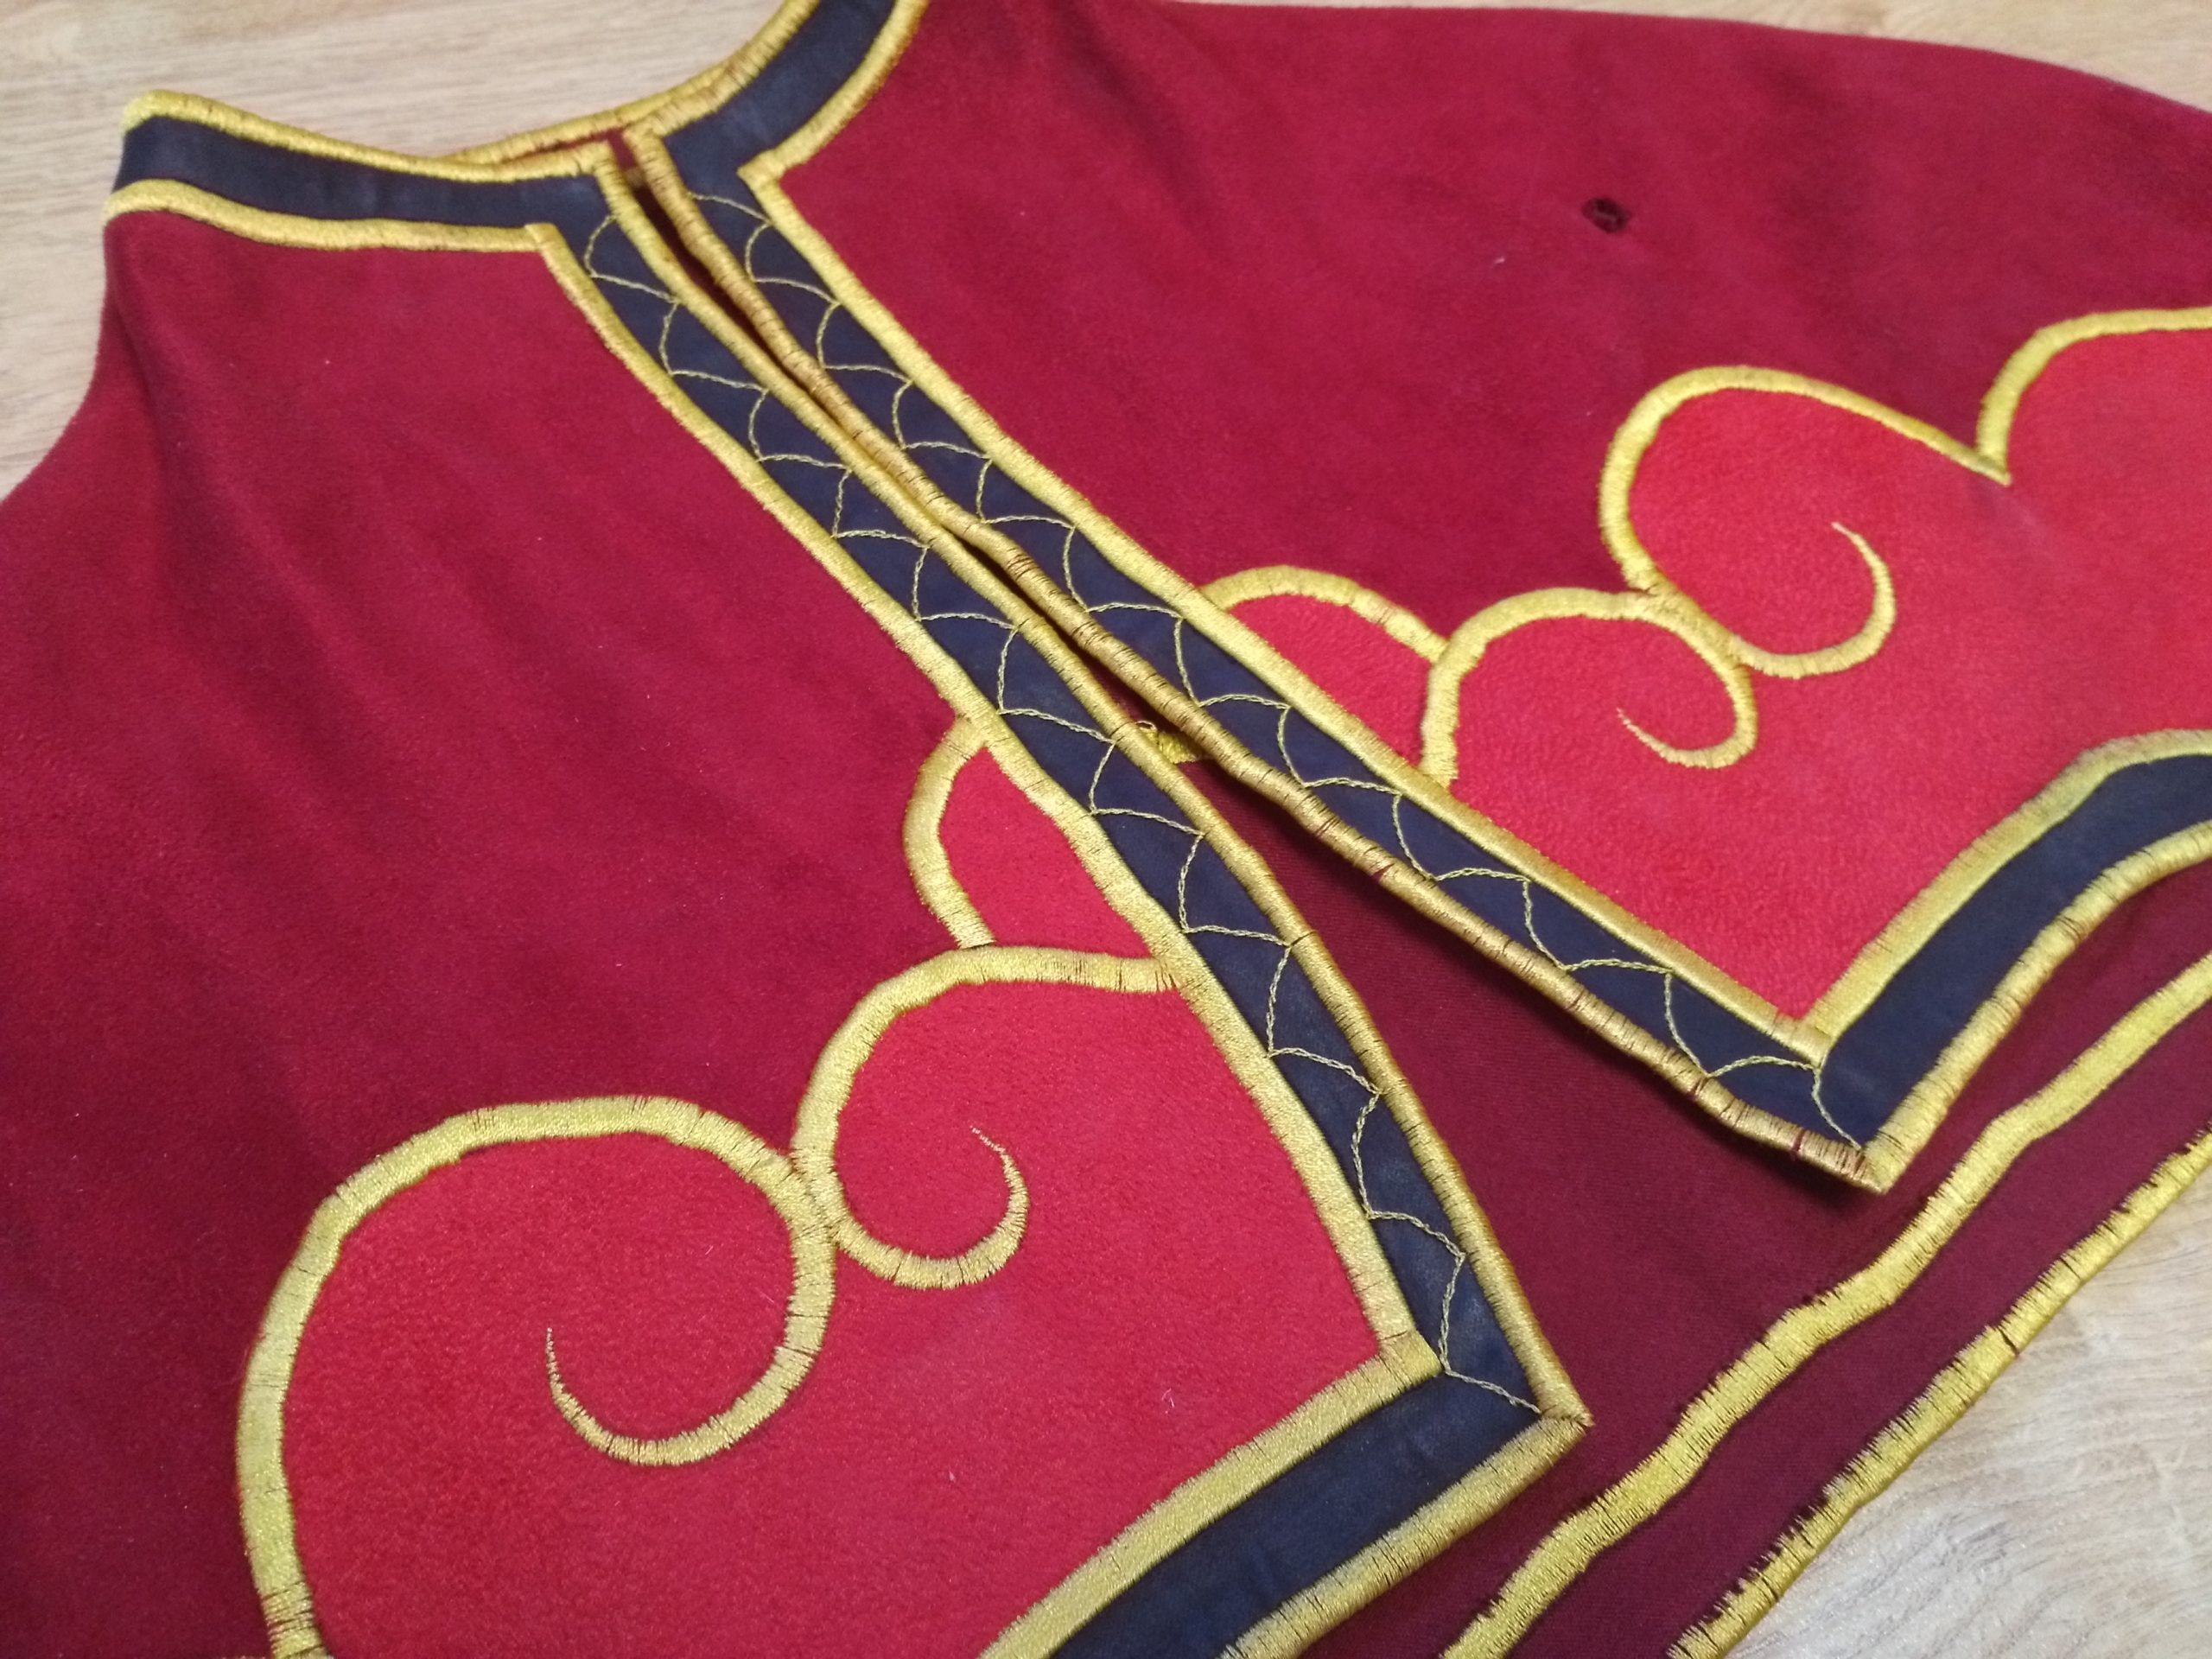
Do you remember when I told you this costume was more complicated than it seemed ? Well here we are…
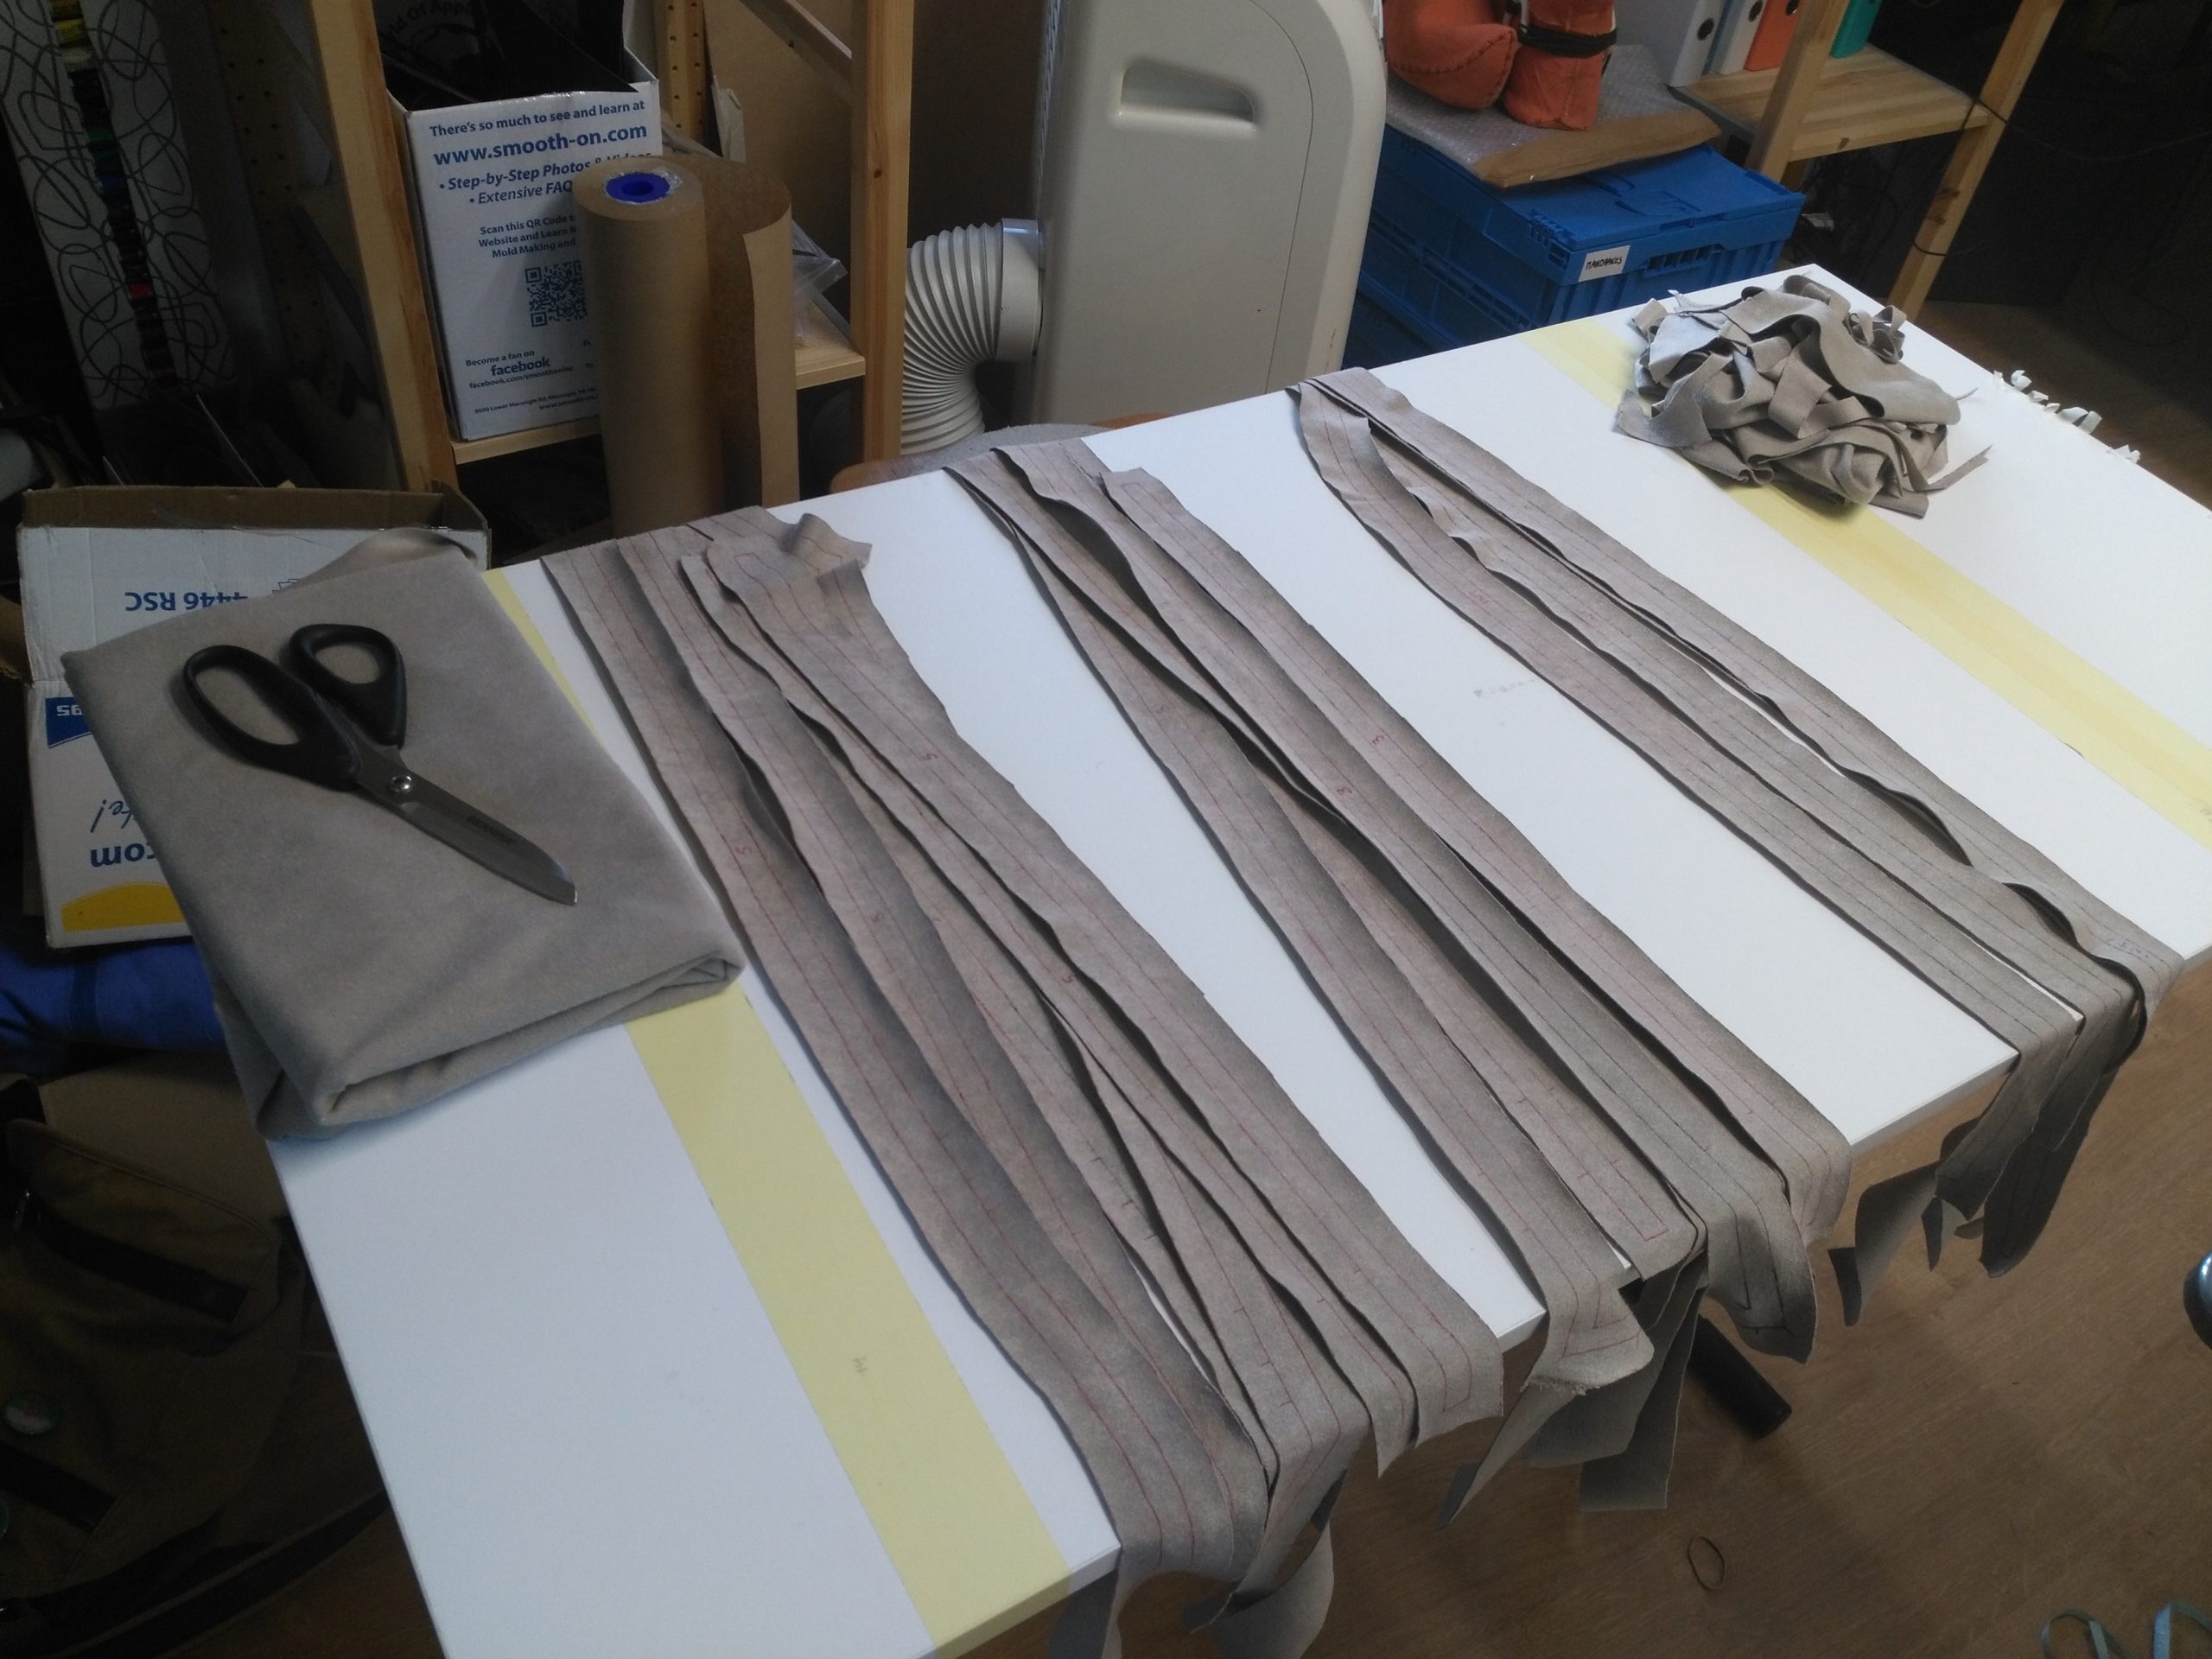
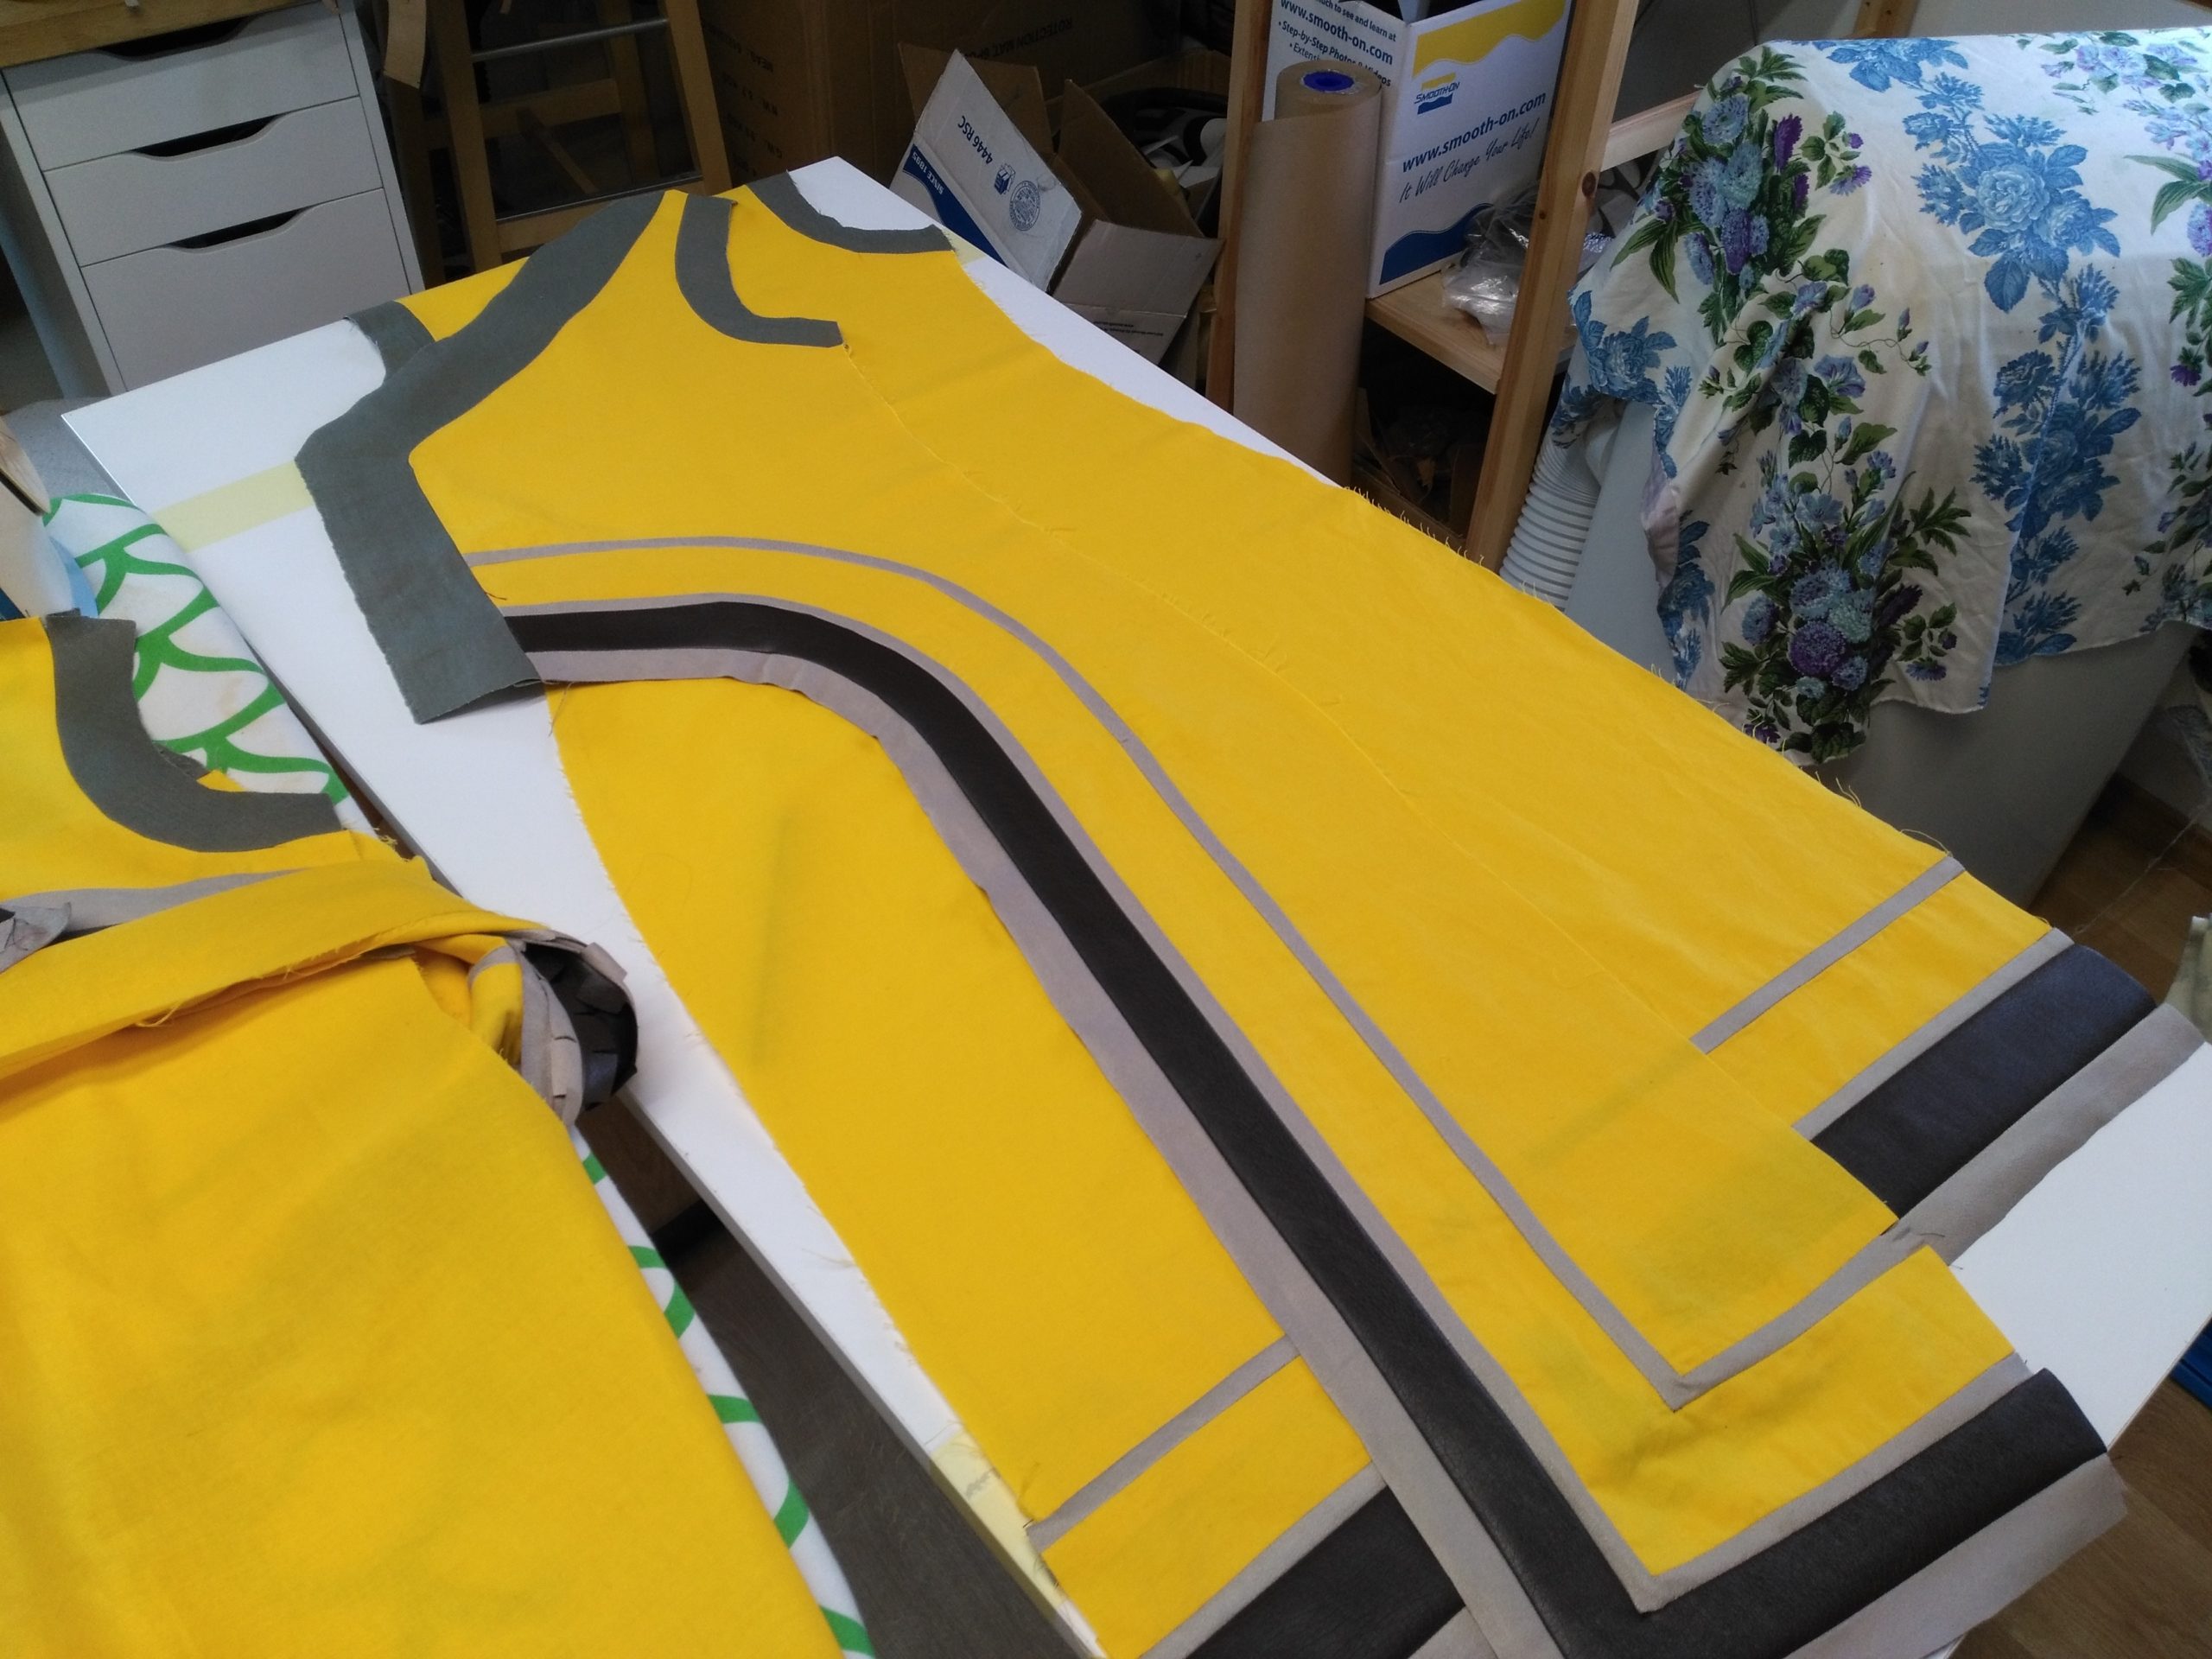
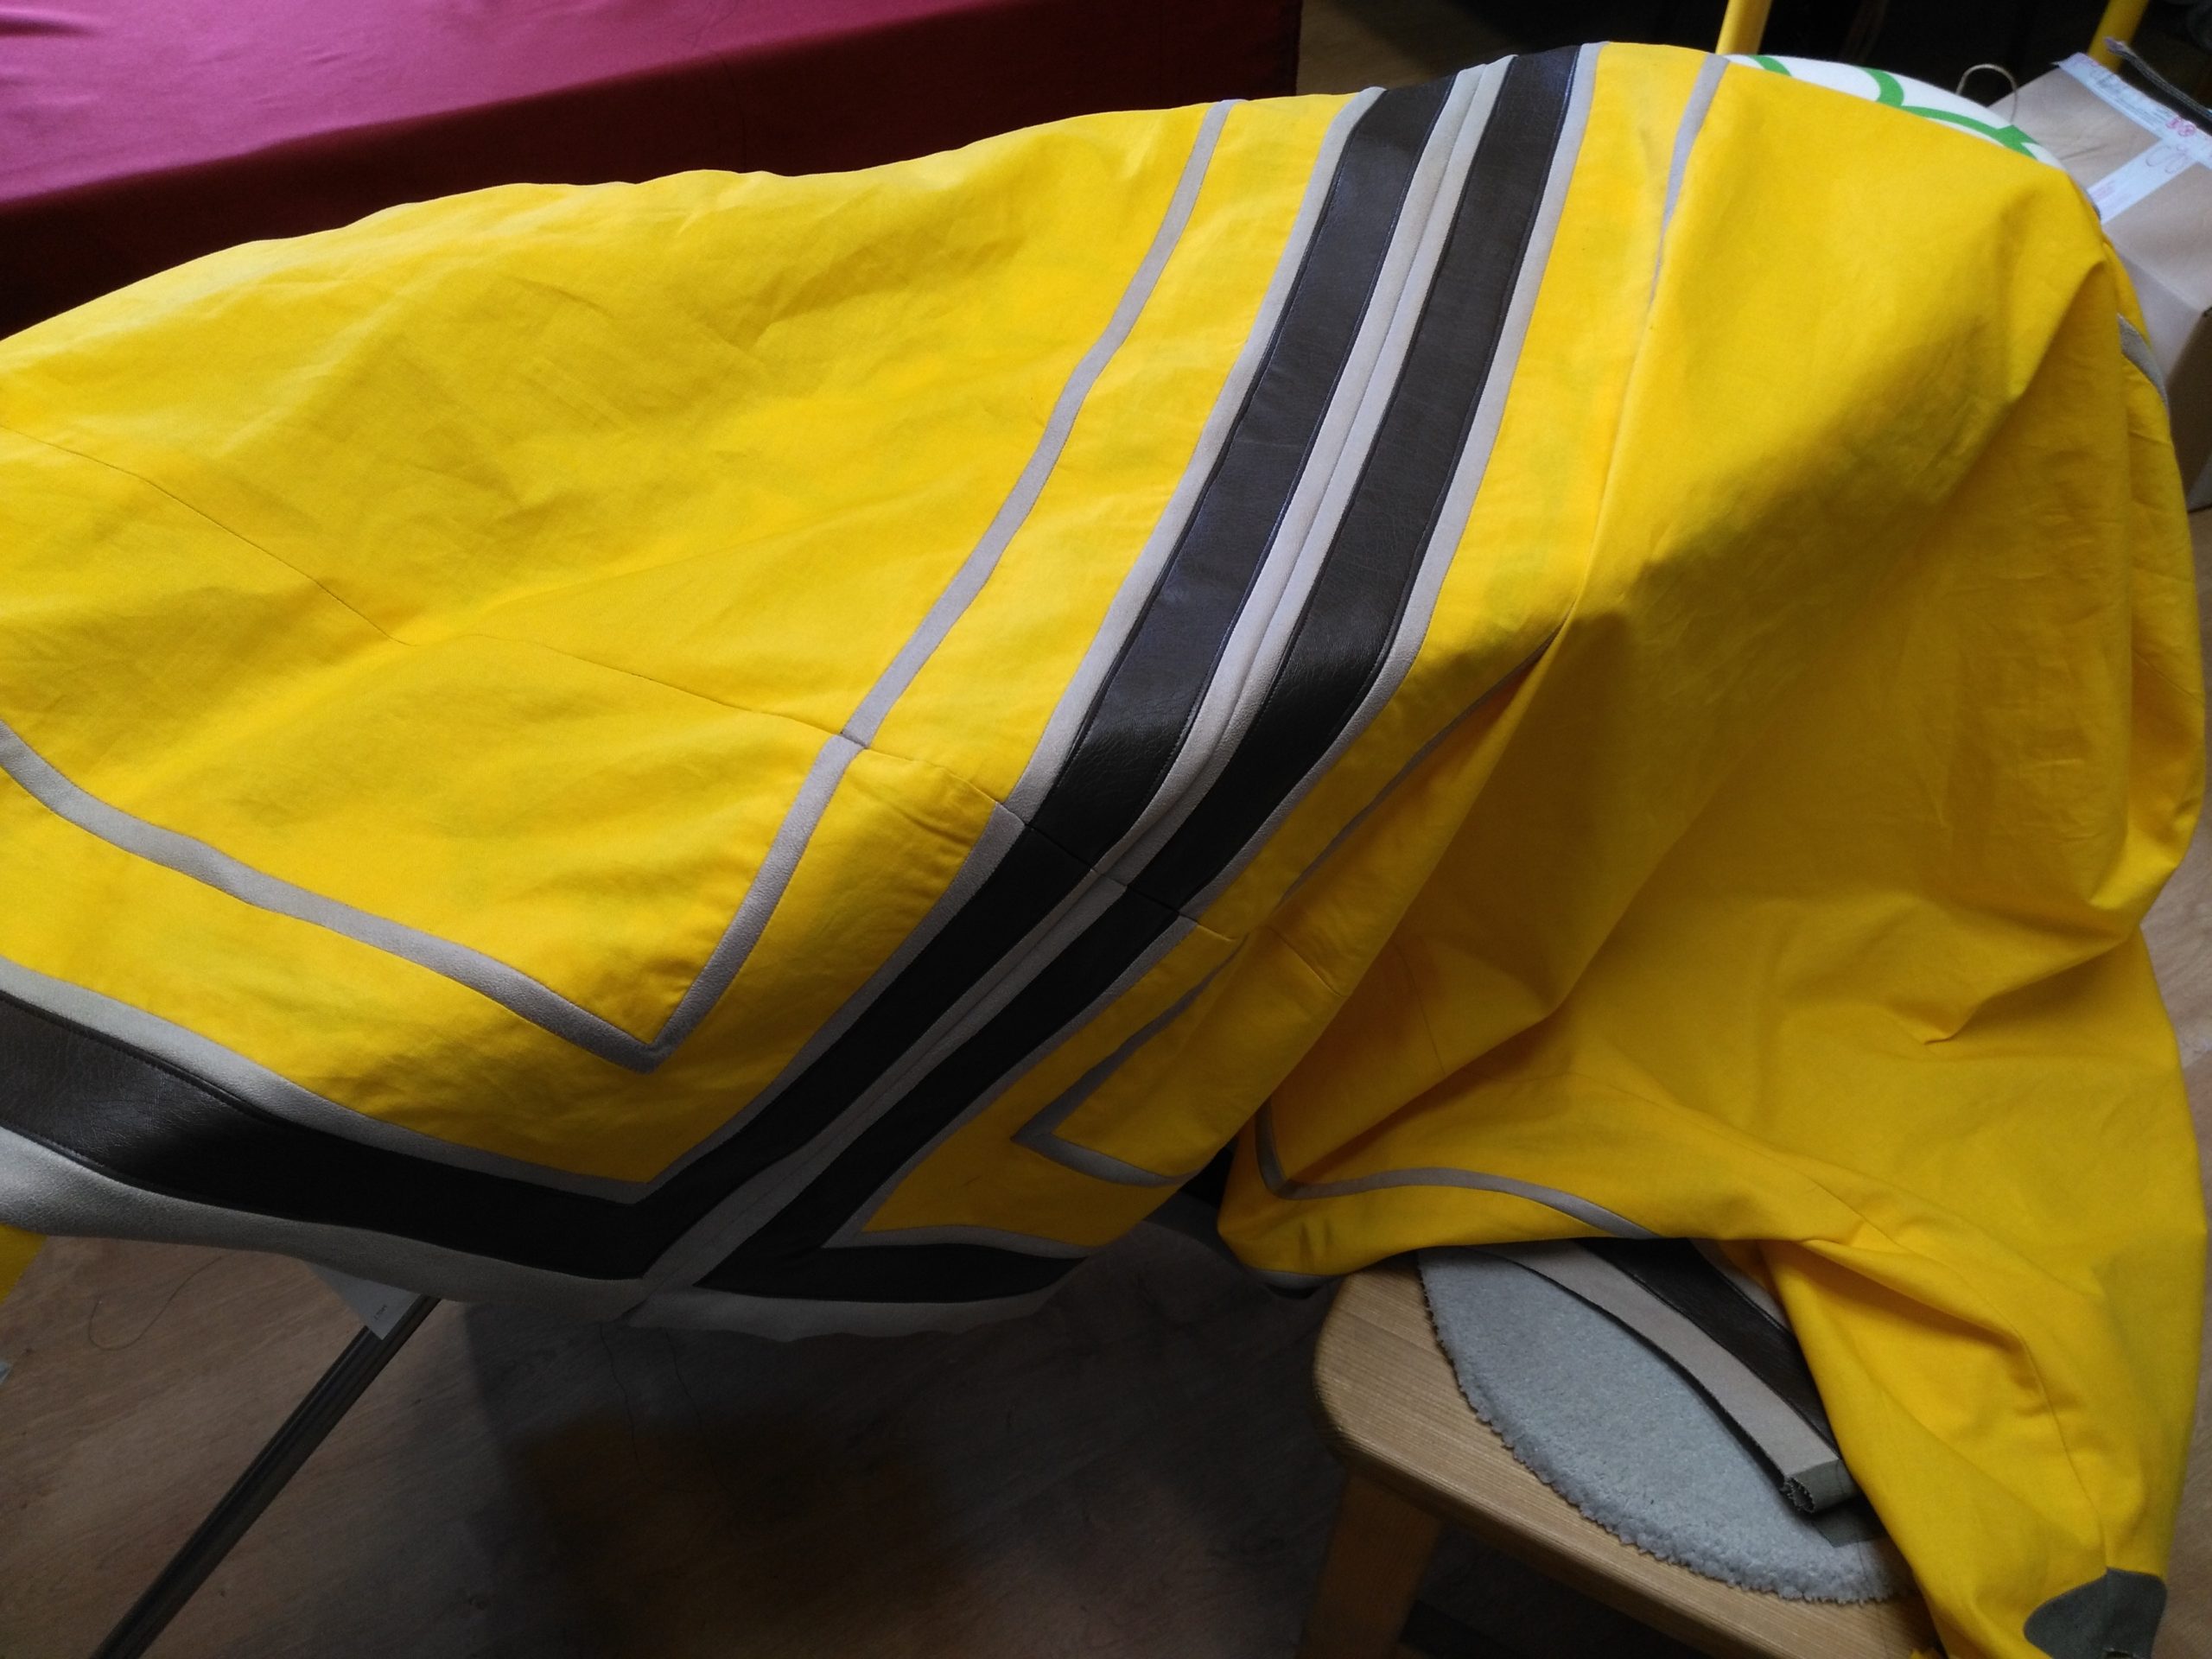
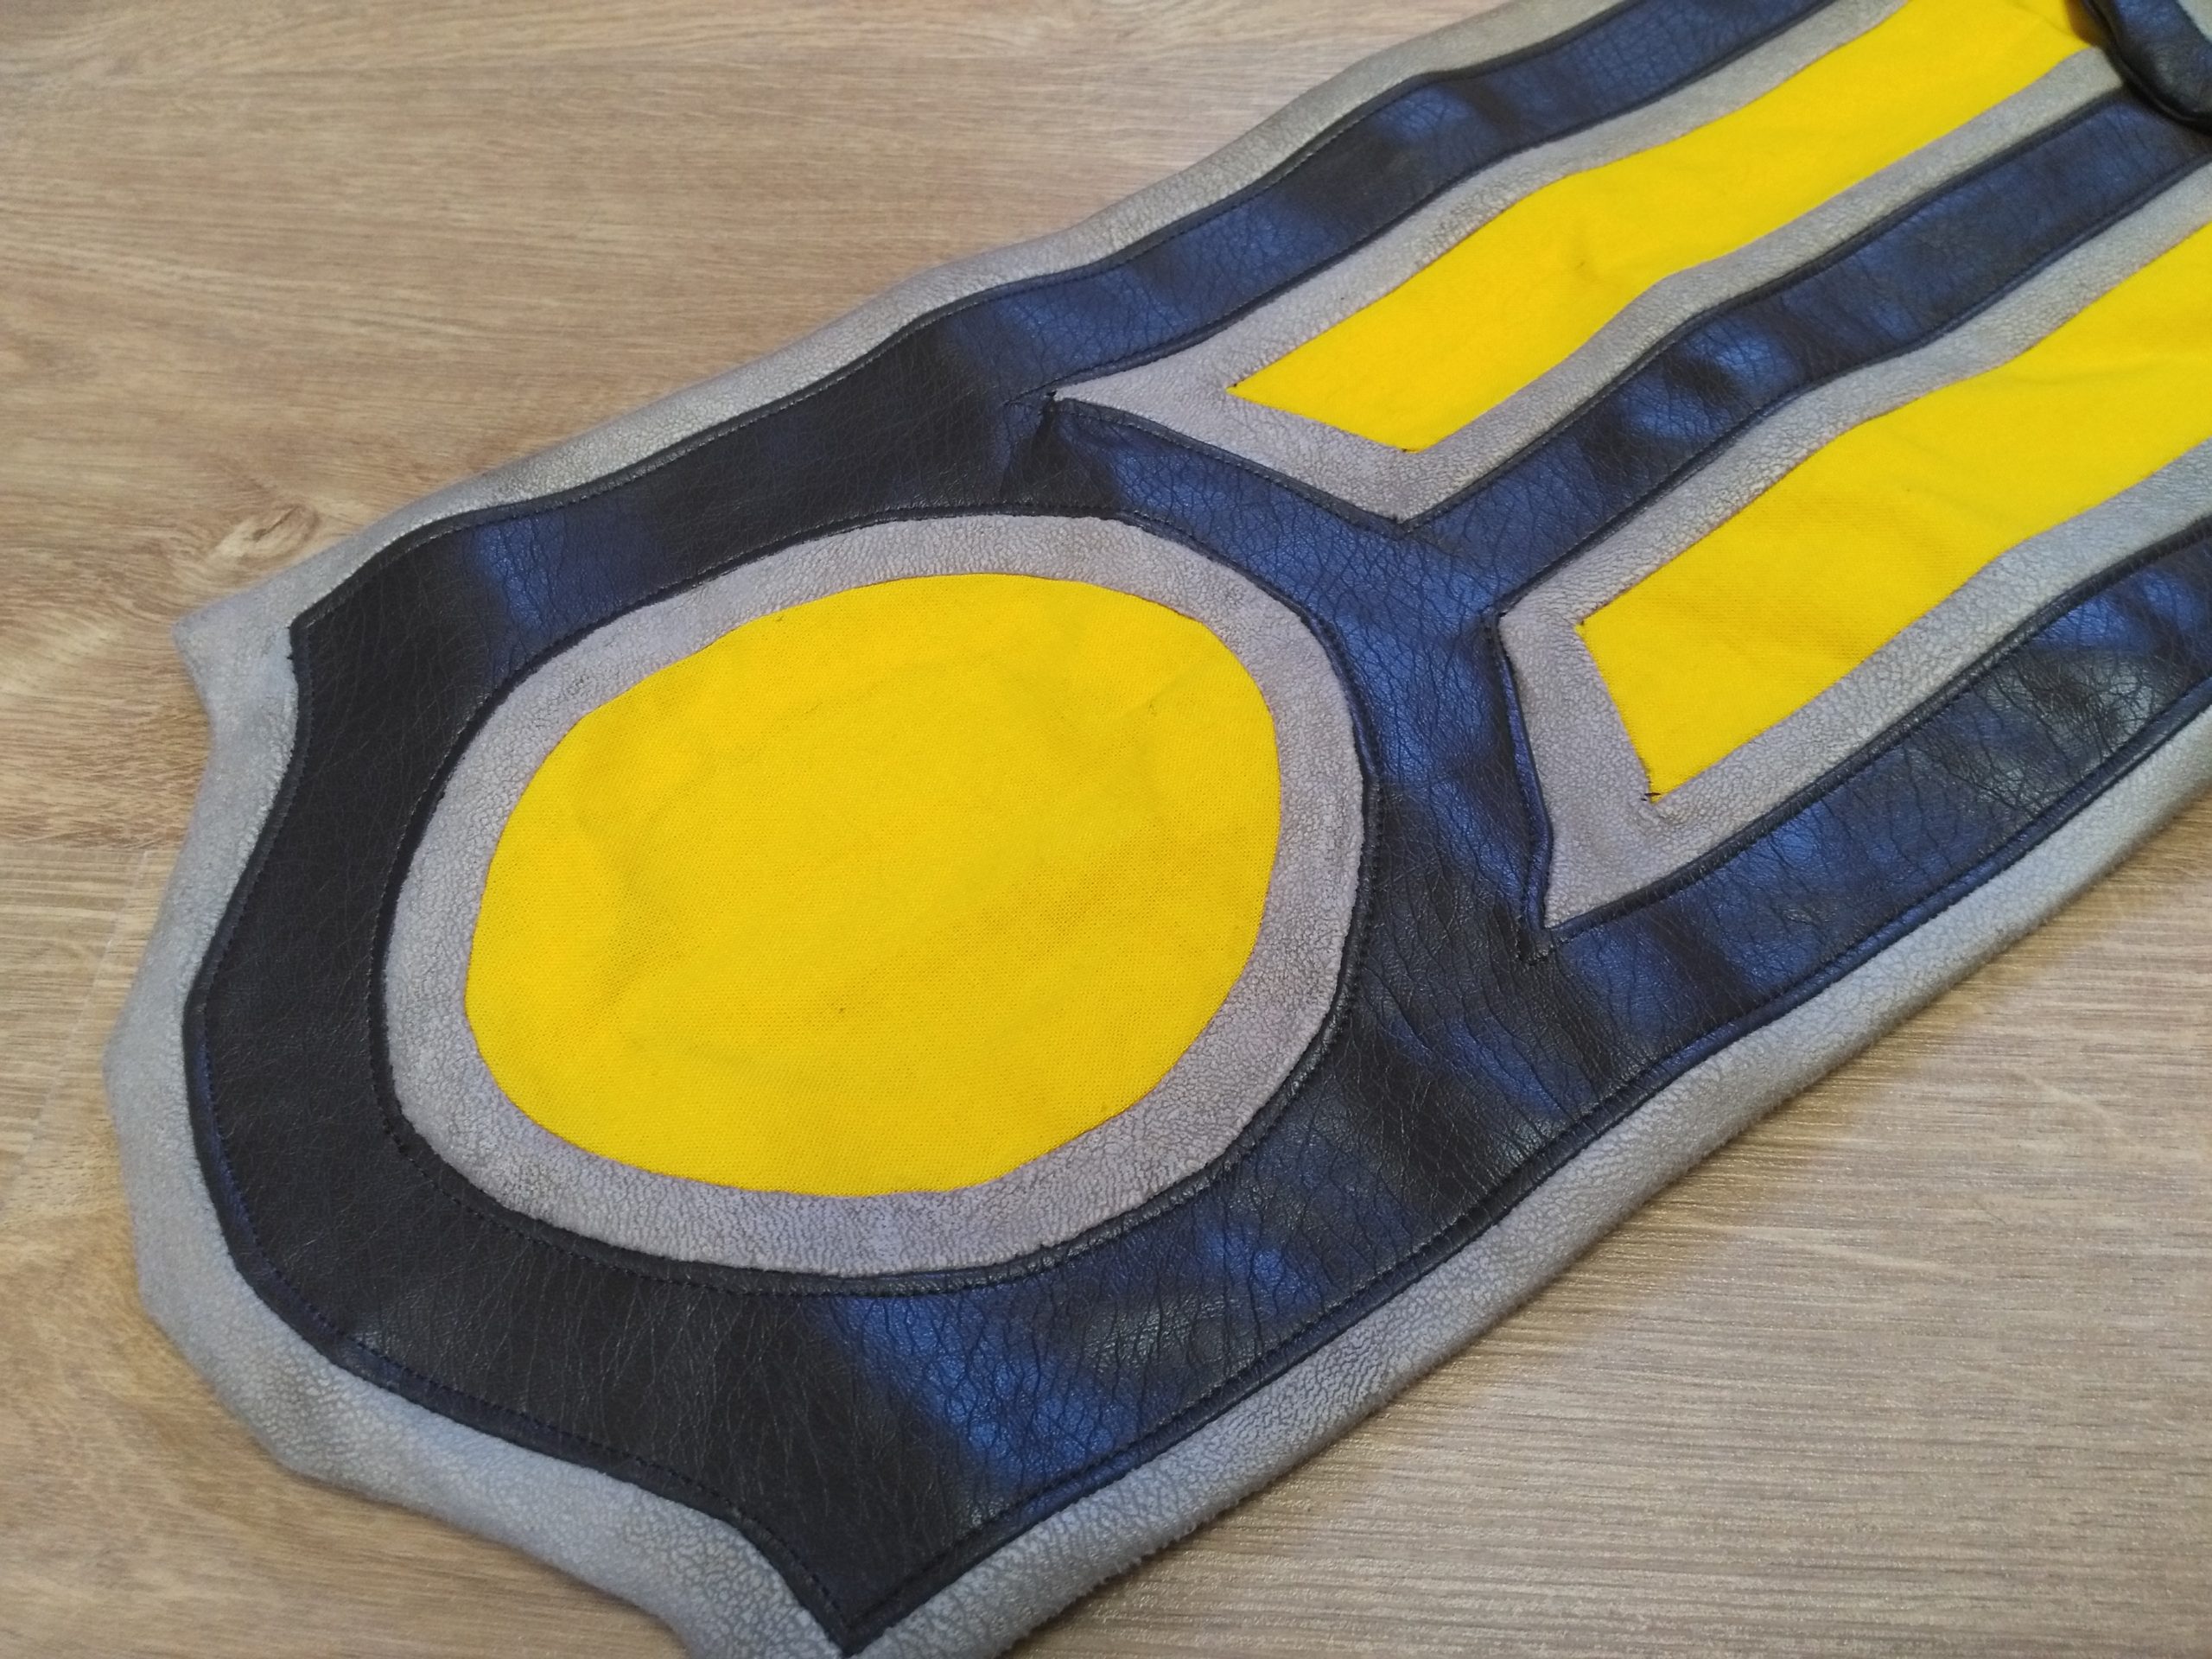
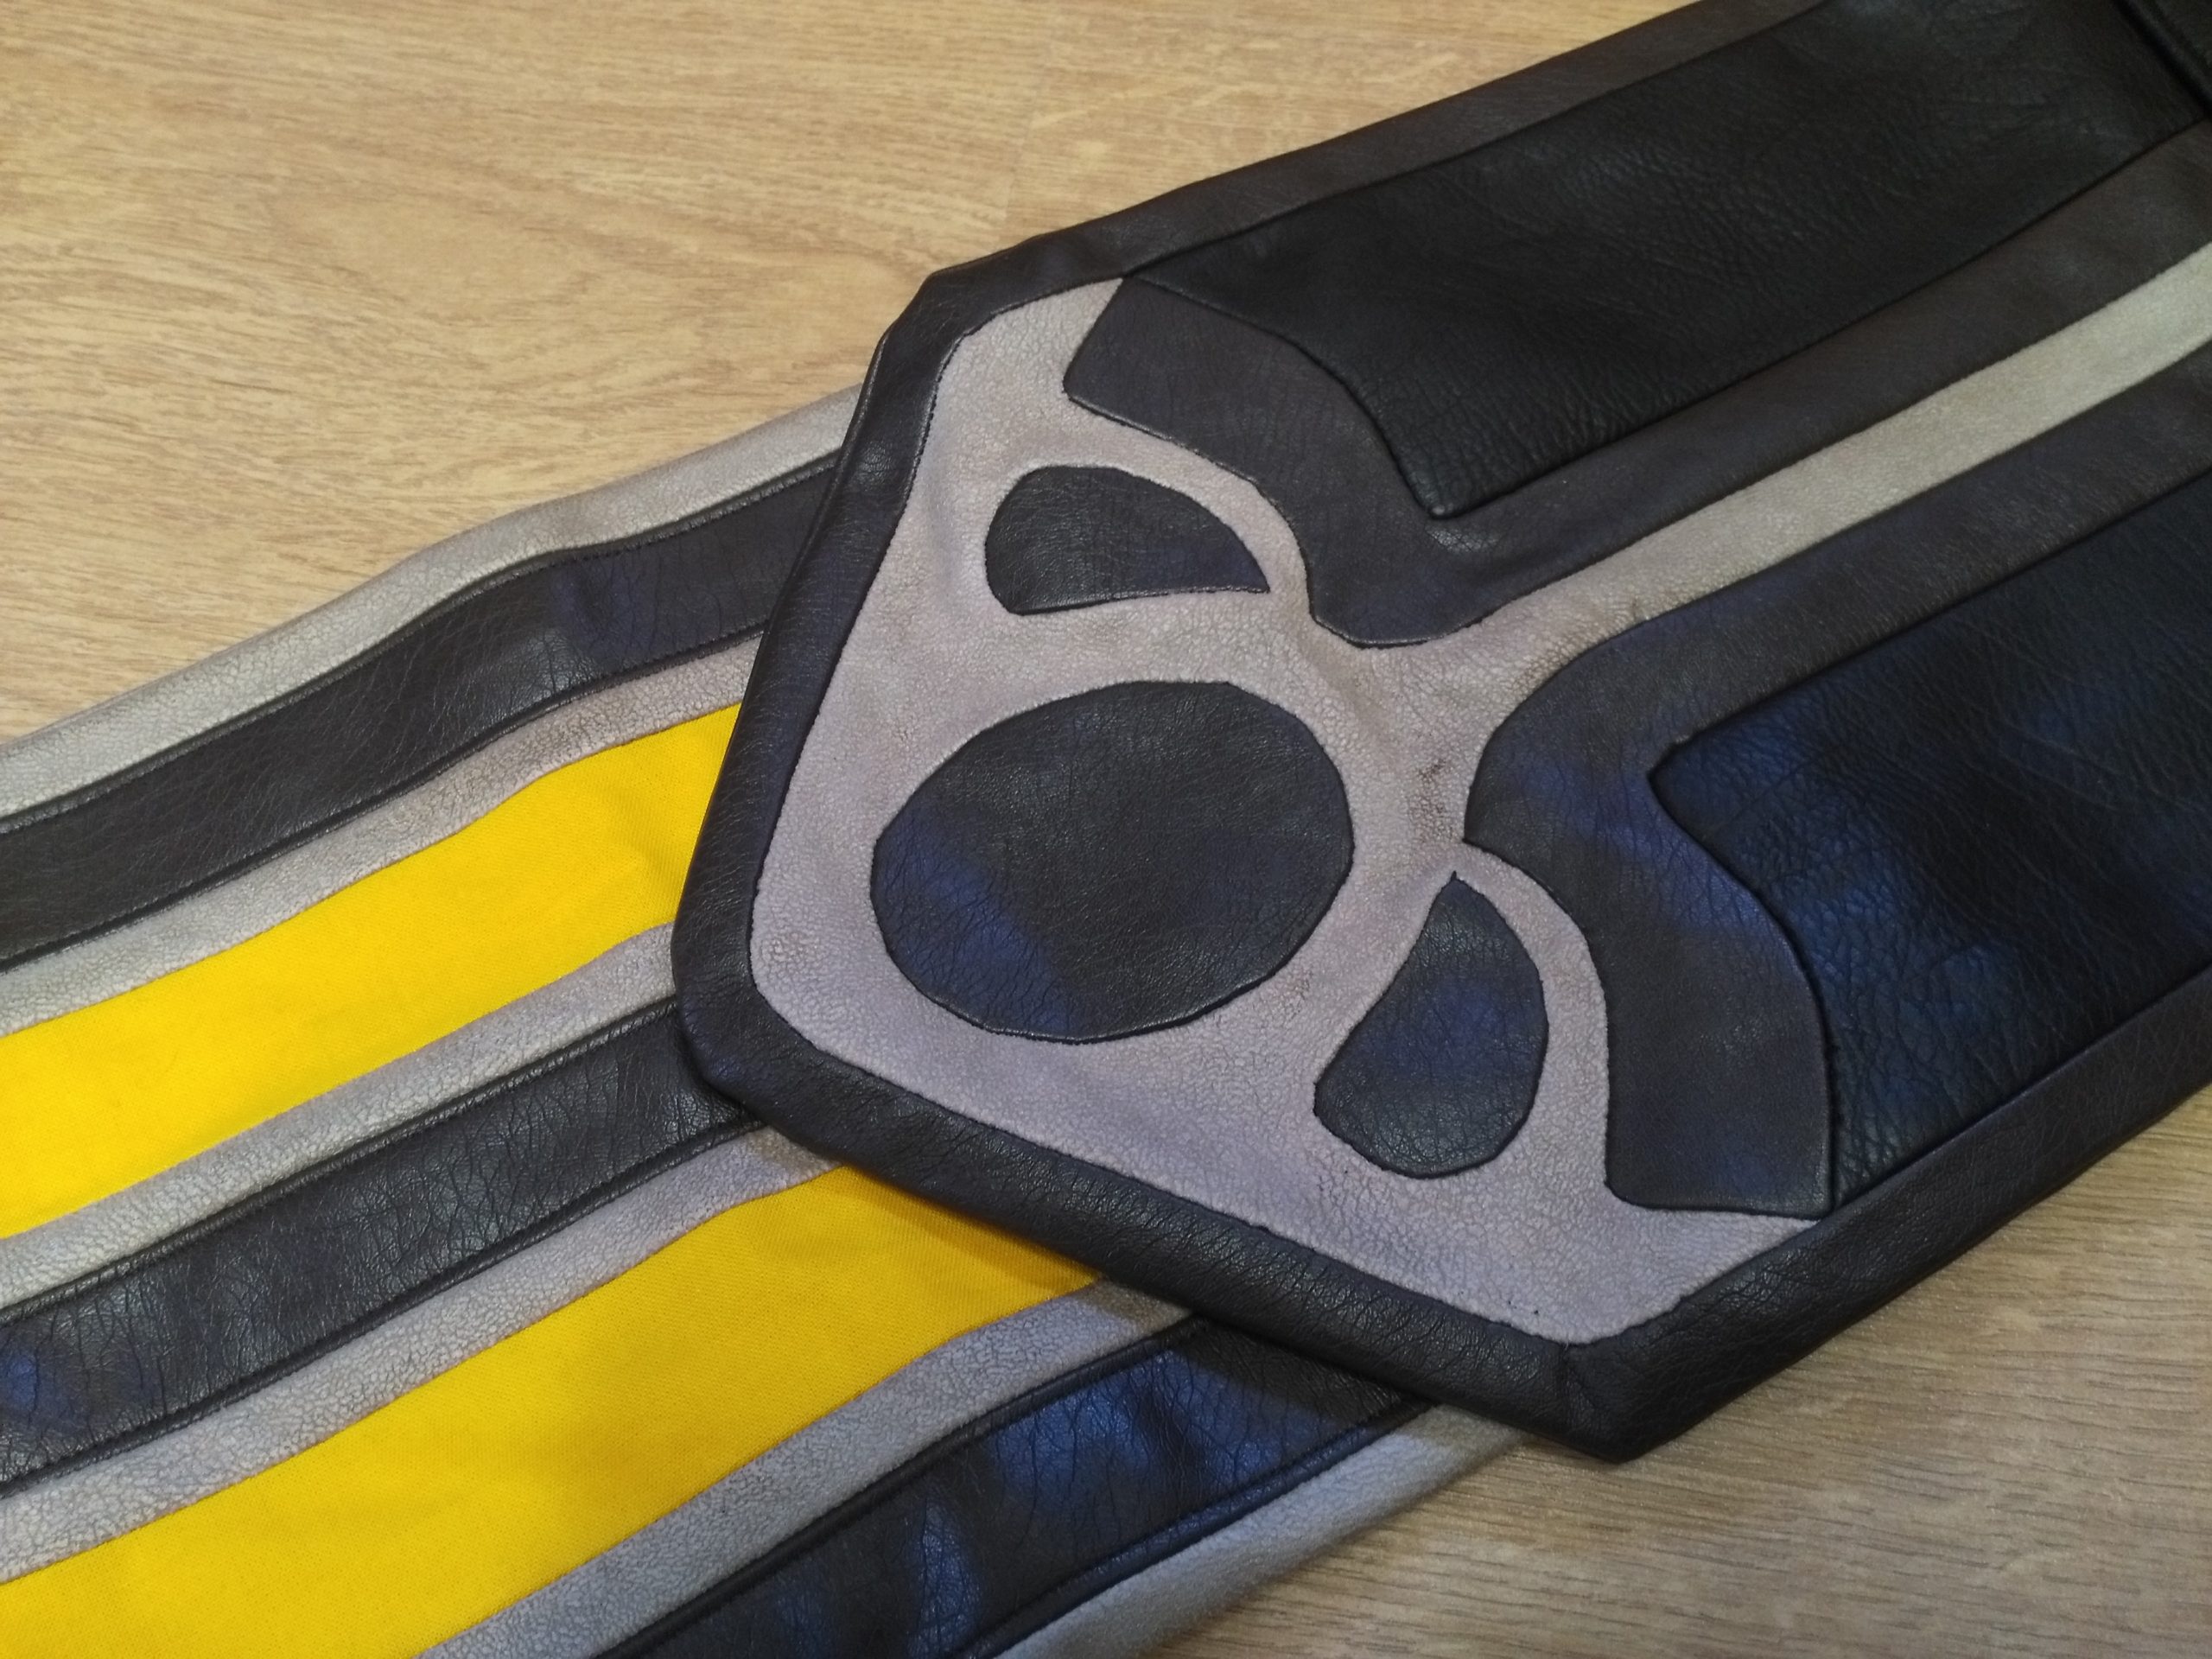
This kimono actually has many details with a lot of different fabric lines that cross each other. Borders made of several fabric strips, curves, and lining are everywhere!
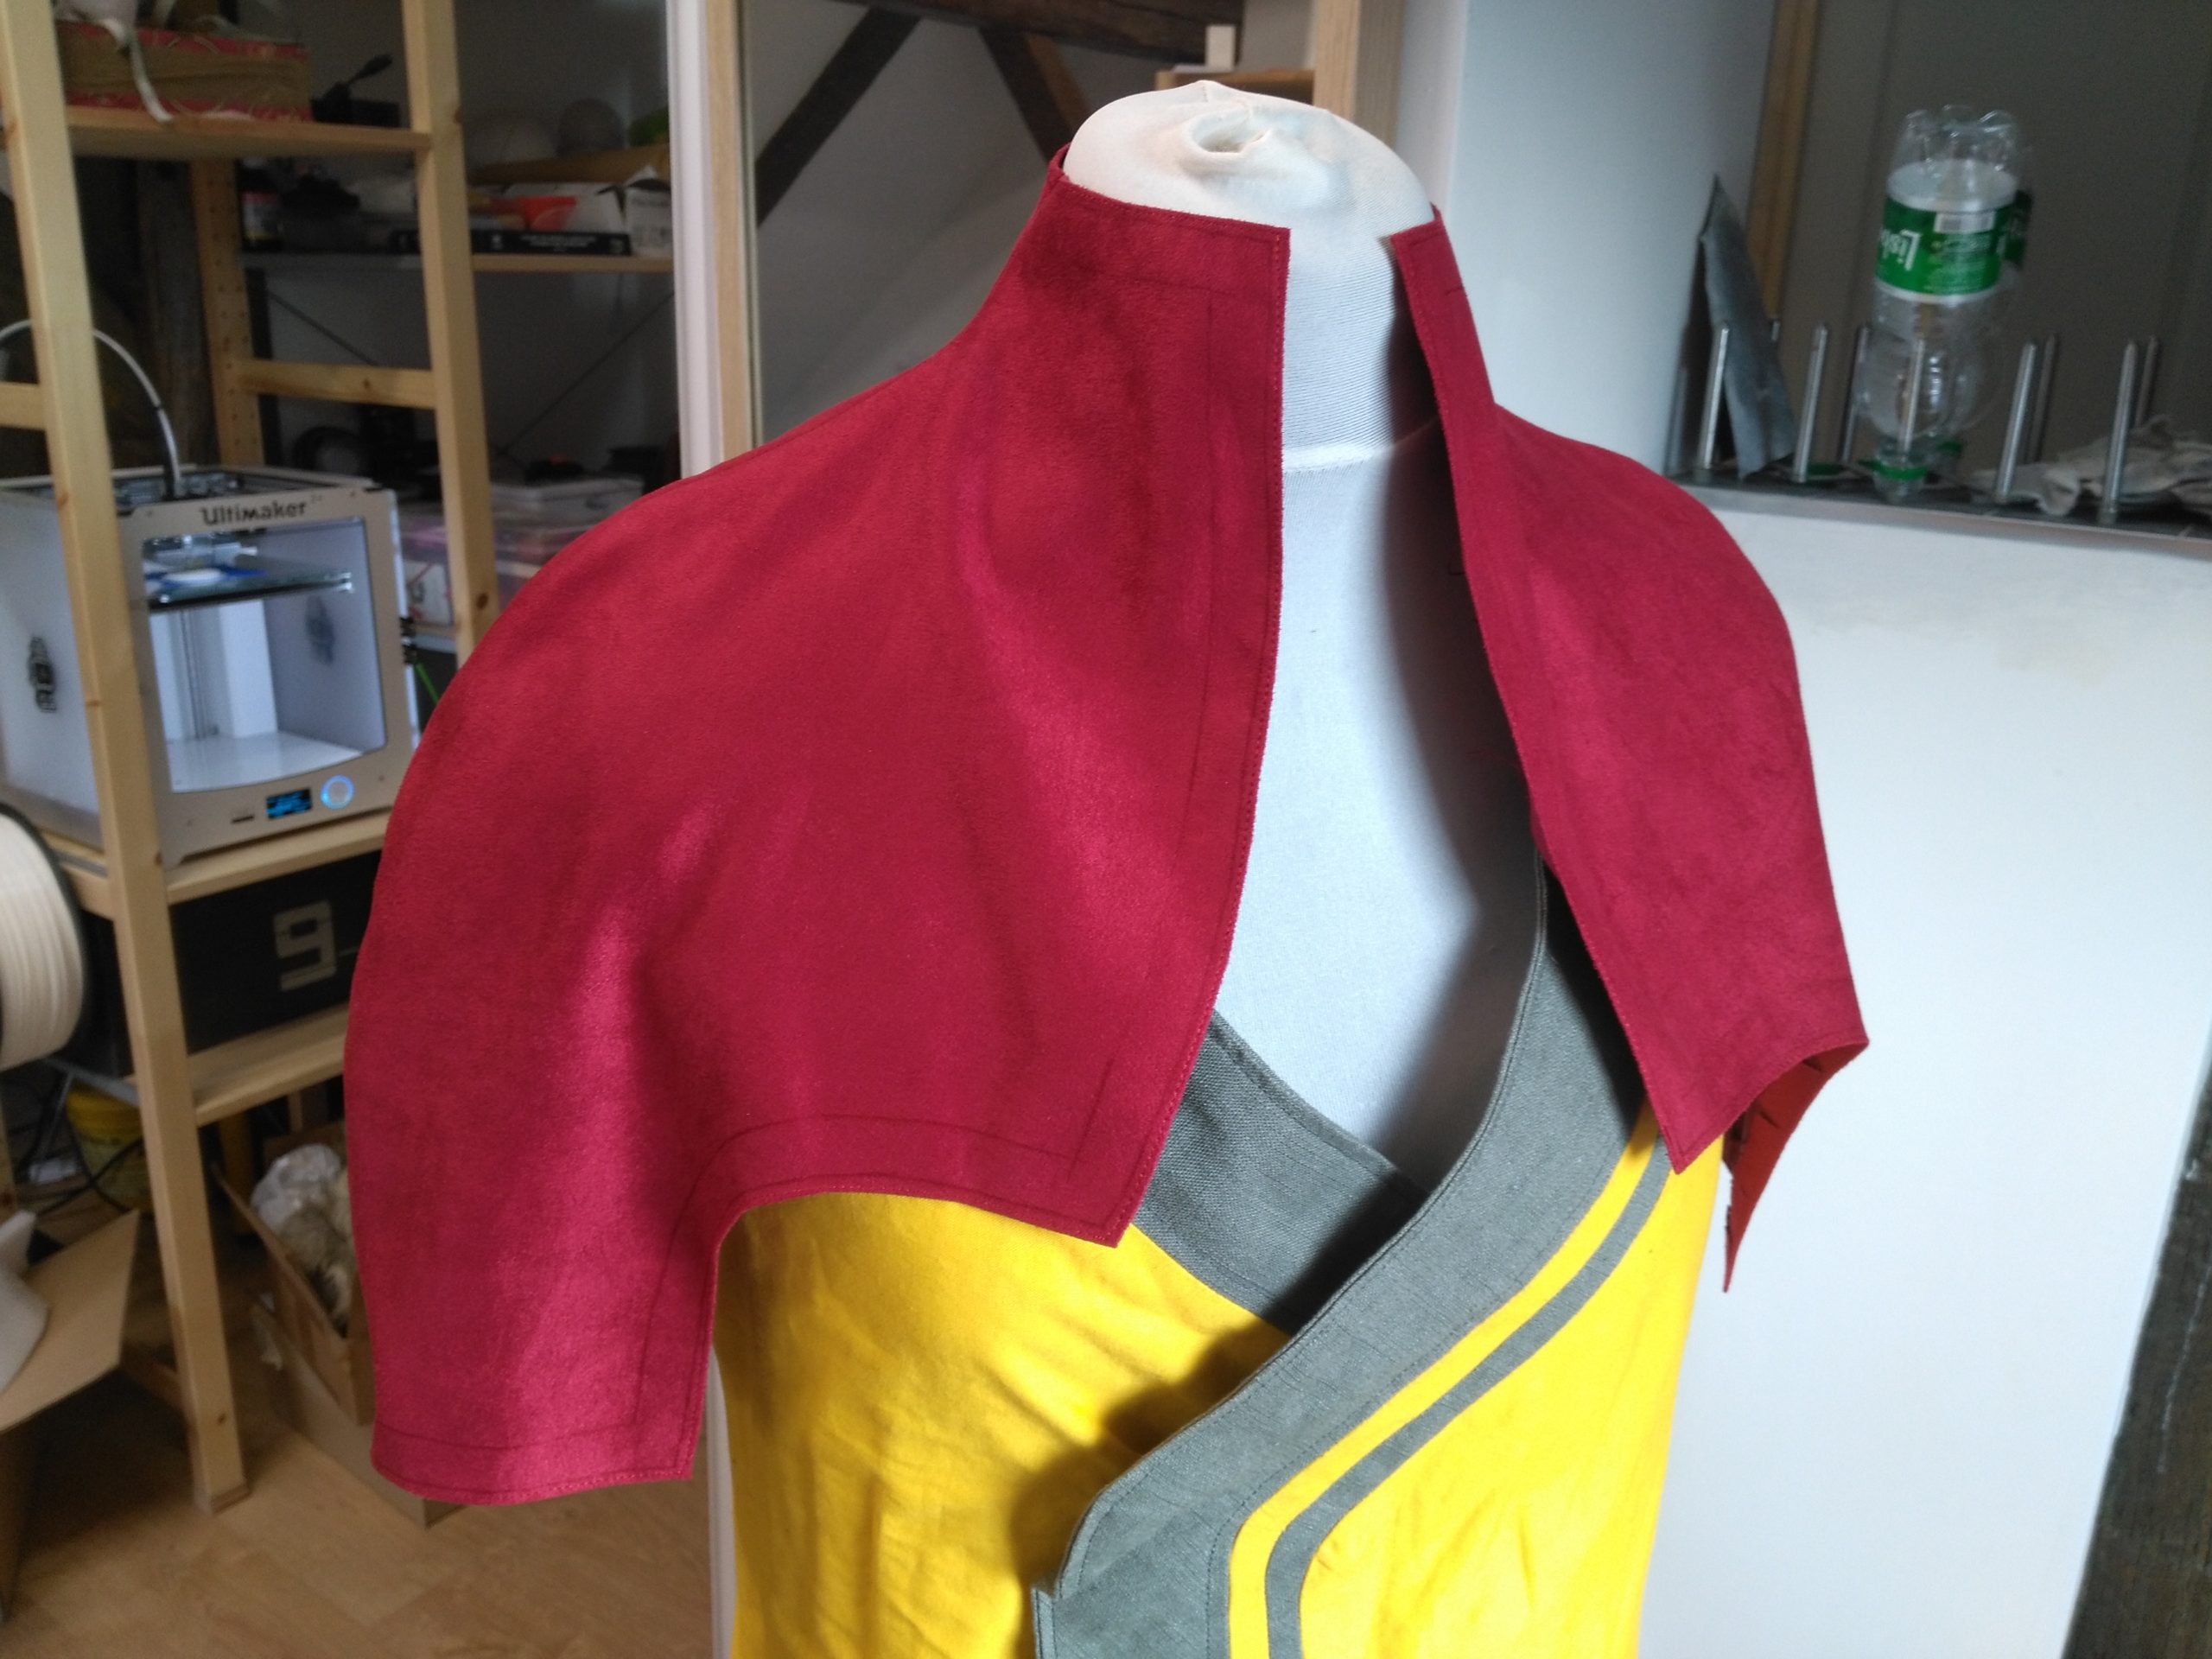
On the artwork, the pose is static with straight legs. Yet, on a costume, you also have to be careful on how it looks while moving. Considering the large opening at the bottom of the kimono, we can easily figure out that the lining will be often visible. In order to remain consistent, we chose to duplicate the kimono, and it’s hellish borders, to have the same pattern inside (apparently we love to suffer).

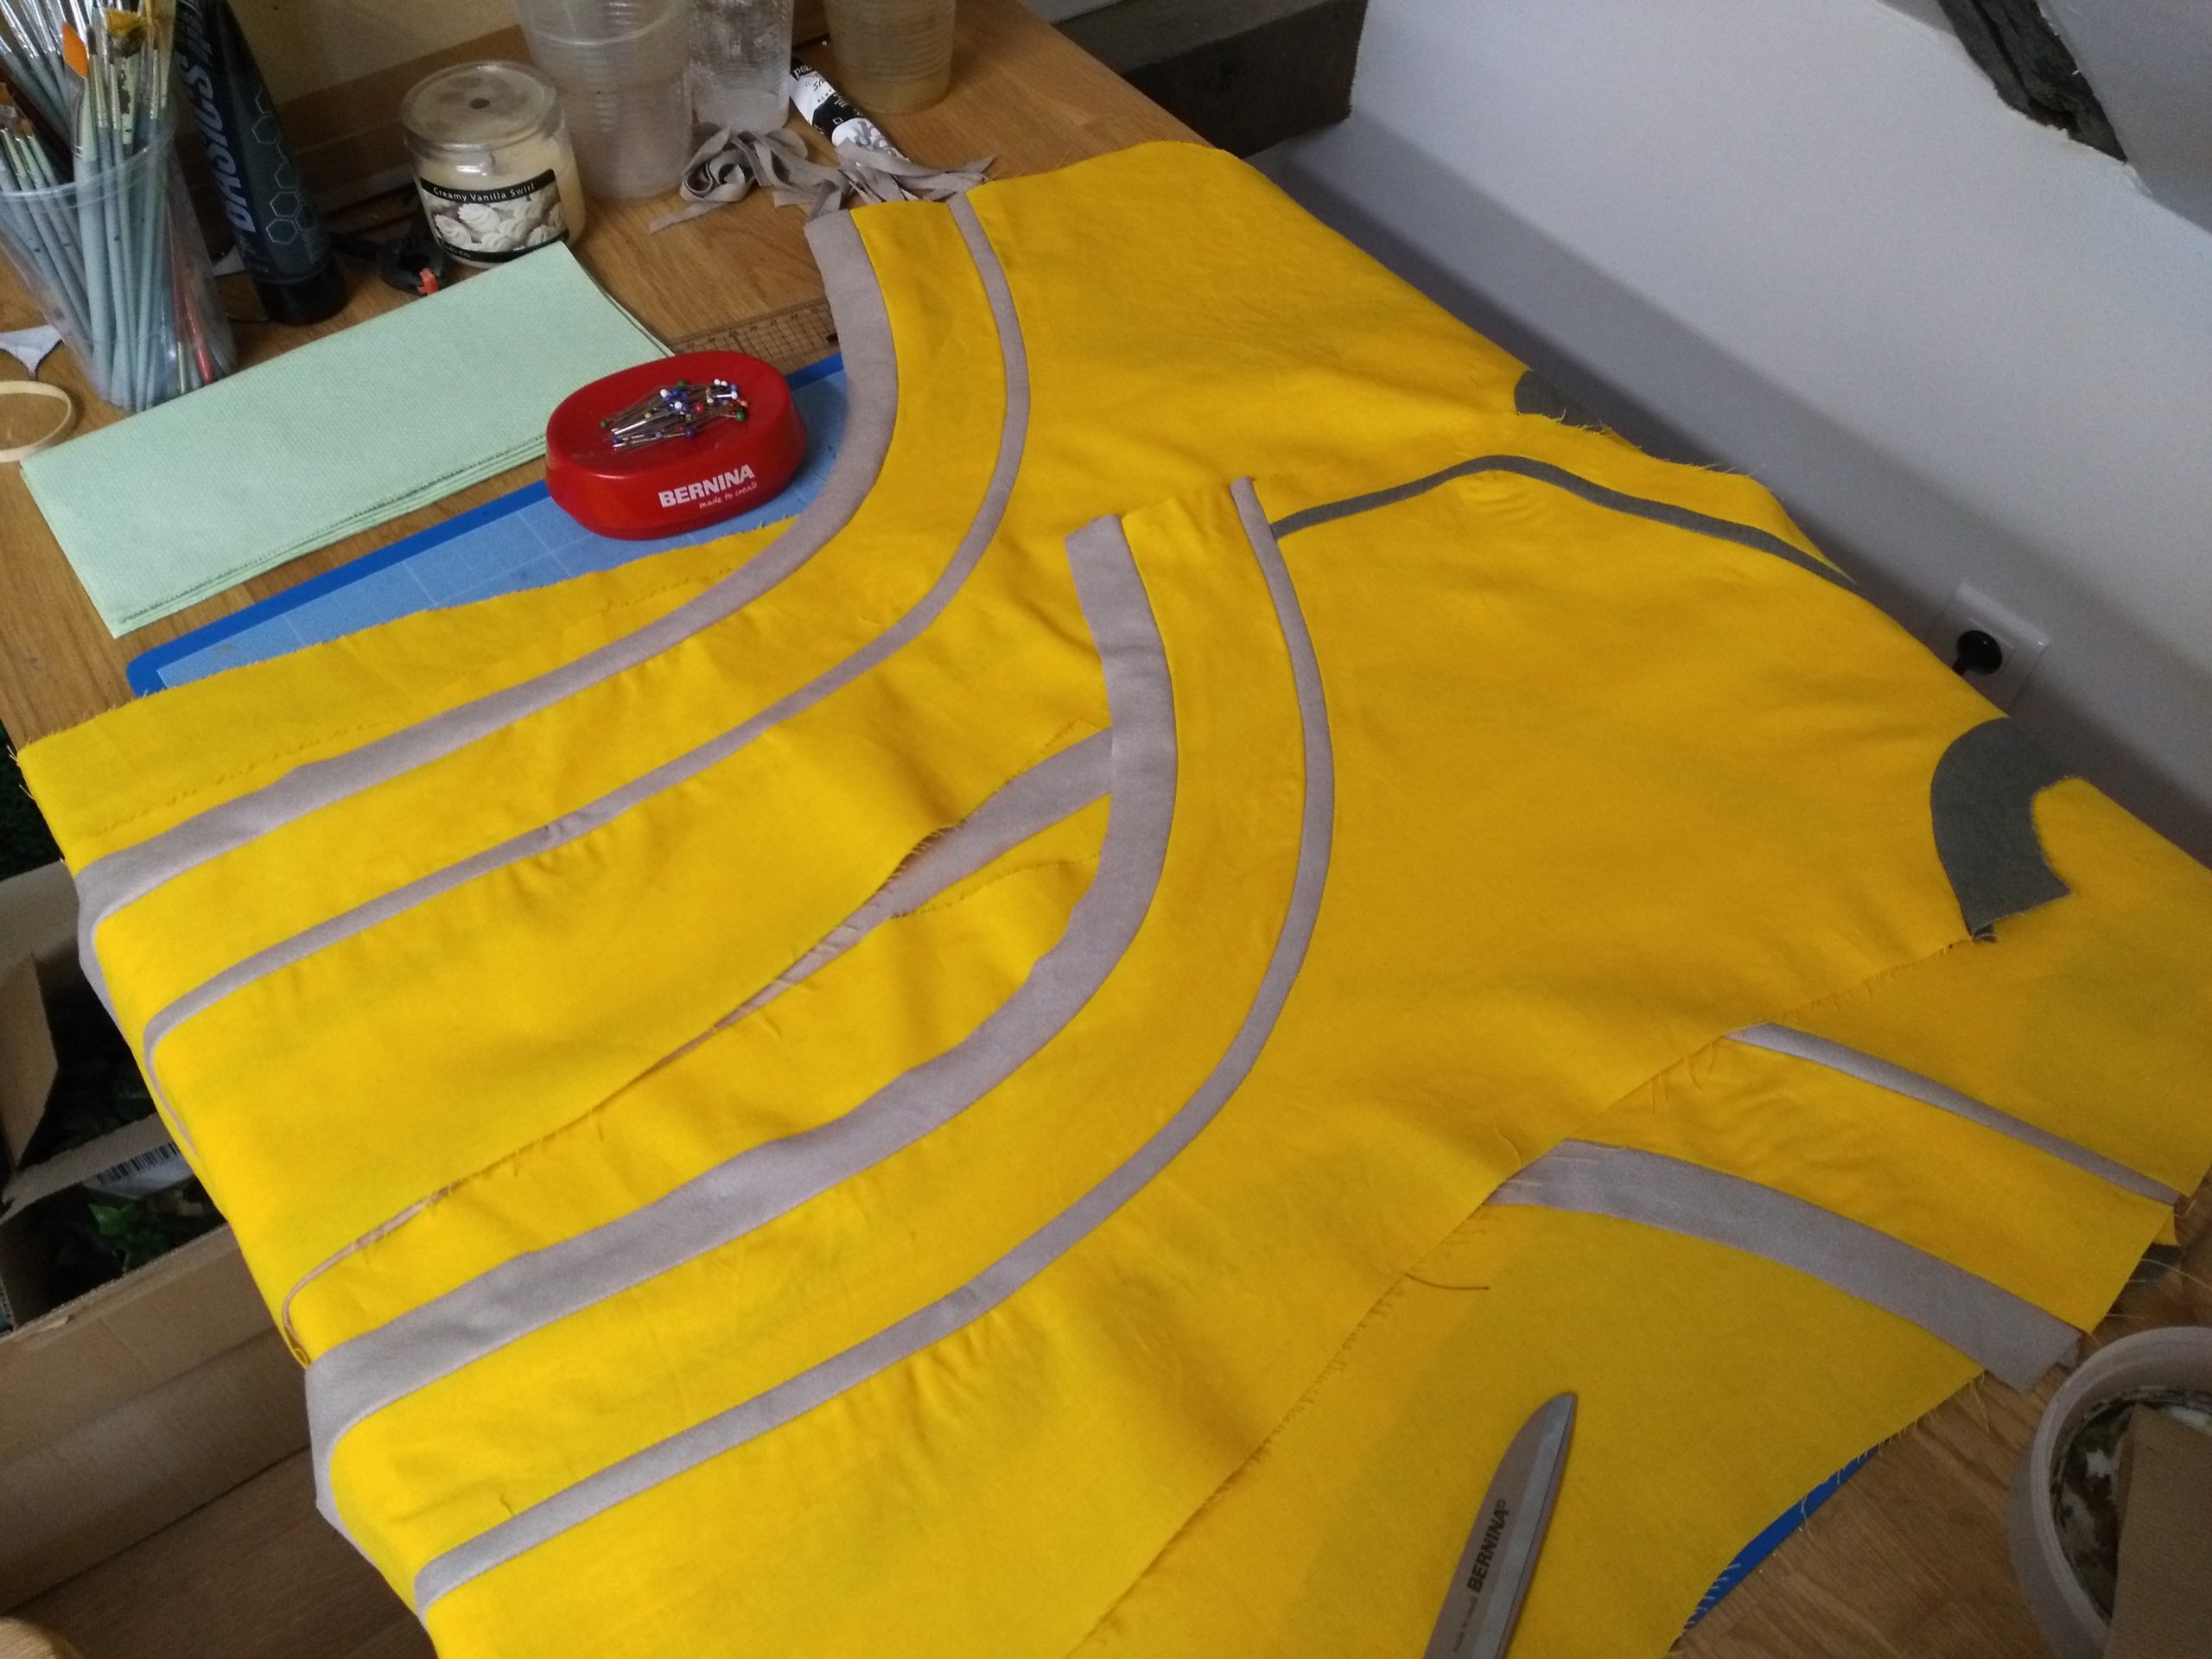
Bad surprise… due to a miscalculation of just a little centimeter on one of the borders (the upper chocolate border is too large), we have to disassemble, cut the yellow kimono part again (the biggest one obviously, hence the good practice of having more fabric than necessary) and then we re-assemble…
Once both parts of the kimono are assembled (external face and lining), it’s time to sew them together… and to topstitch all the seams with each other to prevent the kimono from looking like an hot air balloon.
Some parts are too complicated to be assembled using the machine (curves, circles, narrow angles…), so we just sew them by hand #havefun
3. Weathering
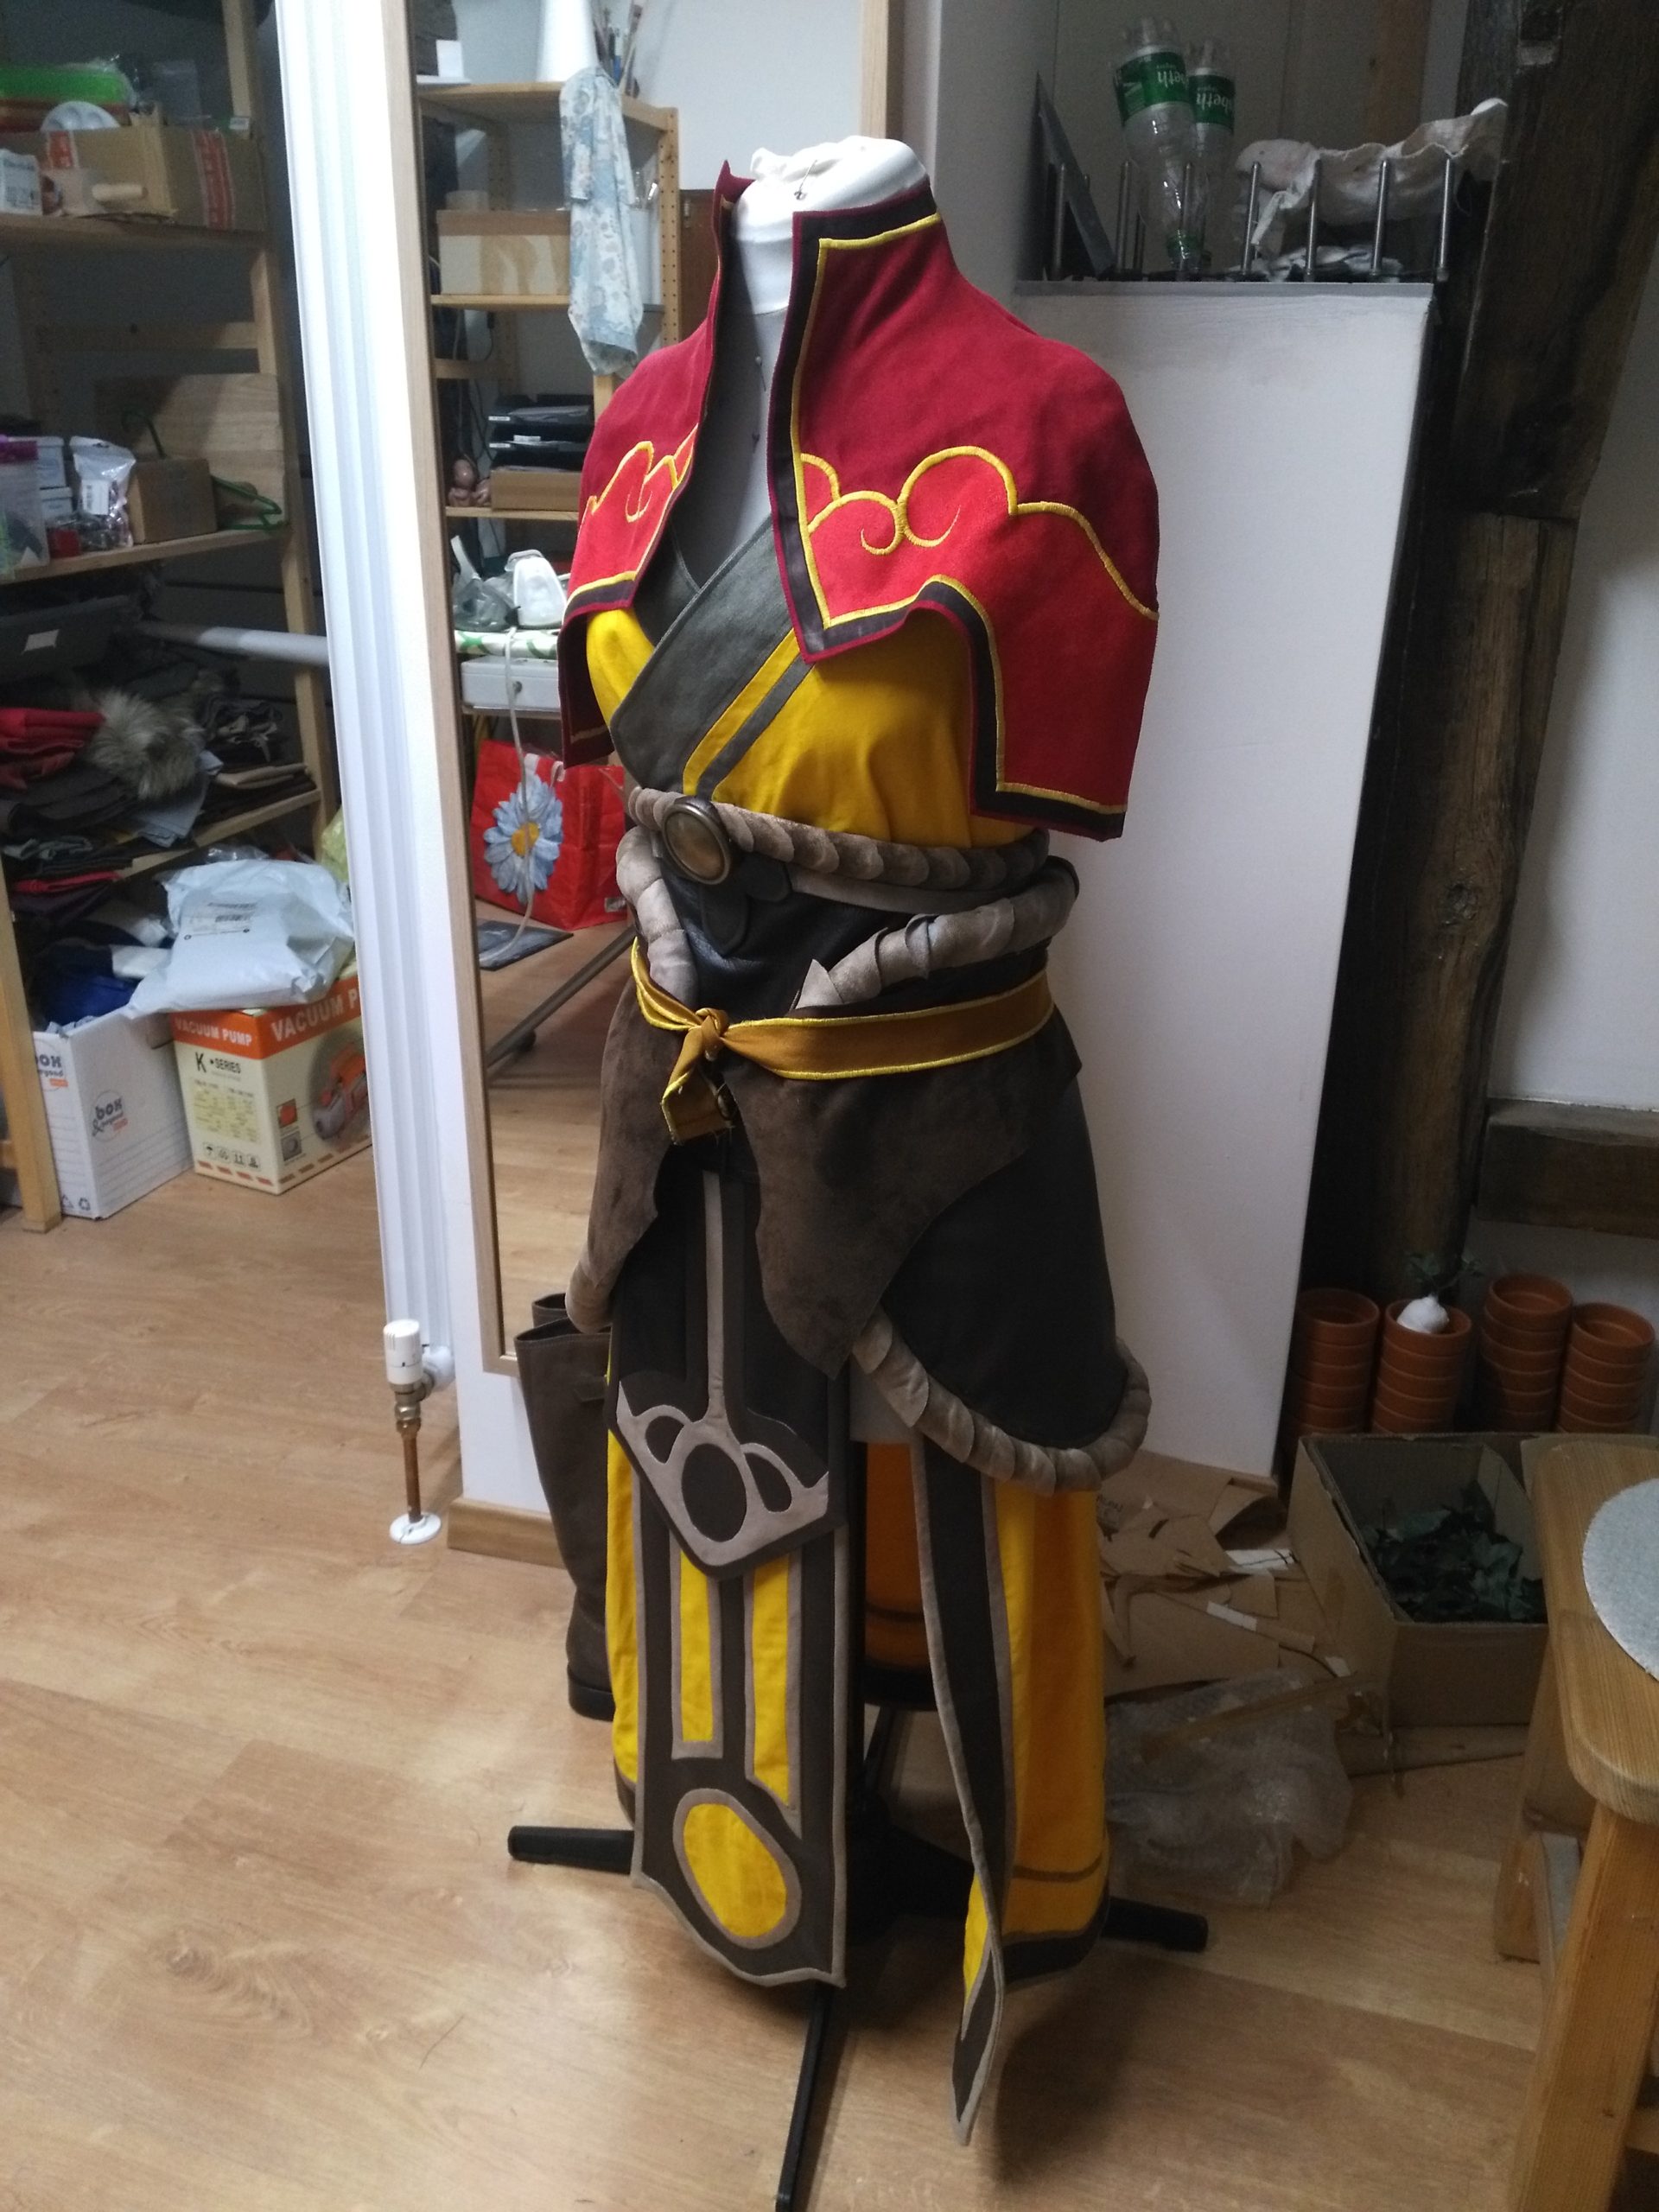
A bit of weathering to make the whole more harmonious and break the «new» appearance that I found too flat. I darkened soft-touch faux leather borders with some diluted acrylic paint to add effects.
Same for the belt border, on which I made a gradient to give it more dimension.
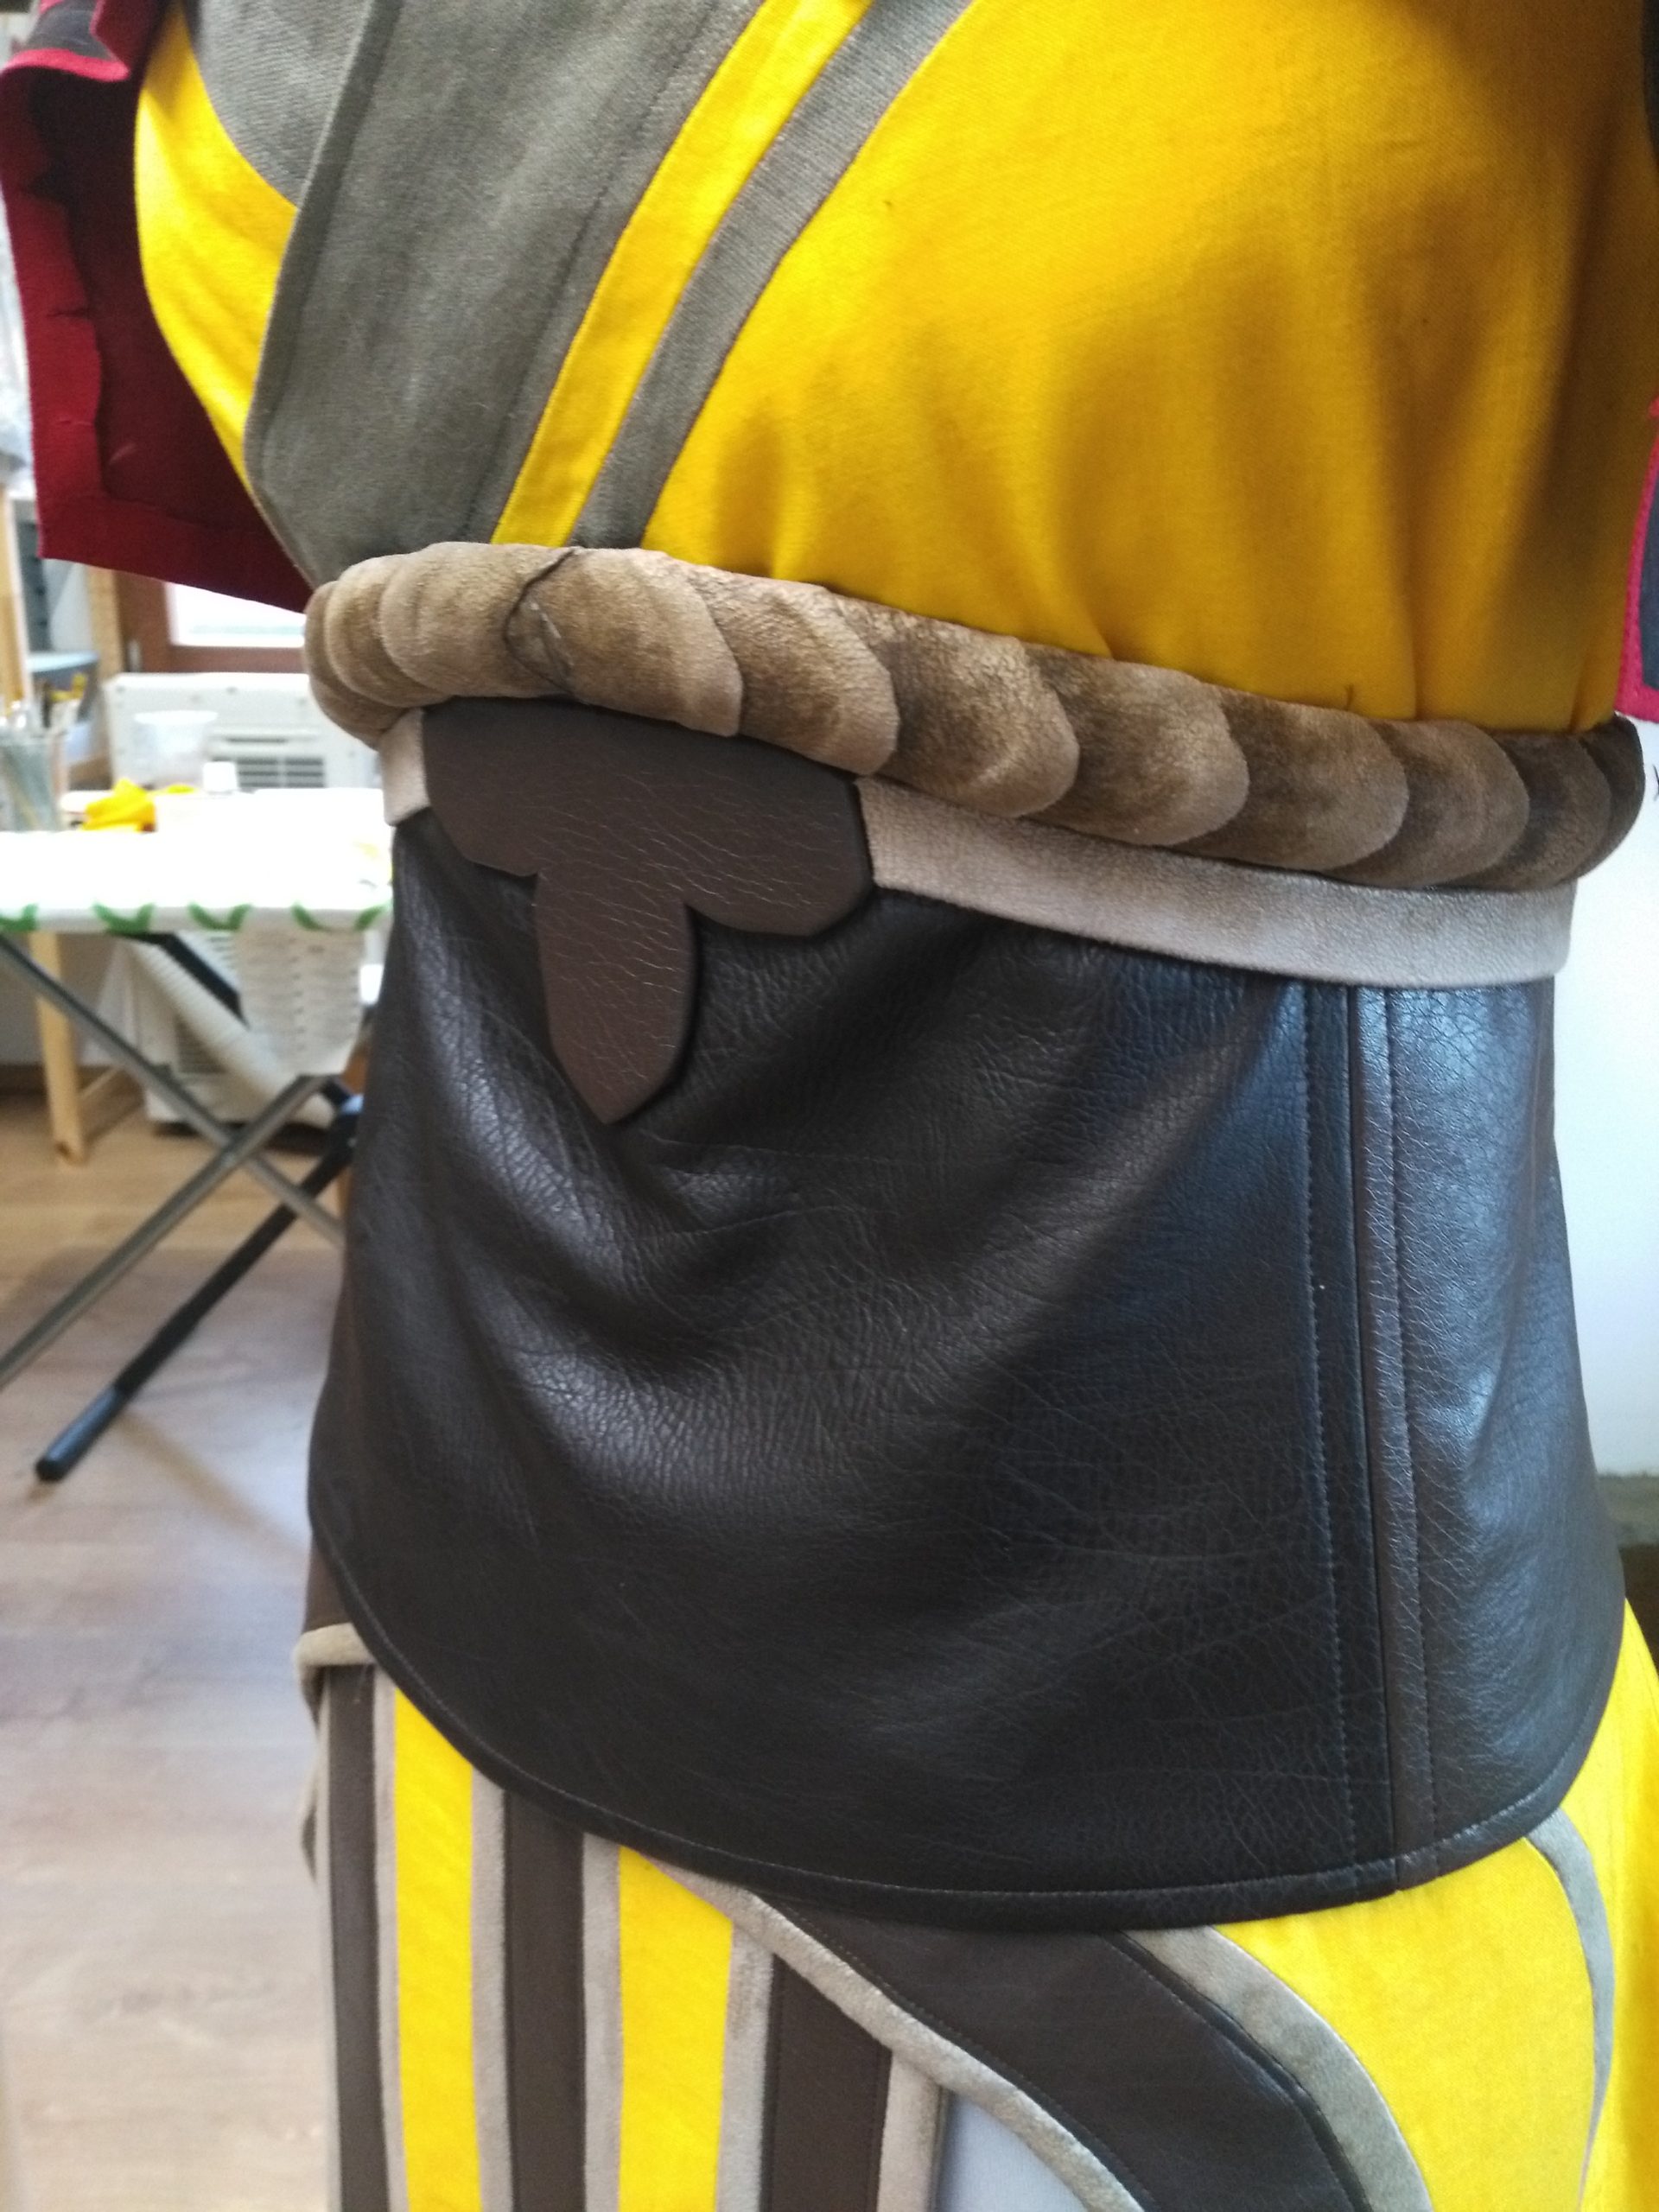
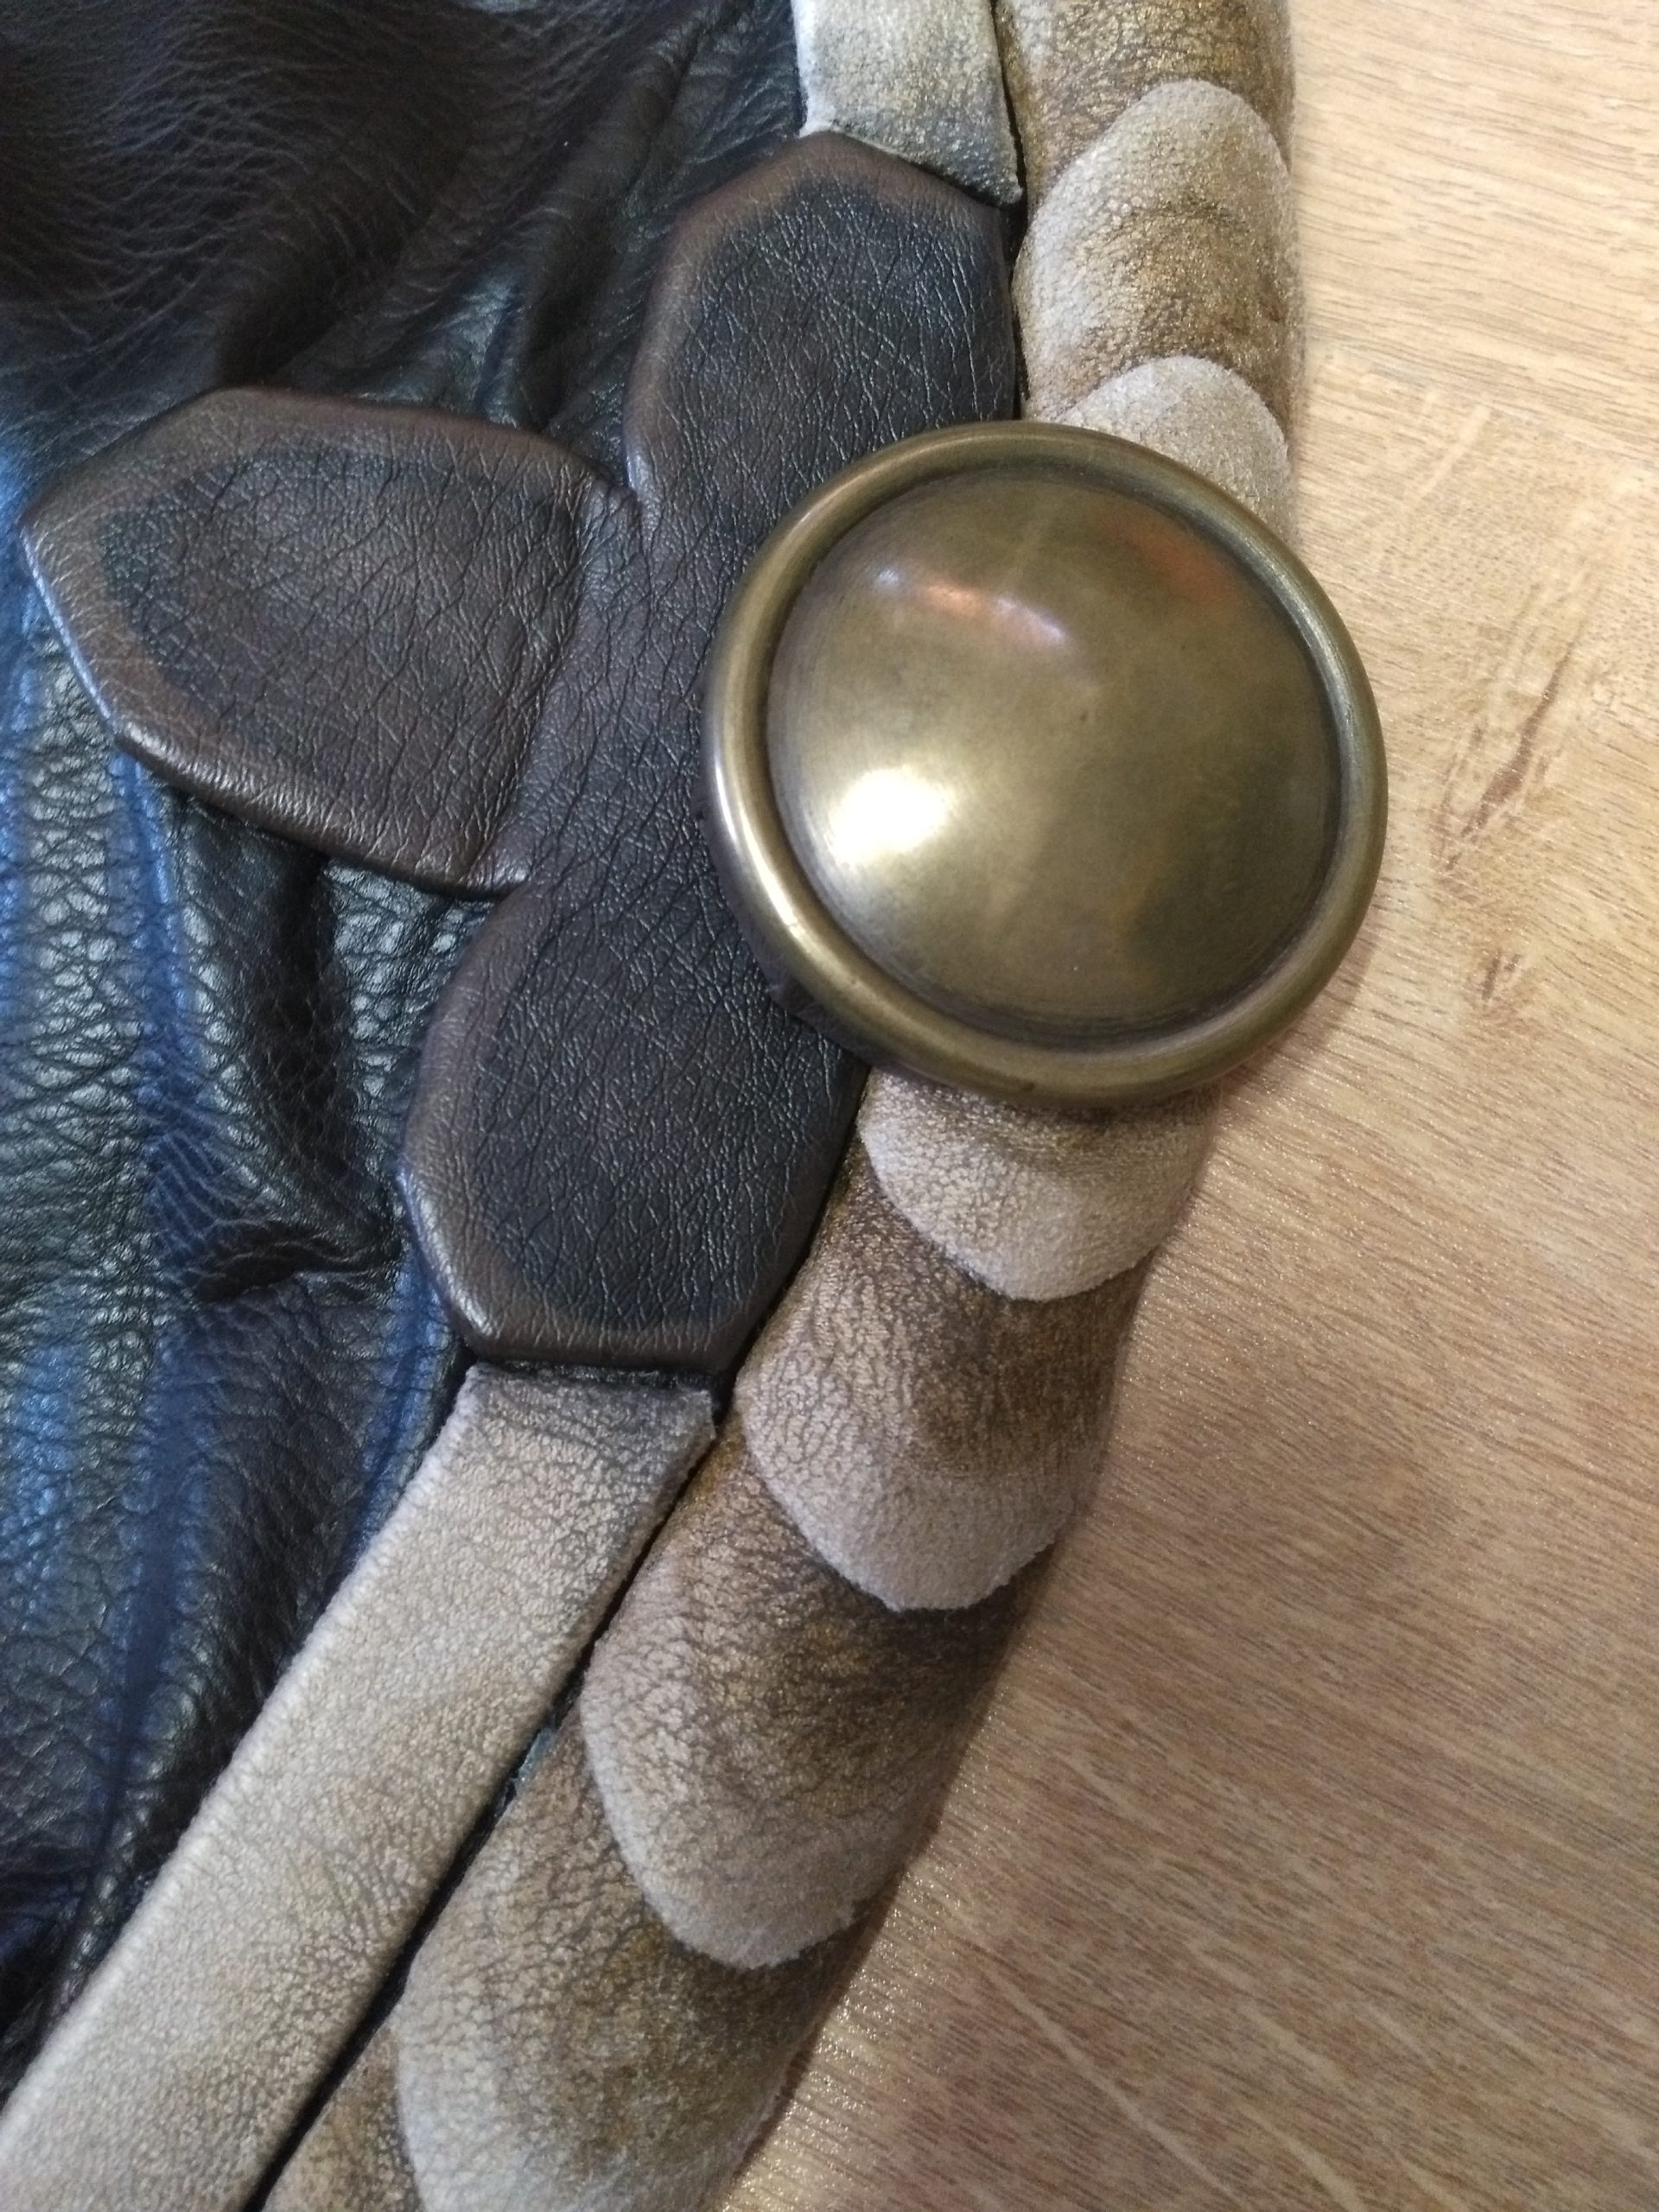
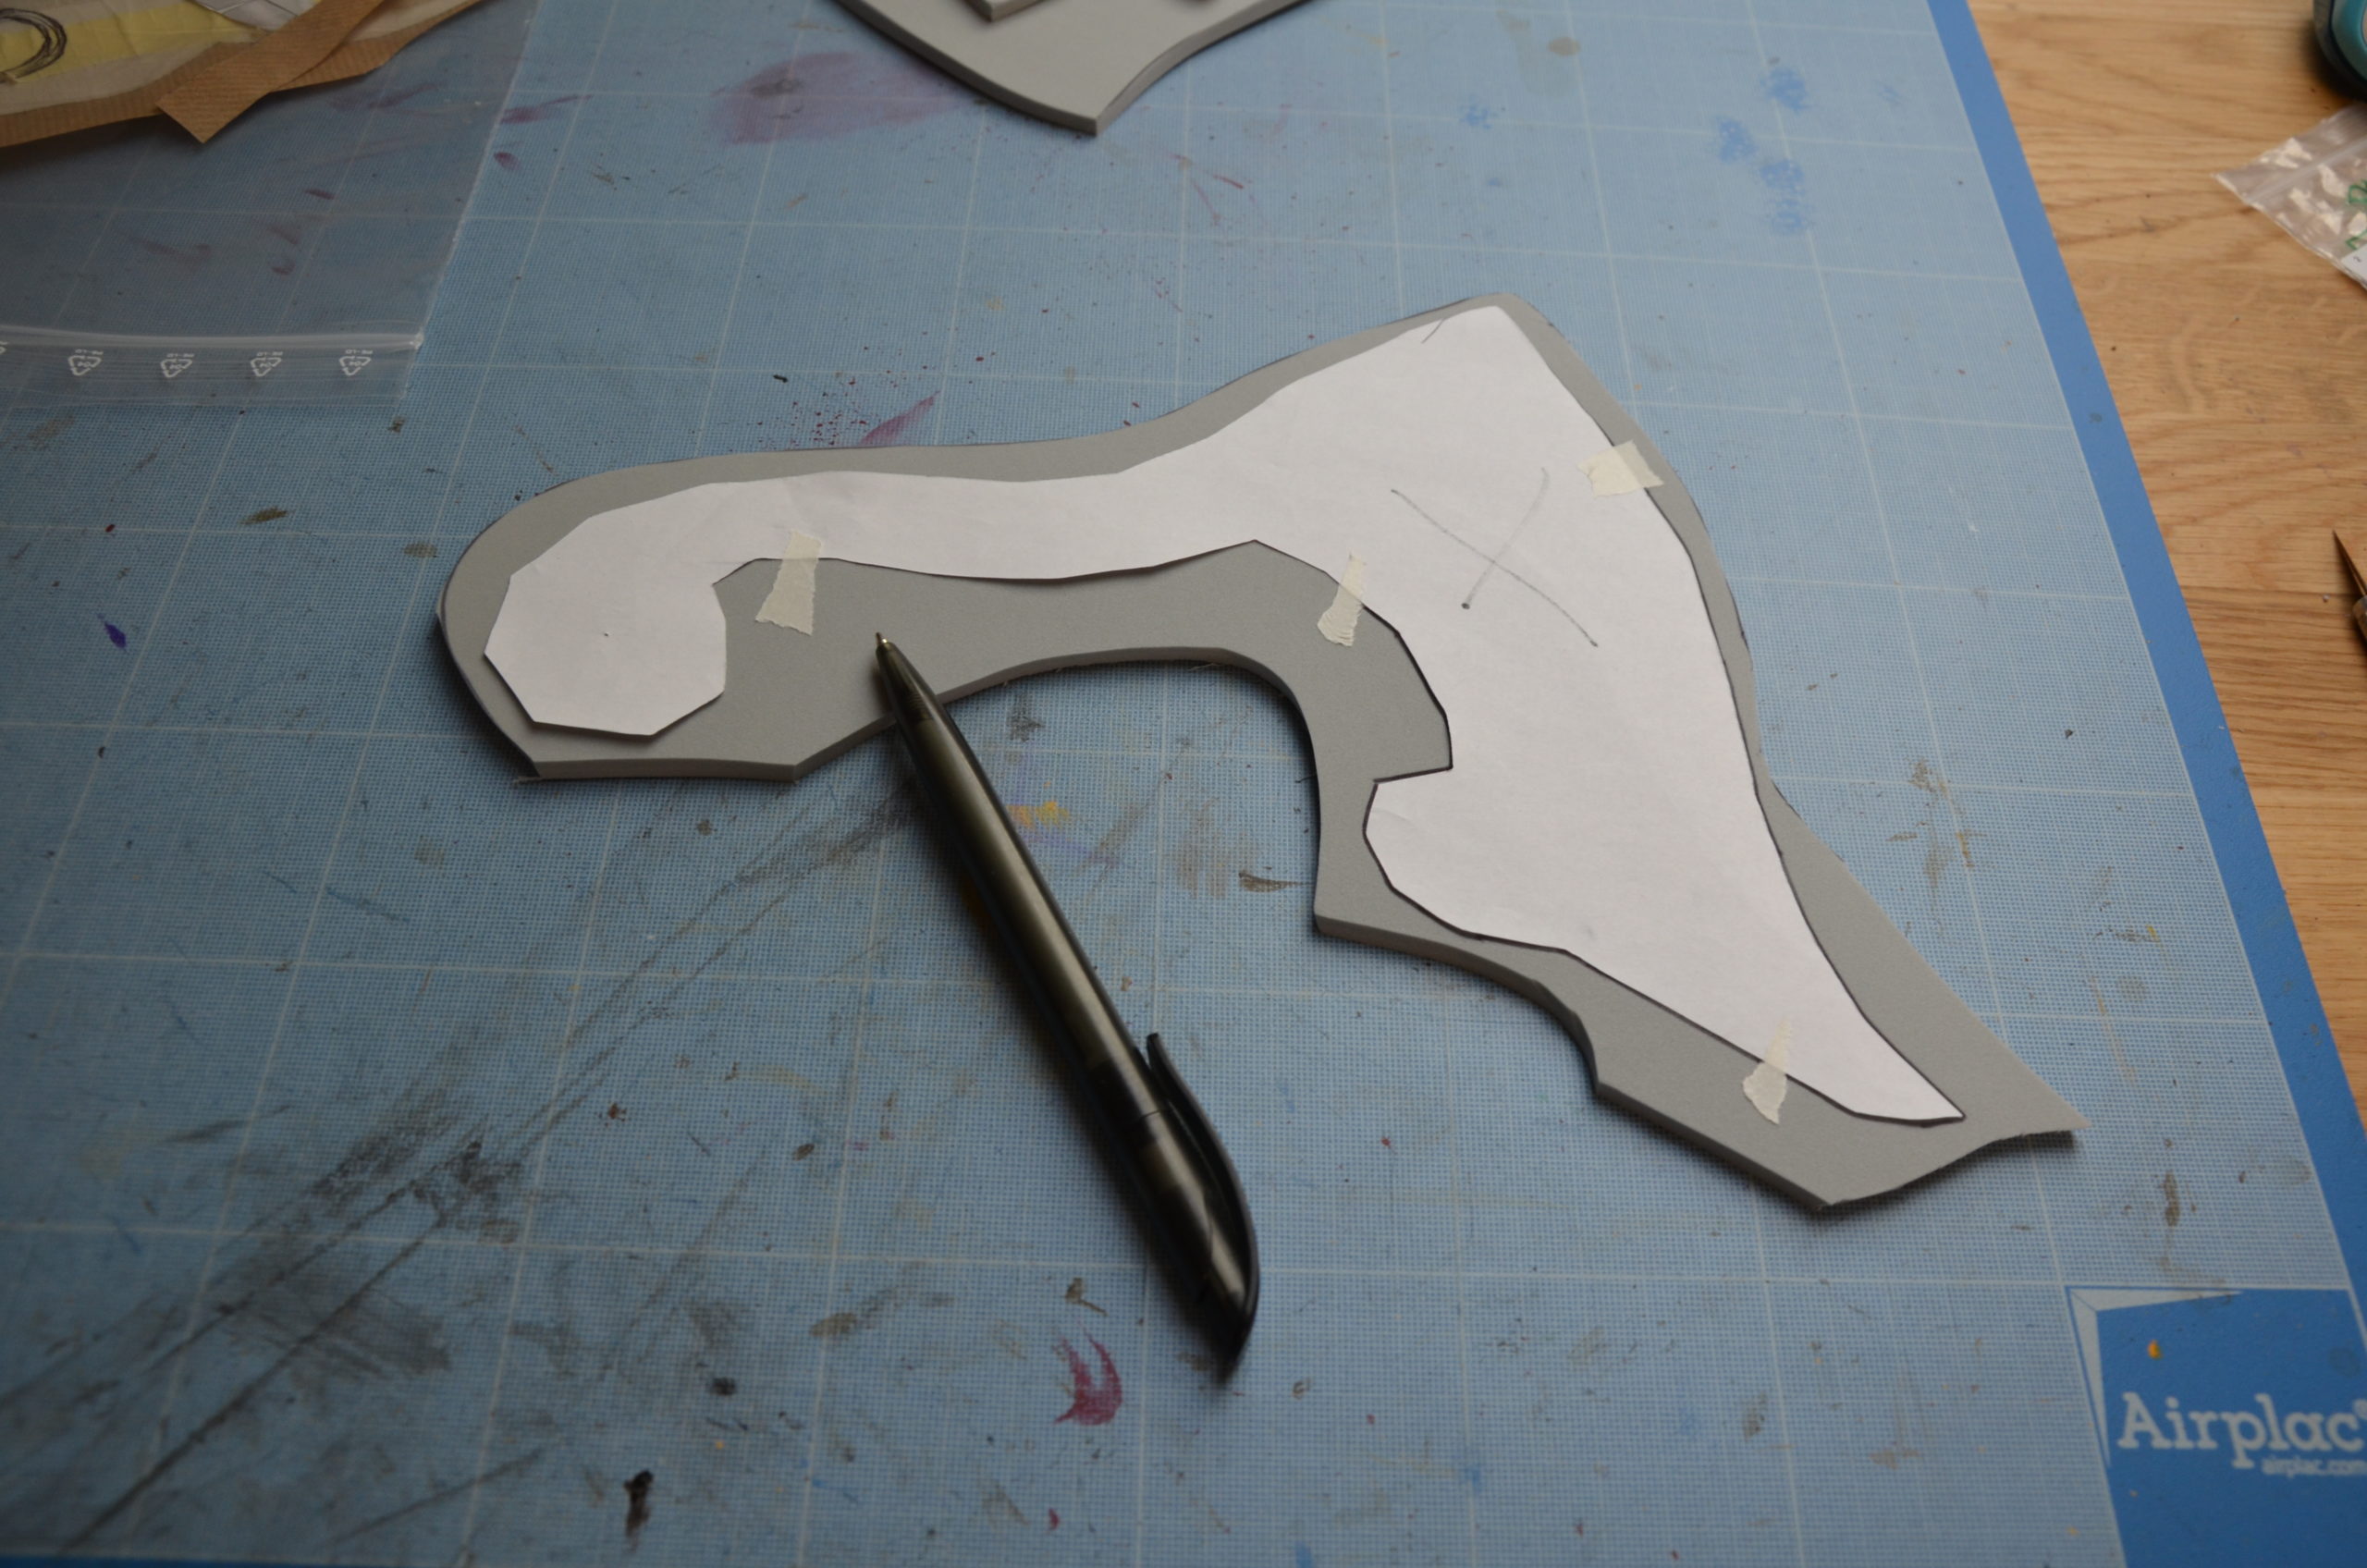
Due to the rush, I don’t have any other pictures for the making of the belt… we used 2 brown faux-leather with slightly different tints to craft a waist band, with metal eyelets in the back to close it with a lacing. The big border on the top was made of EVA foam, covered with little soft-touch faux leather scales. The only picture I found is the scale pattern, enjoy 😛
Cape
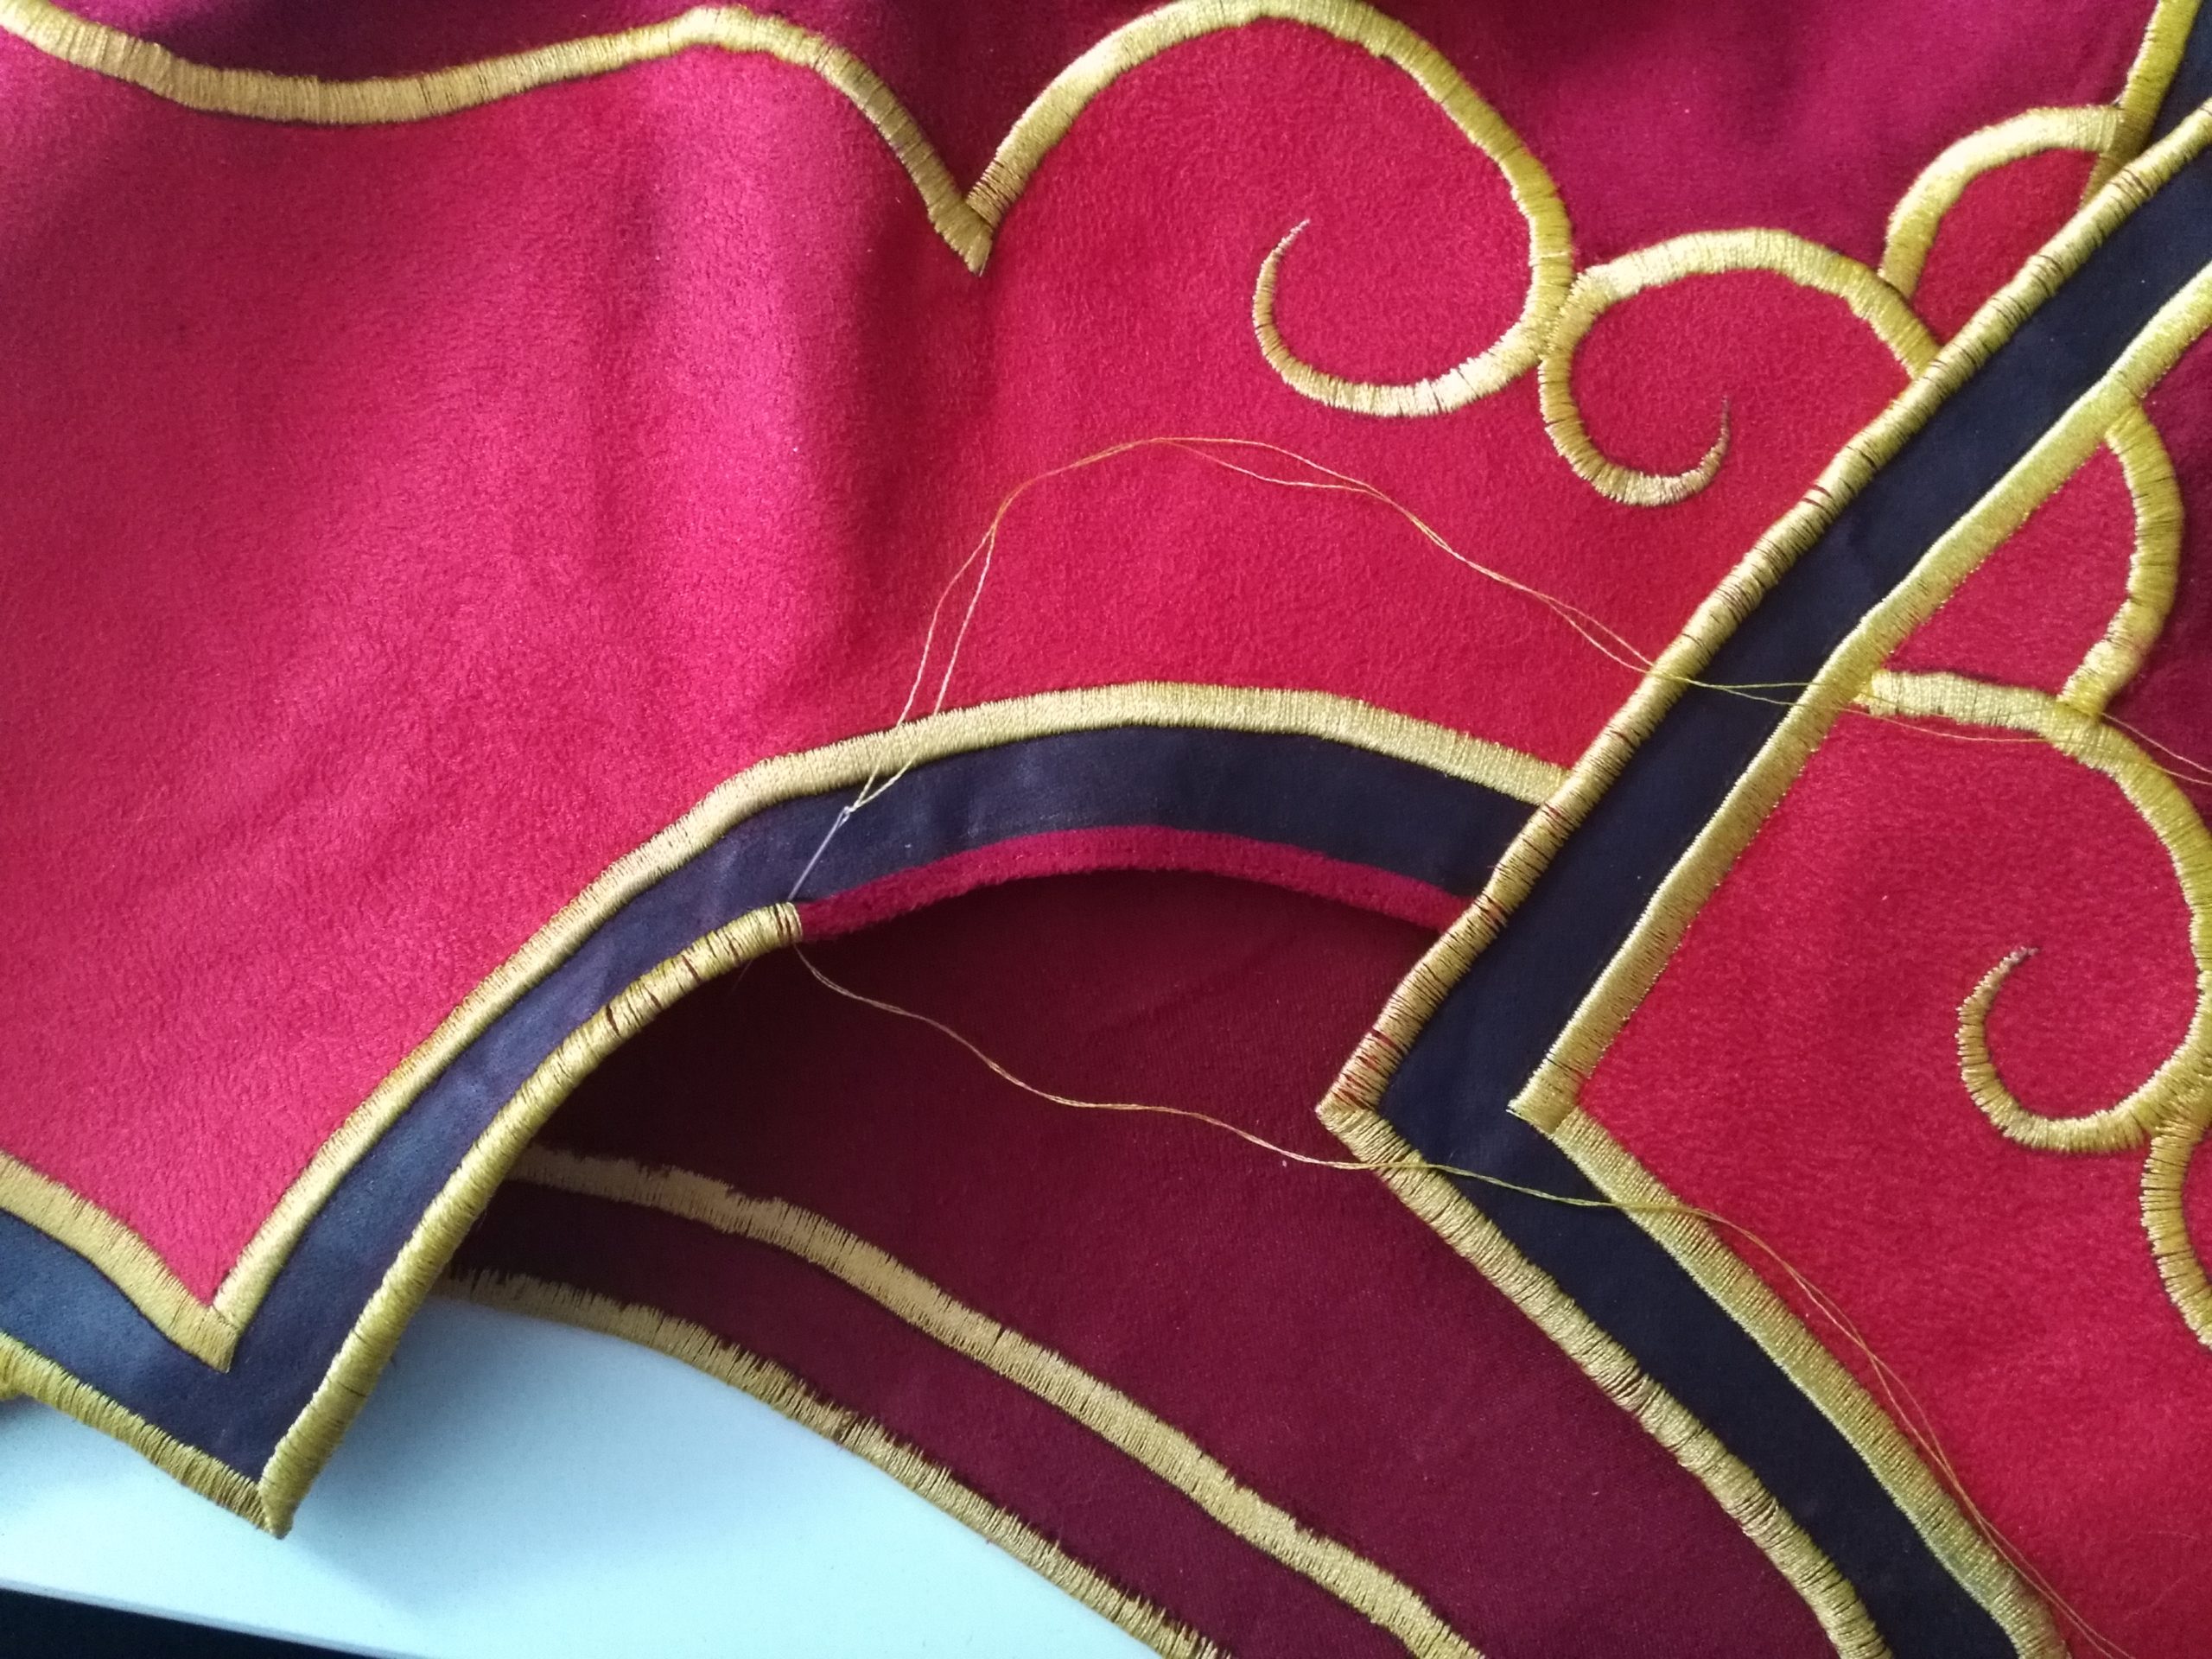
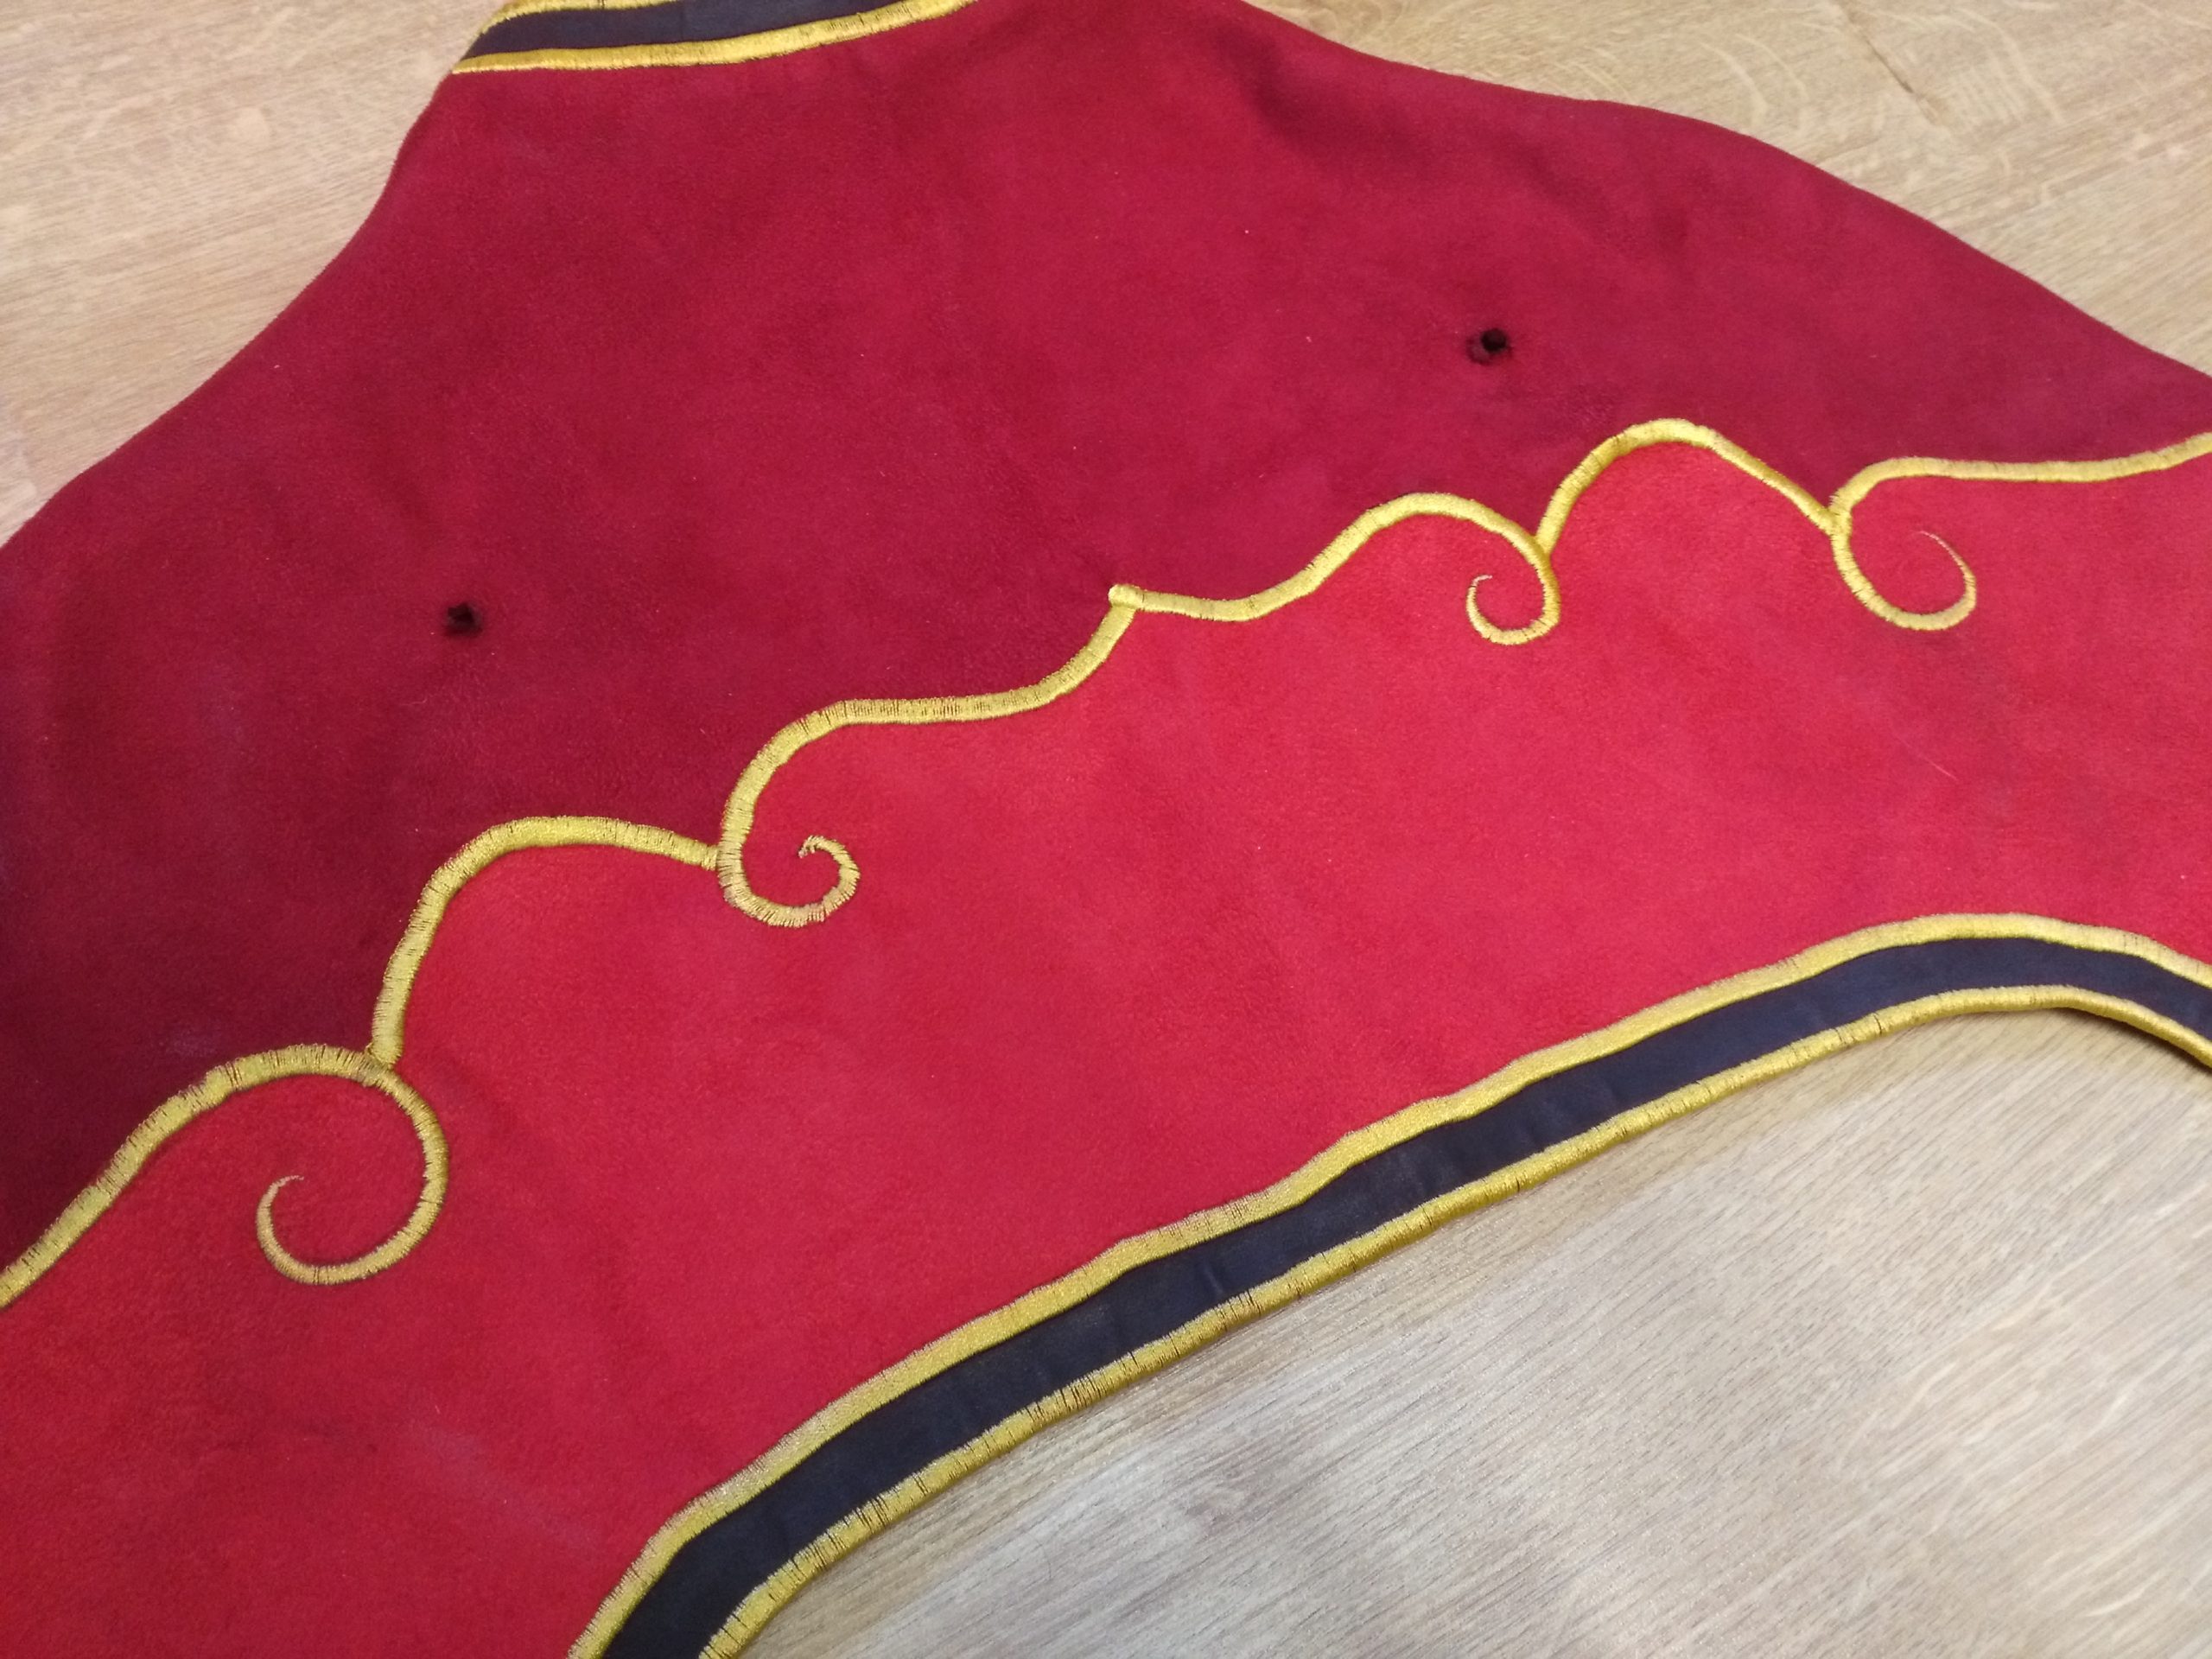
I started by assembling the cape shape with dark red suede, and painted a black border before thermobonding the pattern basis with lighter red suede.
Then, the golden arabesques were made by mixing sewing machine and hand embroidery.

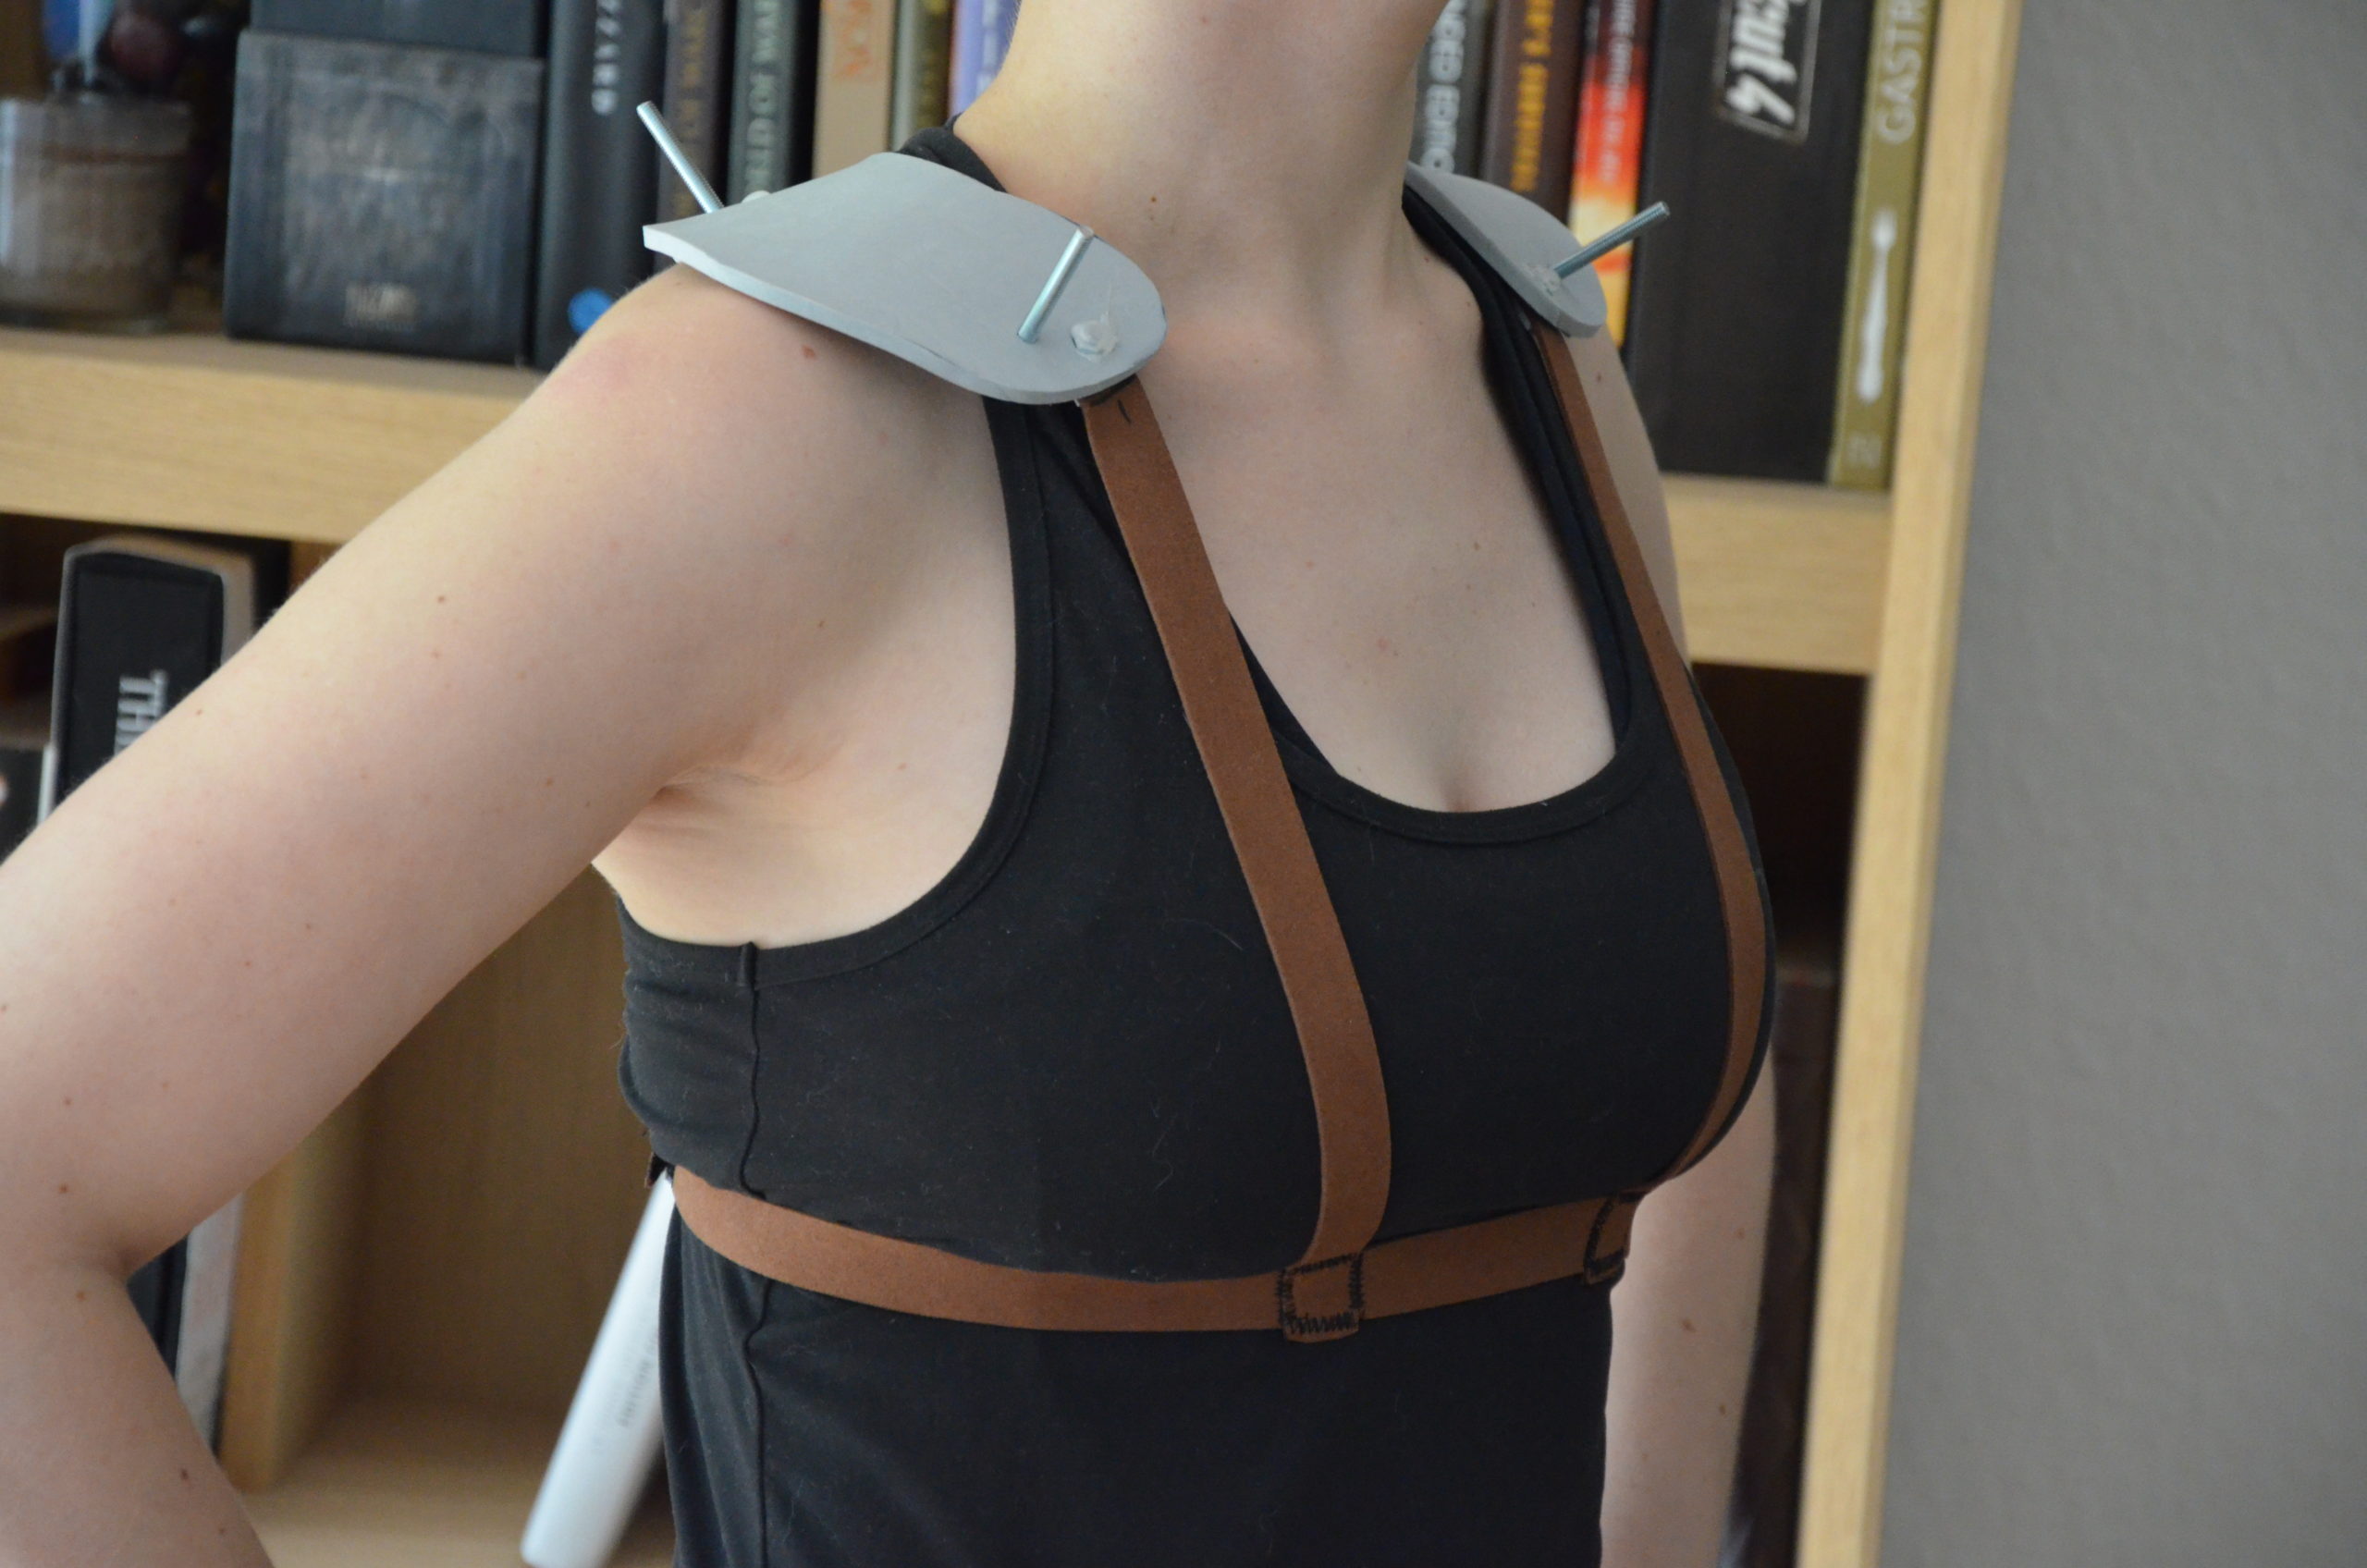
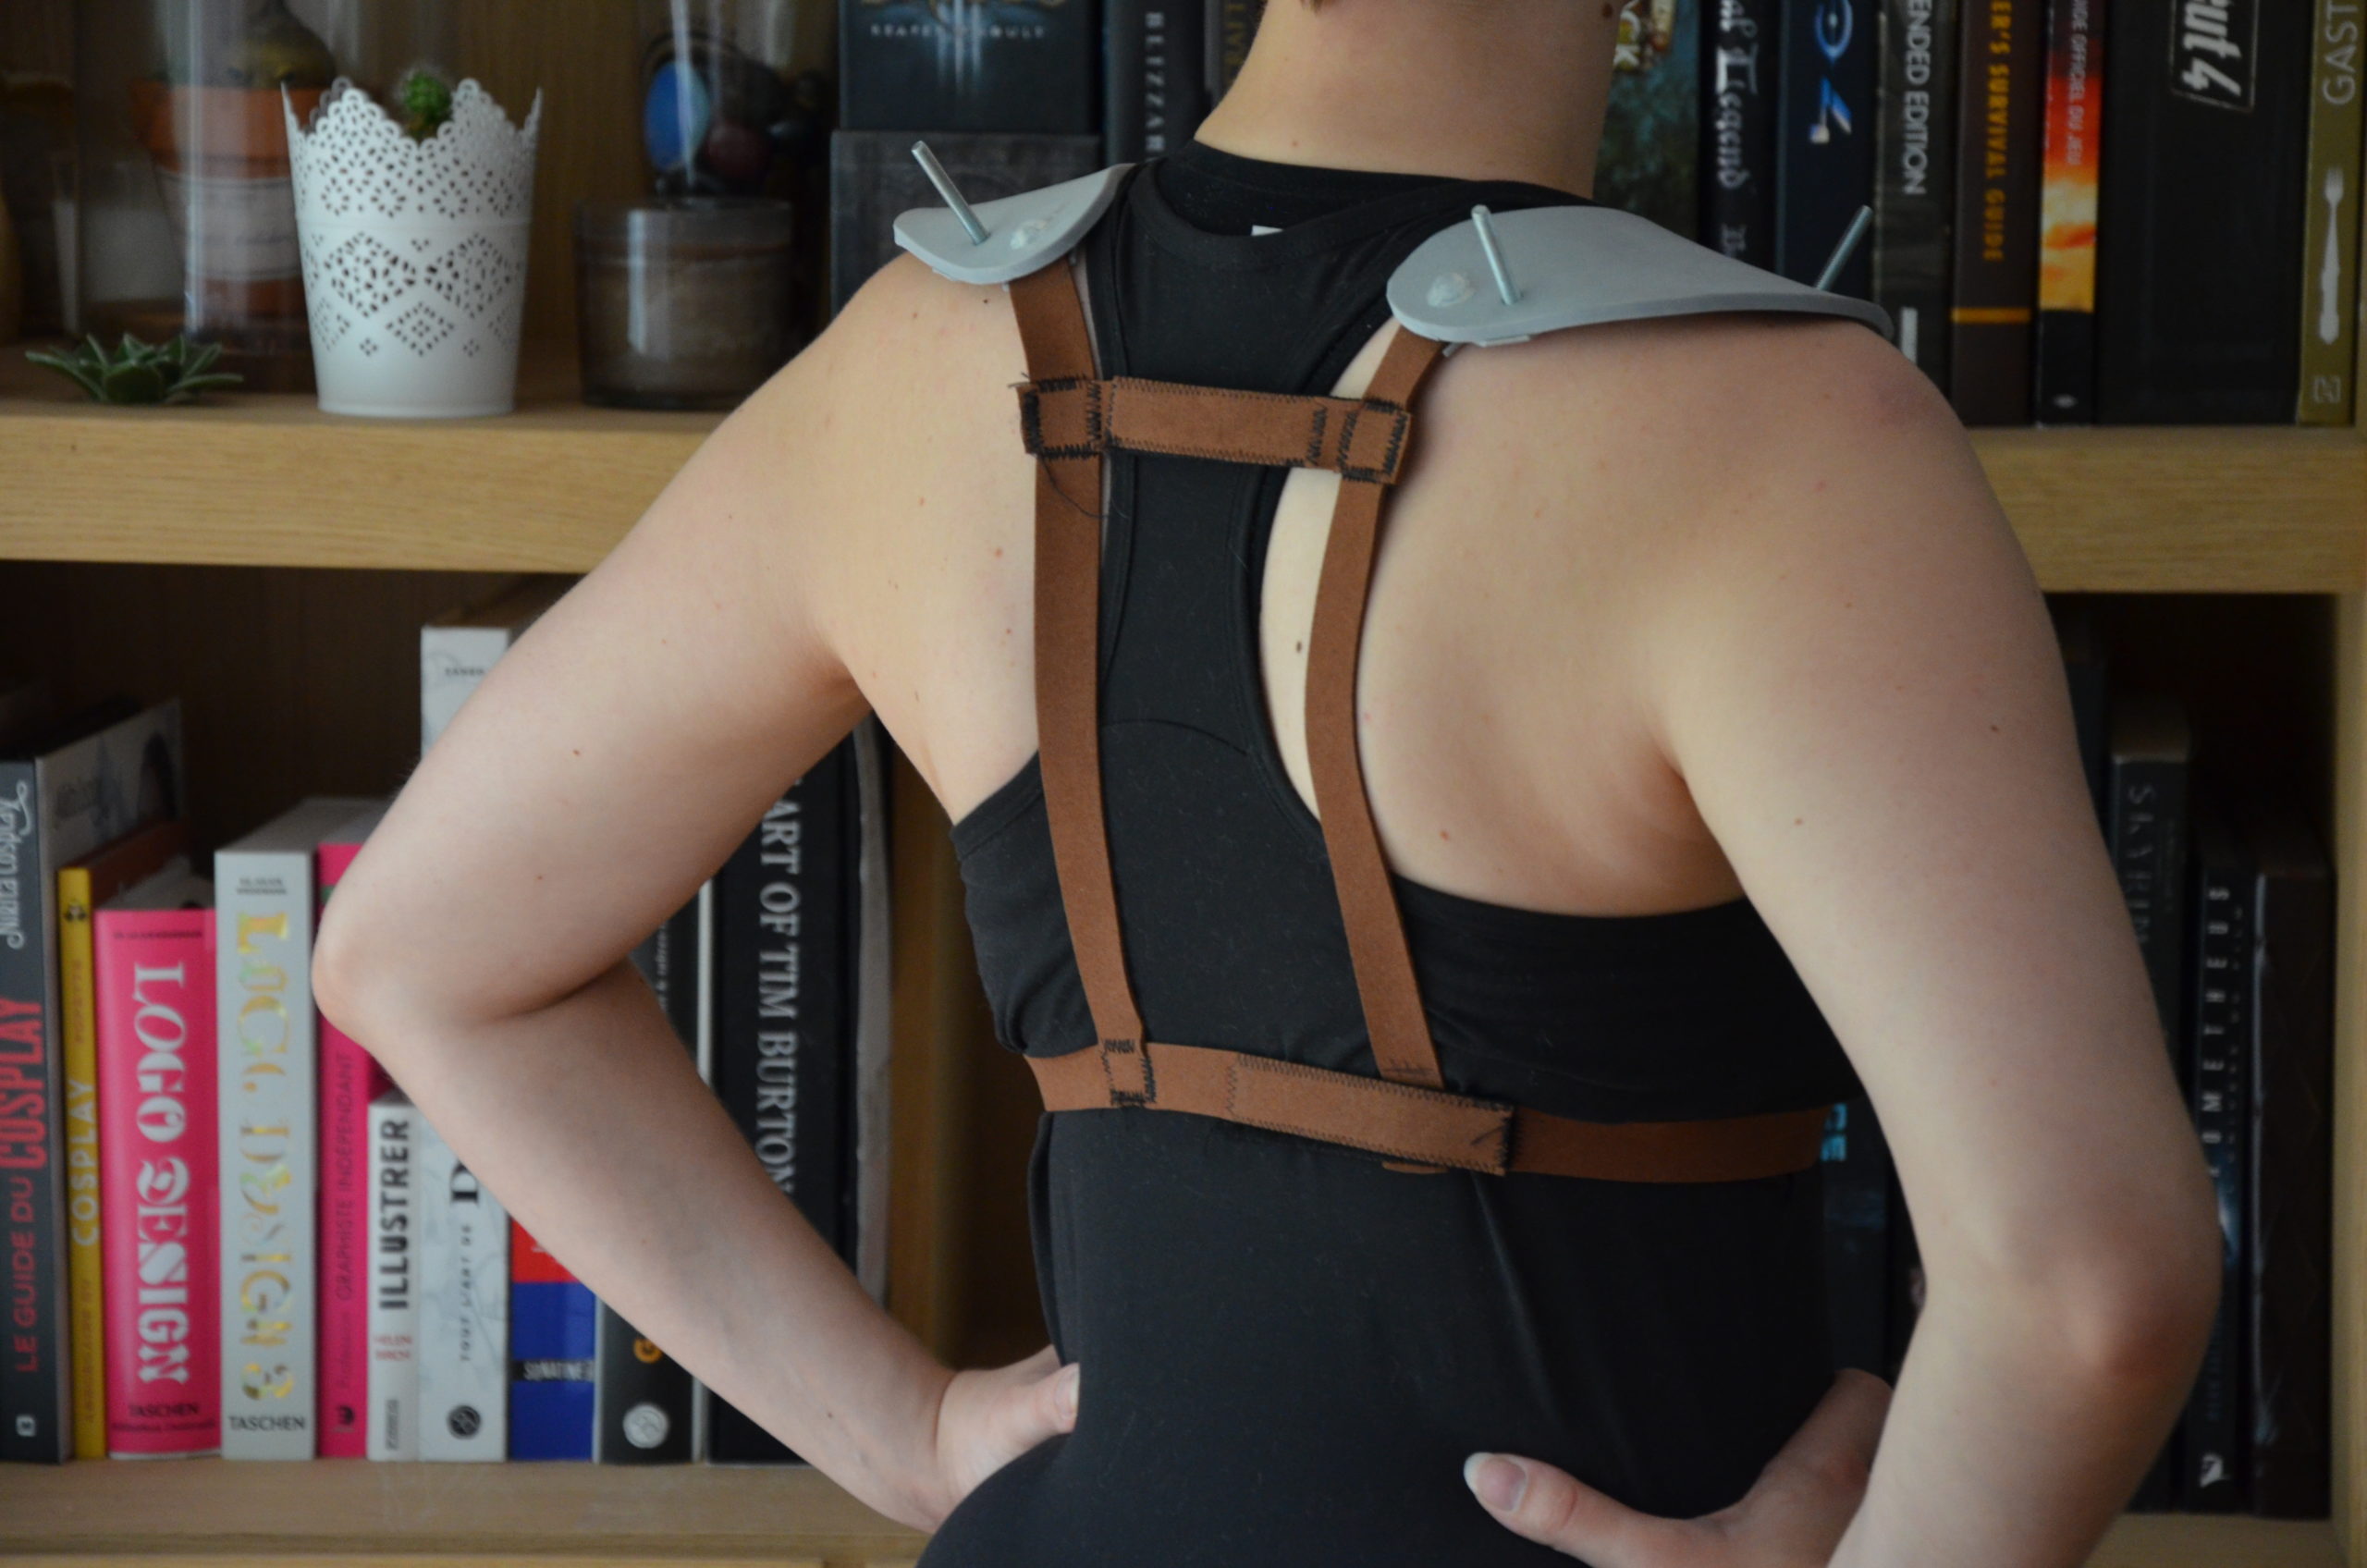
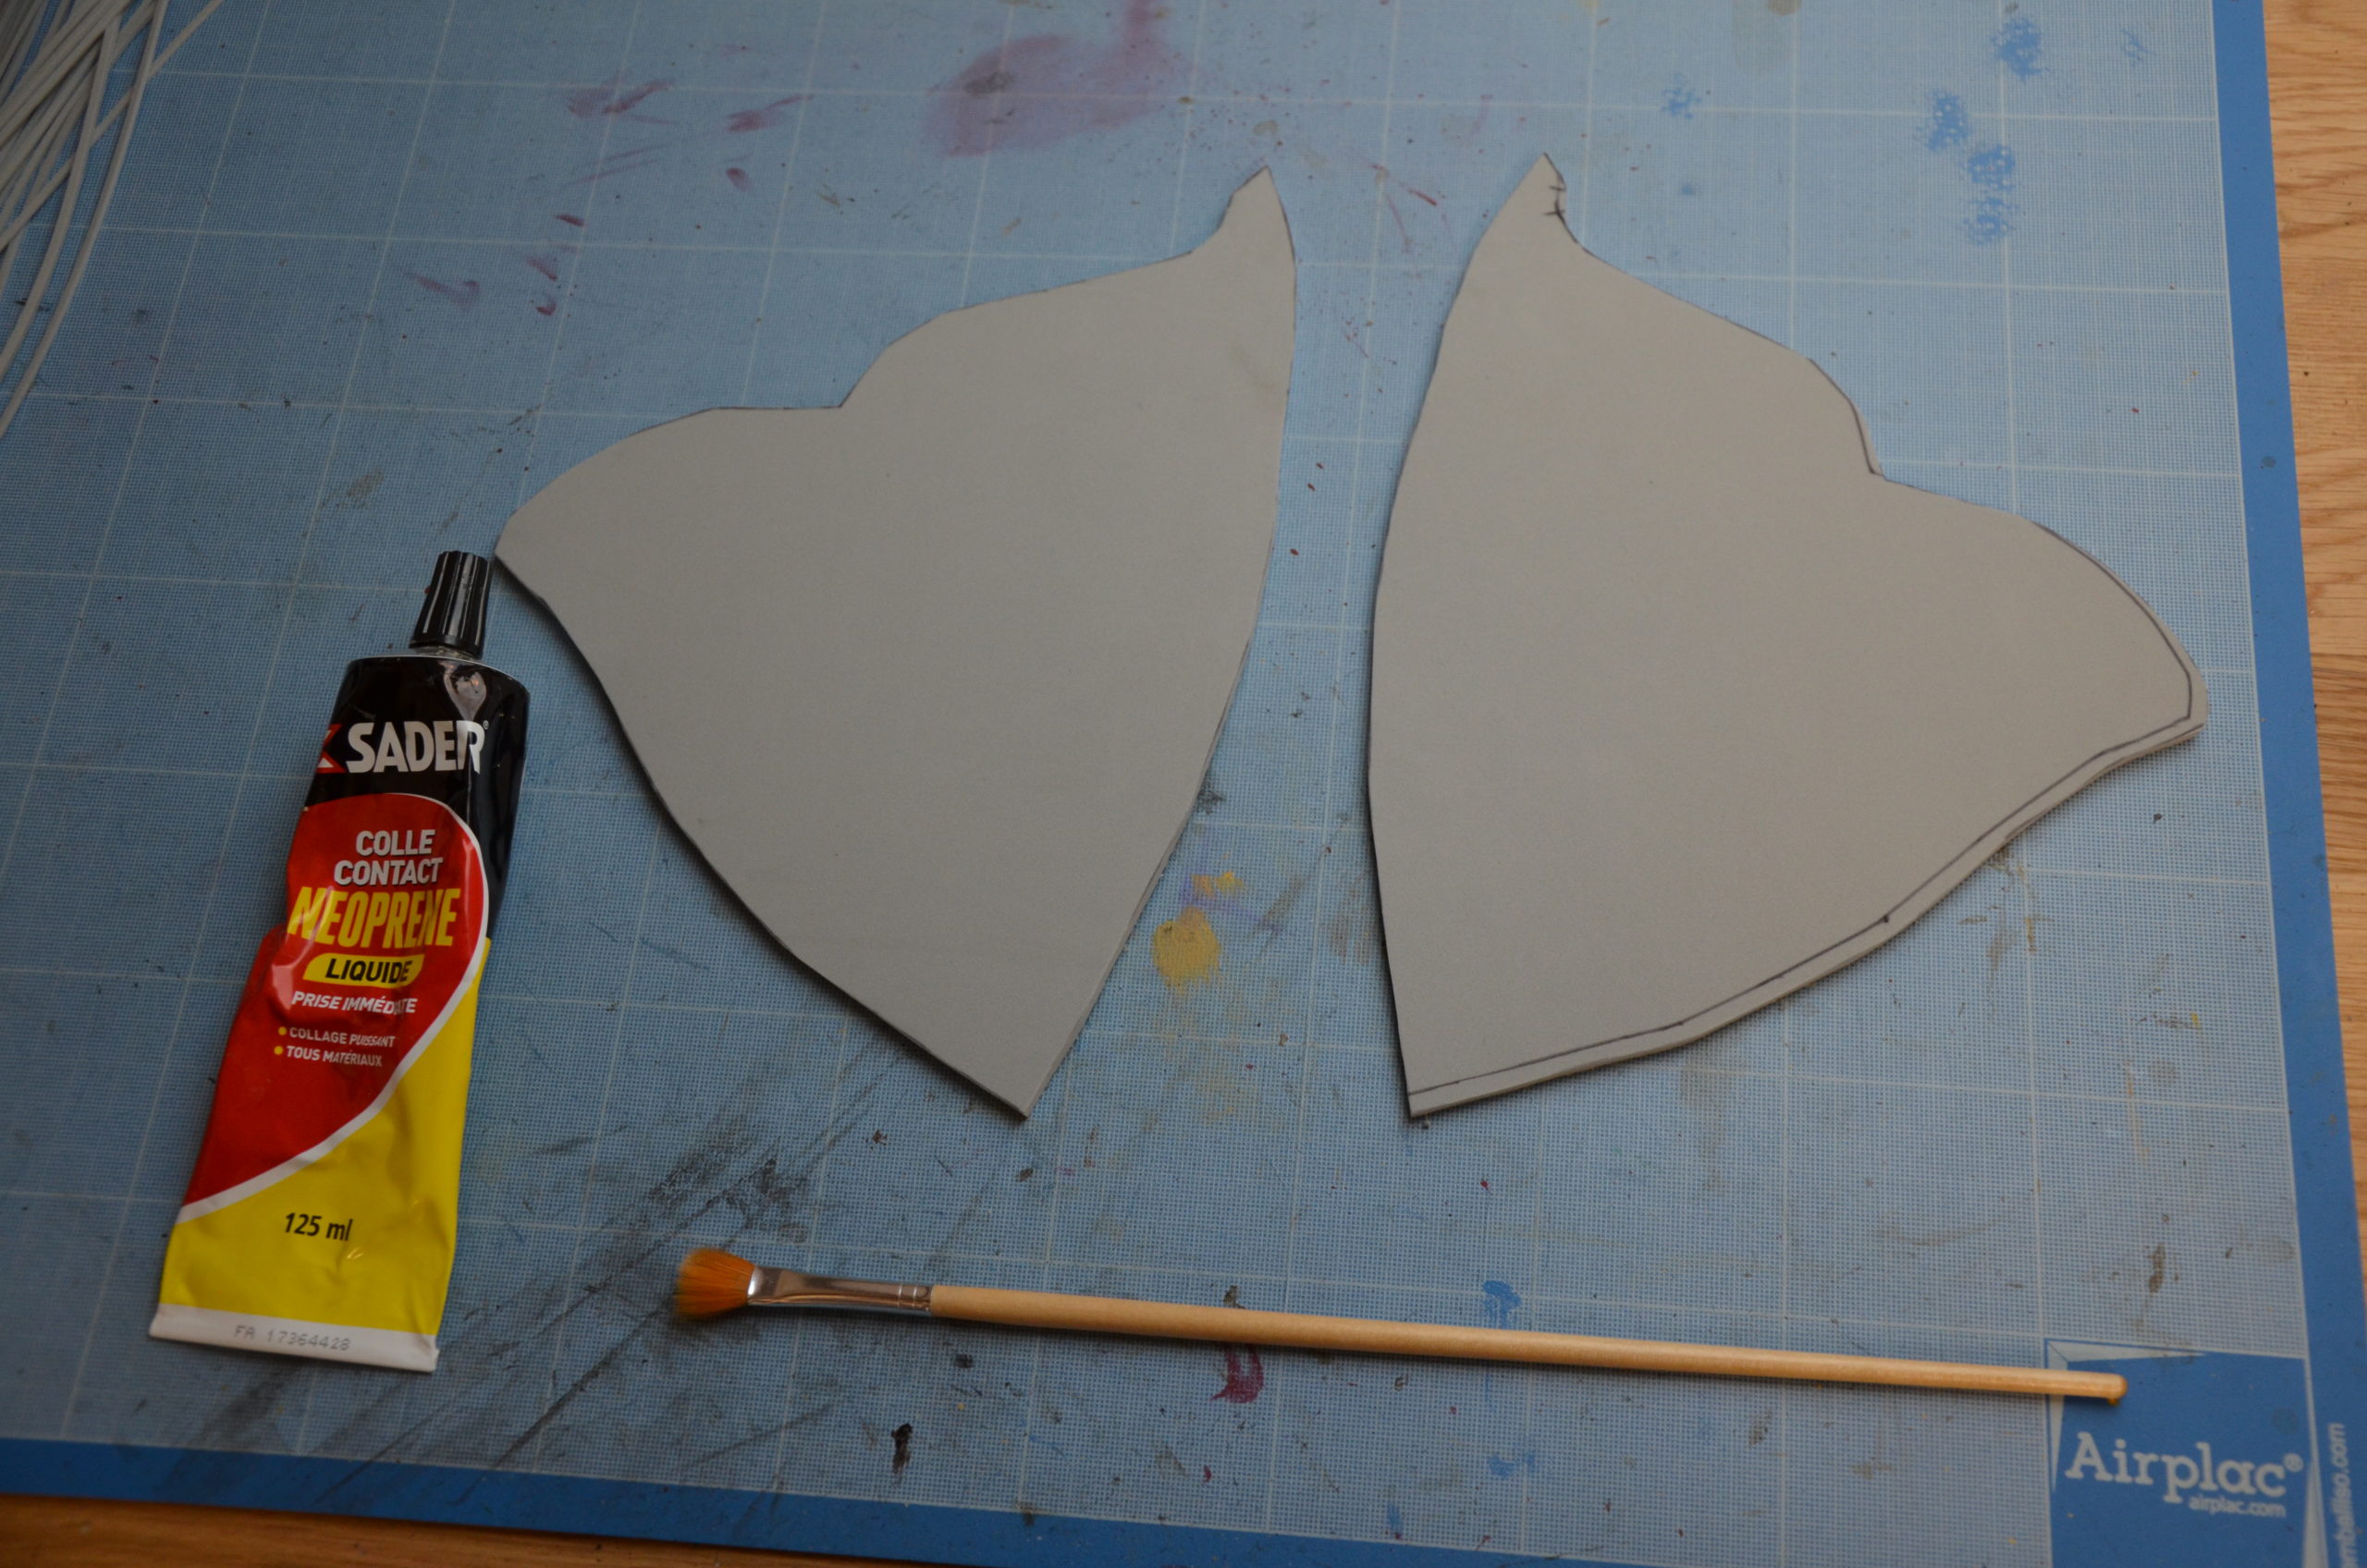
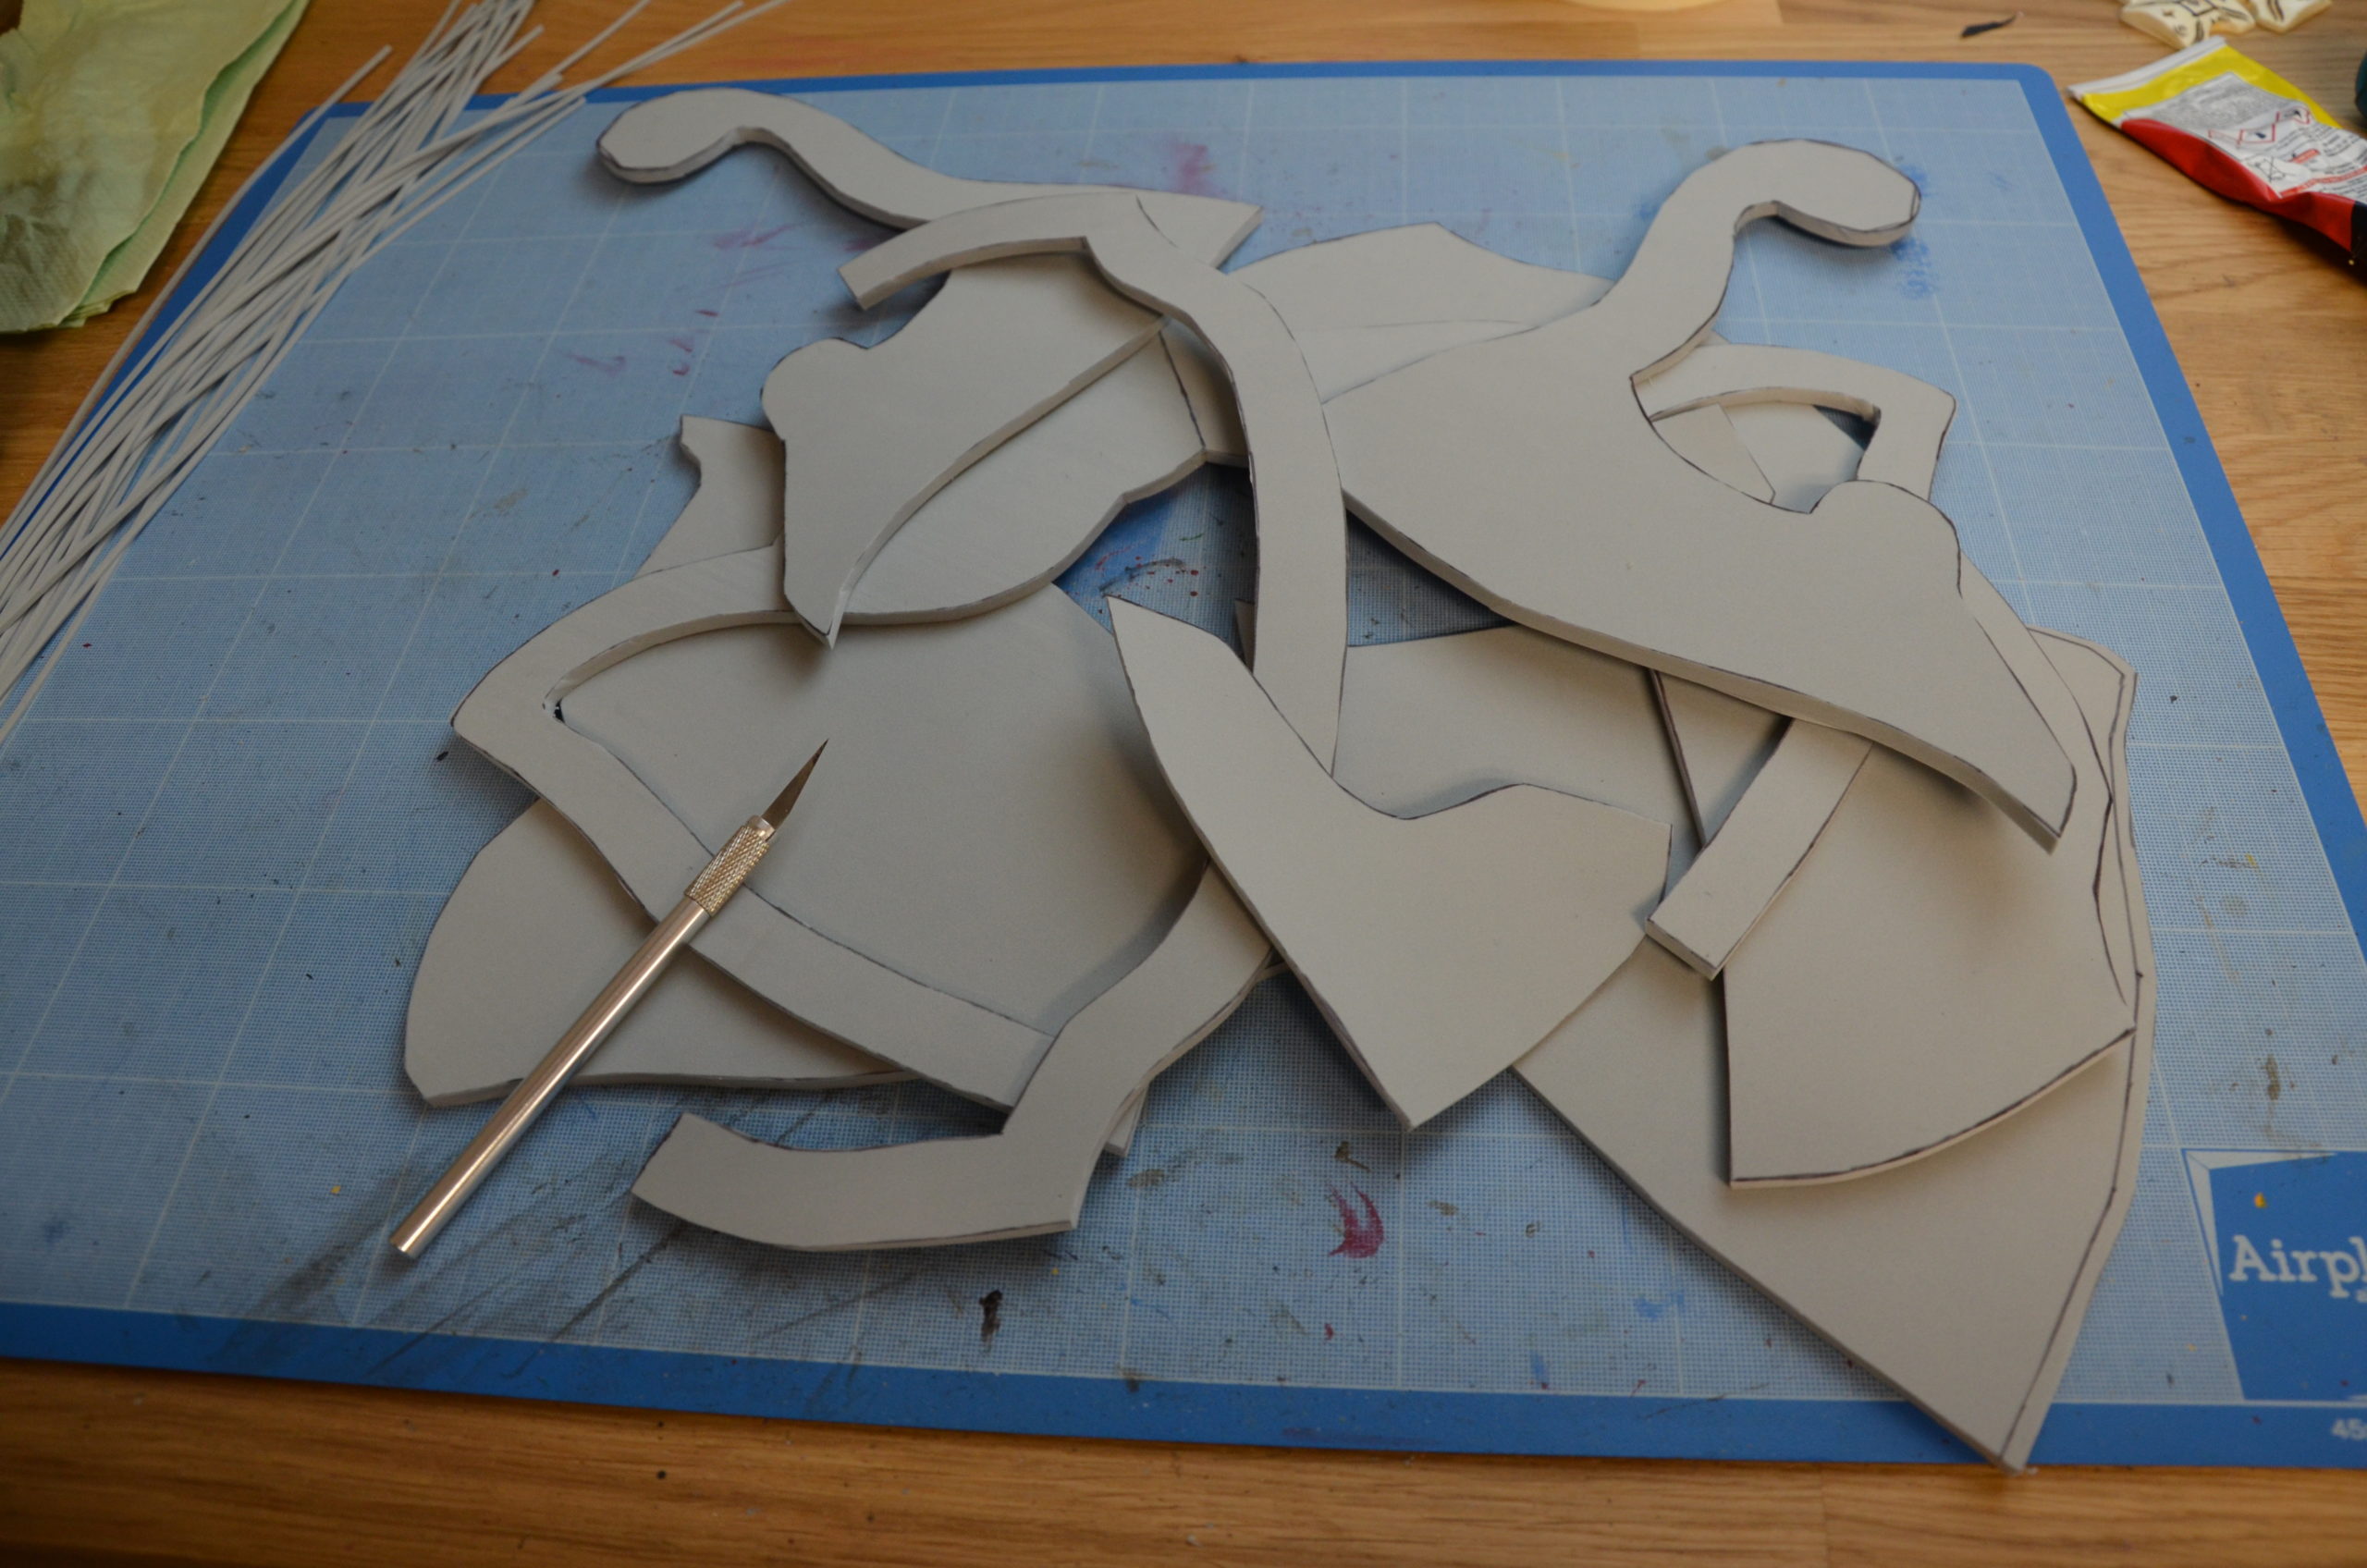
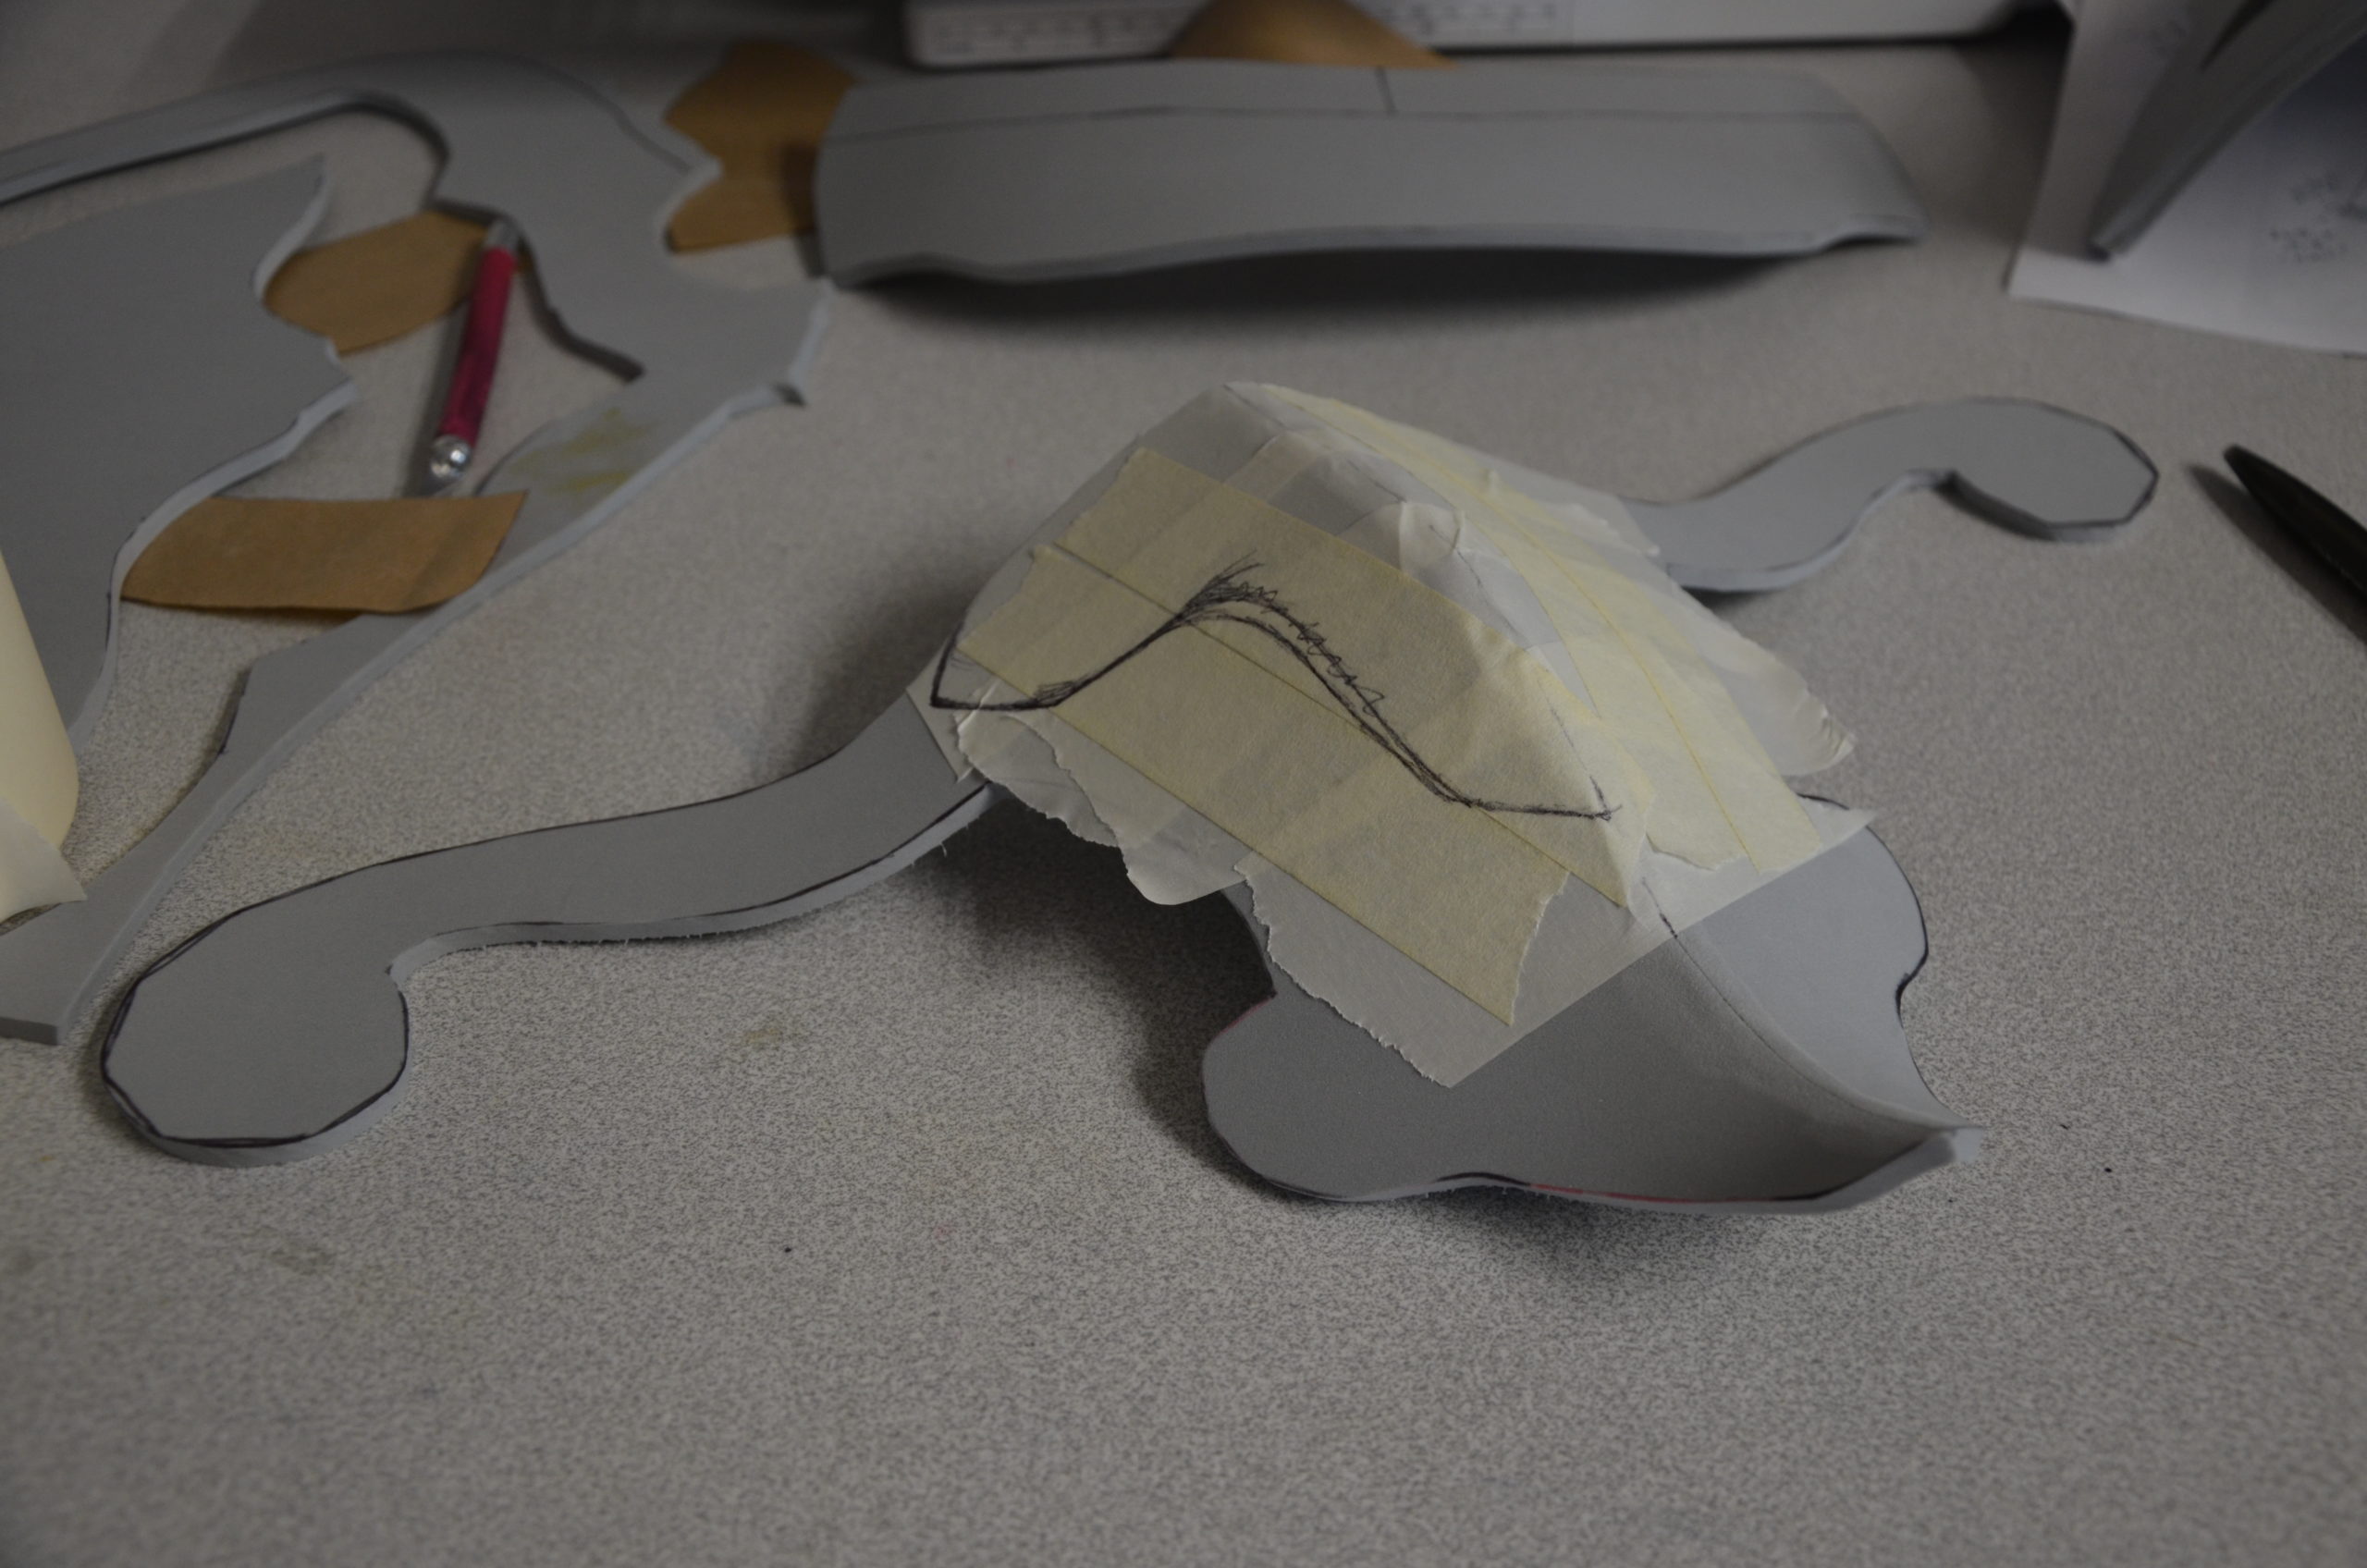
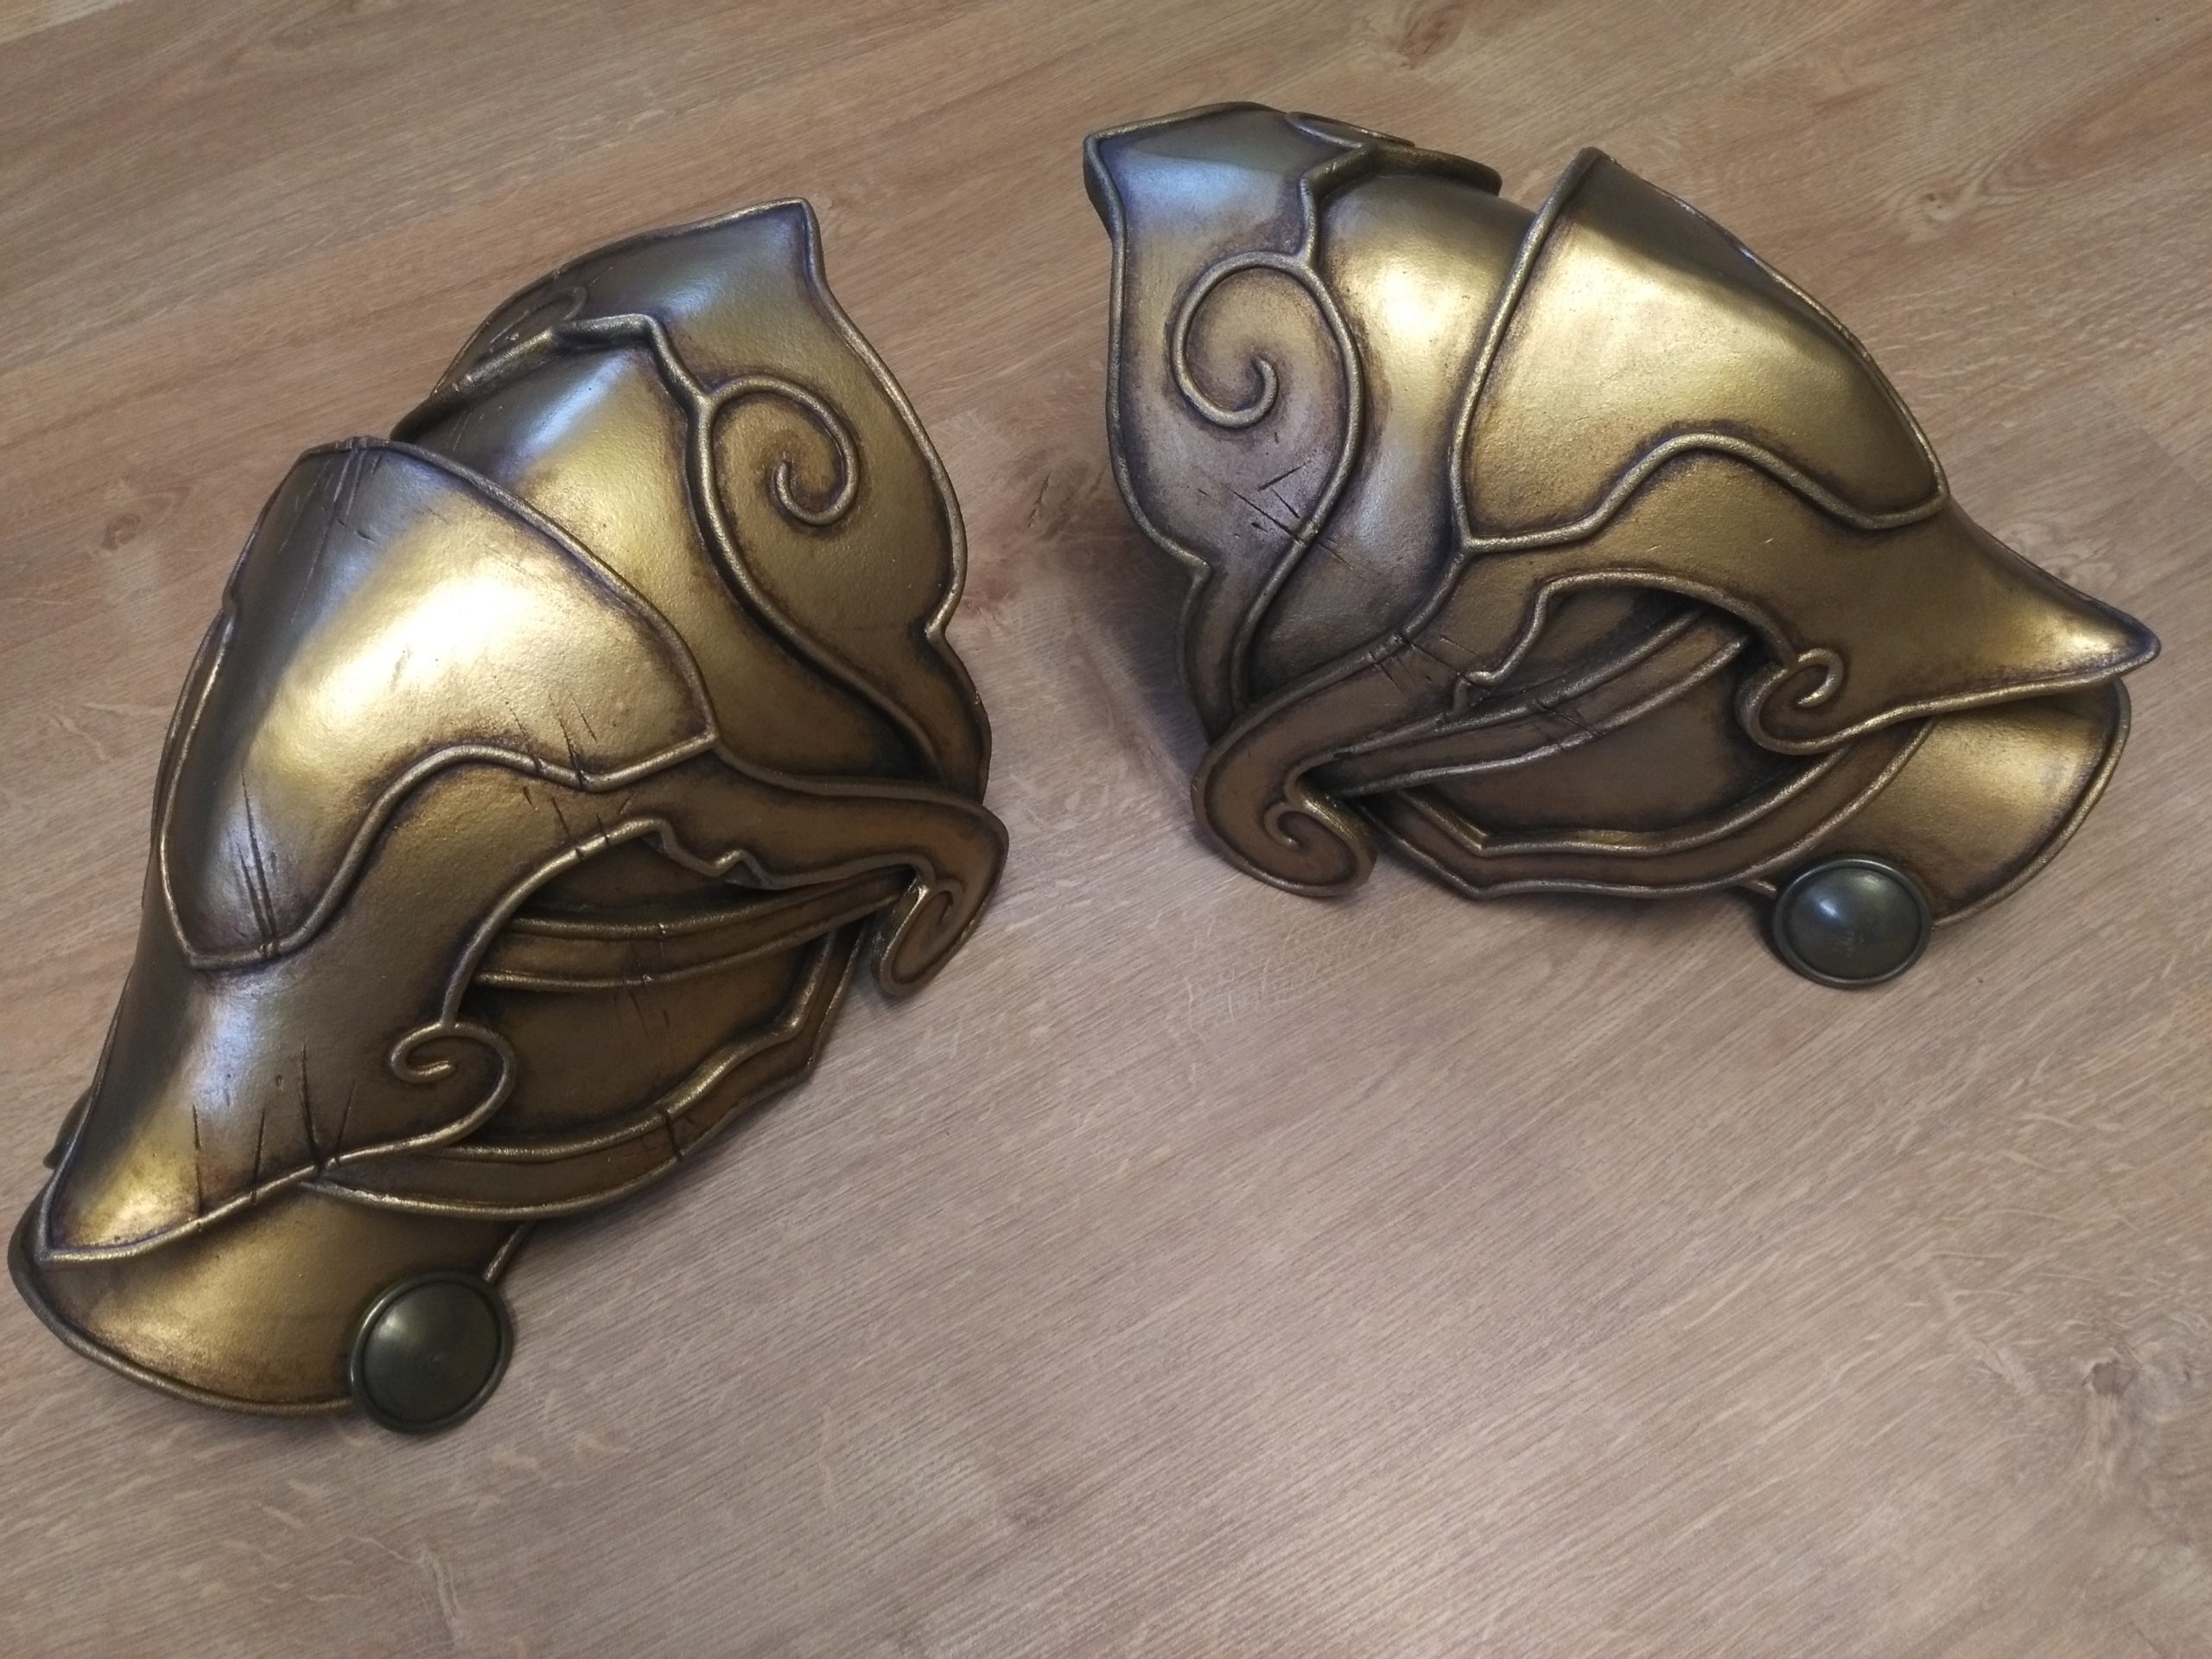
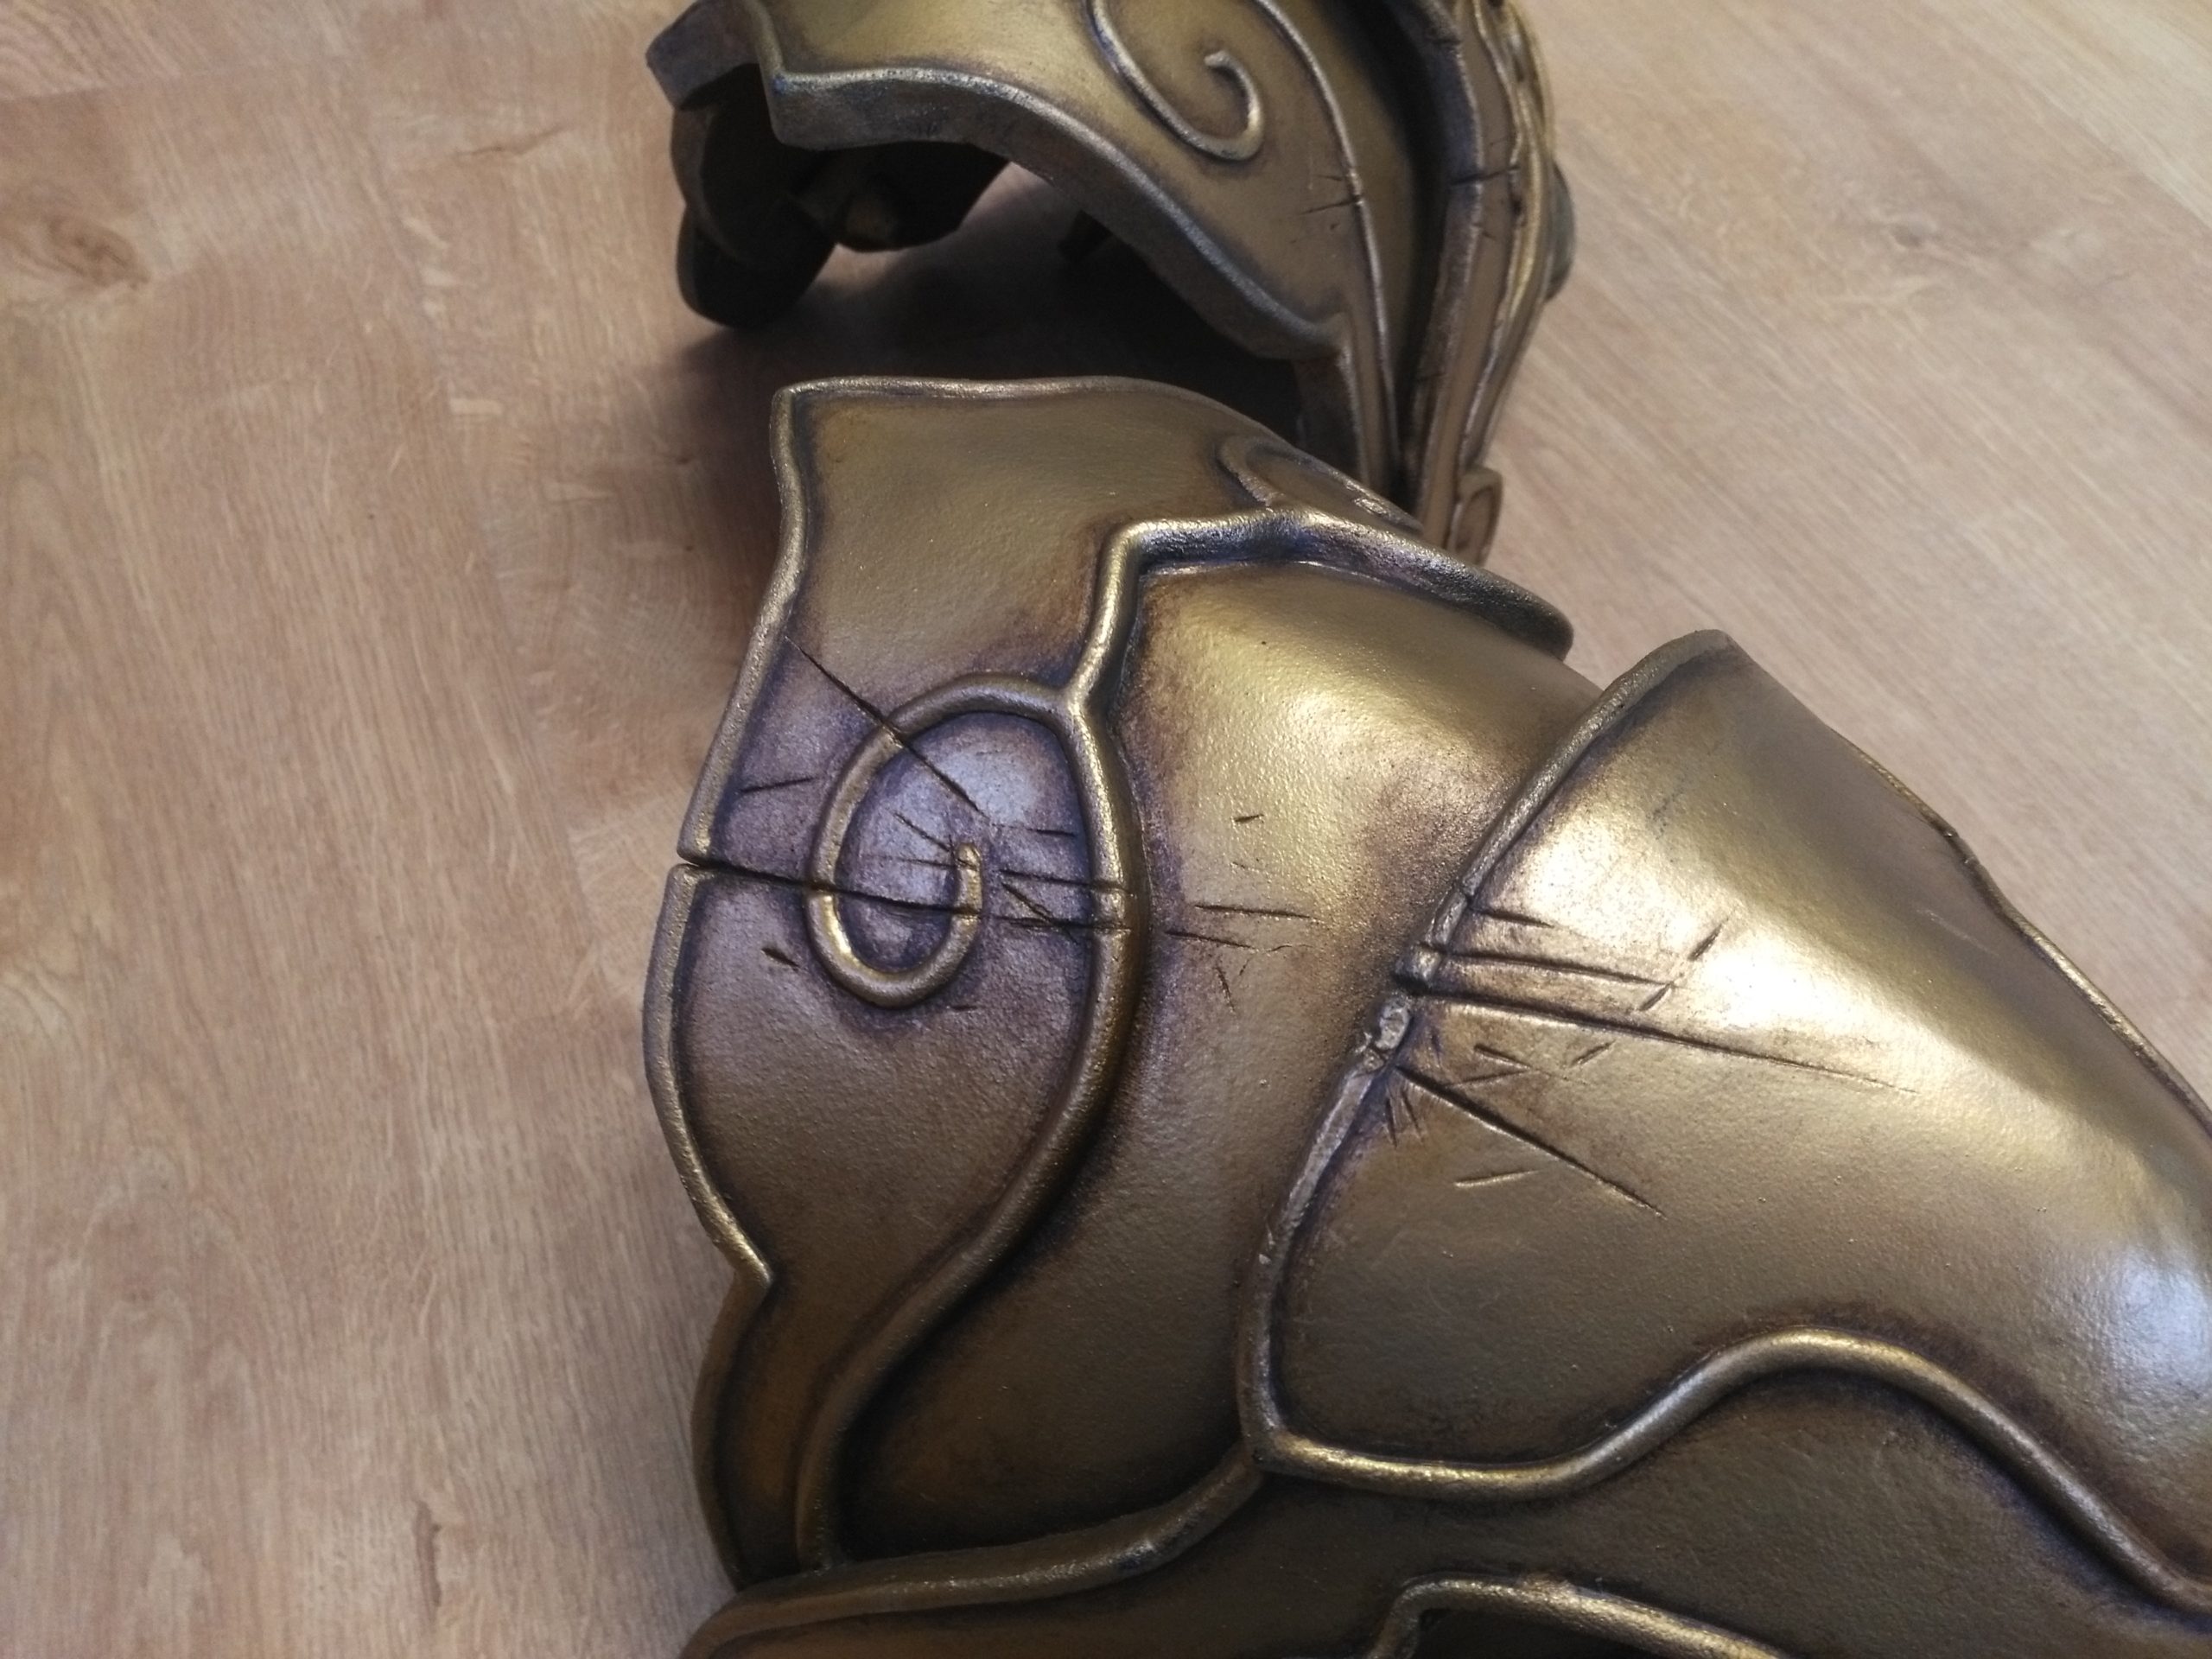
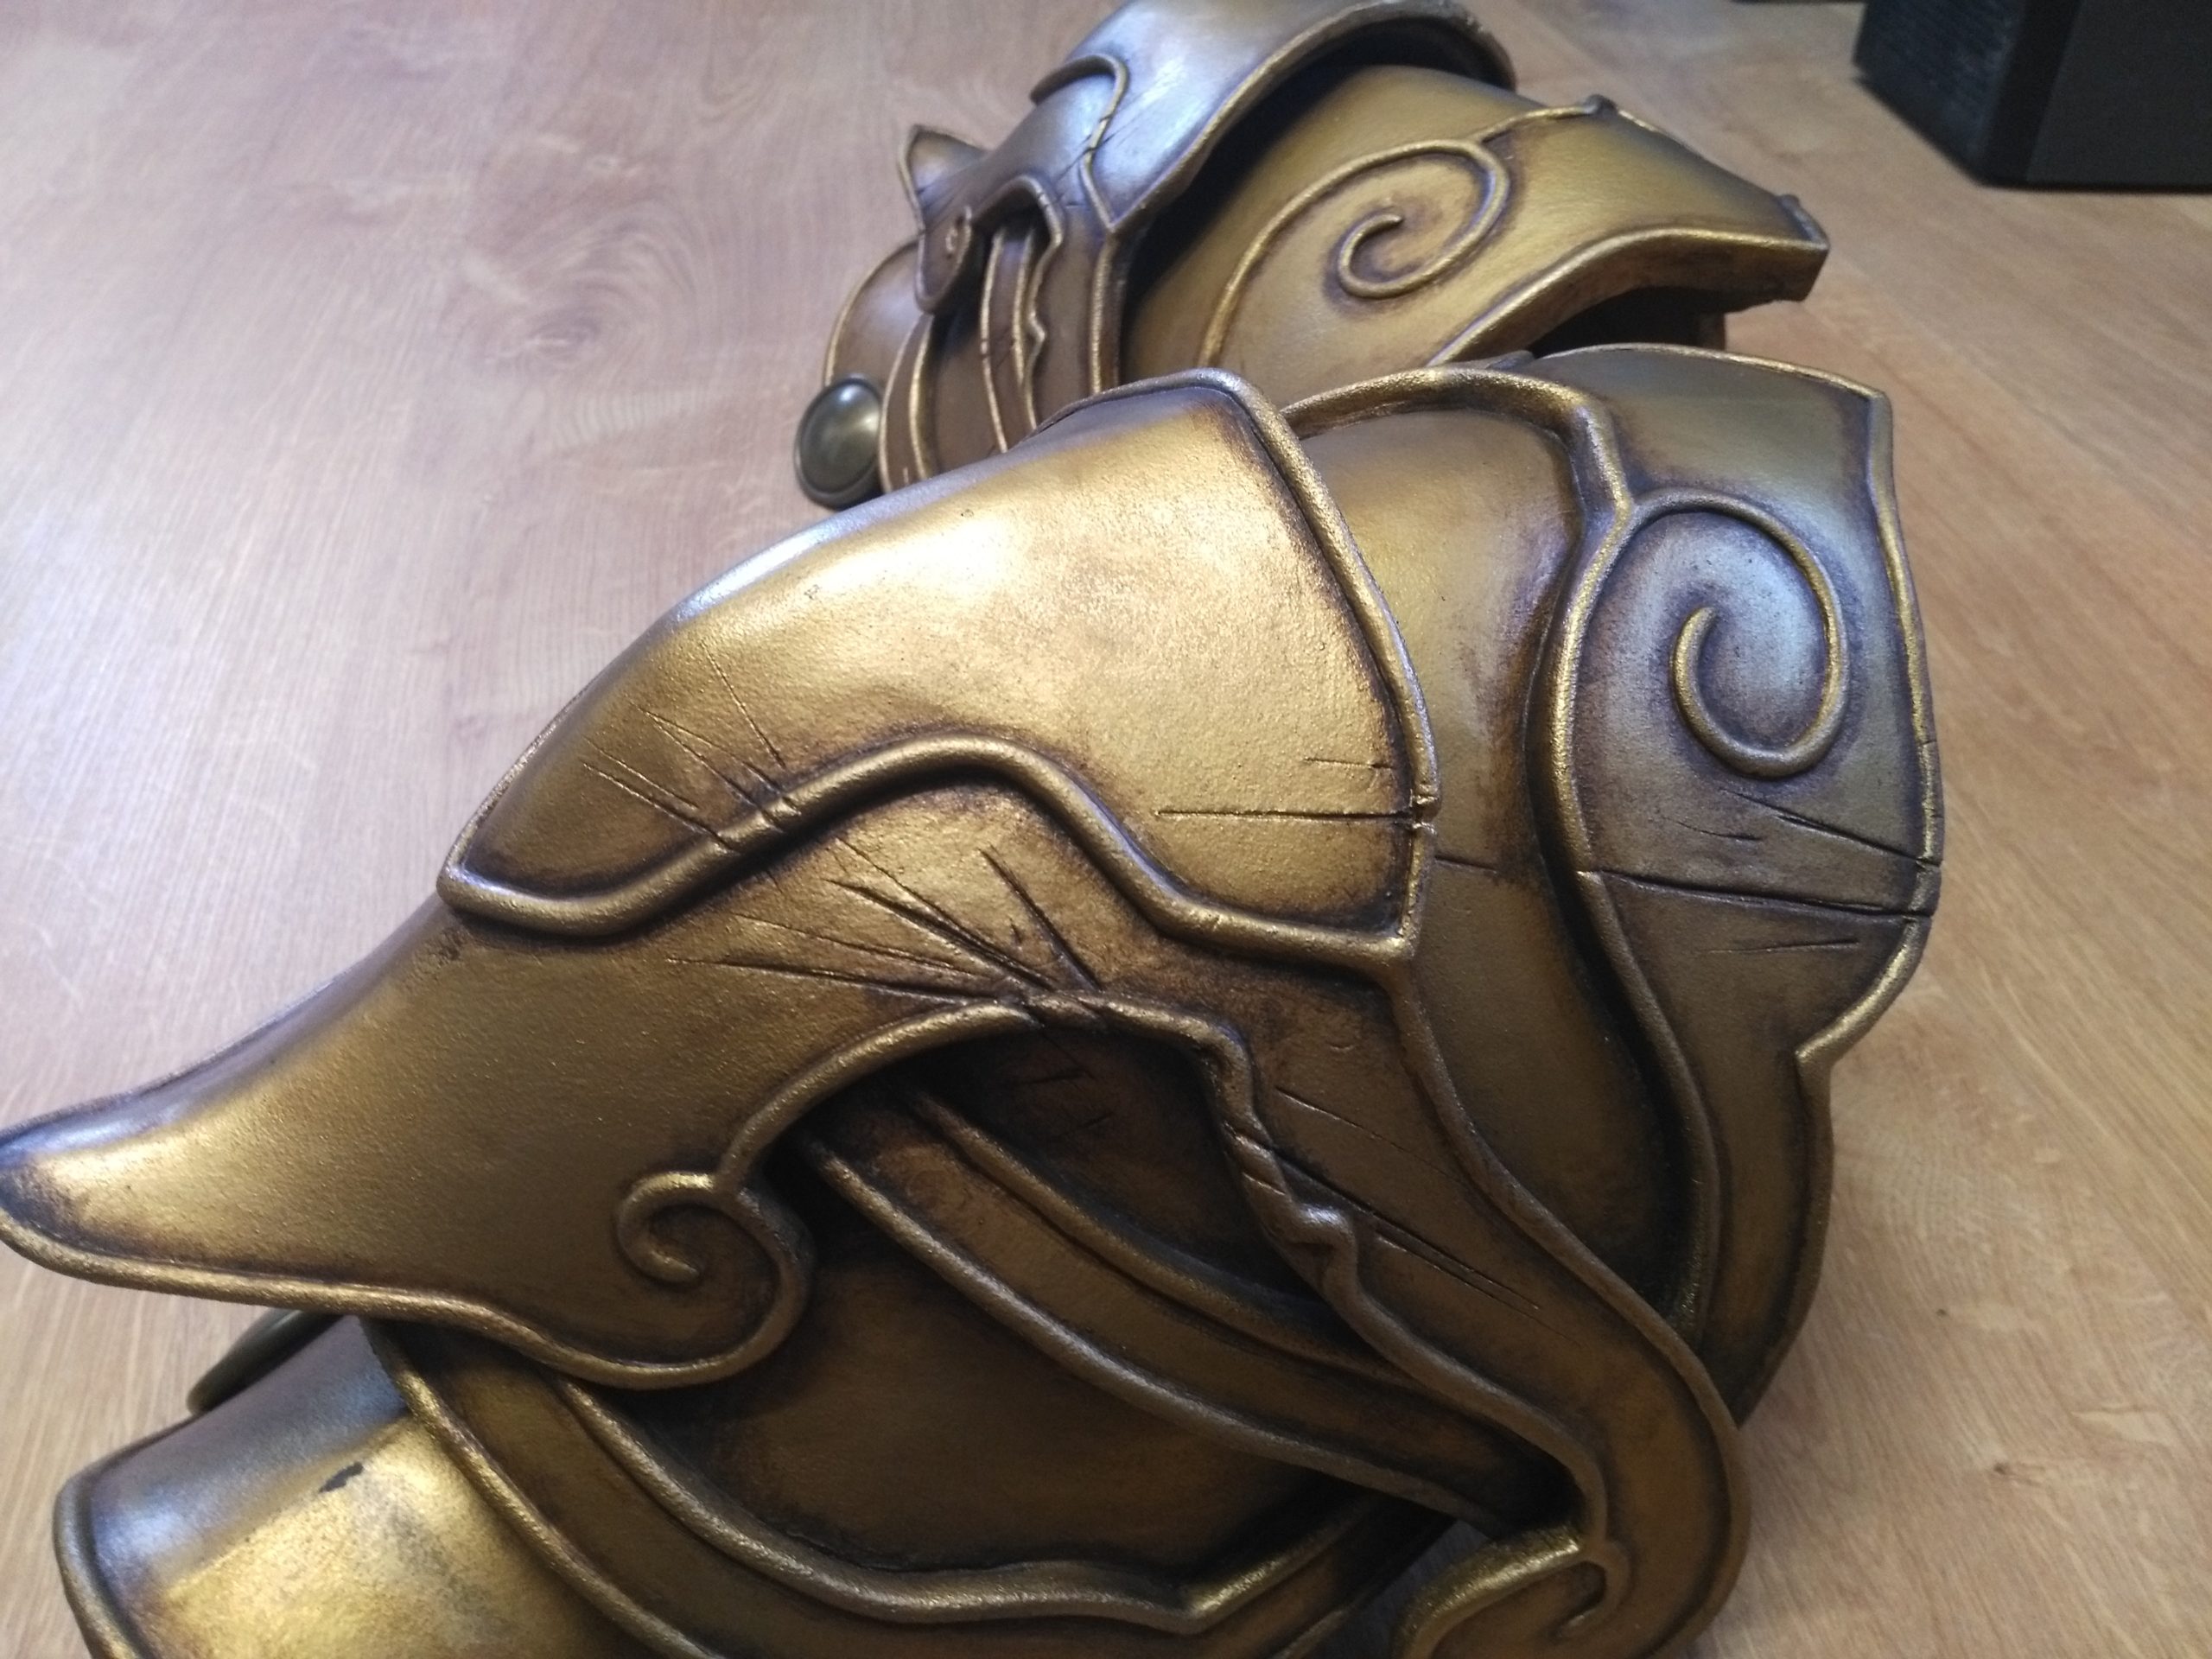
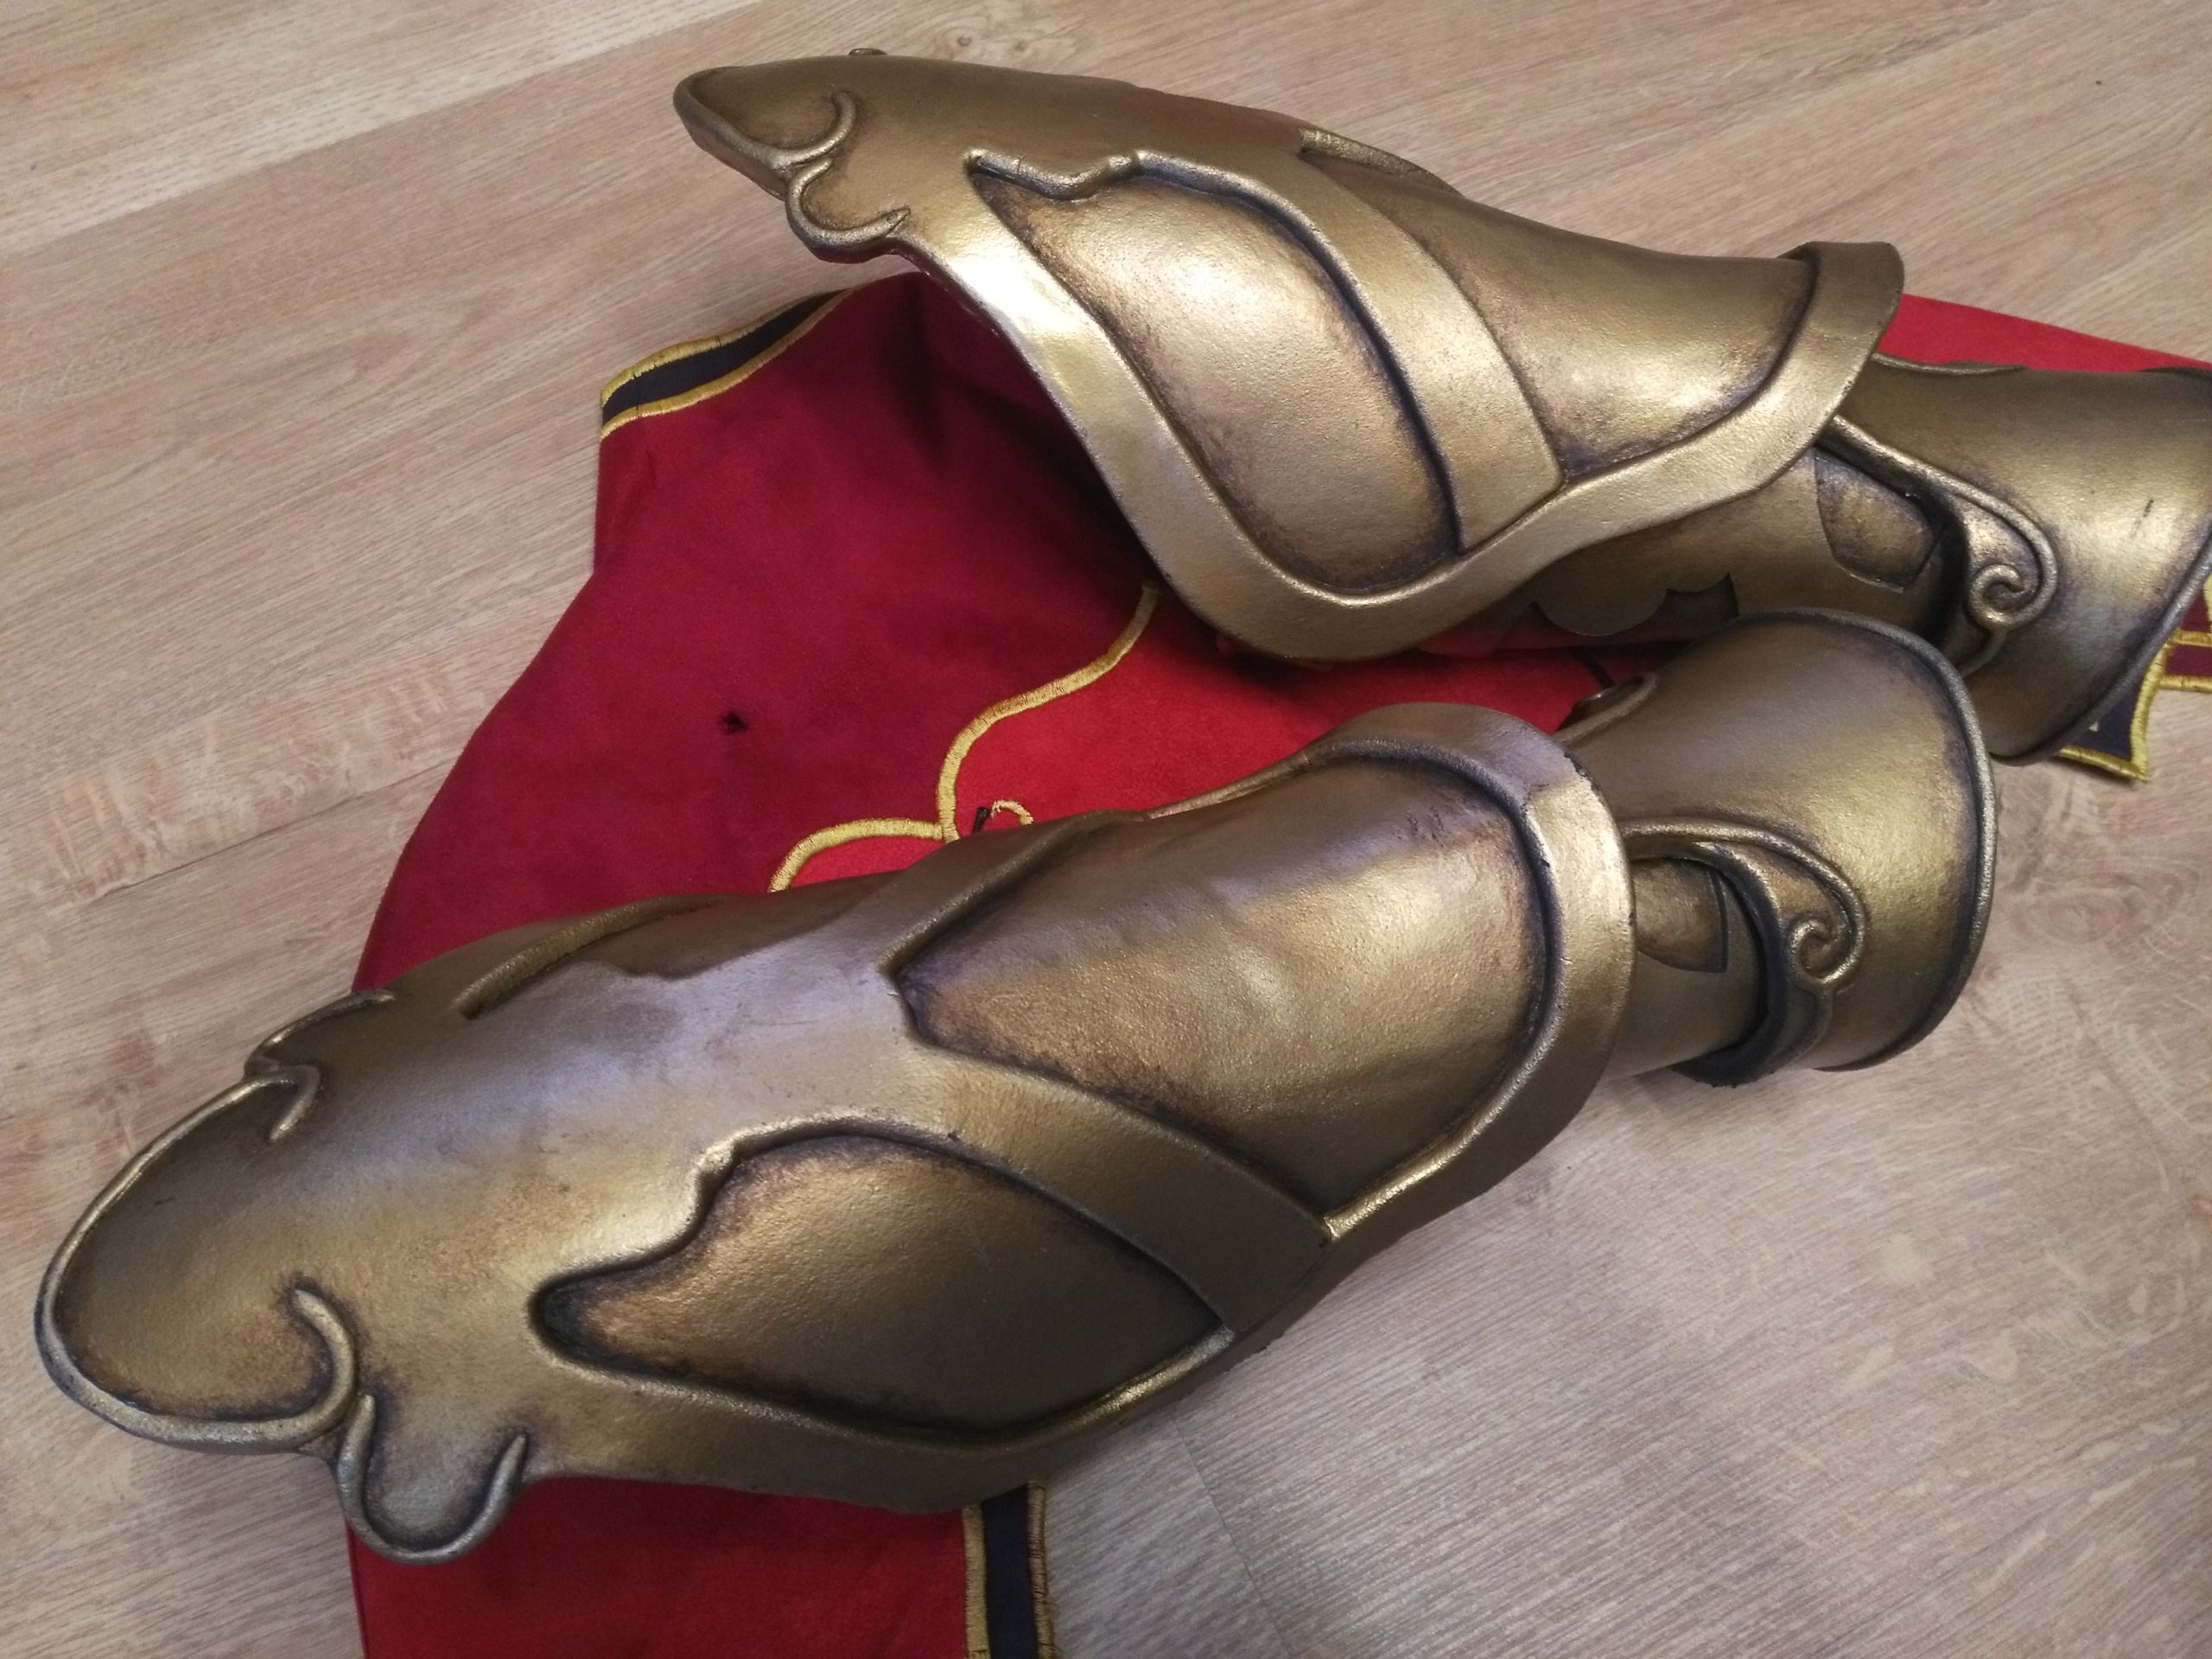
Armor
1. Patterns and assembly
To attach the shoulder pads, we first made a harness with foam supports in which we glued screws (=pivot points).
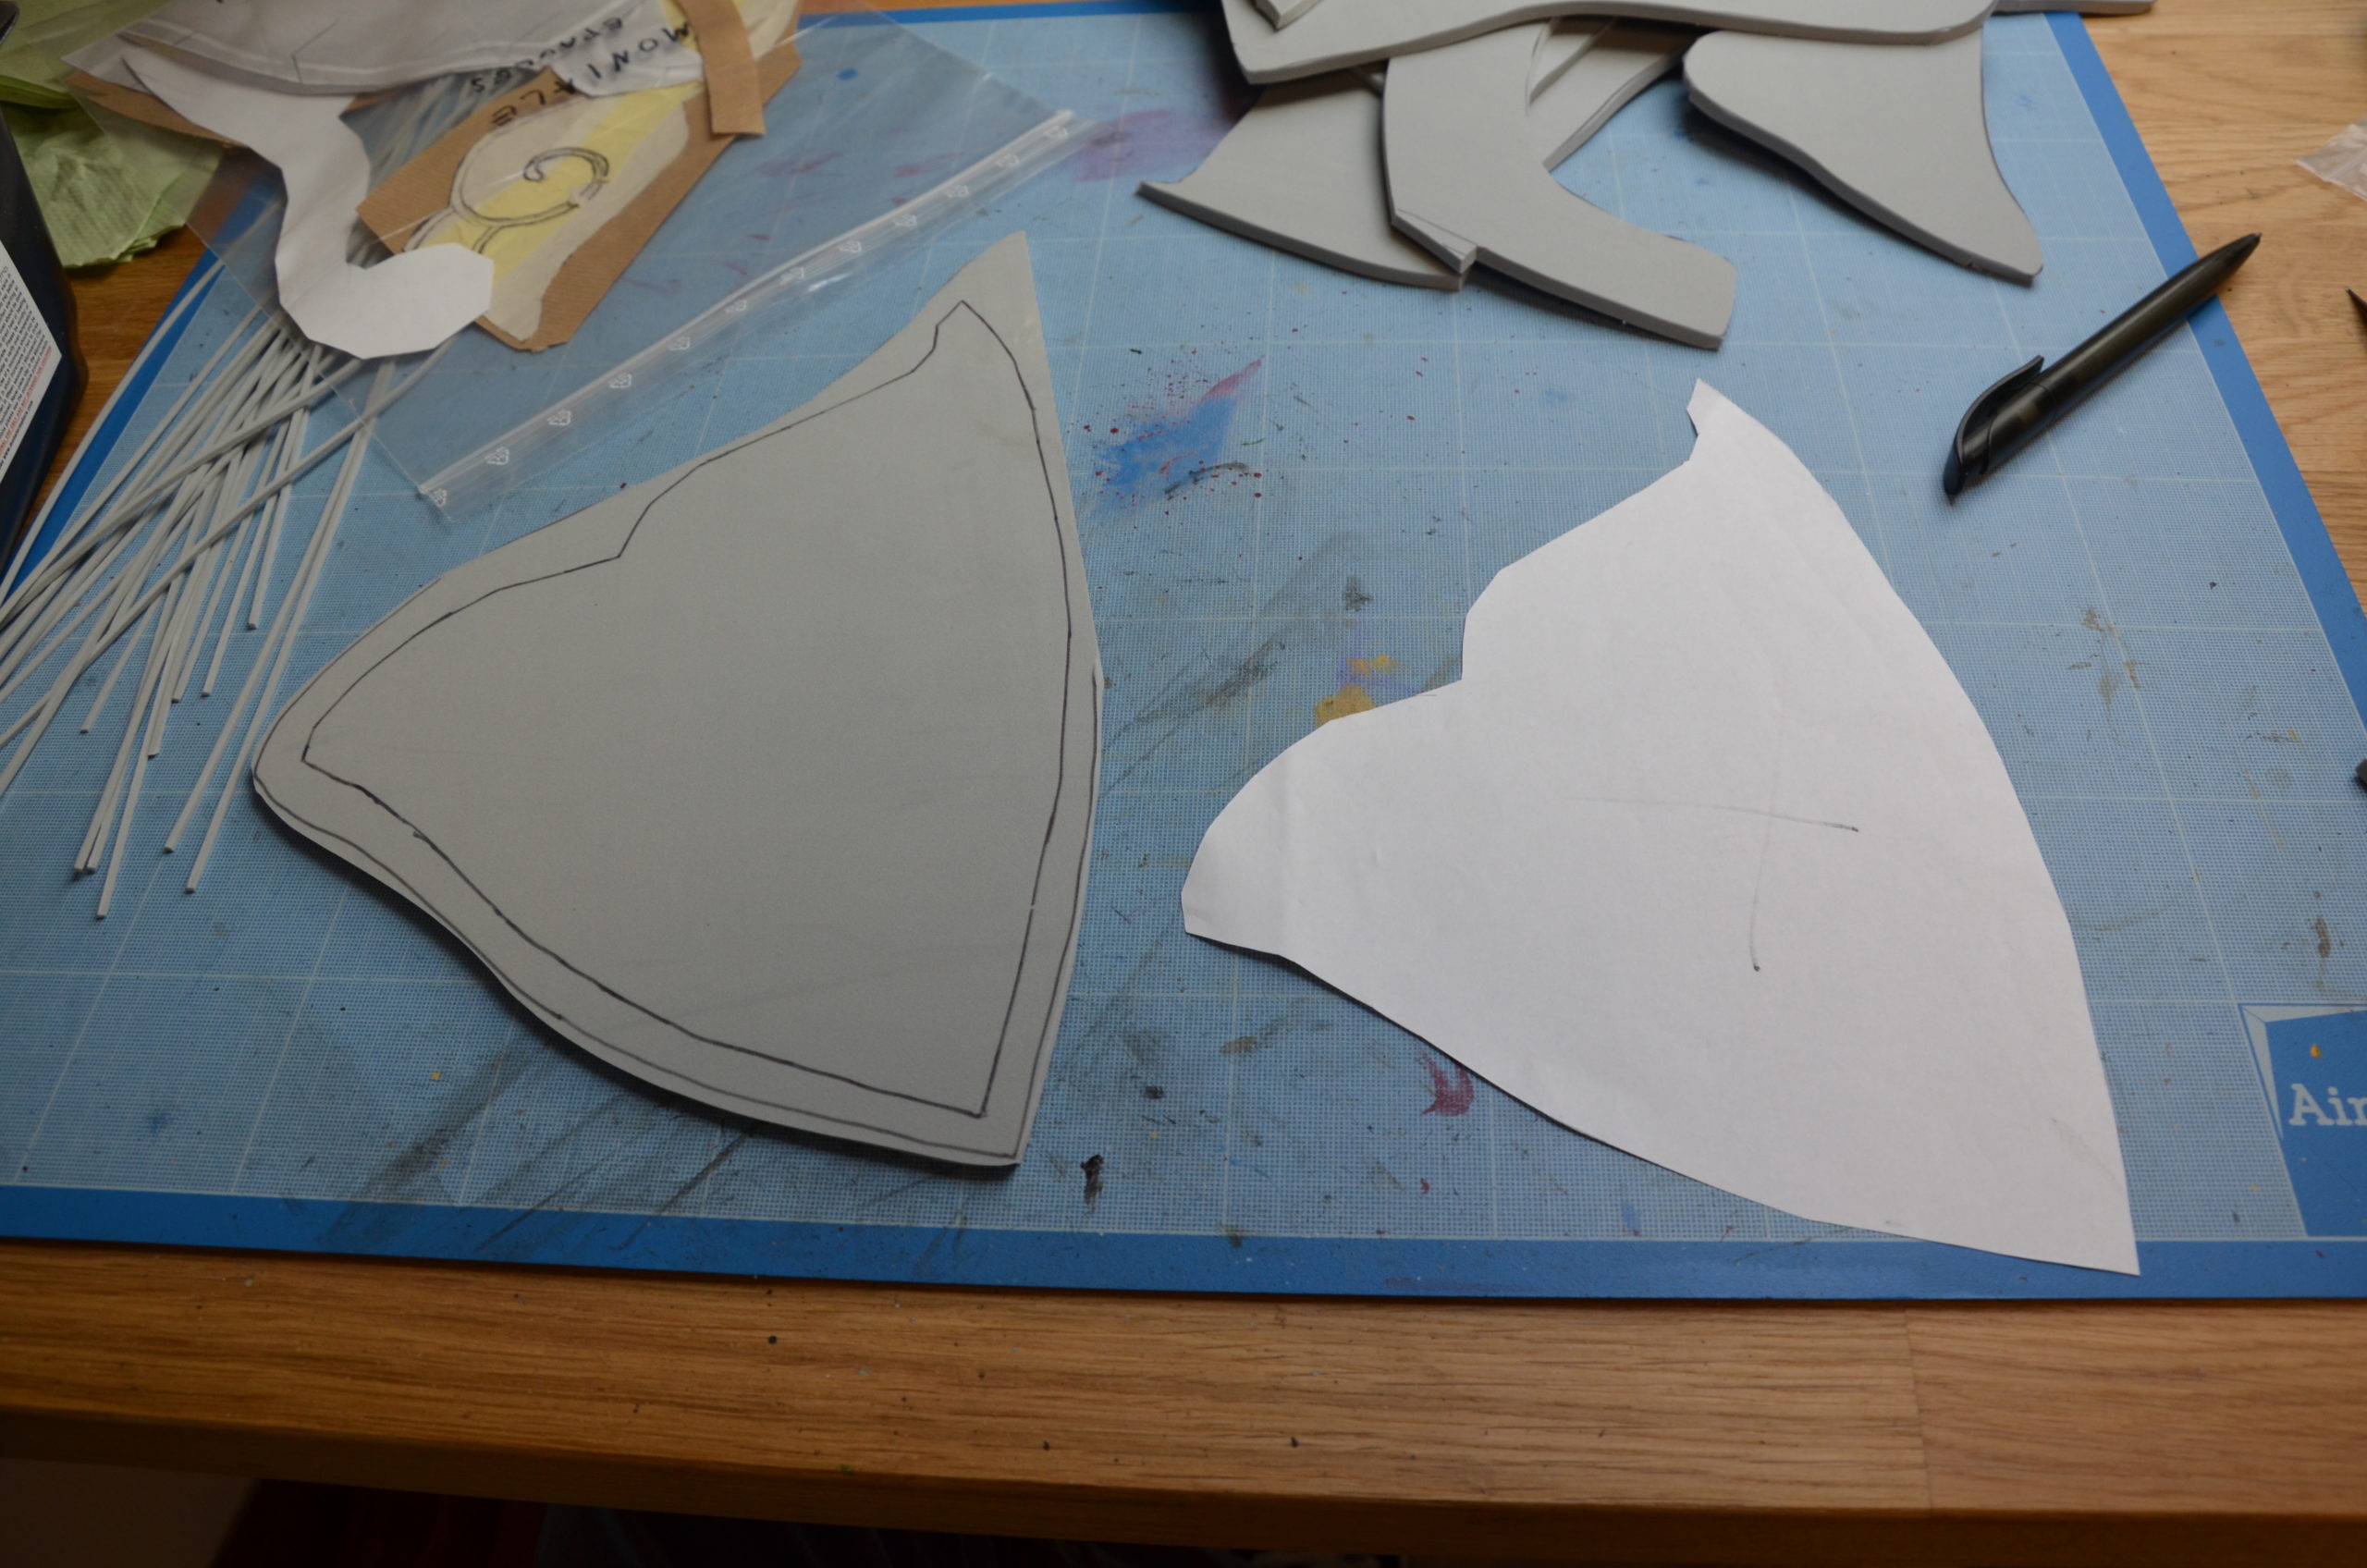
Here comes the fun part 🙂
We managed to find a 3D model that nearly looked like the reference picture. After some touch-ups to correct some edges and faces, fill the holes, etc. we imported the piece on Pepakura and with a bit of optimization work, got some nice 2D patterns.
When the basic shapes were built, I used the tape method again to draw details and make the next patterns.

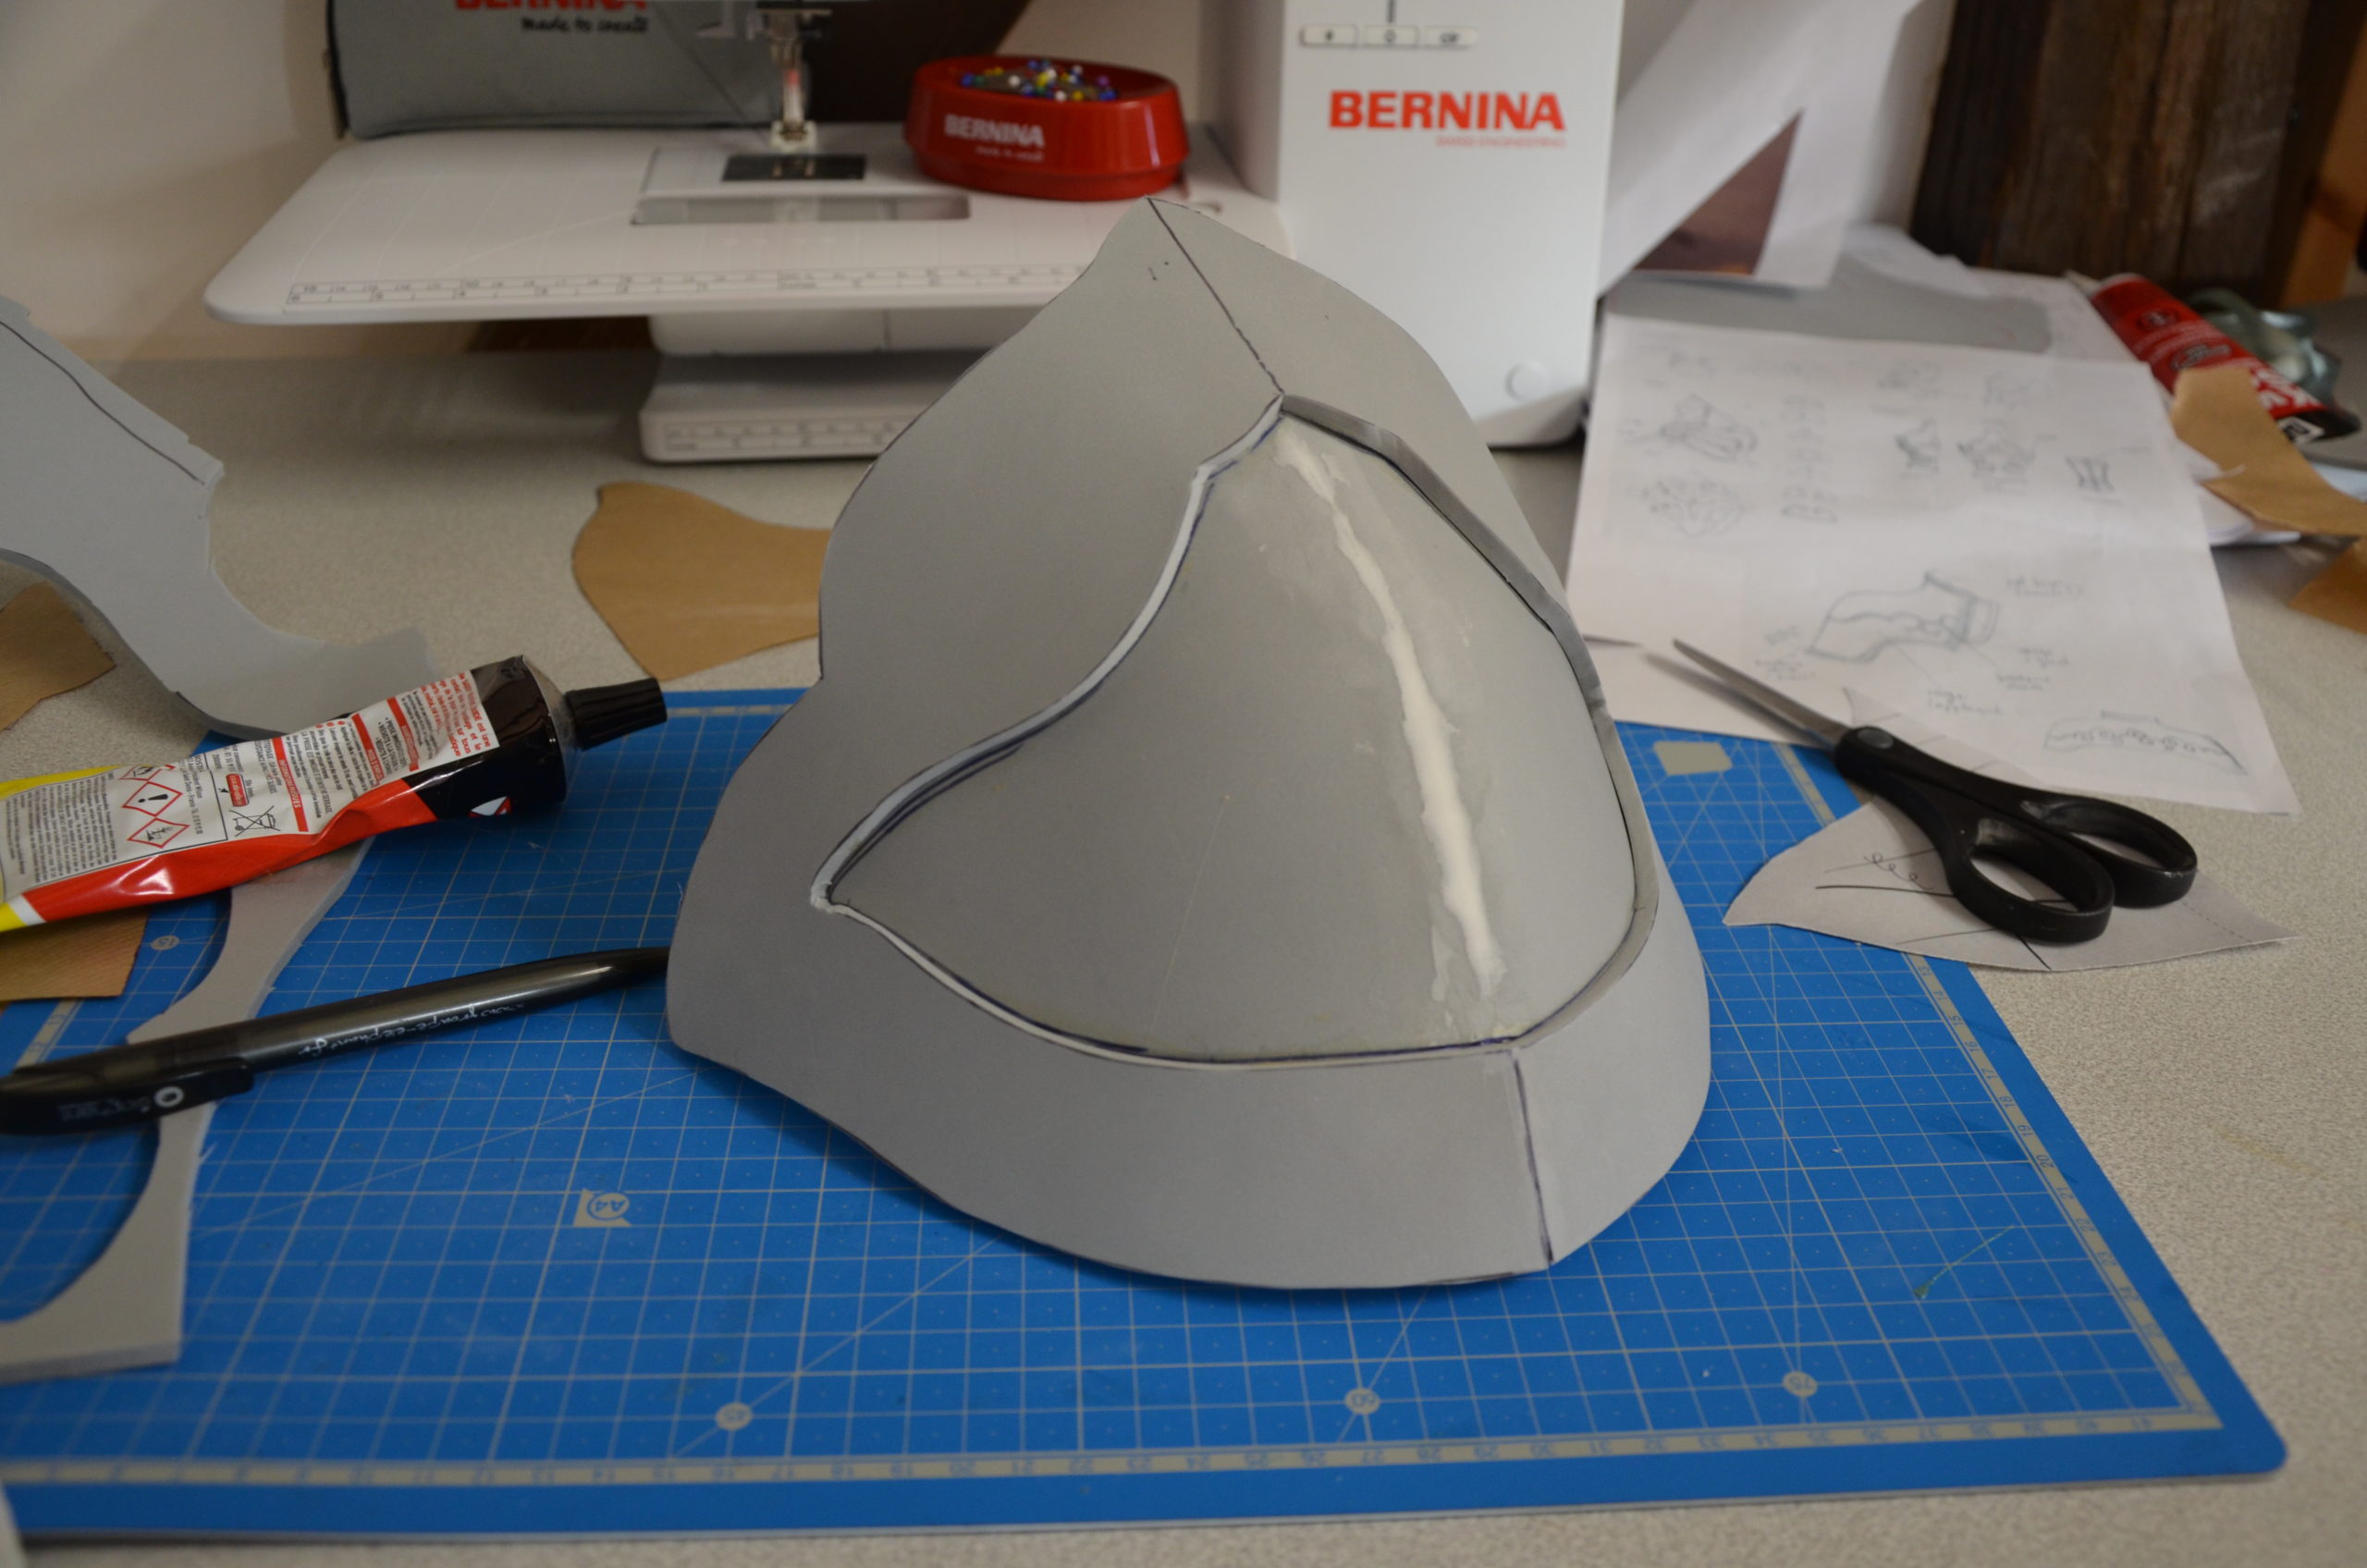
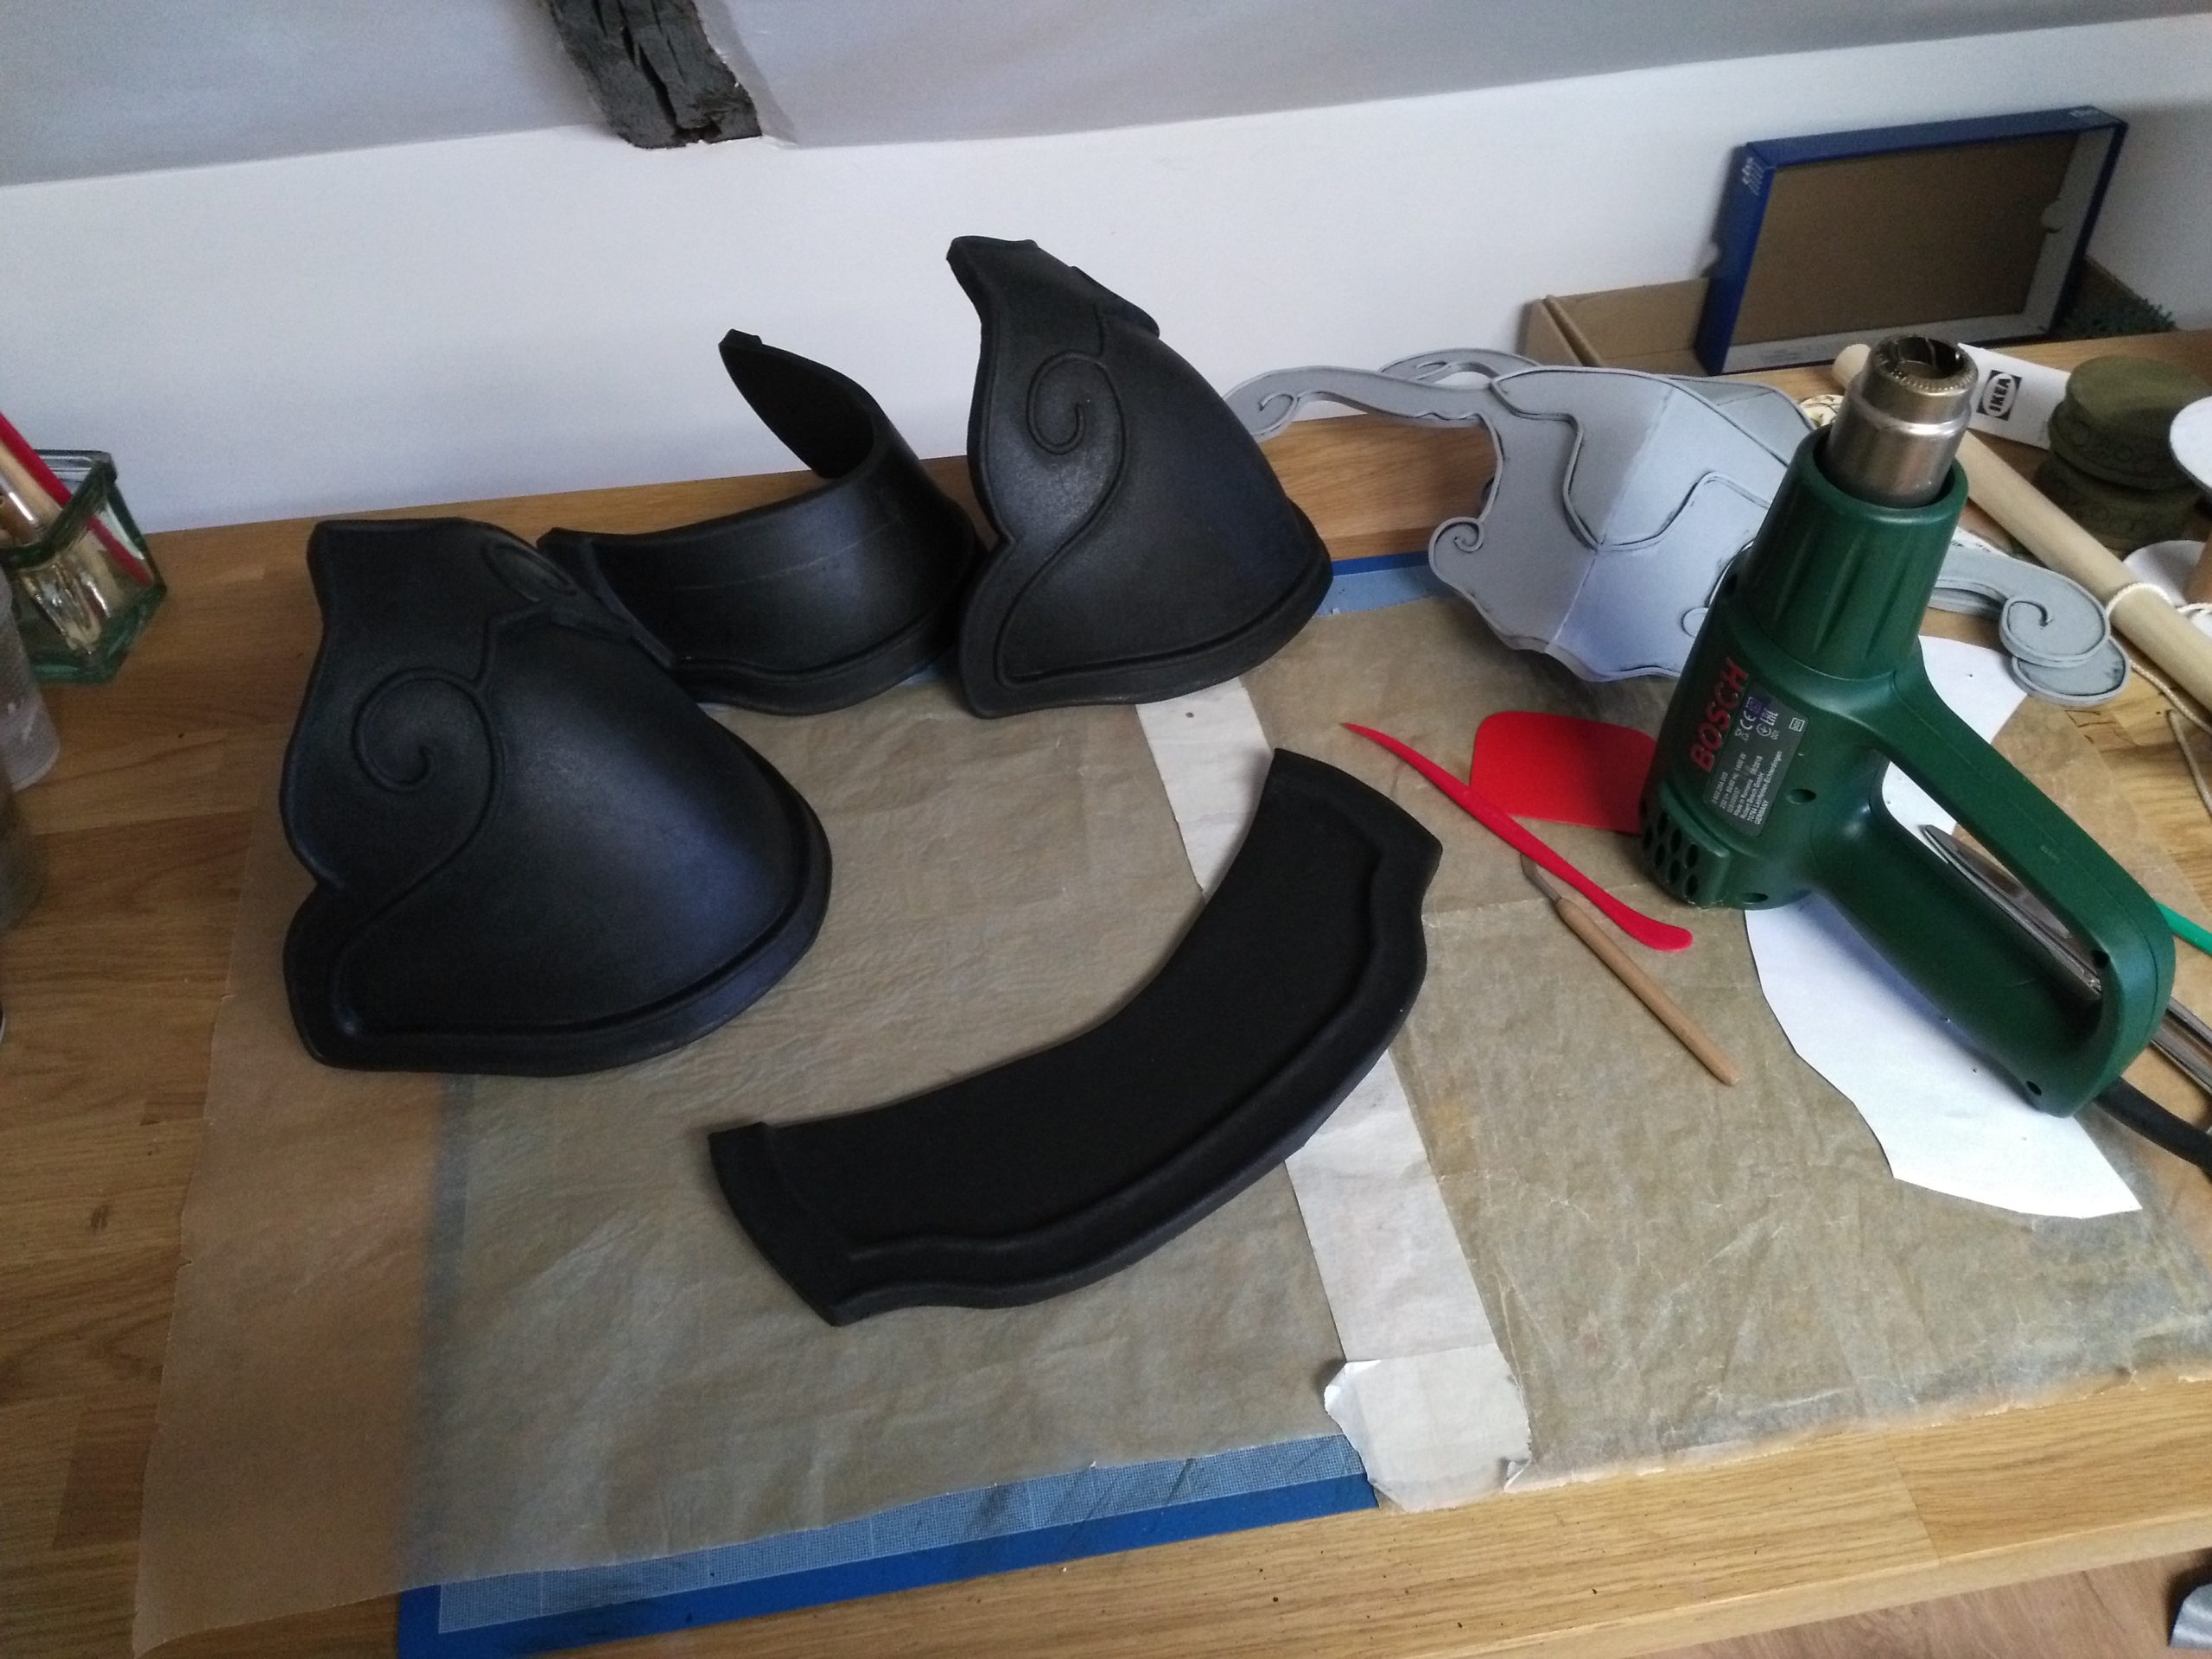
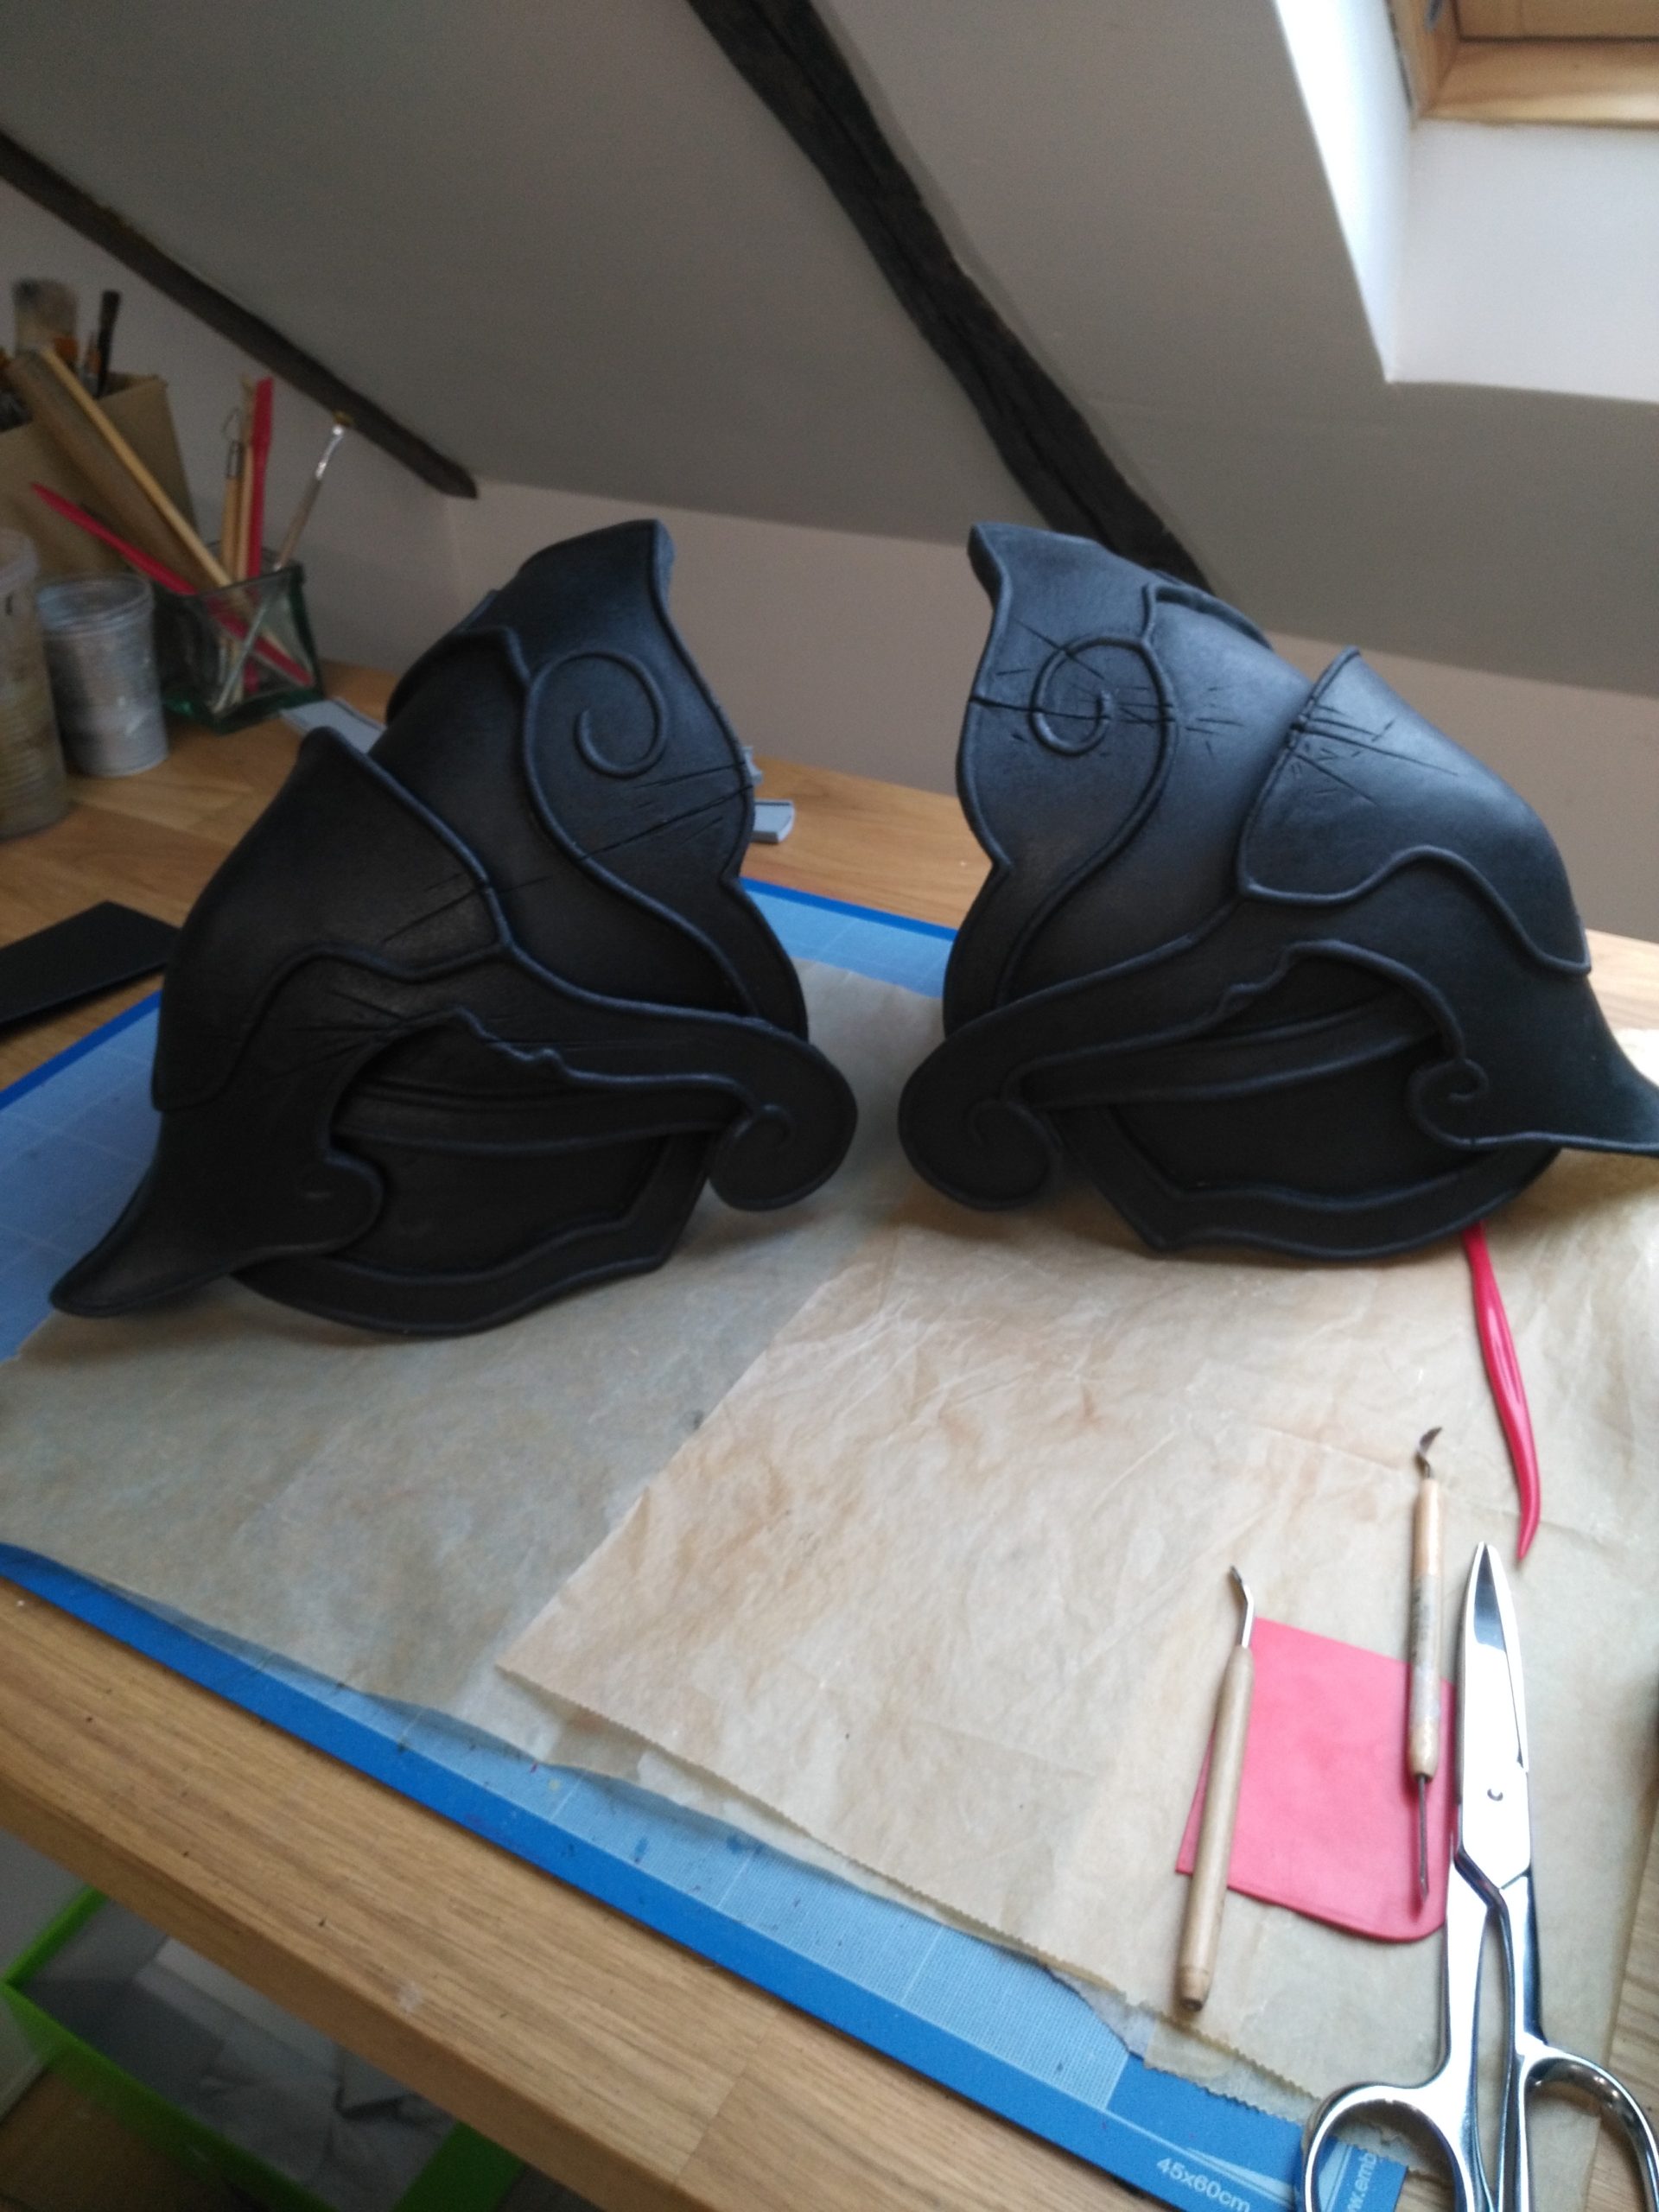
2. Worbla’s Black Art
It was the first armor piece that we made entirely with Worbla’s Black Art. Although it’s smoother than its big brother (Worbla’s Finest Art), you have to be careful because the black version tears more easily. On a piece with lots of depth levels, it’s quite more difficult to work with.
The final render is really smooth, and you don’t need to sand it too much (or not at all depending on the render you want and the primer you use), but I would not recommend to use the Black one on big pieces if you’re new to Worbla or thermoplastics in general (try on small pieces or use it for details at first).
However, if you’re used to work with Worbla’s Finest Art, don’t hesitate and go ahead. You’ll need to make some tests at the beginning to avoid tears, but once you are past this hurdle, you’ll gain so much time on the sanding process.
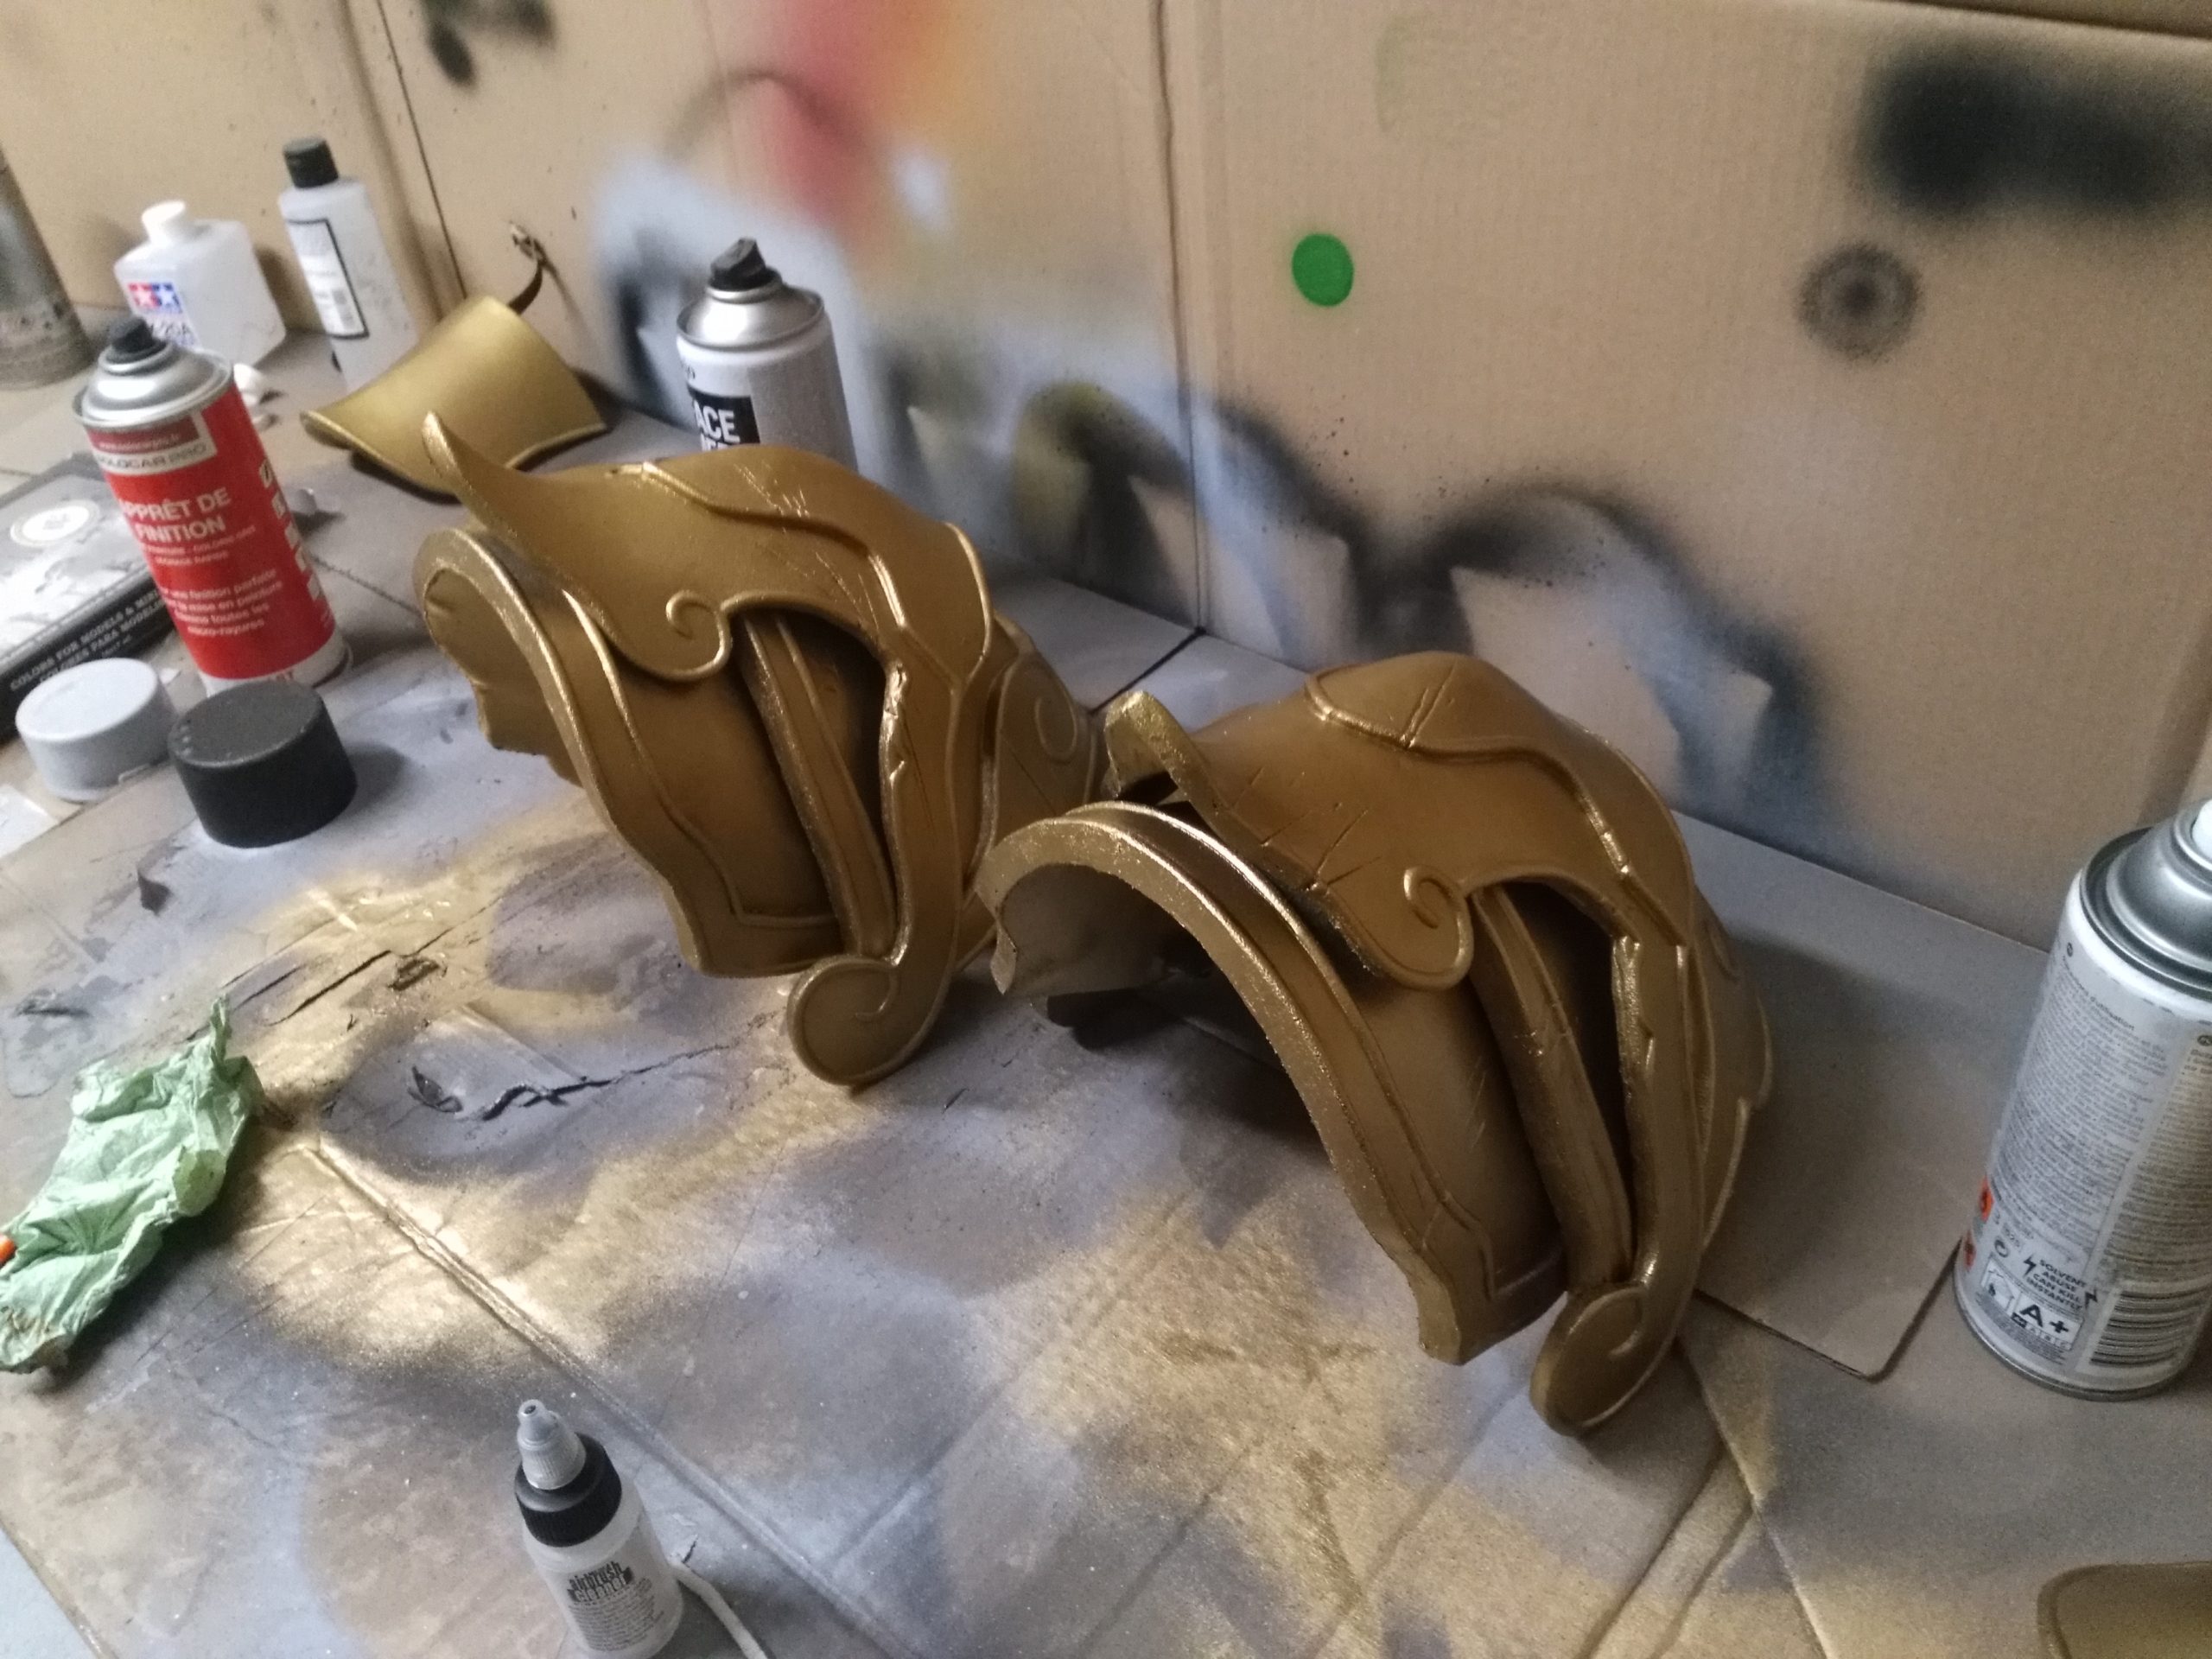
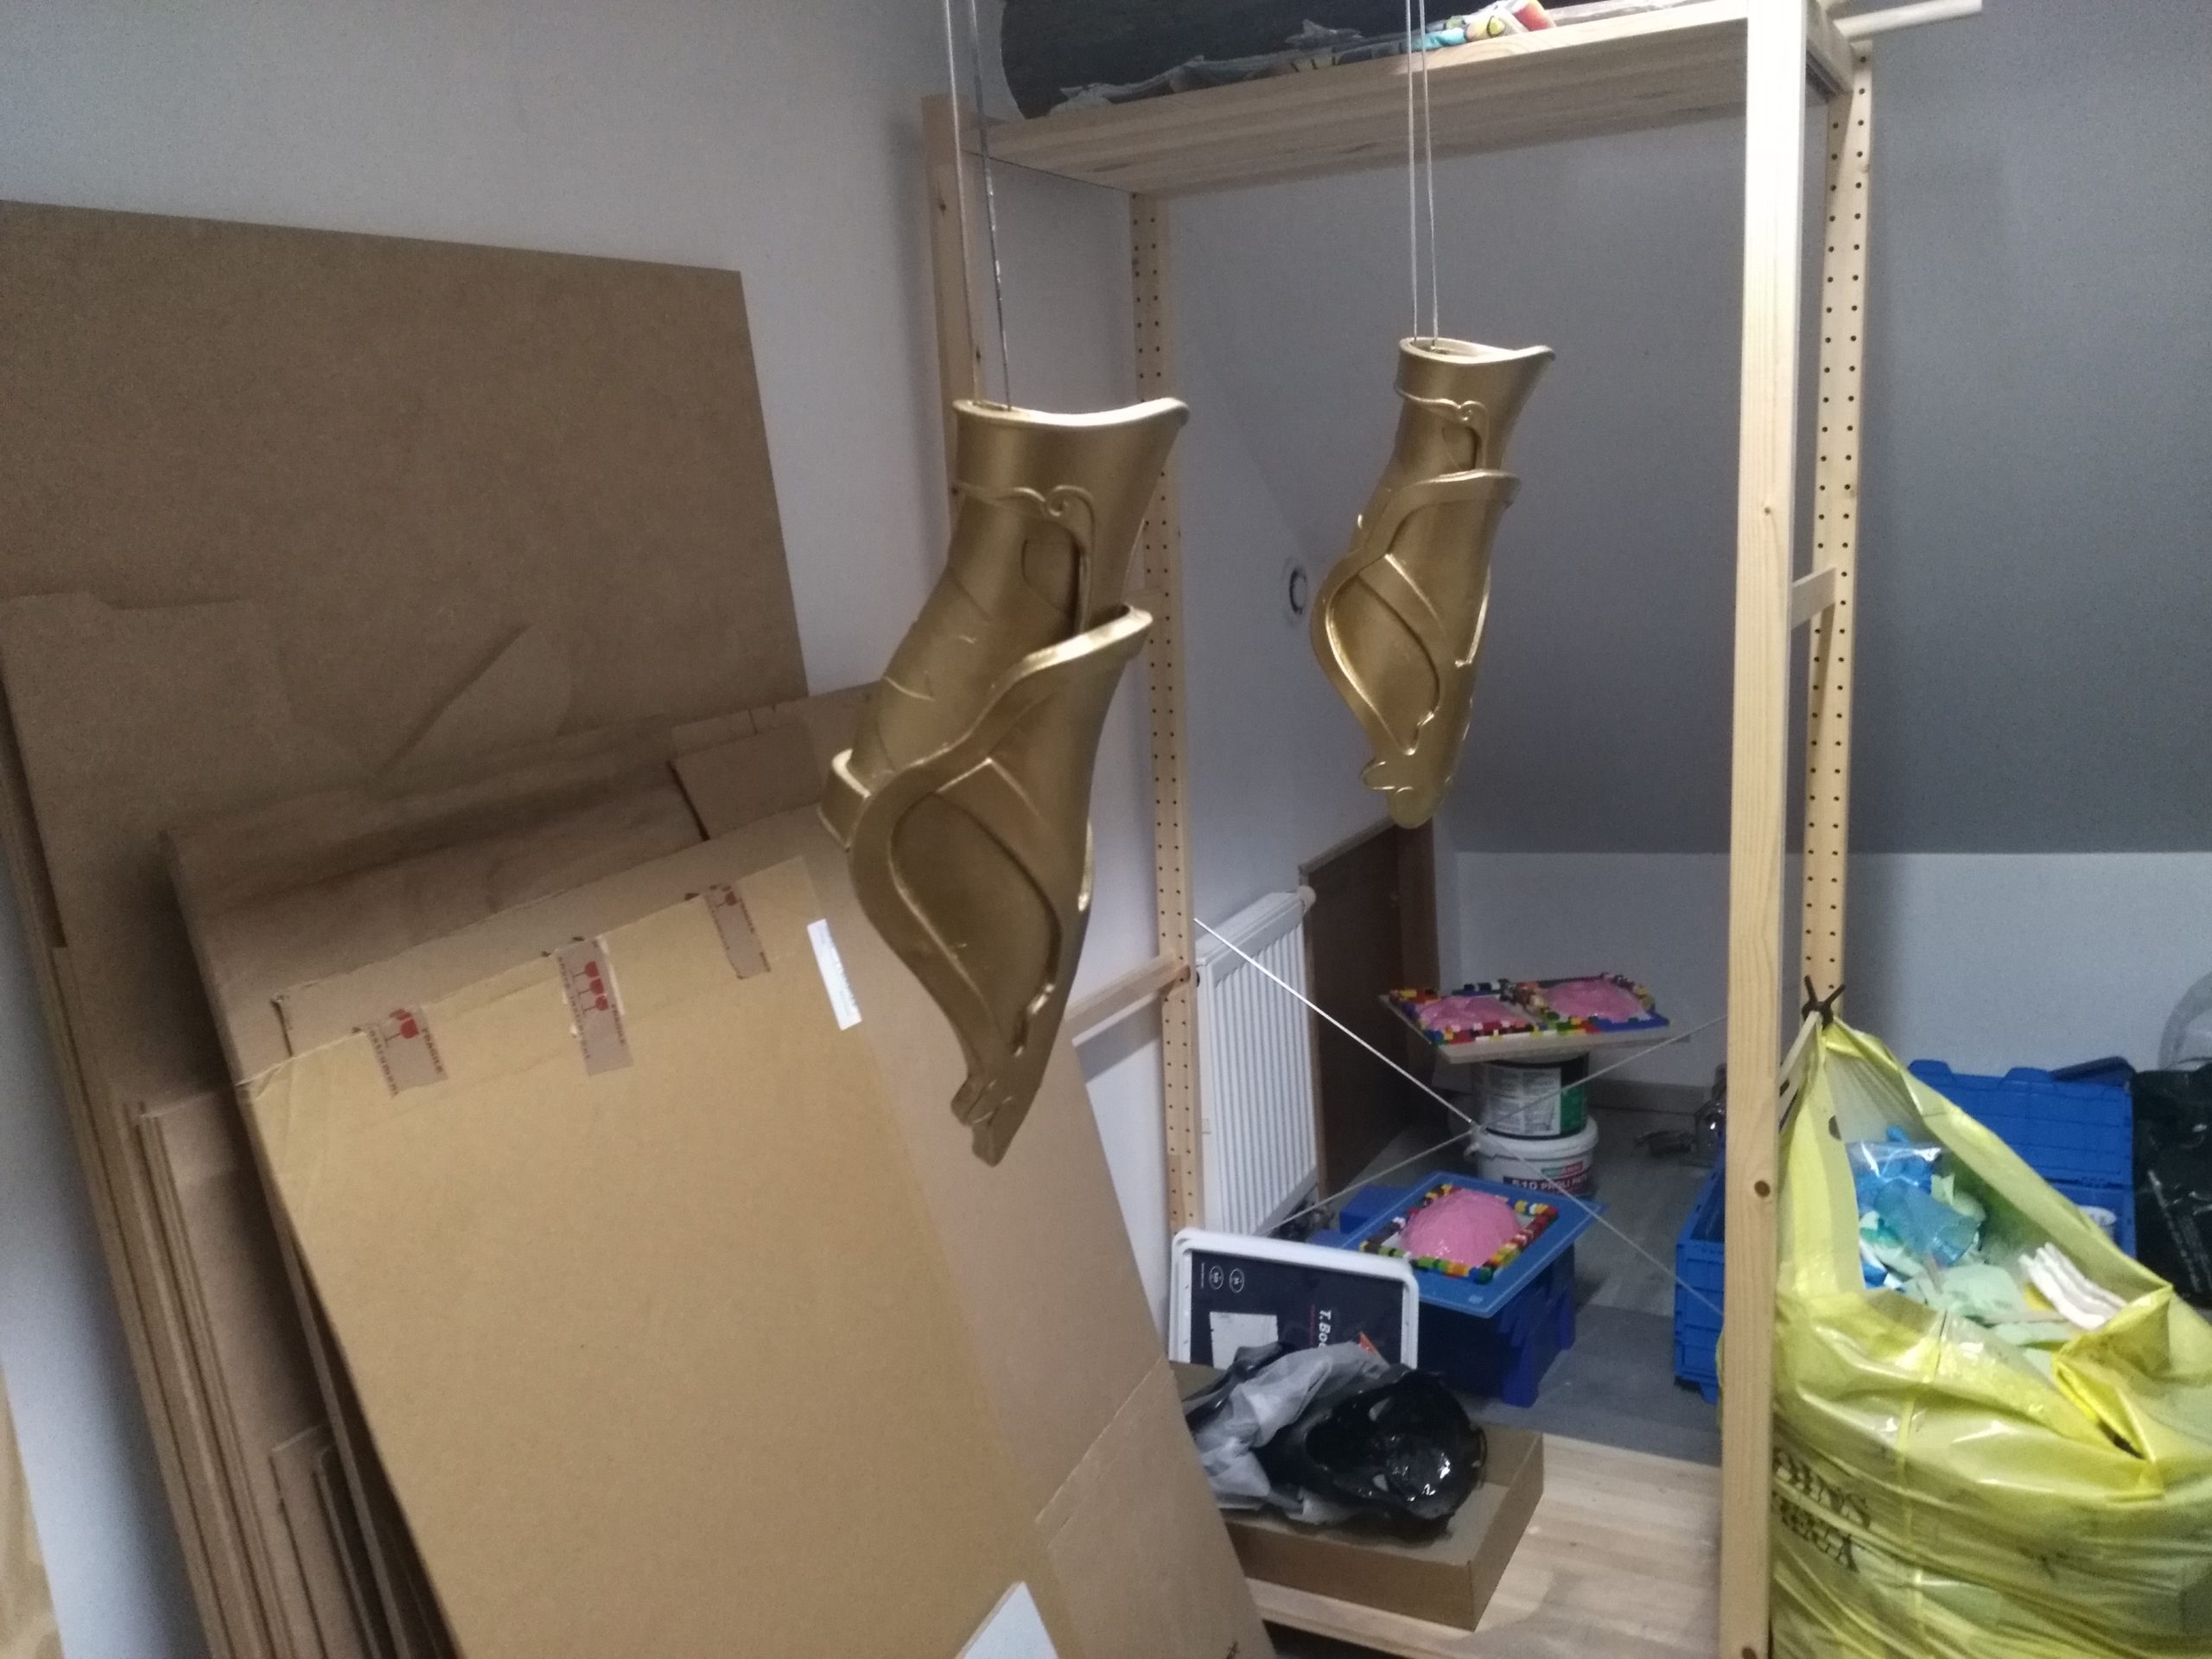
3. Painting
A bit of primer, golden spray paint, and a good old drybrush with some acrylic paint… I don’t have many progress pictures as I rushed this at the hotel, but you’ll find pictures of the final render below 🙂


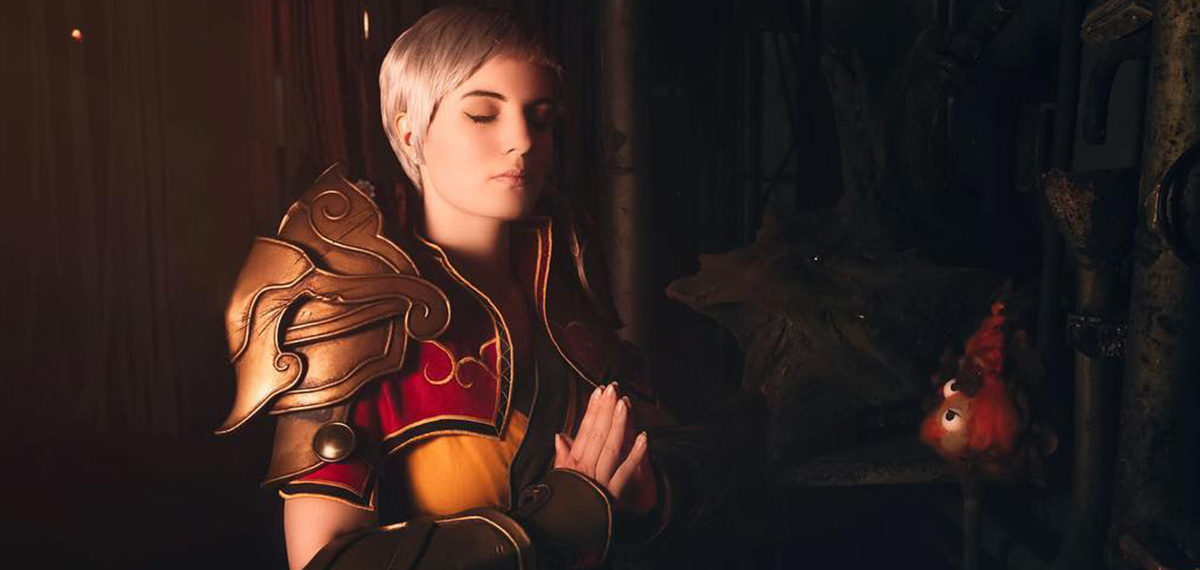
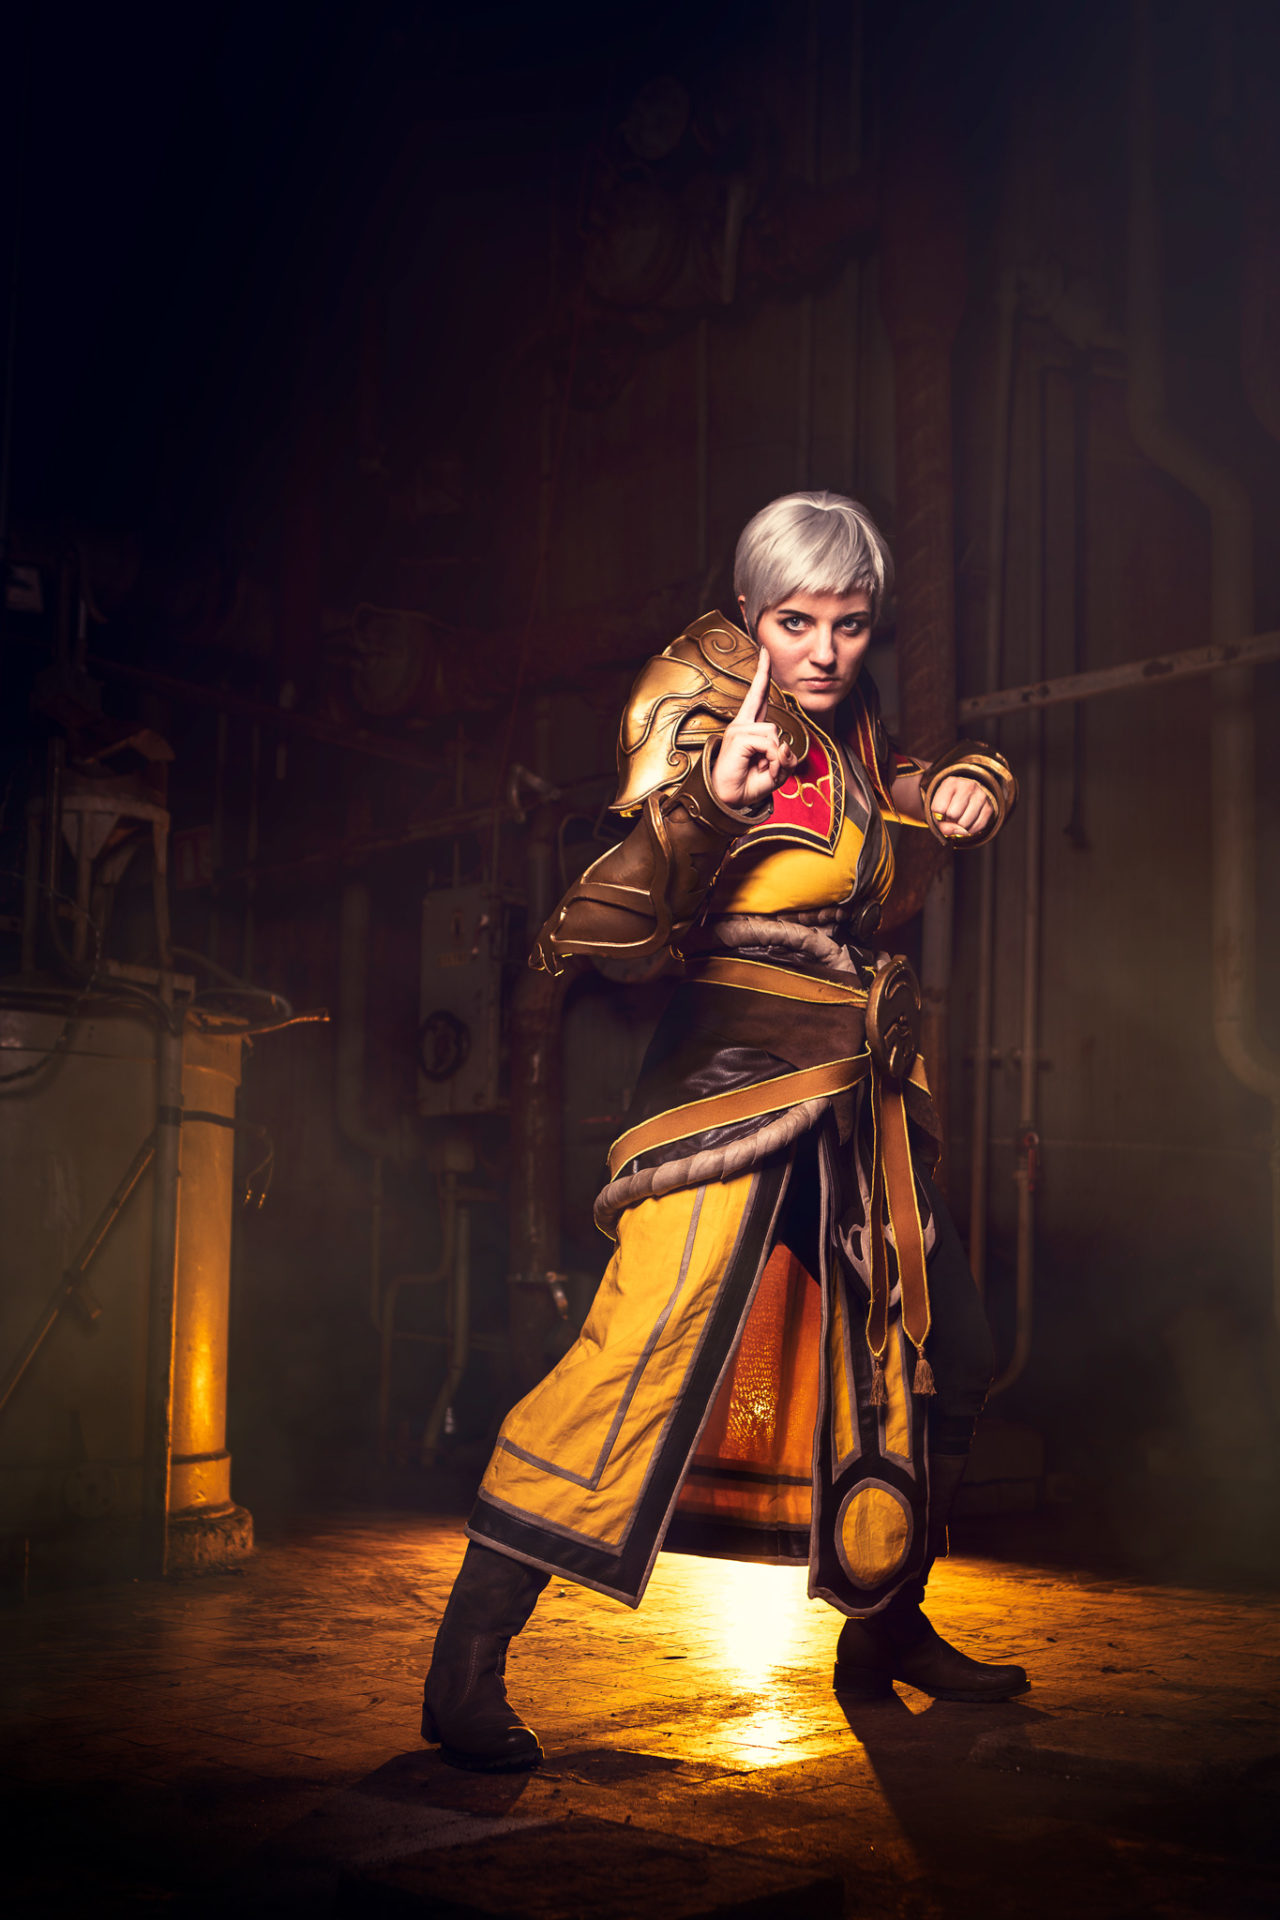
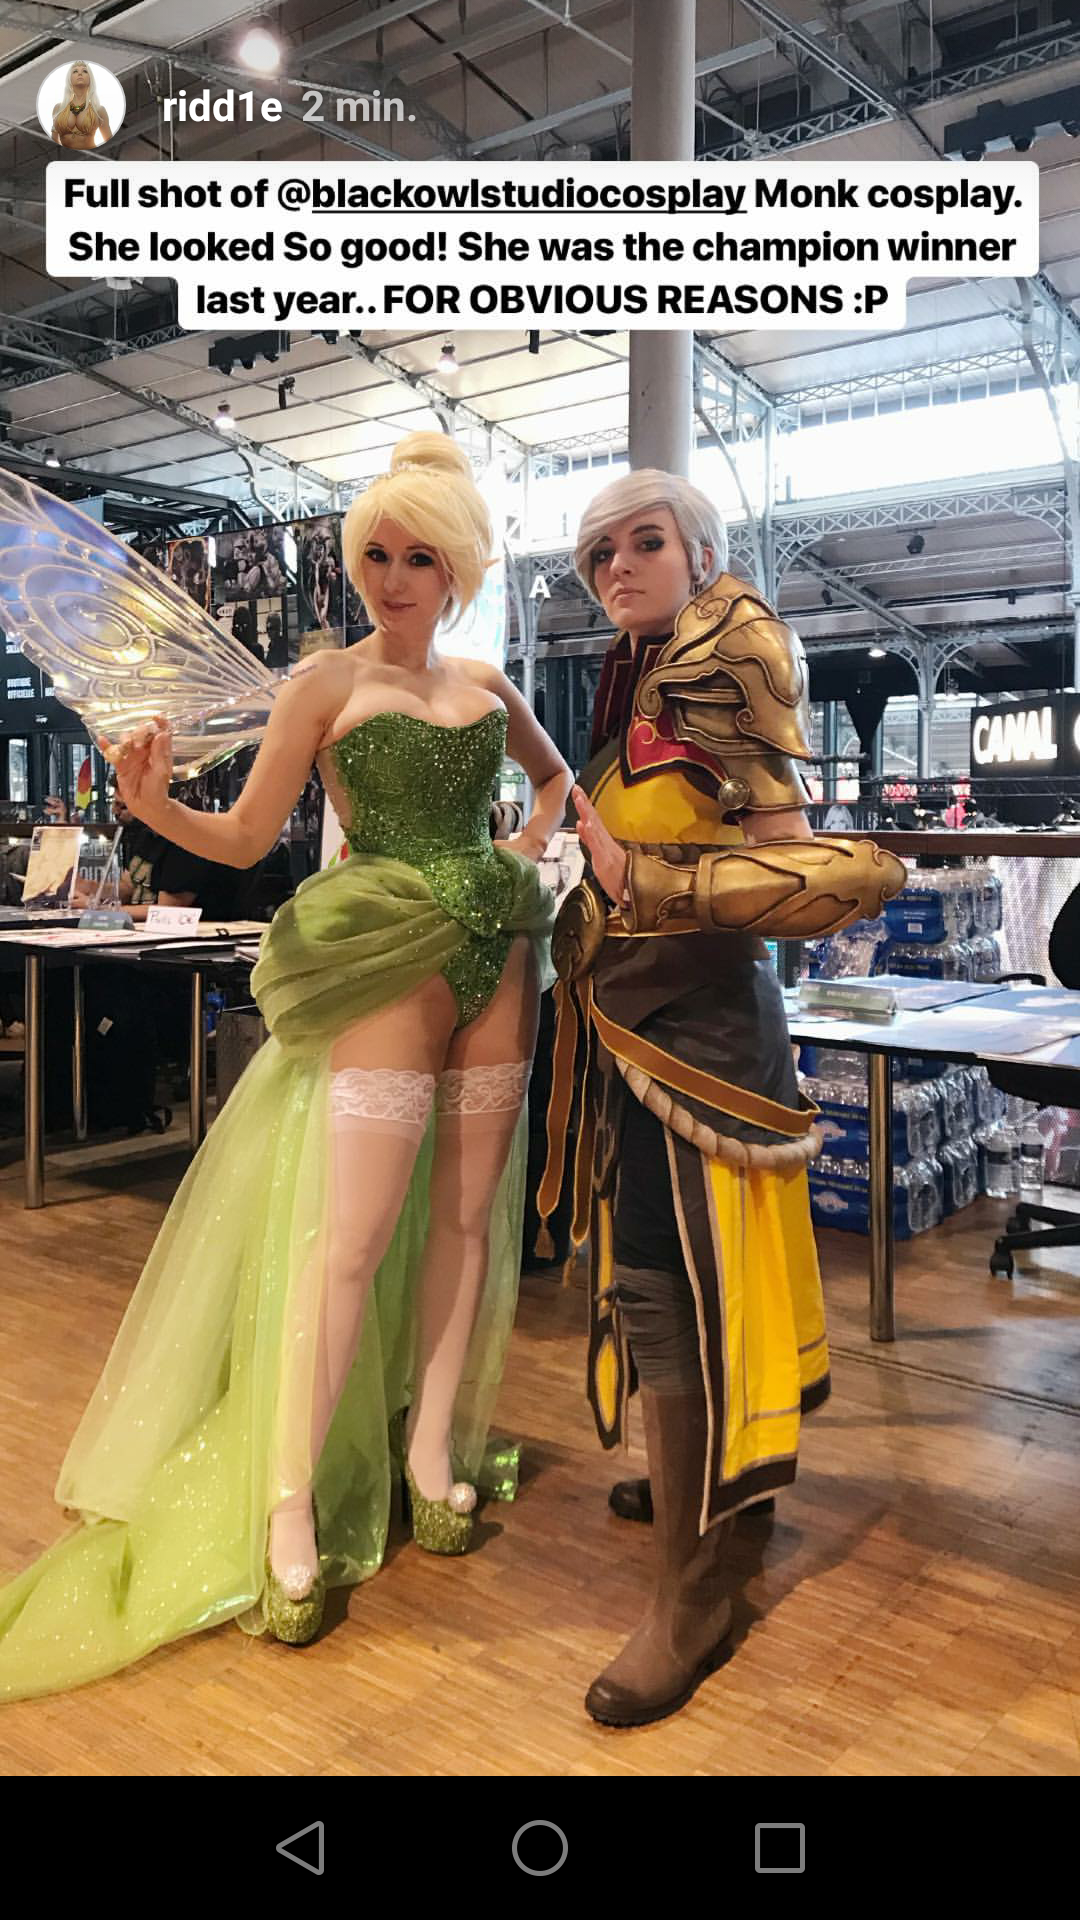
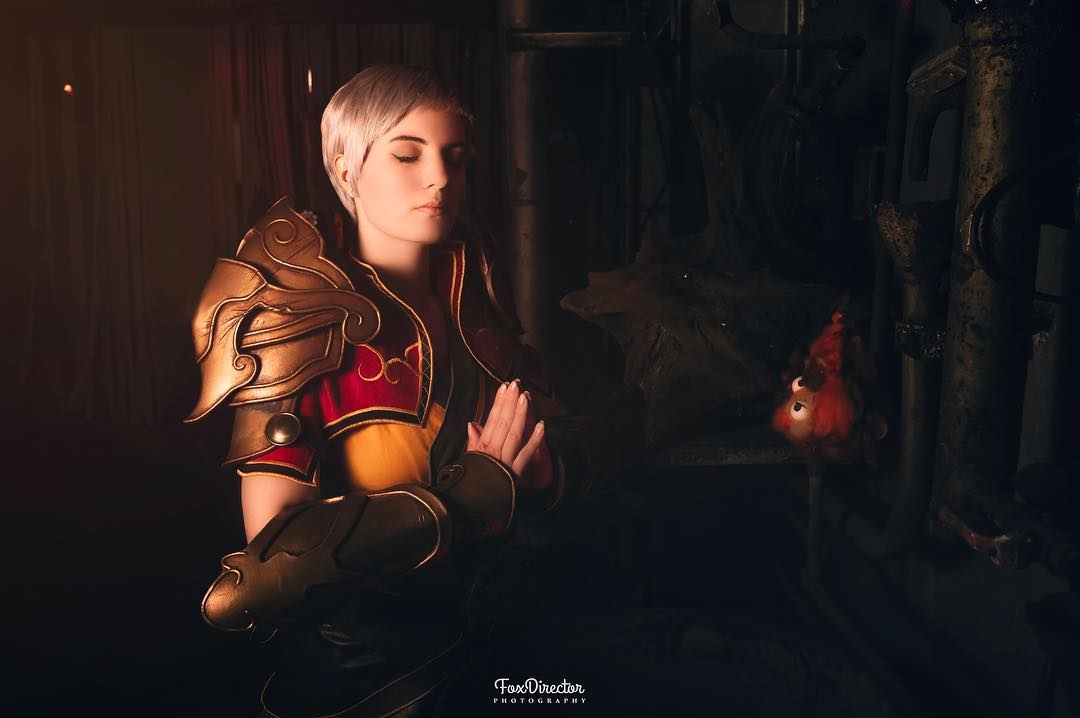
Final result

Photo : PMD Photograph 
Photo : Lightwav3r / Fantasy Basel 
Photo : Riki Lecotey 
Photo : FoxDirector Photography

Comments (0)