Dragon Priest Staff
[27/02/20 EDIT :] This prop was made in 2013, when we started with the molding / resin casting methods. Even if the overall principle remains valid, our techniques have been improved over time, practice and the use of better quality materials.
Model

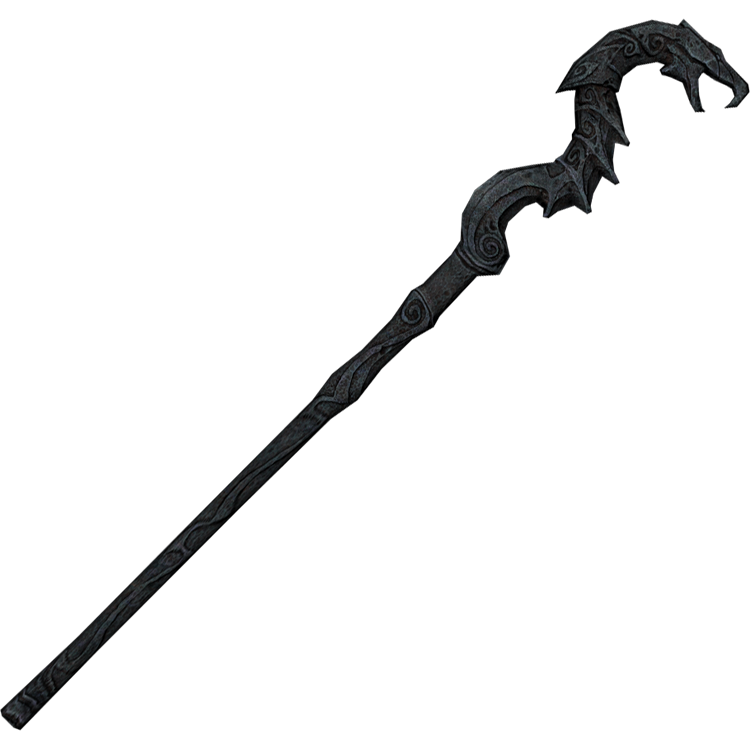
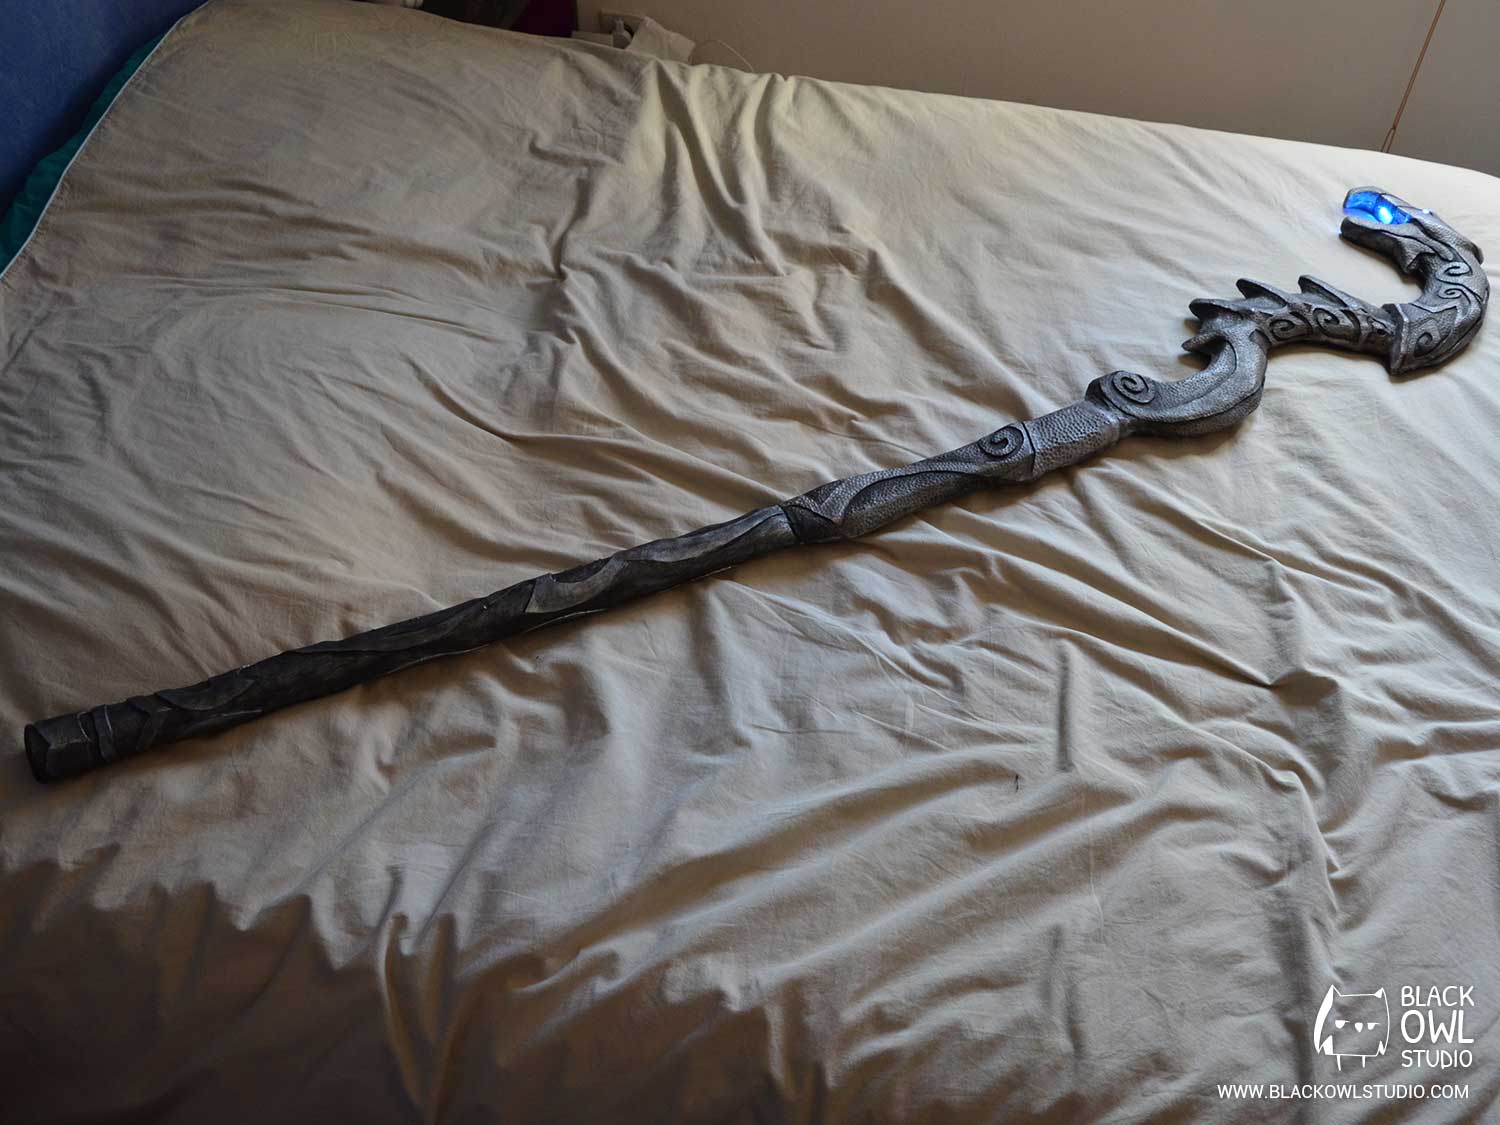
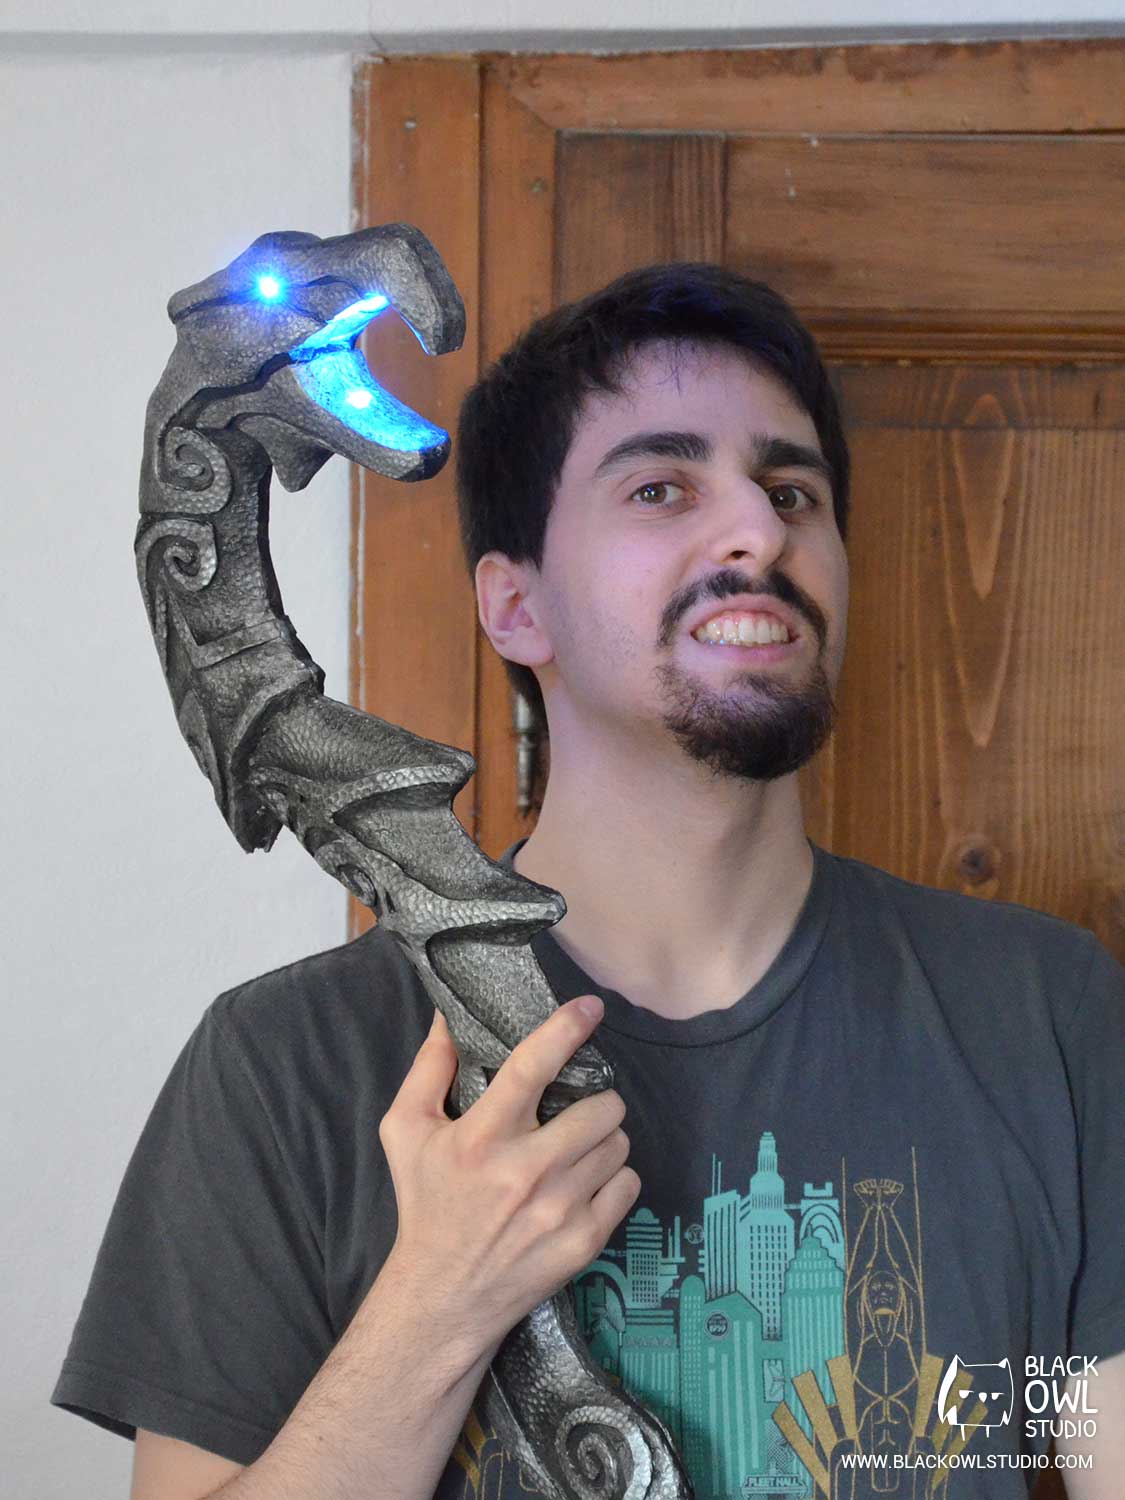
In order to complete the Mage/Dragon Priest costume from Skyrim, we planned on creating a Dragon Priest Staff. An interesting challenge, as it is a huge piece (1.80m) with a lot of details and effects that requires the use of LEDs.
Pepakura – Plastiline
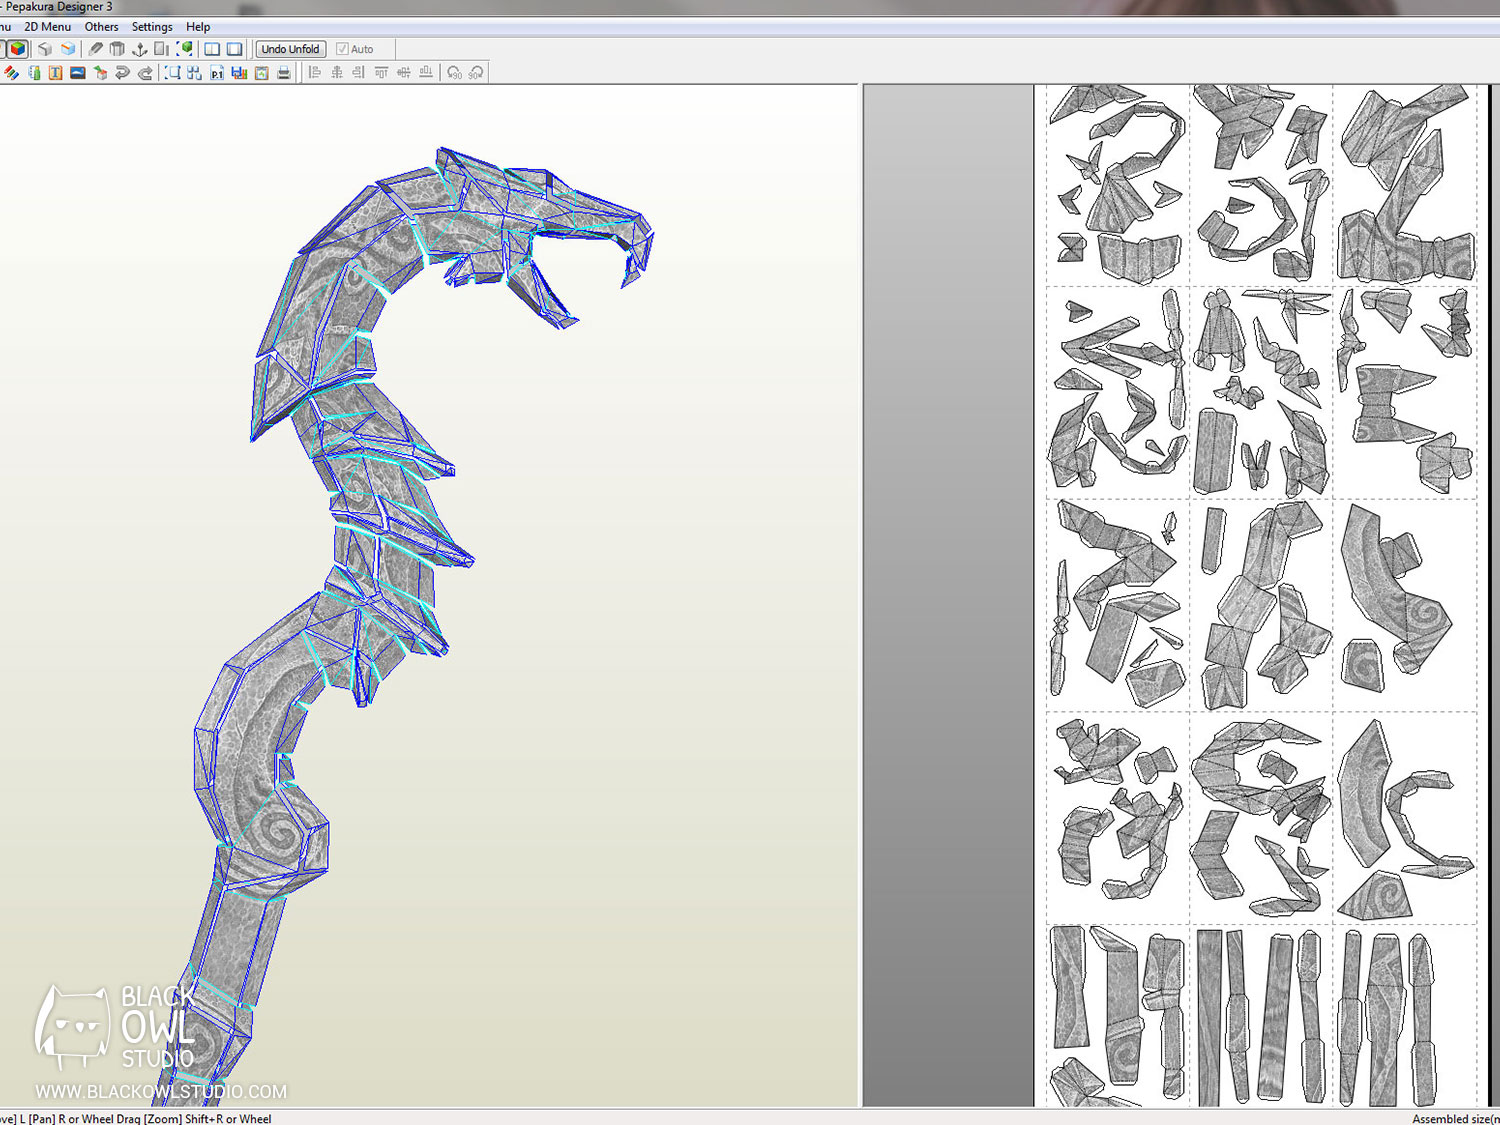
Before working with Plastiline (= the equivalent to Monster Clay), we had to create Pepakura bases. This gave us a well-proportioned prop and helped us to save some Plastiline later on in the process.
You can download our Pepakura staff PDF via the link below:
Download “DragonPriestStaff-Pepakura-by-BlackOwlStudio.pdf” (15Mo)
Once we extracted the 3D model of the staff from the game, we used a software called Pepakura Designer to get the folds for its top (we decided that the lower part would be
made of foam).
We printed the Pepakura model on 190g paper sheets in order to ease the folding and make the pieces more rigid. When all the pieces of the staff were folded and glued, we applied resin and fiberglass to reinforce them and prepare them for the Plastiline layers.
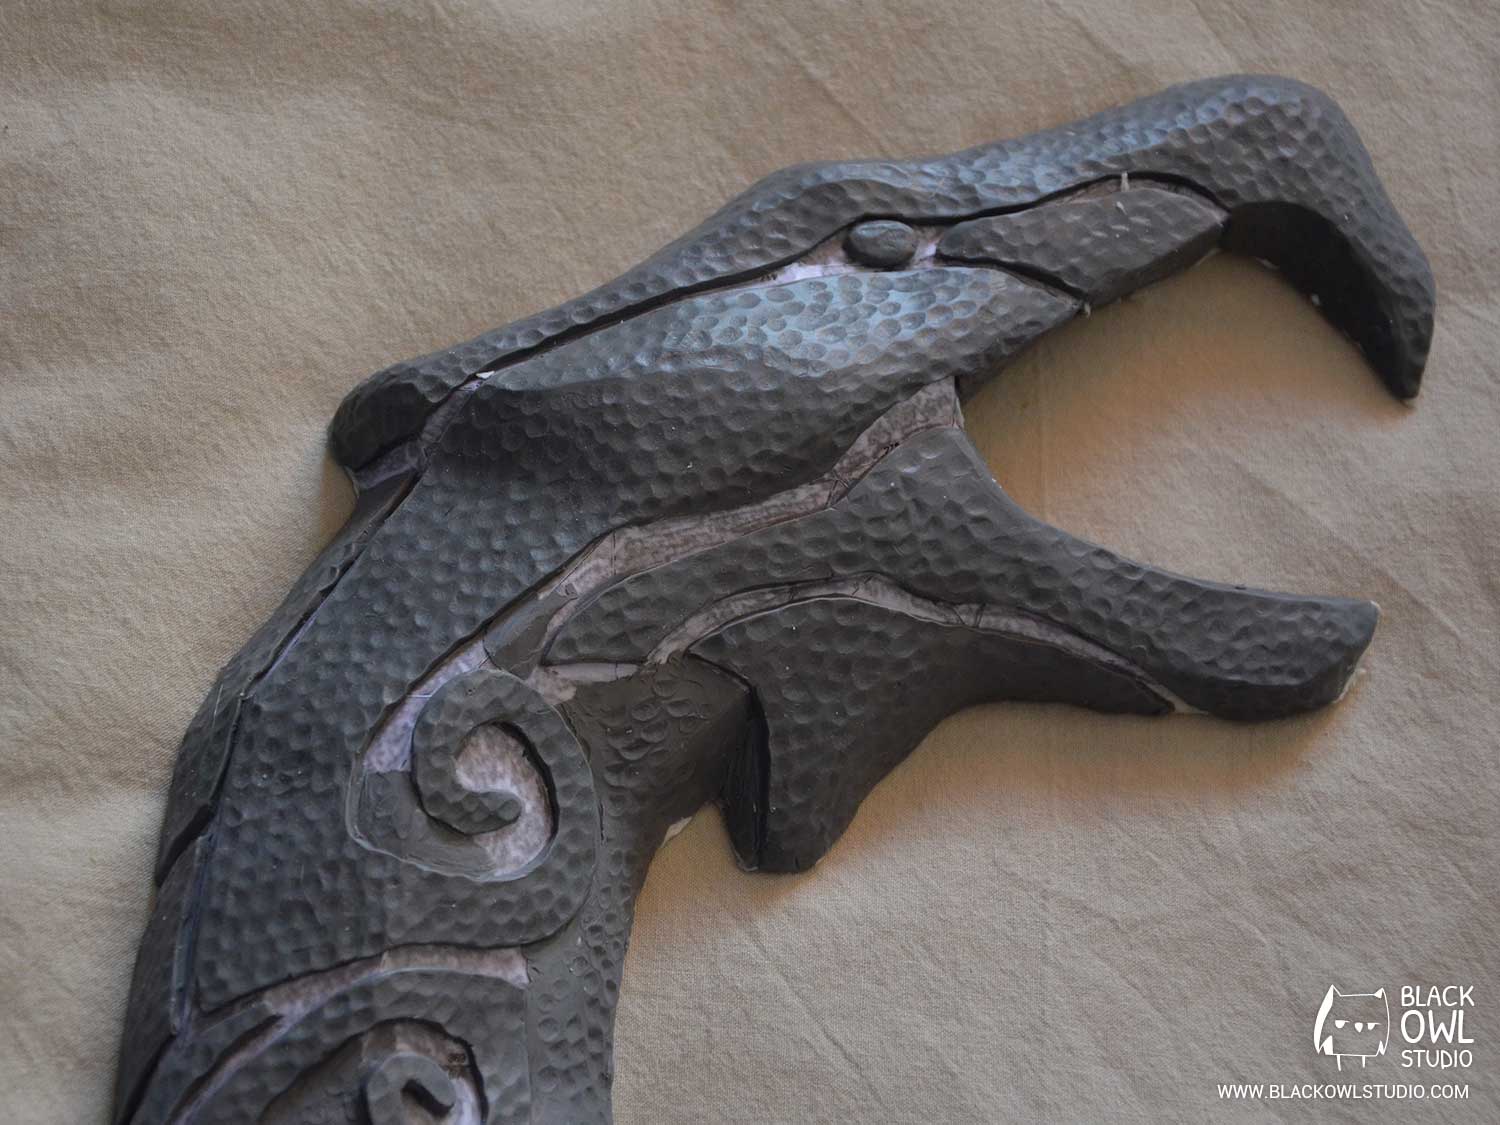
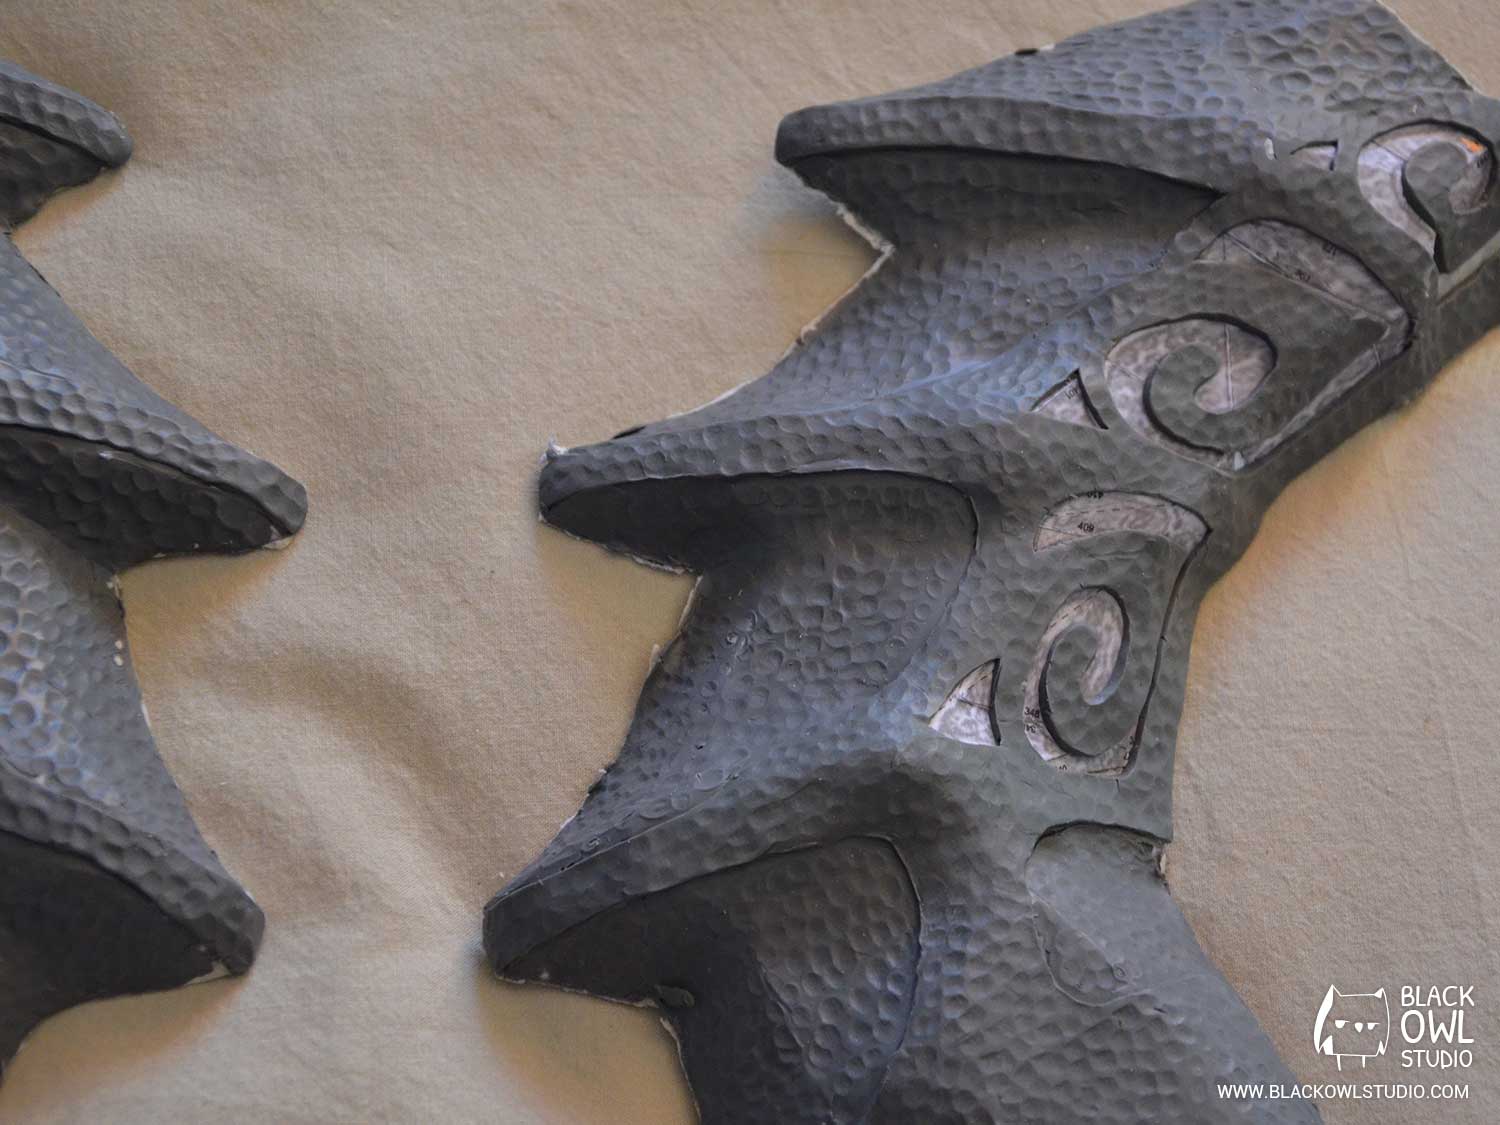
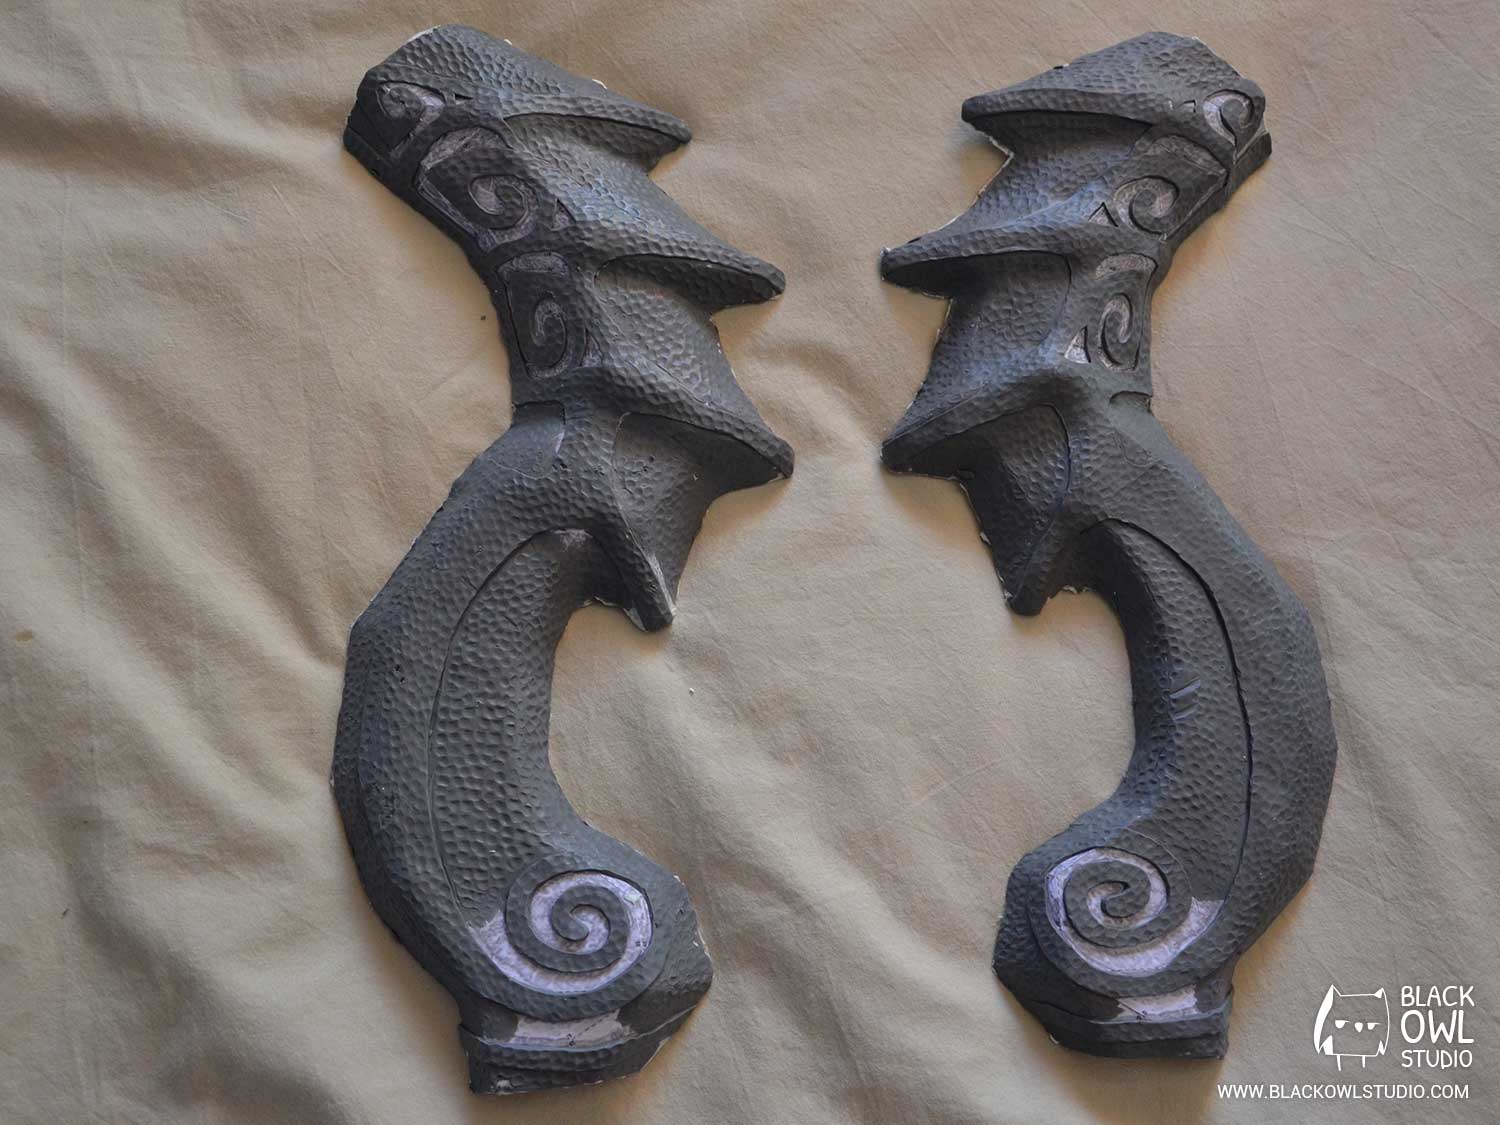
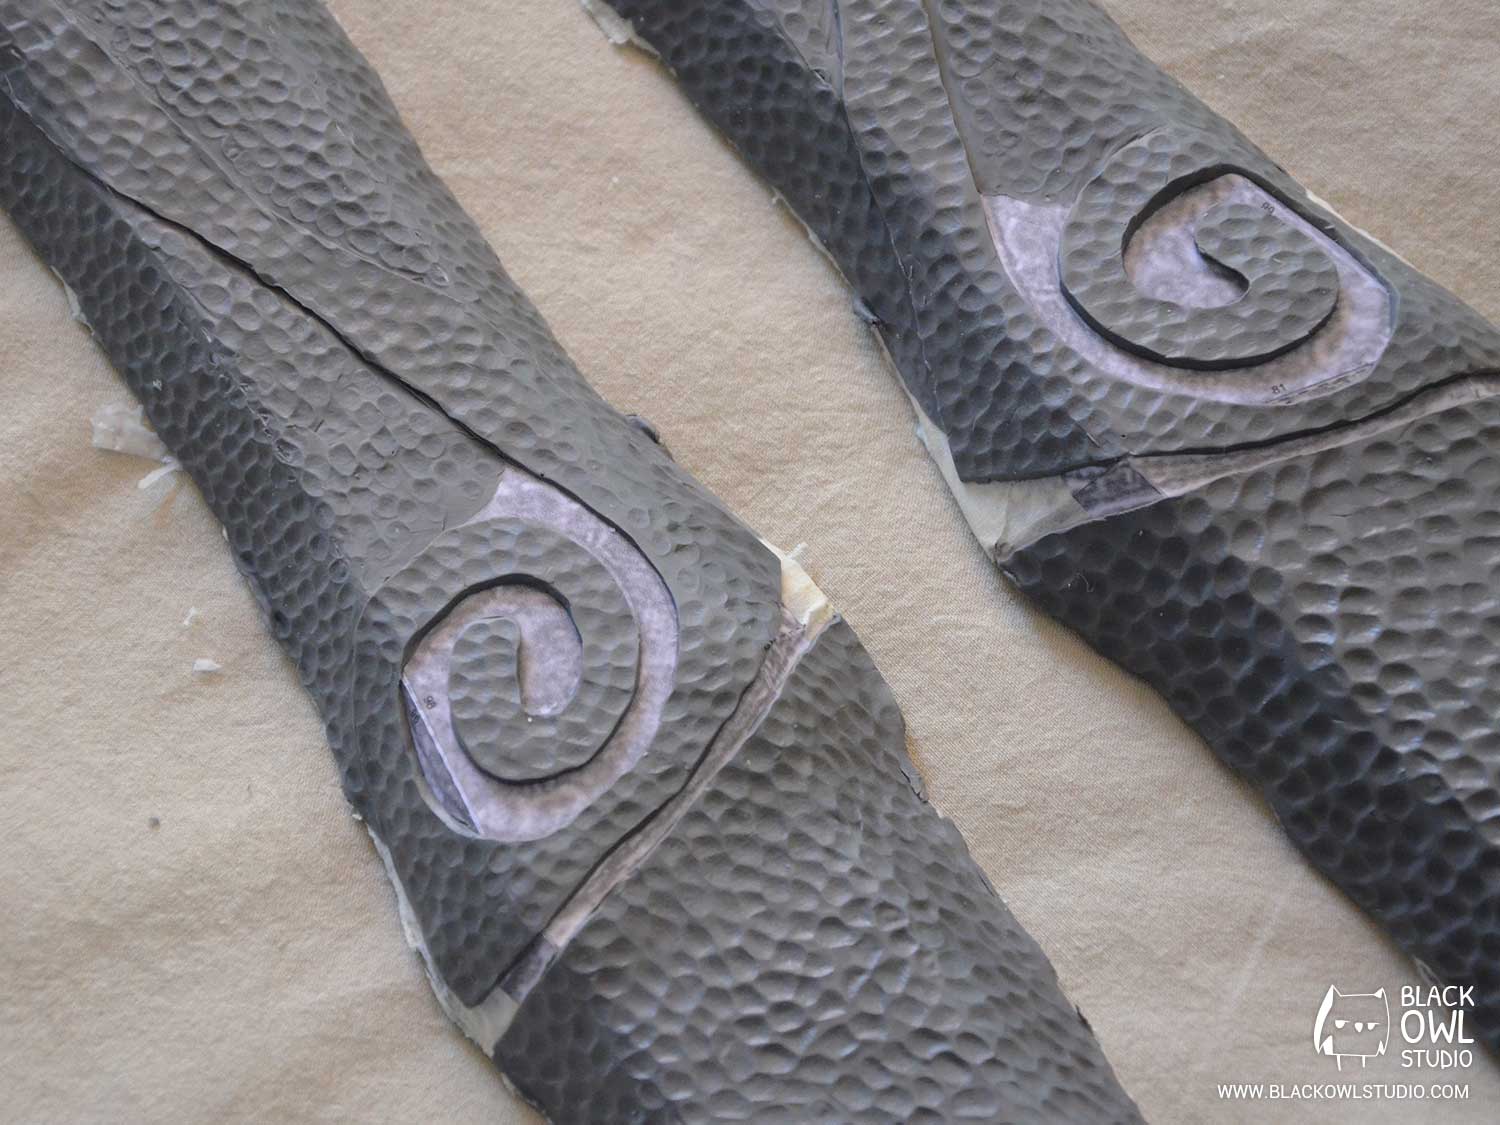
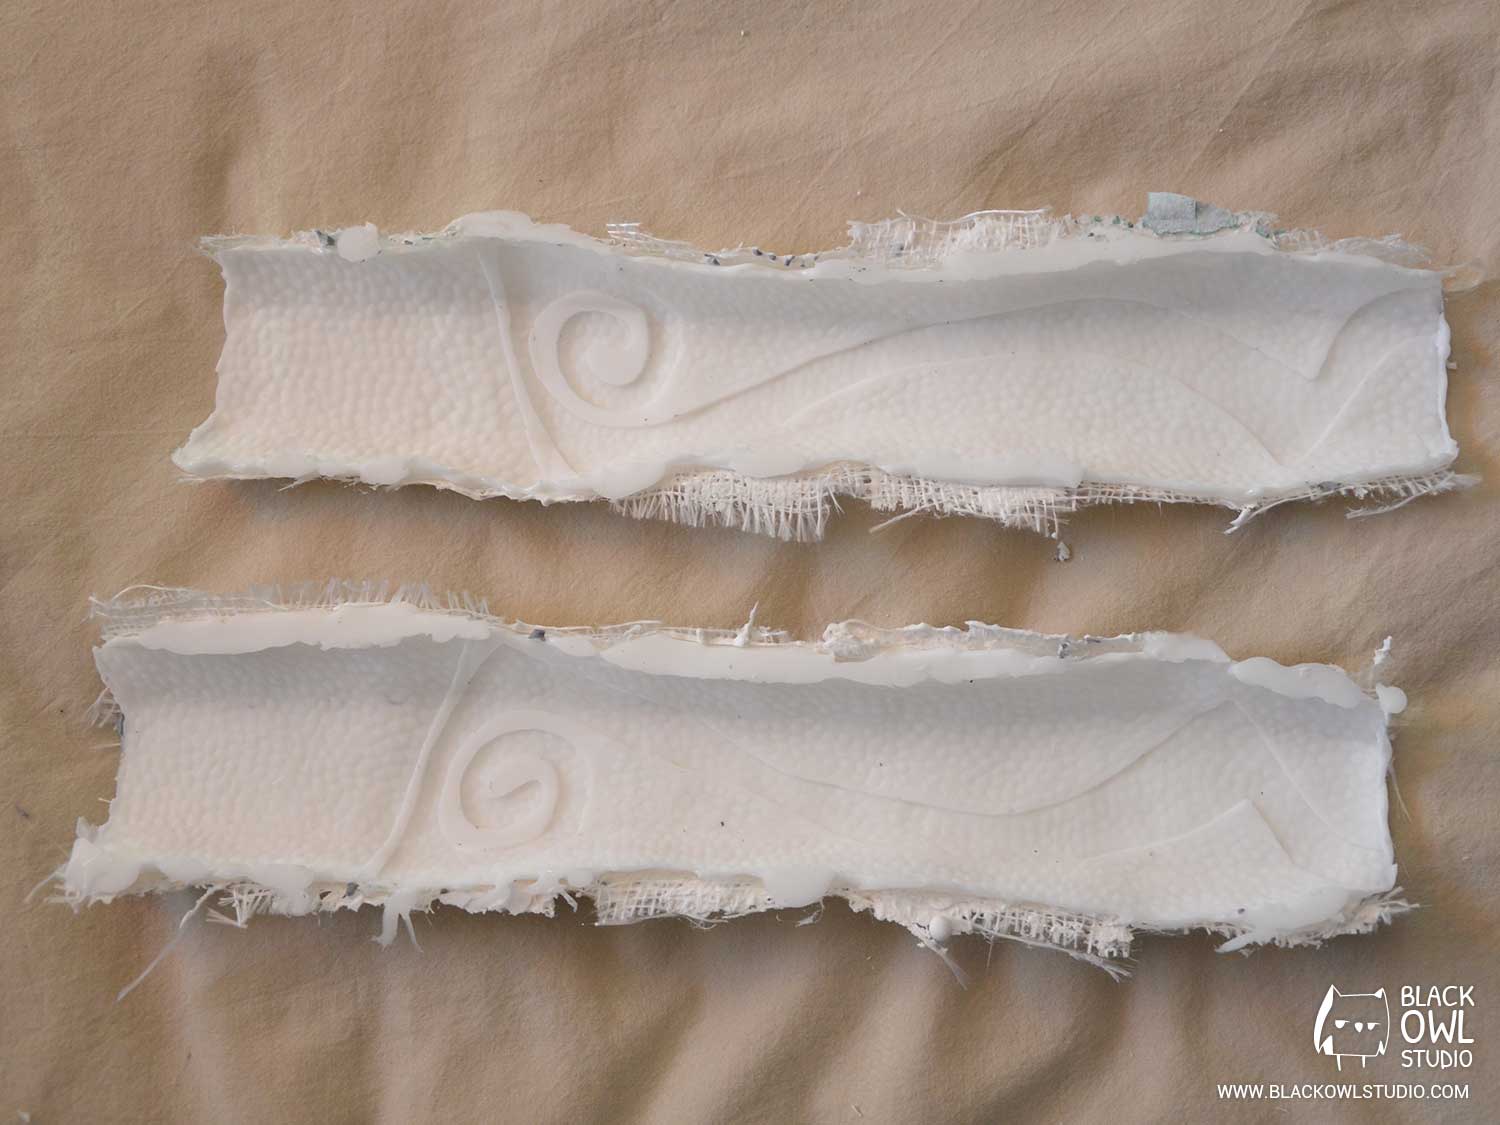
We coated the Pepakura pieces with a first, thin layer of Plastiline to smoothen the folding edges. We then applied thicker layers to draw the patterns. We recommend patting the whole surface of the Plastiline coat with the wooden side of a brush to shape a nice texture.
It is important to keep in mind that the staff covered with Plastiline is an accurate reflection of what the object will look like when finished, as the silicone mold will be a print of it.
Note: the Pepakura step is optional. If you’re comfortable with sculpting, you can directly shape the model with Plastiline.
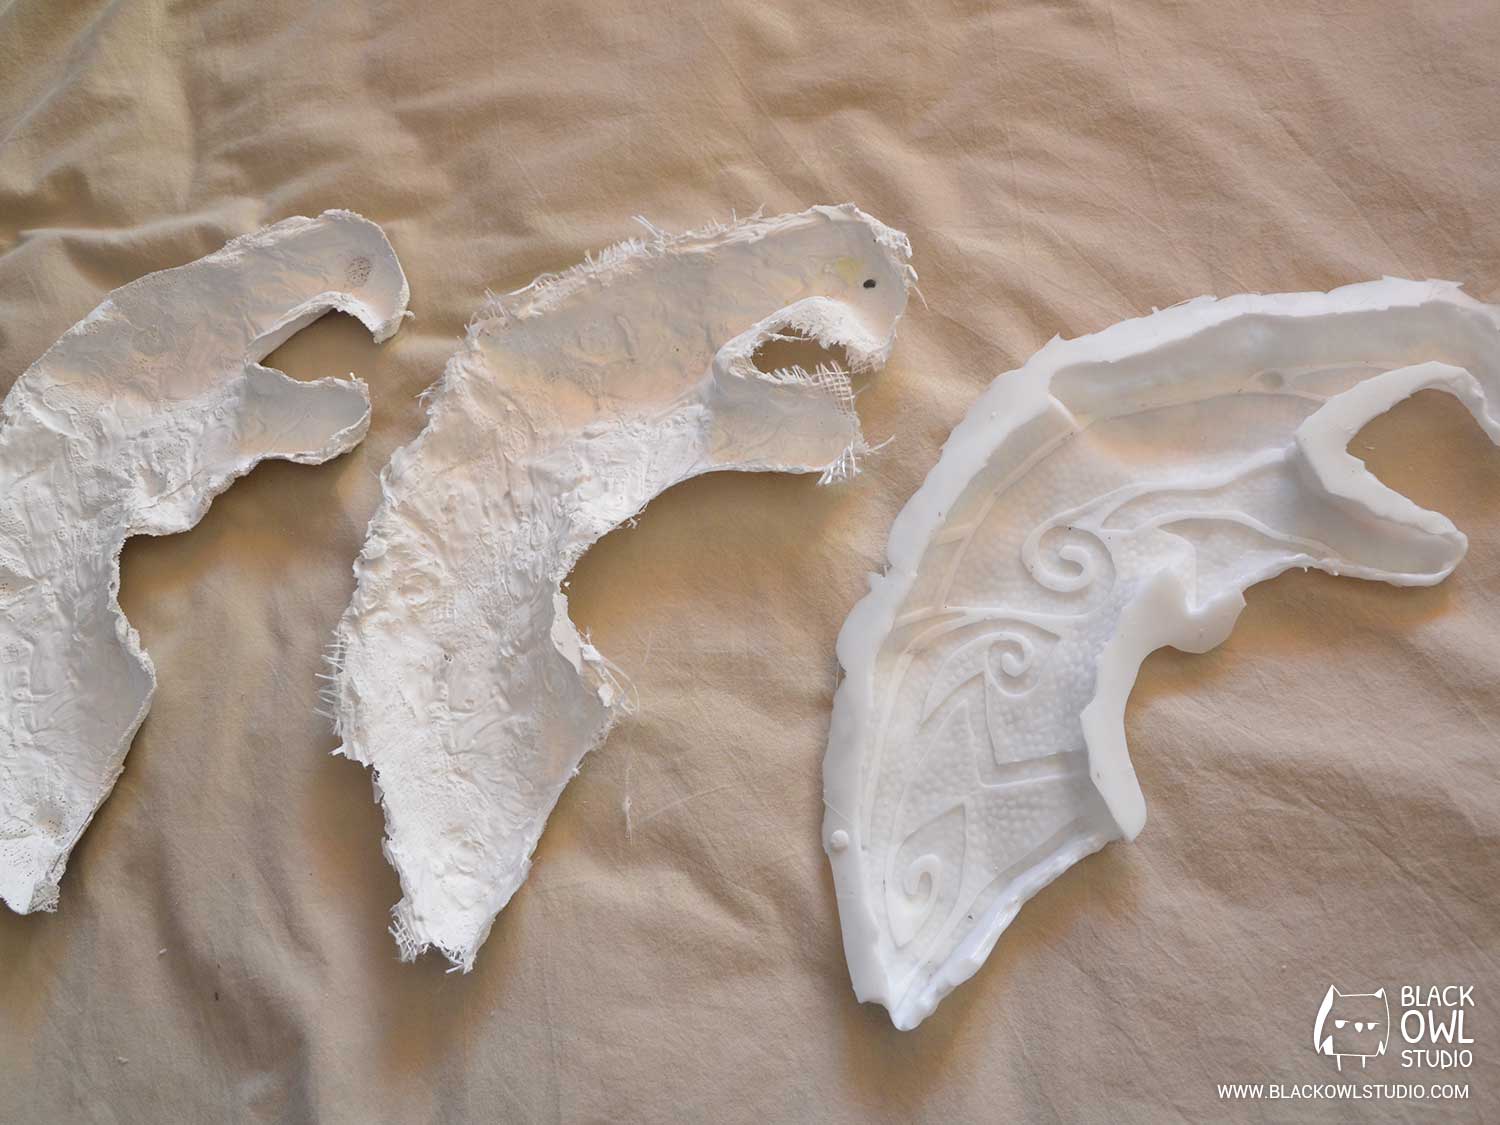
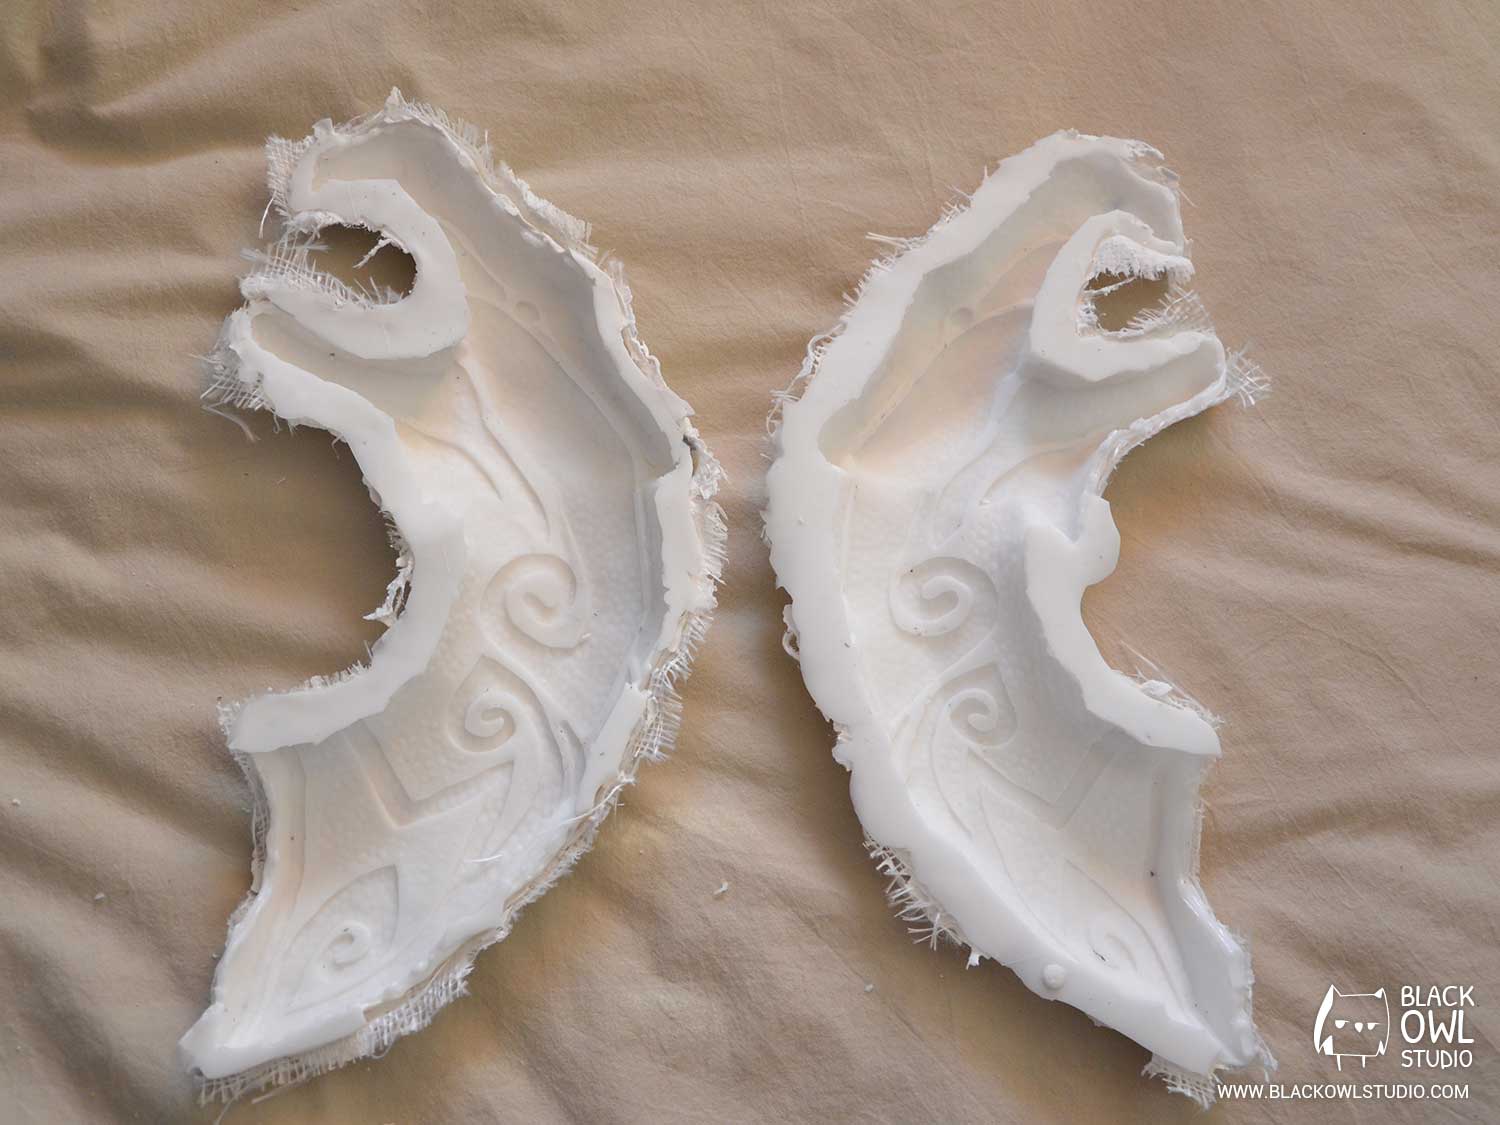
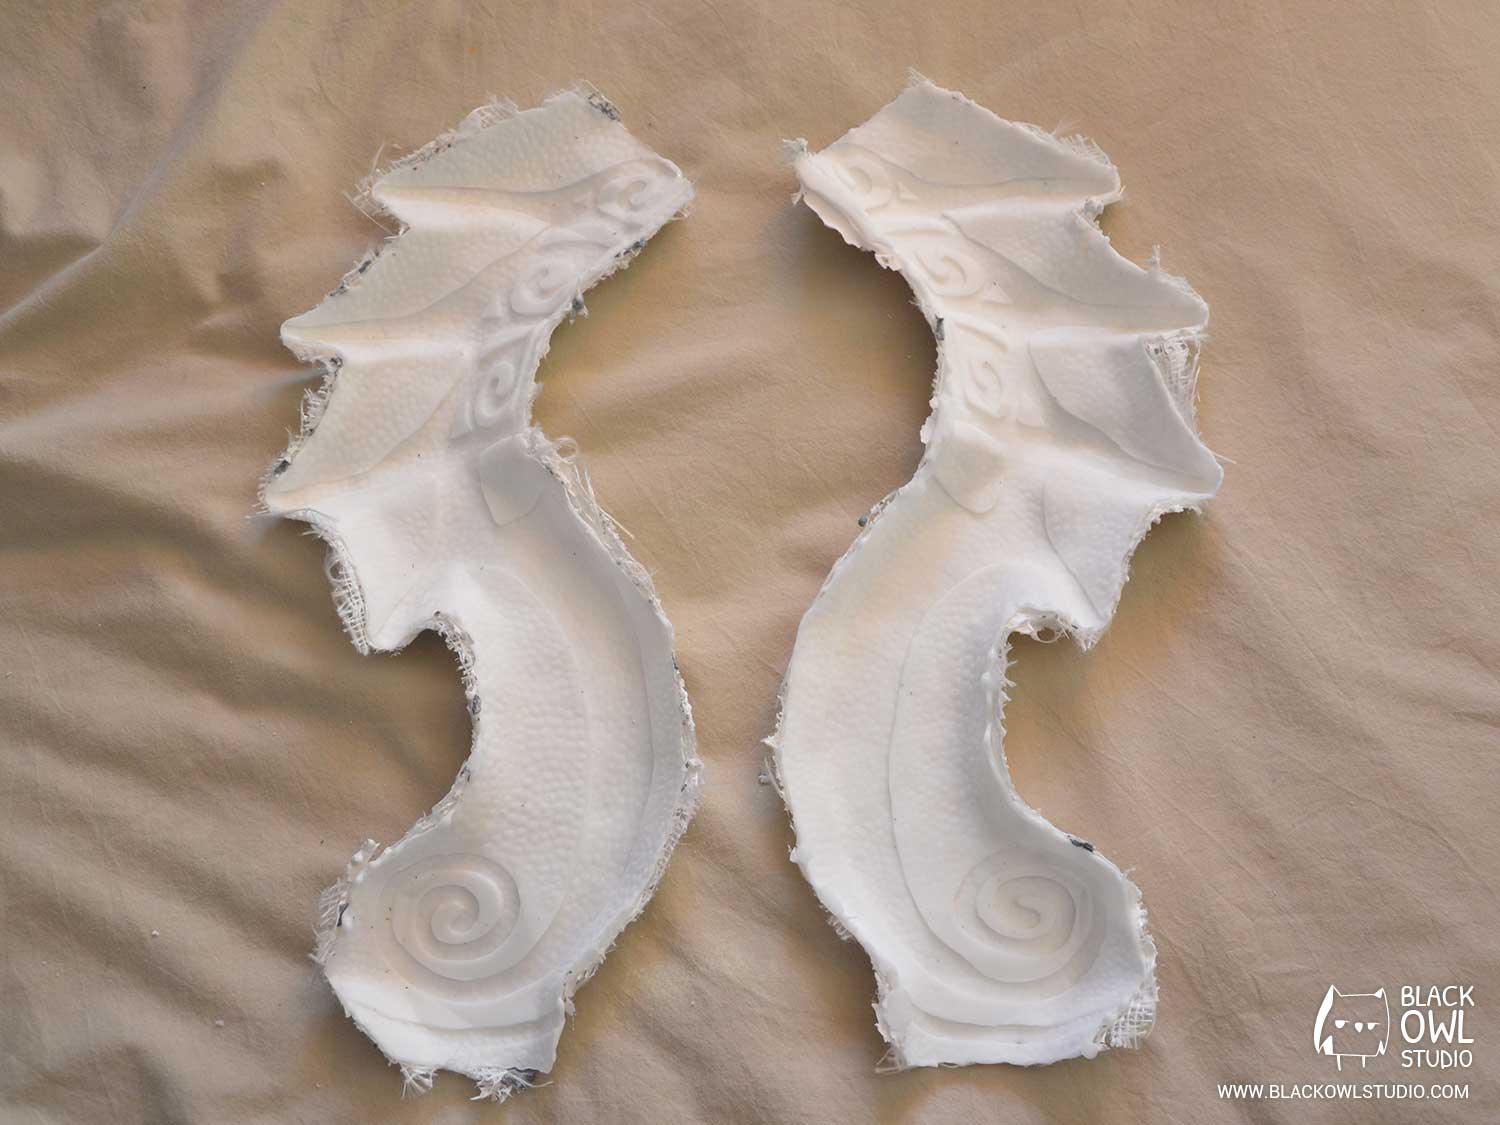
Silicone molds
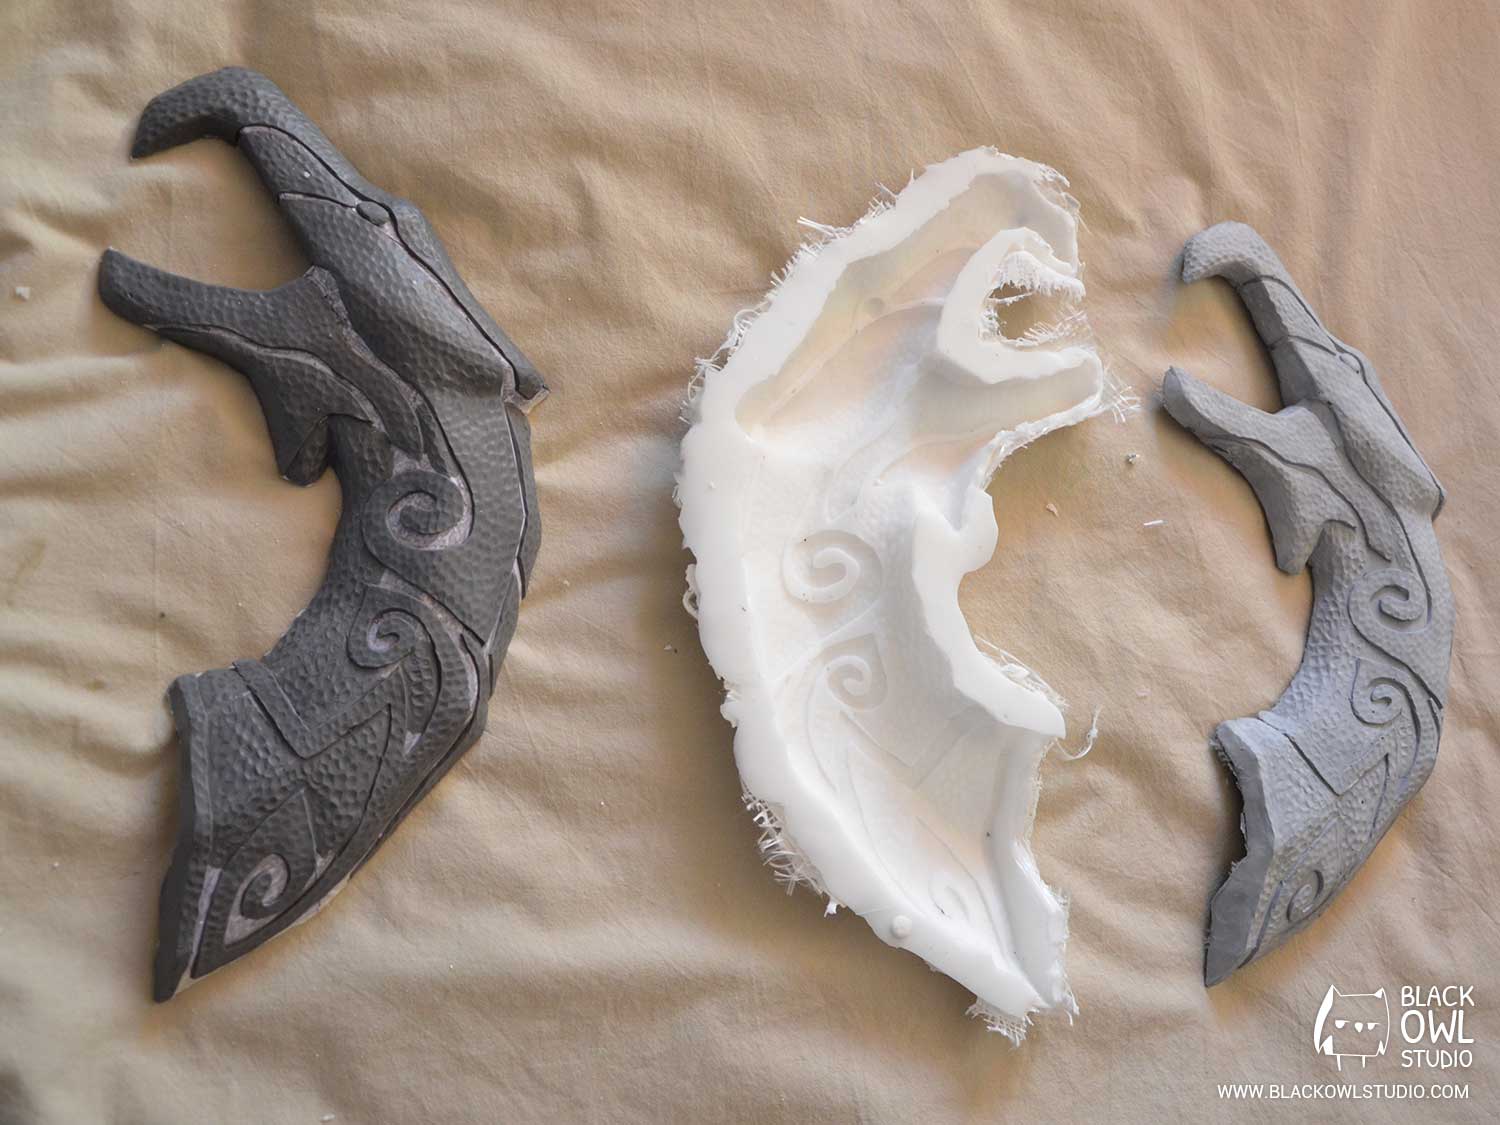
We pulled out silicone molds from the staff coated with Plastiline. These silicone molds helped us cast the resin pieces that compose the final staff.
In this step, we used molding silicone (RTV 127 and RTV 755). It is tear-resistant and allows imprints with micron accuracy.
Safety precautions: certain types of silicones may give off vapors. Always work in a well-ventilated place and consider wearing a safety mask.
The silicone molds are made of three layers. This seemed to be the best compromise we could find, as it allowed us to save some silicone and balance between the ruggedness/stability of the molds.
Note that we did not plan on making several staffs. Therefore, it was not important to get a very strong mold (it only had to help us create one or two casts).
When building our staff, we first made jacket molds with plaster strips to save both time and money. Unfortunately, our casts were distorted. We had to make new backing molds, in resin and fiberglass this time. Much more resistant but also more expensive…
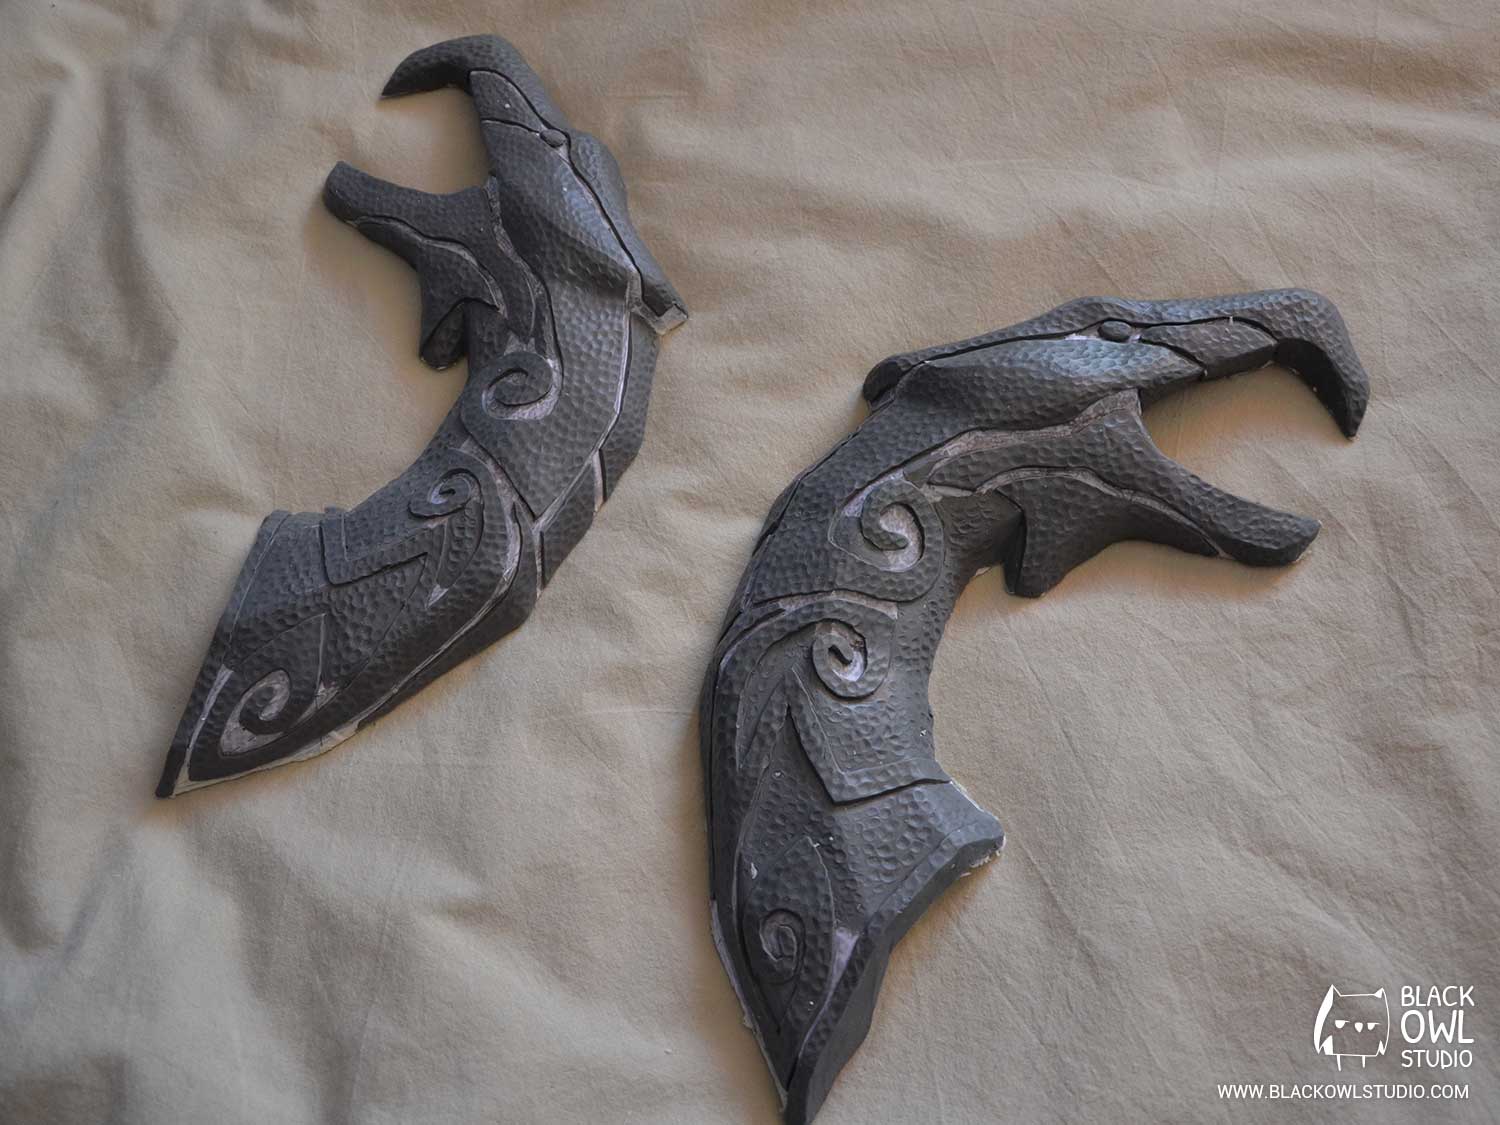
Acrylic resin
As we wanted to keep the piece hollow, we applied acrylic resin with a brush (the staff had to be hollow to put the lighting system inside it). We then added a bit of aluminum powder to make the resin pastier and to get a metallic aspect.
We applied several layers of resin, and let dry between each layer. We reinforced the pieces with fiberglass.
Foam and DIP
The lower part of the staff has very few details (the game texture is so stretched that we can’t see anything clearly). We chose to make the patterns of the texture with foam. It allowed us to save time, money and to reduce the weight of the staff (resin is quite heavy).
We wrapped an insulating foam sleeve around a 12mm diameter wooden dowel. We then applied two layers of 2mm foam sheet to obtain the staff diameter. We finally fixed some patterns above the staff with a glue-gun, using foam-sheets.
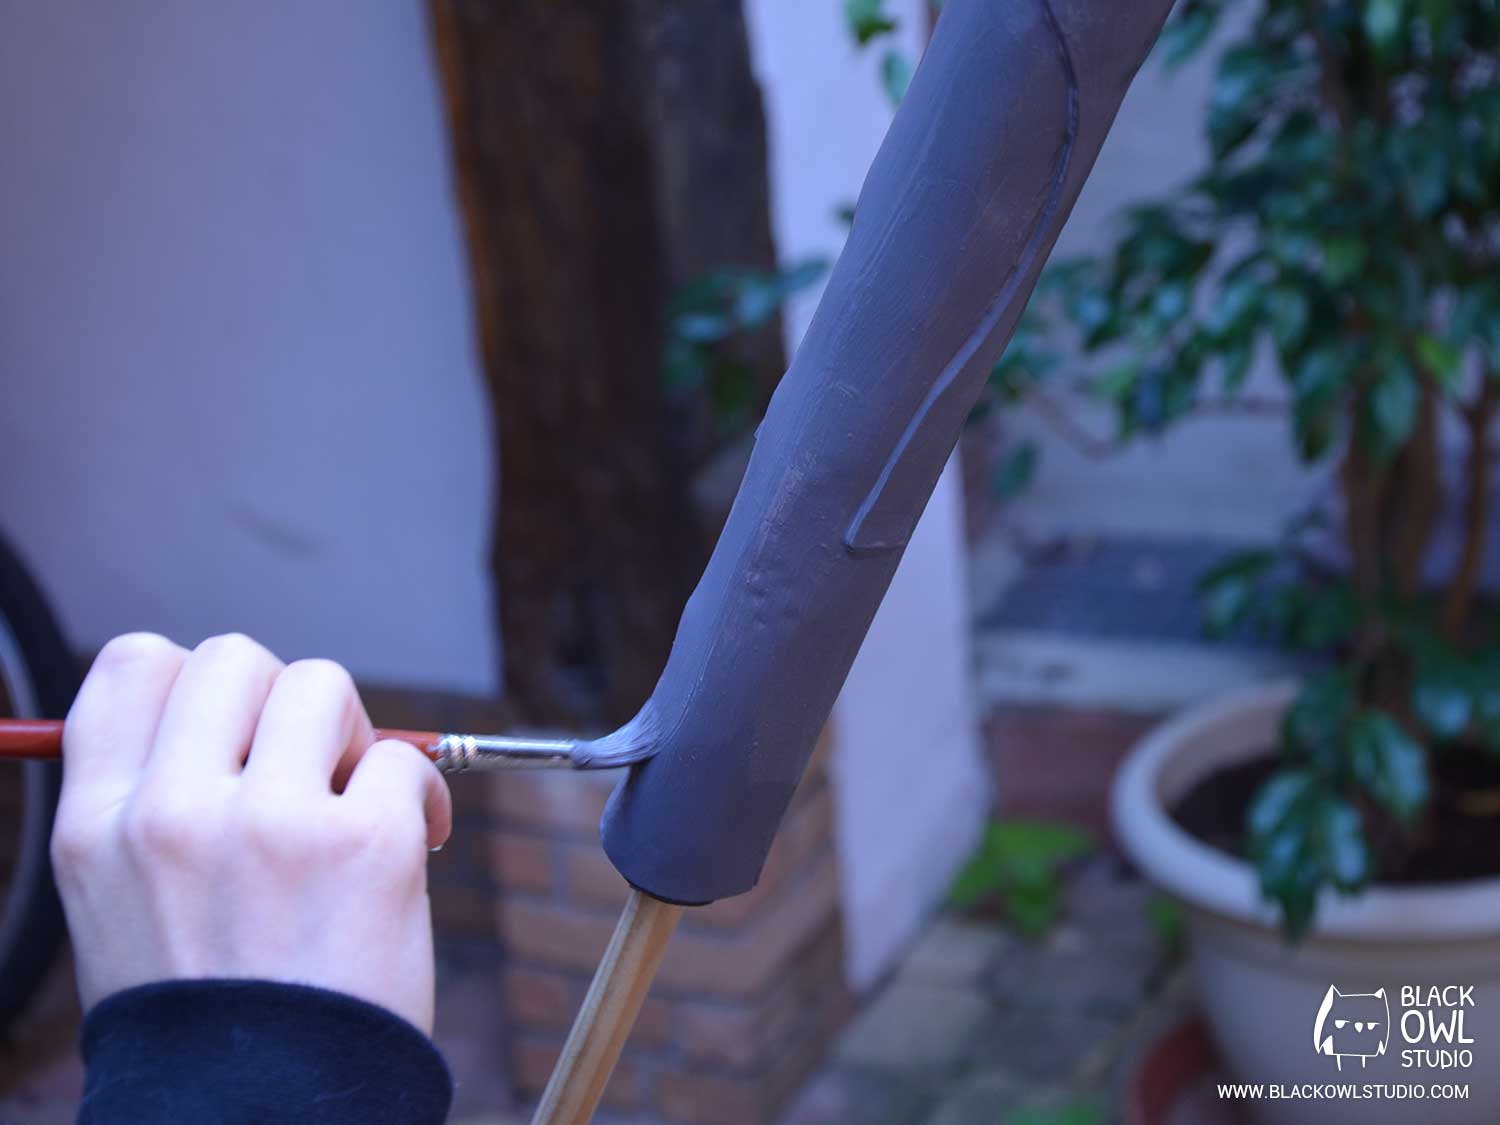
When the lower part of the staff was done, we covered it with DIP (waterproof elastomer paint) that mainly serves as an undercoat for paint. DIP allowed us to smoothen the material and to fill in the flaws in the foam (like seals, holes, glue overflows, etc.).
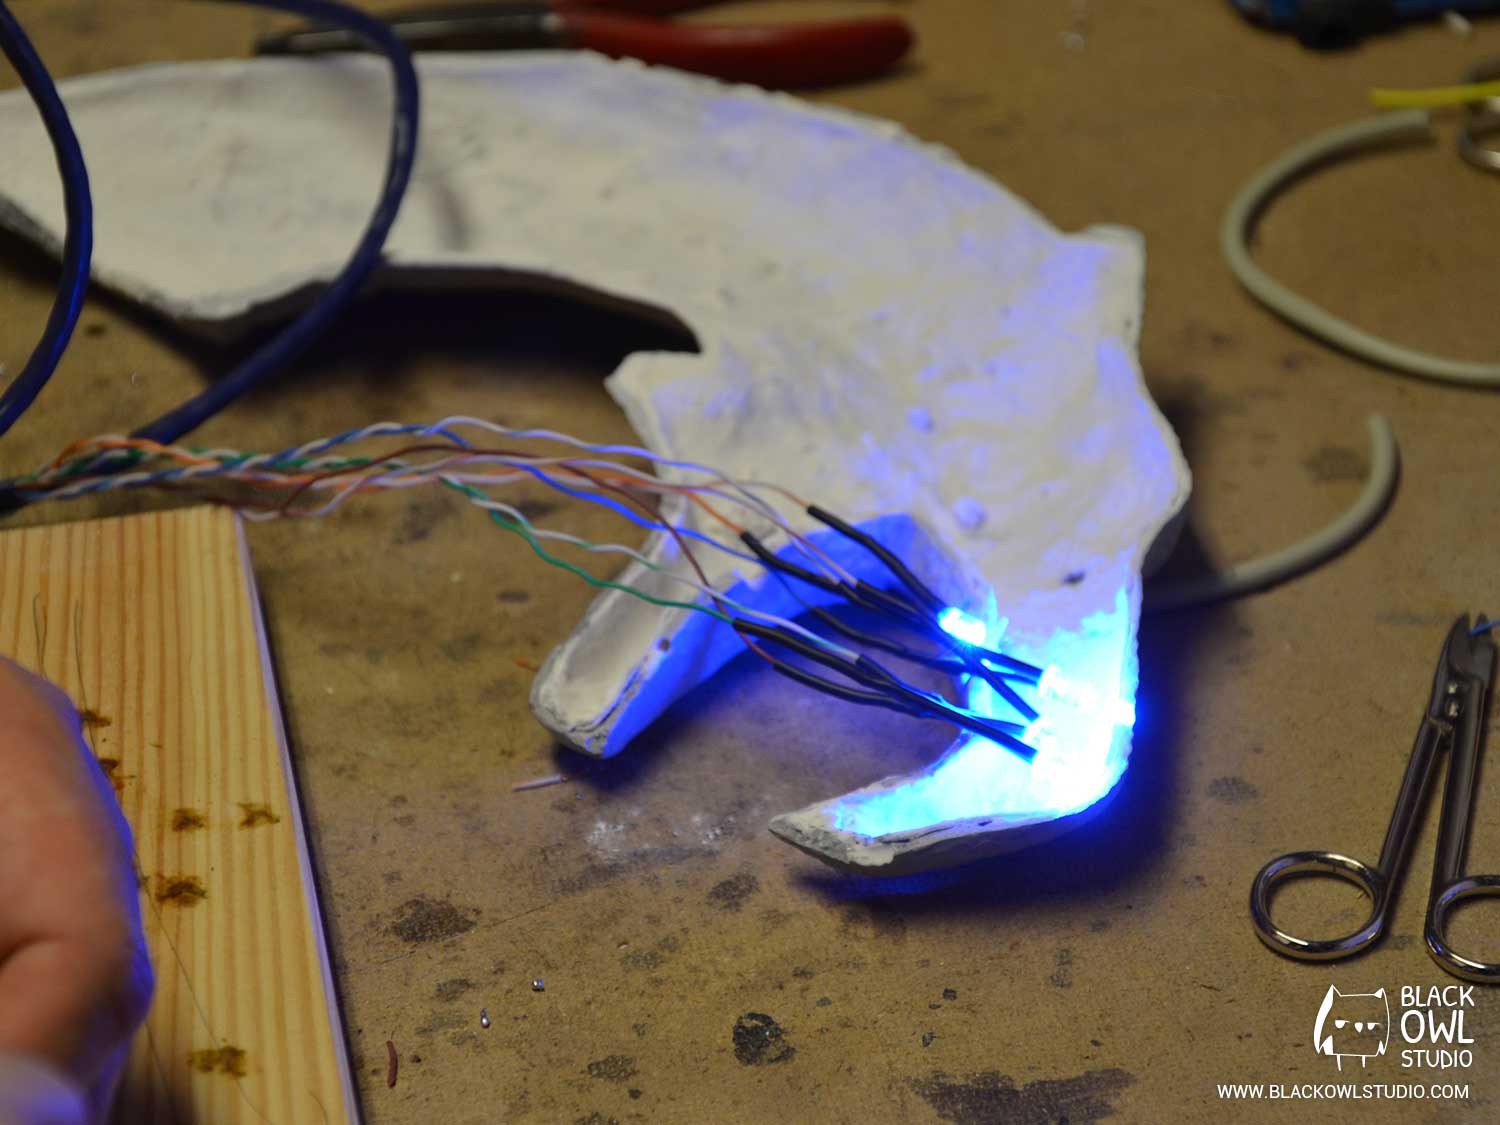
LED assembly
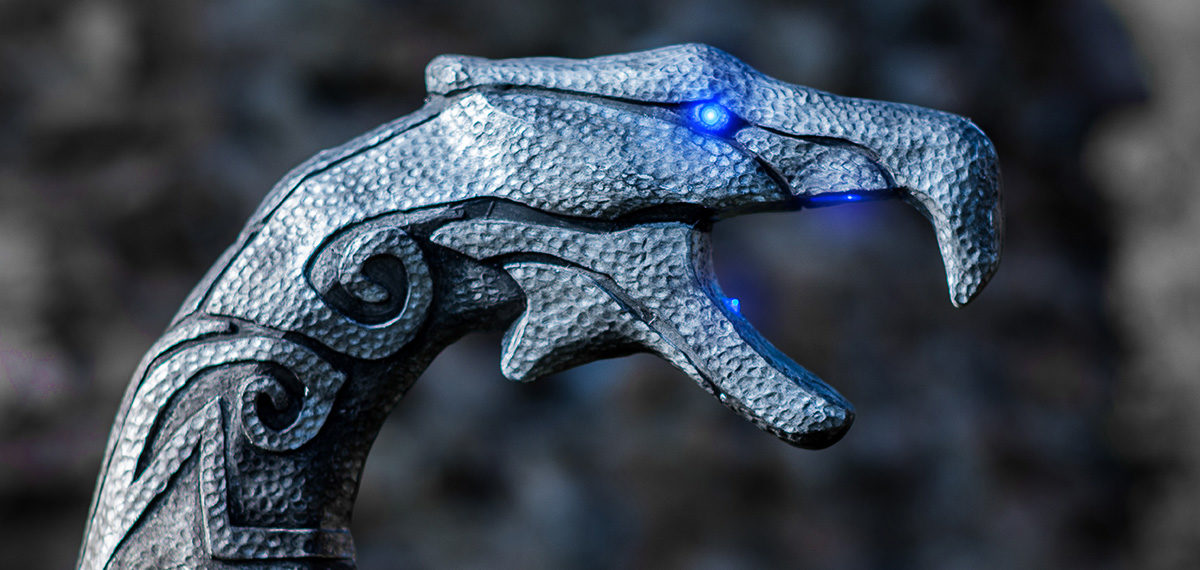
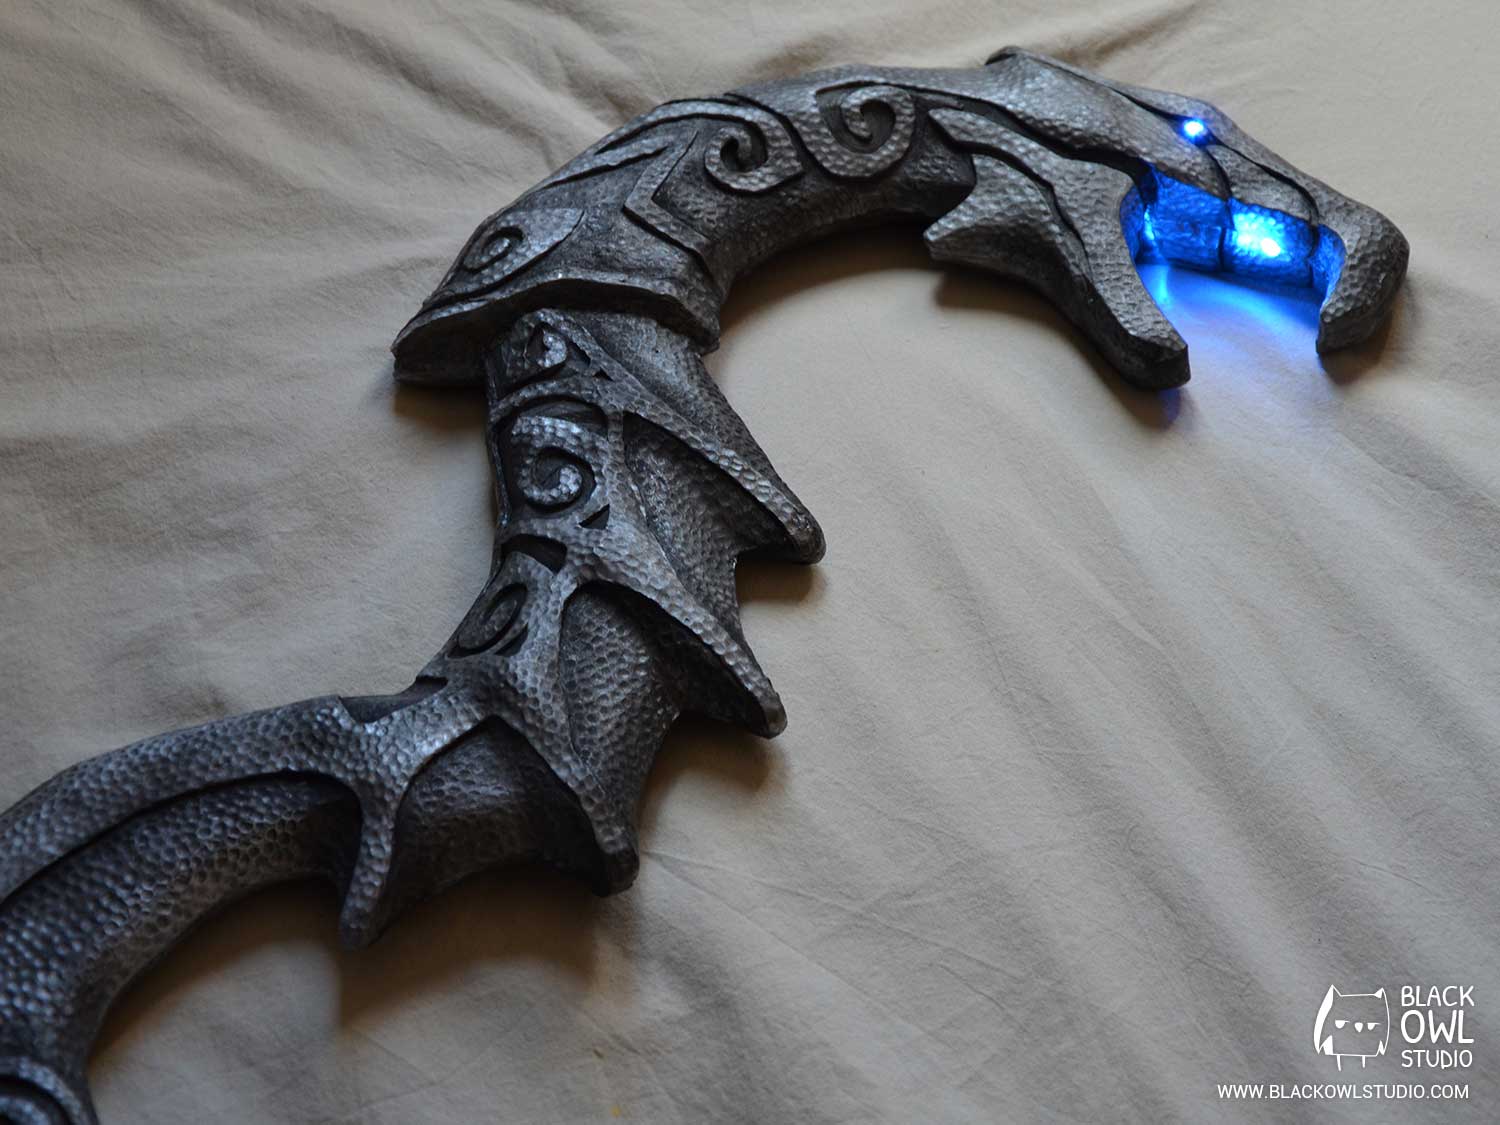
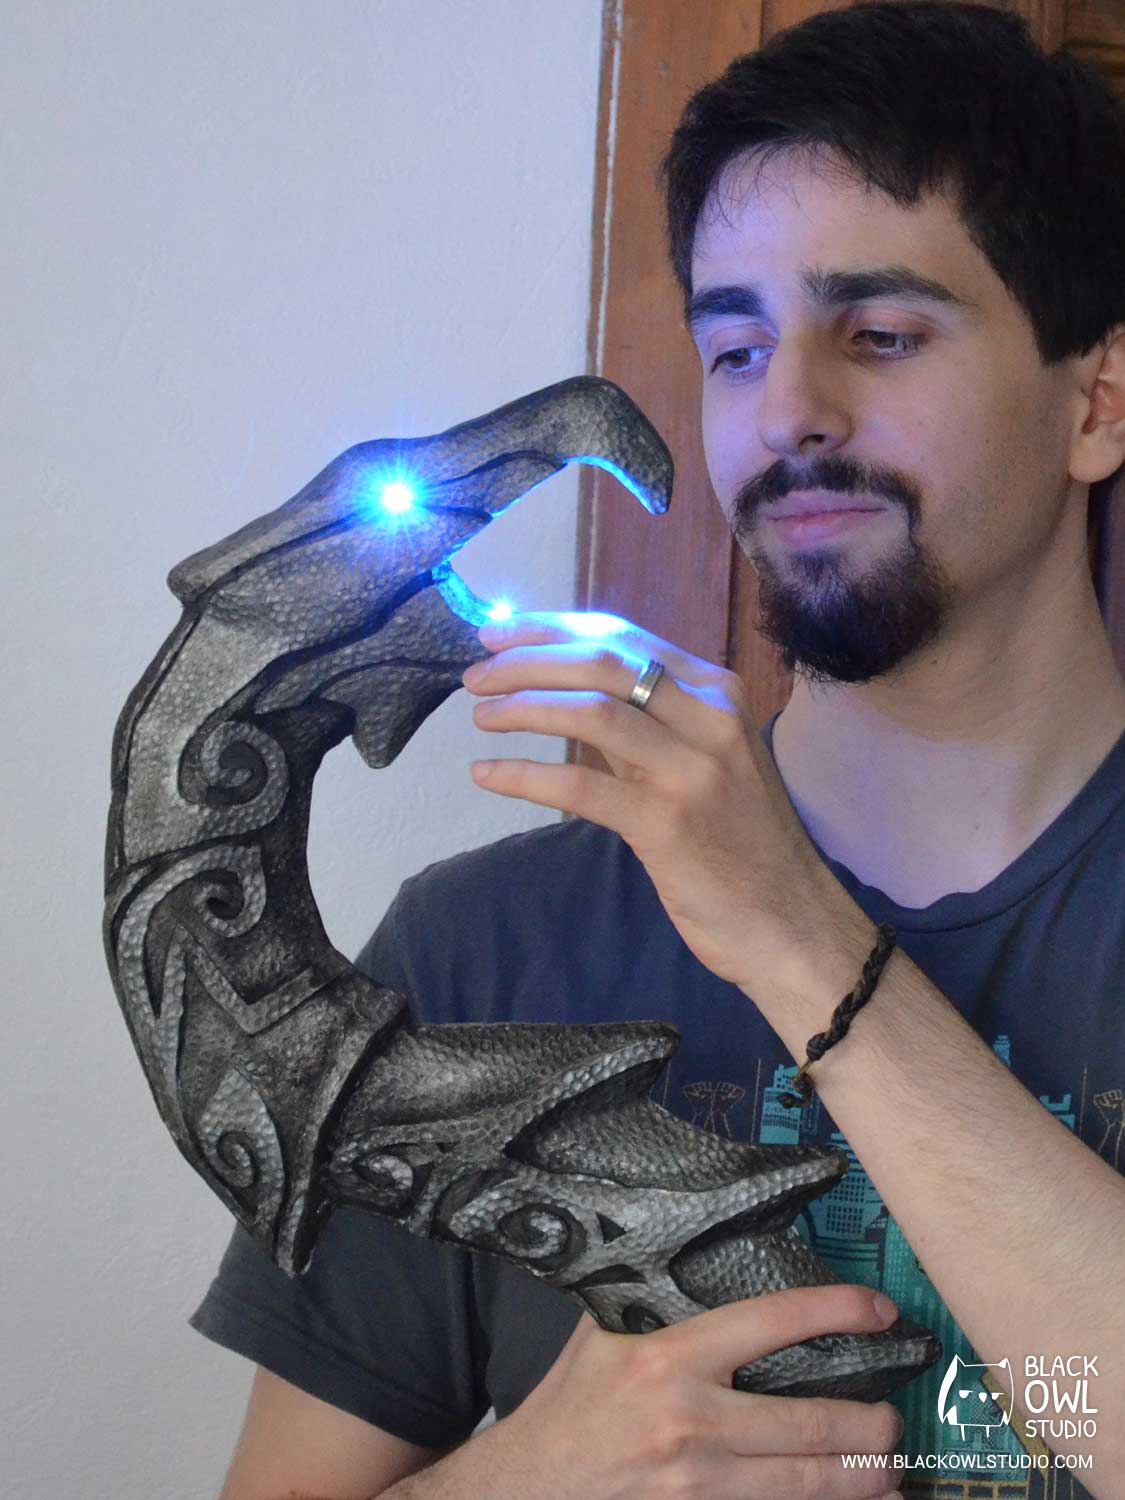
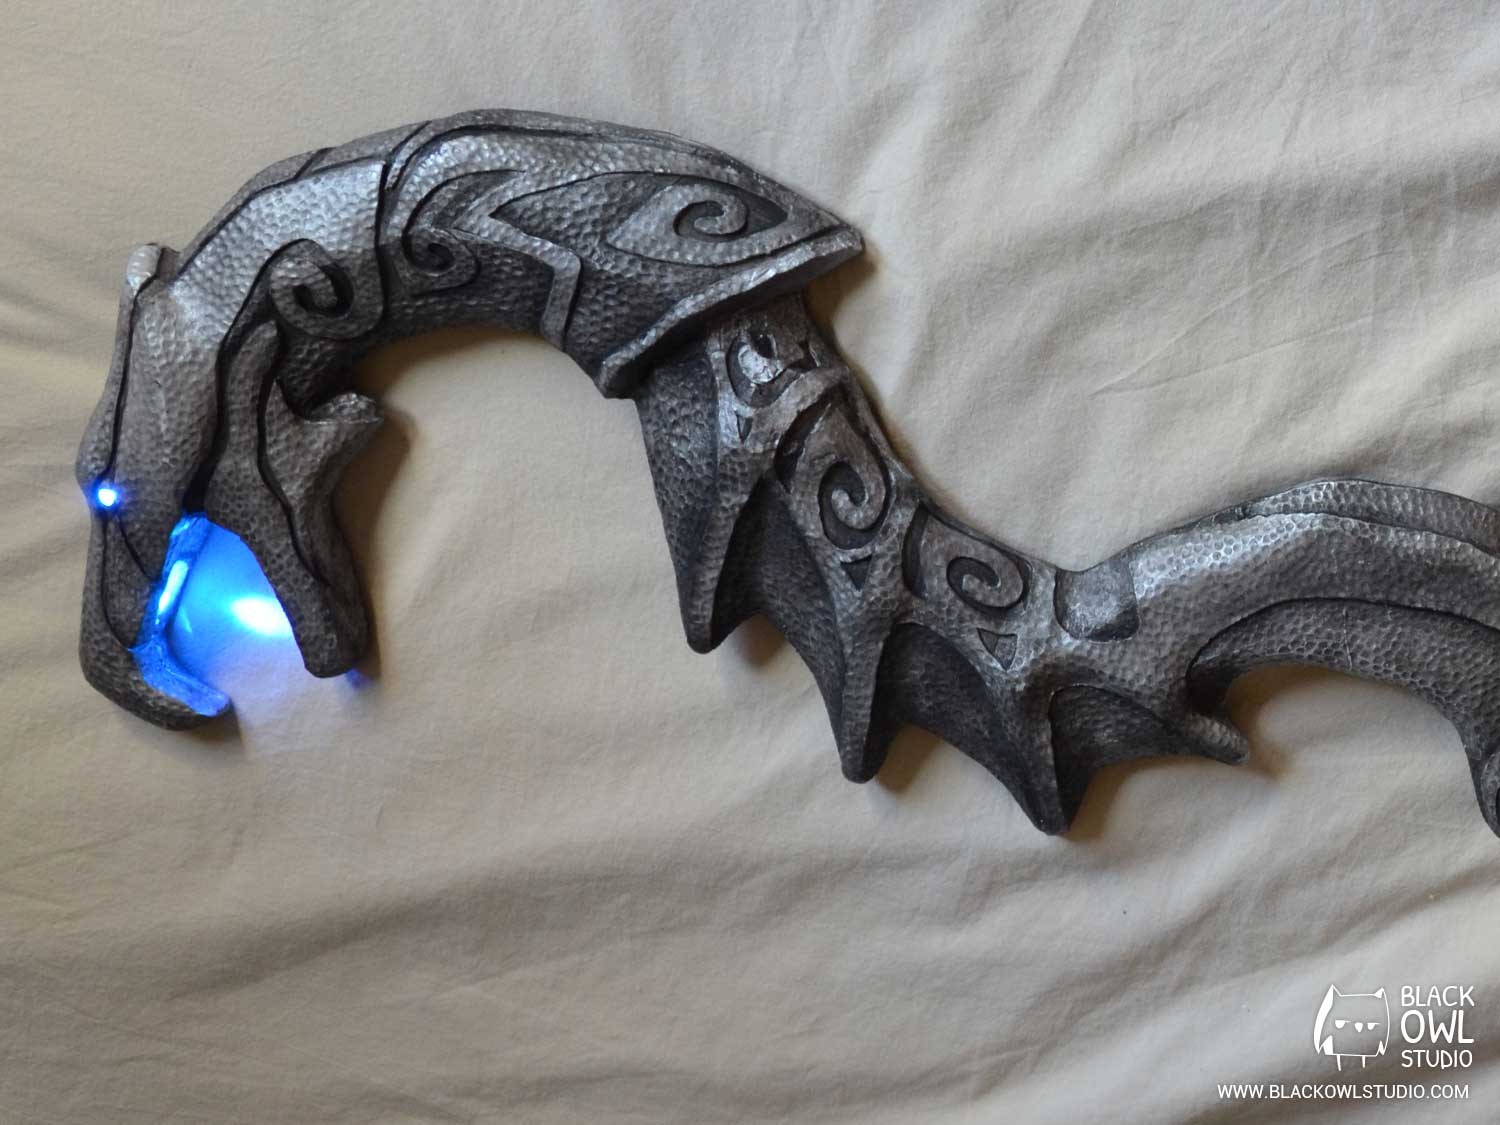
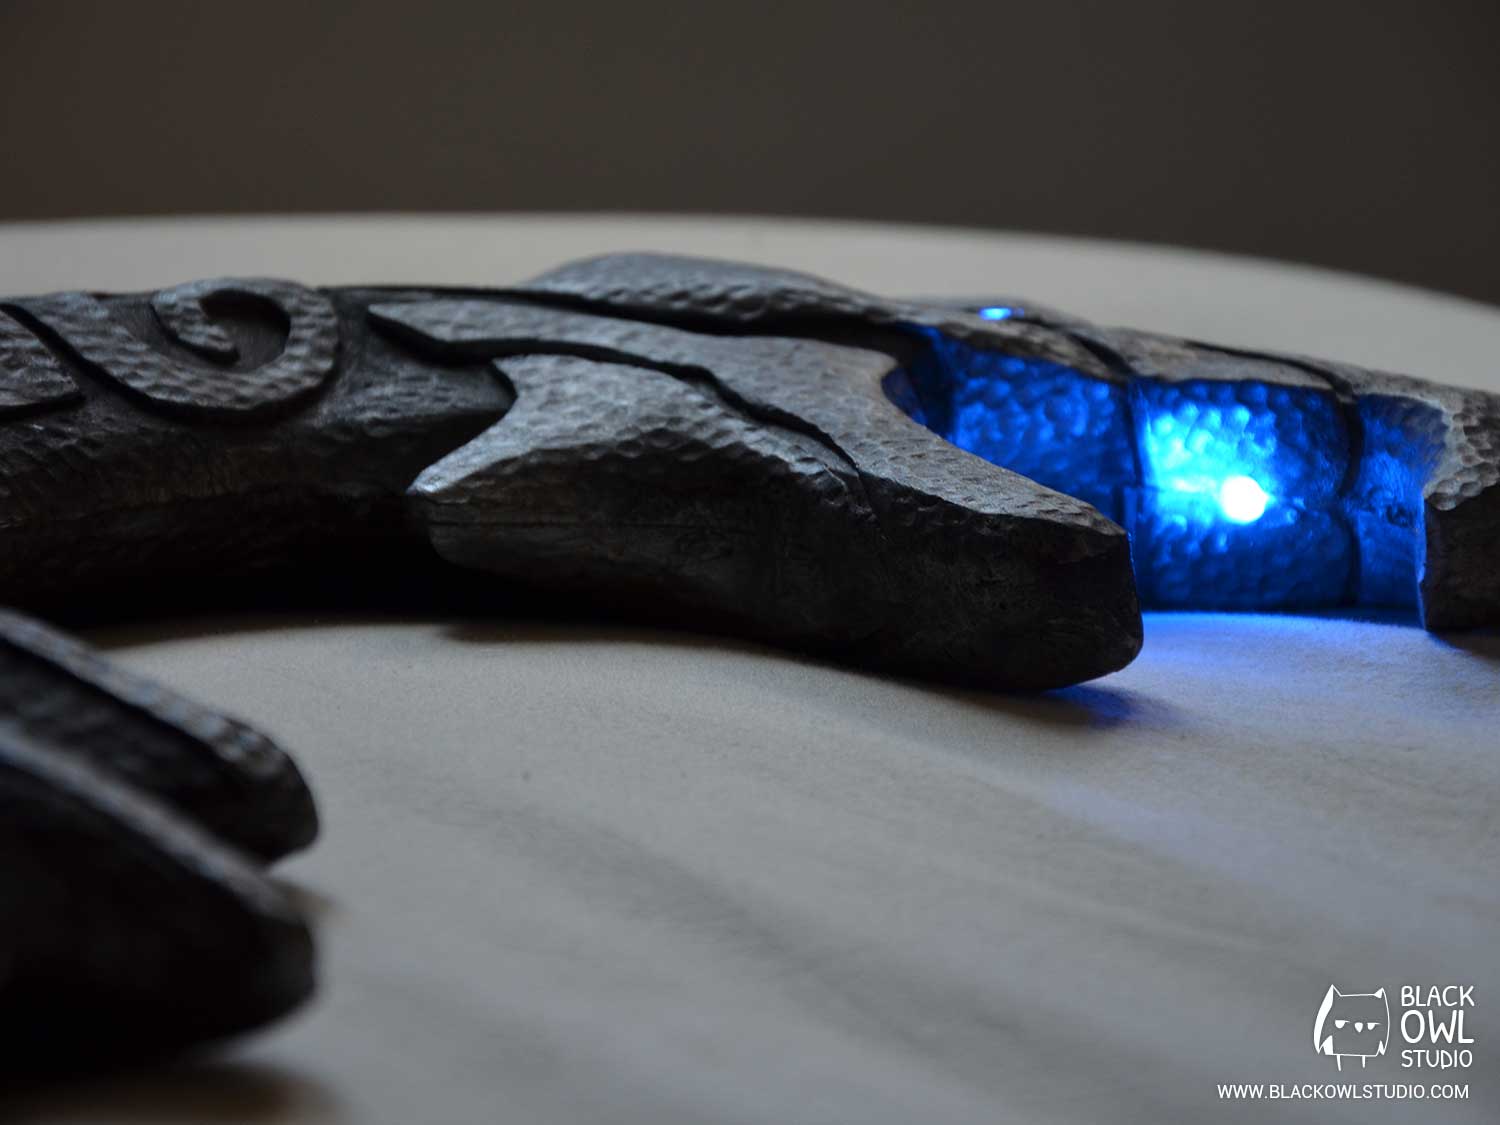
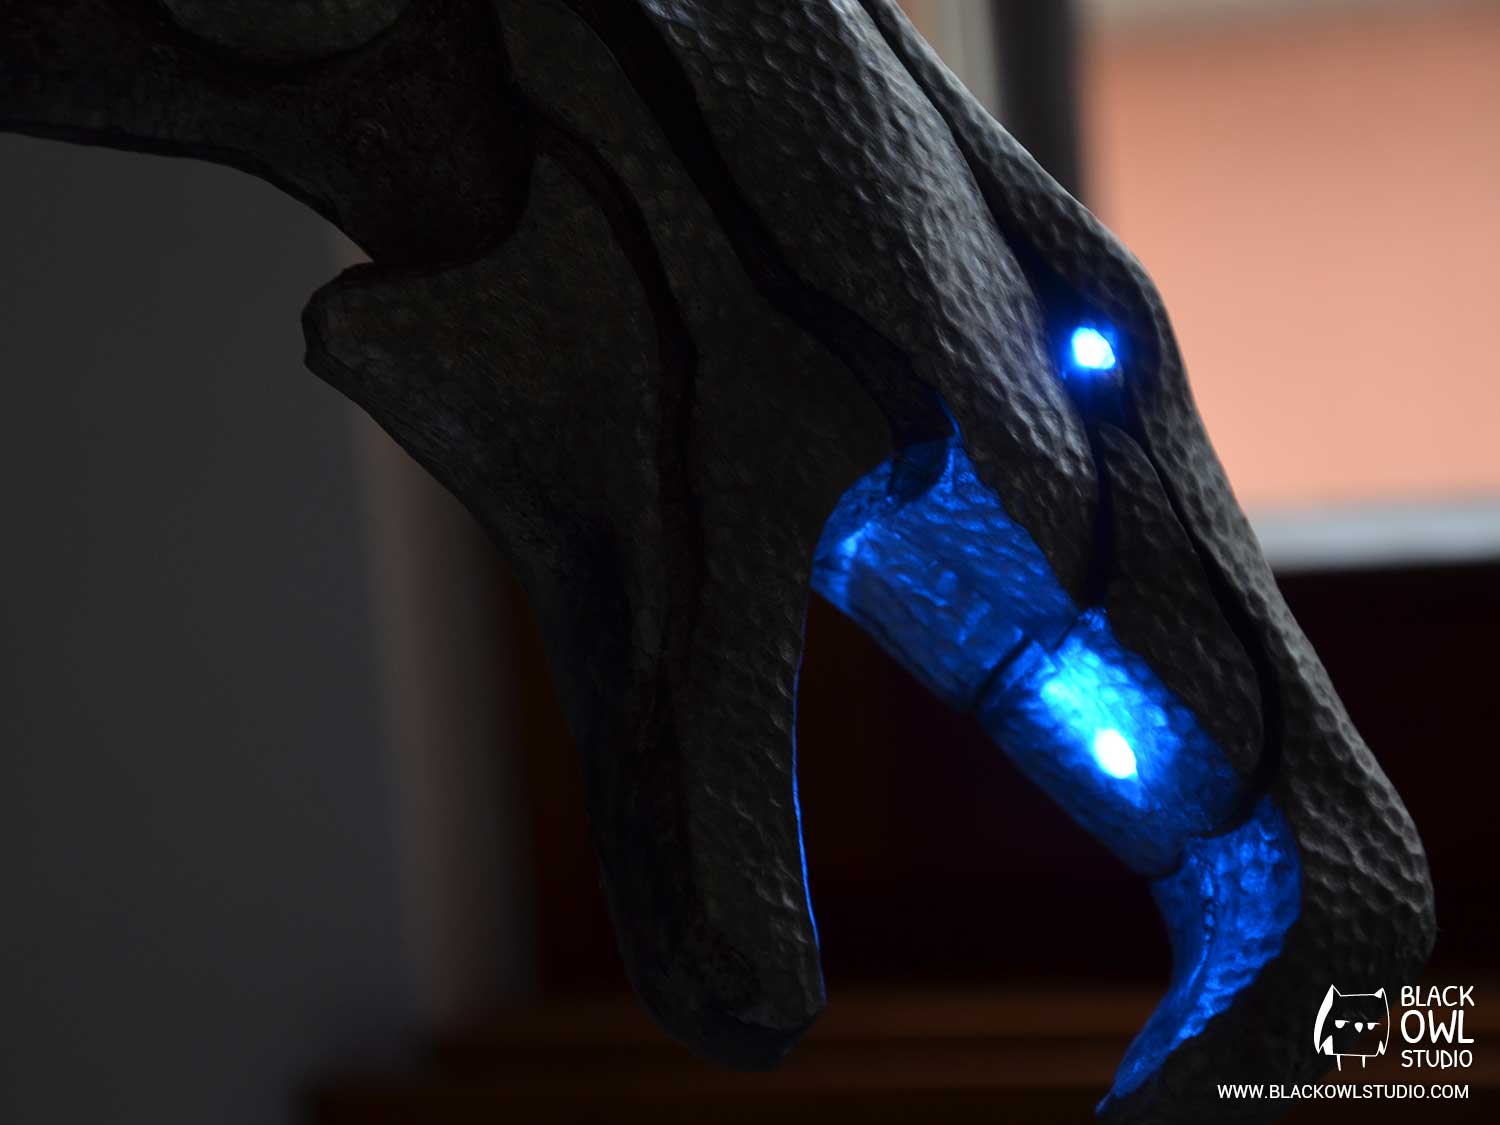
The staff is illuminated with a LED lighting system to give it a more realistic look.
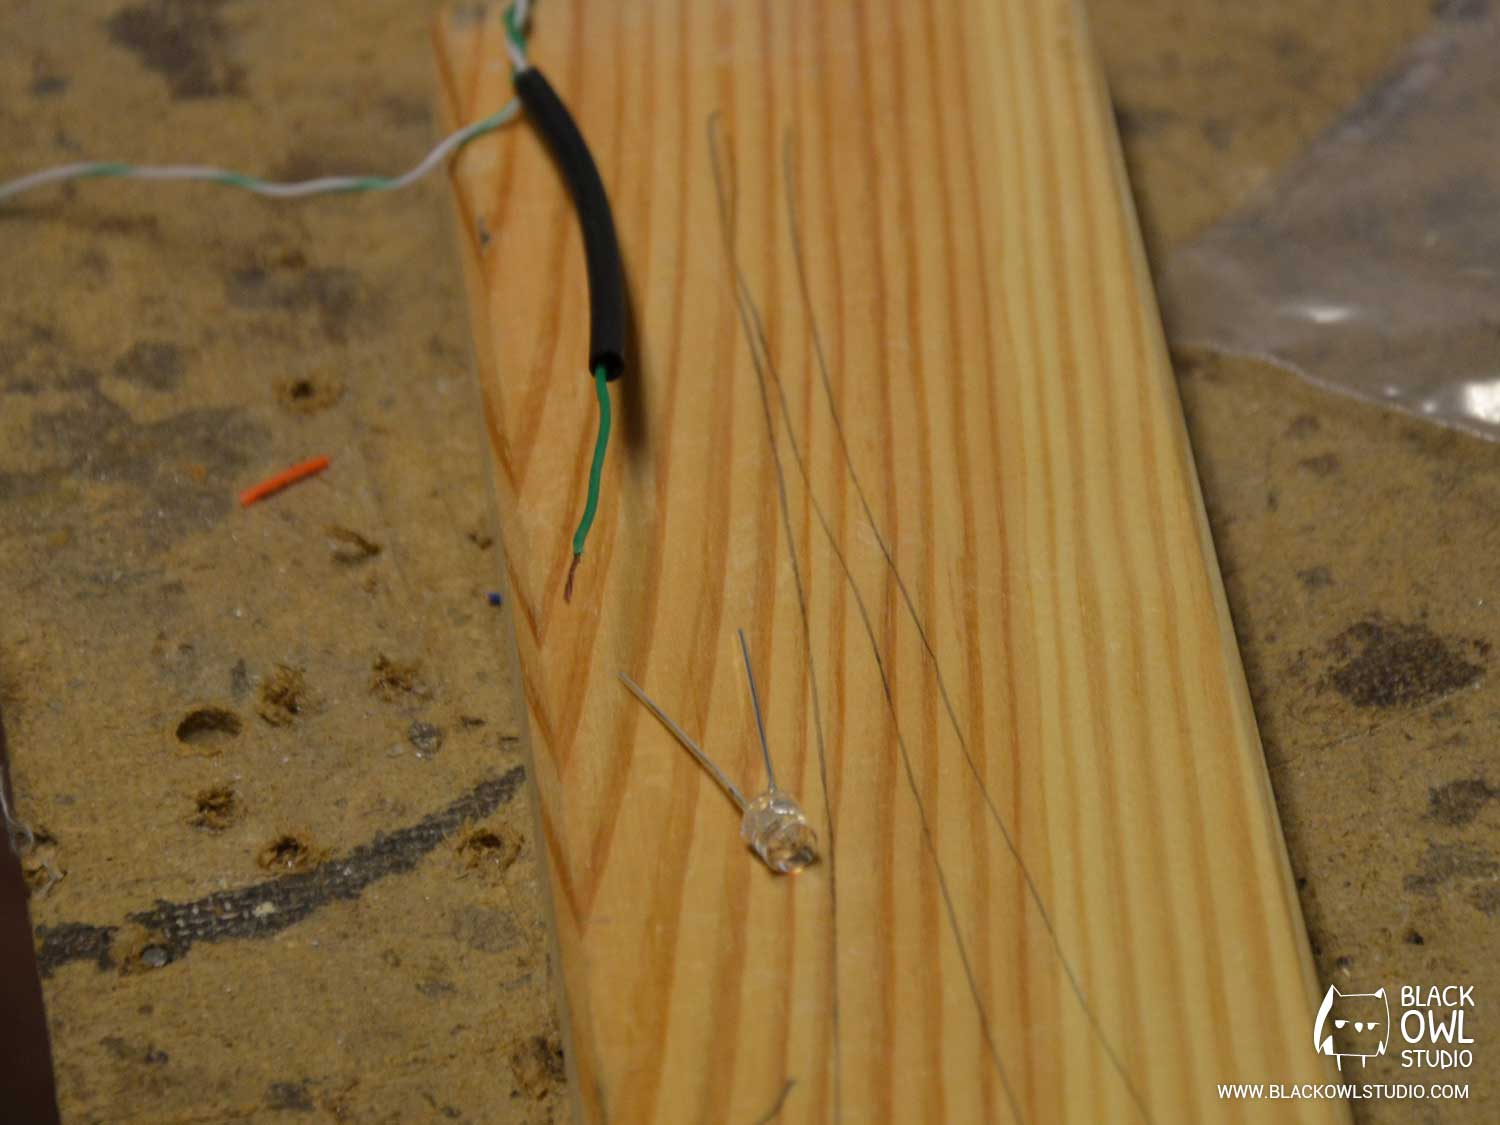
We used four LED :
- Two 5mm-diameter 11000 mcd blue LED for the mouth
- Two wide-angle flat head 5mm-diameter 4000 mcd blue LED for the eyes. Flat head LED has a better light diffusion and avoids blinding people when looking at them directly.
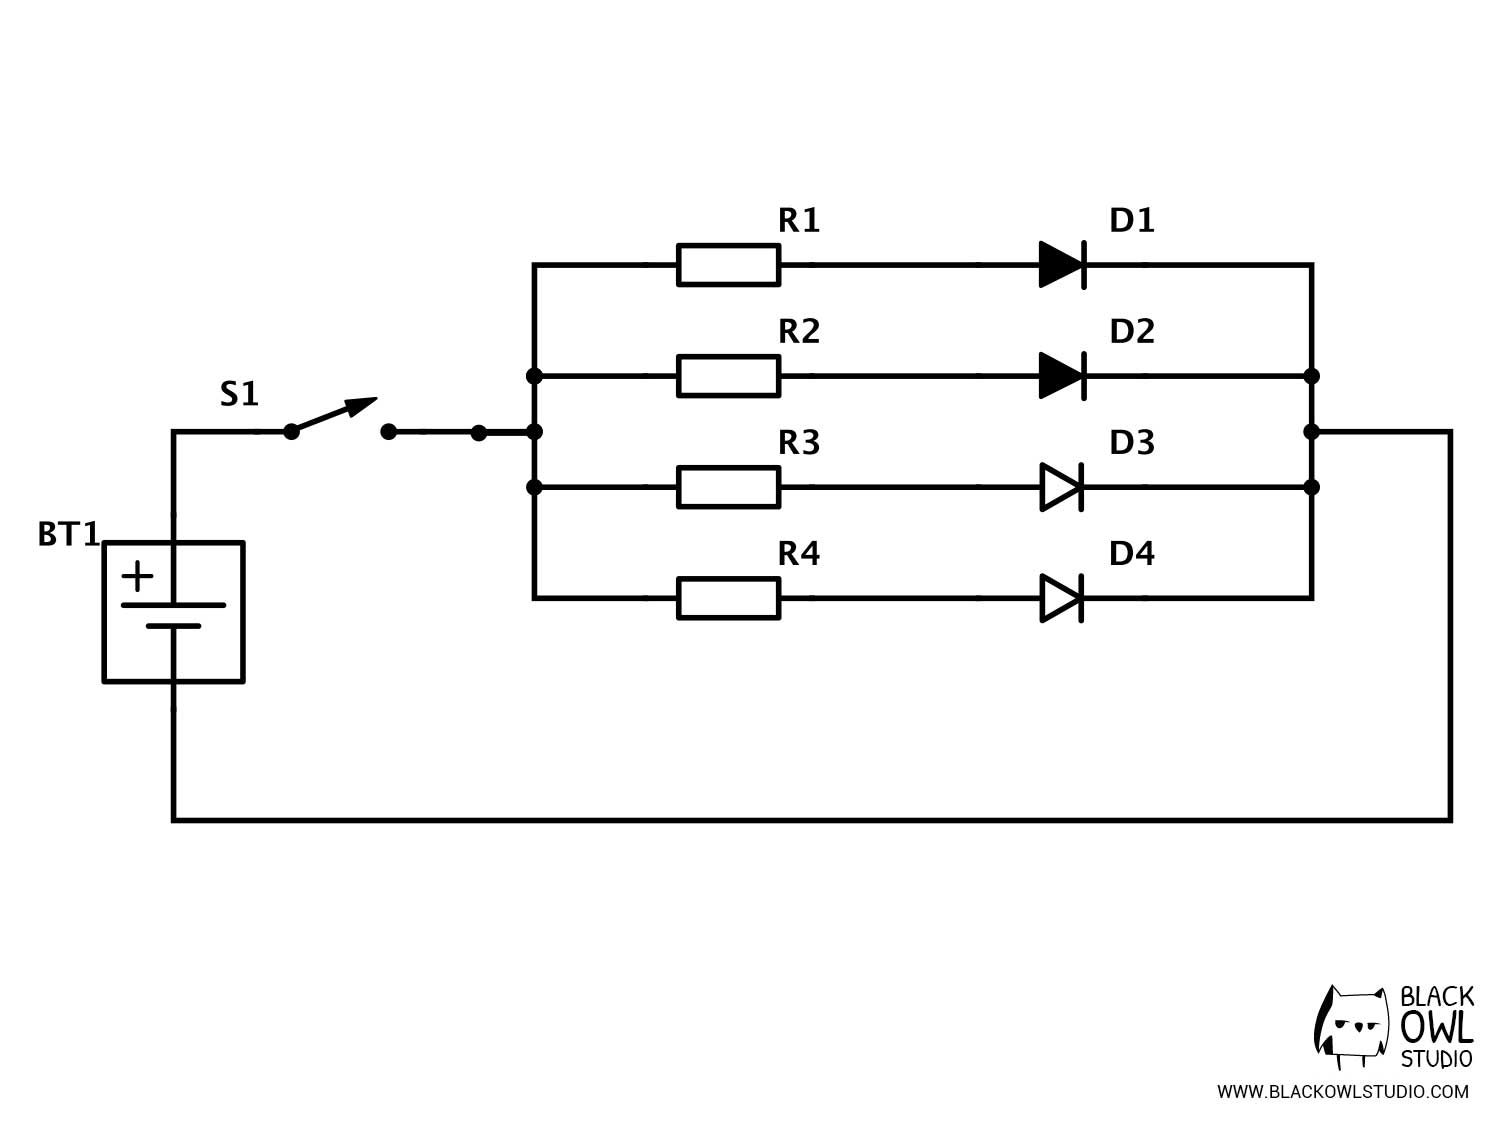
For a consistent power lighting, we opted for a parallel circuit with a 33 Ohm 1/4 W resistor for each LED. The whole is powered by a 4.5V AAA battery coupler (3 batteries) and operated by a switch that we collected from an old PC power-supply.


Assembly
The staff assembly was the most difficult step. Despite stronger backing molds, the pieces didn’t fit perfectly… We had to reduce the gaps by sanding them until they fit together.
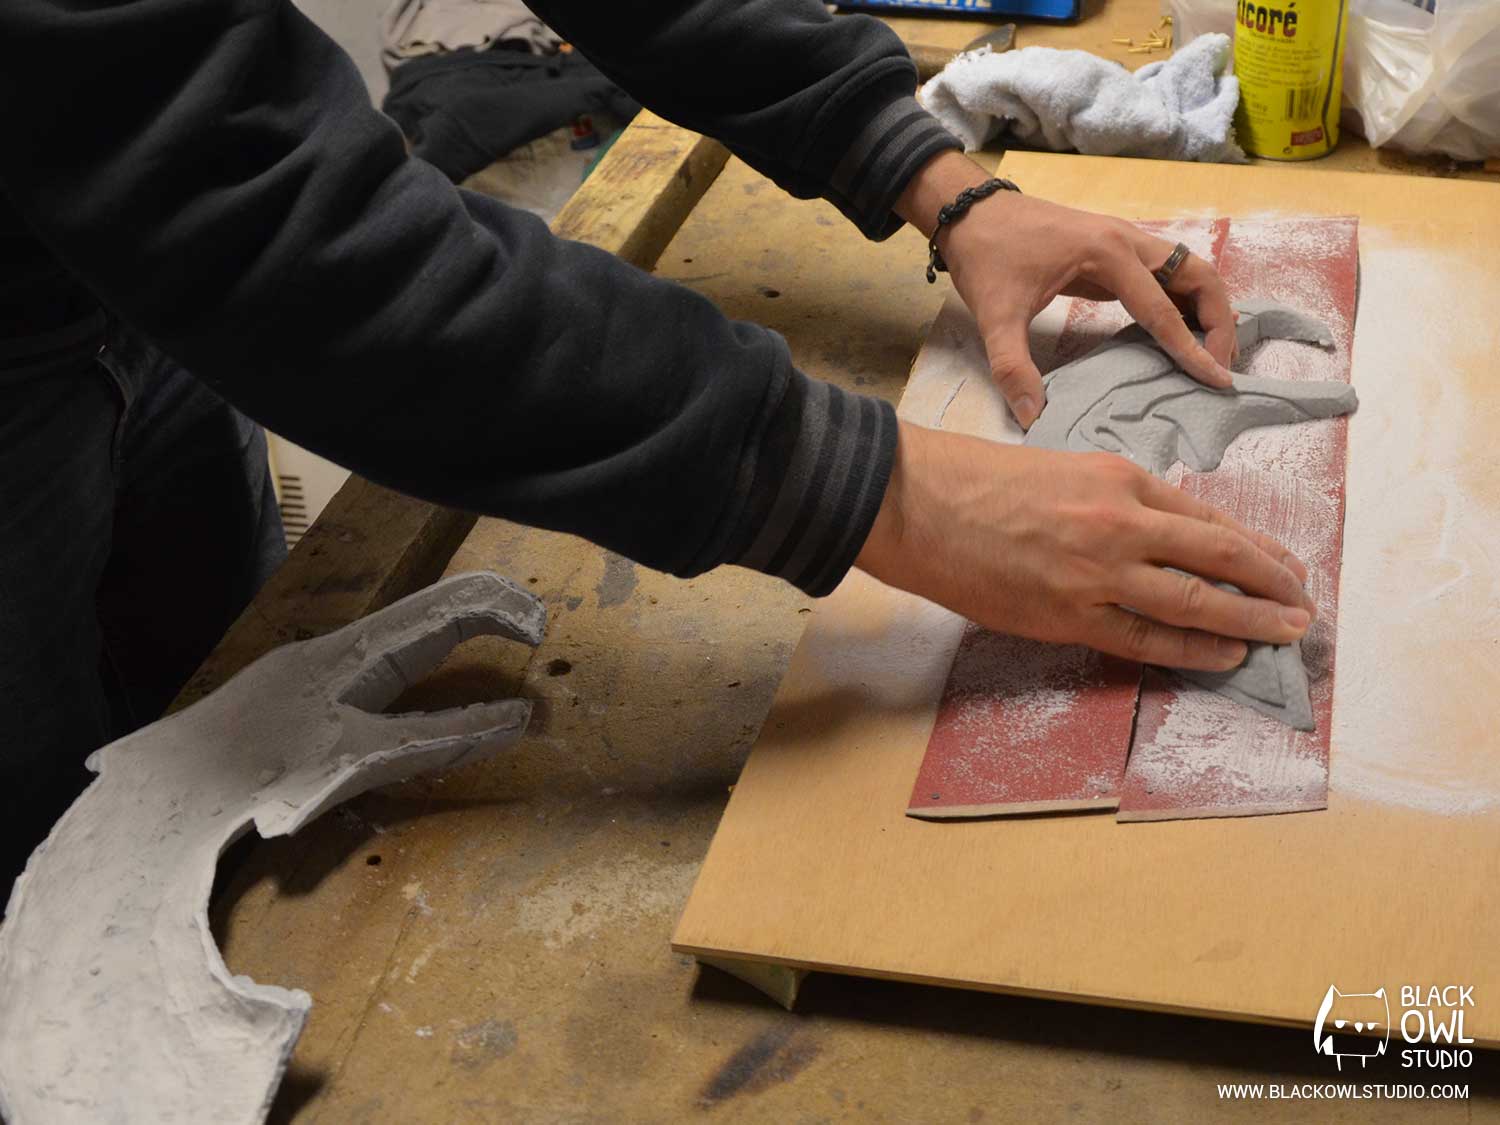
To make them fit together, we nailed big sanding sheets on a plank. We then rubbed the pieces until they became flat.
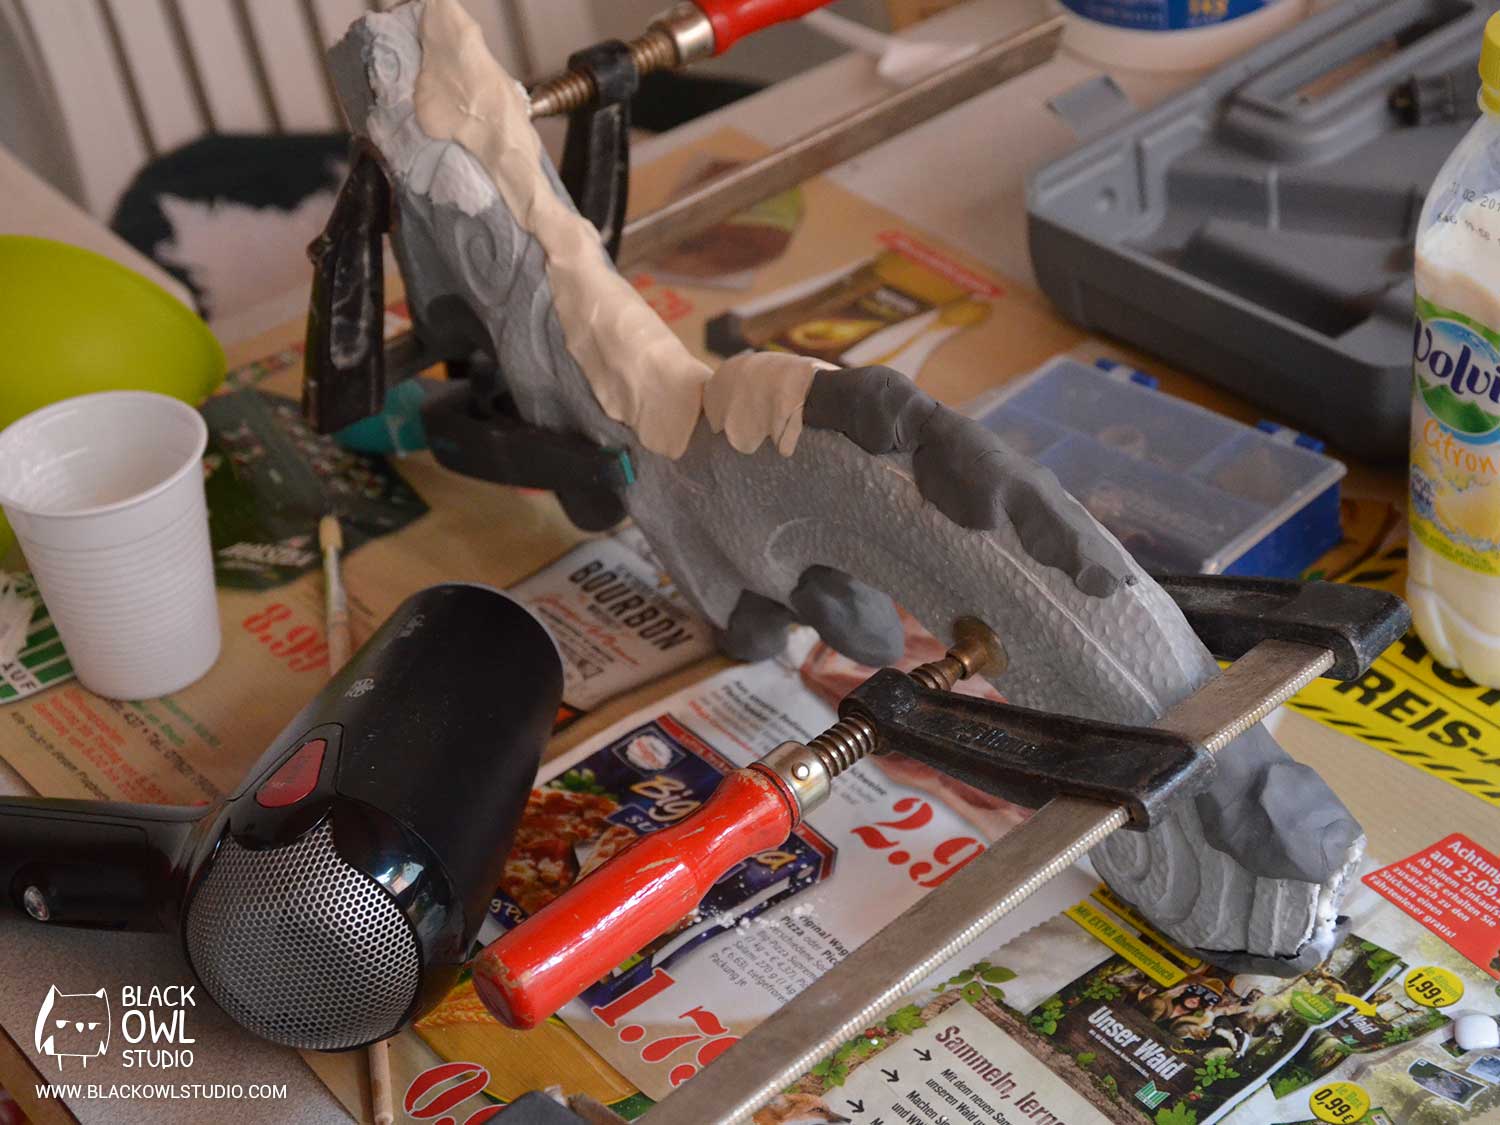
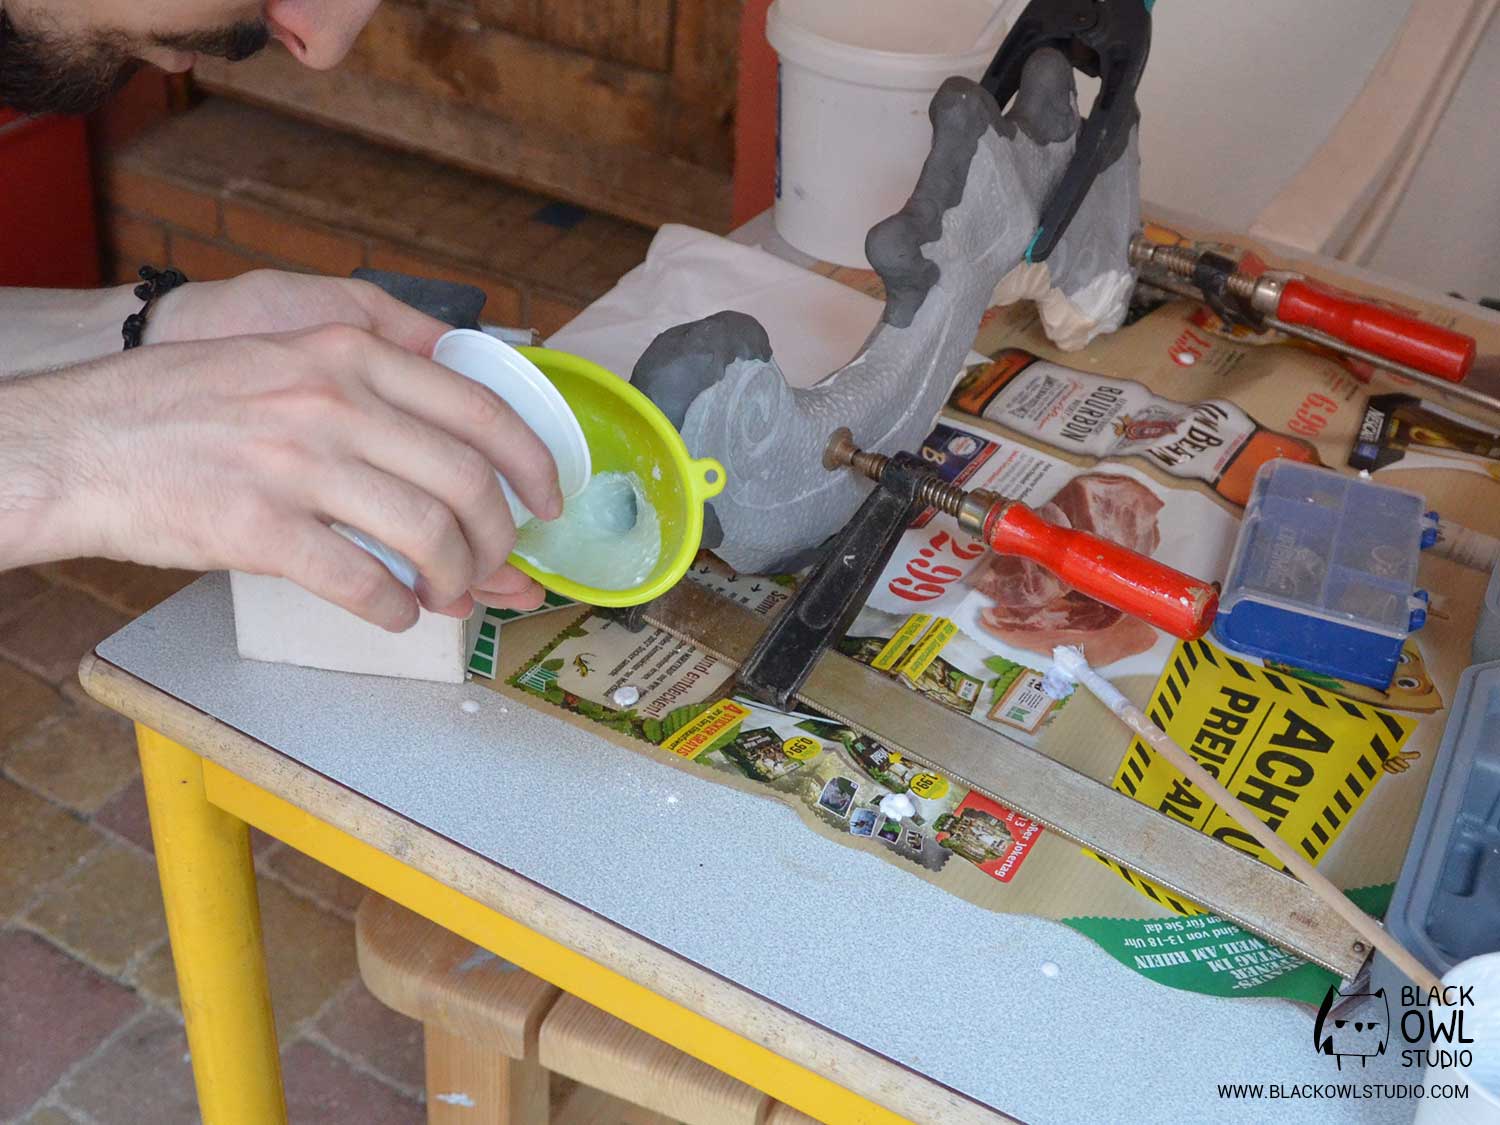
When both pieces fitted one to the other without any large holes or asperities, we tightened them in a vise and applied Plastiline on the edges to avoid the resin to leak through the remaining gaps. We then poured polyurethane resin in this newly assembled piece, using a flexible funnel (this step is important because resin deposits dry and create clogs). We repeated this process on both edges of the pieces (still hollow for the moment).
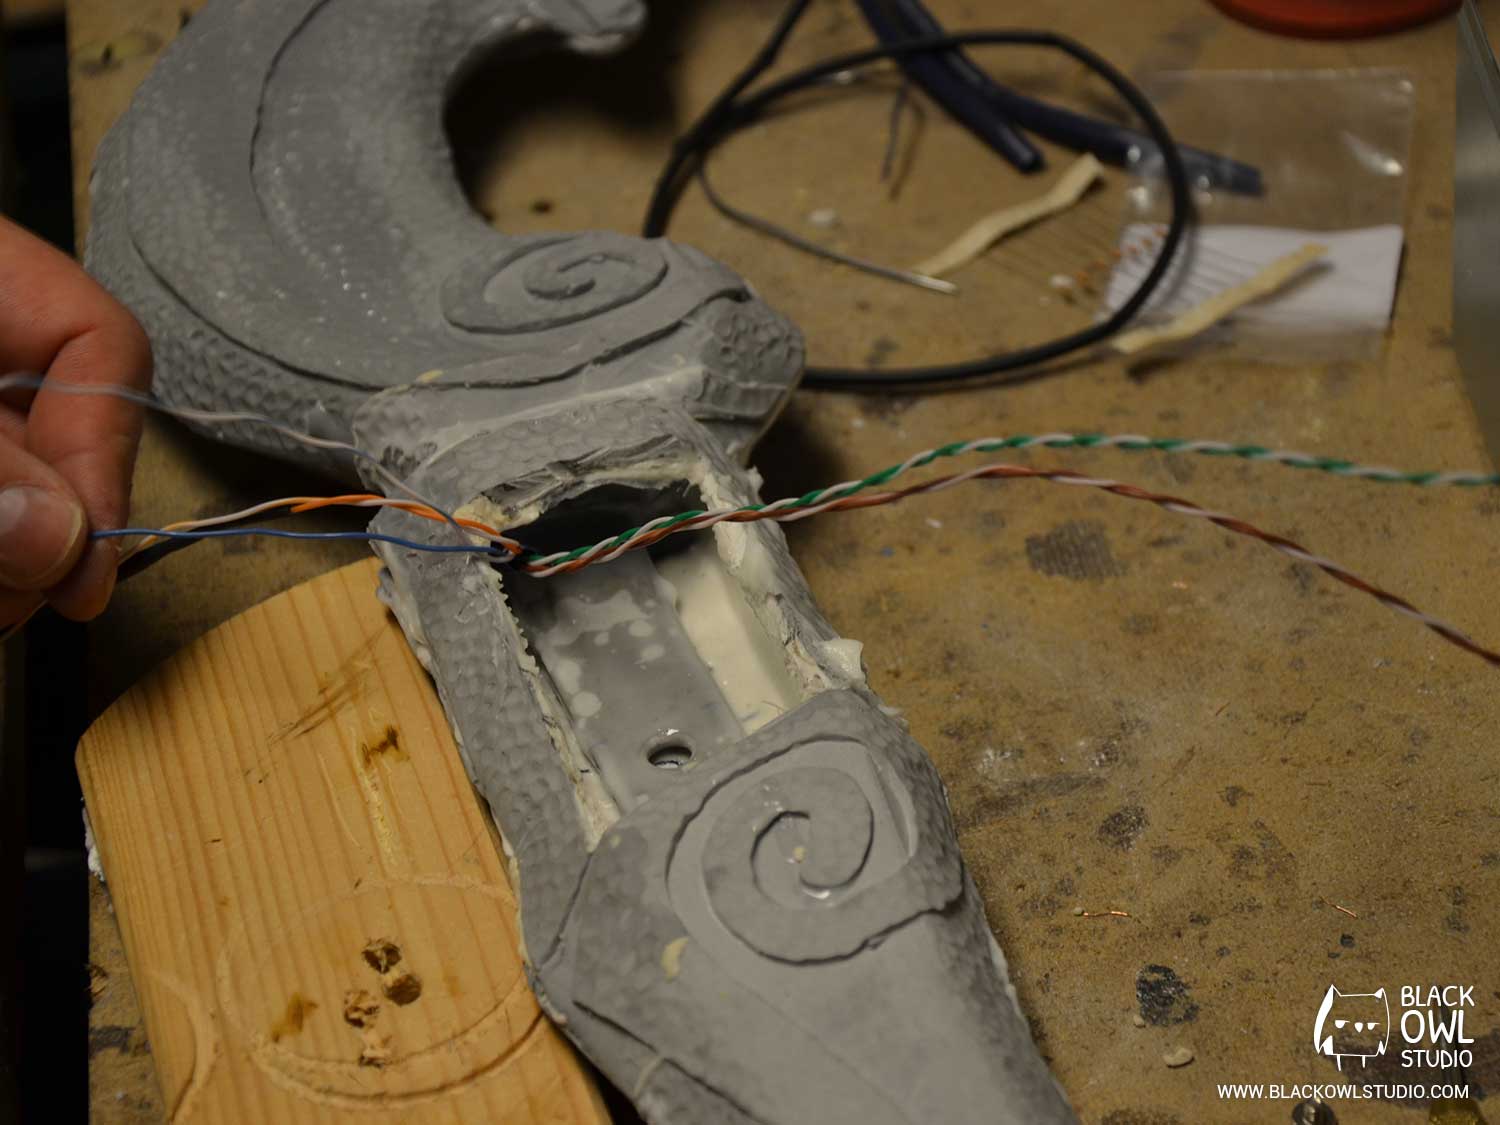
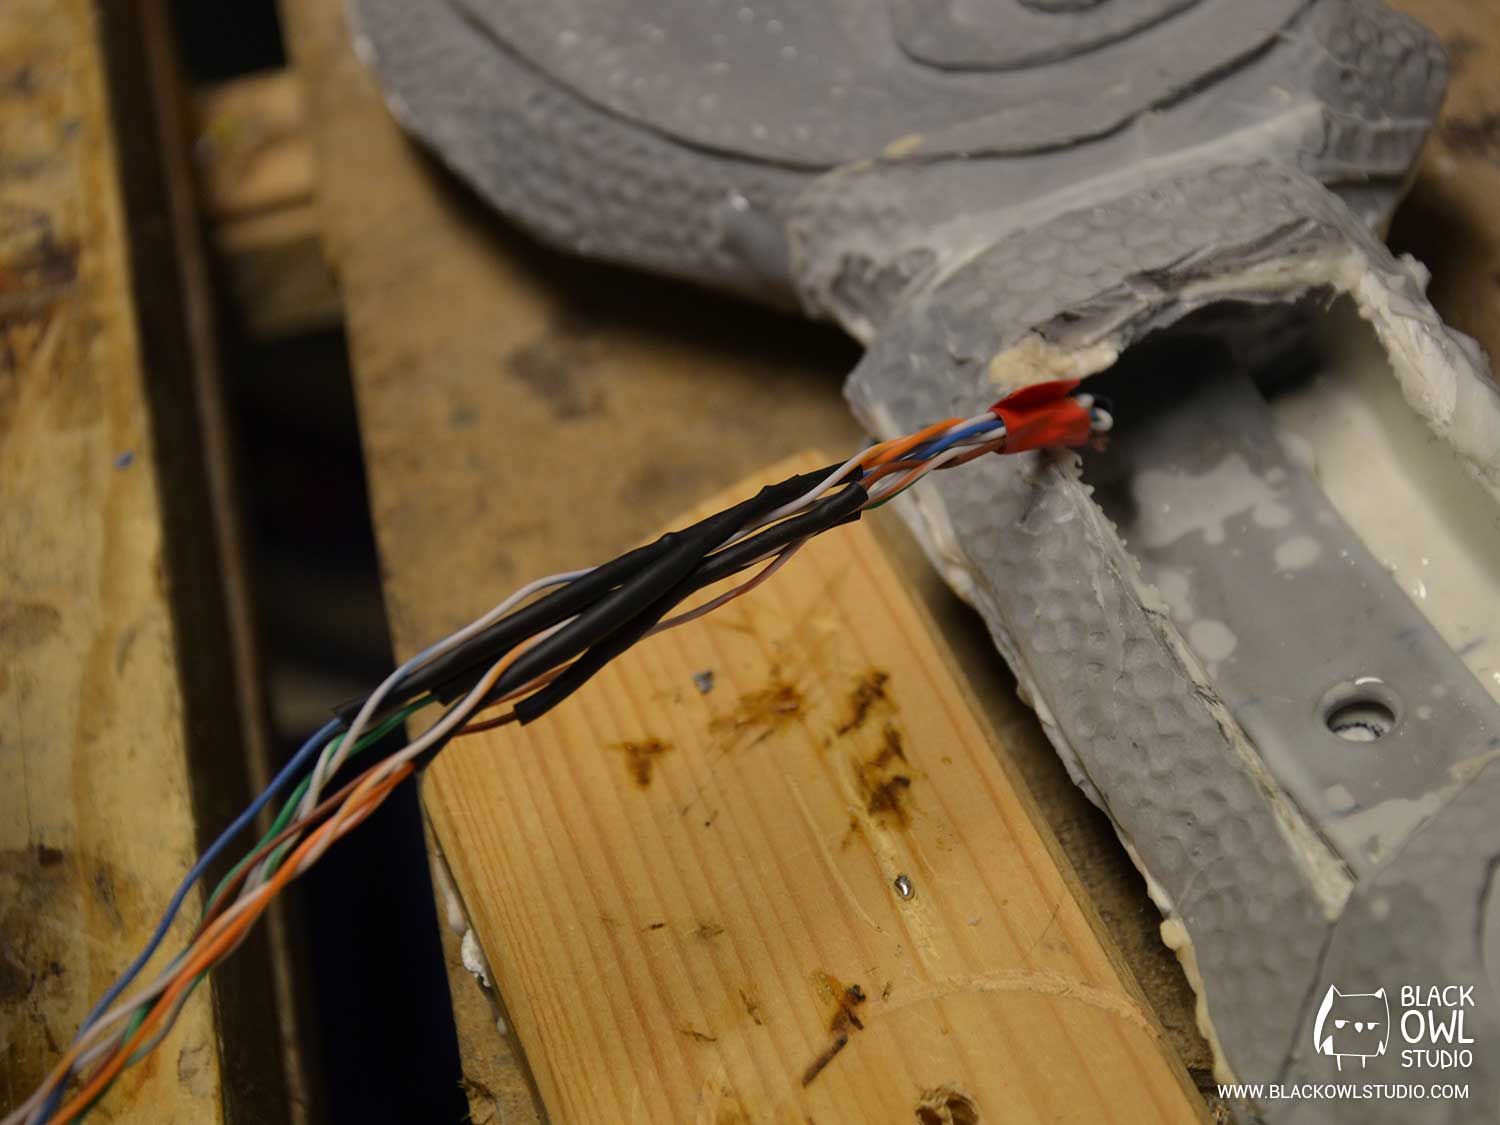
Note : don’t forget to attach LEDs in the head and to pull the cables out before fixing both parts with resin !
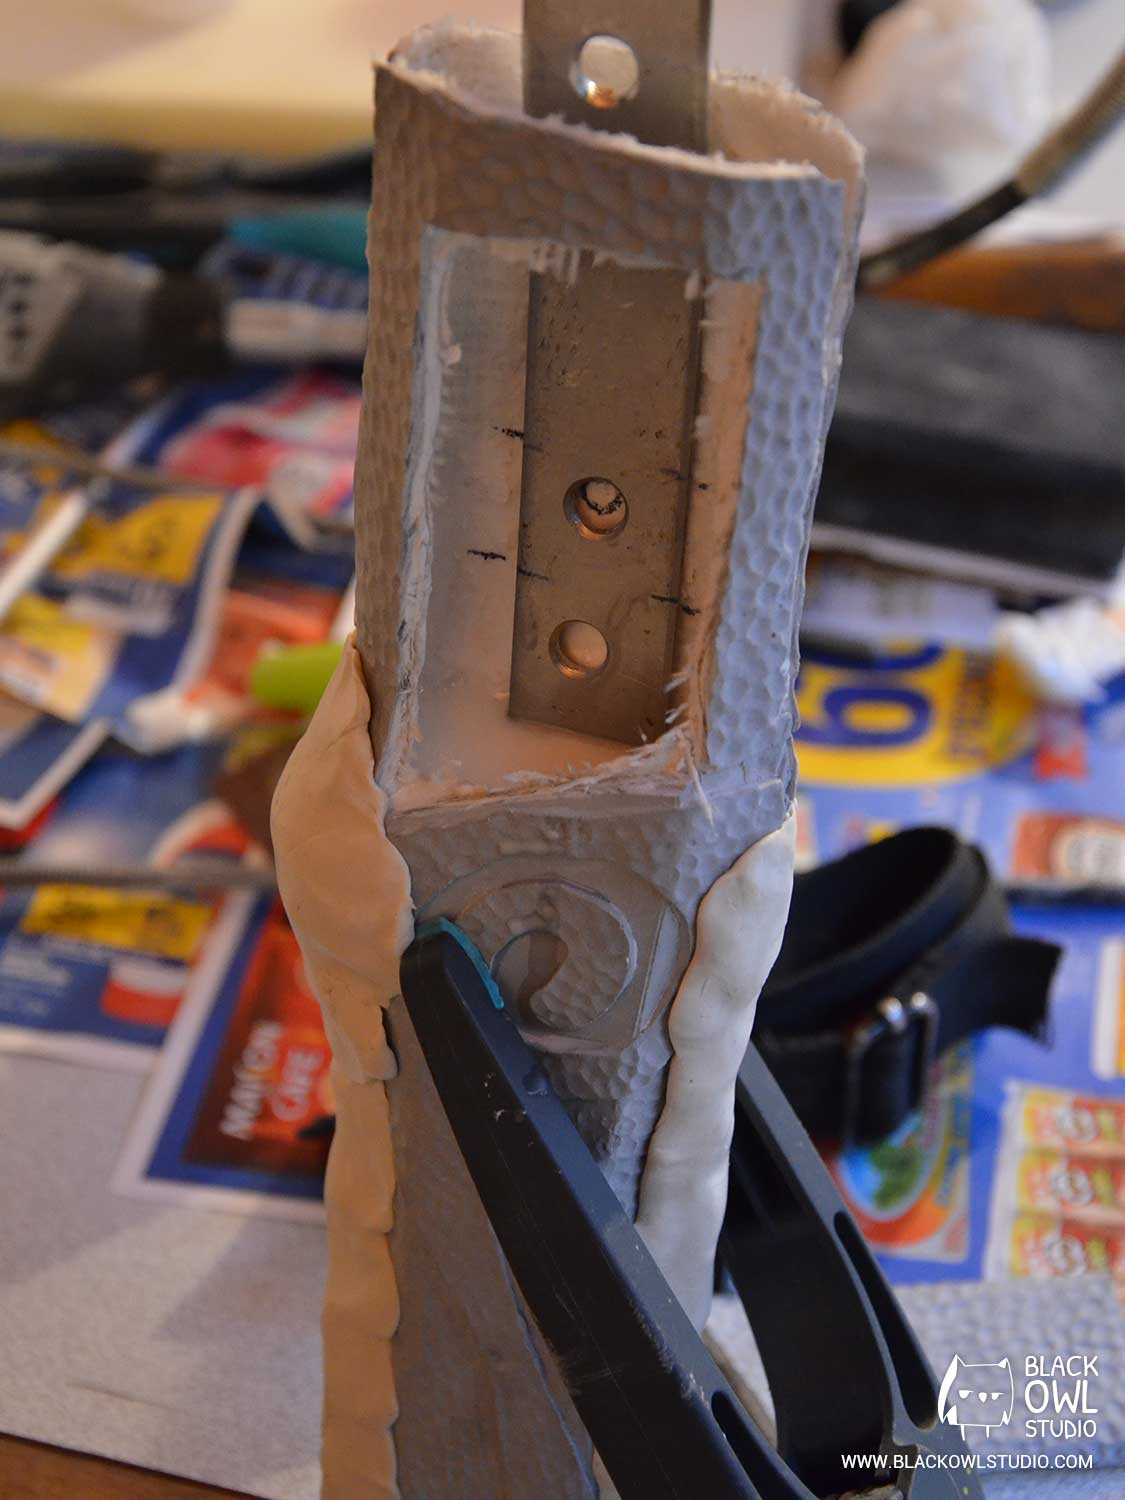

Once both sides of each piece (head, body, handle) were assembled, we fixed them together. To guarantee the strength of the staff, we fixed metallic bars inside each pieces before pouring resin. We also padded the inside of the staff with foam slices to spare some resin (it’s less expensive and lighter!).
For the lower part of the staff (the one in foam), we let the wooden dowel exceed from the top in order to insert it in the resin part. As for the other pieces, we padded the inside with foam slices before pouring polyurethane resin.
Despite Plastiline protections, a bit of resin dripped down the staff… We used the Dremel to erase the flaws and smoothen the edges. Then, we went on with the finishing touches.
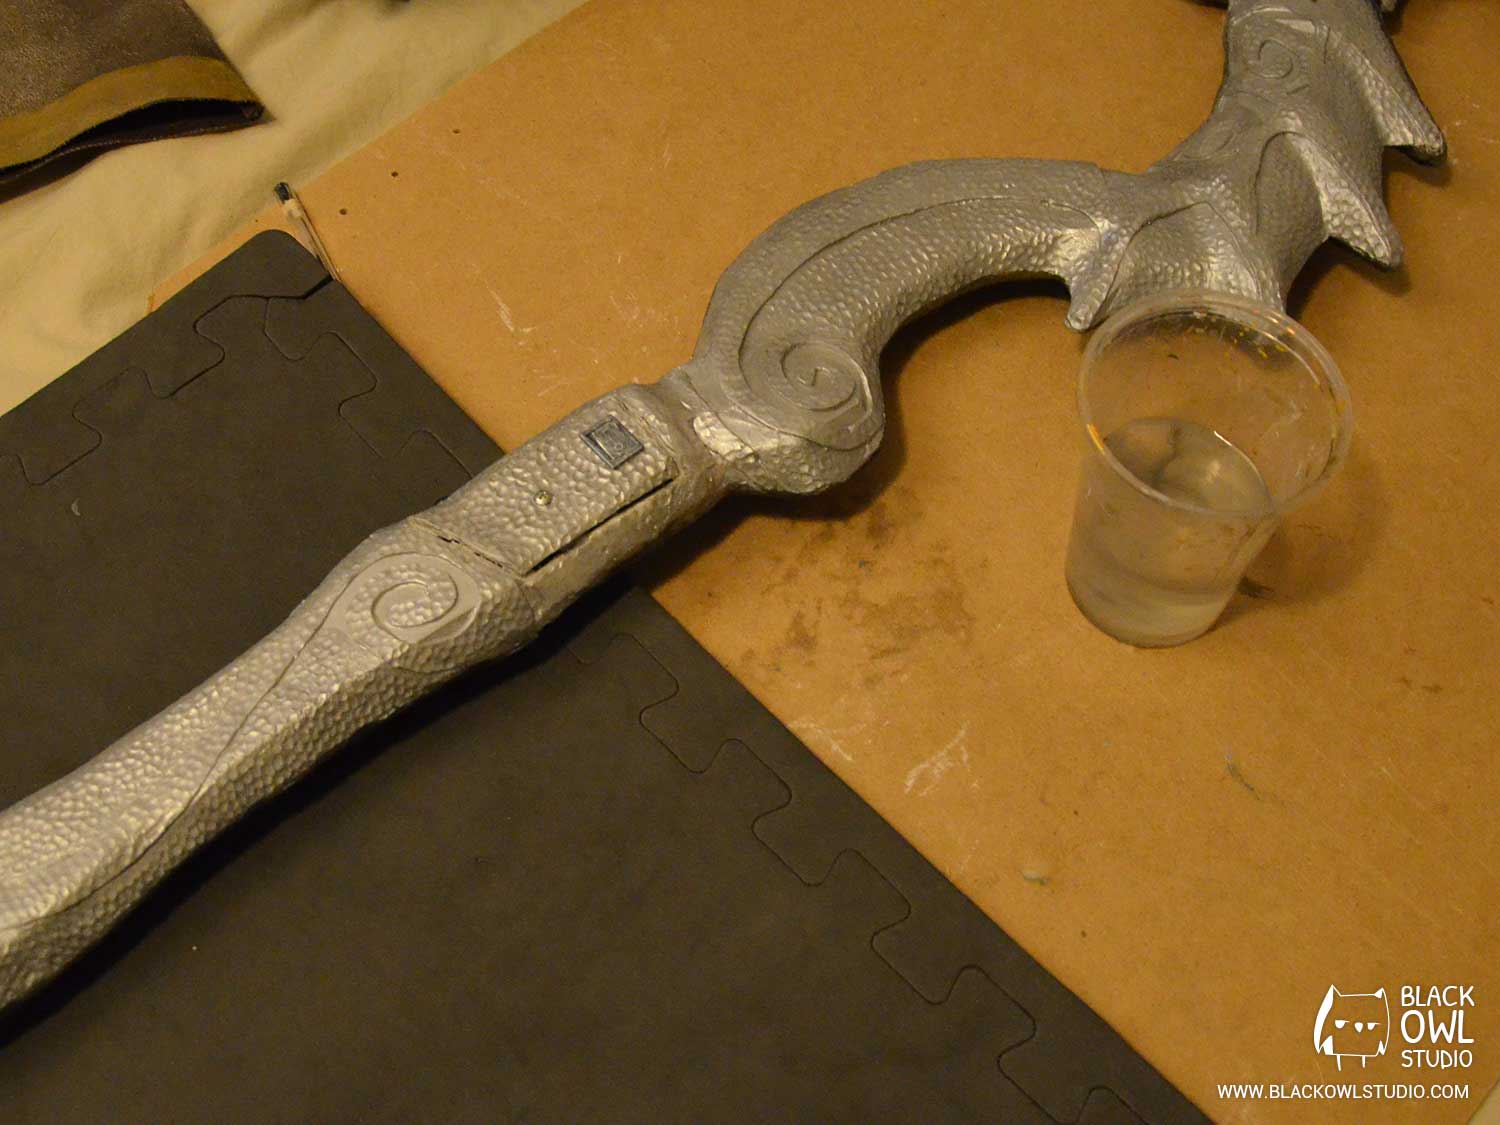
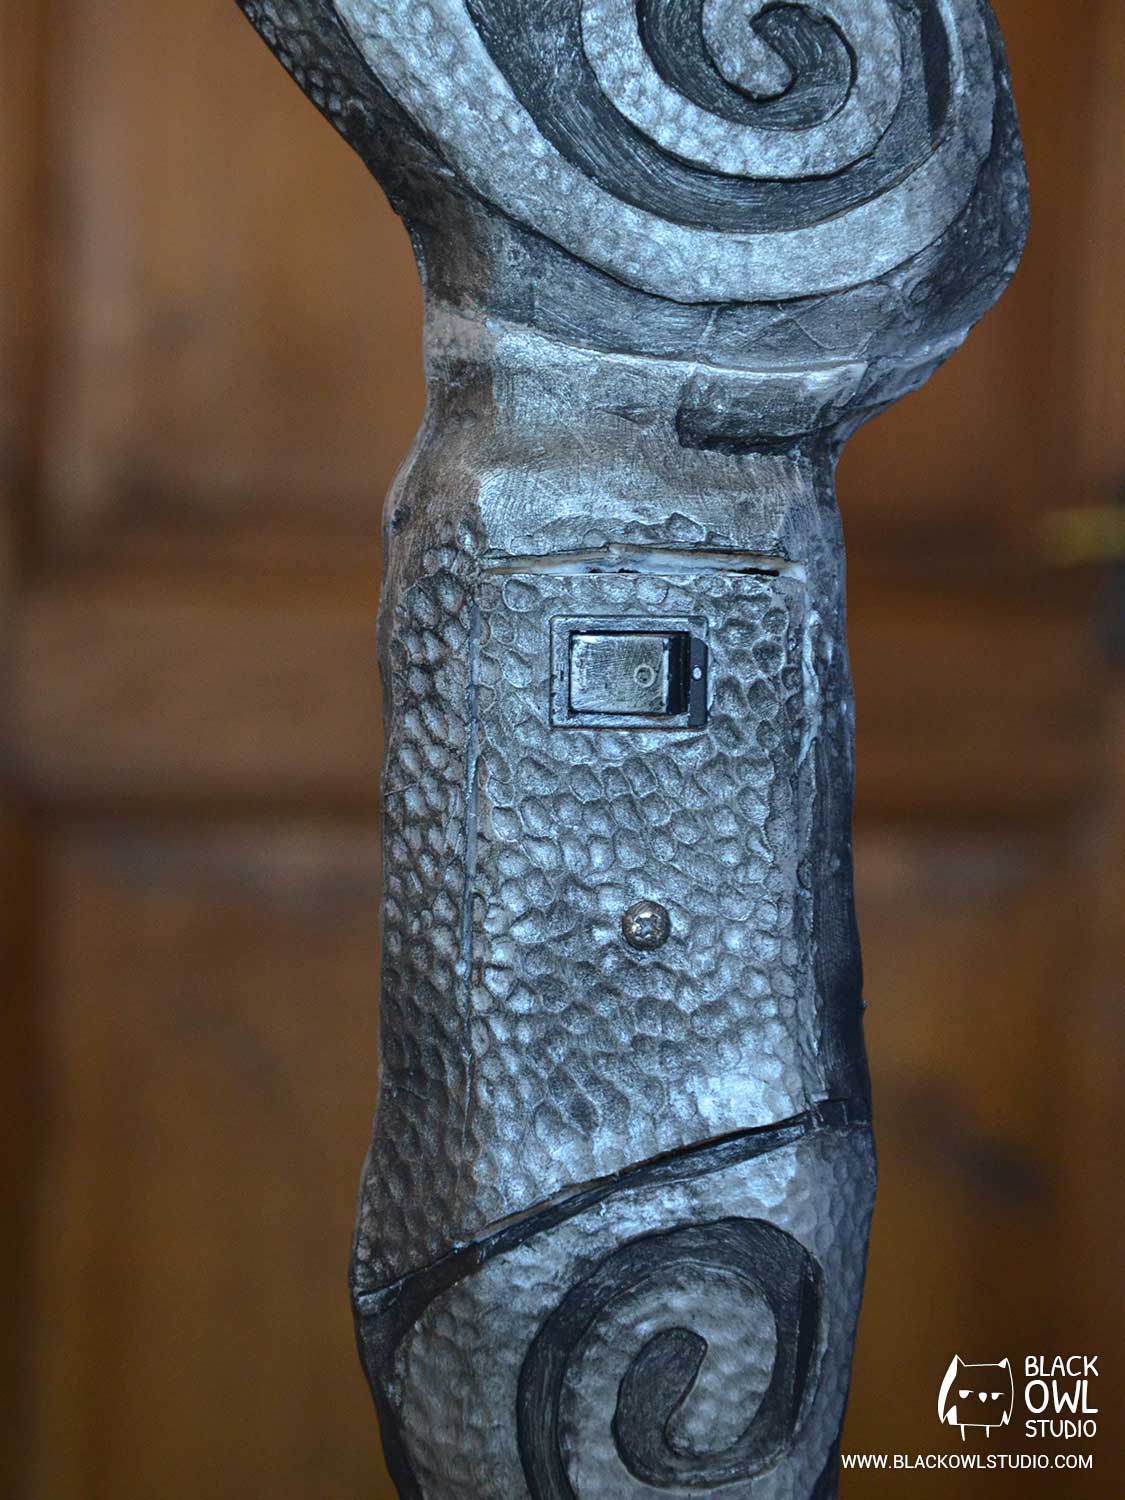
Power switch
We cut a hole in the handle to get an access to the batteries and resistors. Placing resistors here allow us to change them if they ever break.

We cut another hole (smaller this time) on this “lid” to place the switch.
Once everything was in there (a real Tetris game…) we just had to close the lid with a screw attached to a small iron plate to block the opening.
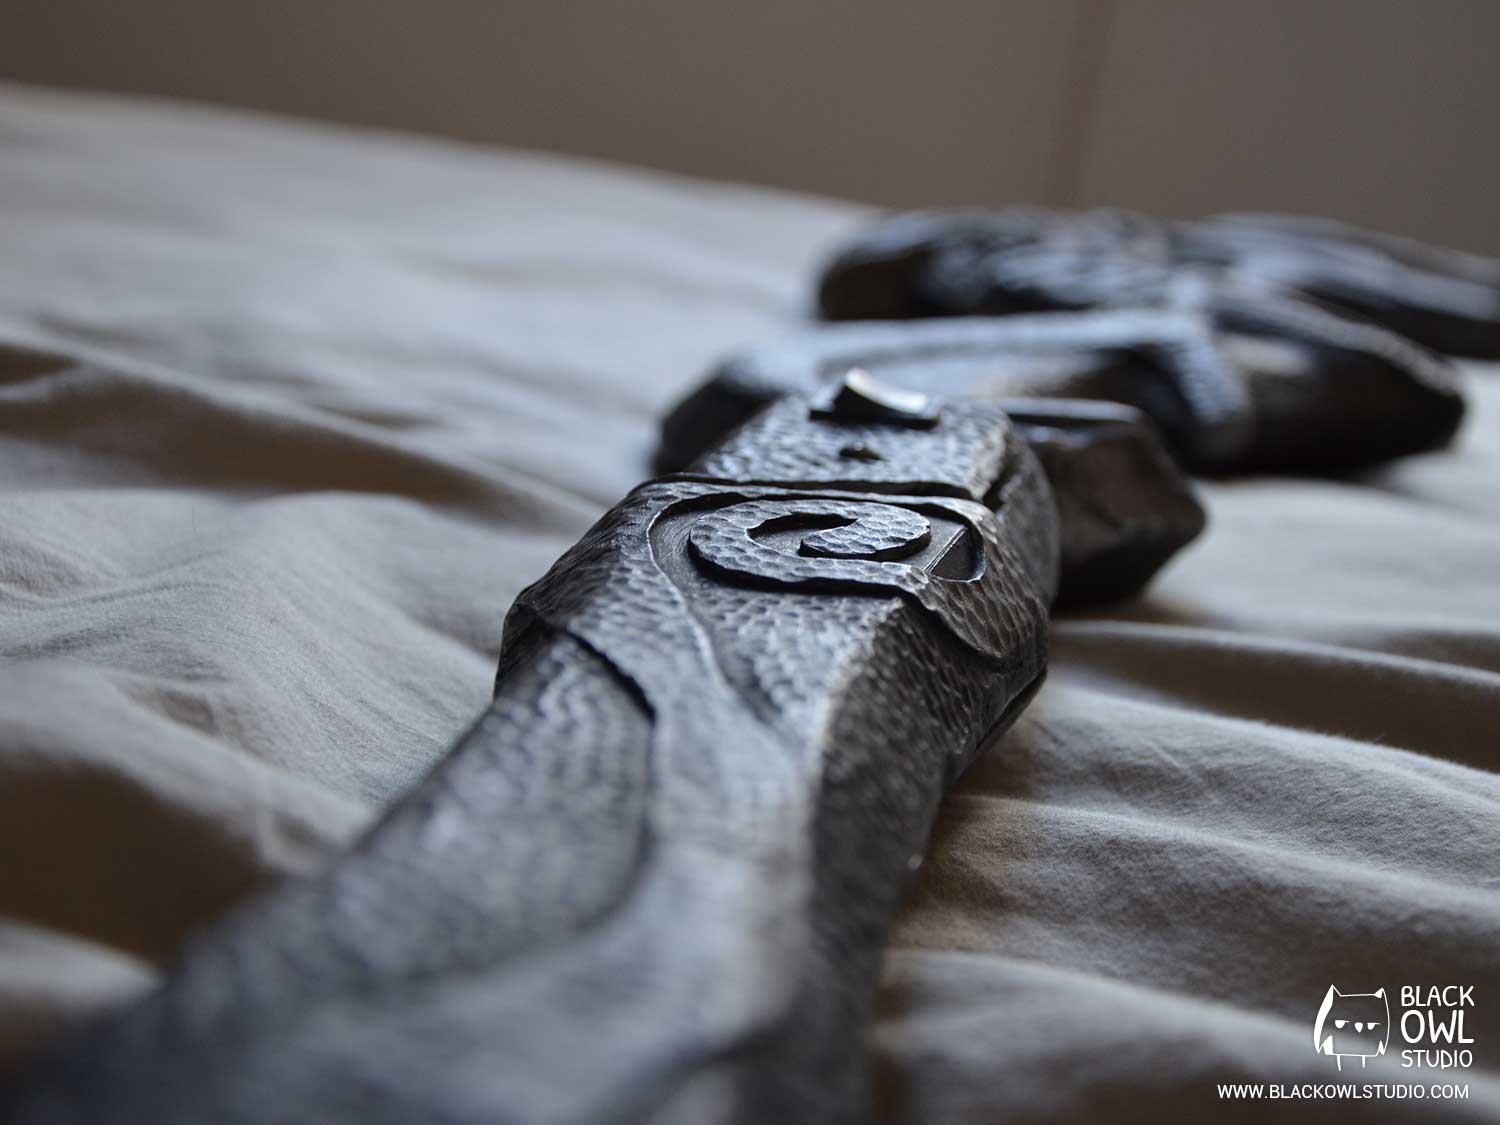
Acrylic paint
The fastest and most relaxing part in the whole process. (Two evenings of work in total)
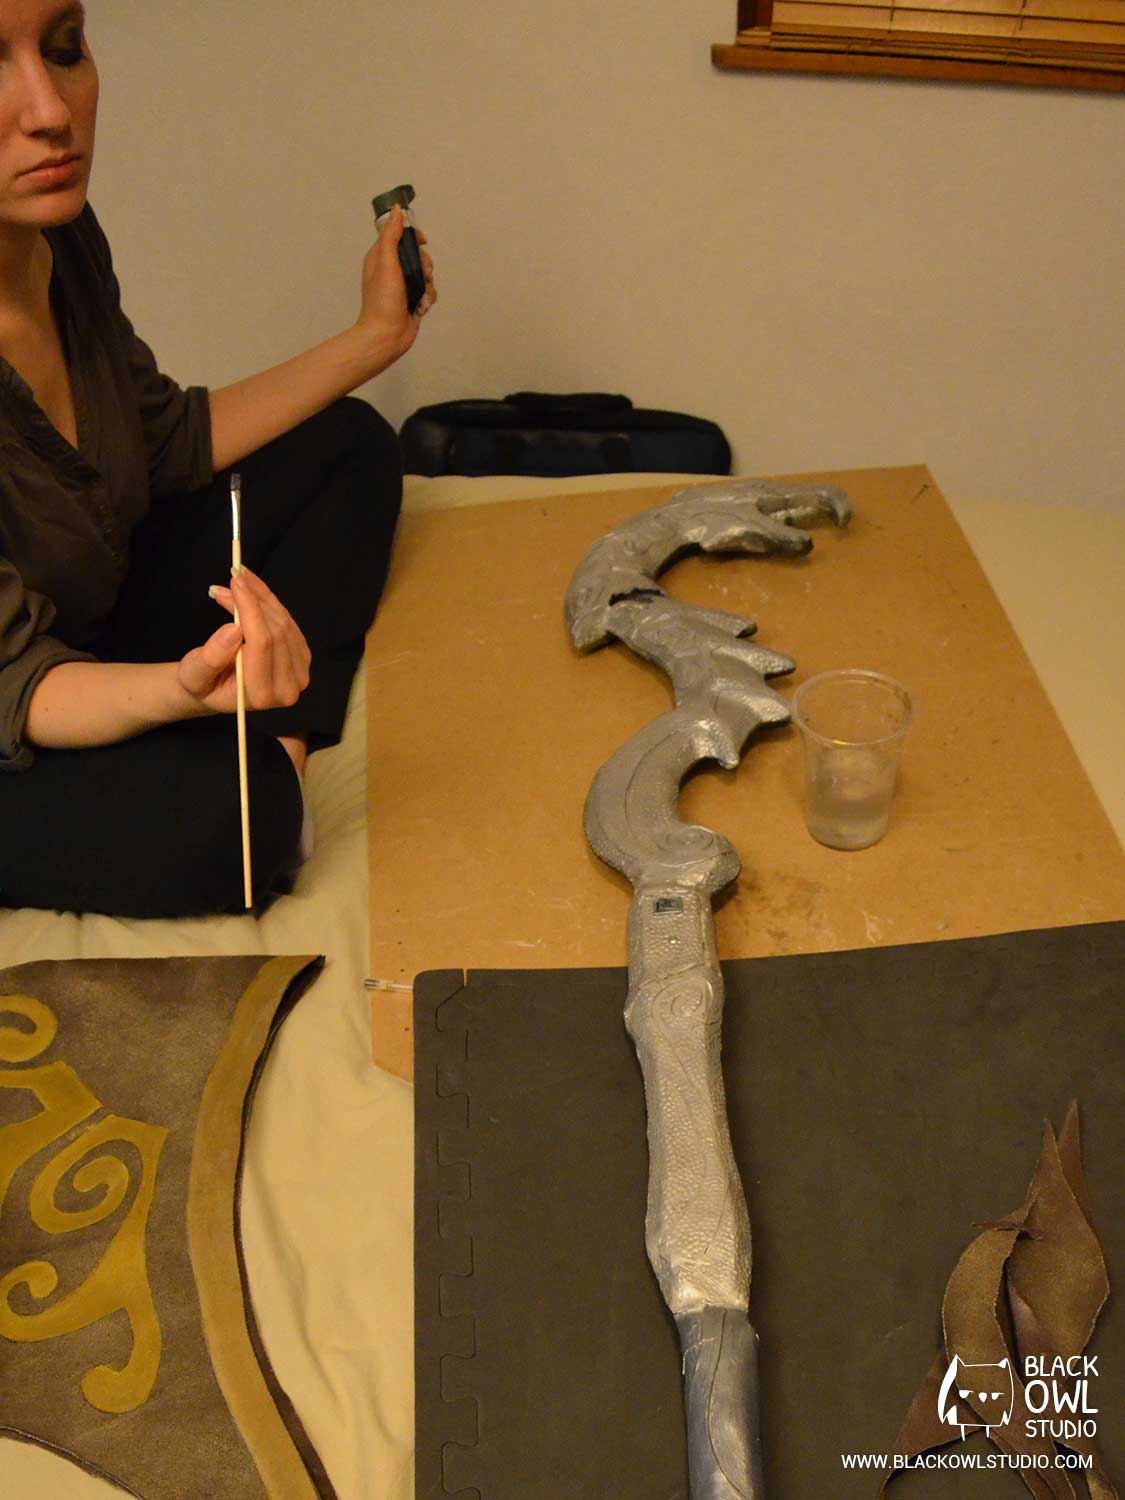
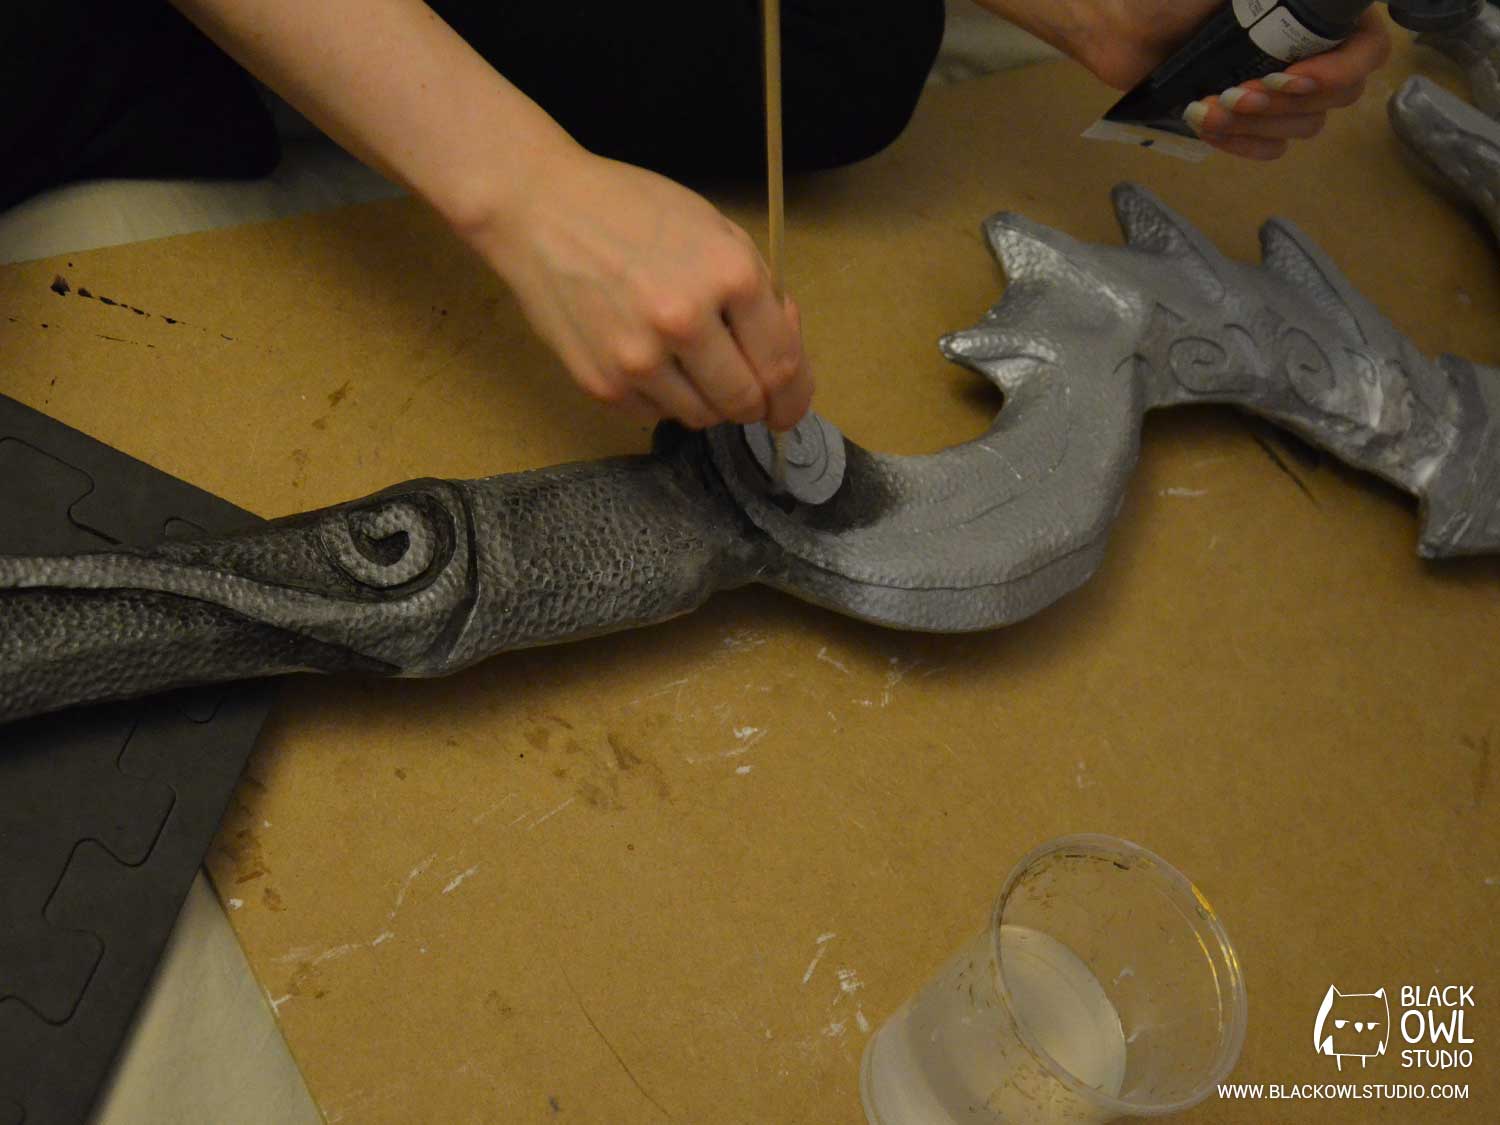
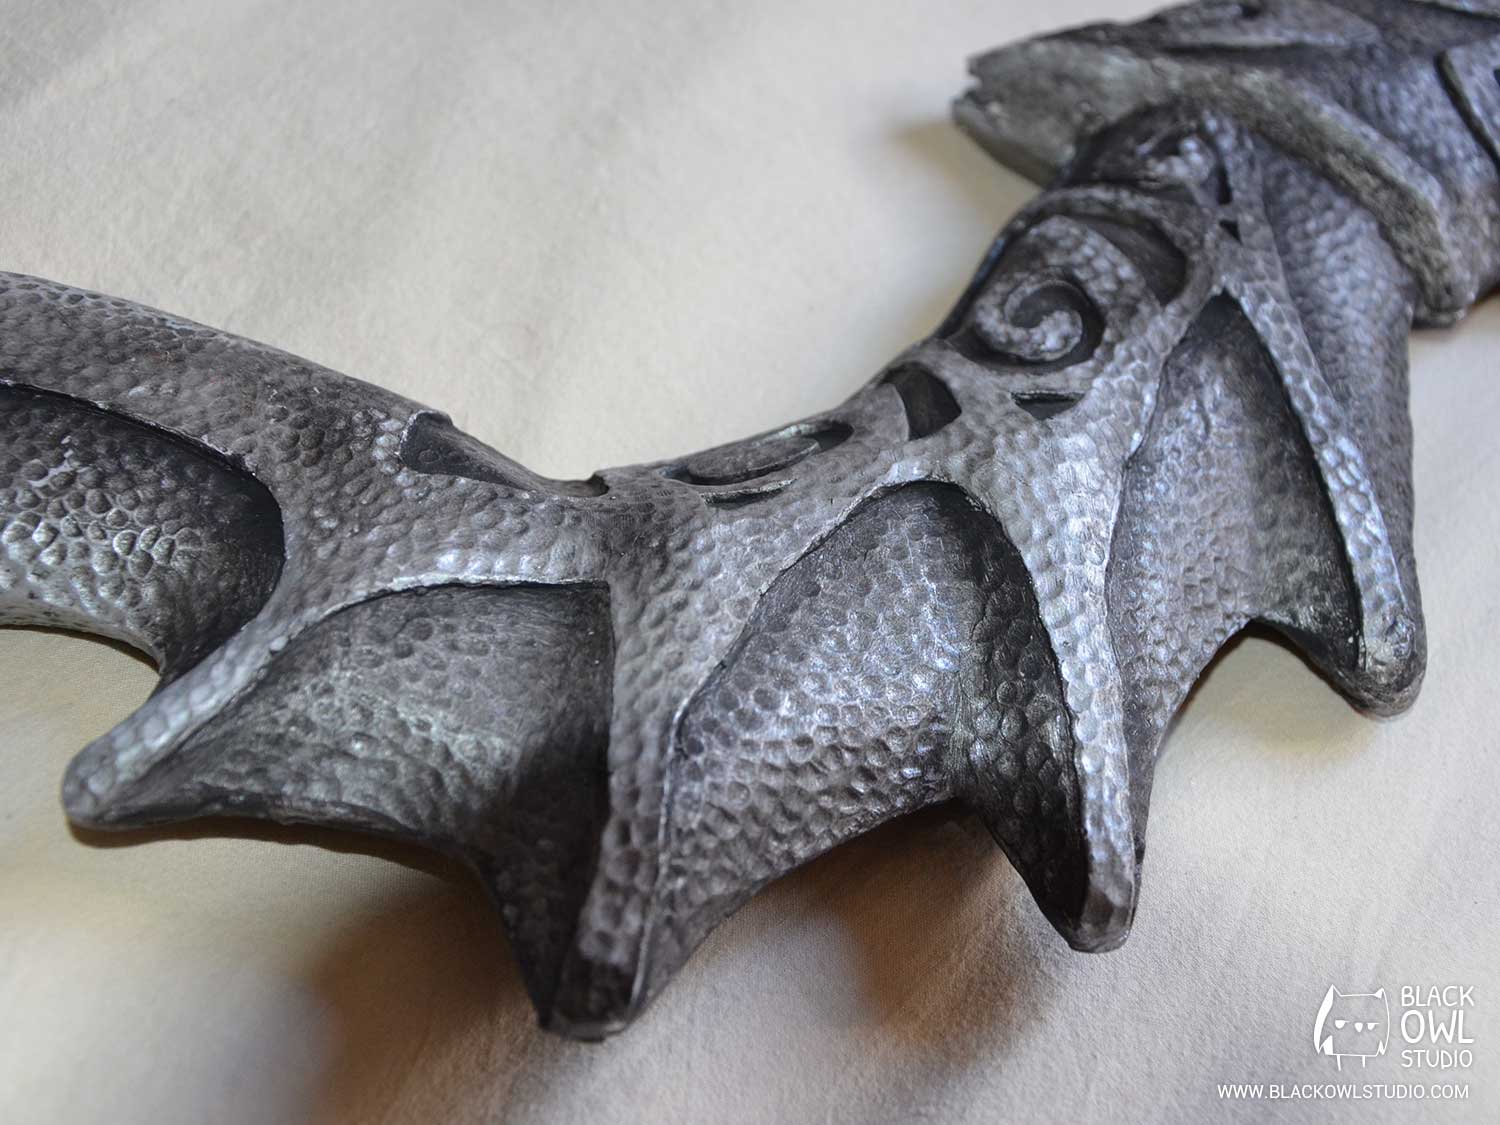
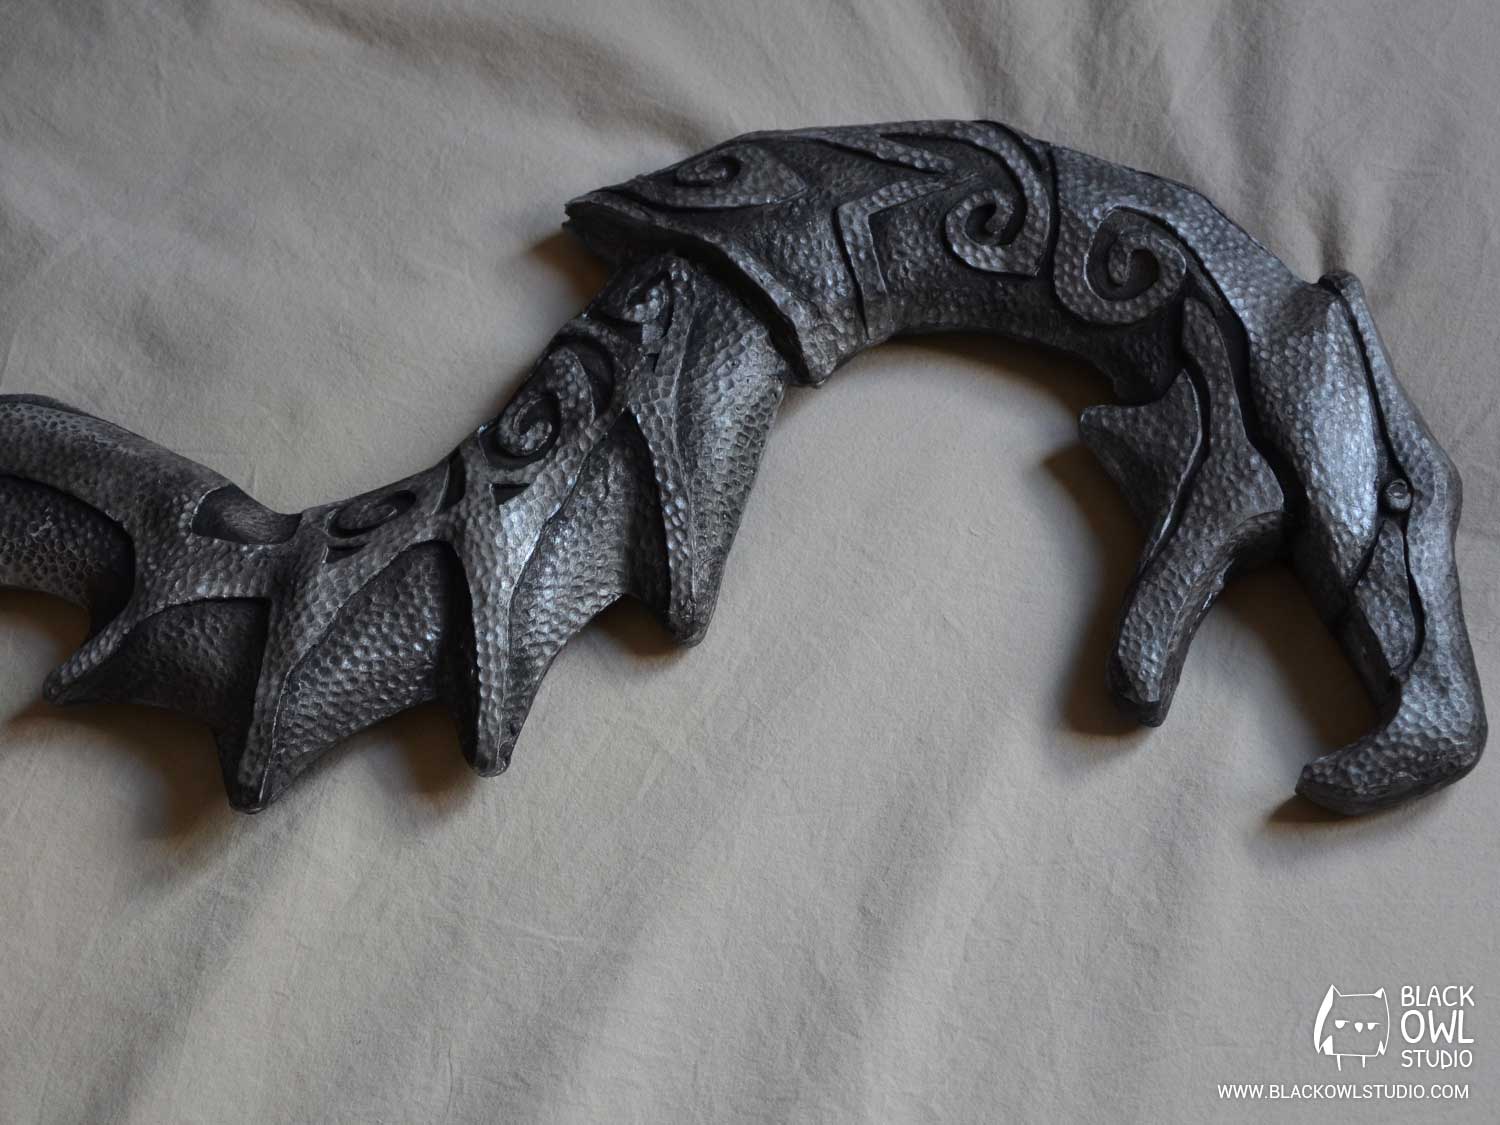
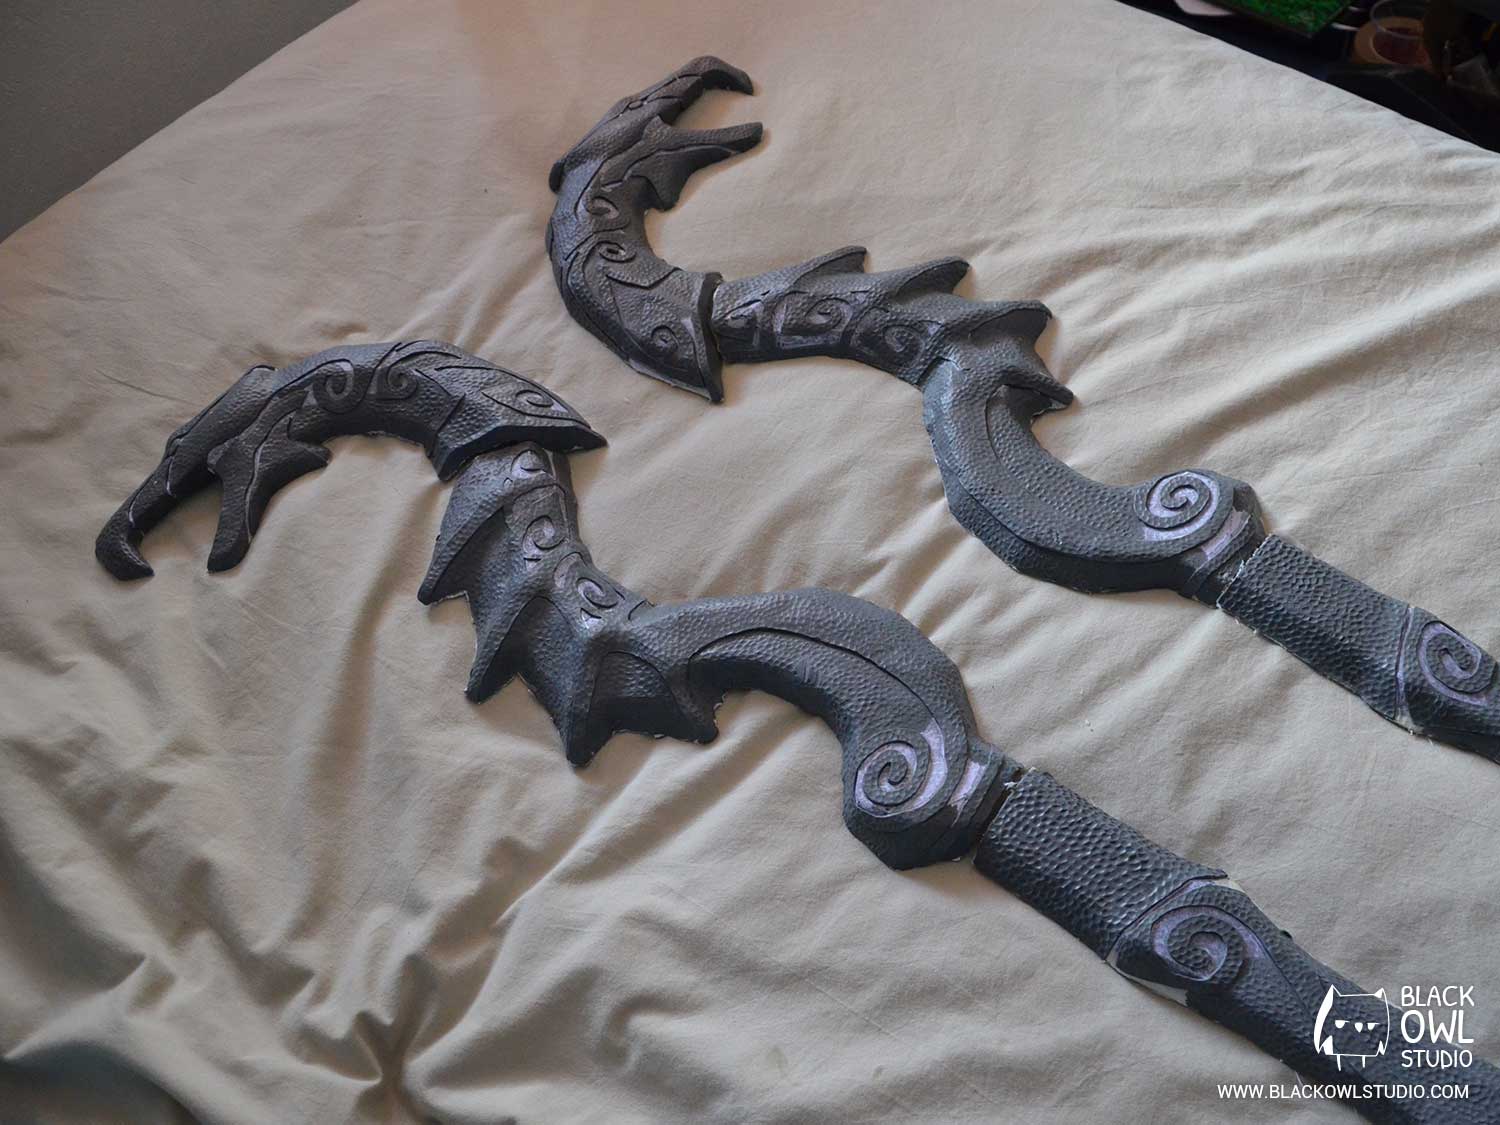
We started by applying several layers of silver acrylic paint over the whole surface of the staff. Once the silver color was dry and uniform, we just added black paint to point out the shapes. To get this aged look, we advise you to paint directly on the staff (with water for a soft diffusing effect, without water for a stronger color). Rub with a cloth or a tissue to spread and soften the paint (revealing the silver below).
The finished Dragon Priest staff :

Comments (0)