Our Magical Ideas for a Harry Potter-style Decor!
Mandrakes, philosopher’s stone or Basilisk Fang are objects that we have been making for several years now. With an activity like ours, highlighting the product is almost as important as the object itself. Booths at fairs, photos for the shop and showcases, so many opportunities for us to look for new ideas, to craft new things and to enrich our collection of decorative objects.
Are you looking for ideas to create a little corner of magic in your home? We give you our ideas, our tips and some tutorials to craft great stuff yourself!
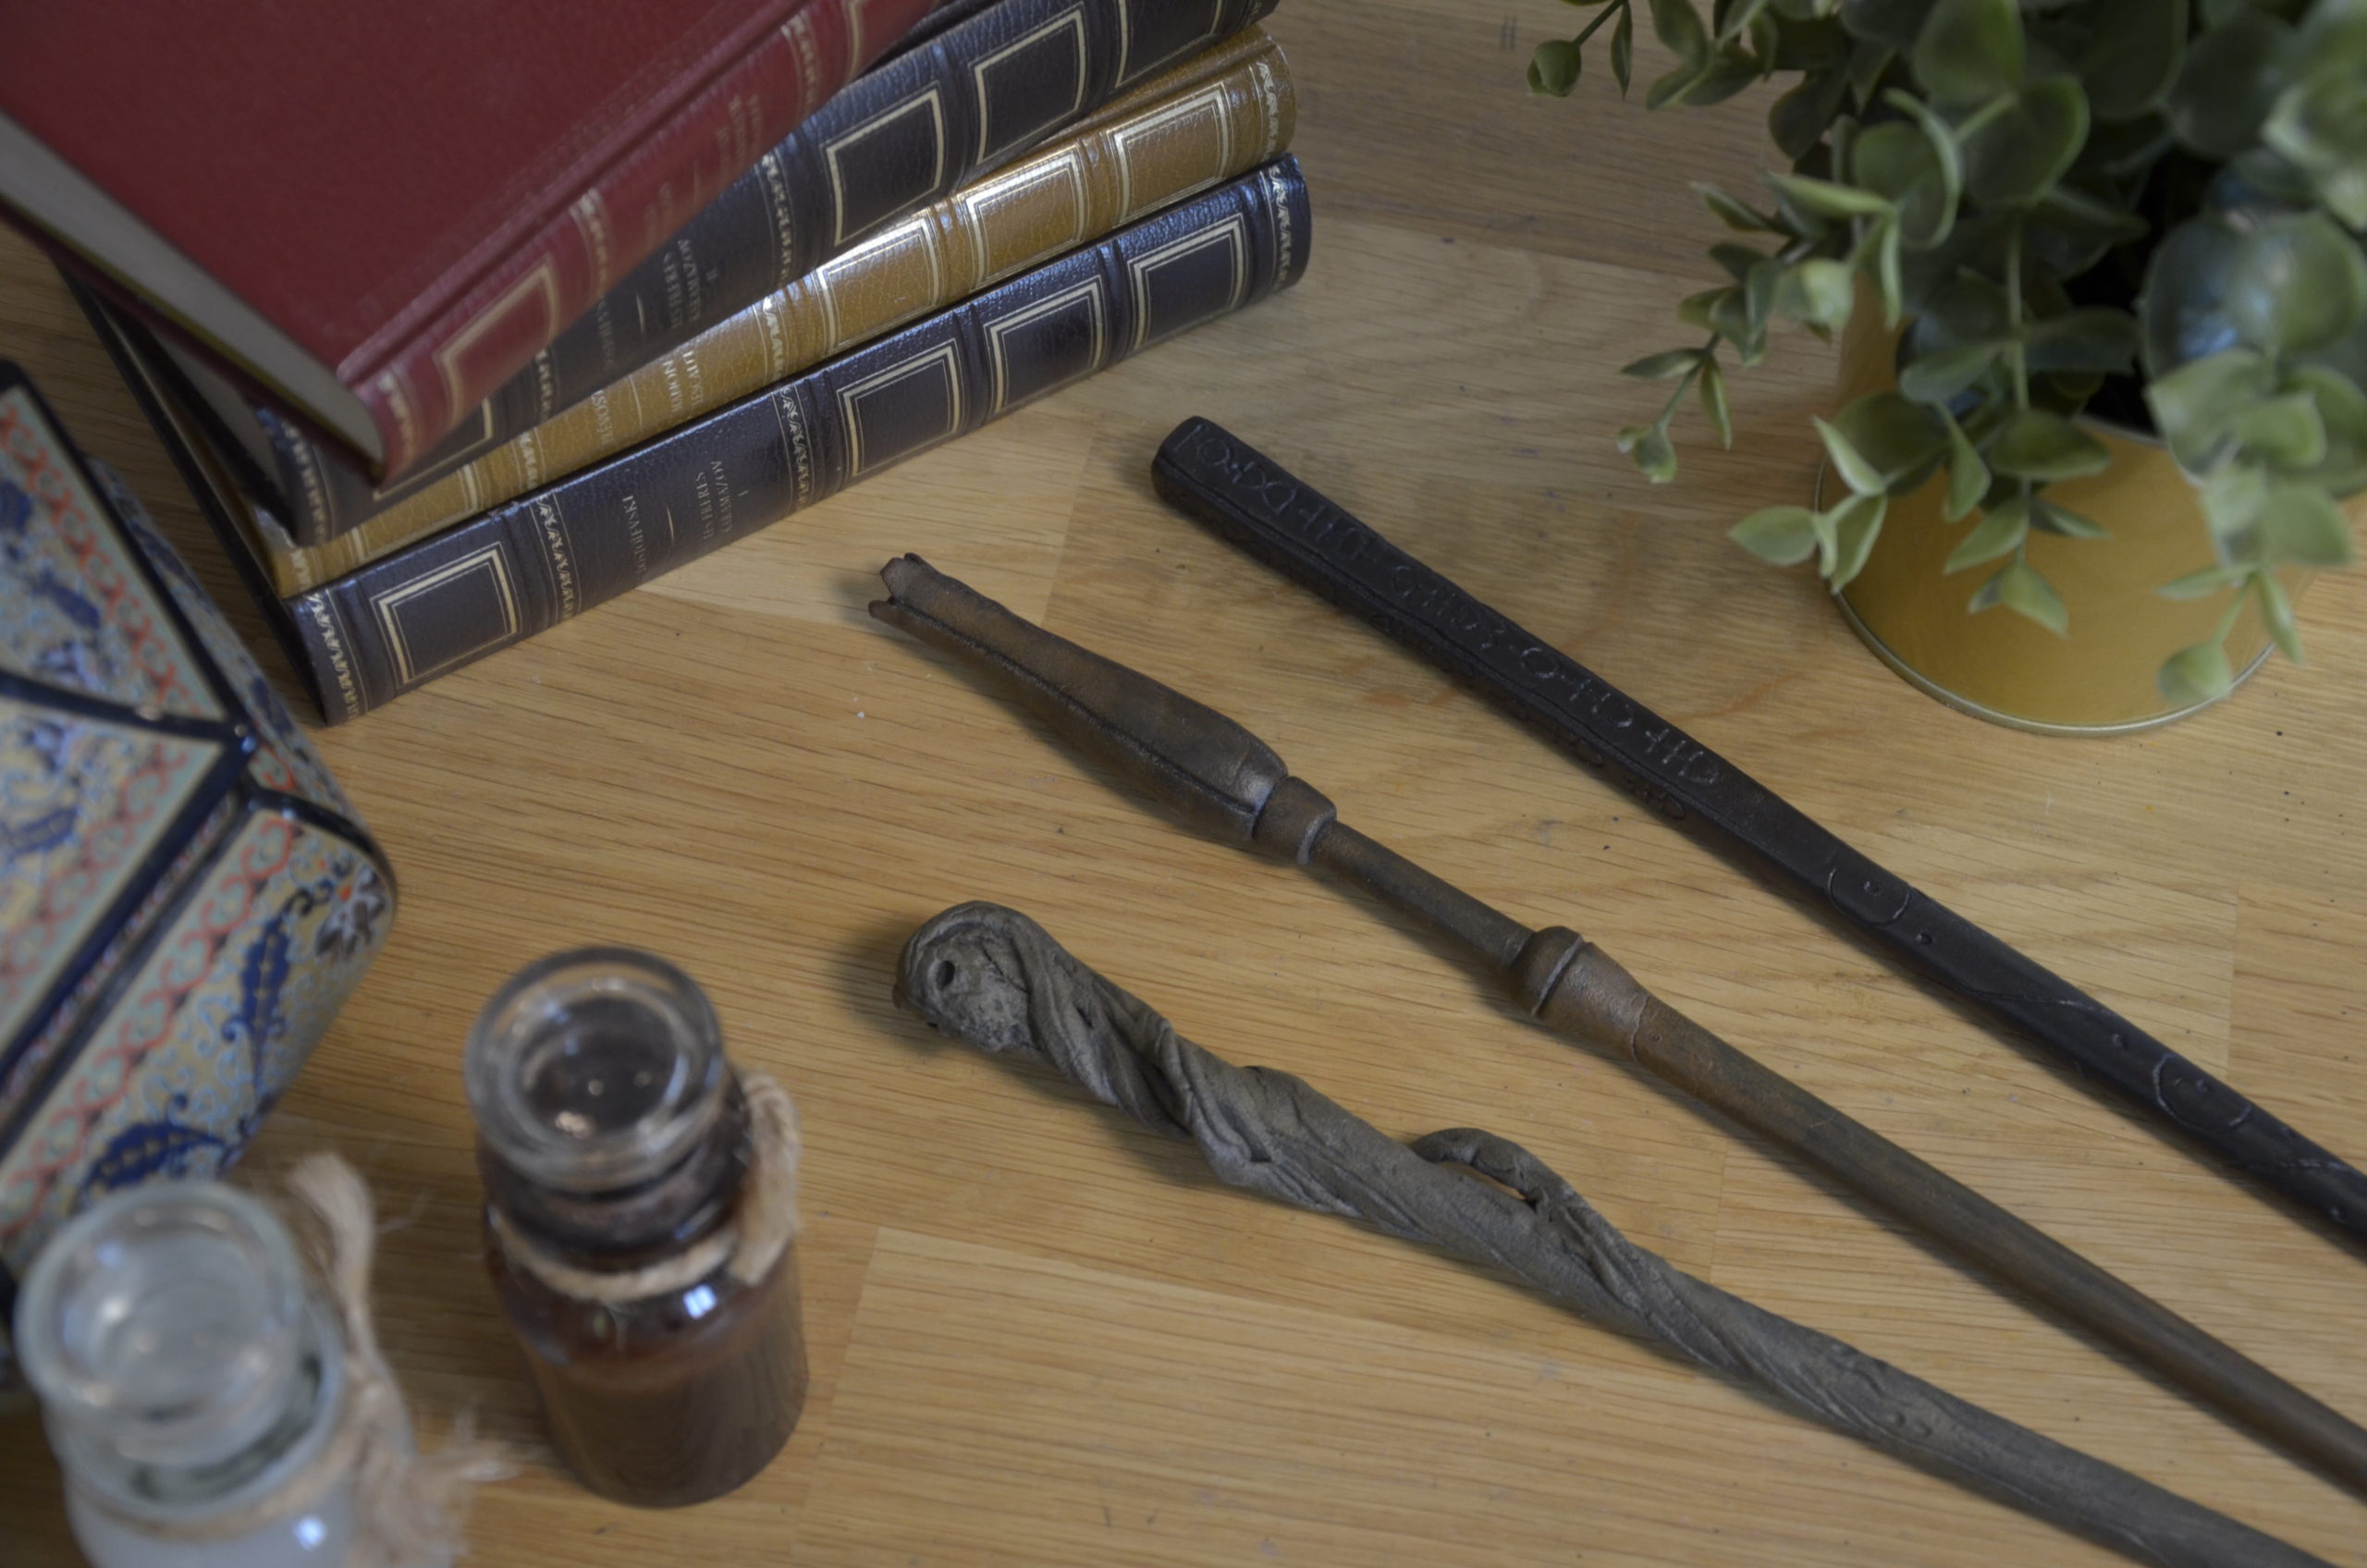
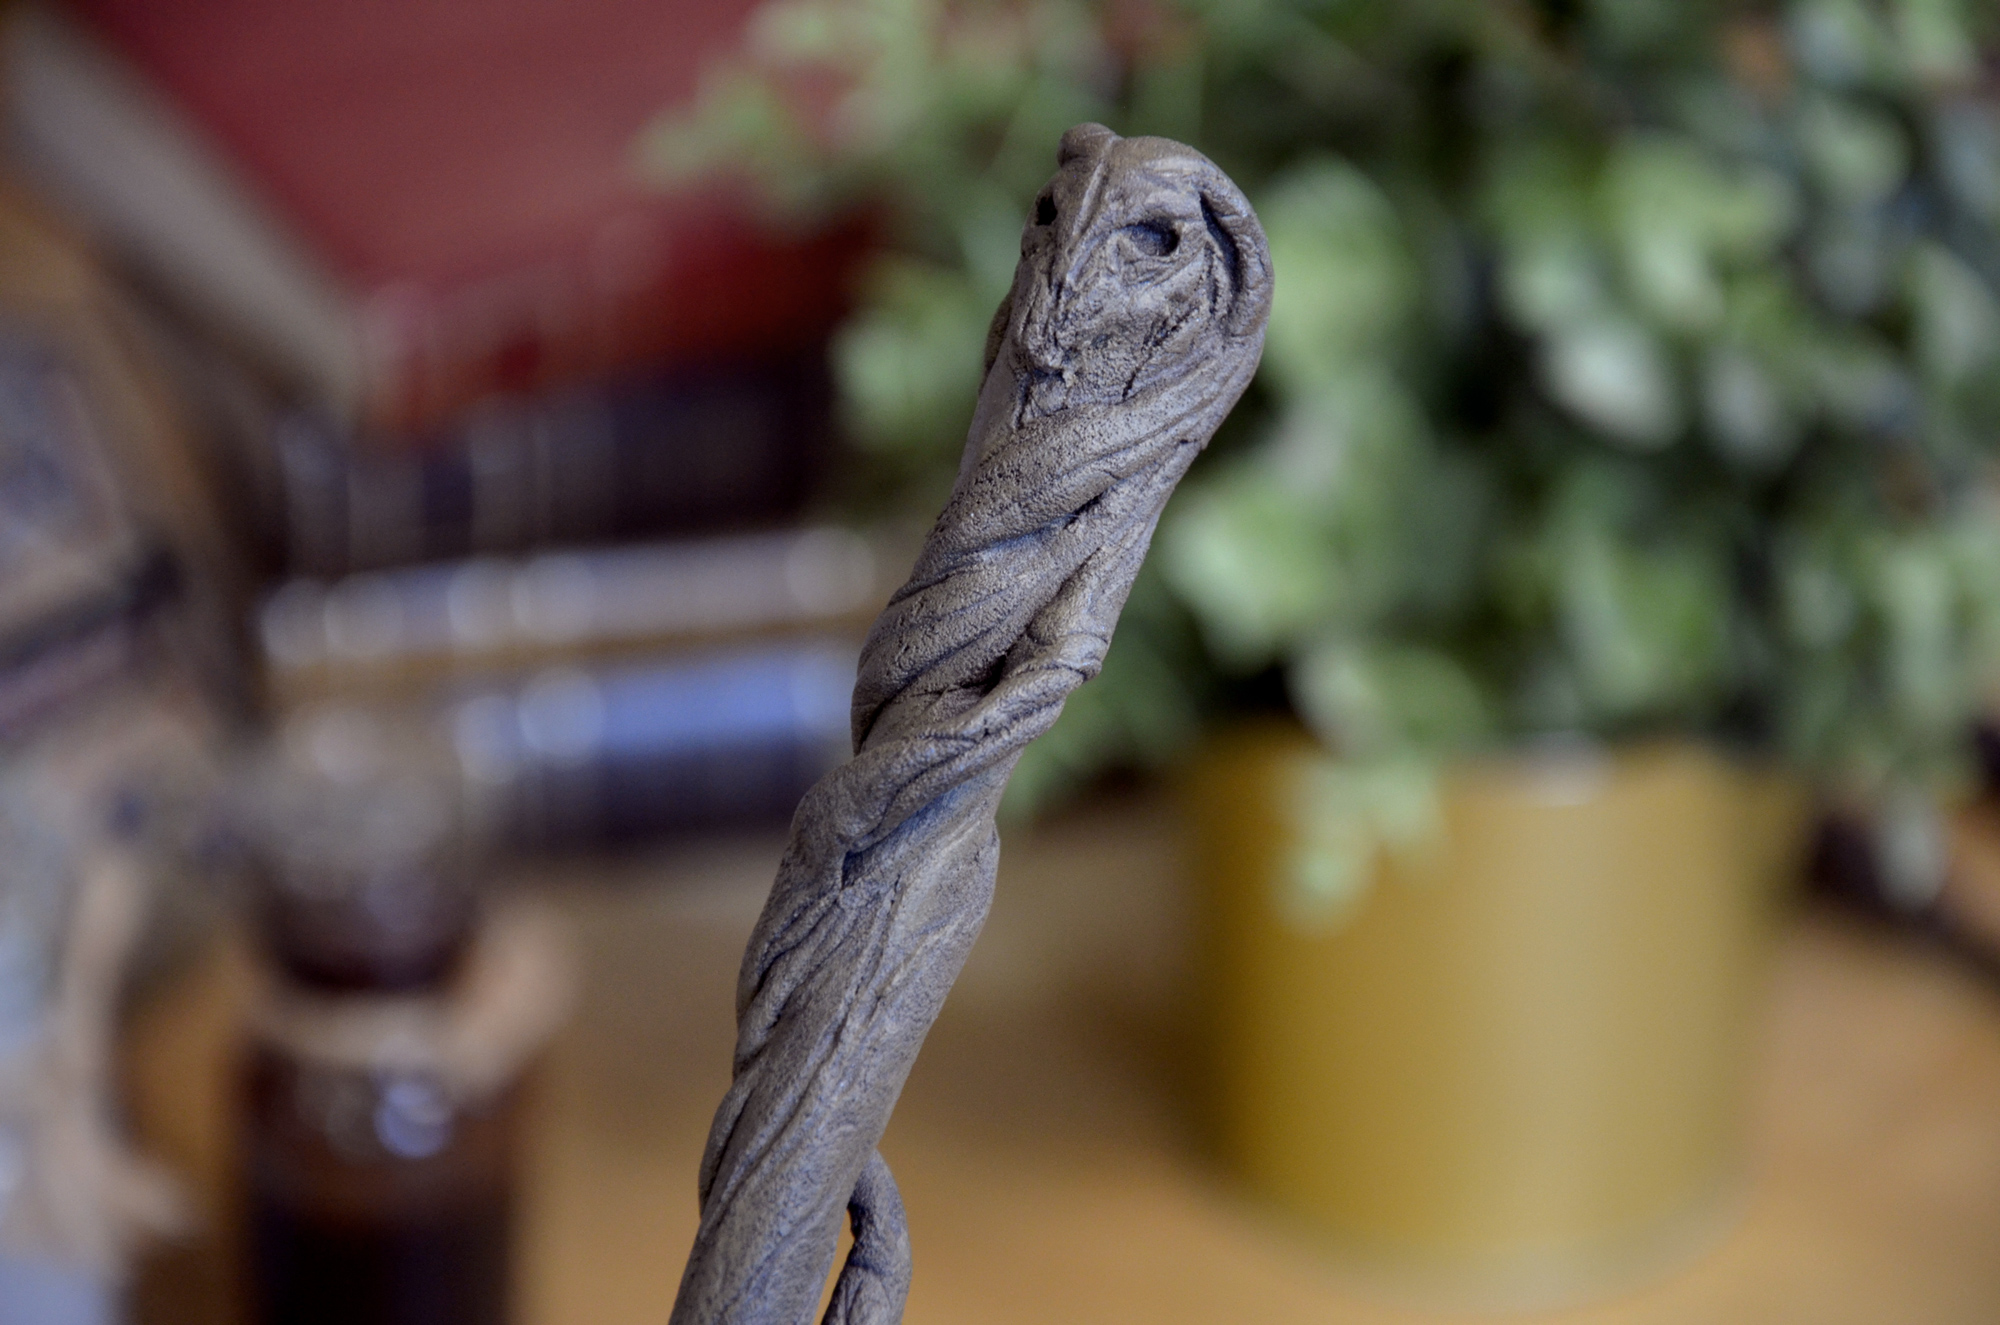
Make your own wand
The essential of any good wizard! For these, we opted for an in-house production based on Worbla, since we have a lot of scraps of this material.
Material:
- Worbla (Black Art)
- Heat gun
- Baking paper
- Big ruler (or a large, fairly rigid piece of plastic)
- Sculpting tools (preferably metallic)
- Acrylic paint
Worbla is a type of thermoplastic, to find out more, take a look at our dedicated post:
Thermoplastics : Worbla’s Finest Art, Black, Pearly, Meshed, Transpa Art, Cosplayflex…
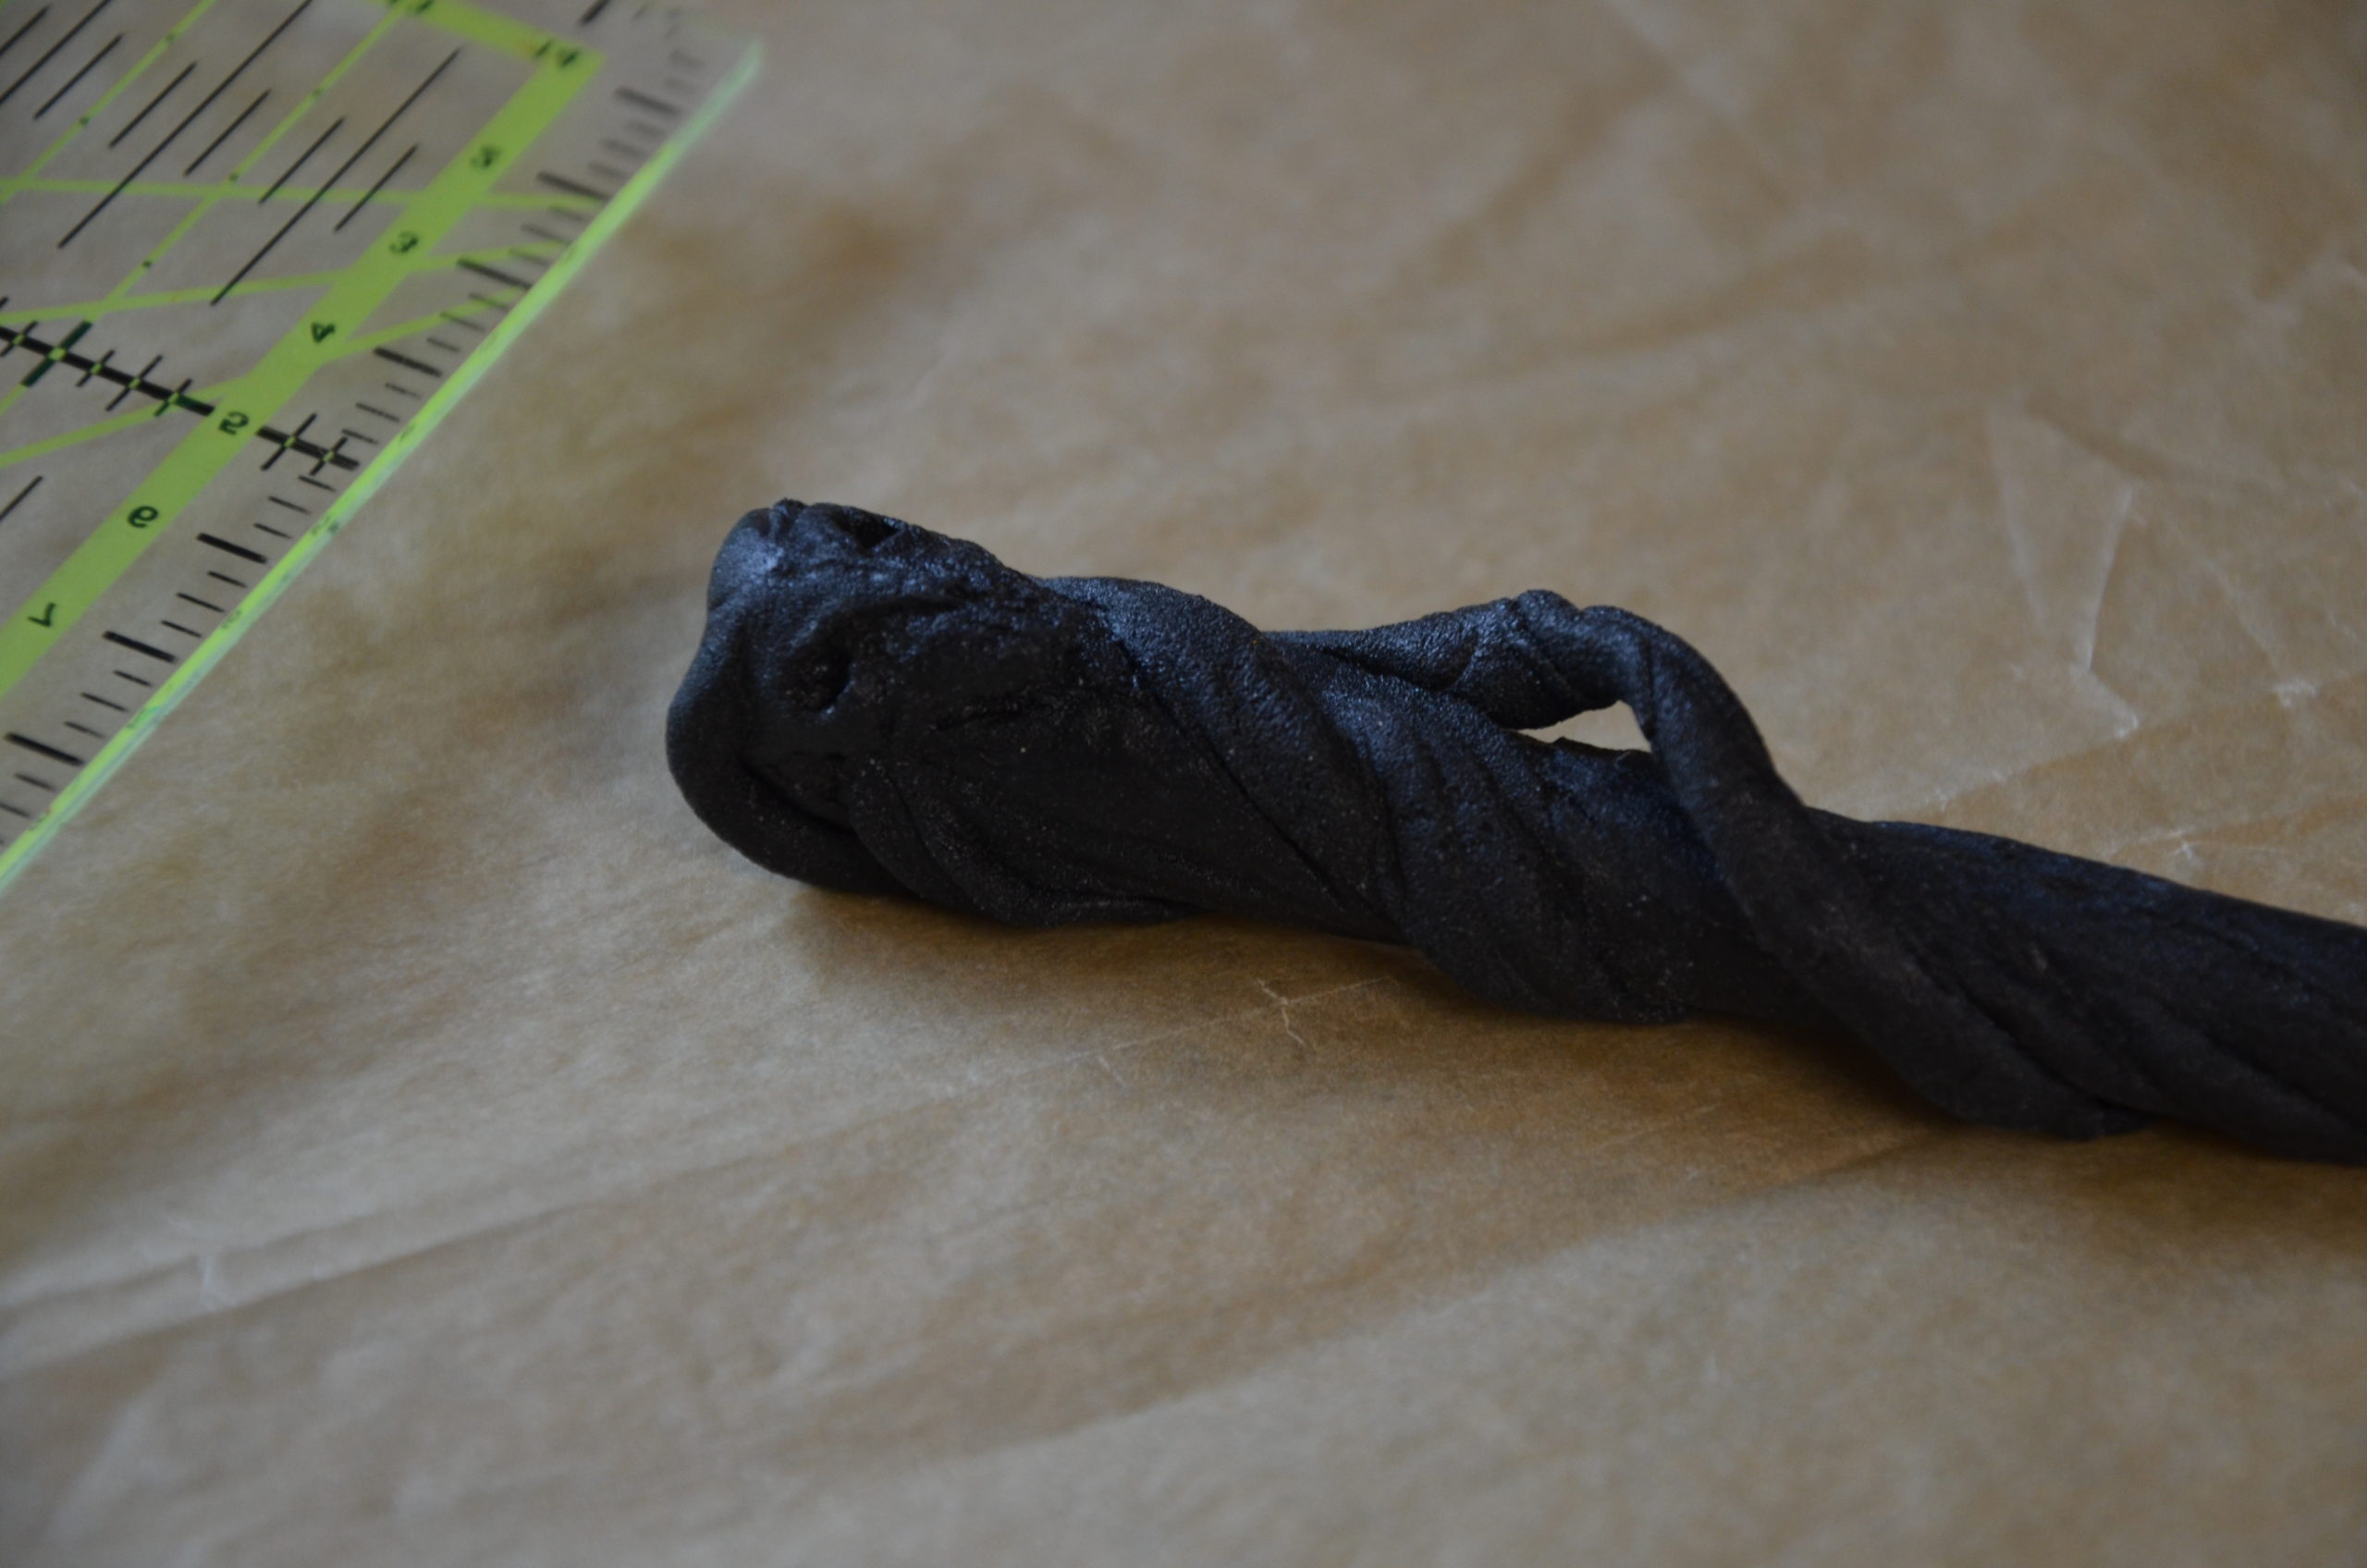
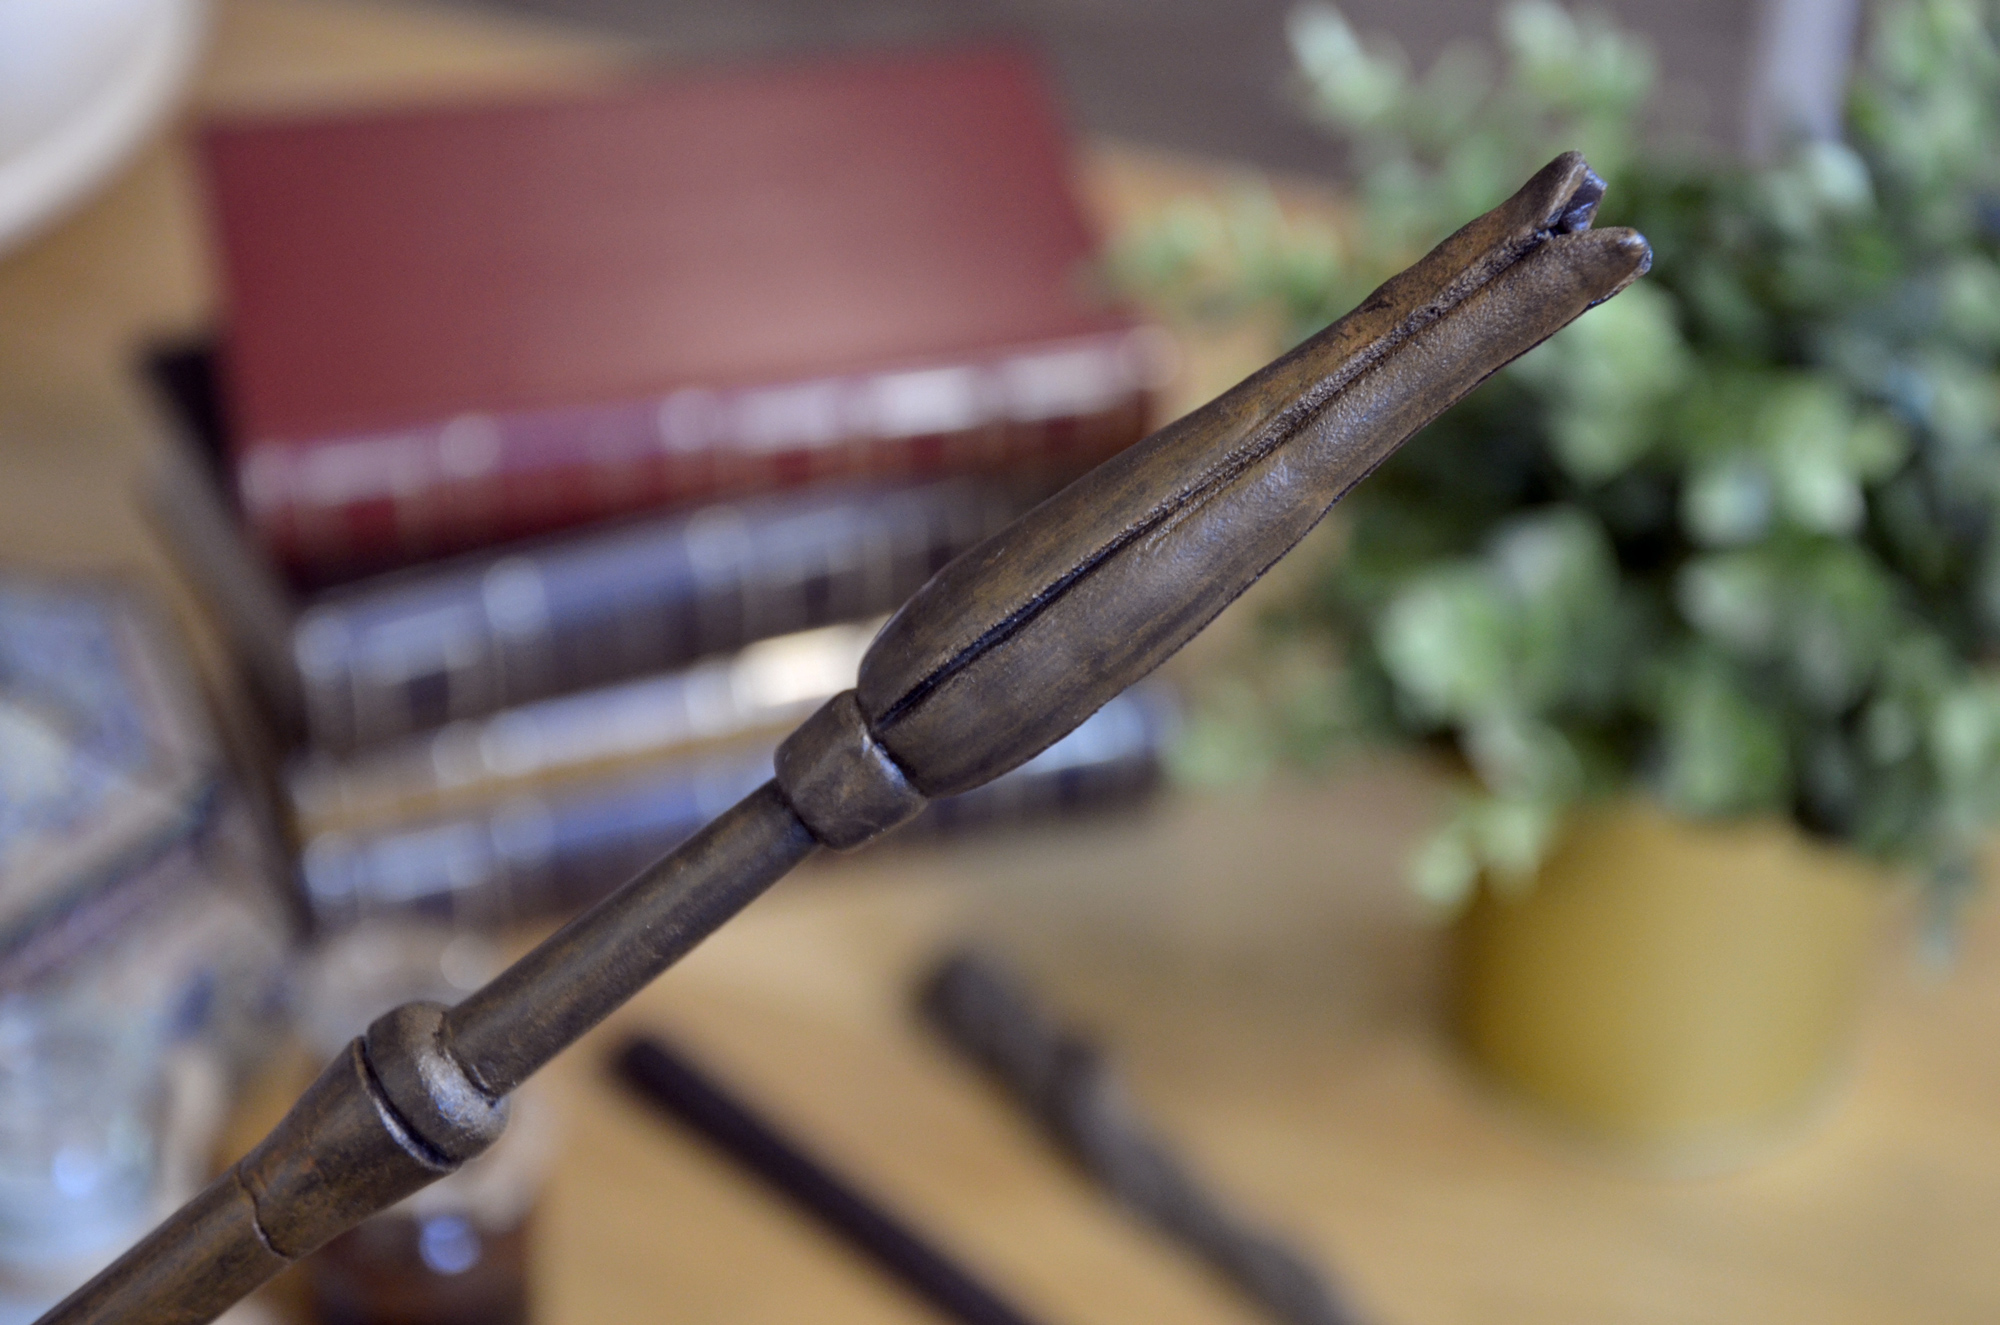
Place the Worbla on baking paper and warm it up using a heat gun to soften it. Form a sausage by rolling the material with your hands (and being careful not to burn yourself). You can use a large ruler to roll the sausage on your work surface, this will allow you to have a smooth, straight and regular shape.
You can obviously start from a branch, a stick or a wooden skewer that you cover with Worbla or hot glue to add details.
Add material and sculpt your wand according to your desires. Allow to cool before painting.
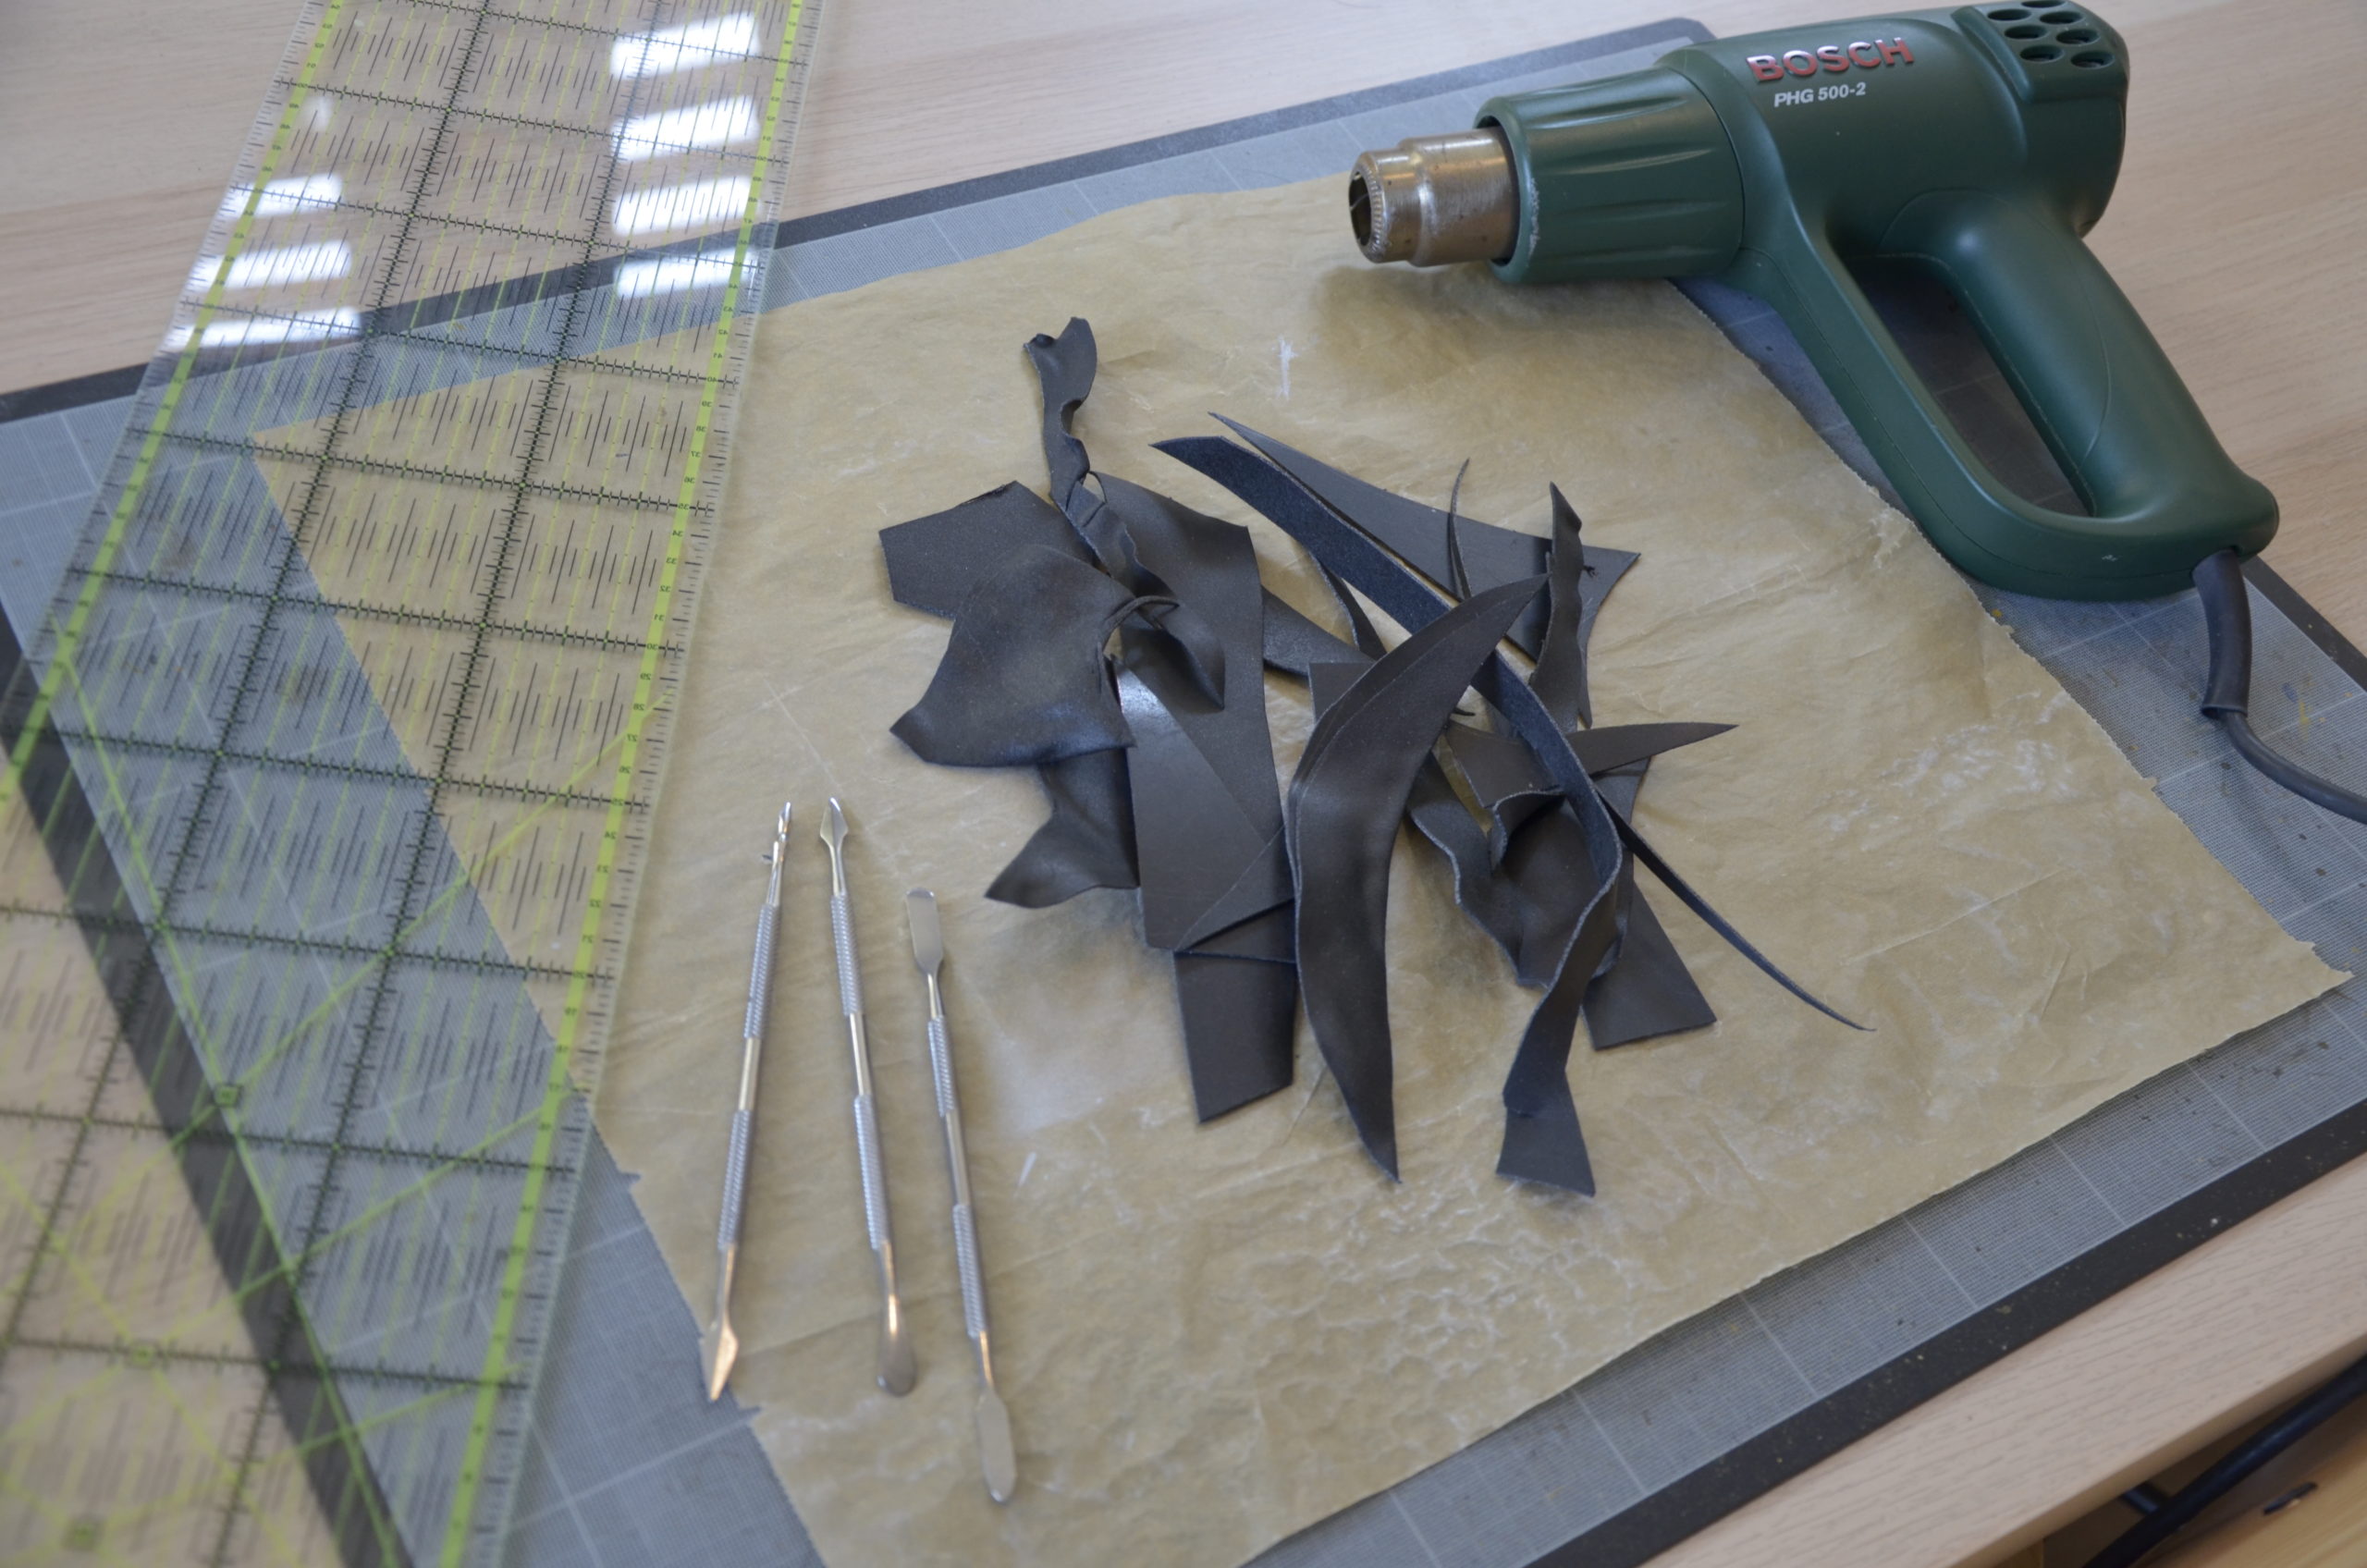
If the look of the Worbla is not smooth enough, you can apply spray primer and lightly sand the surface of your wand.
For the paint, I use acrylic, which I dry brush on the wand. To add wood effects, you can brush with different shades of browns.
When you are finished, apply a coat of gloss or matte varnish, depending on the finish you want.
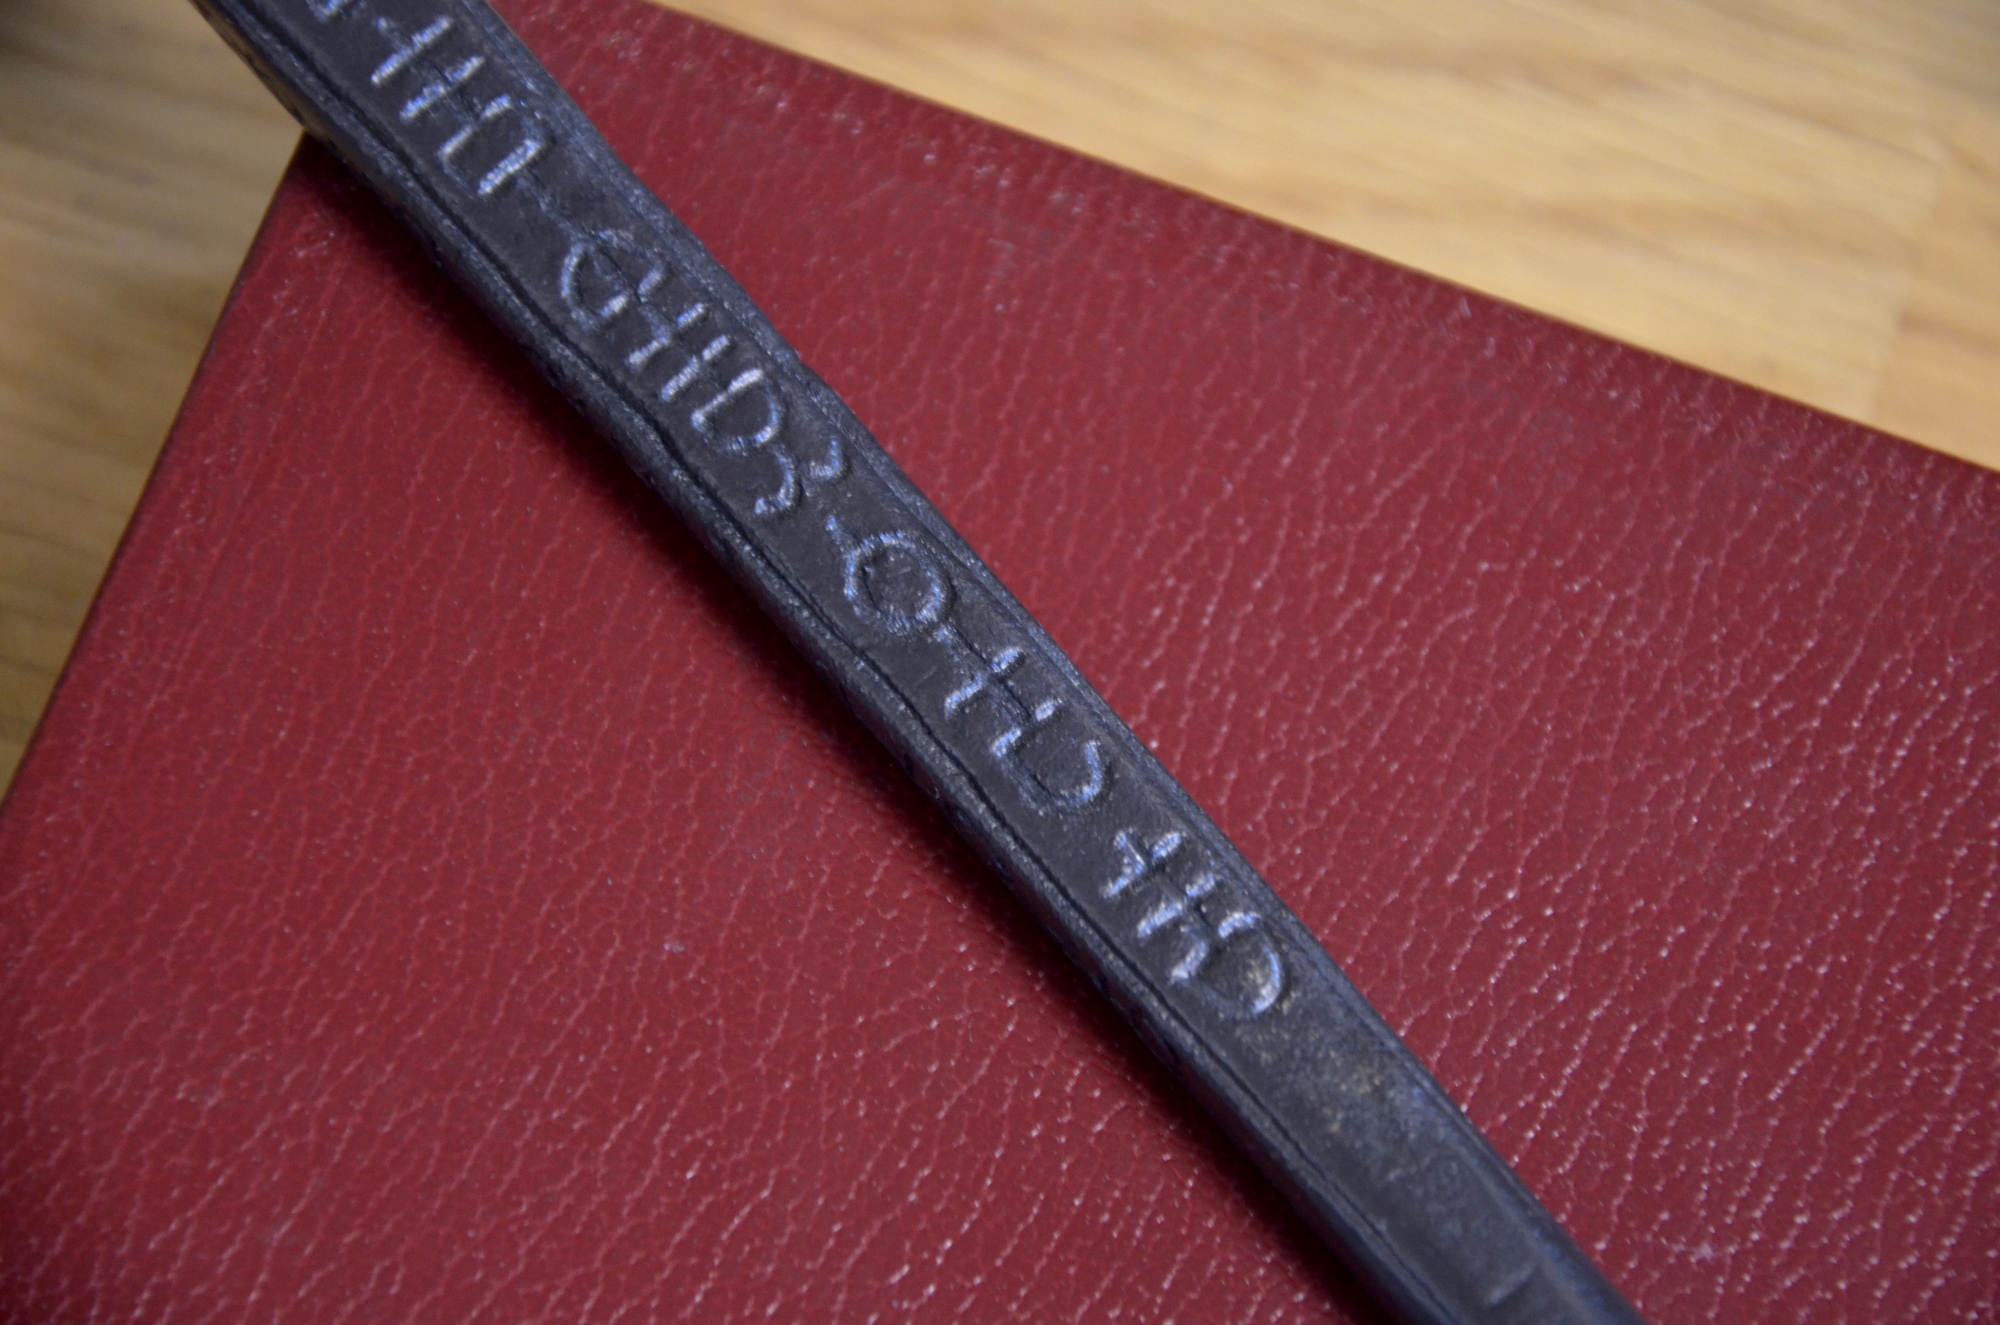
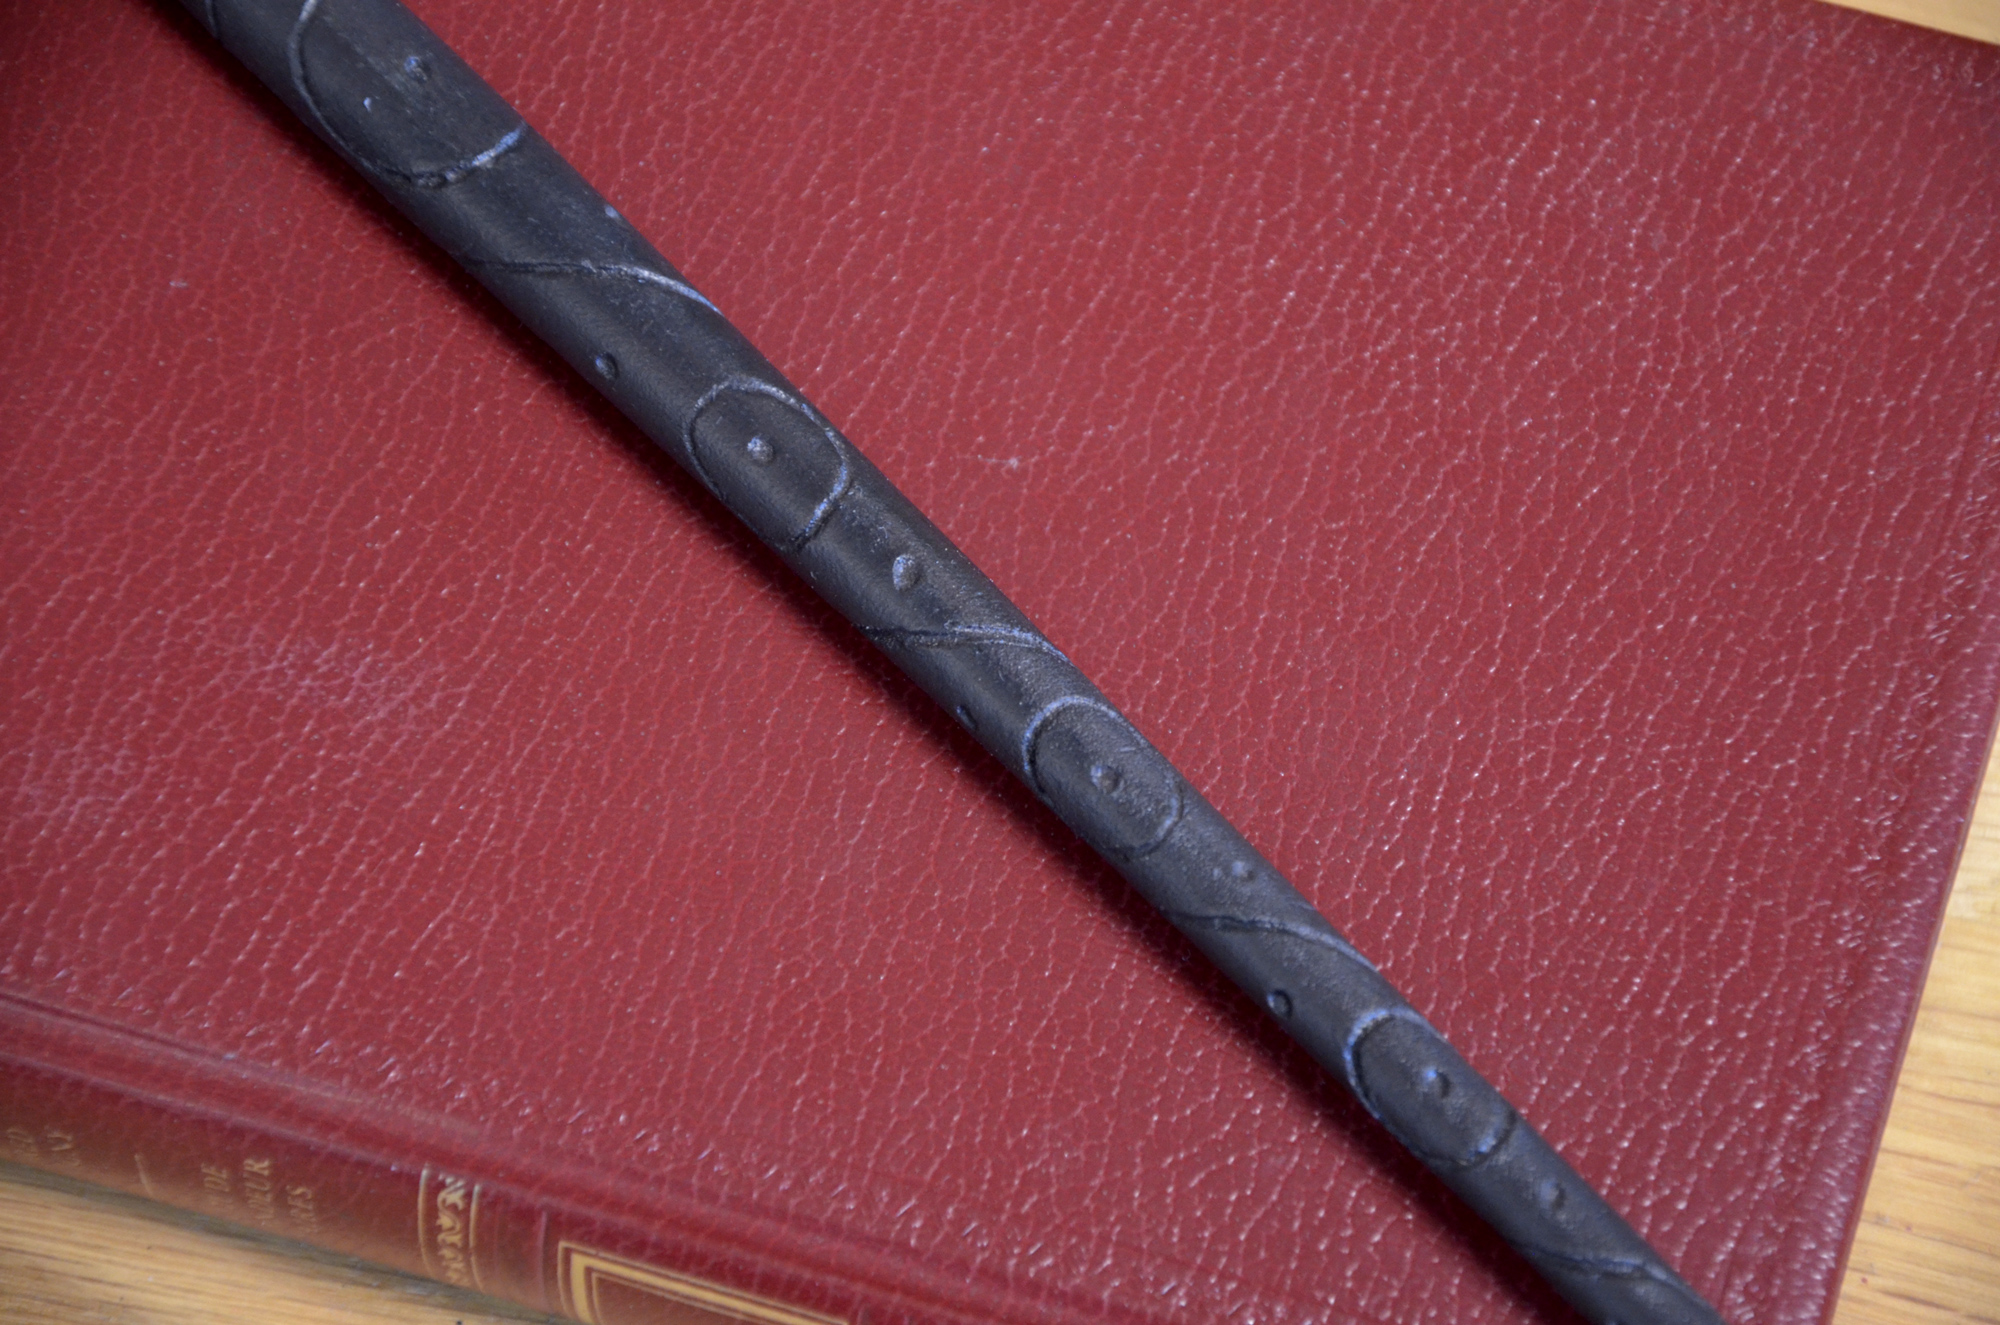
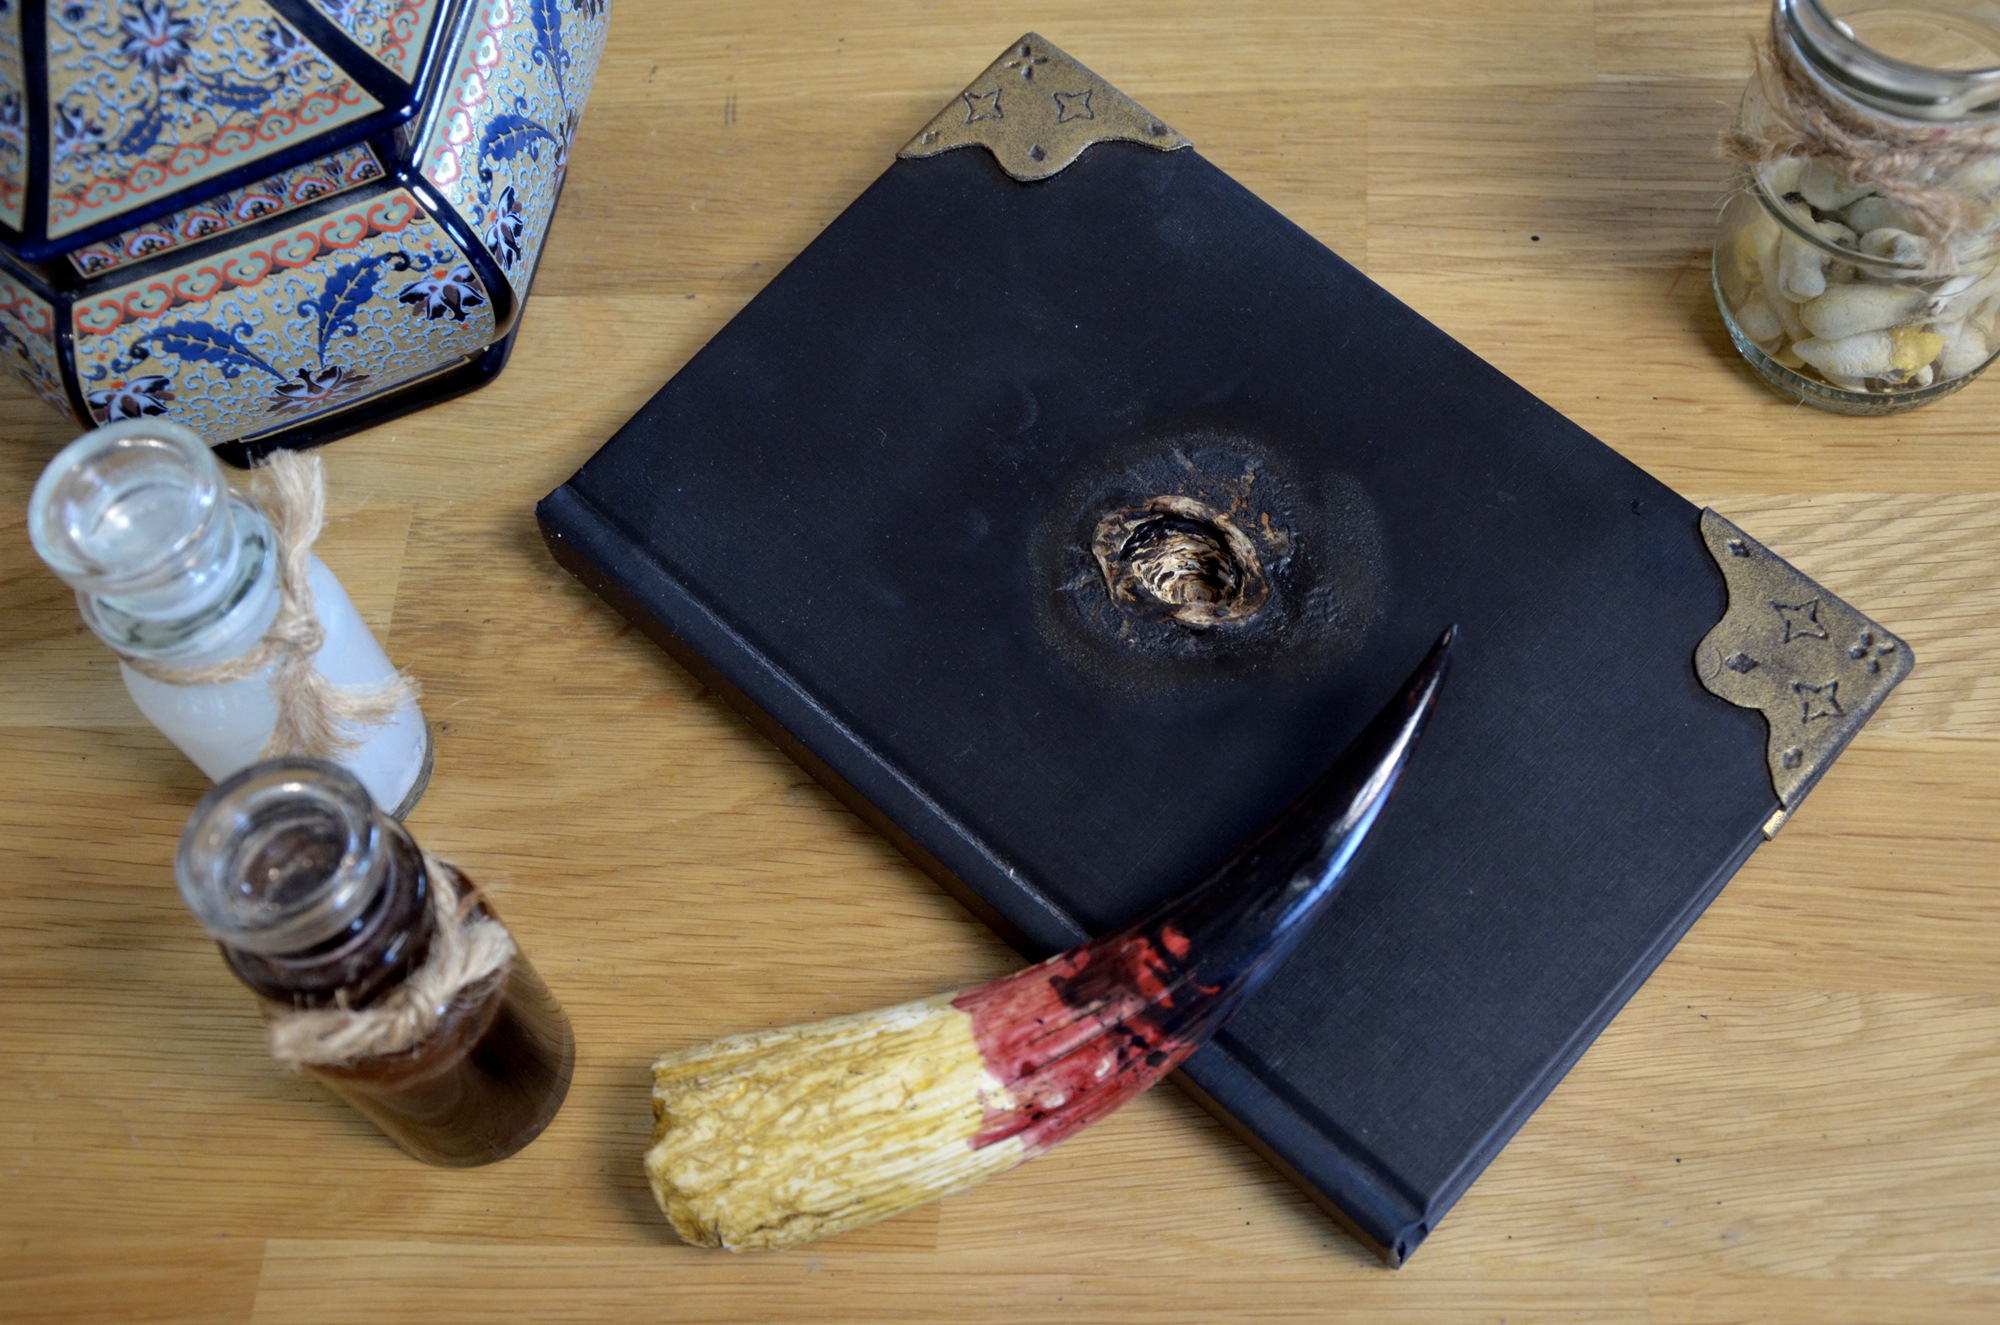
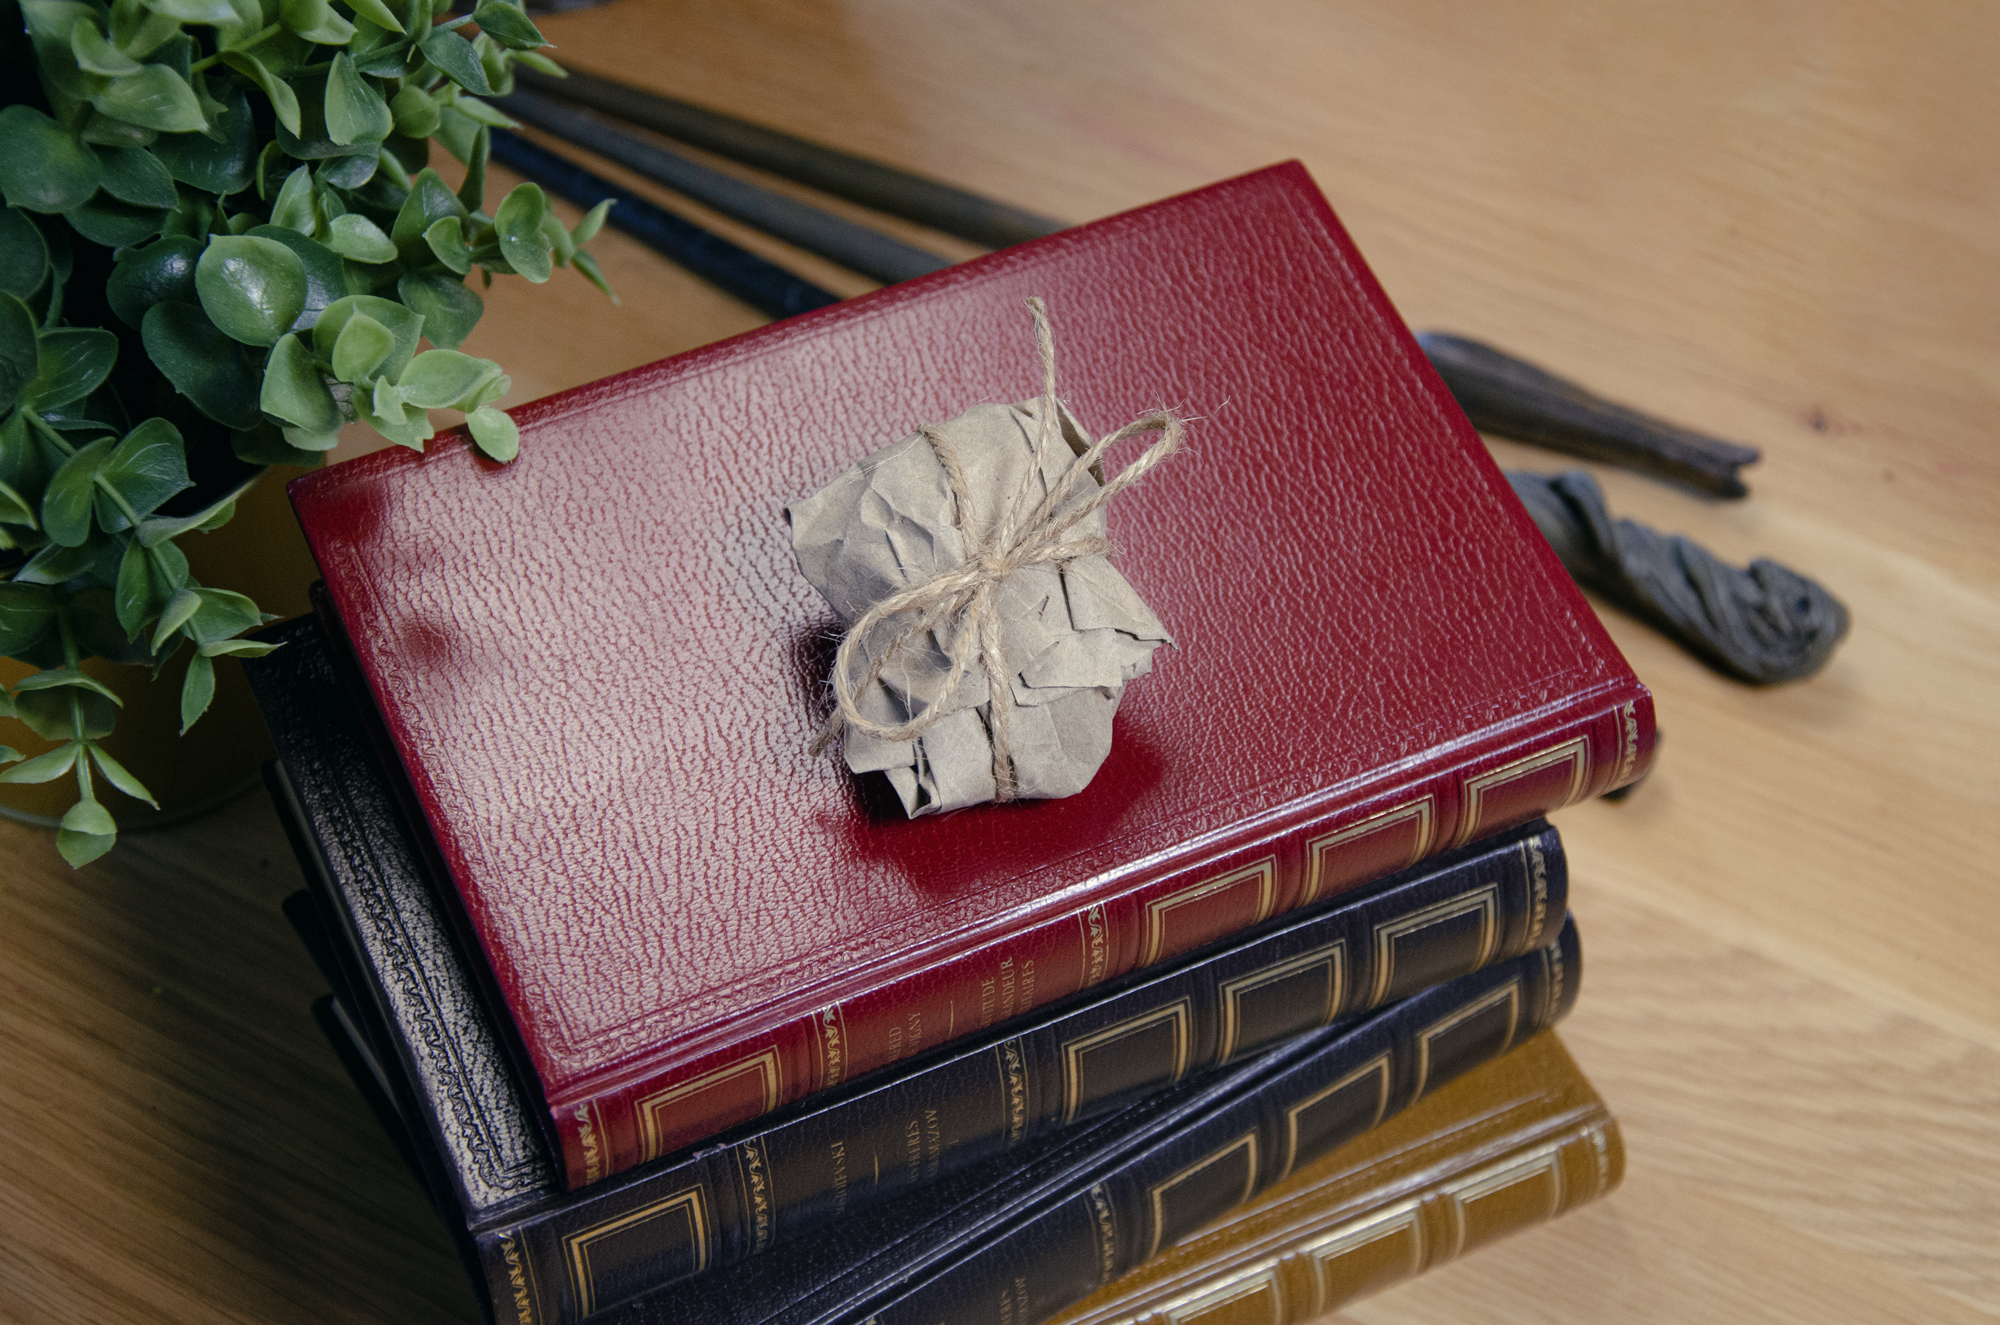
Tom Riddle’s Diary
To accompany our Basilisk Fang, we decided to create our own diary.
Material:
- Black notebook (diary or sketchbook)
- Screwdriver drill
- Torch lighter (or kitchen torch)
- Black paint or marker
- Worbla (Black Art)
- Sculpting tools (preferably metallic)
- Golden paint


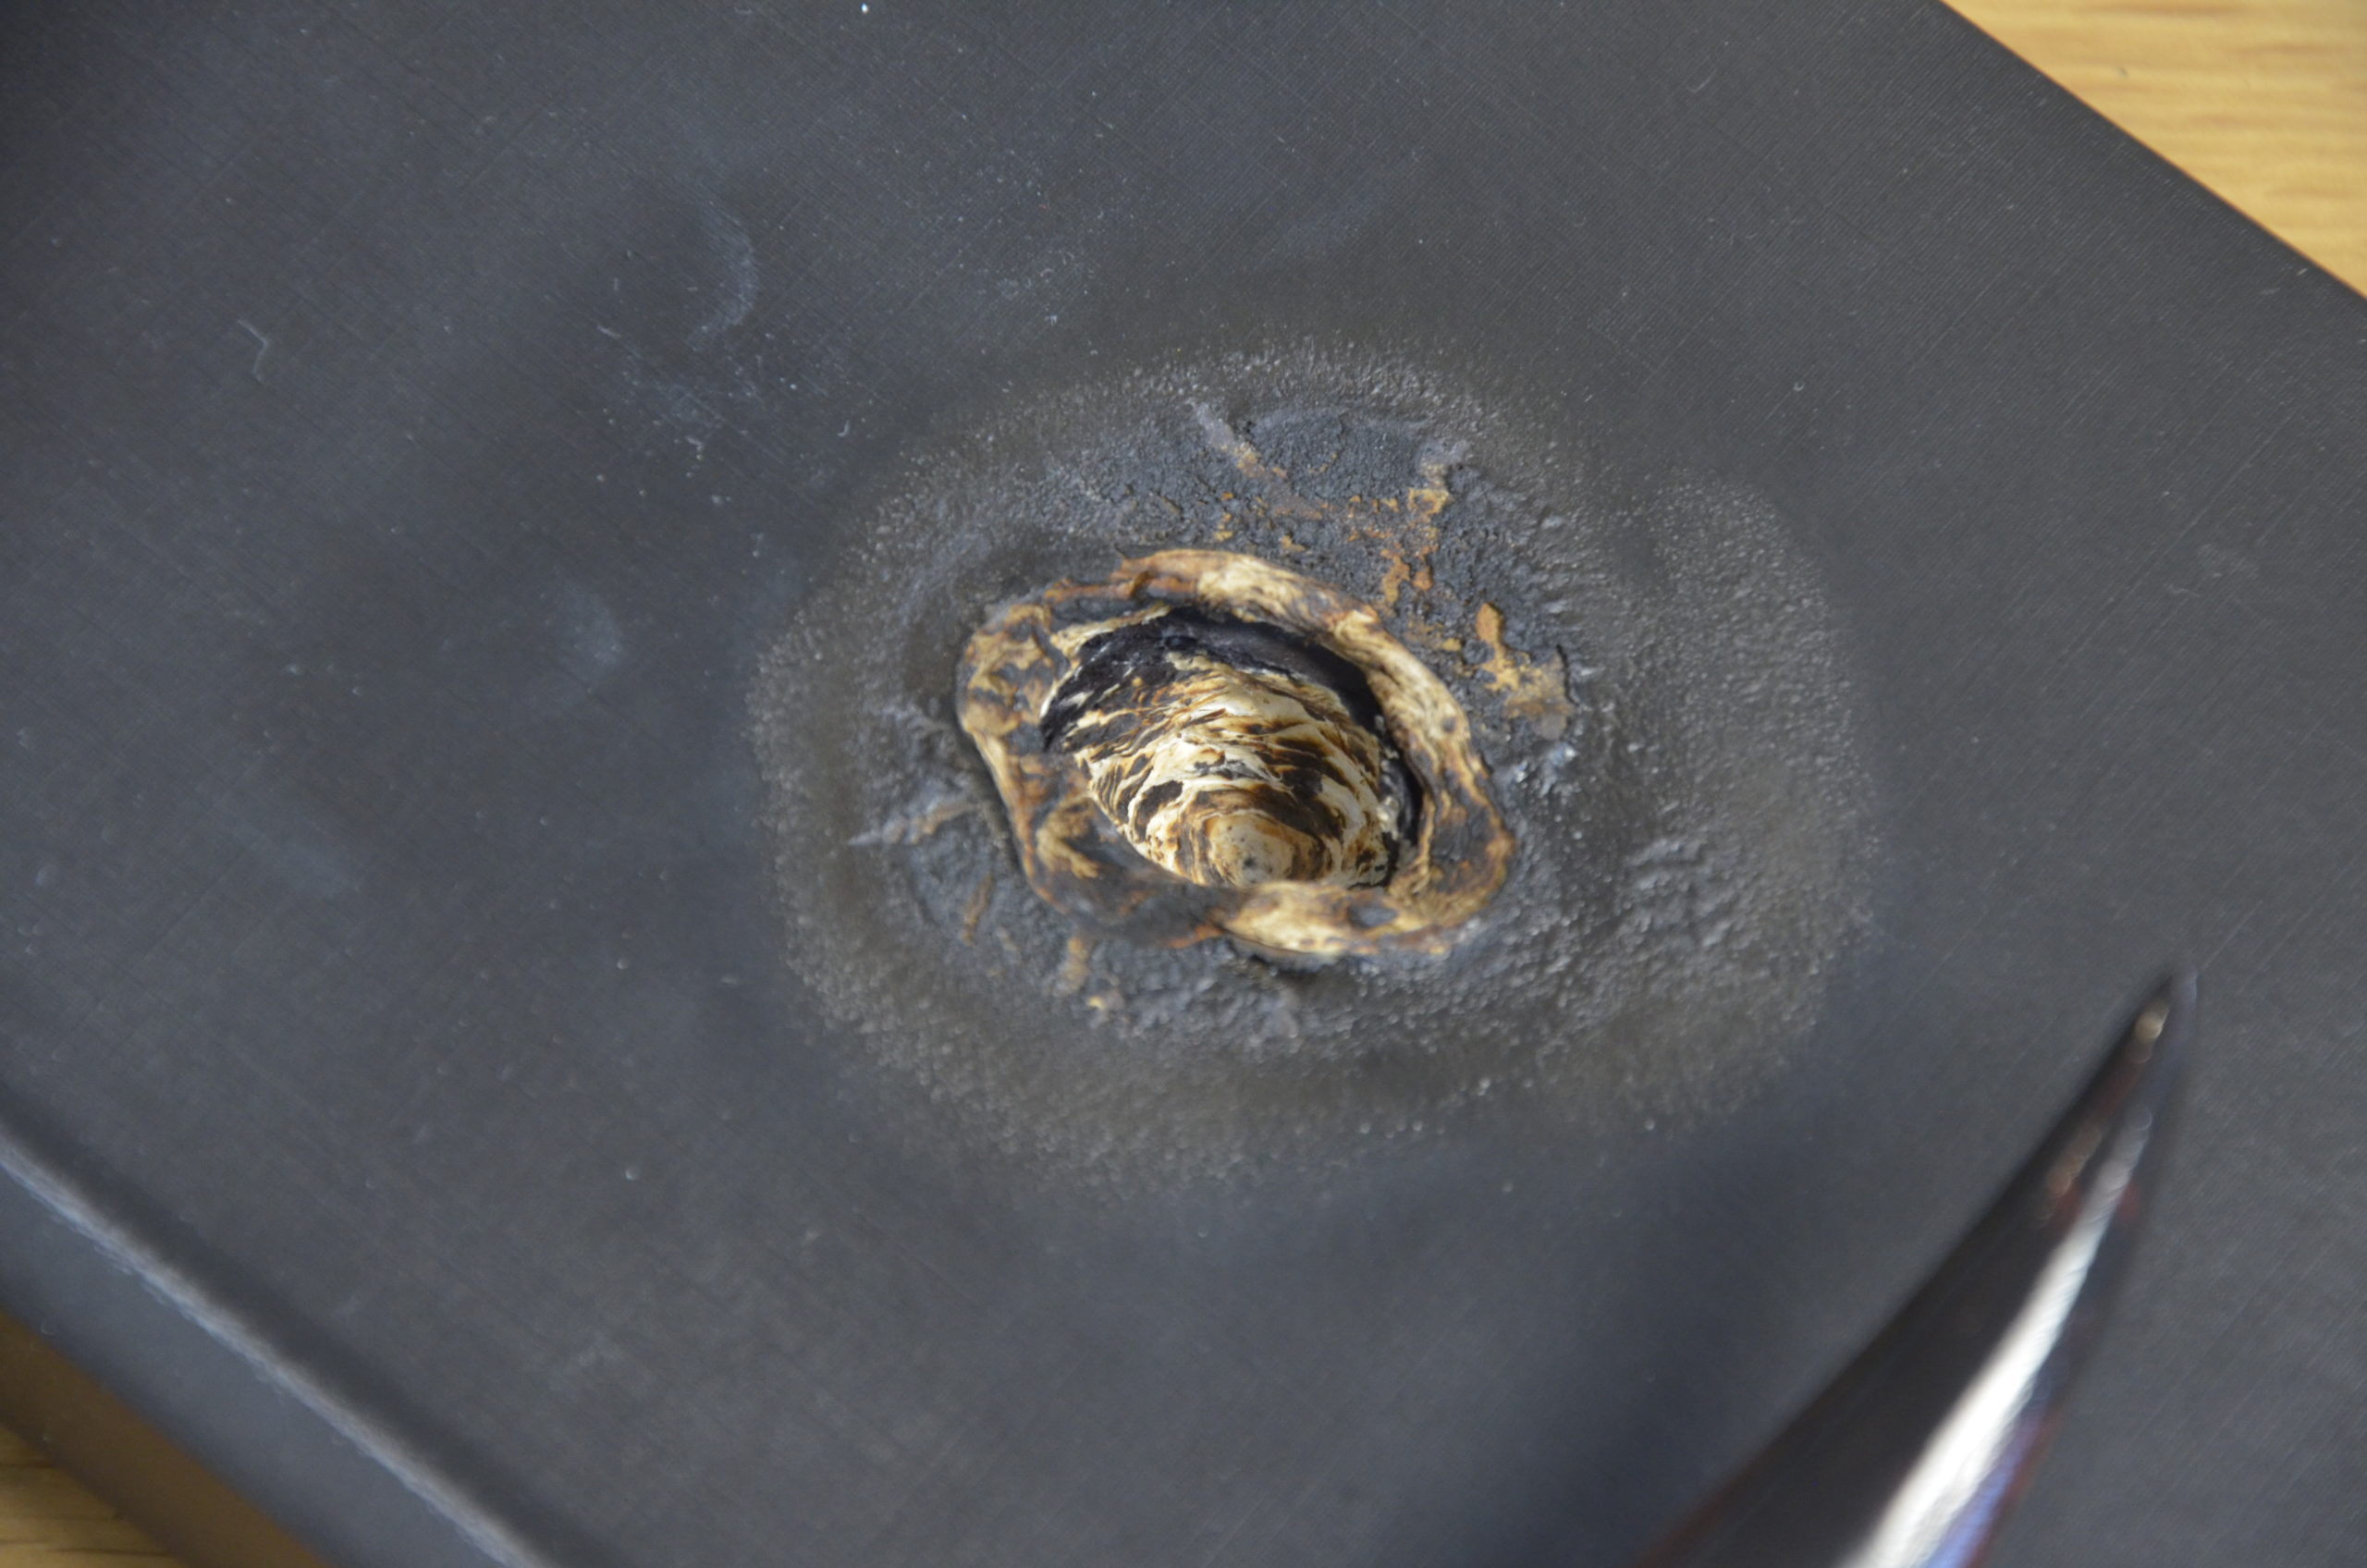
For this craft, we started from a simple sketchbook with a hard black cover.
Using a drill, dig a huge hole right in the middle of the front cover, then lightly run a kitchen torch or torch lighter over it to weather the cover and pages. Carry out this operation over a sink to be able to pour water quickly in the event of a problem. Do not insist too much at the risk of burning everything. If the pages are not darkened enough, open the notebook and apply black with marker or paint.
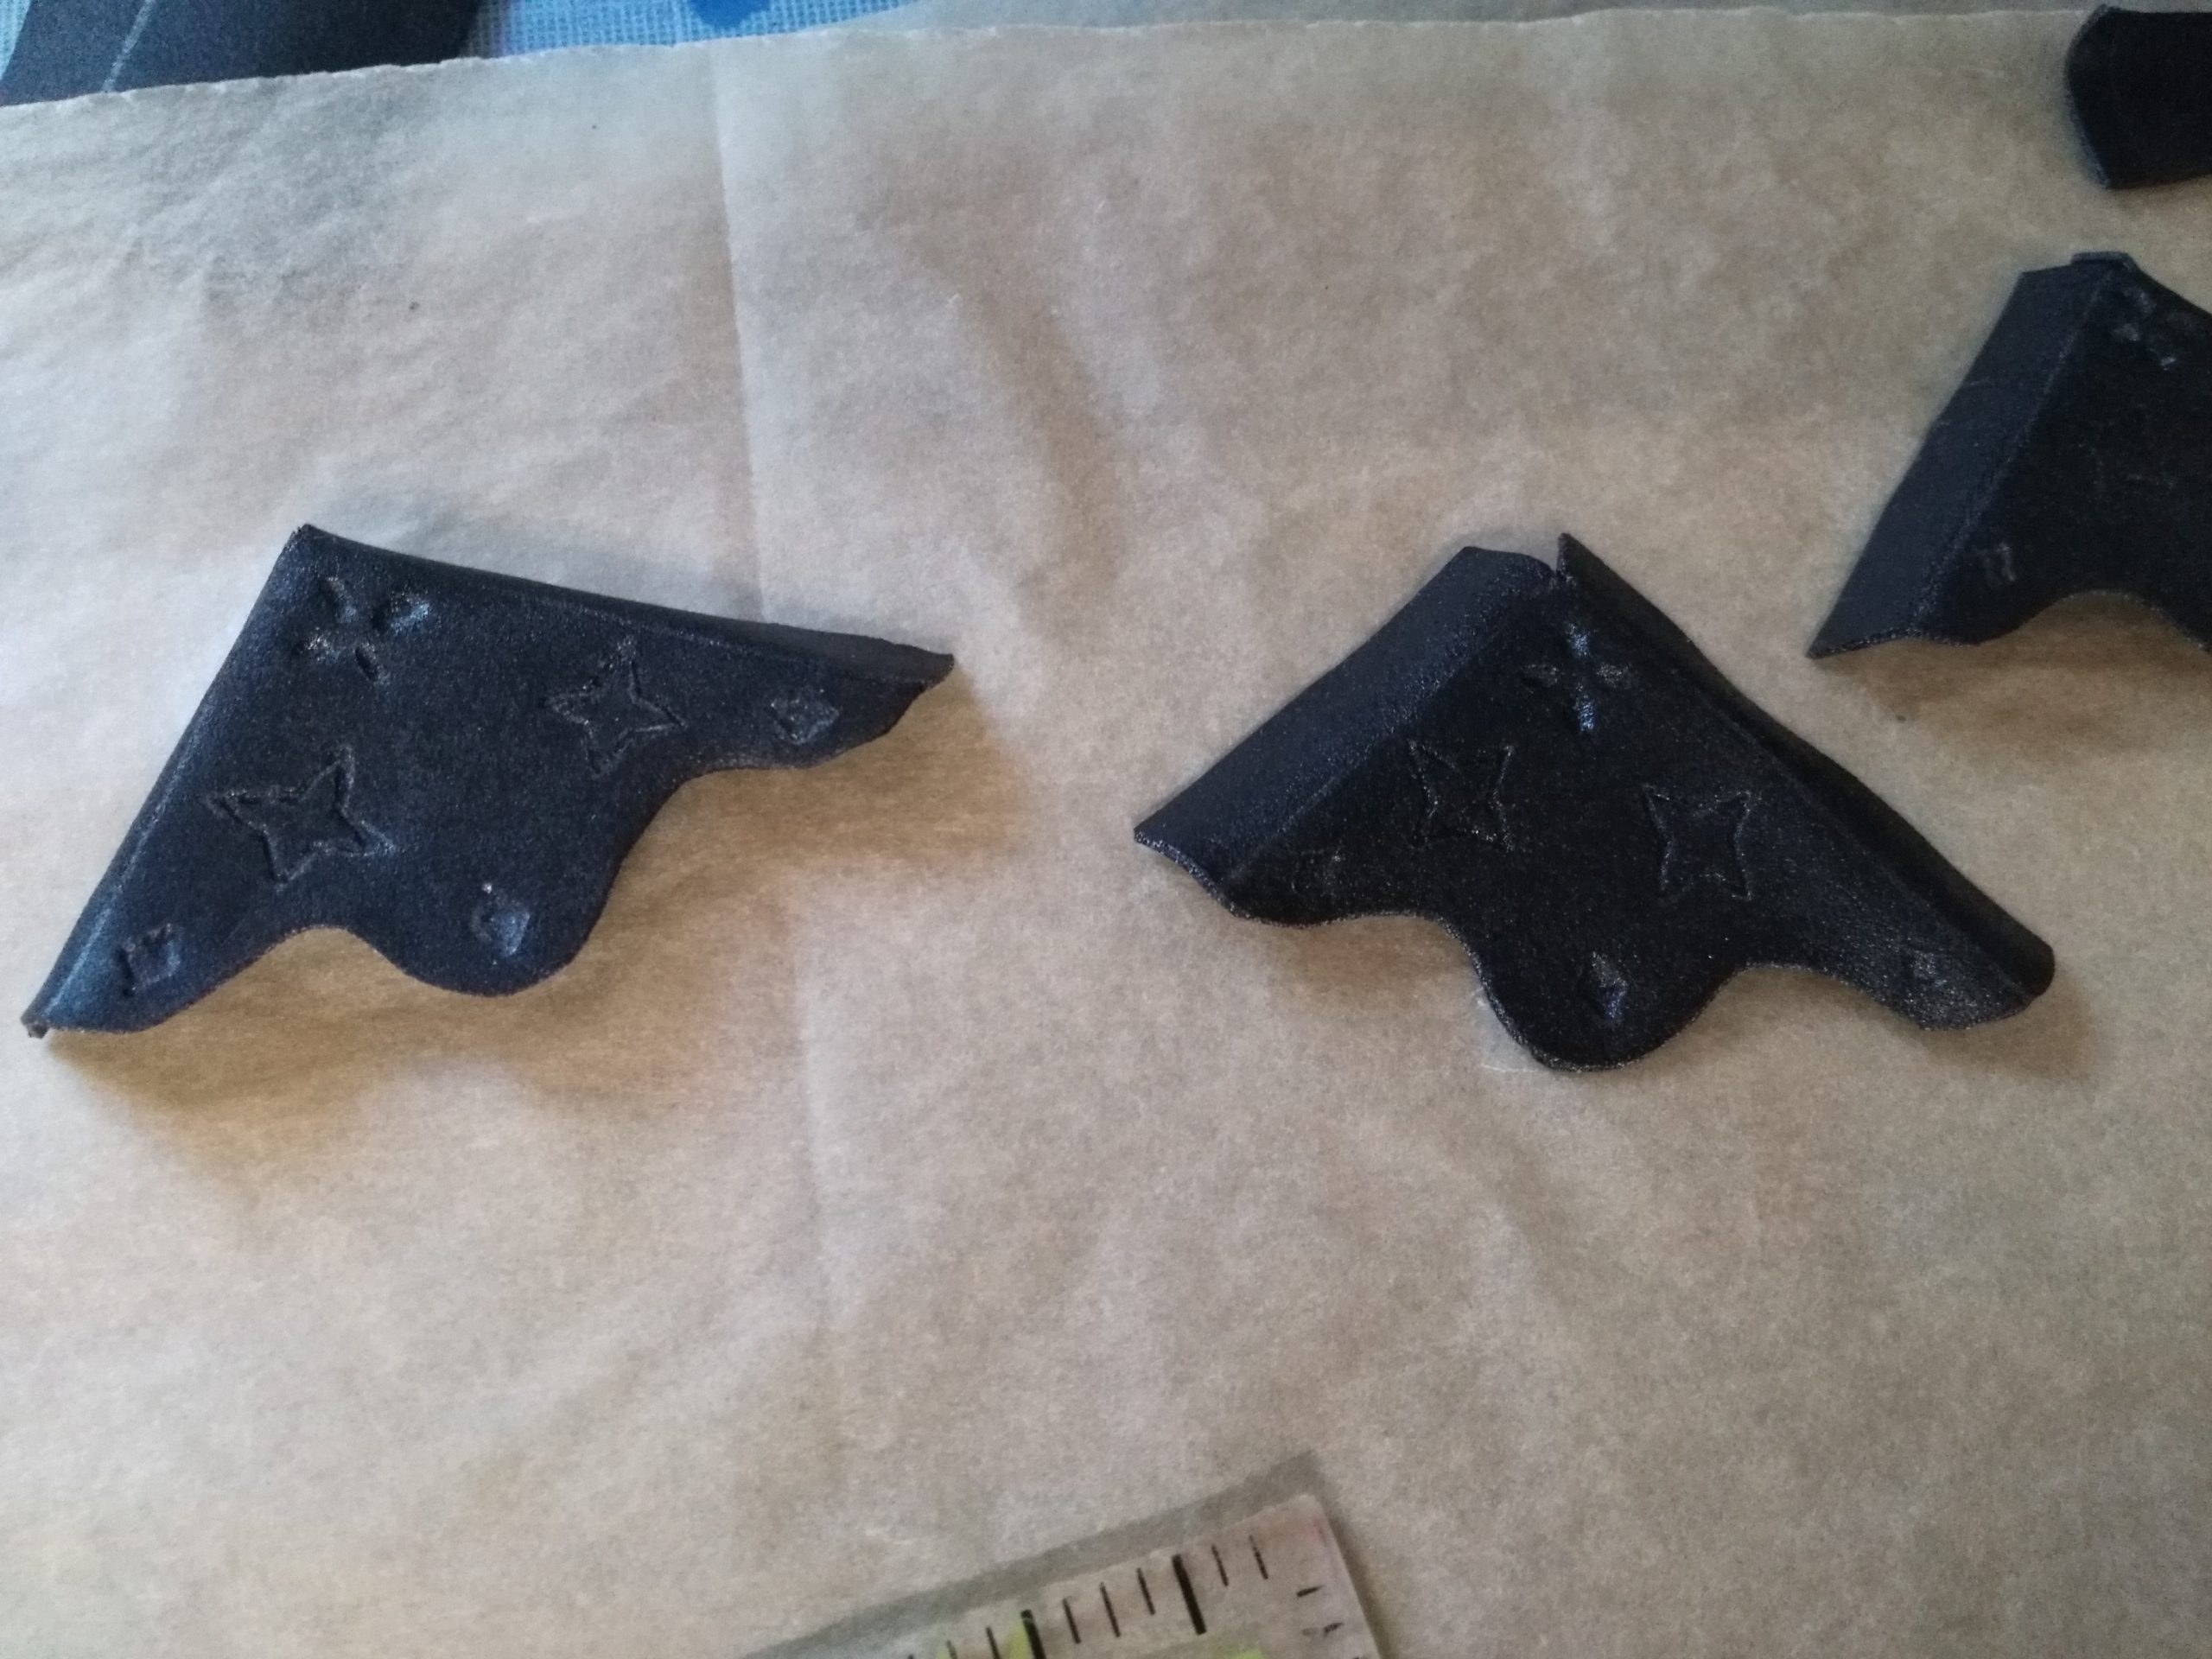

With some Worbla’s Black Art, cut corners for the cover (don’t forget the tabs to fold inwards), heat slightly and draw the patterns with a pointed tool or a pen .
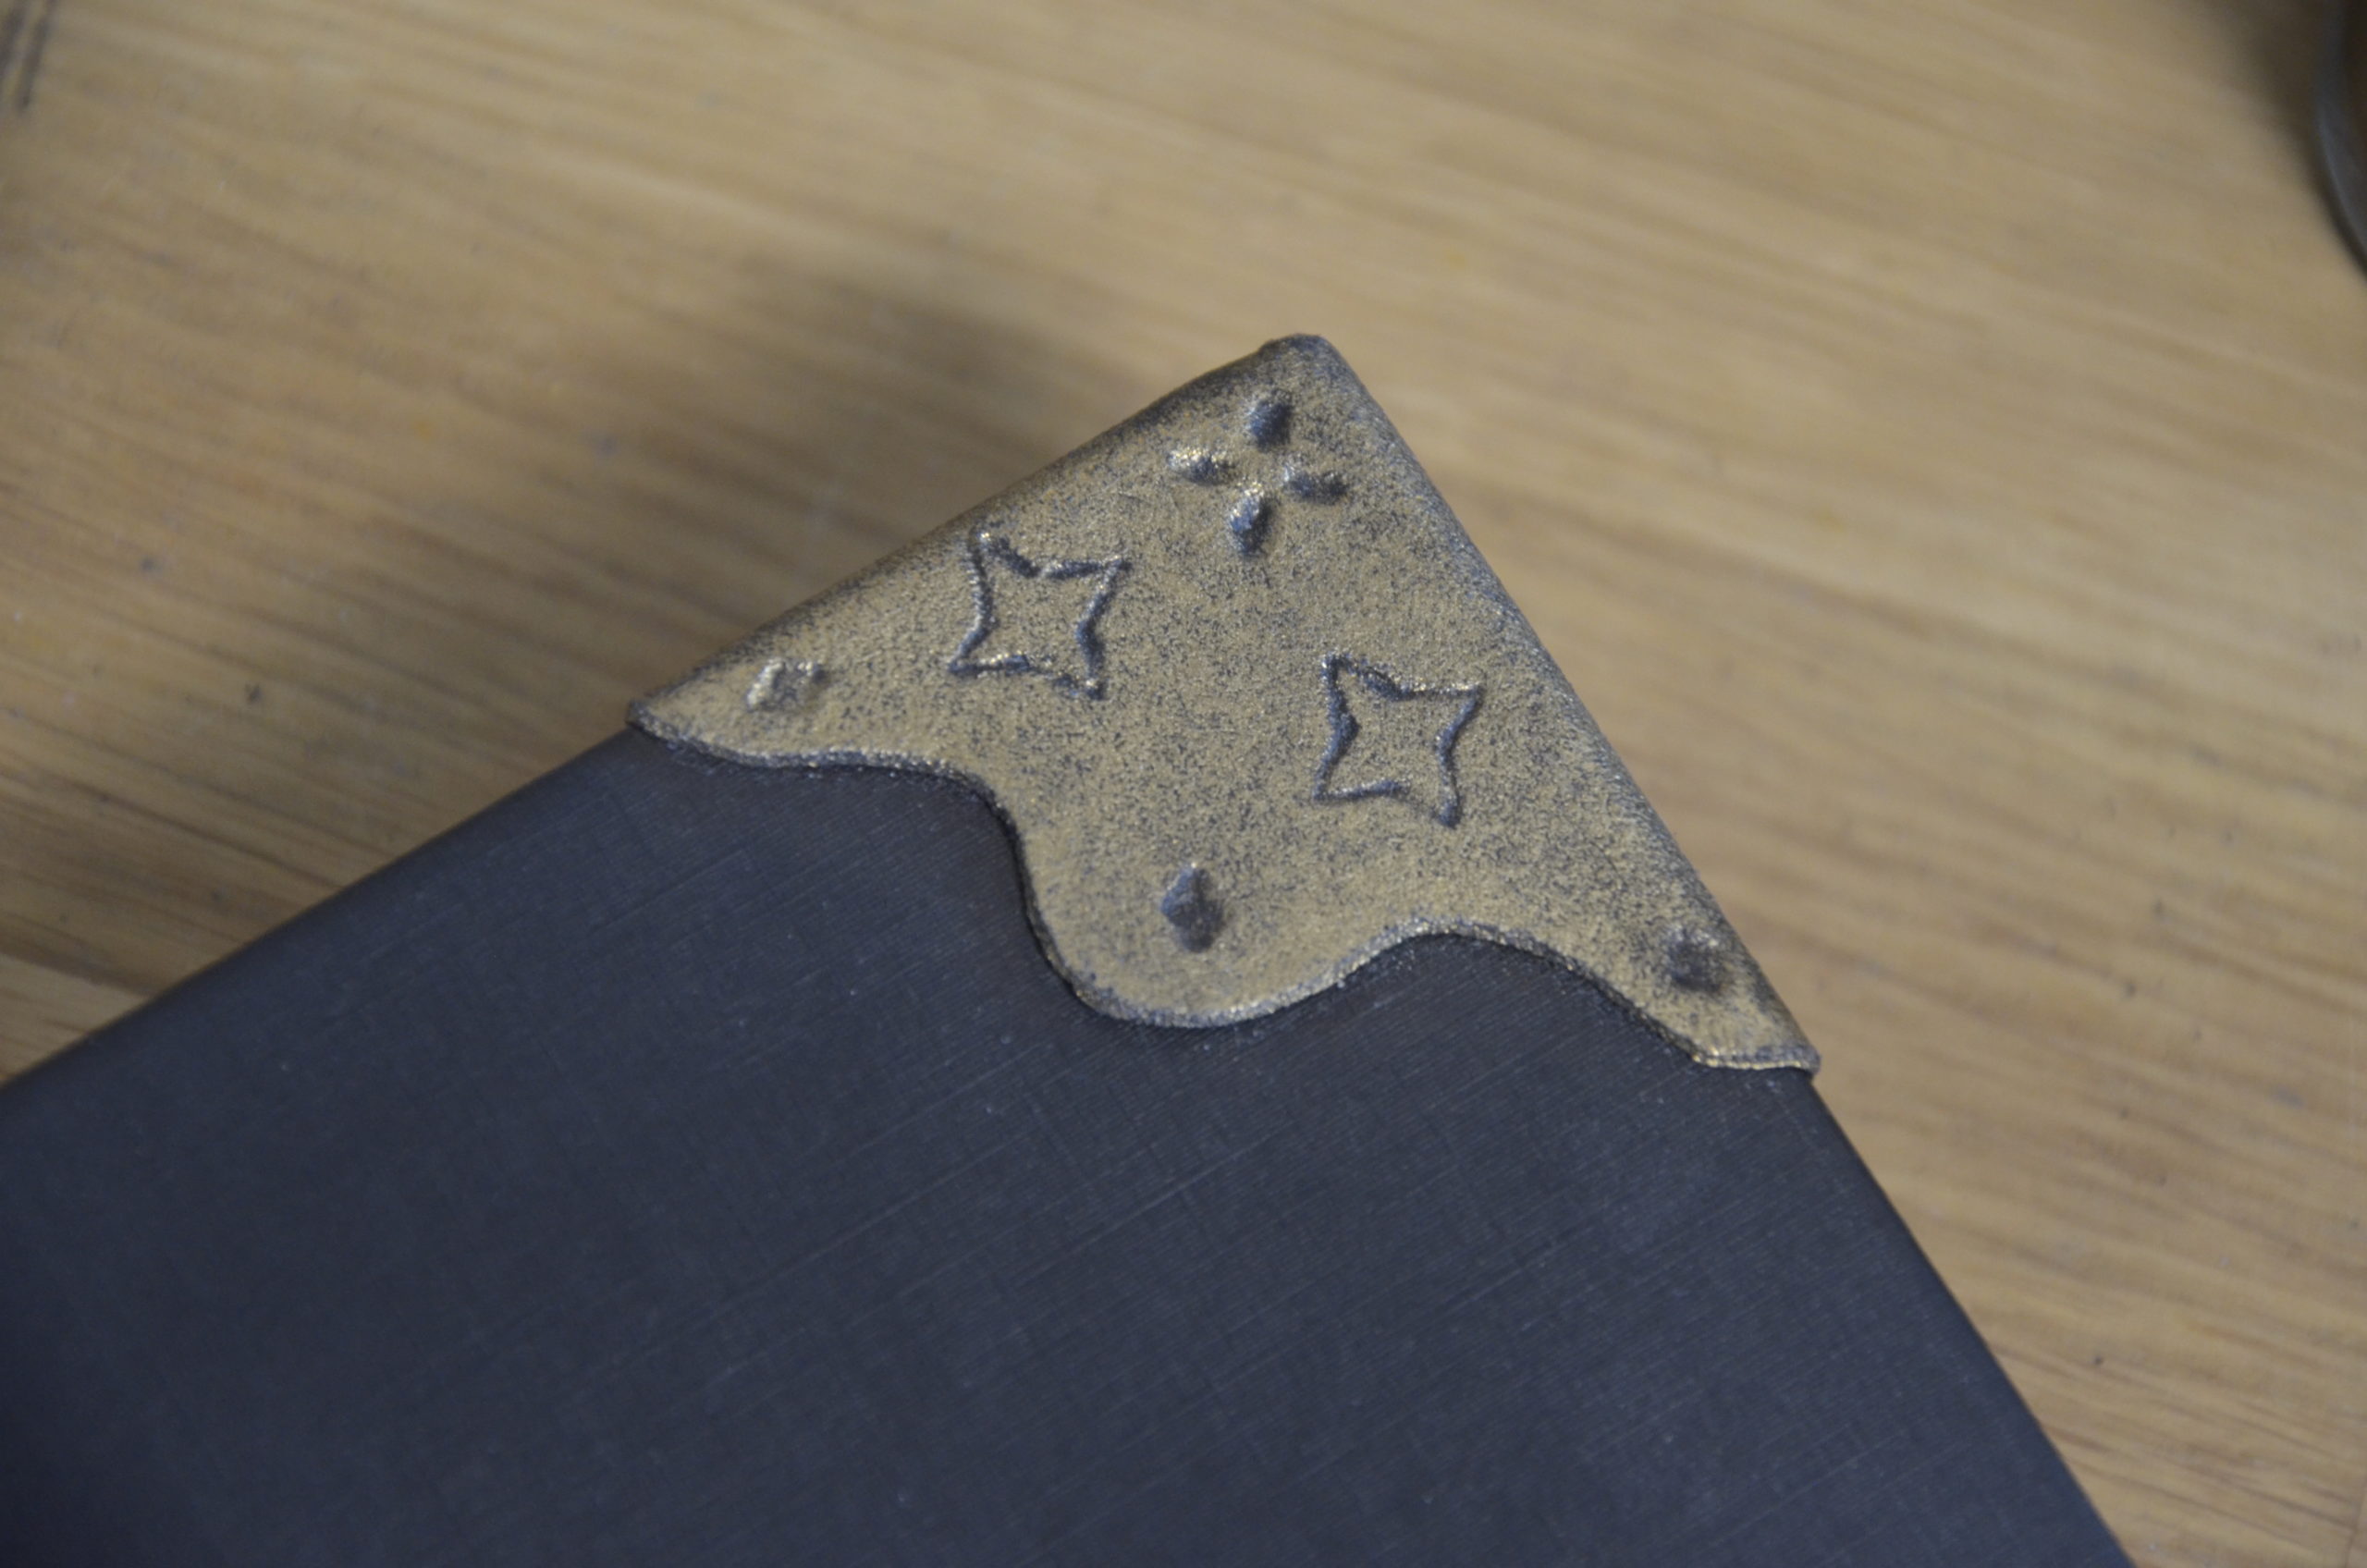
Heat your patch well until tacky and apply to one corner of the cover. Repeat for all corners.
Apply some gold paint (dry brush).
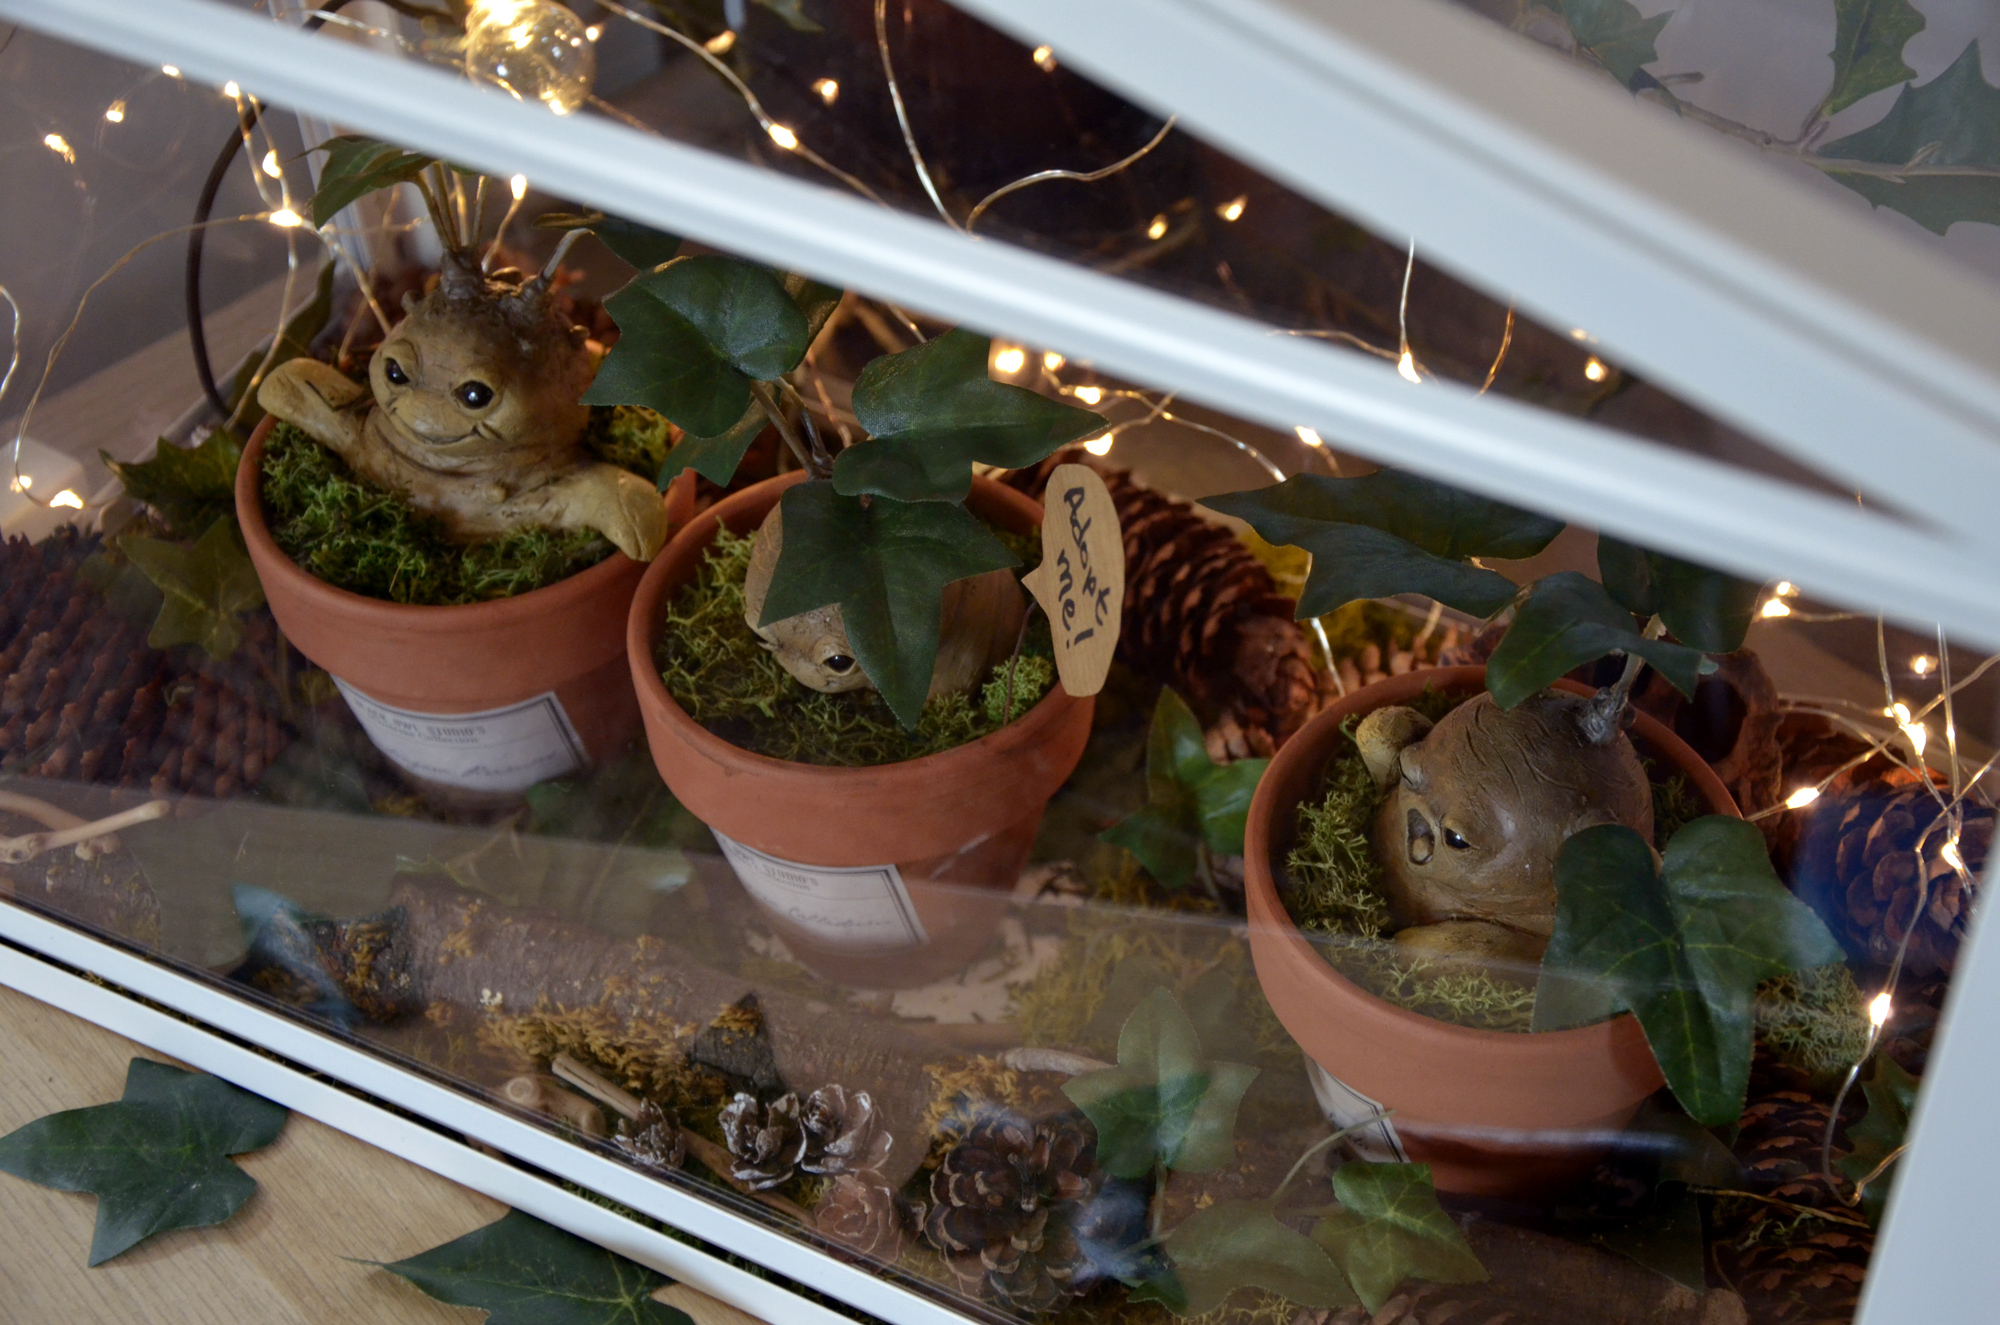
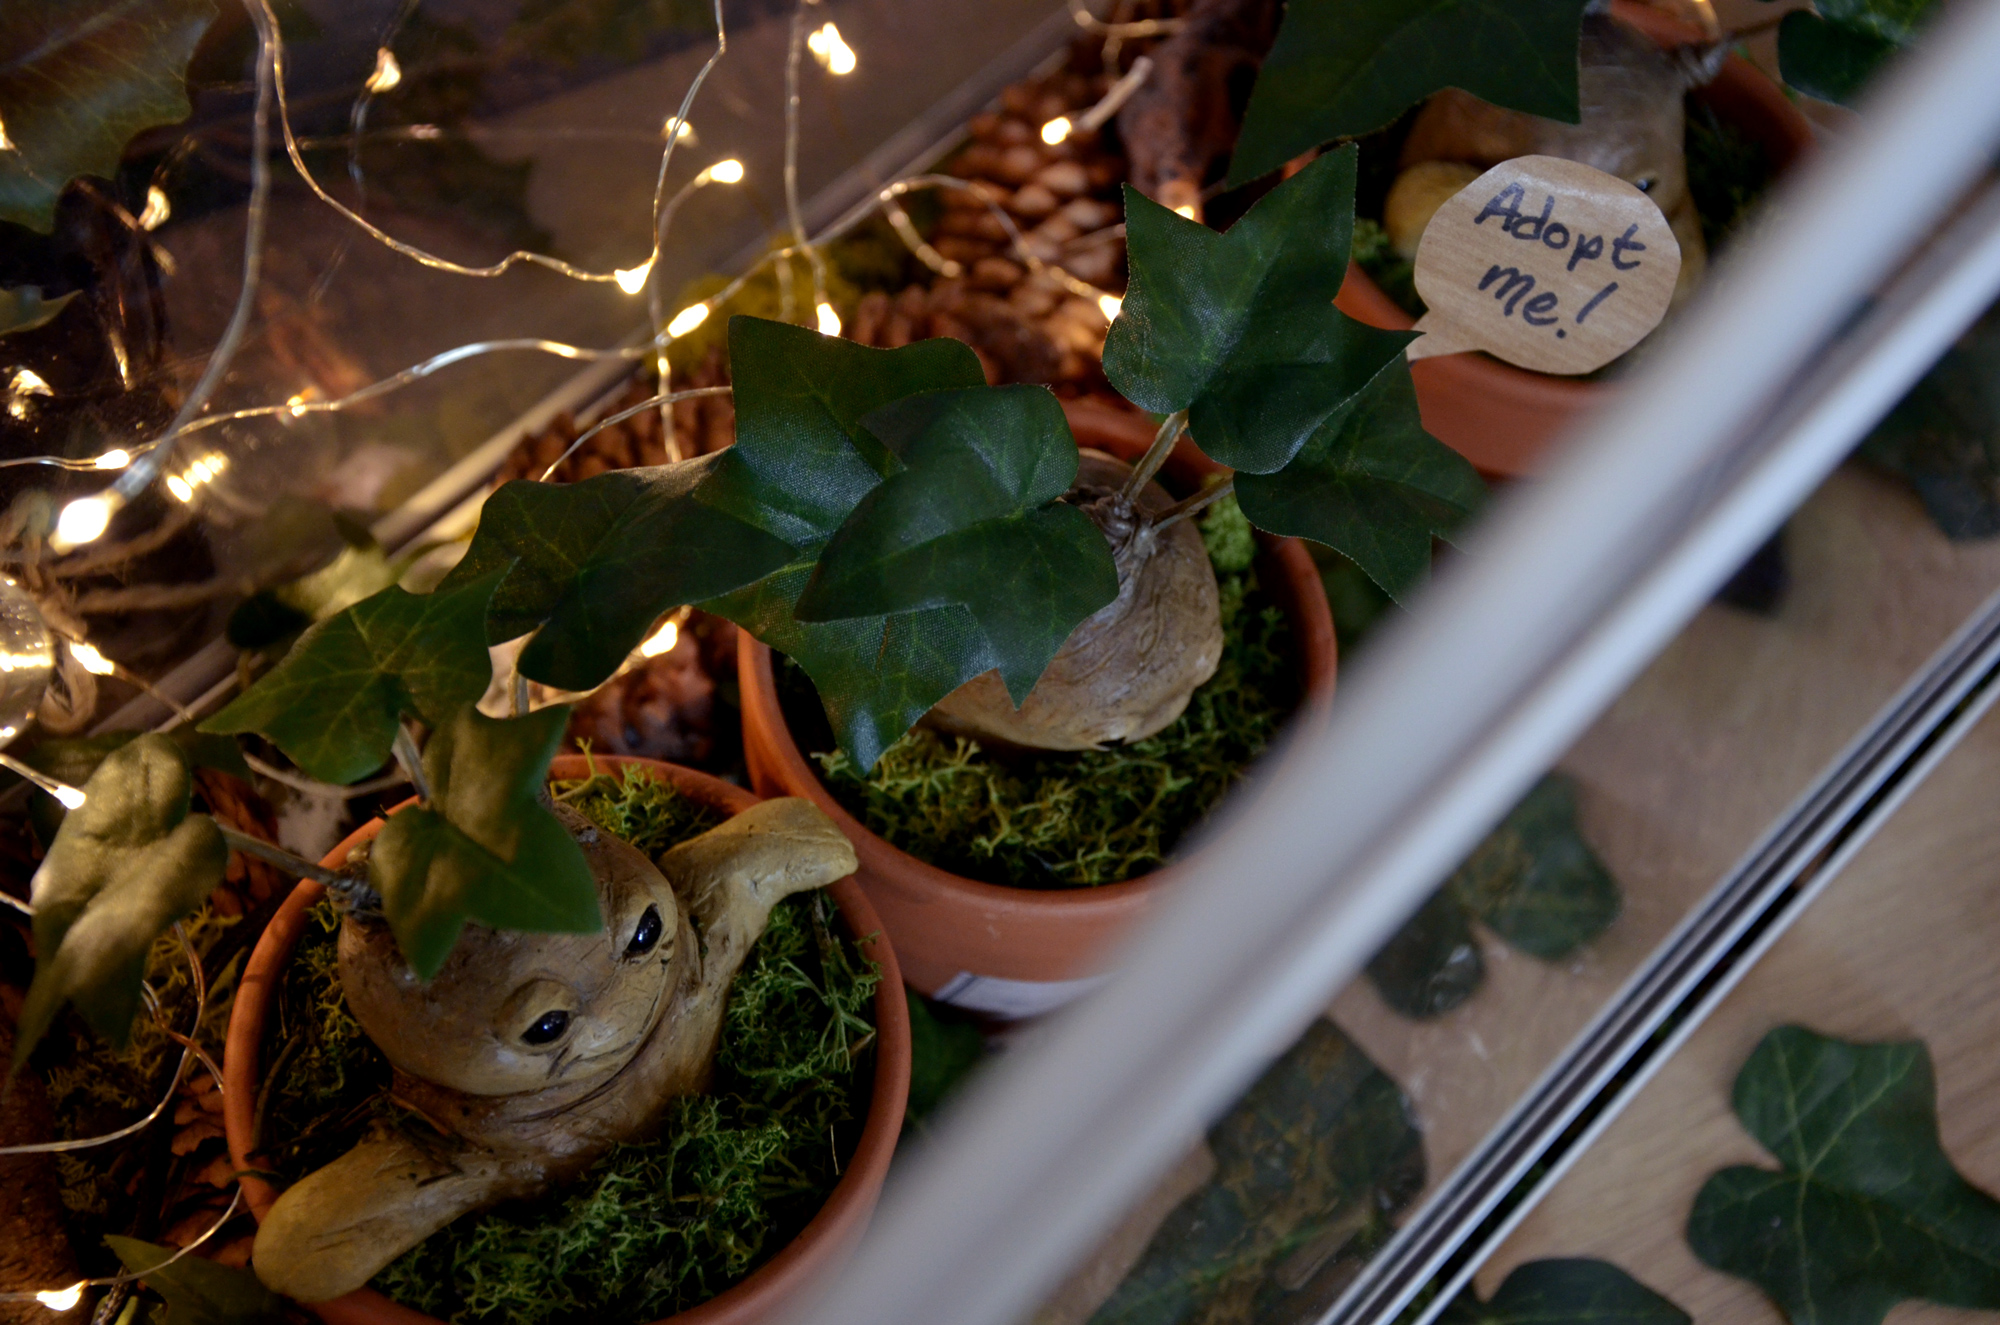
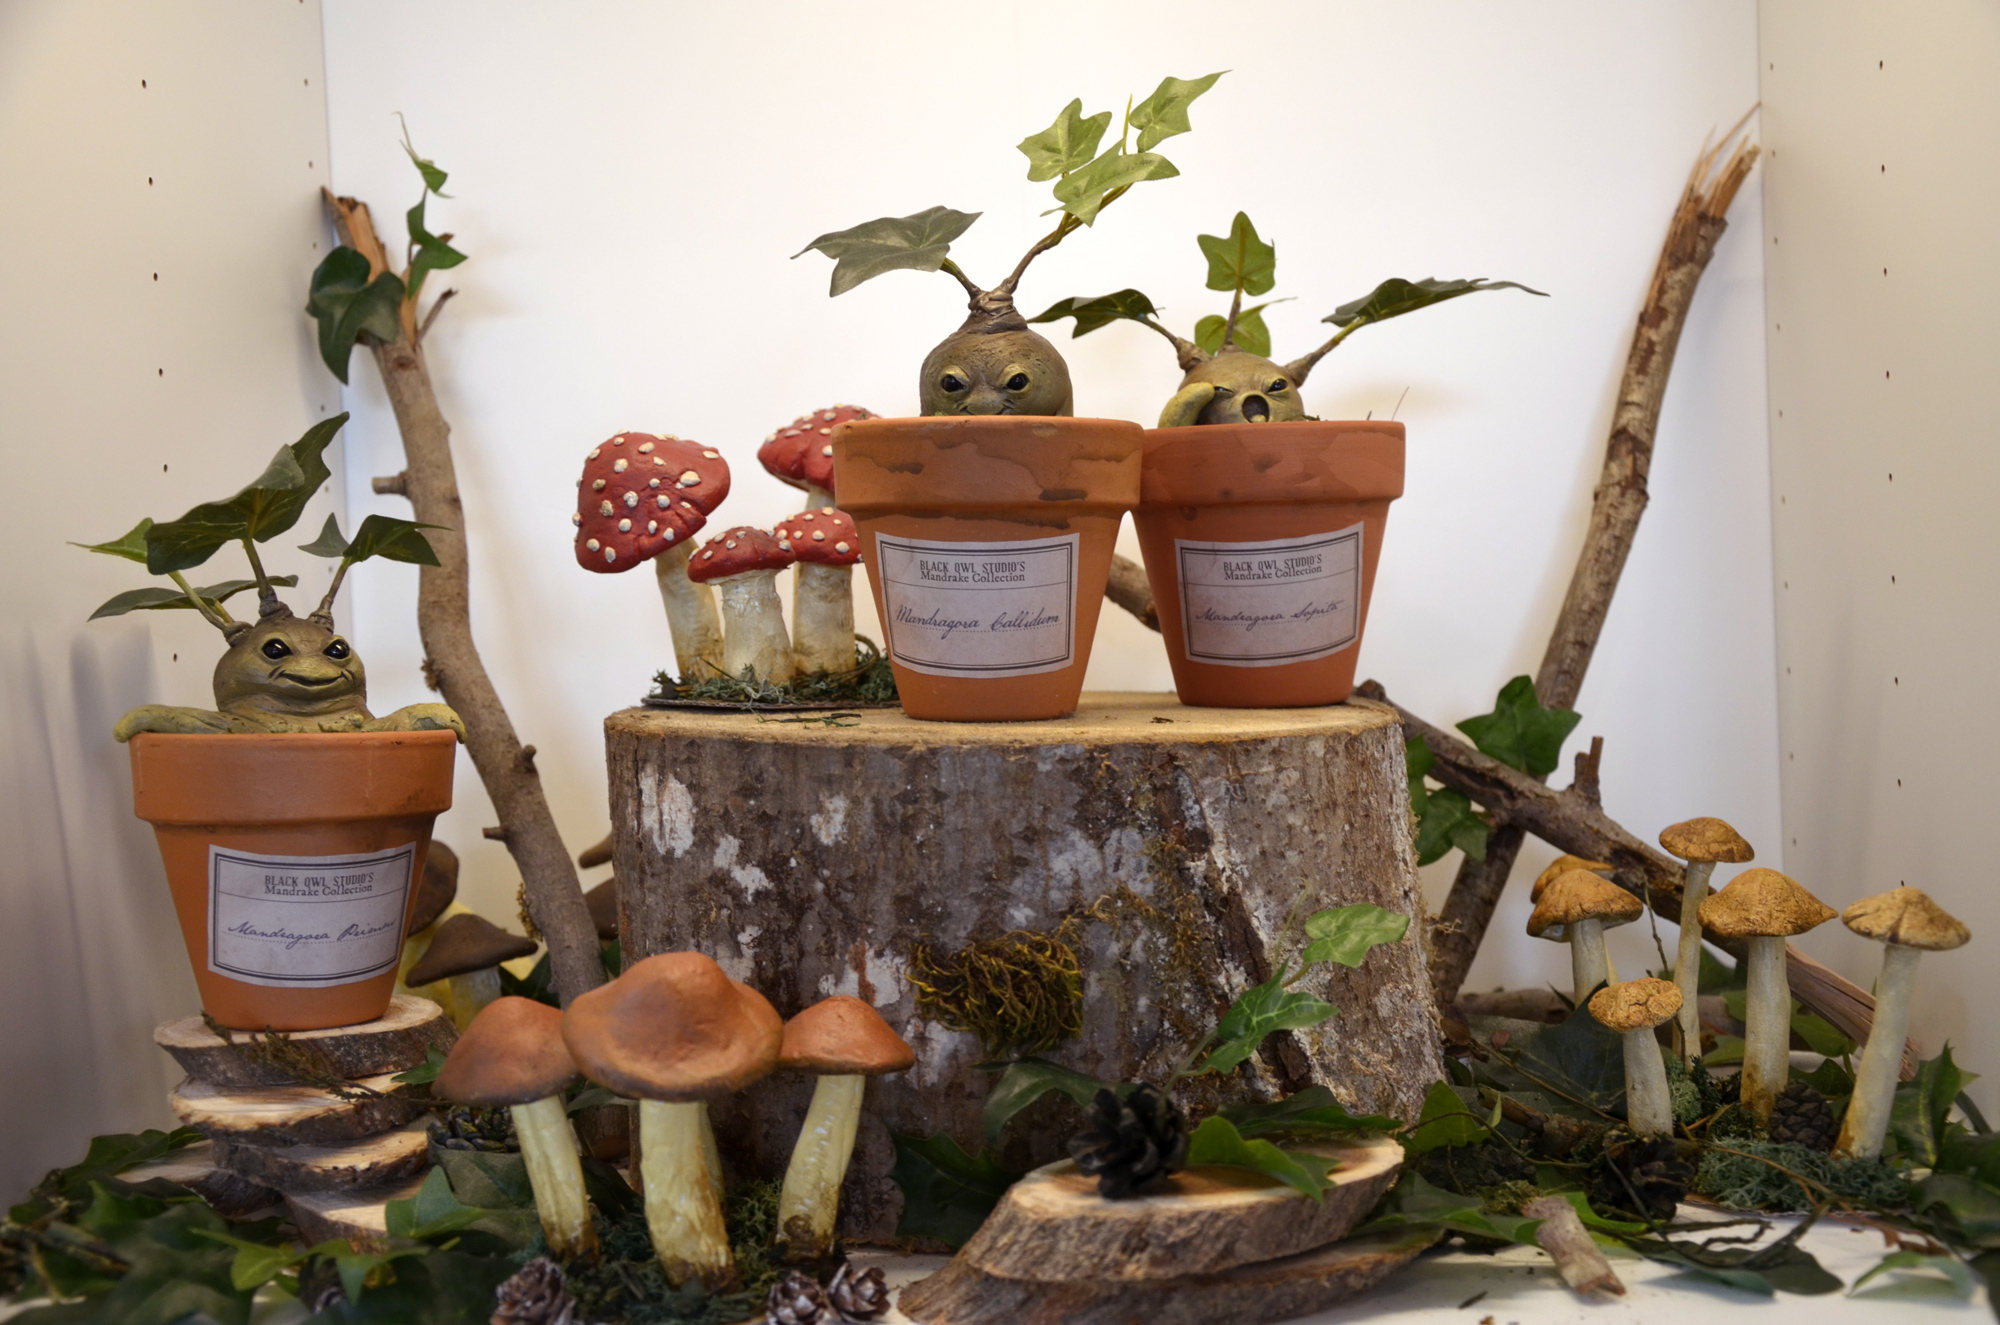
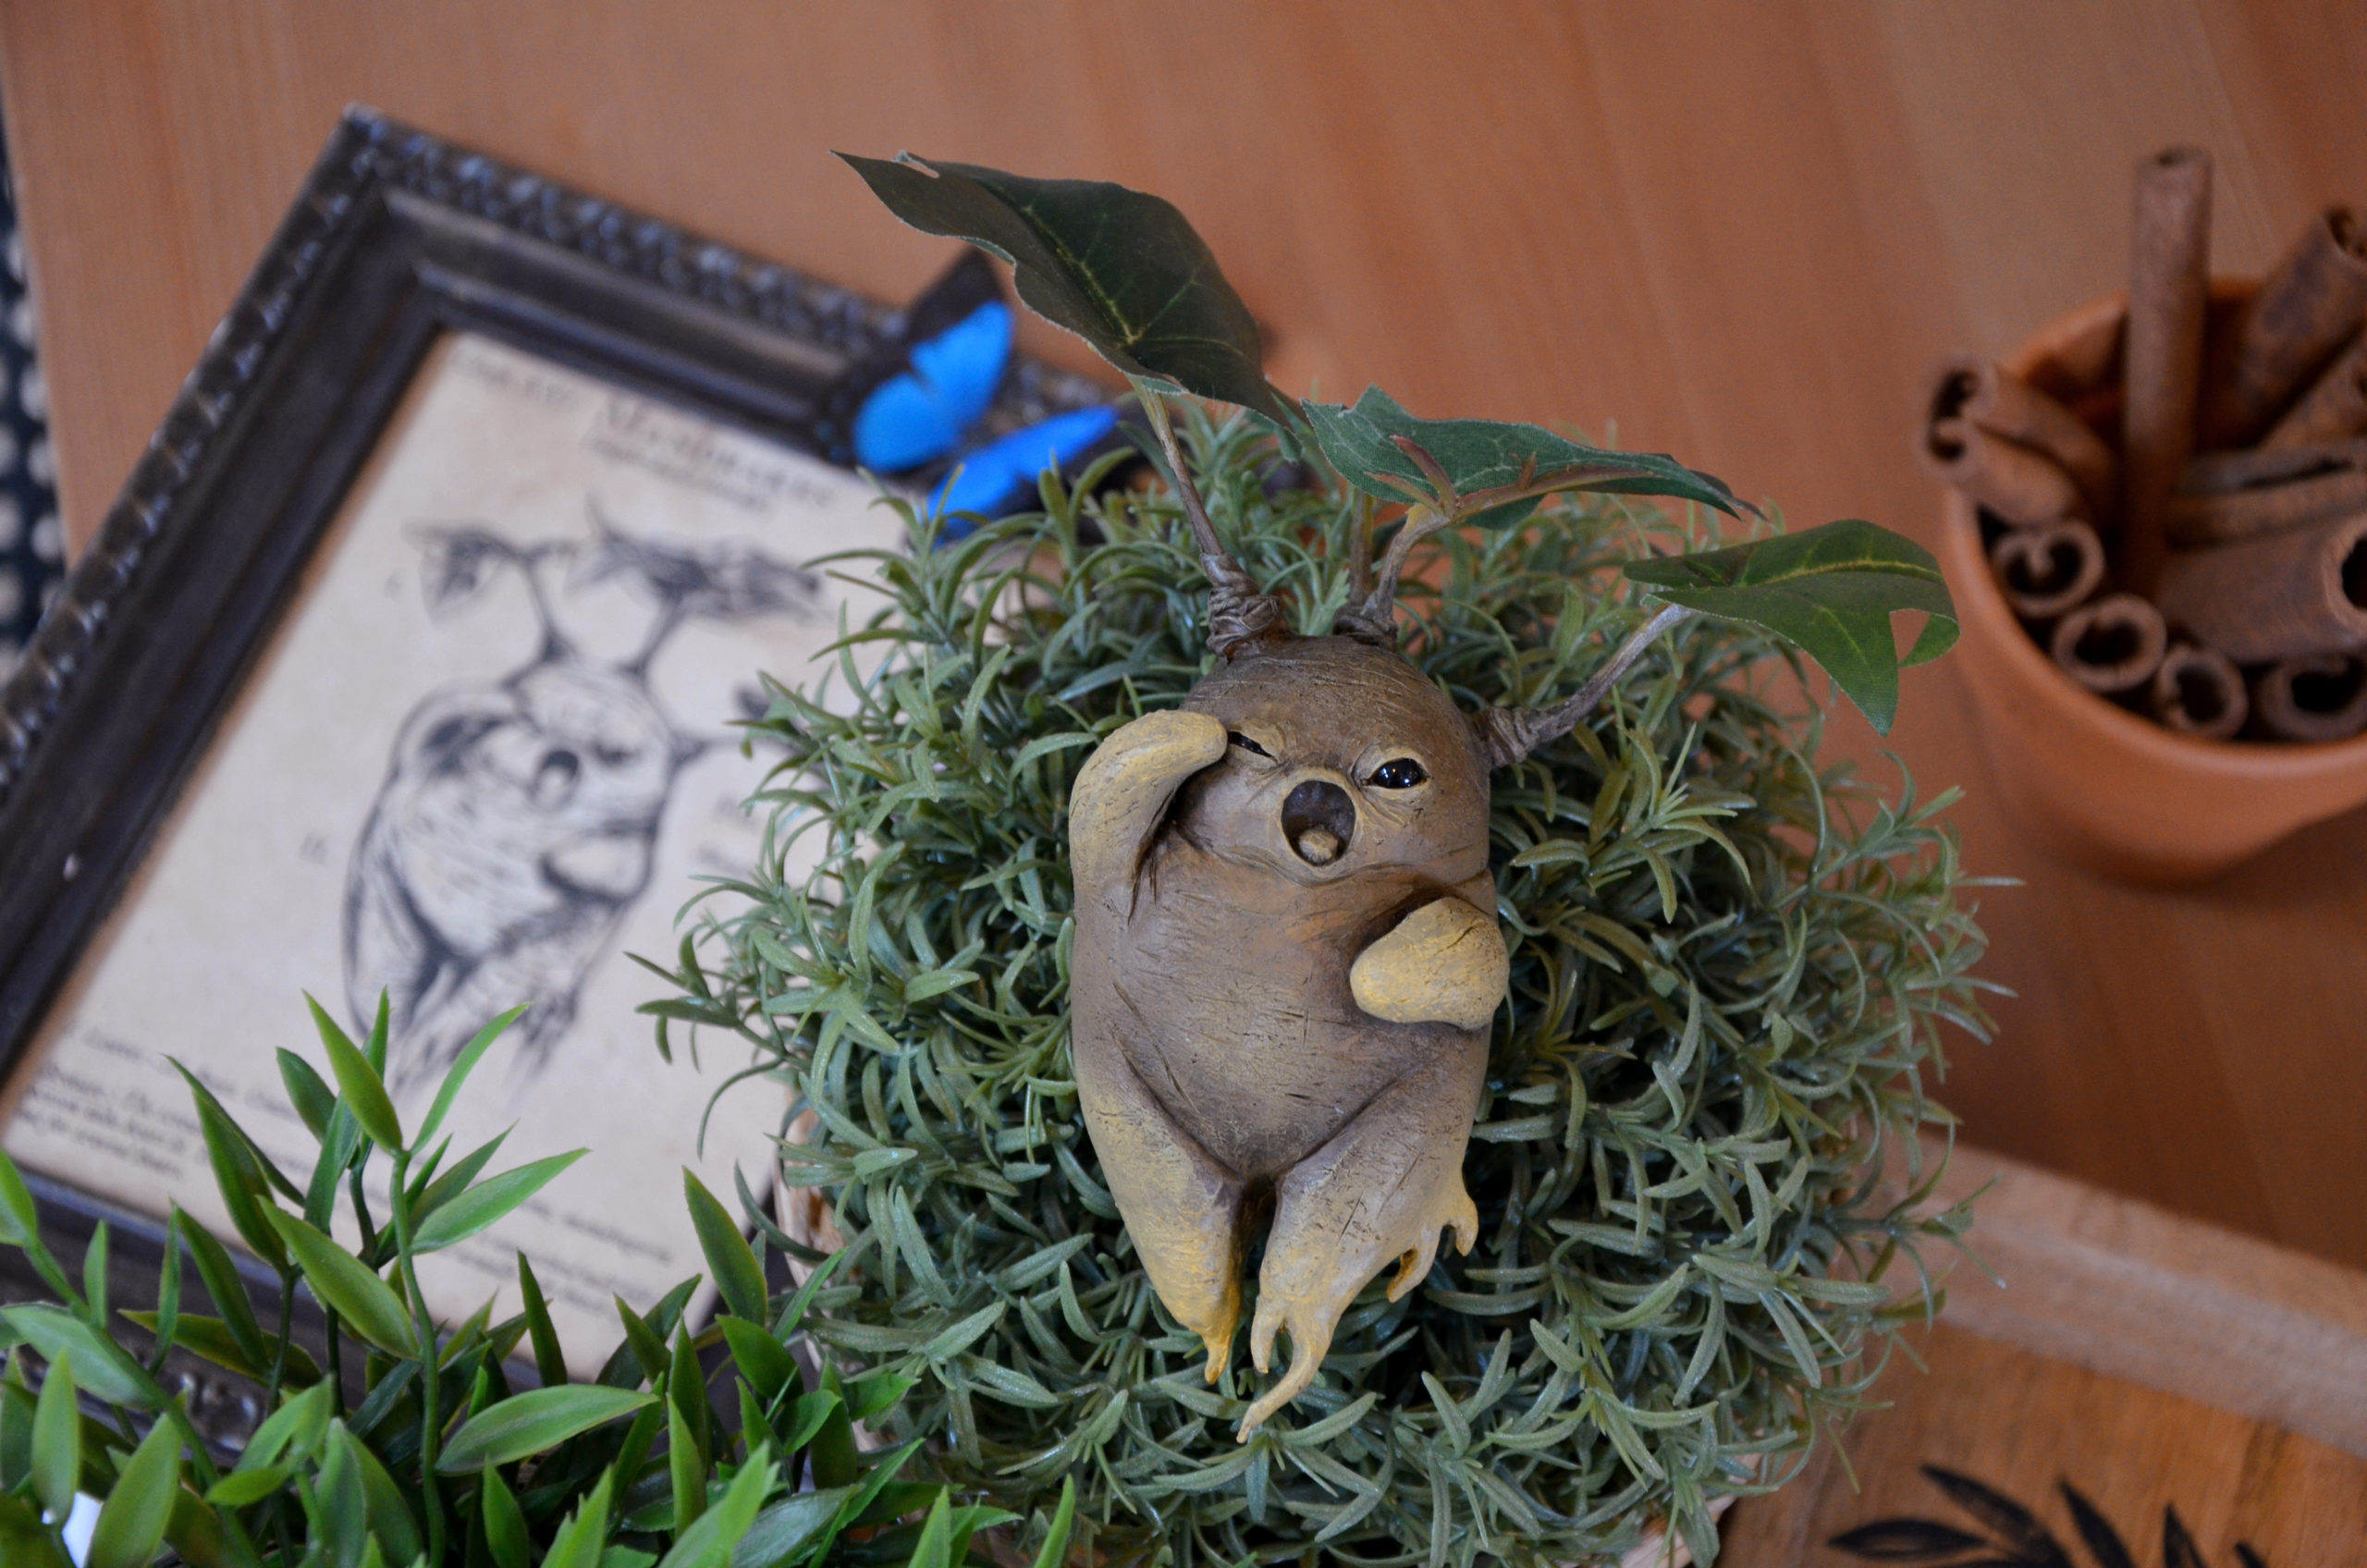
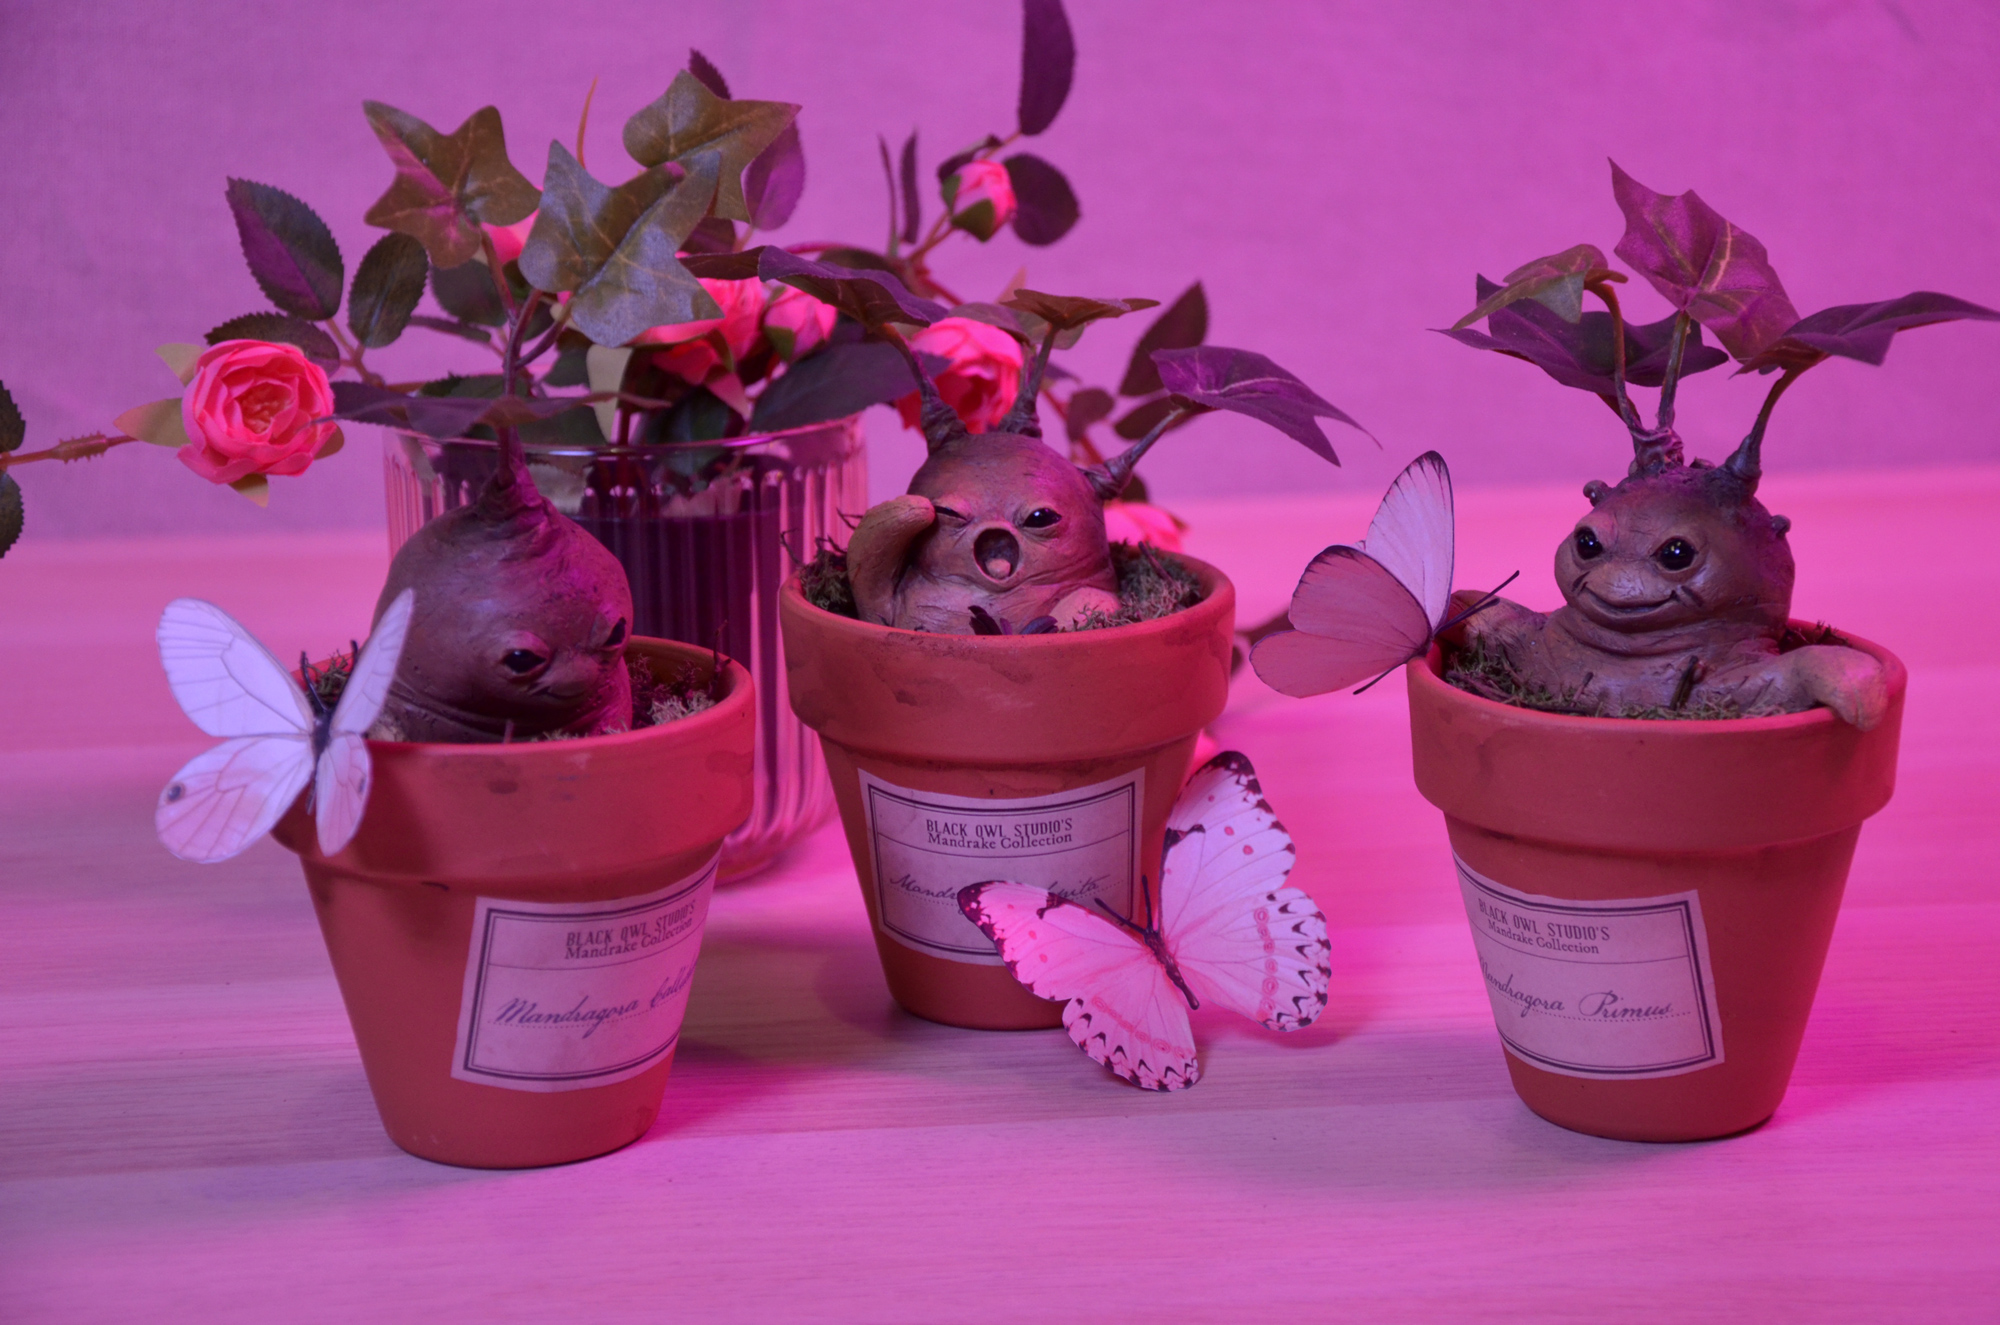
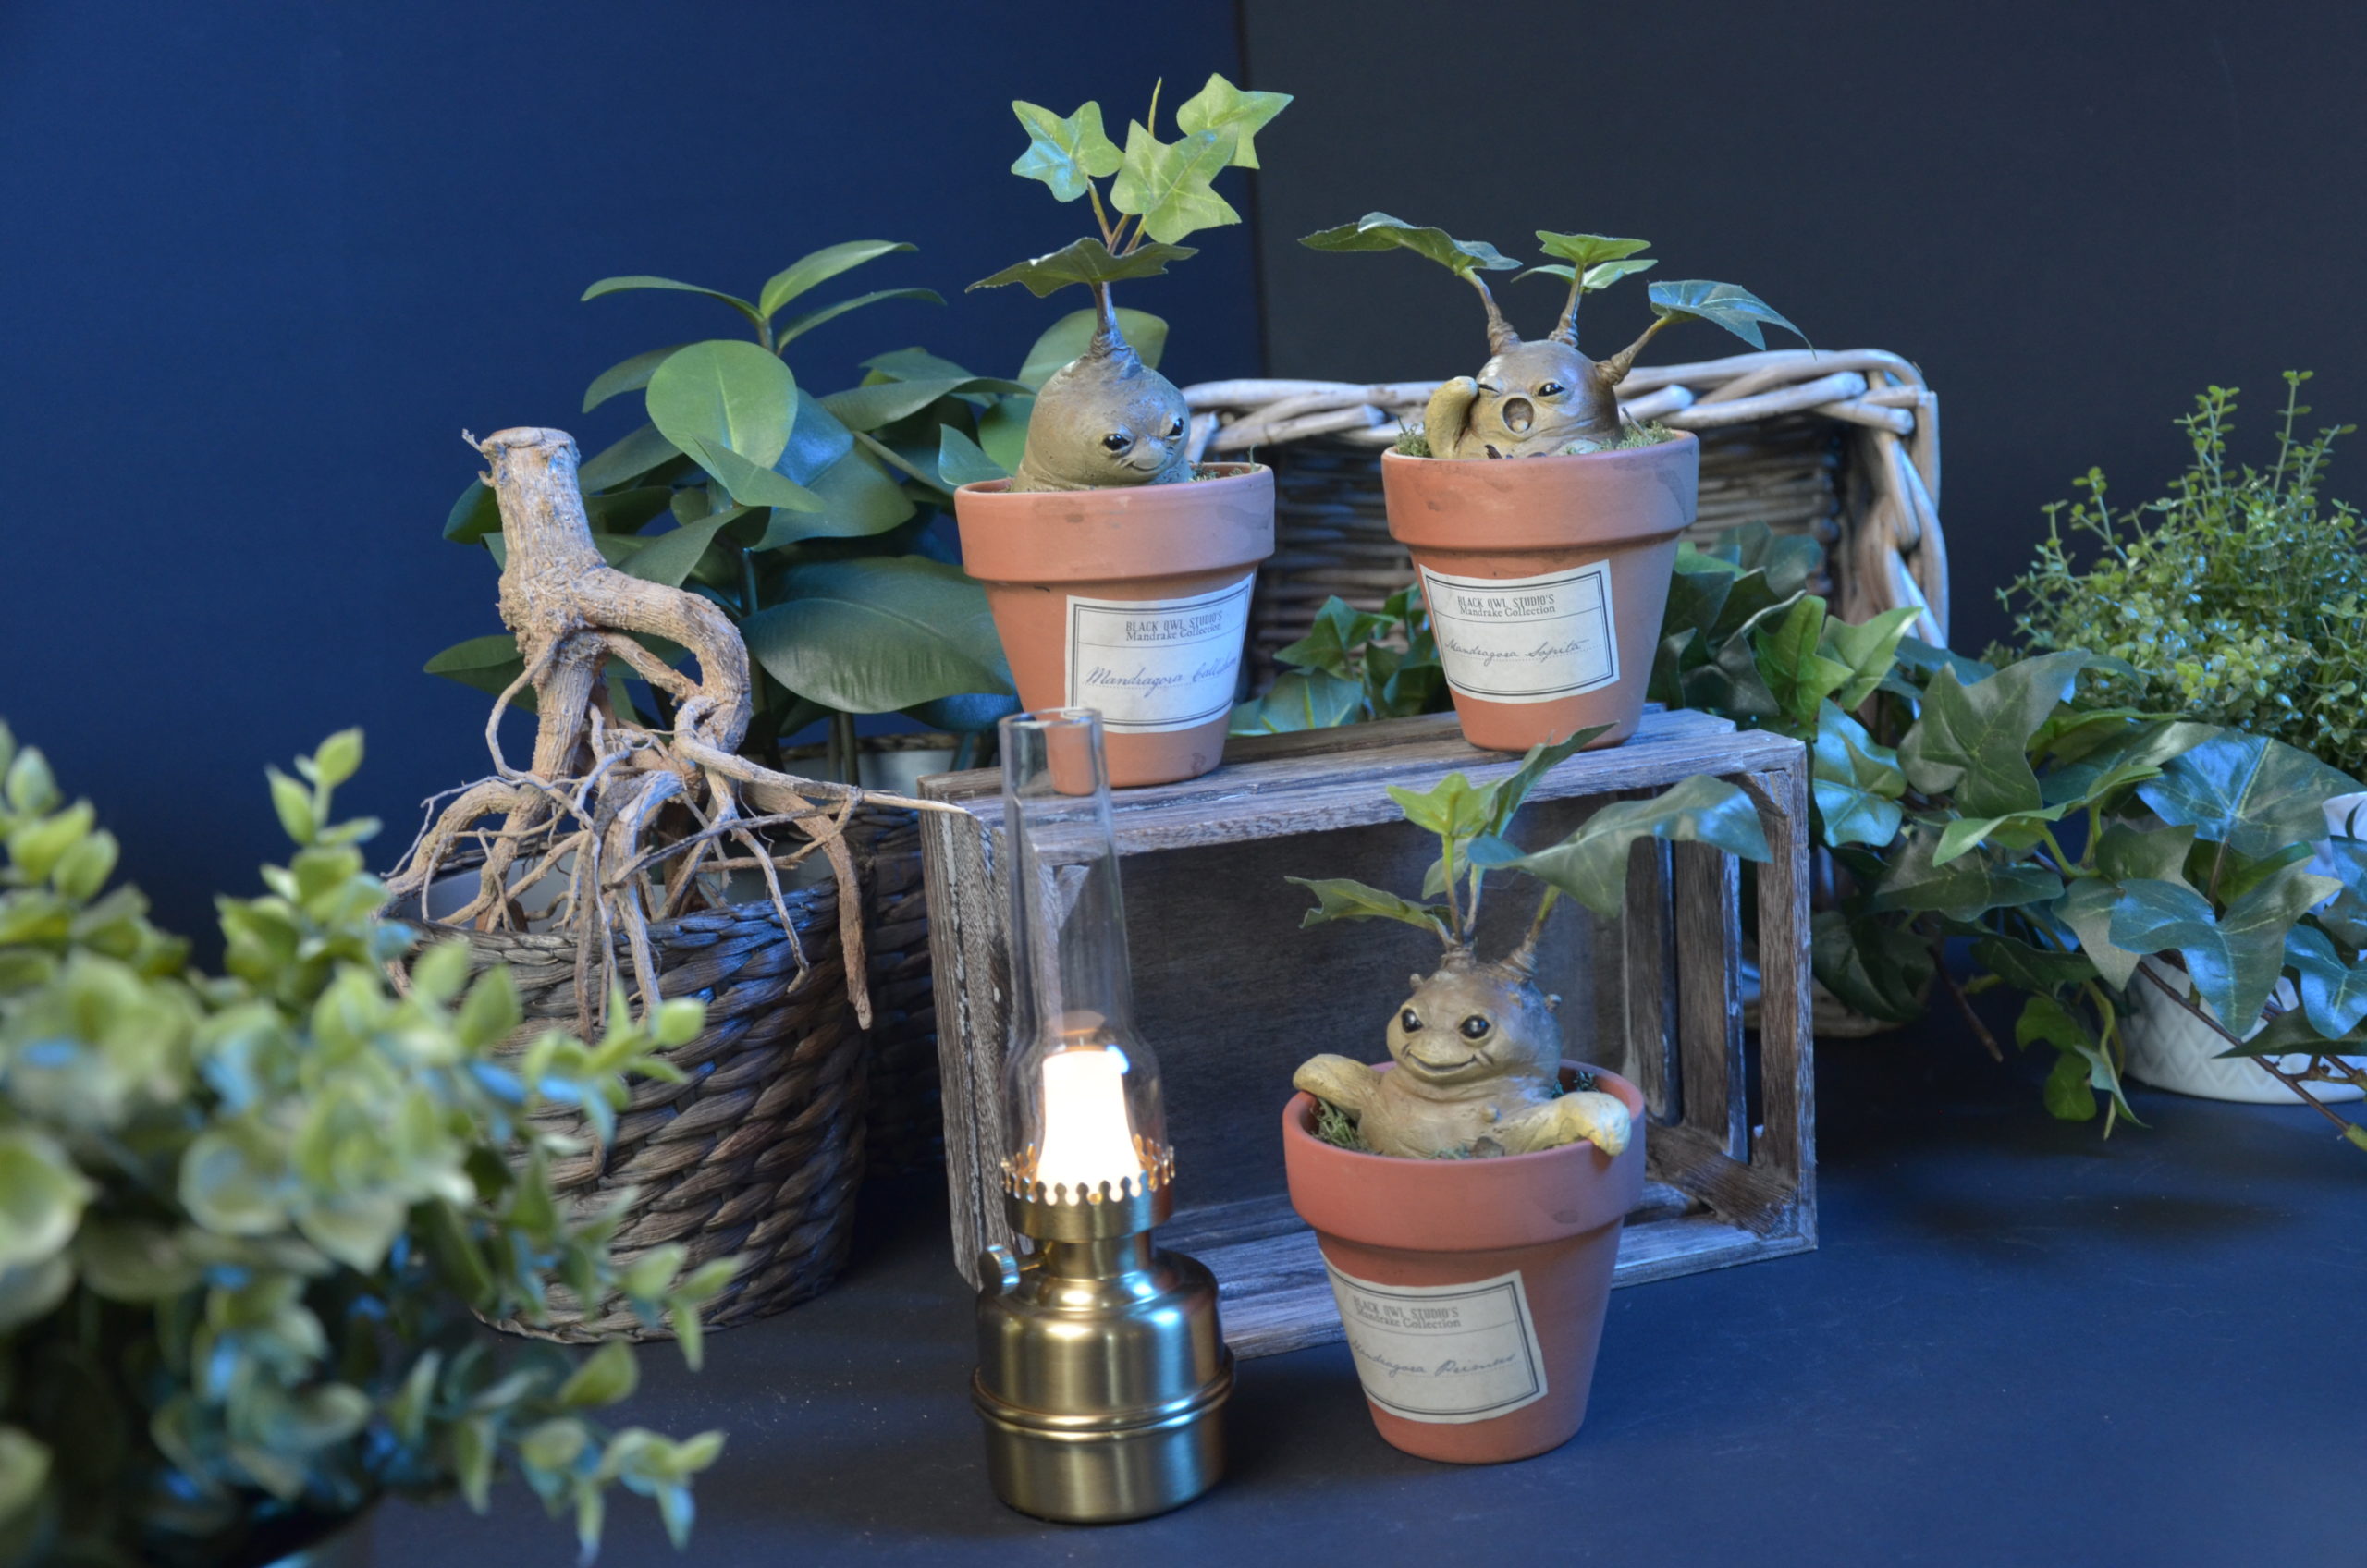
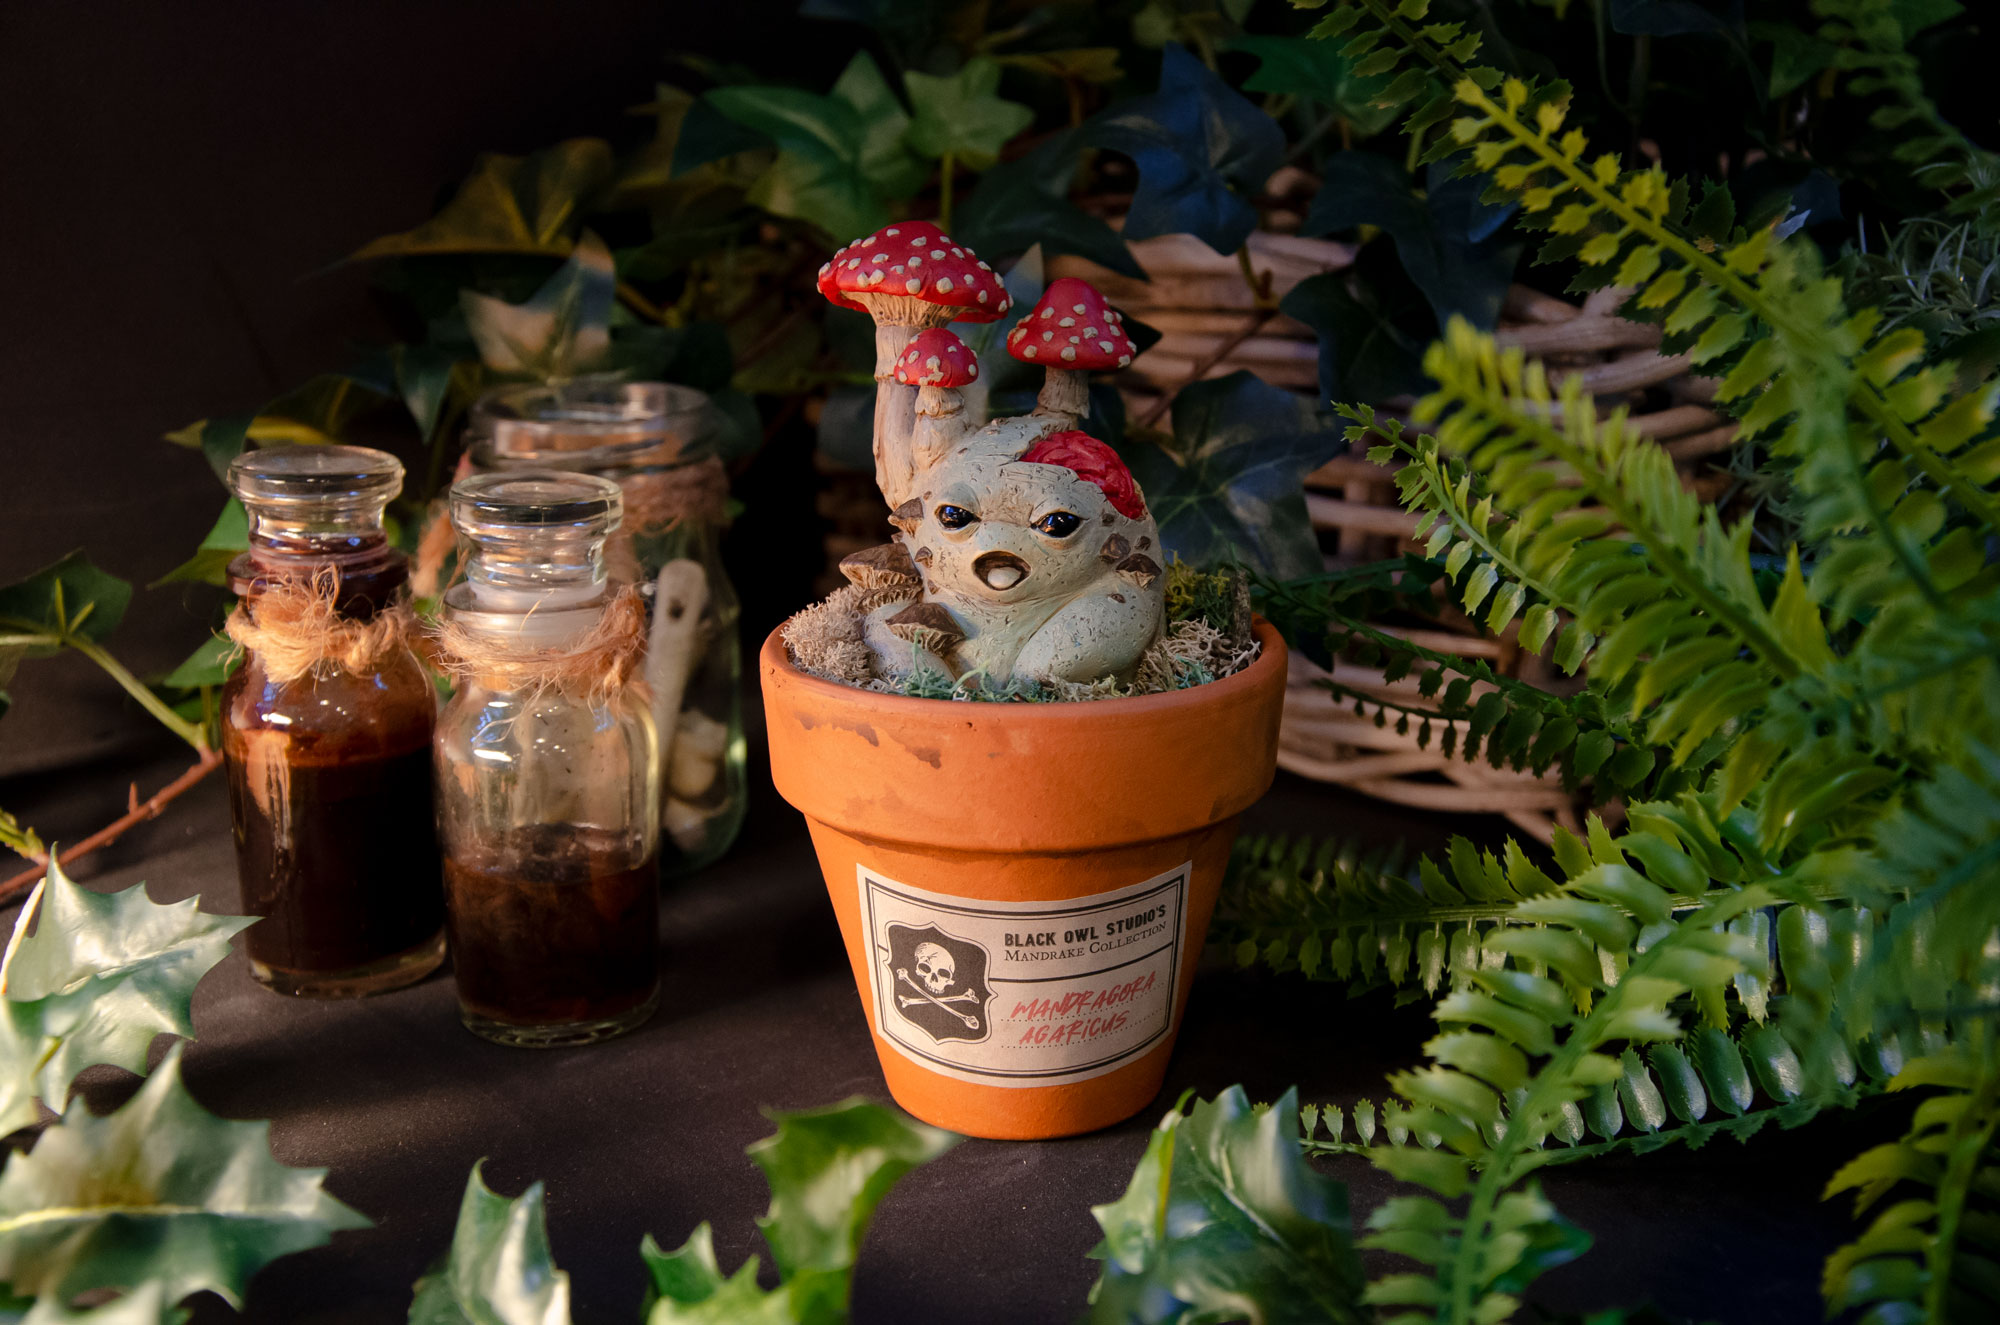
A pretty mandrake greenhouse
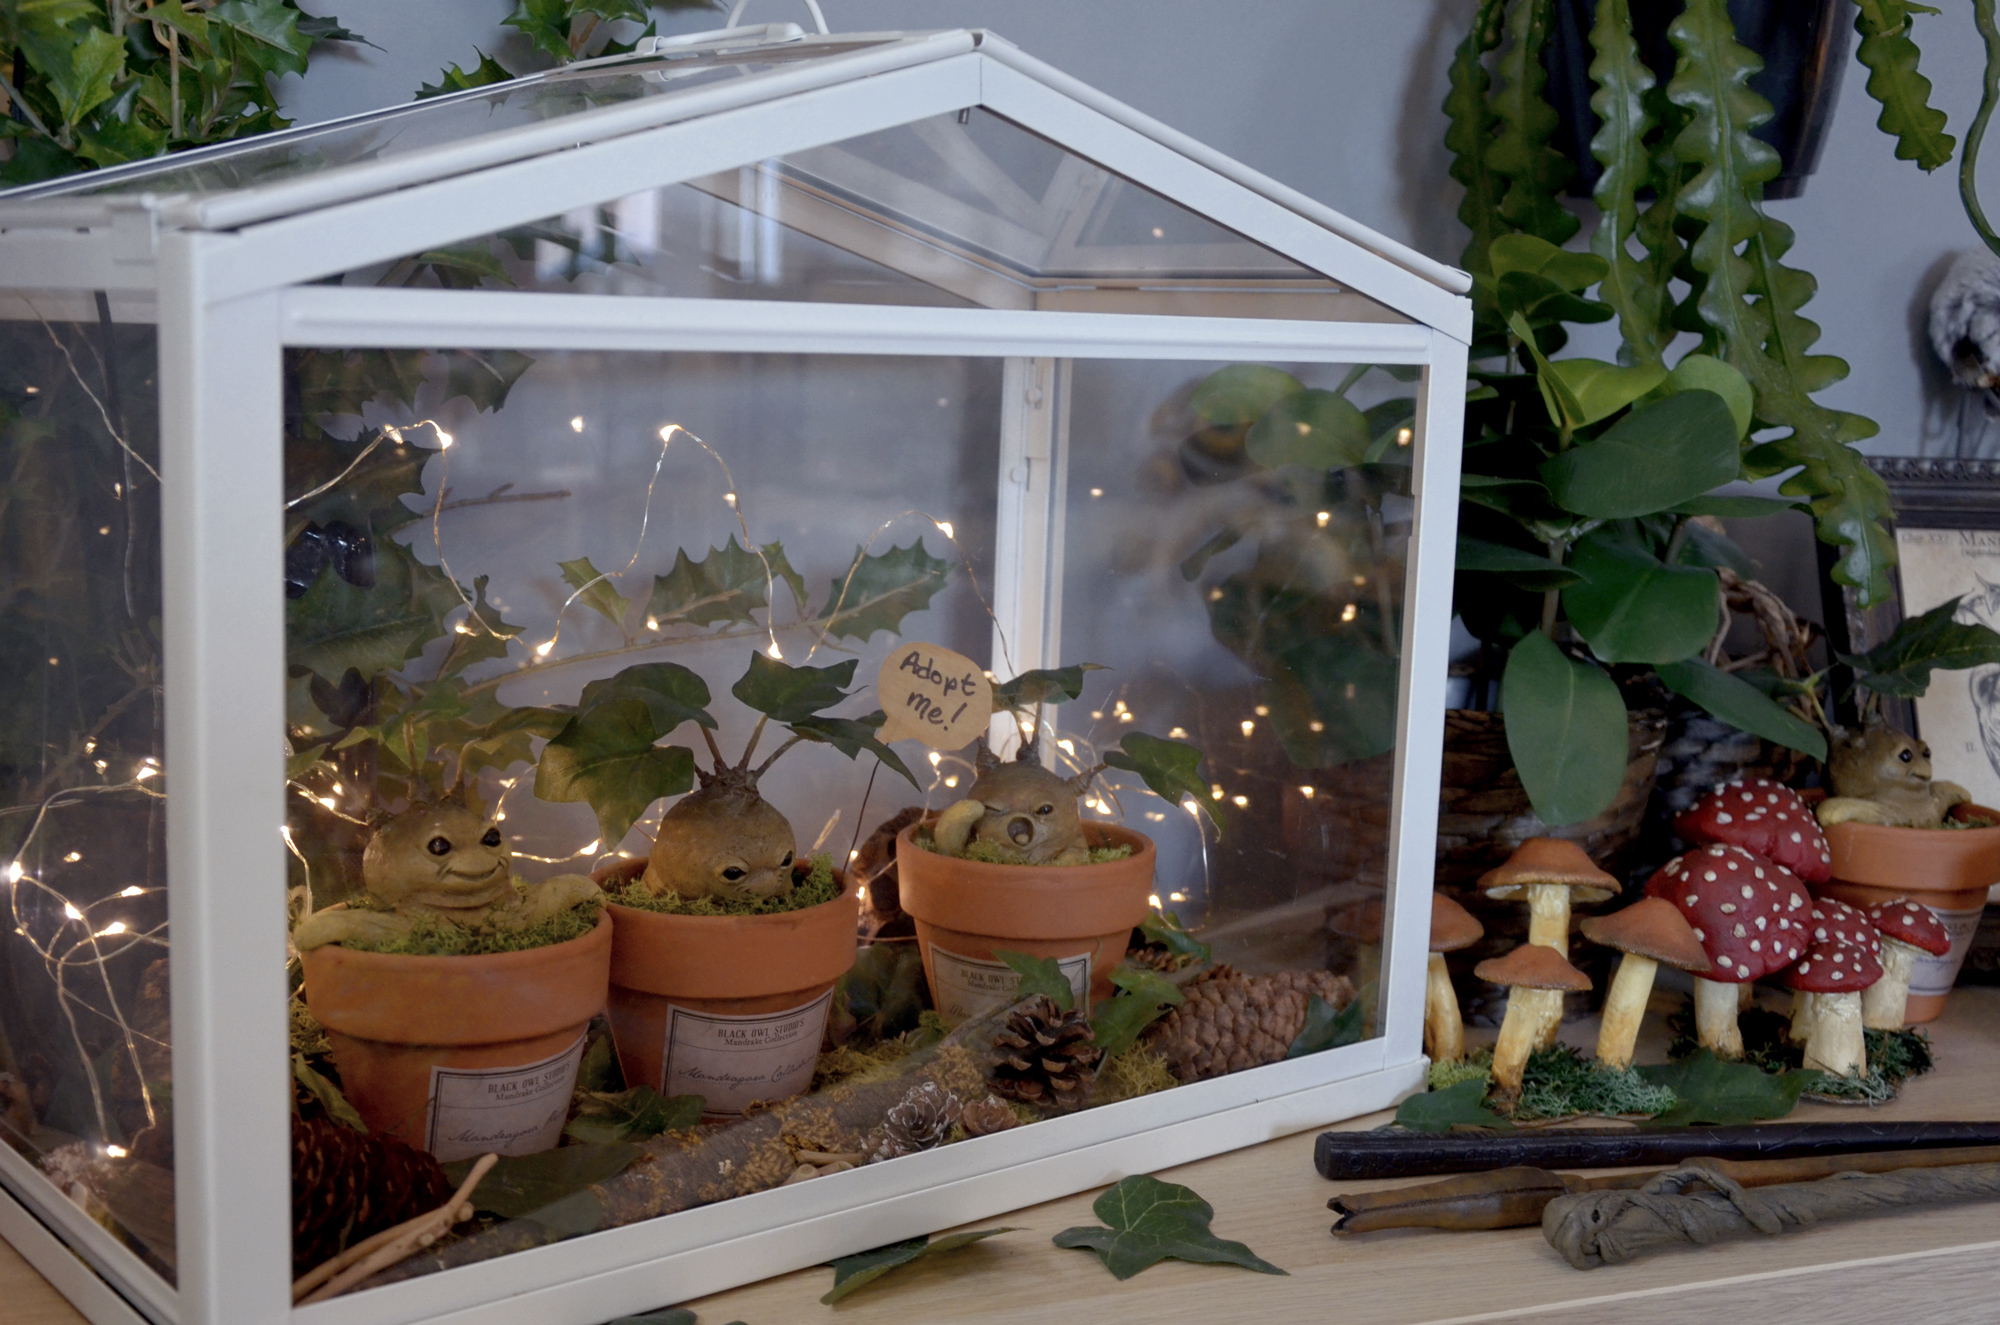
For our best-seller, we decided to create a little green setting, an atmosphere in botany lessons with Professor Sprout.

For this, of course, we need:
- One or more Mandrakes available in our shop!
- A greenhouse
- Some garnish: moss cones branches…
- Optional: a light garland
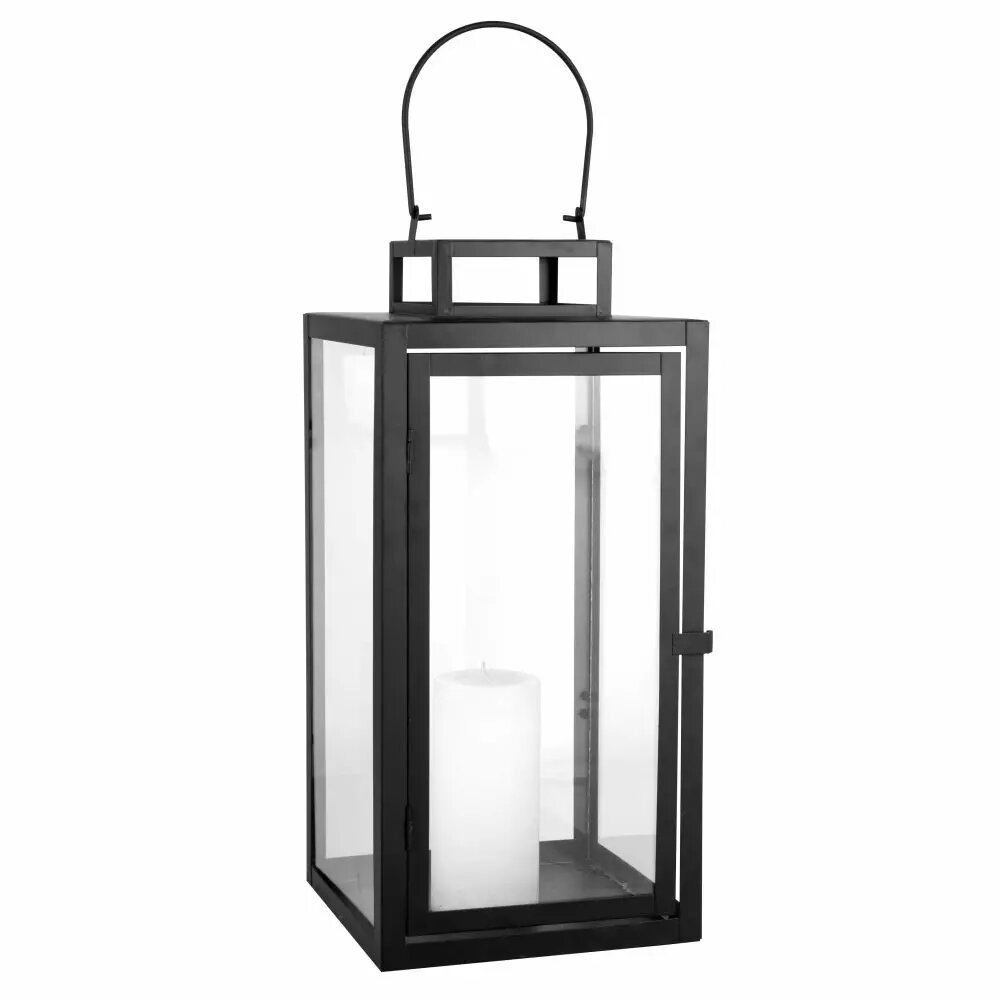
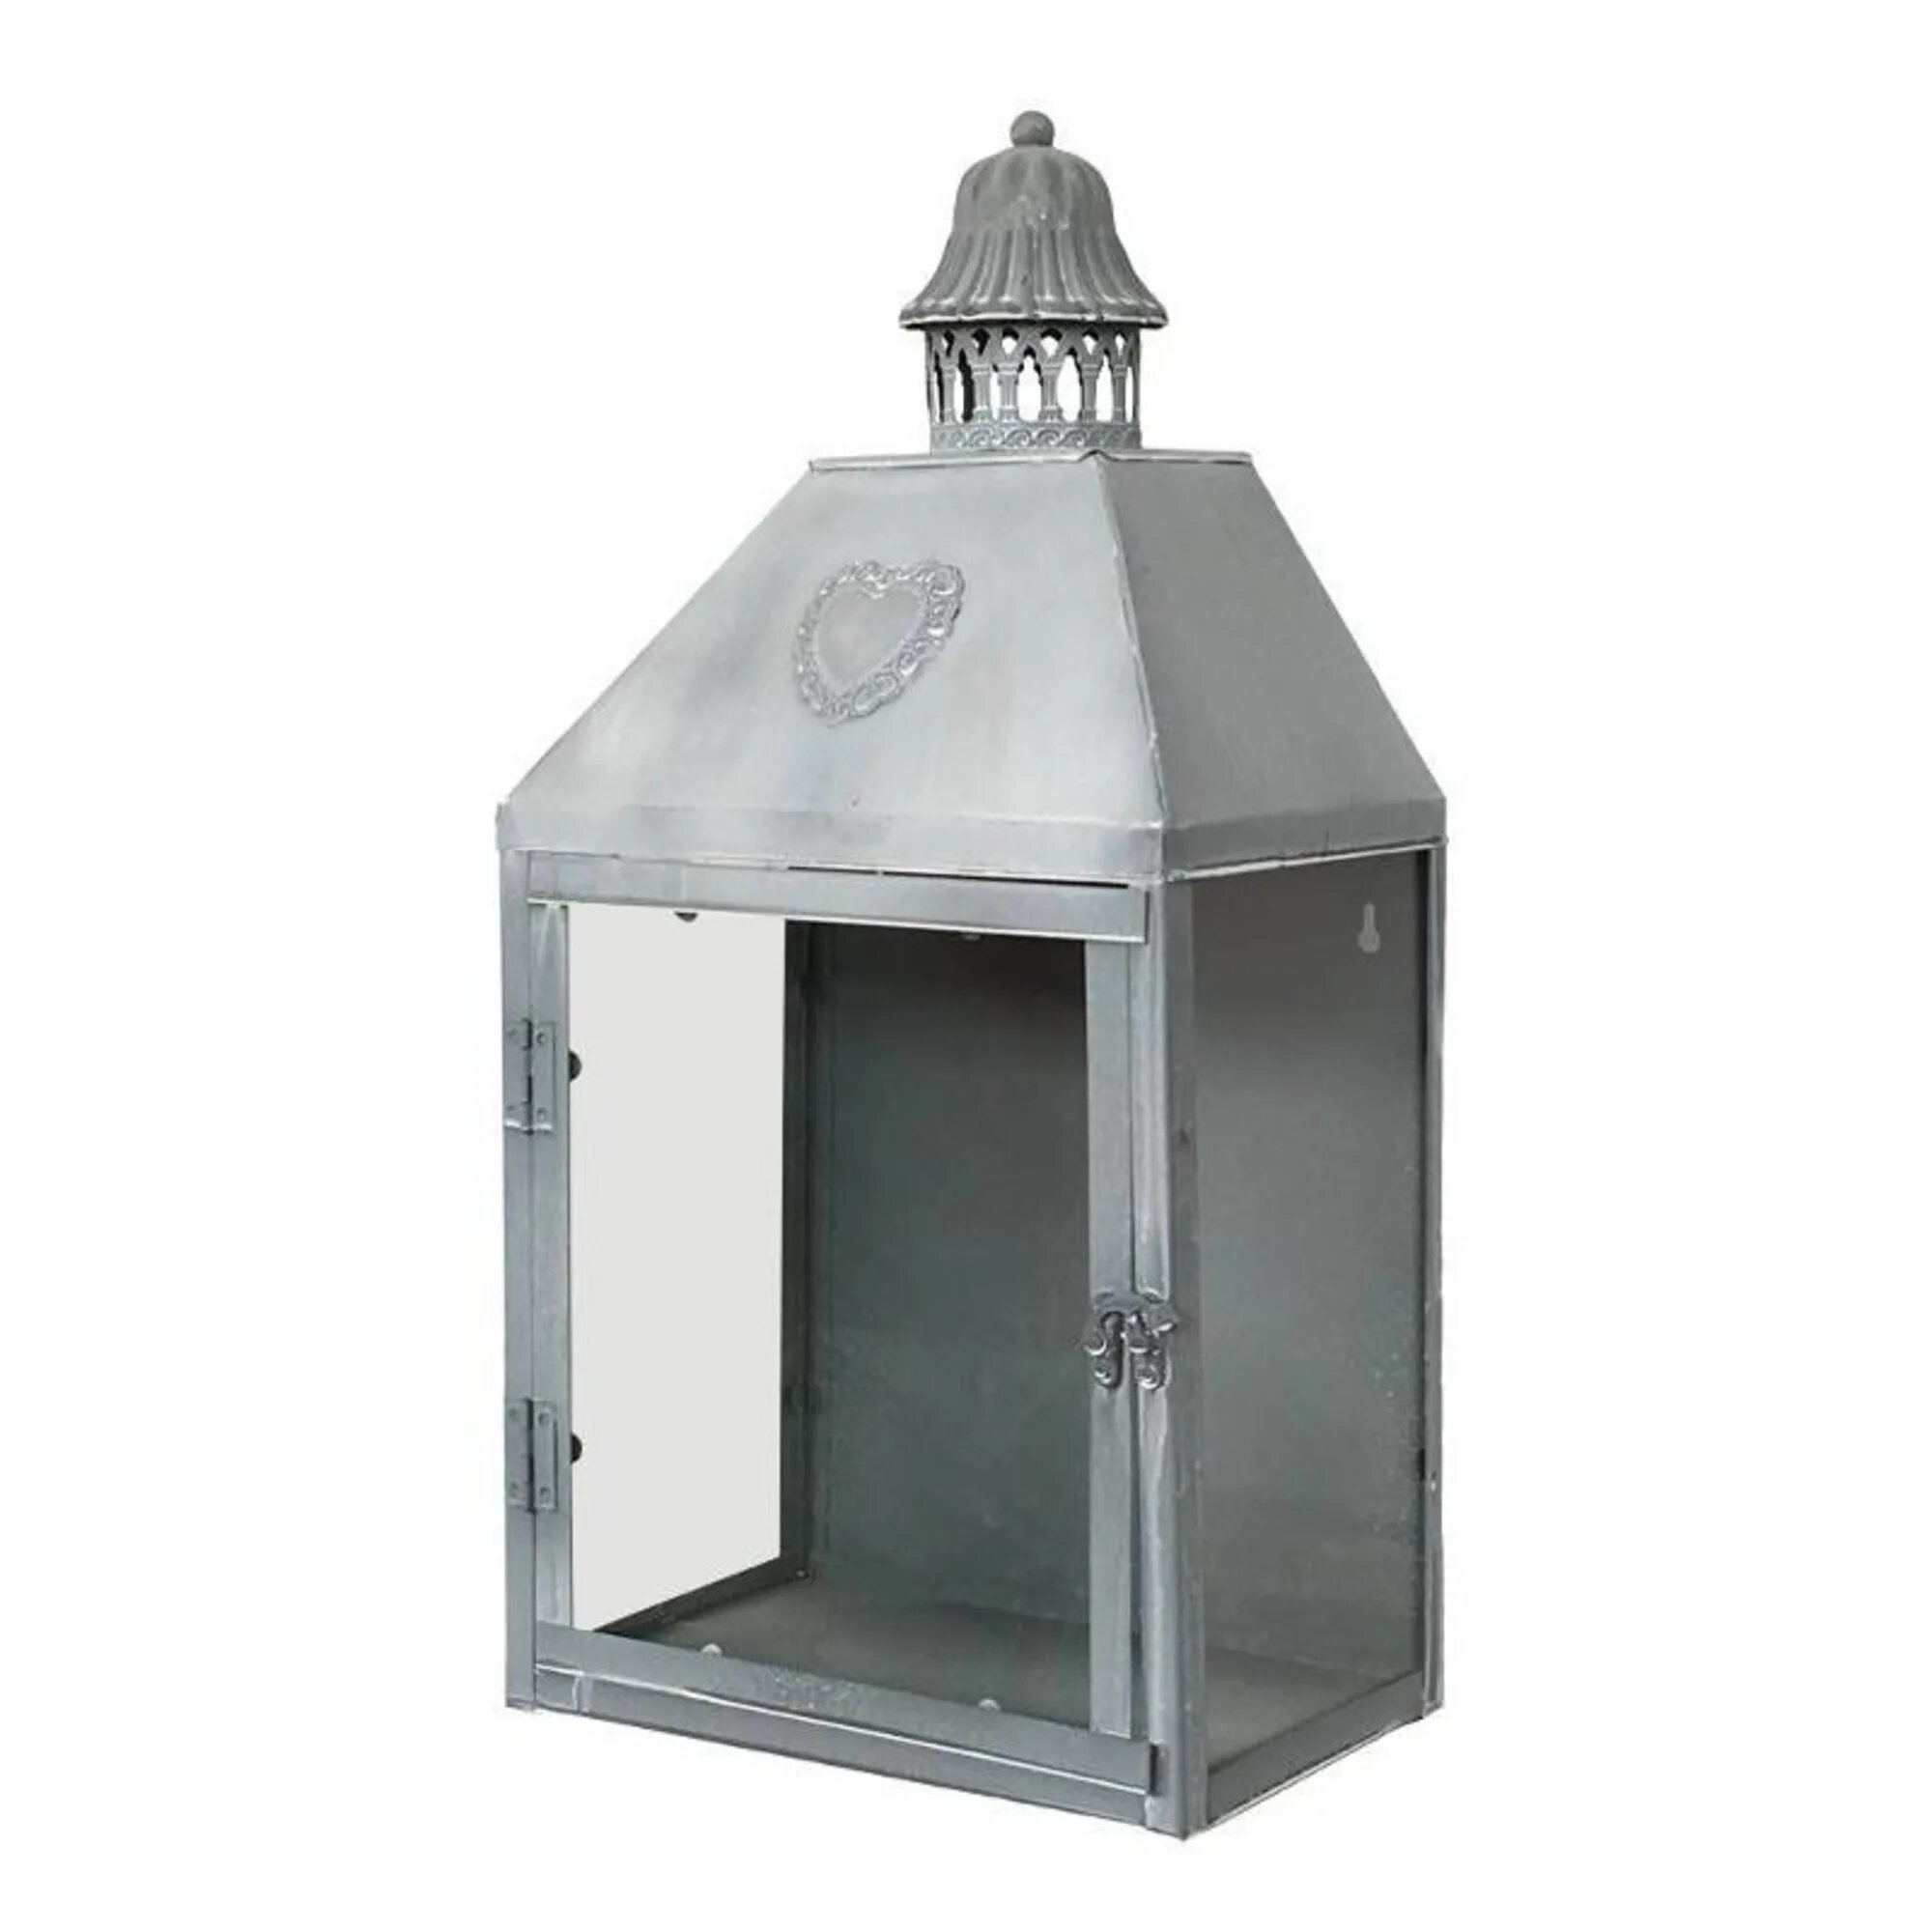
Now let’s start with the greenhouse. Whether online, in store or at a flea market, you will be spoiled for choice!
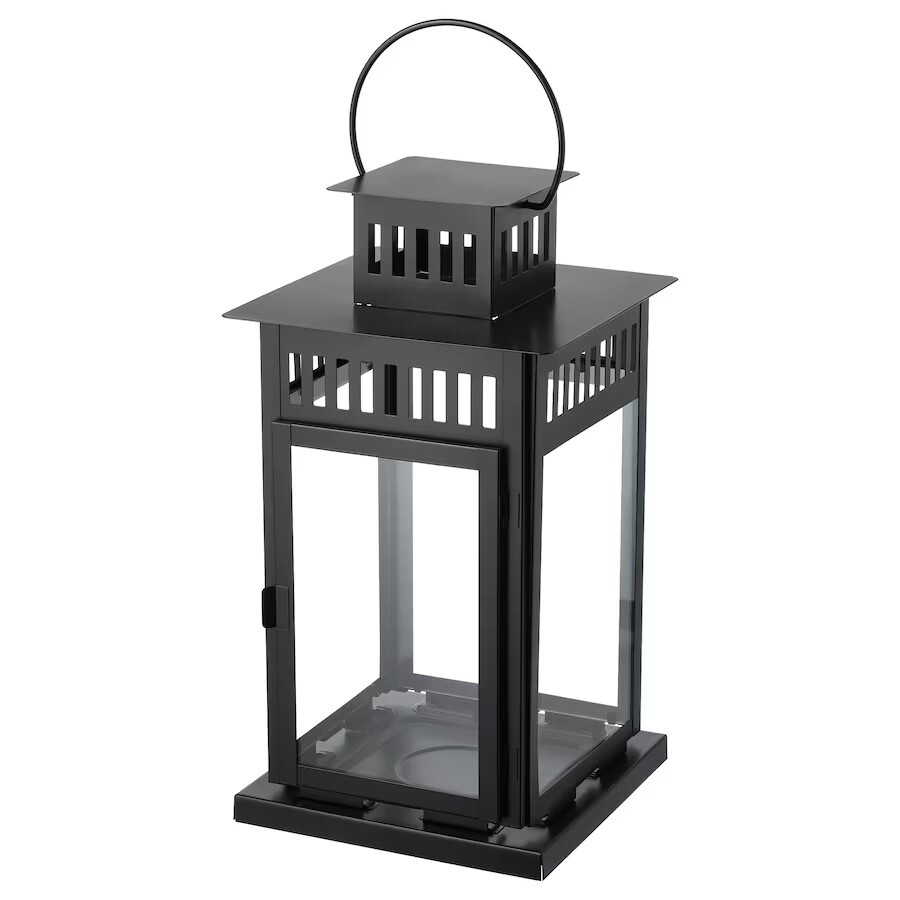

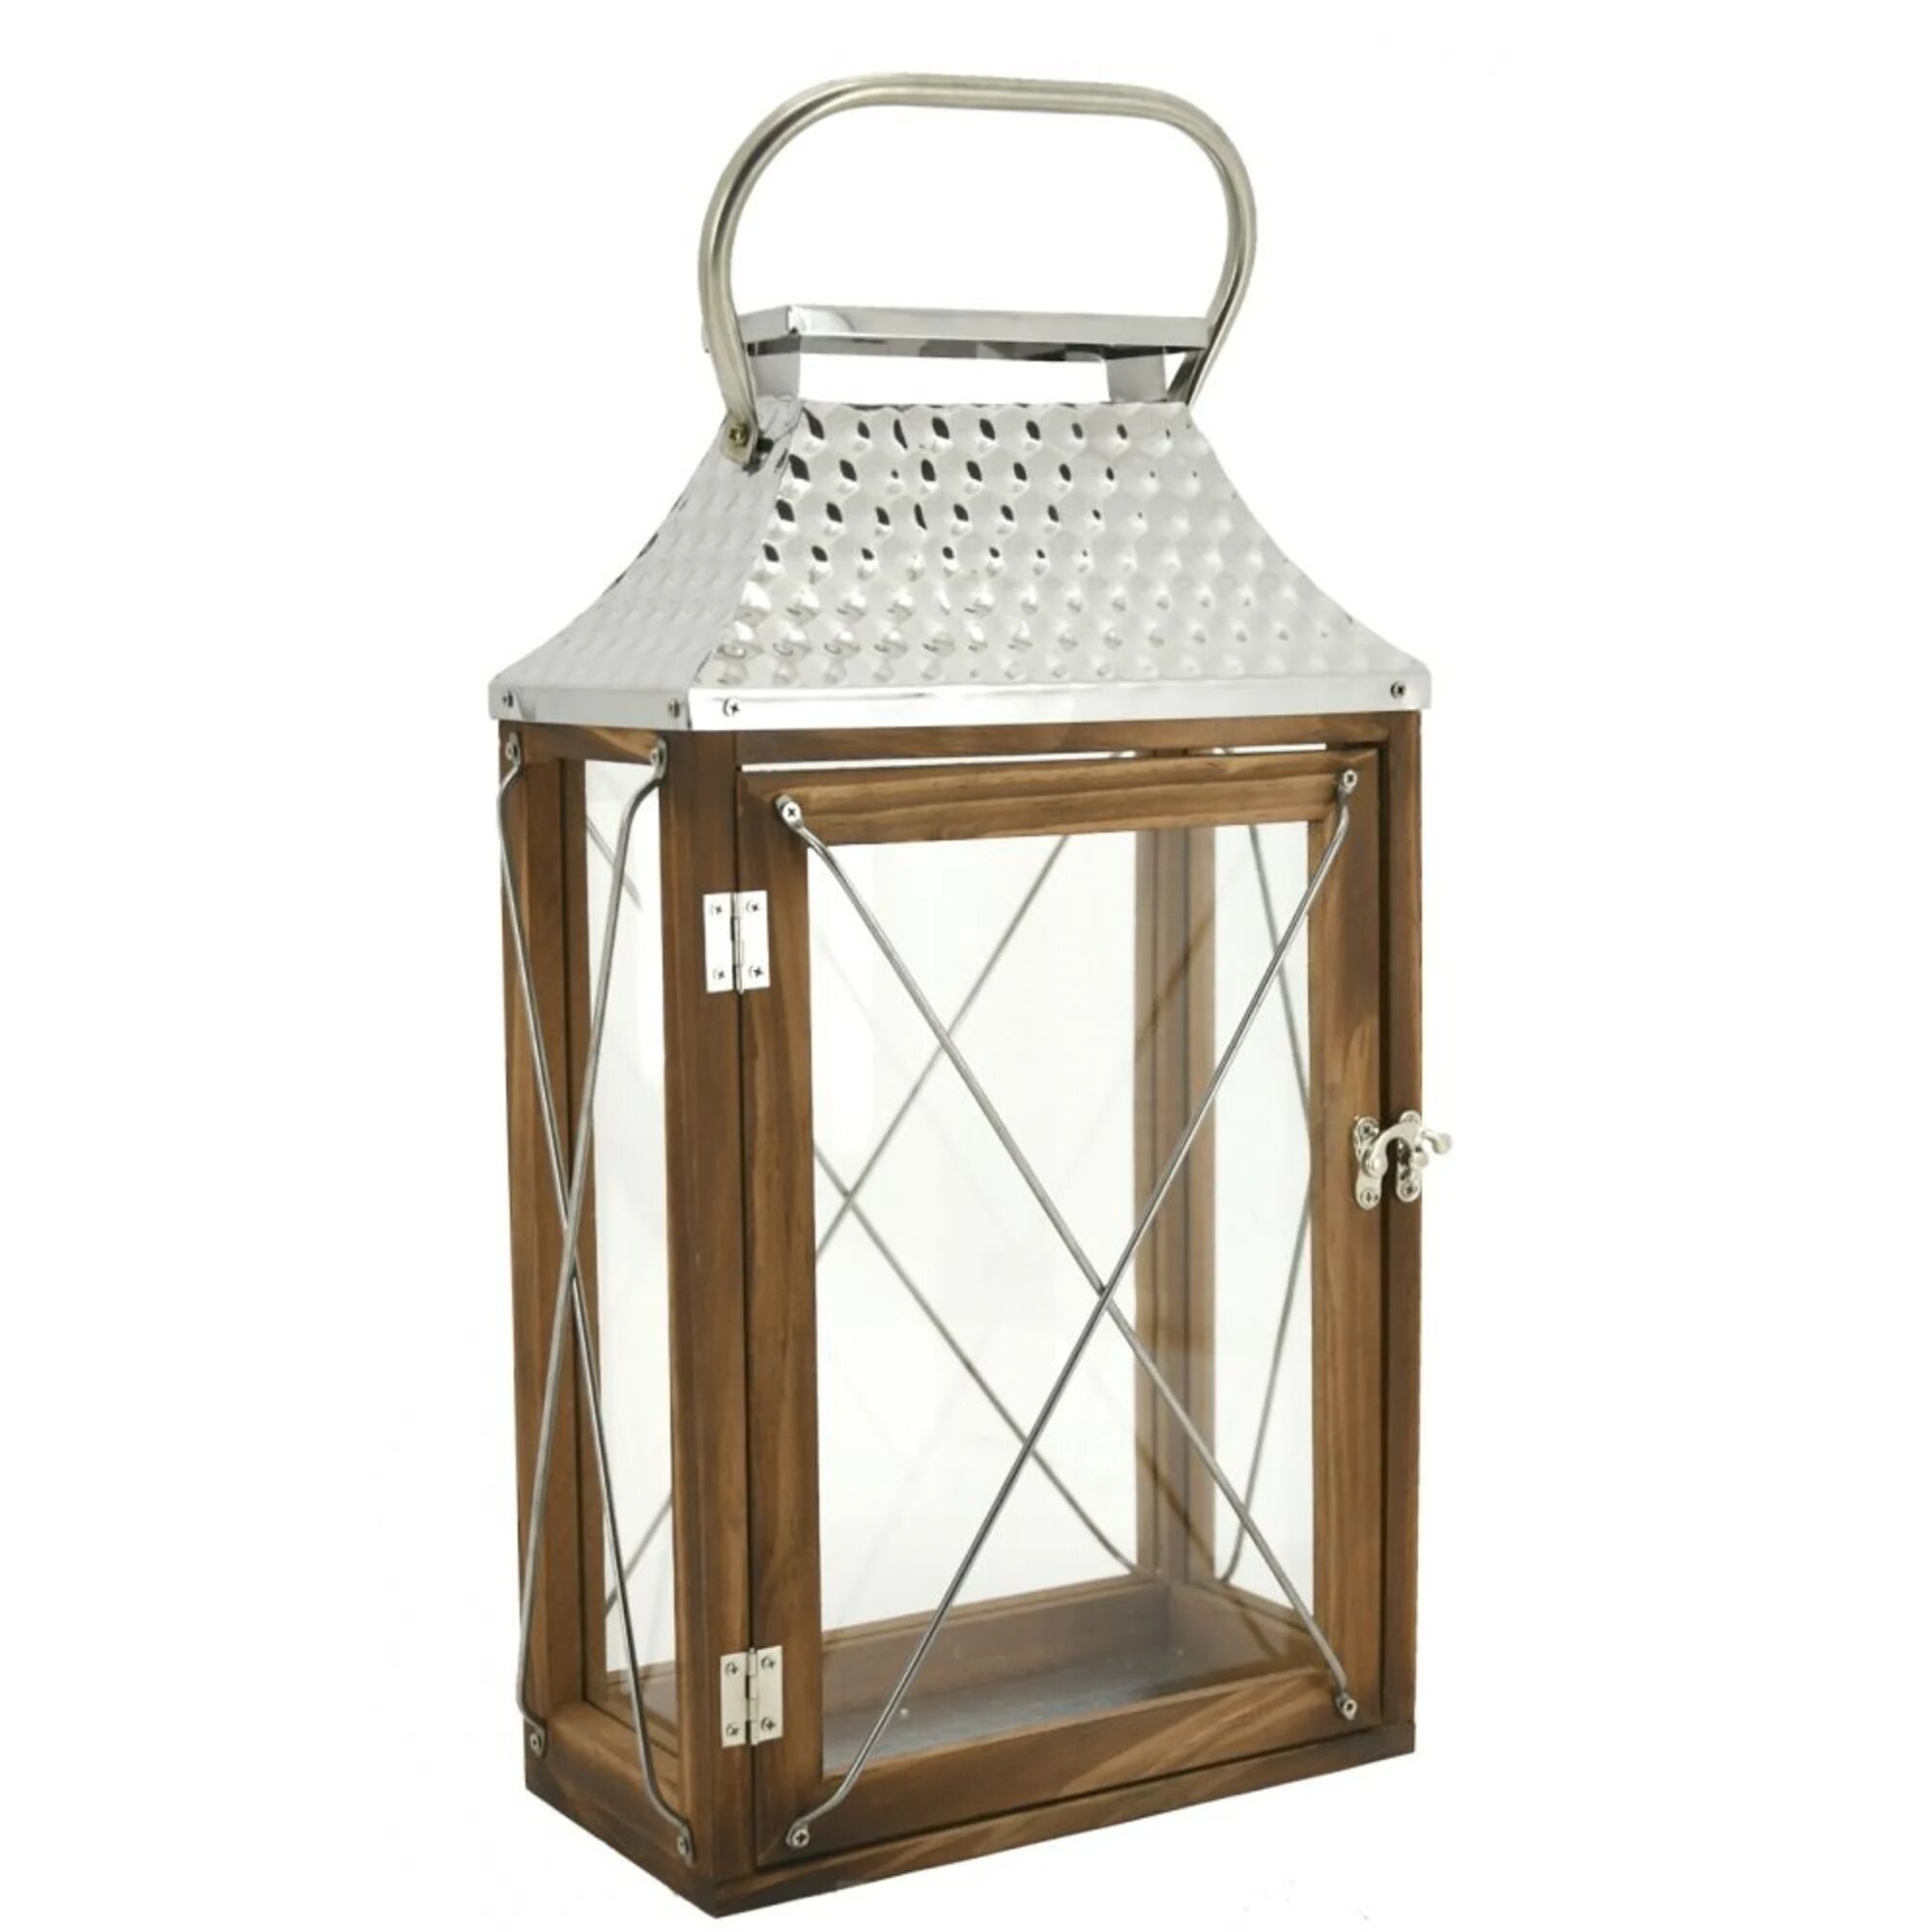
- Borrby lantern (Ikea)
- Mathias lantern (Maisons du Monde)
- “Chemin de Campagne” Wall lantern (Maisons du Monde)
- Bintan lantern (Maisons du Monde)
- Aubry Gaspard lantern (Maisons du Monde)
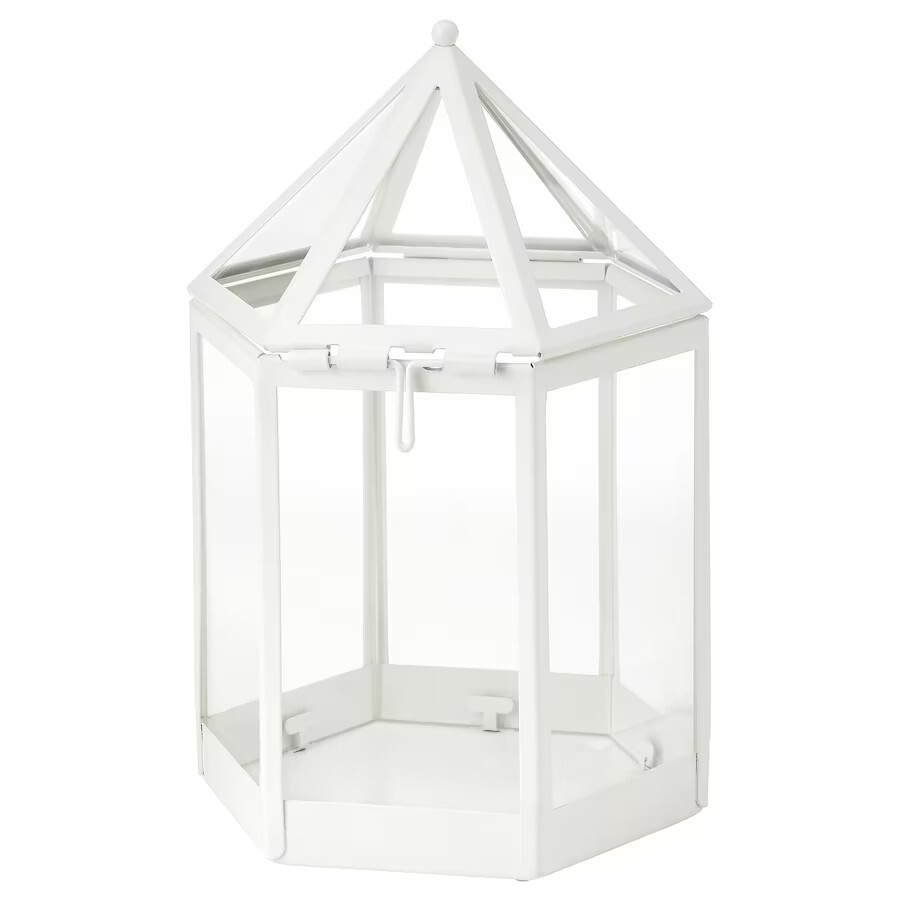
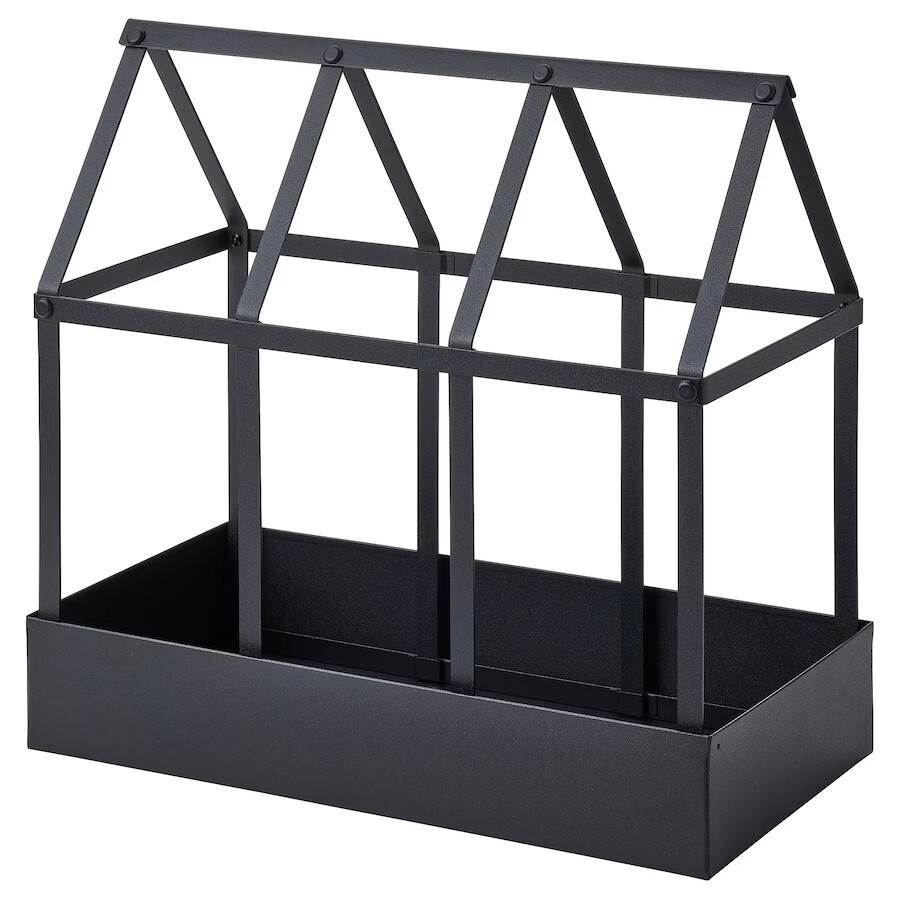
- Stärkt decorative greenhouse (Ikea)
- Senapskål decorative greenhouse (Ikea)
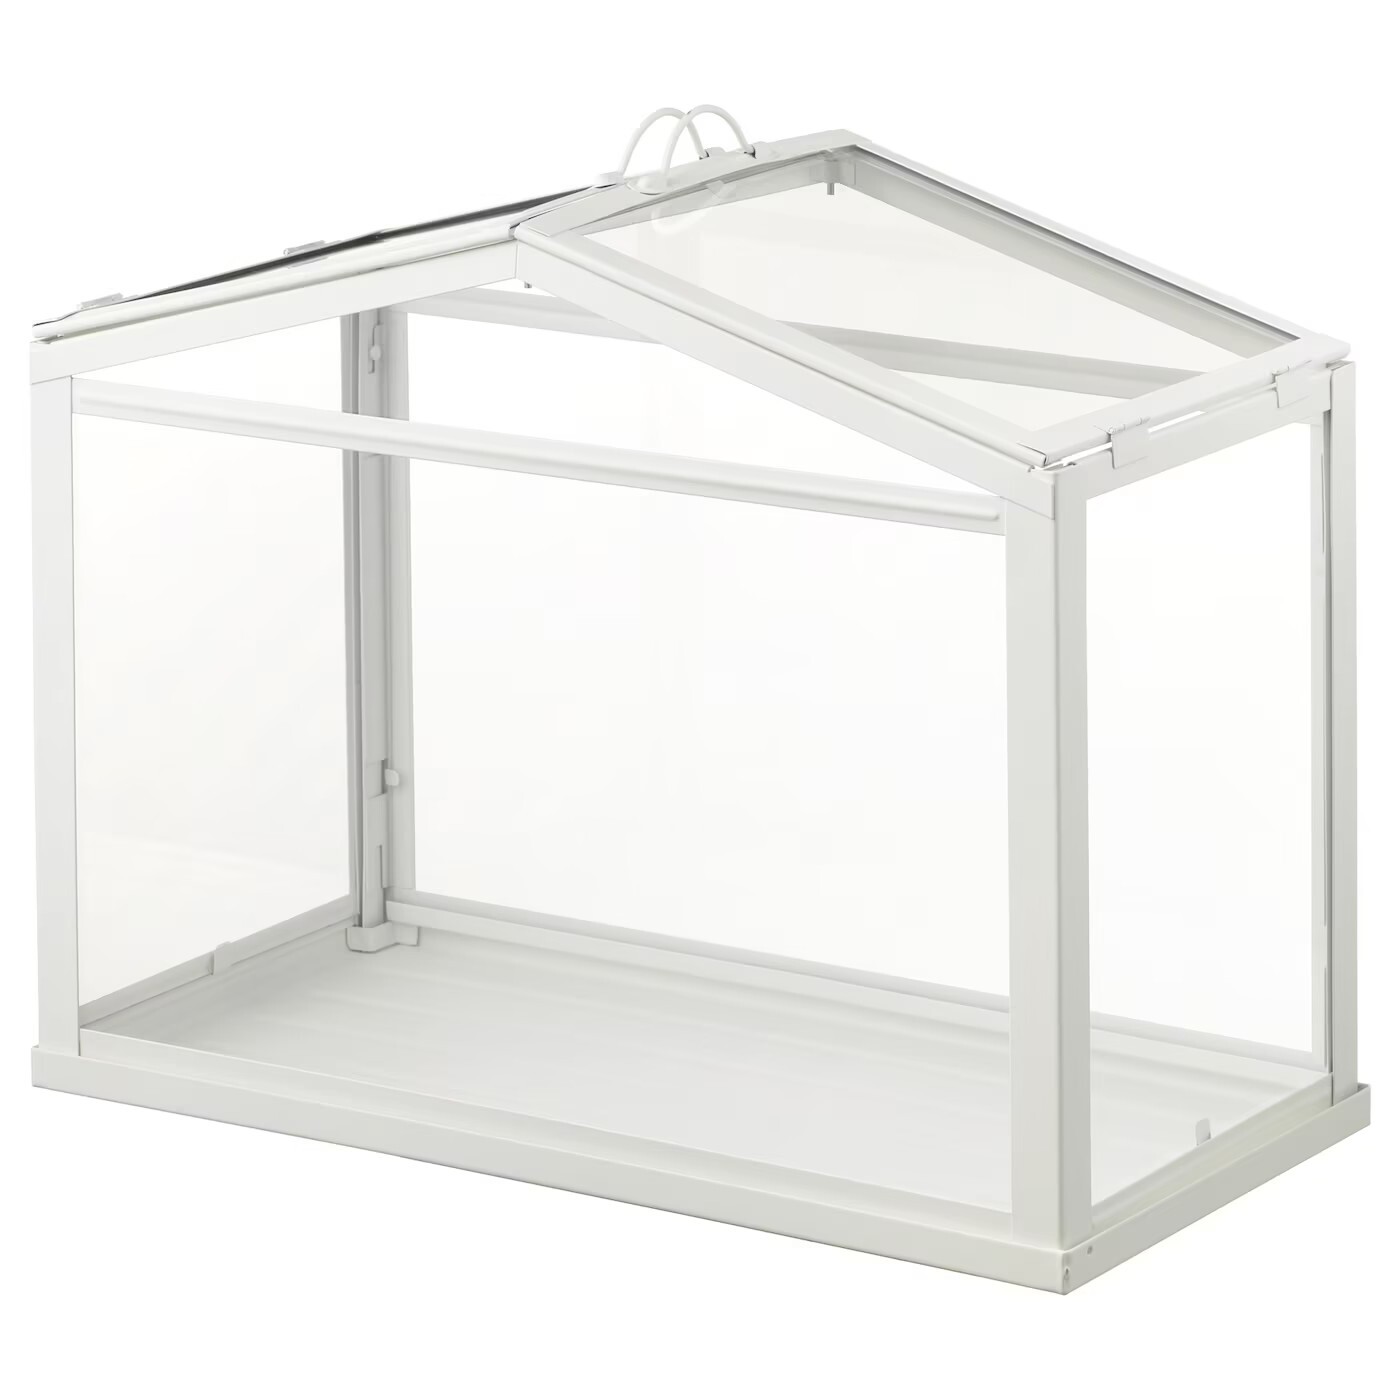
- Socker decorative greenhouse (Ikea)
For our part, we opted for the Socker greenhouse from Ikea, large enough to accommodate our 3 models of mandrakes and with plexiglass windows to prevent breakage during transport.
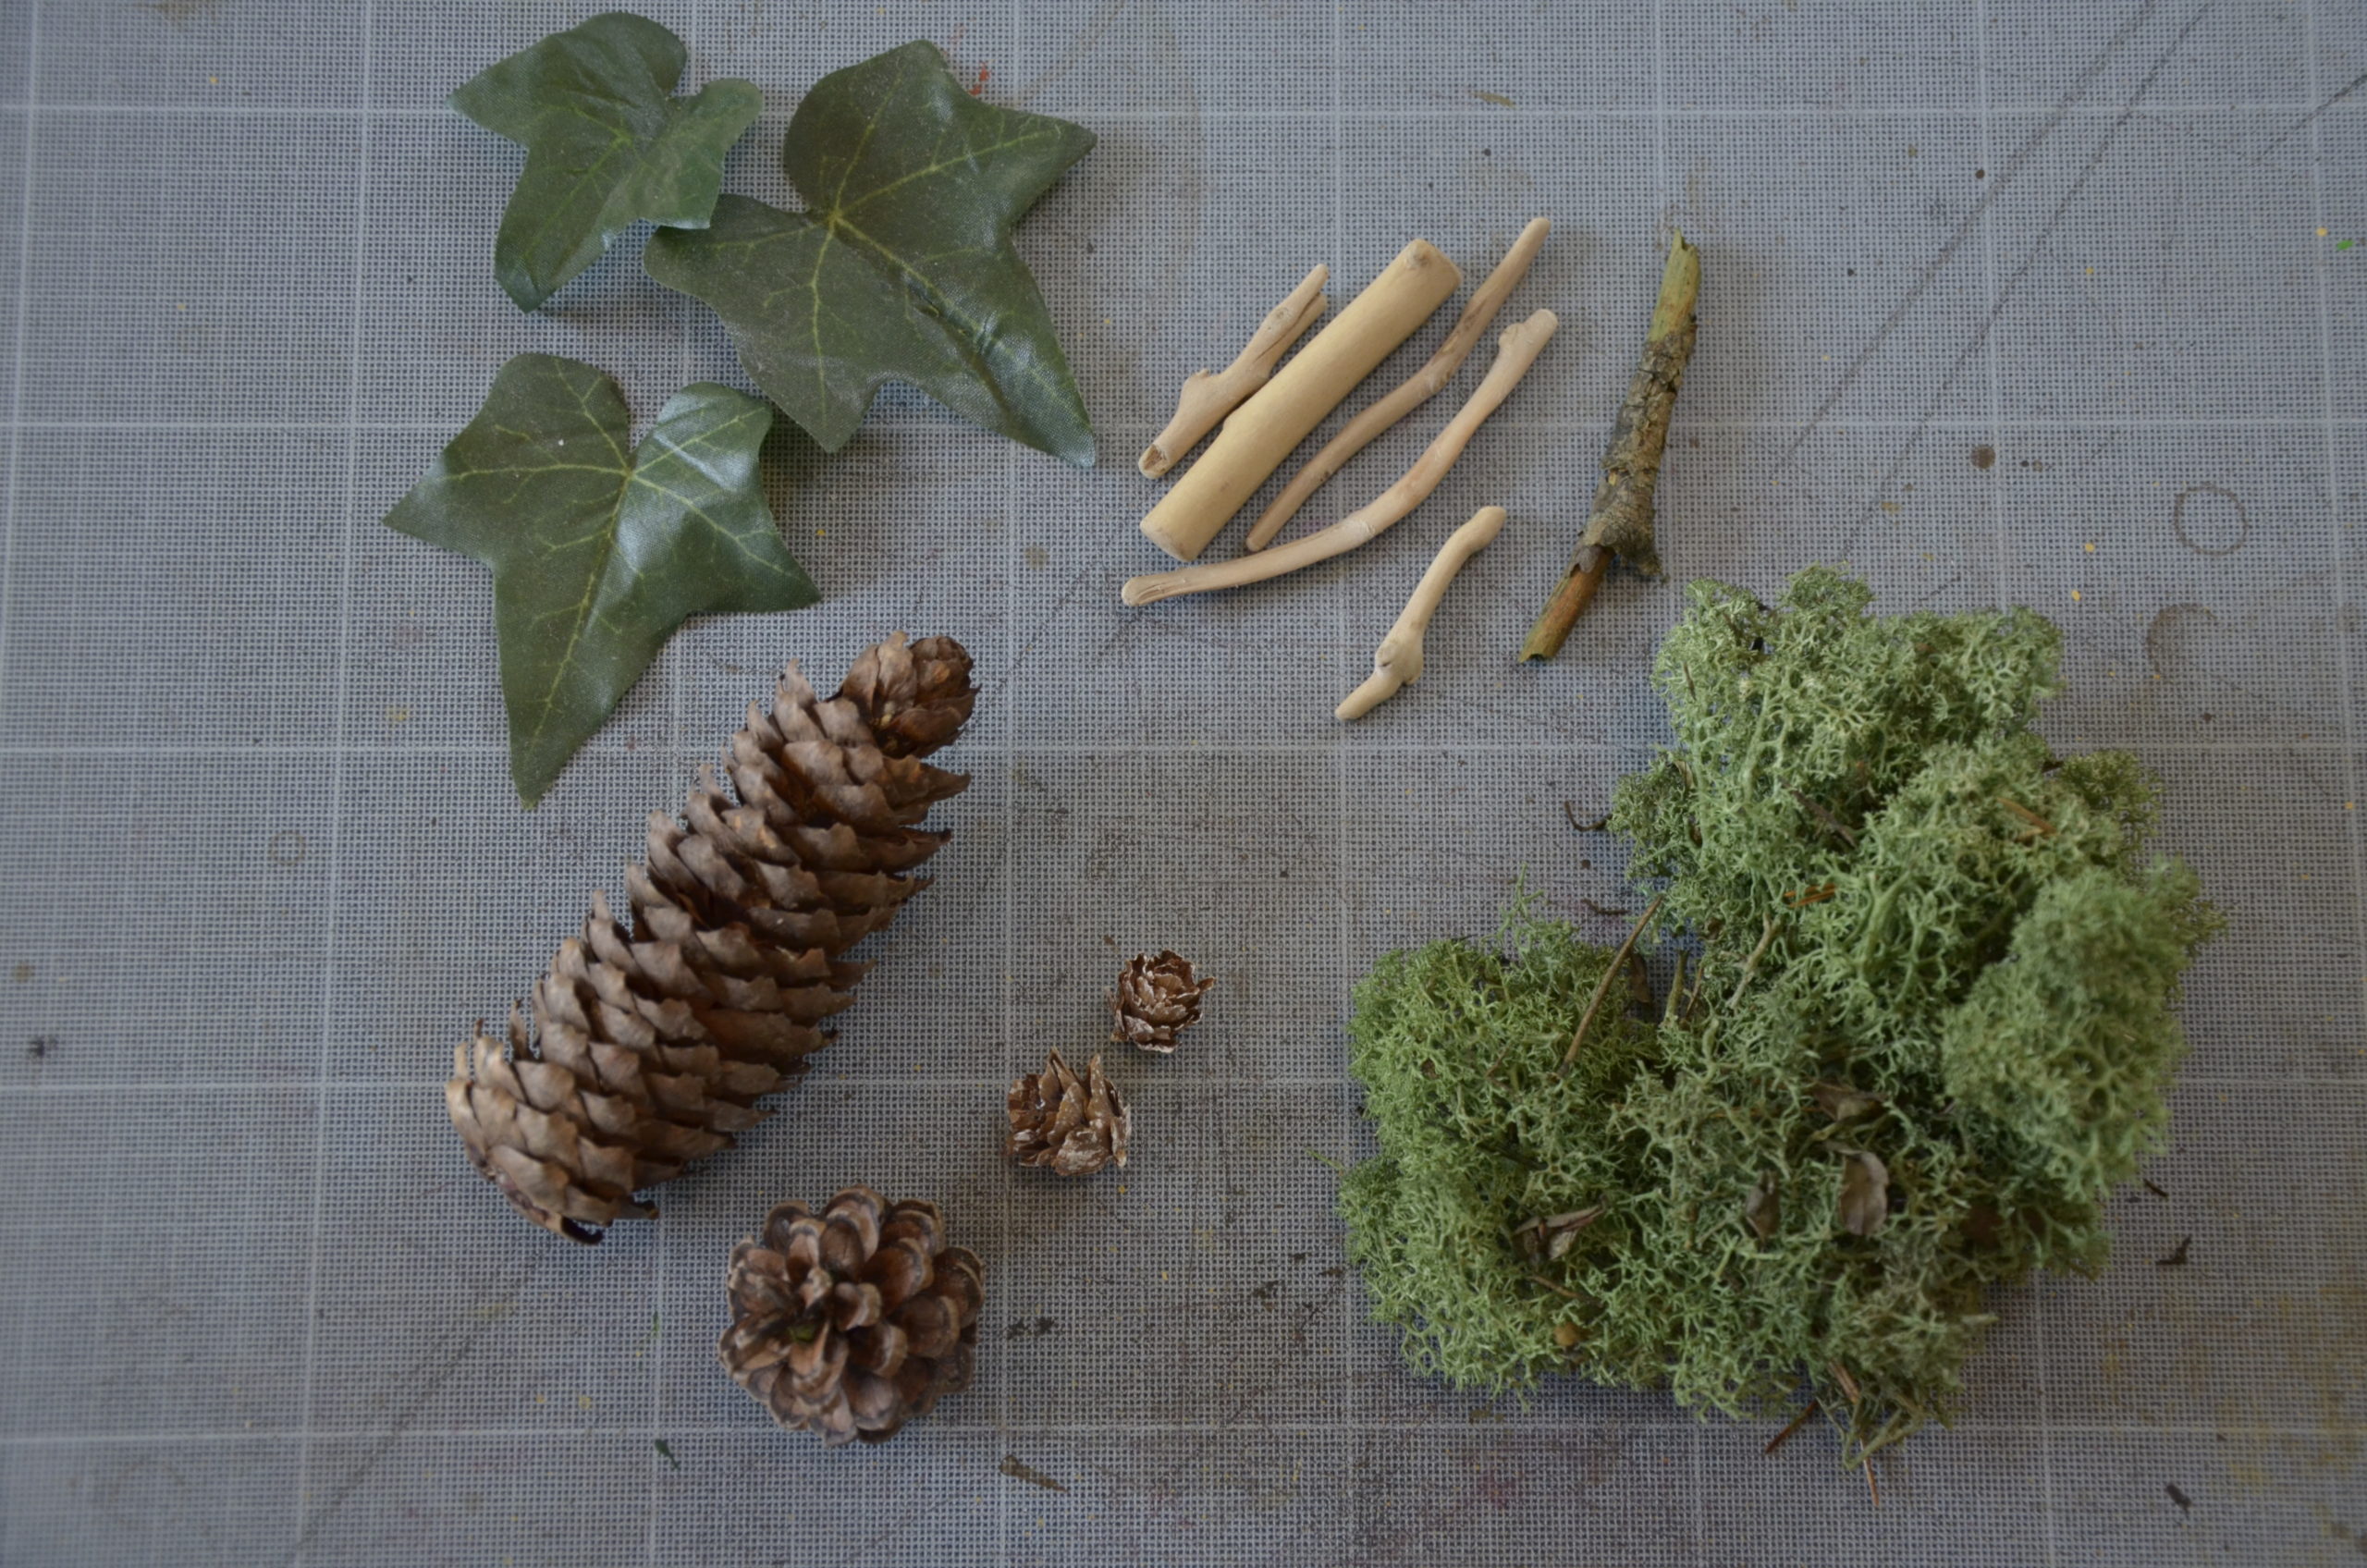
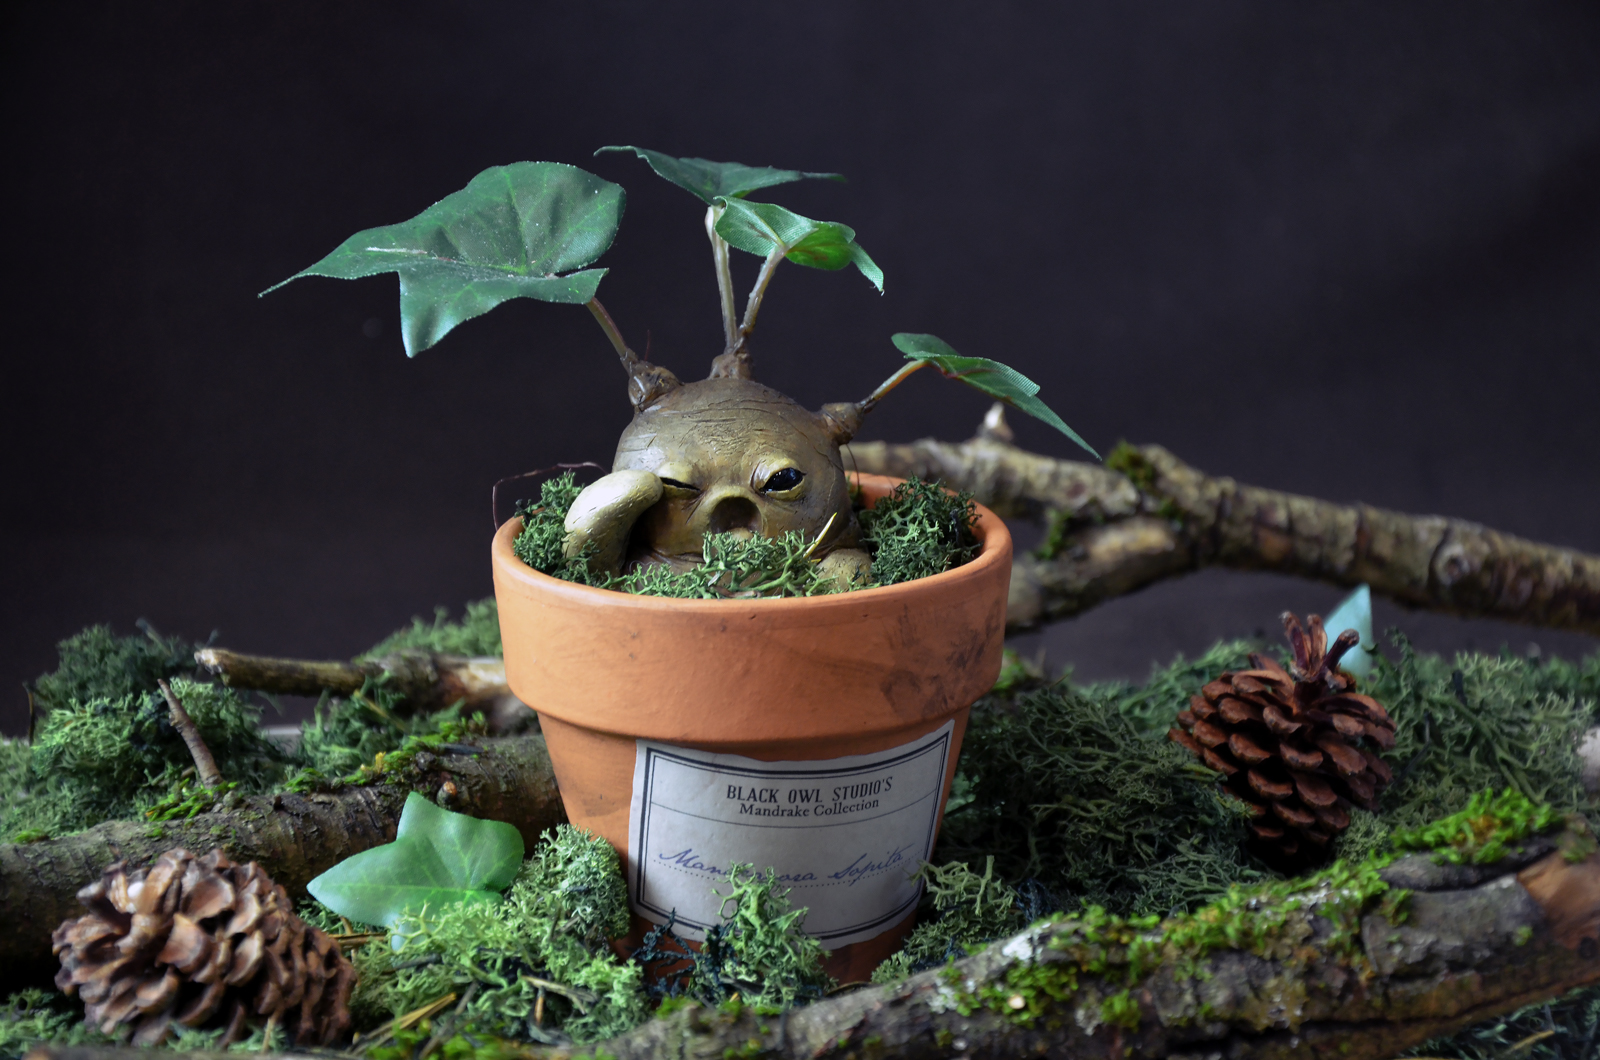
For the filling, plan Iceland moss for the bottom and a little decoration. I had some scraps of tiny pinecones bought for Christmas crafts, as well as scraps of fake leaves that we use for making mandrakes. The branches and large pine cones come from a walk in the forest long ago. Remember to dry everything (especially if you picked it up in the forest) to avoid too much humidity in your greenhouse.
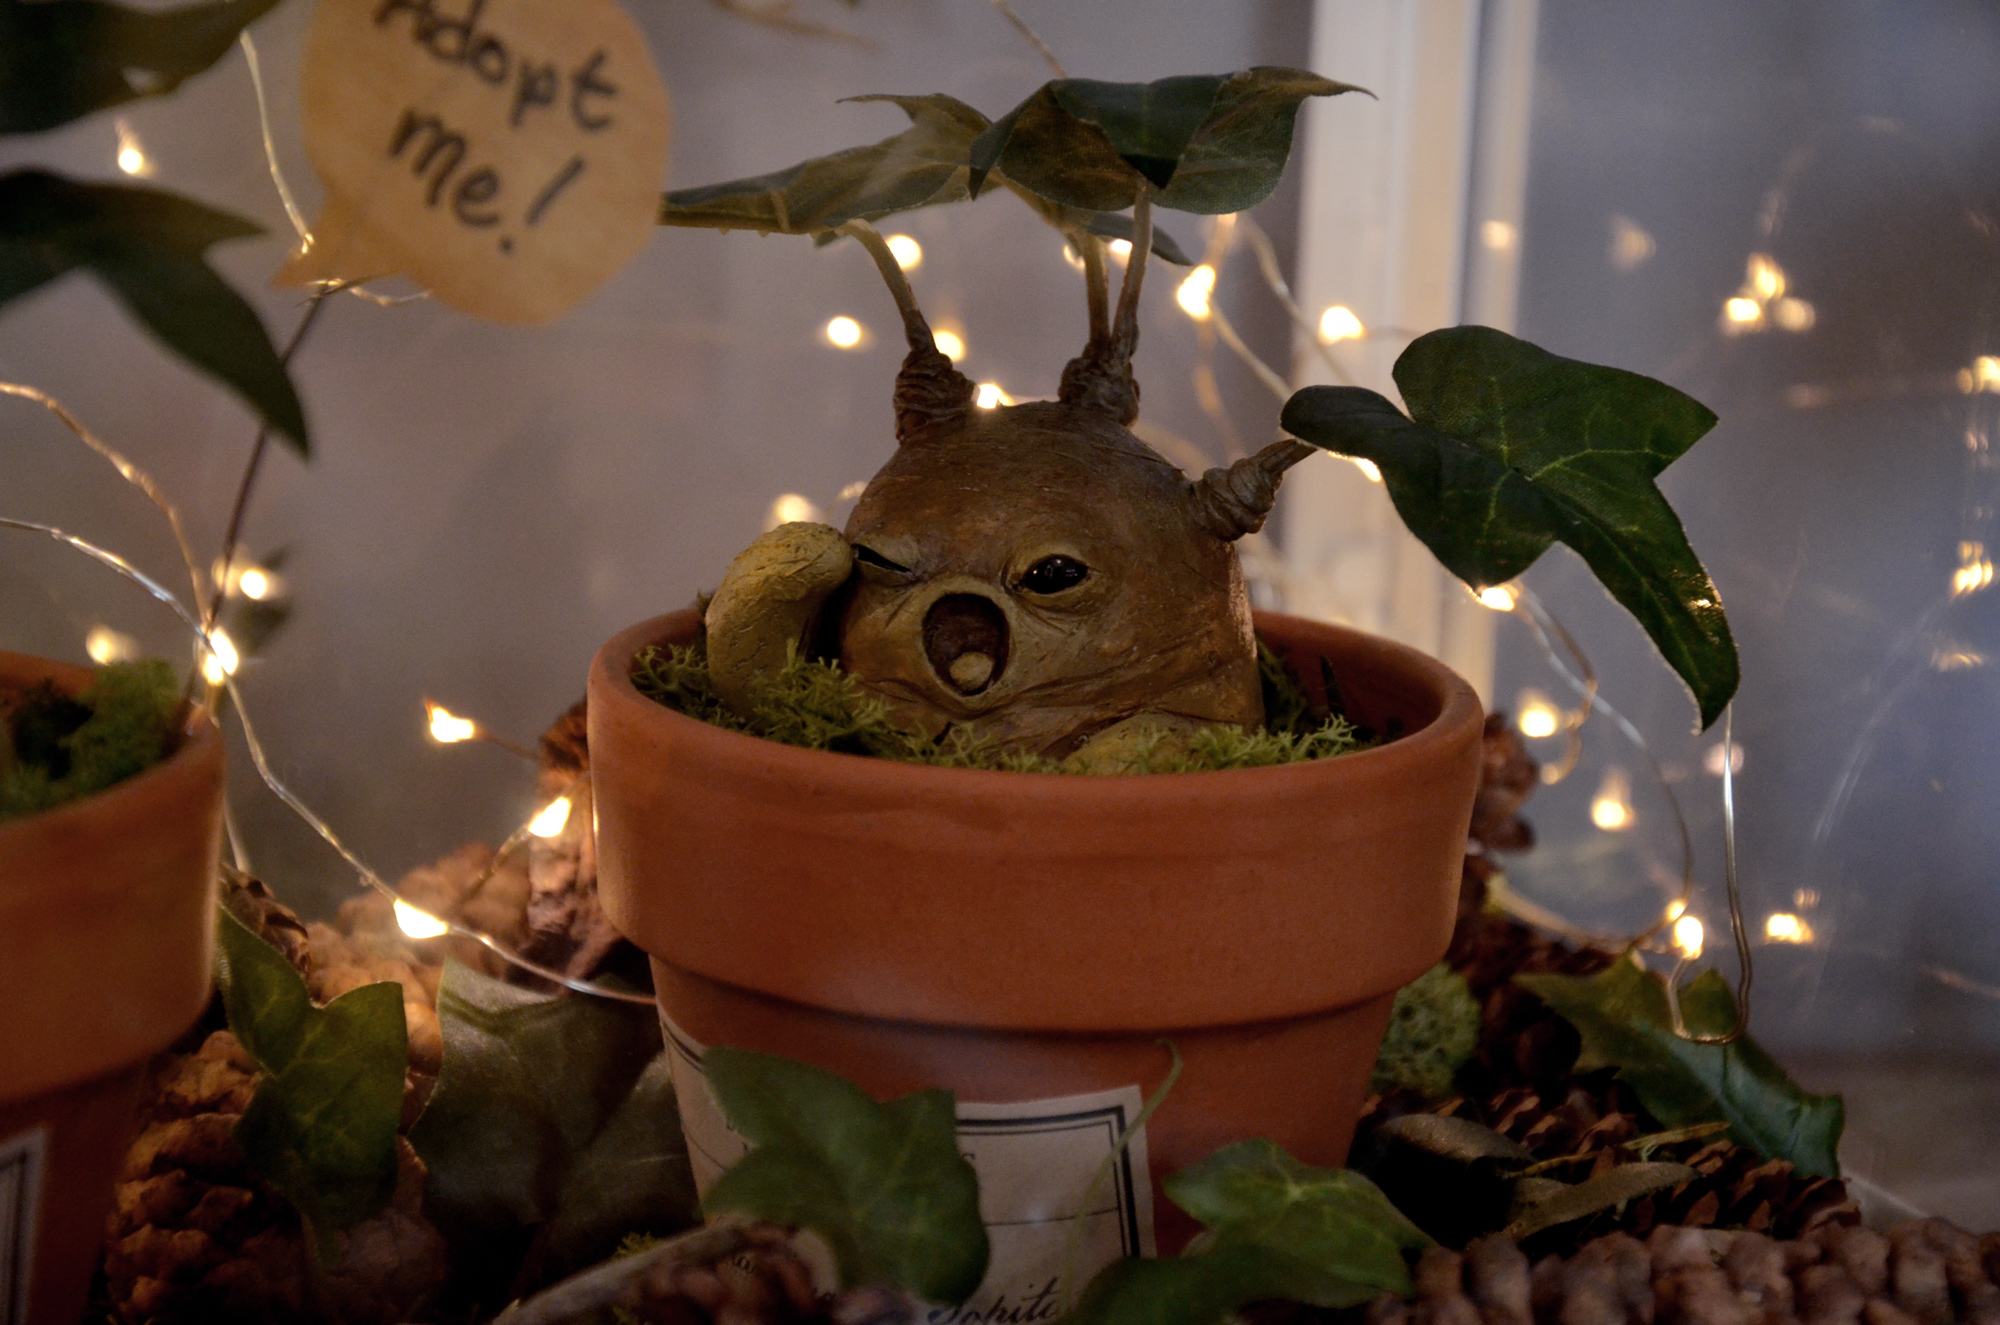
You can also add a small light garland for a more magical look.
Do you like our mandrakes? Also discover the making-of video on our Youtube channel:
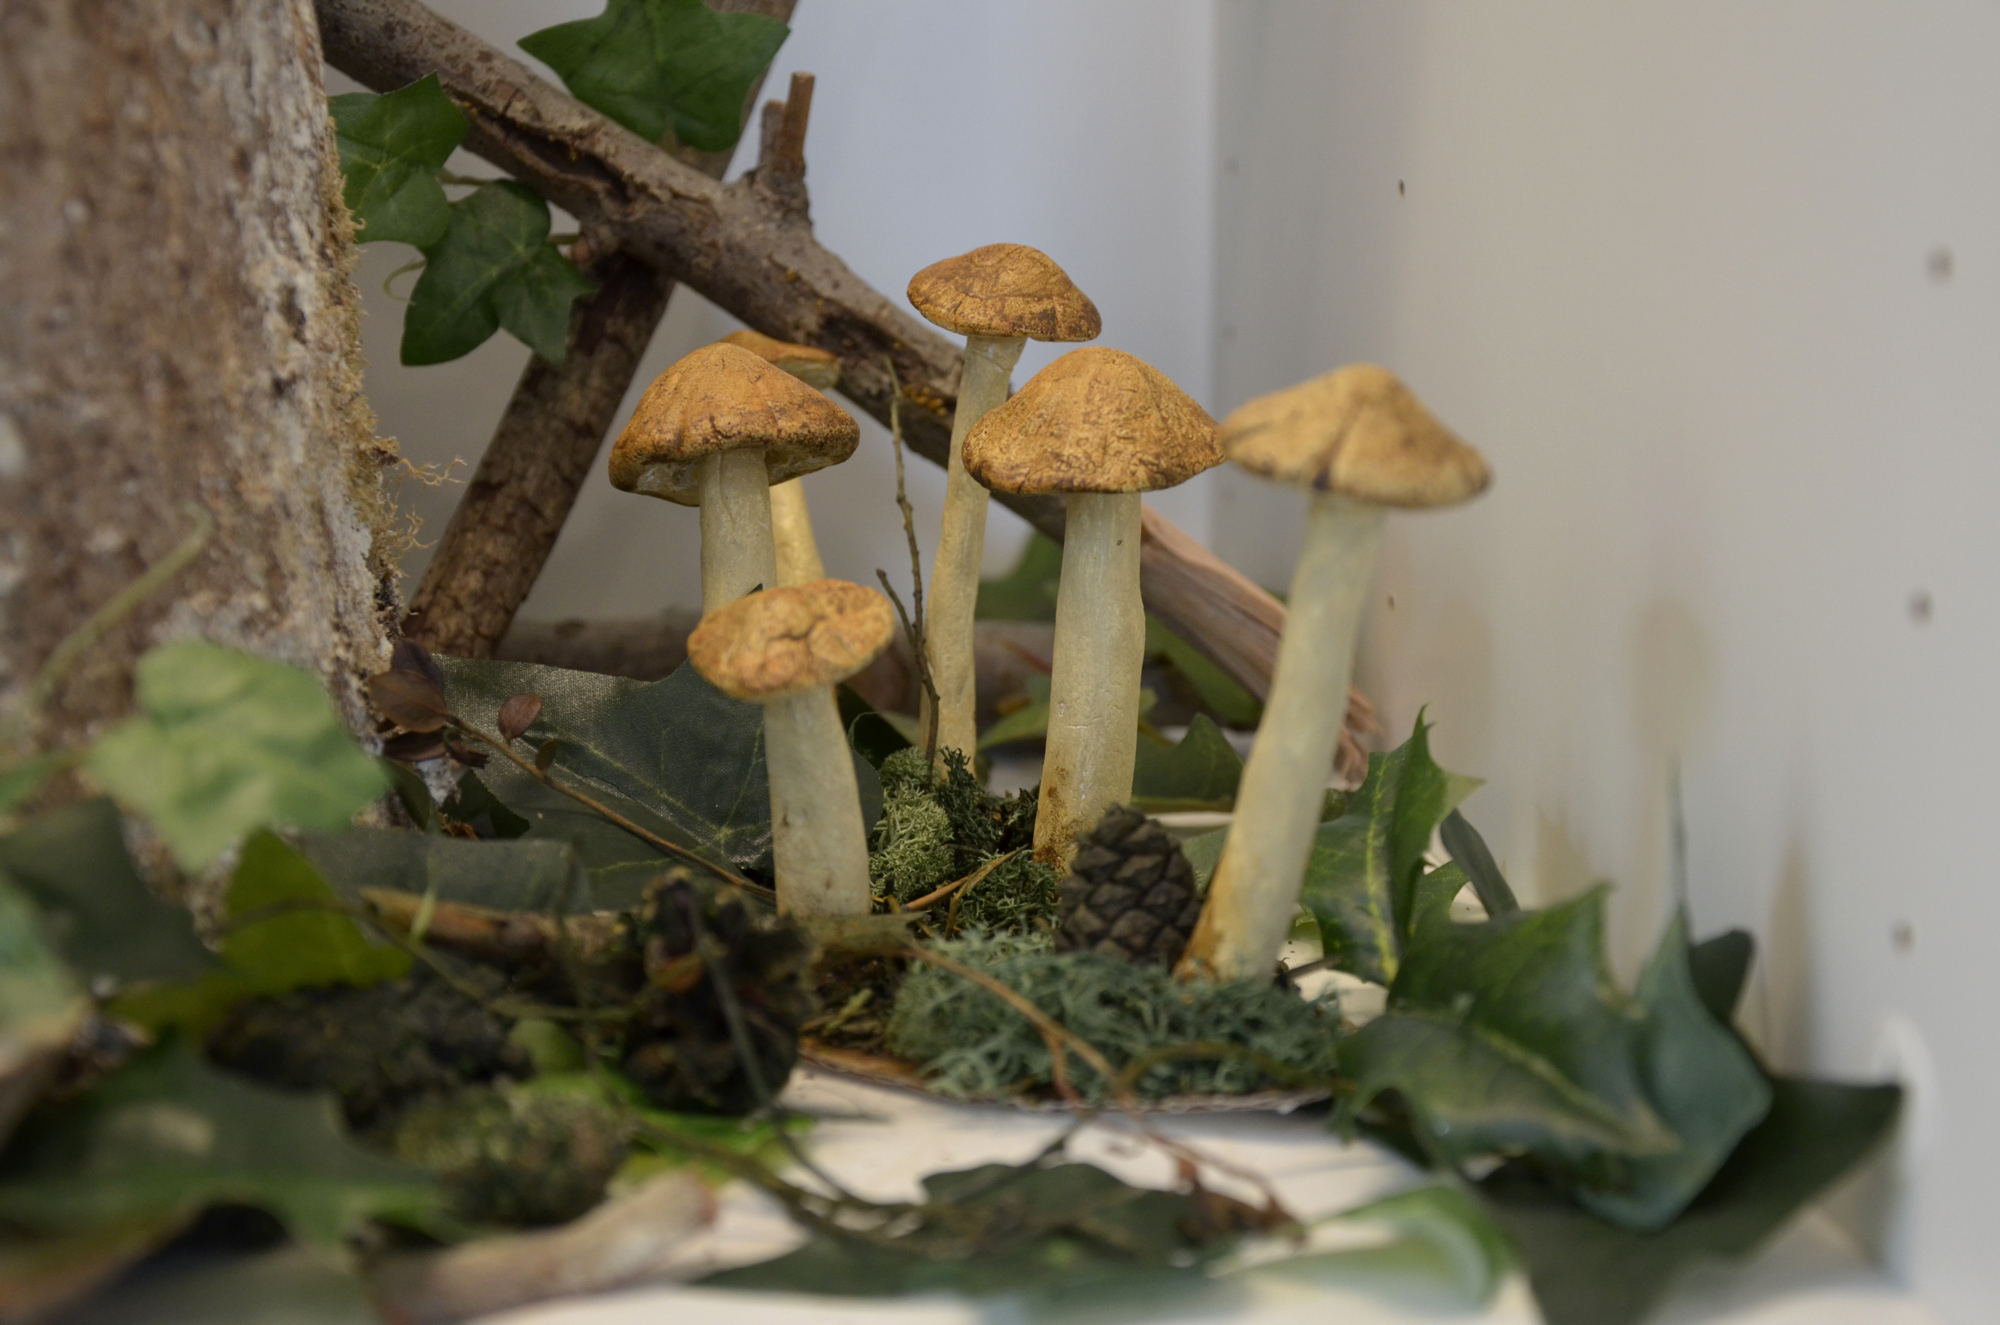
Craft faux mushrooms out of salt dough
In the same continuity, you can also add some mushrooms to your botanical decor.
So I suggest you make some out of salt dough! A rather economical activity that you can even practice with children.
Material:
- Flour
- Salt
- Water
- Bowl
- Baking paper
- Oven + plate
- Acrylic paint
- Cardboard
- Glue
- Moss, branches, fake leaves
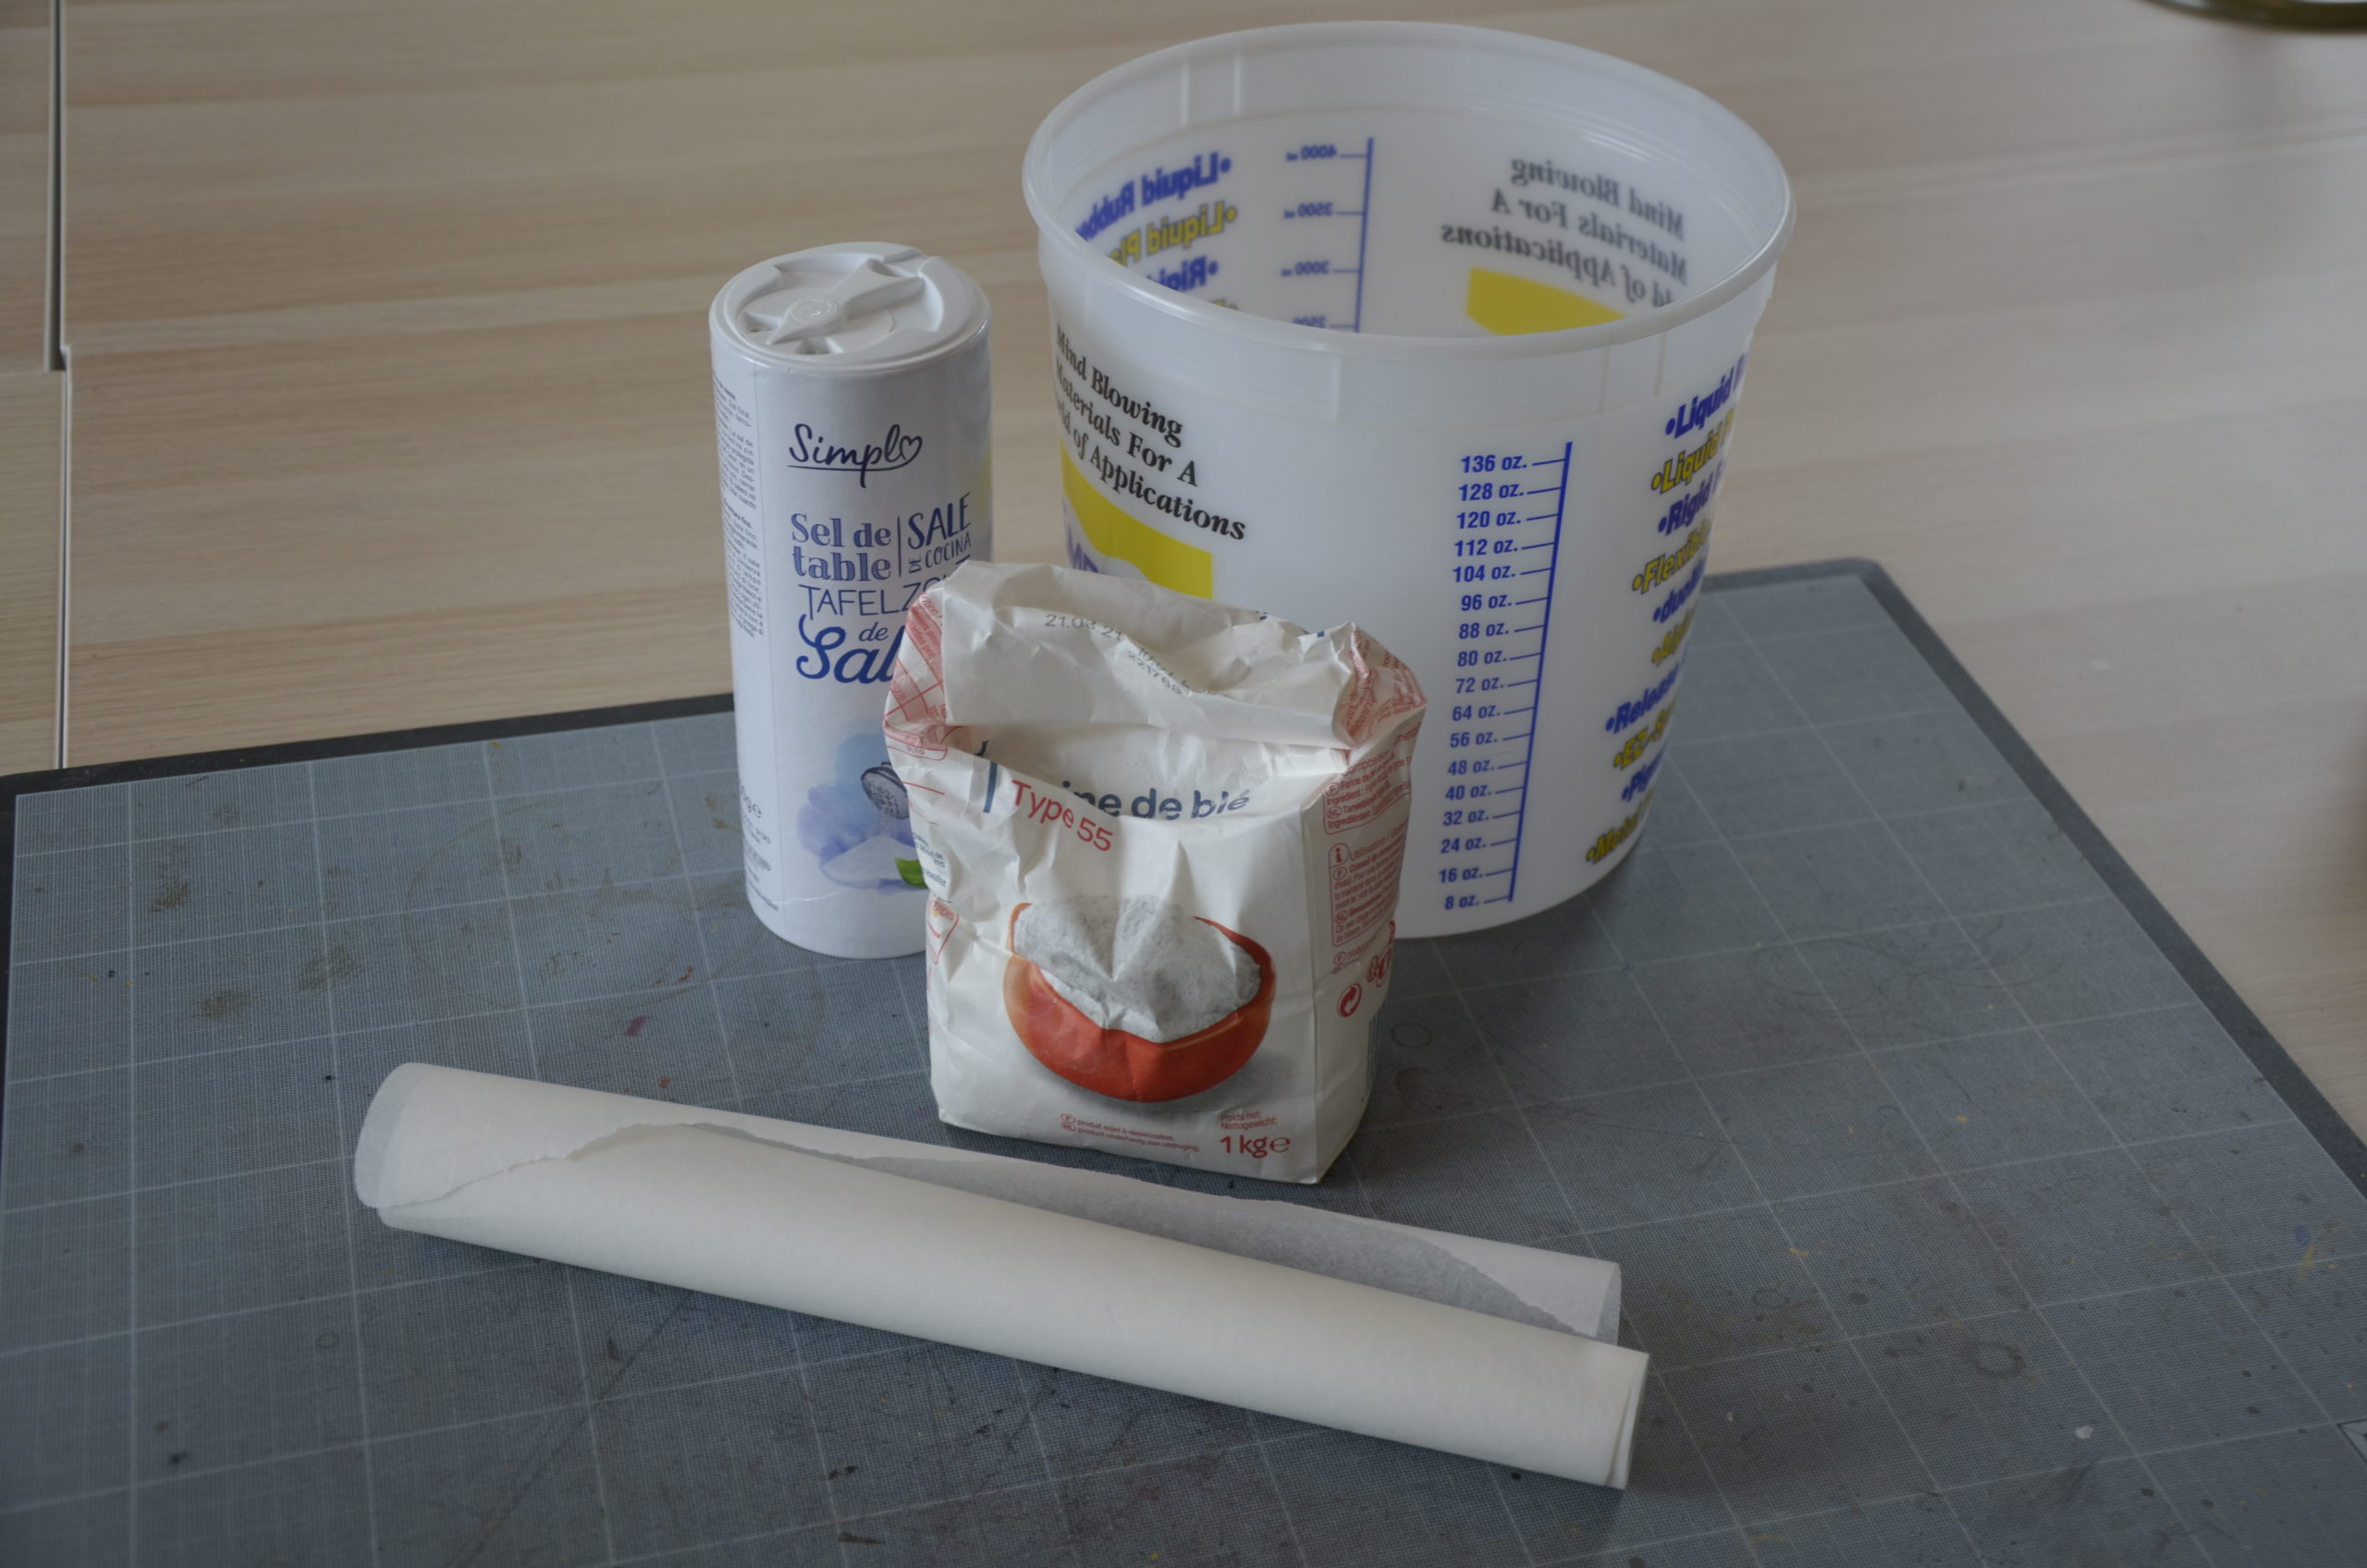
Start by mixing 2 glasses of flour and a glass of salt in a bowl, then add a glass of warm water and knead until you get a soft dough. If you see that the dough crumbles, add a little water, if it remains too sticky add flour.
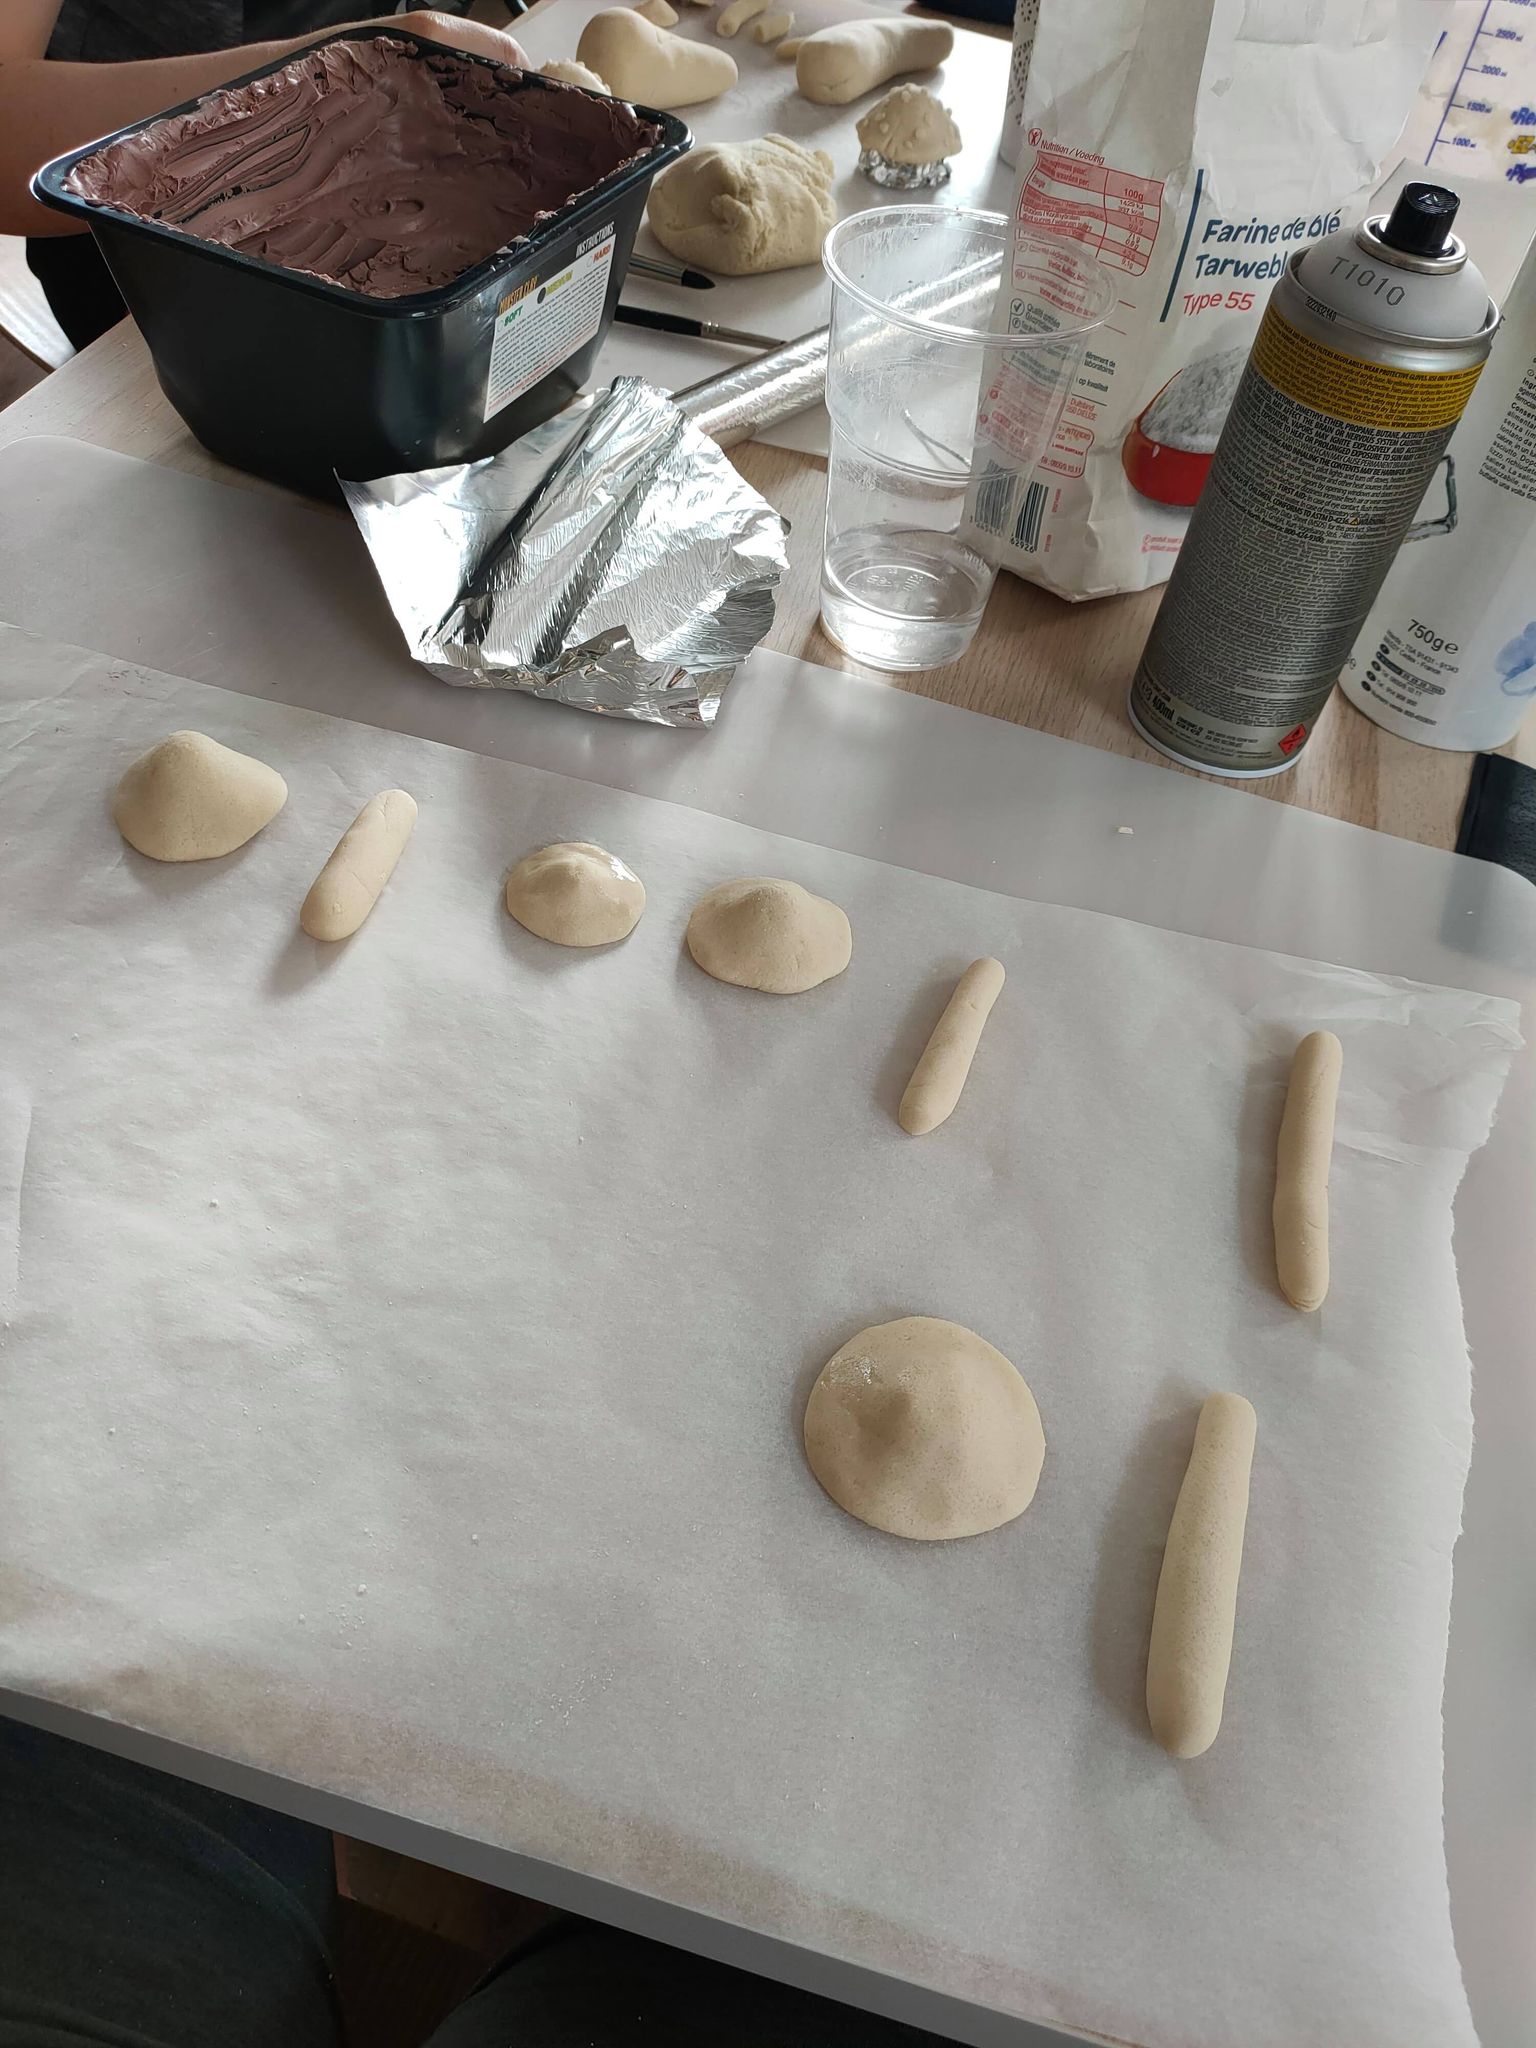
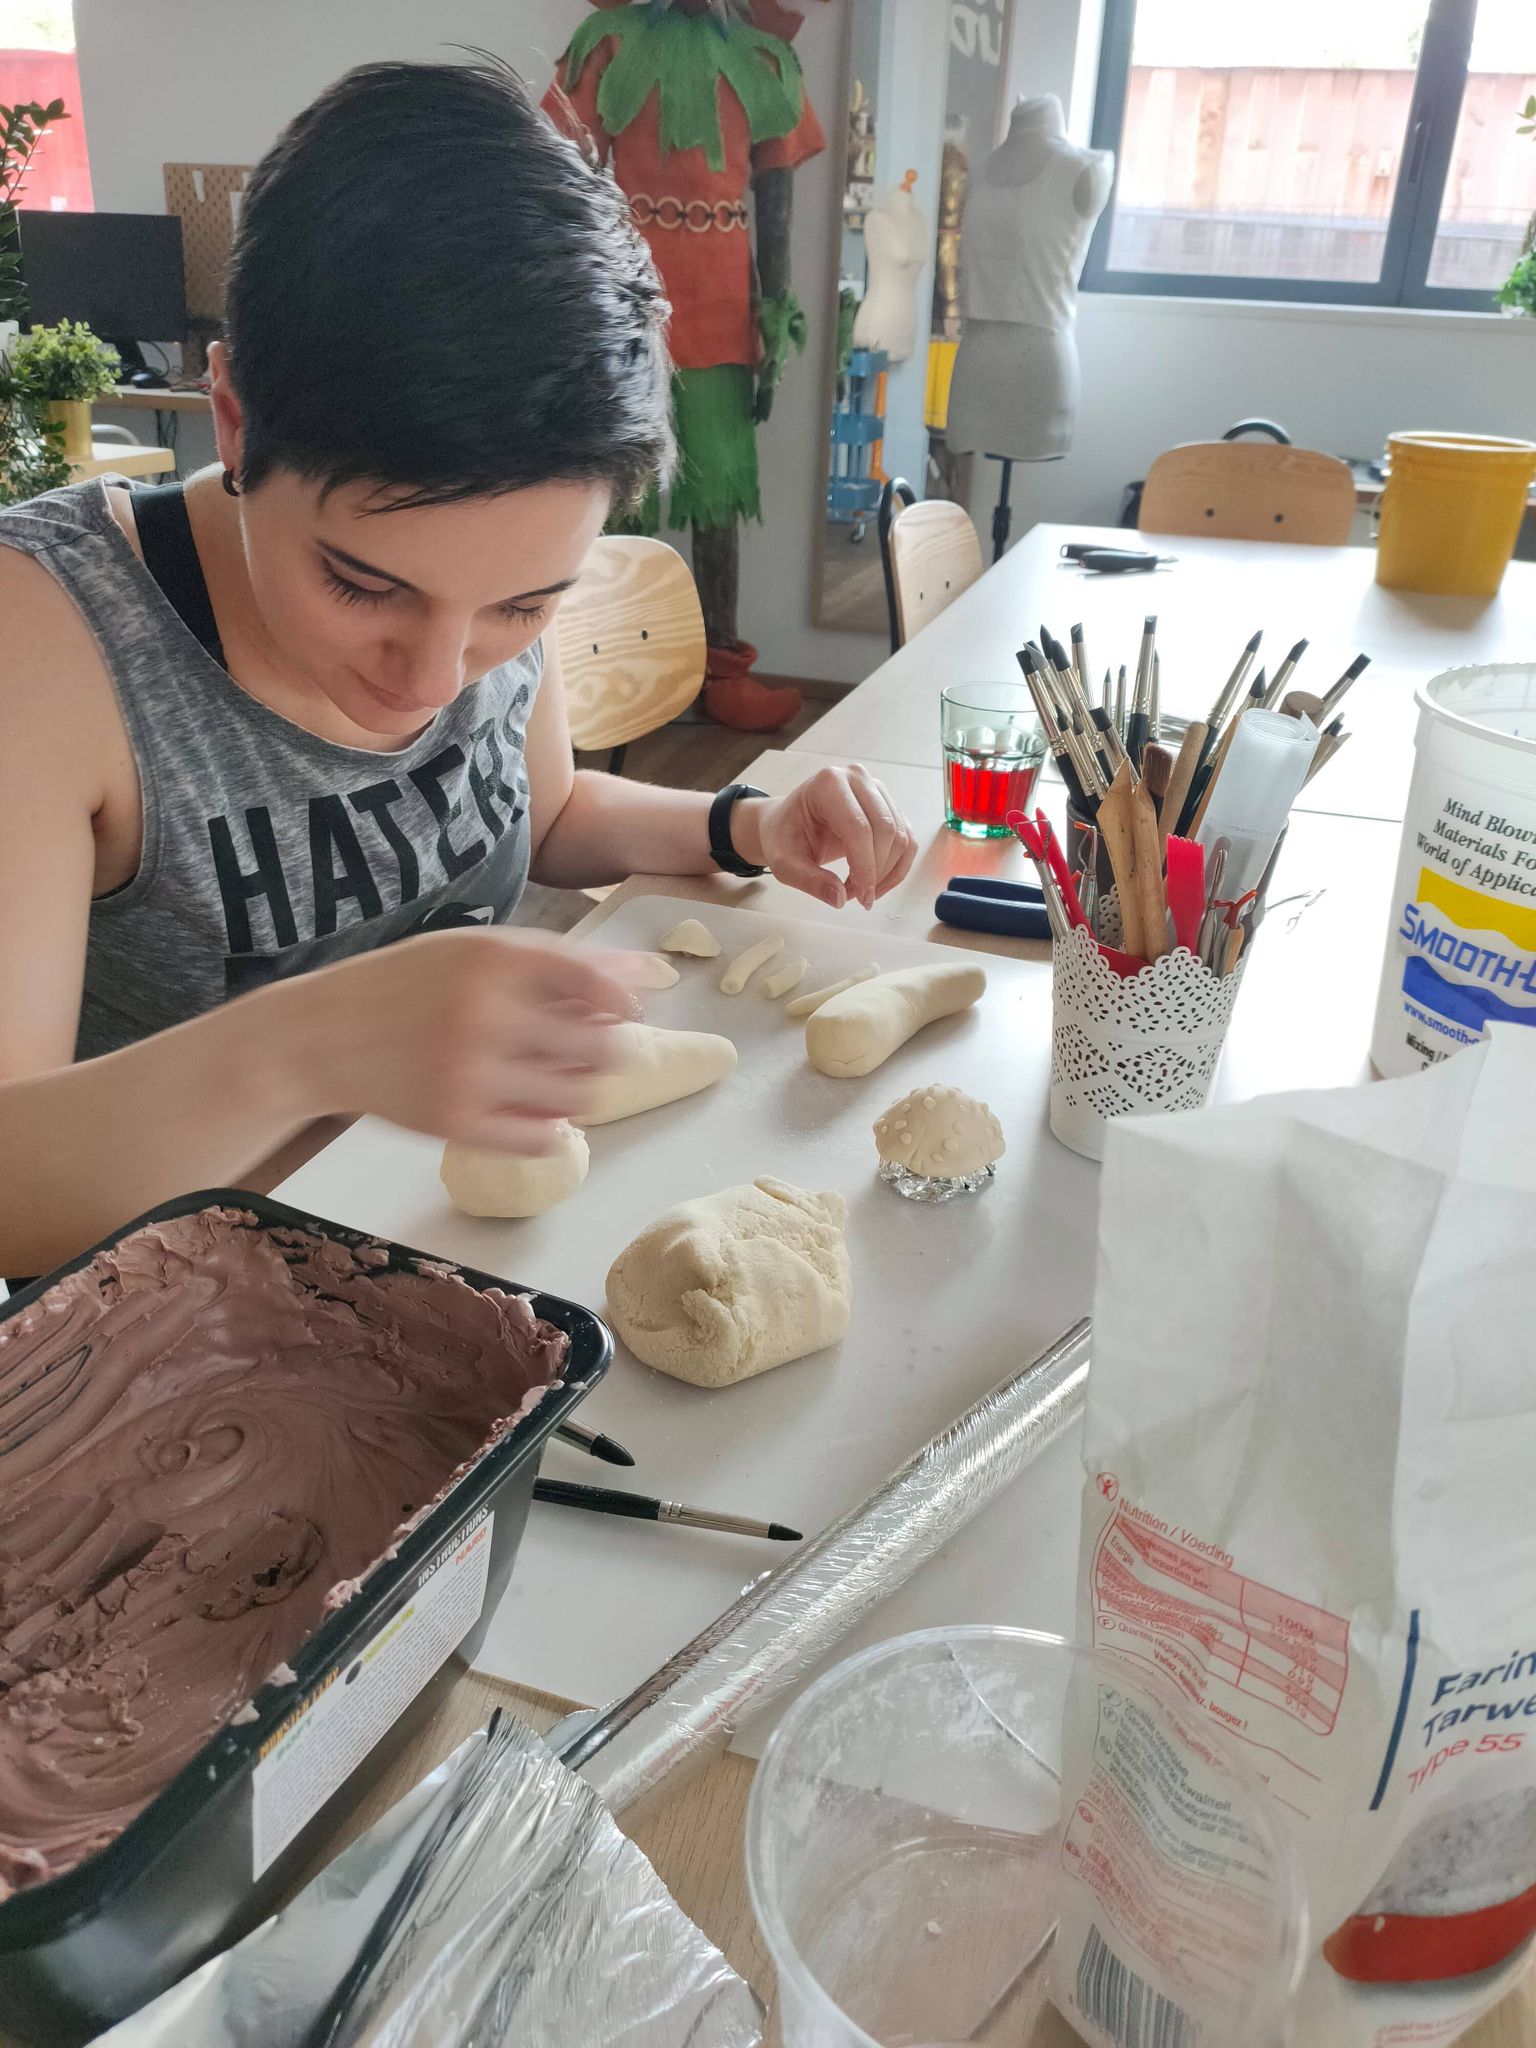
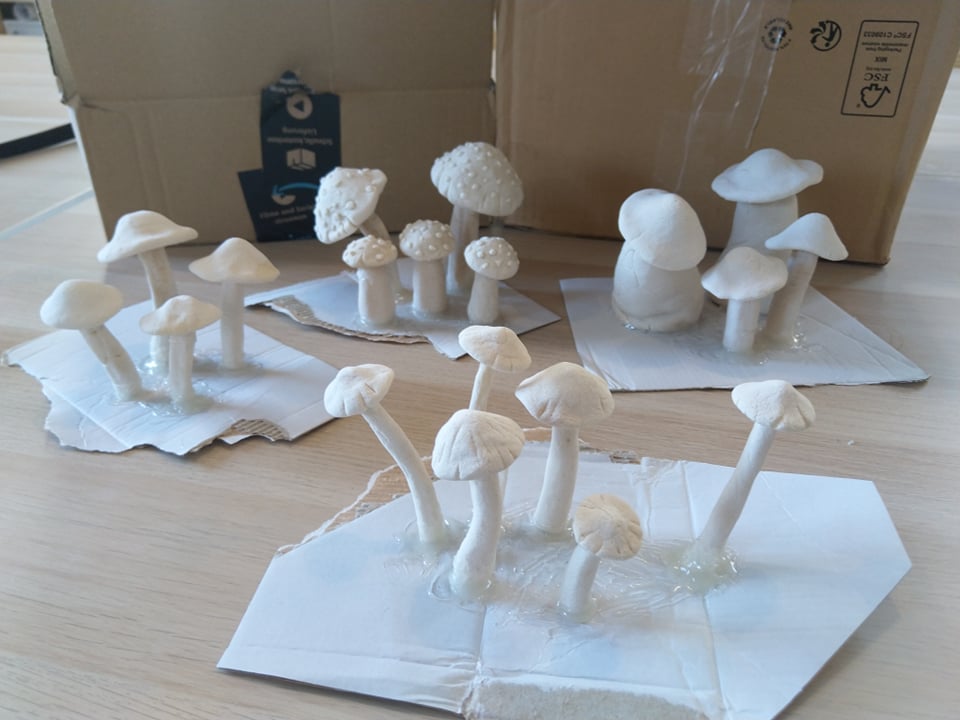
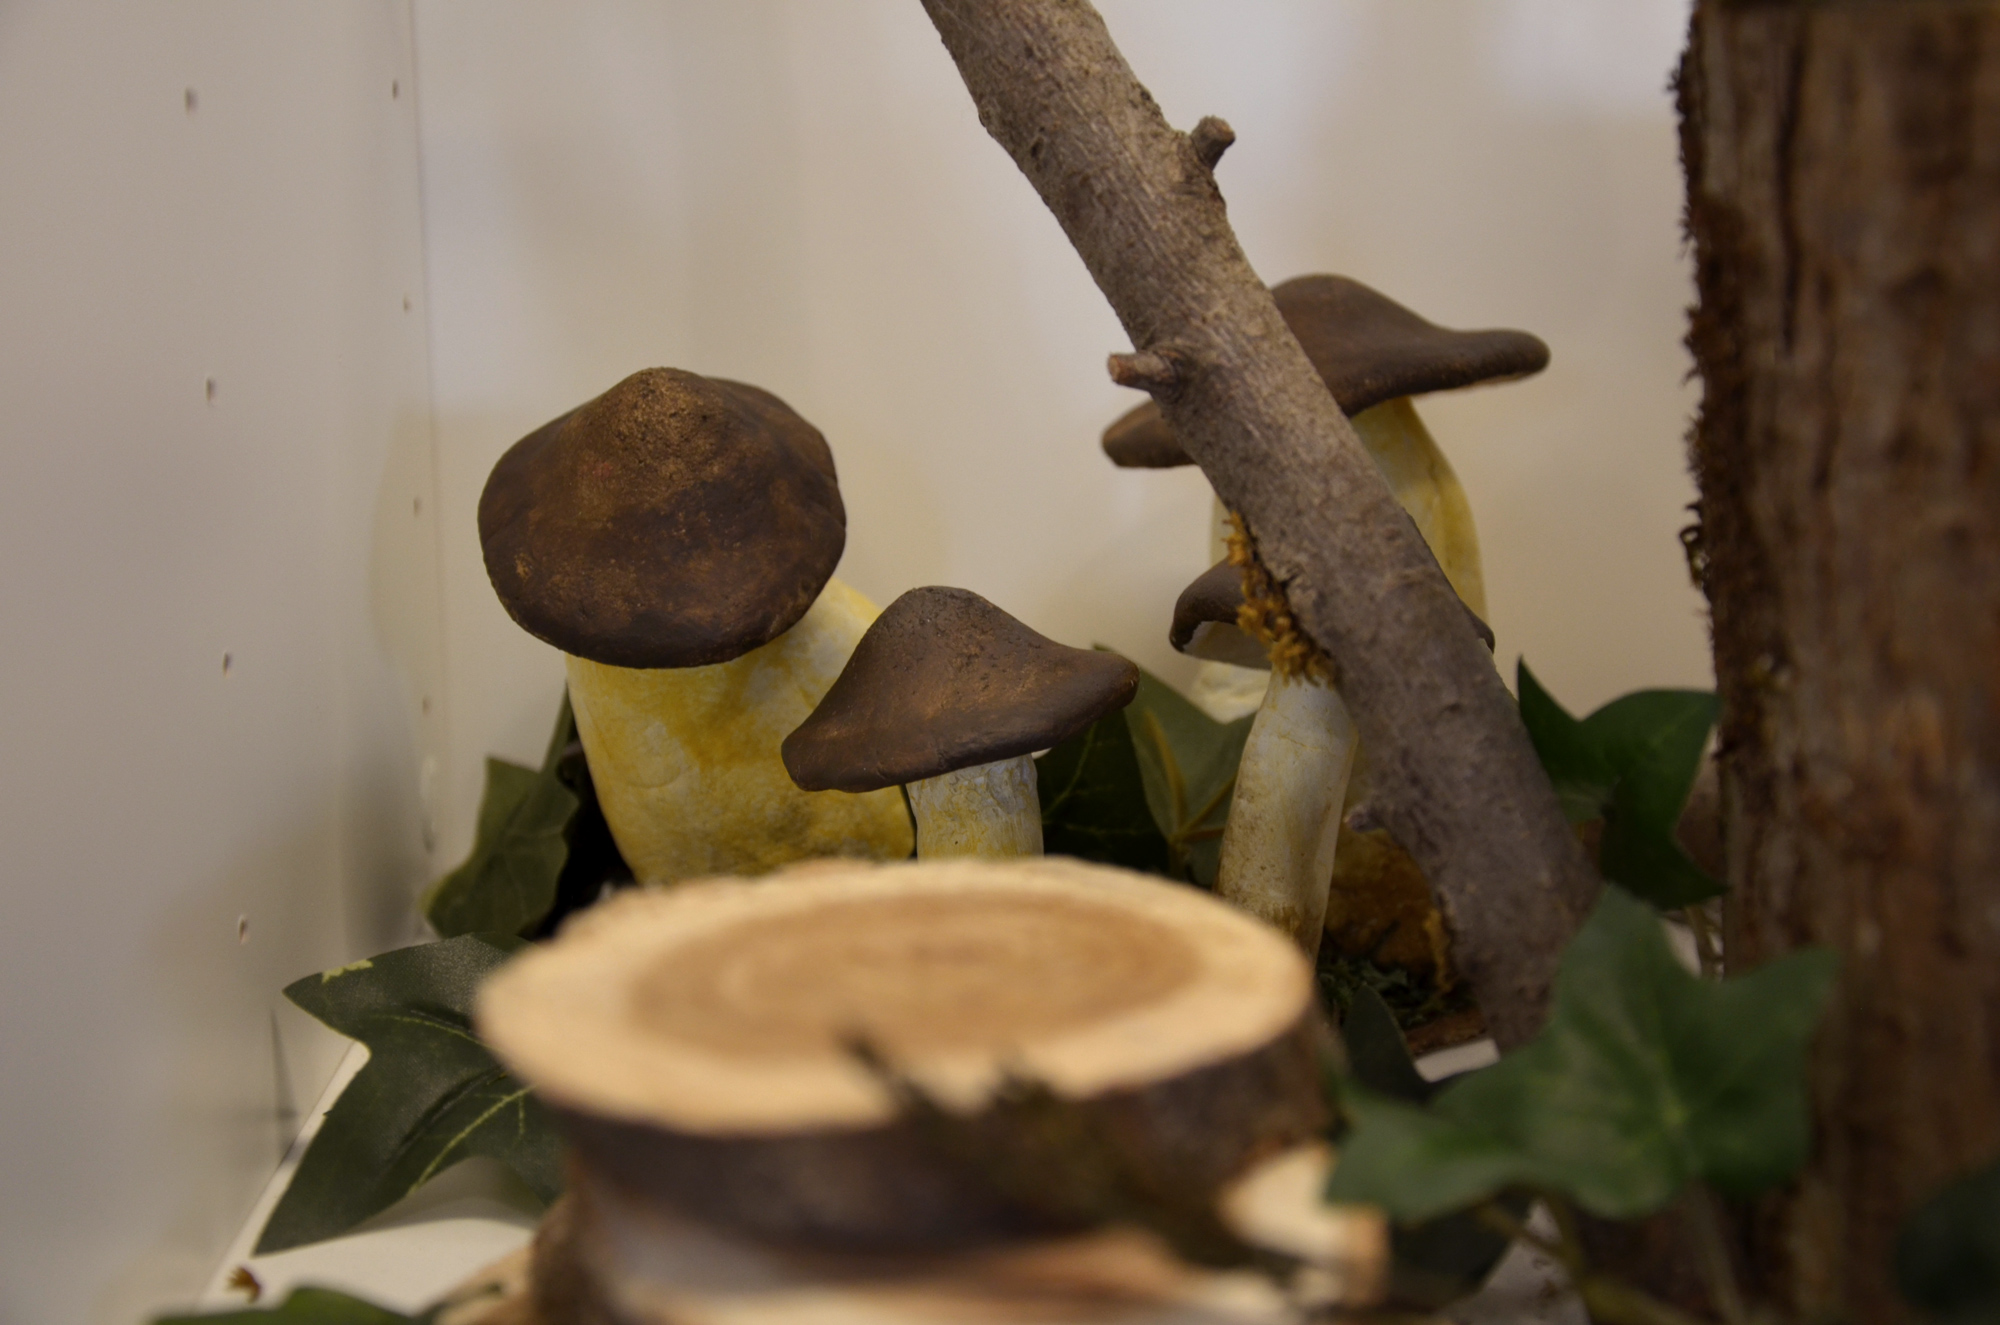
Model the mushroom stems and caps separately and place them on a oven plate lined with baking paper.
Let your items dry for a few hours. Consider moving your pieces from time to time and reshaping them slightly if you see them sagging or flattening too much. If you want to give your shapes a curvature, you can lay them on a ball of aluminum foil.
Bake your salt dough items in the oven at a low temperature to prevent them from swelling. The cooking time varies greatly depending on the size of your objects and their drying time.
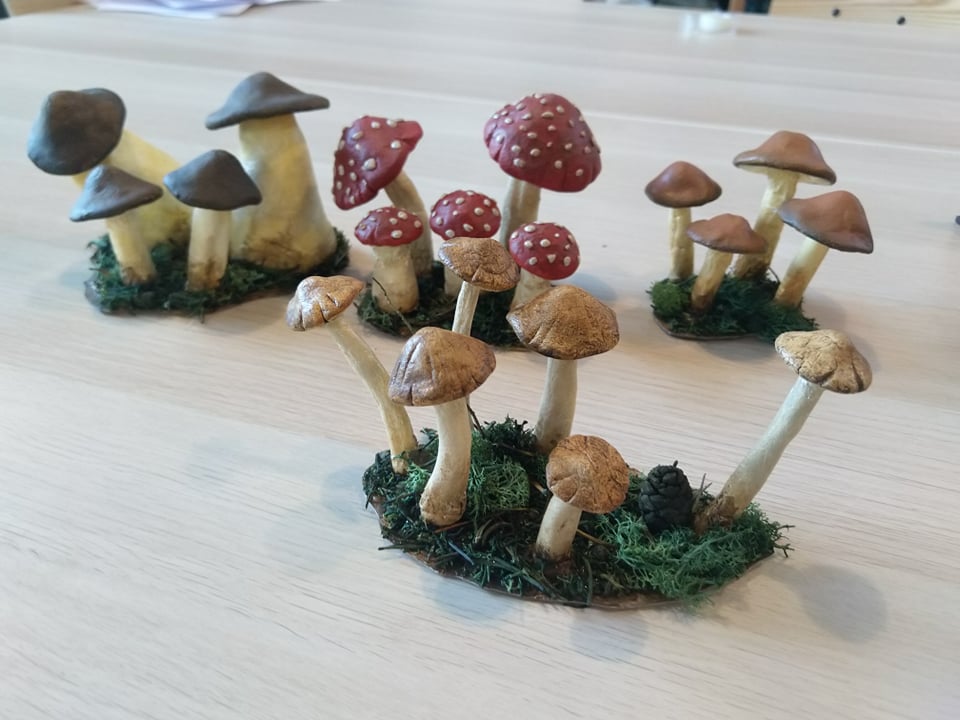
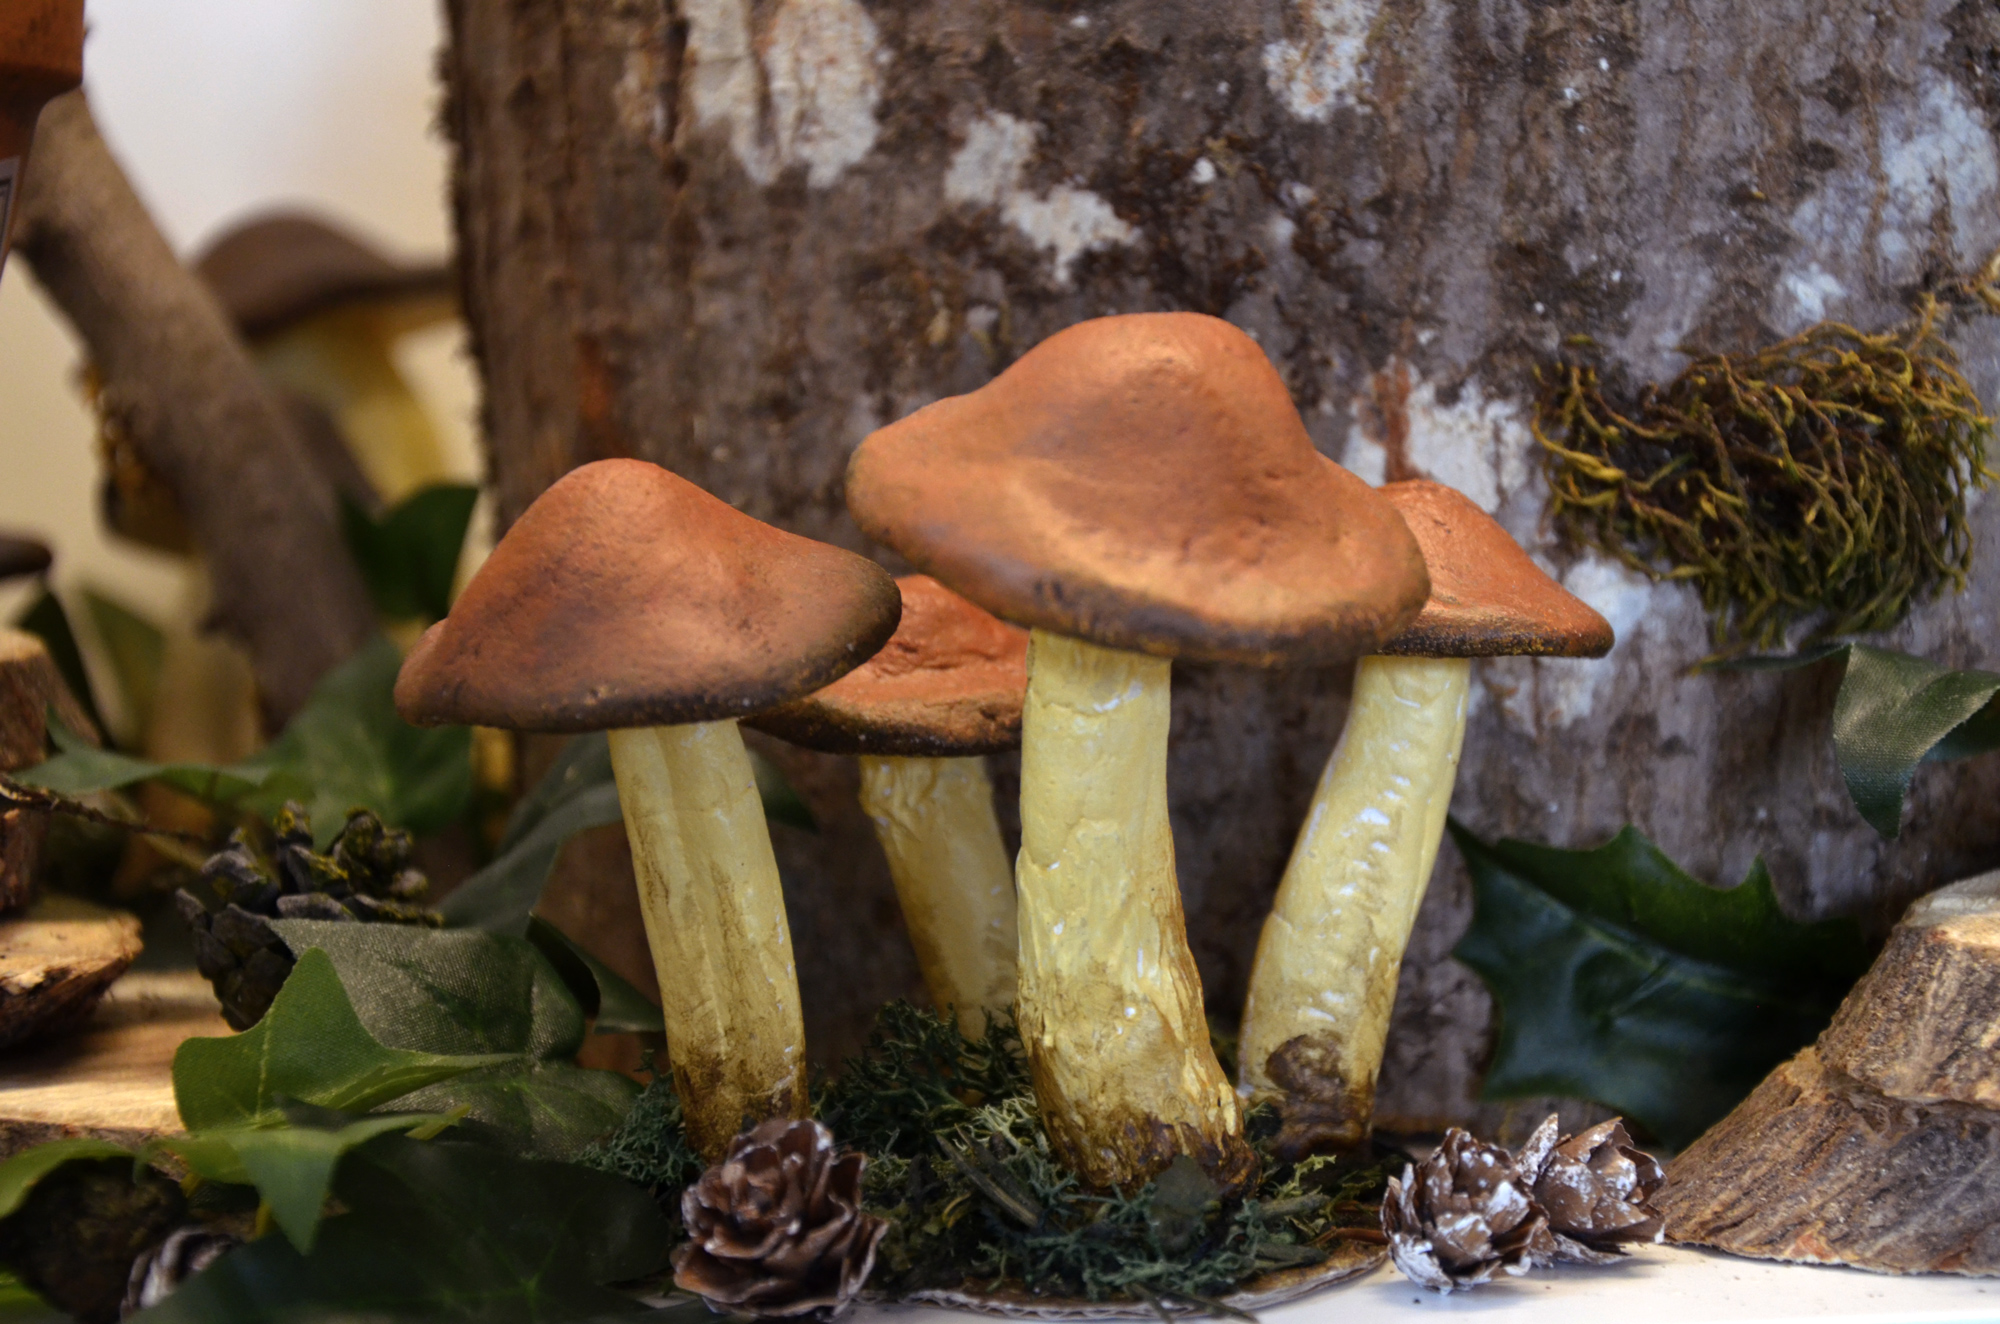
With a glue gun, assemble the stems and caps of your mushrooms, then fix them on a support. I personally opted for cardboard to make it as thin and discreet as possible.
Paint your mushrooms, then stick decorative elements on the support: moss, twigs, leaves…
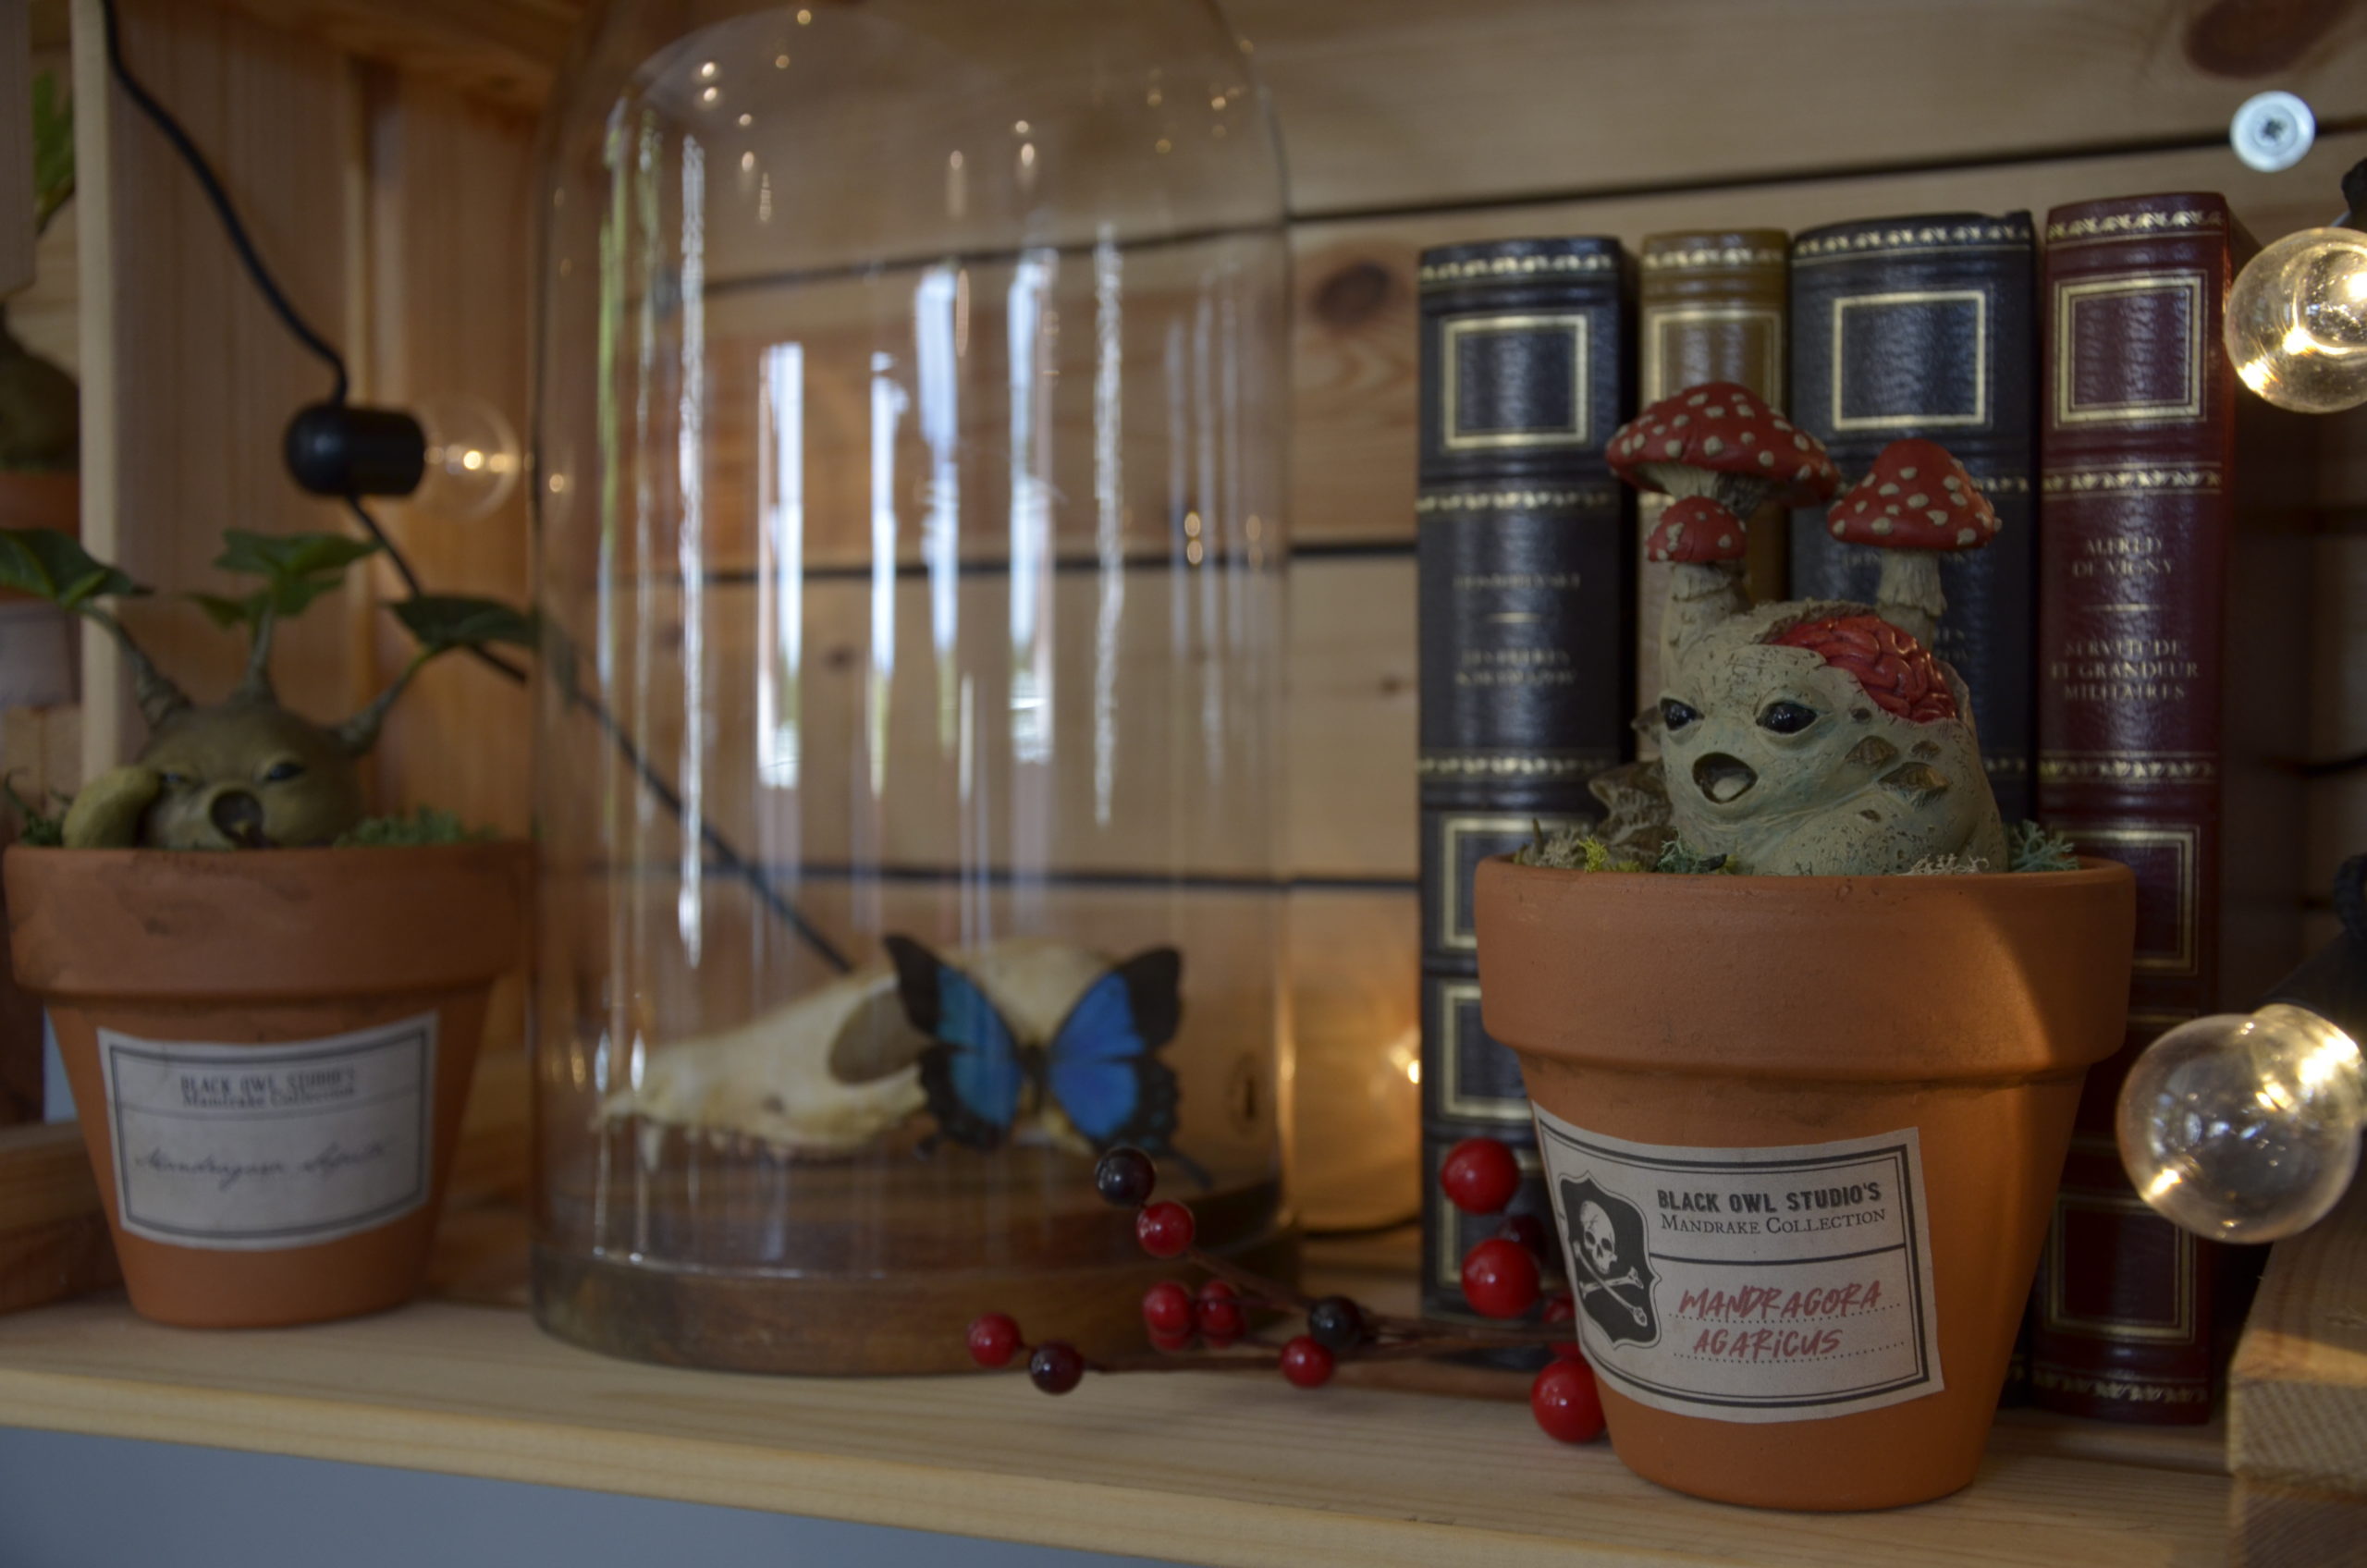
Add to that a stump, a few branches and presto! This is a pretty little showcase with mandrakes.
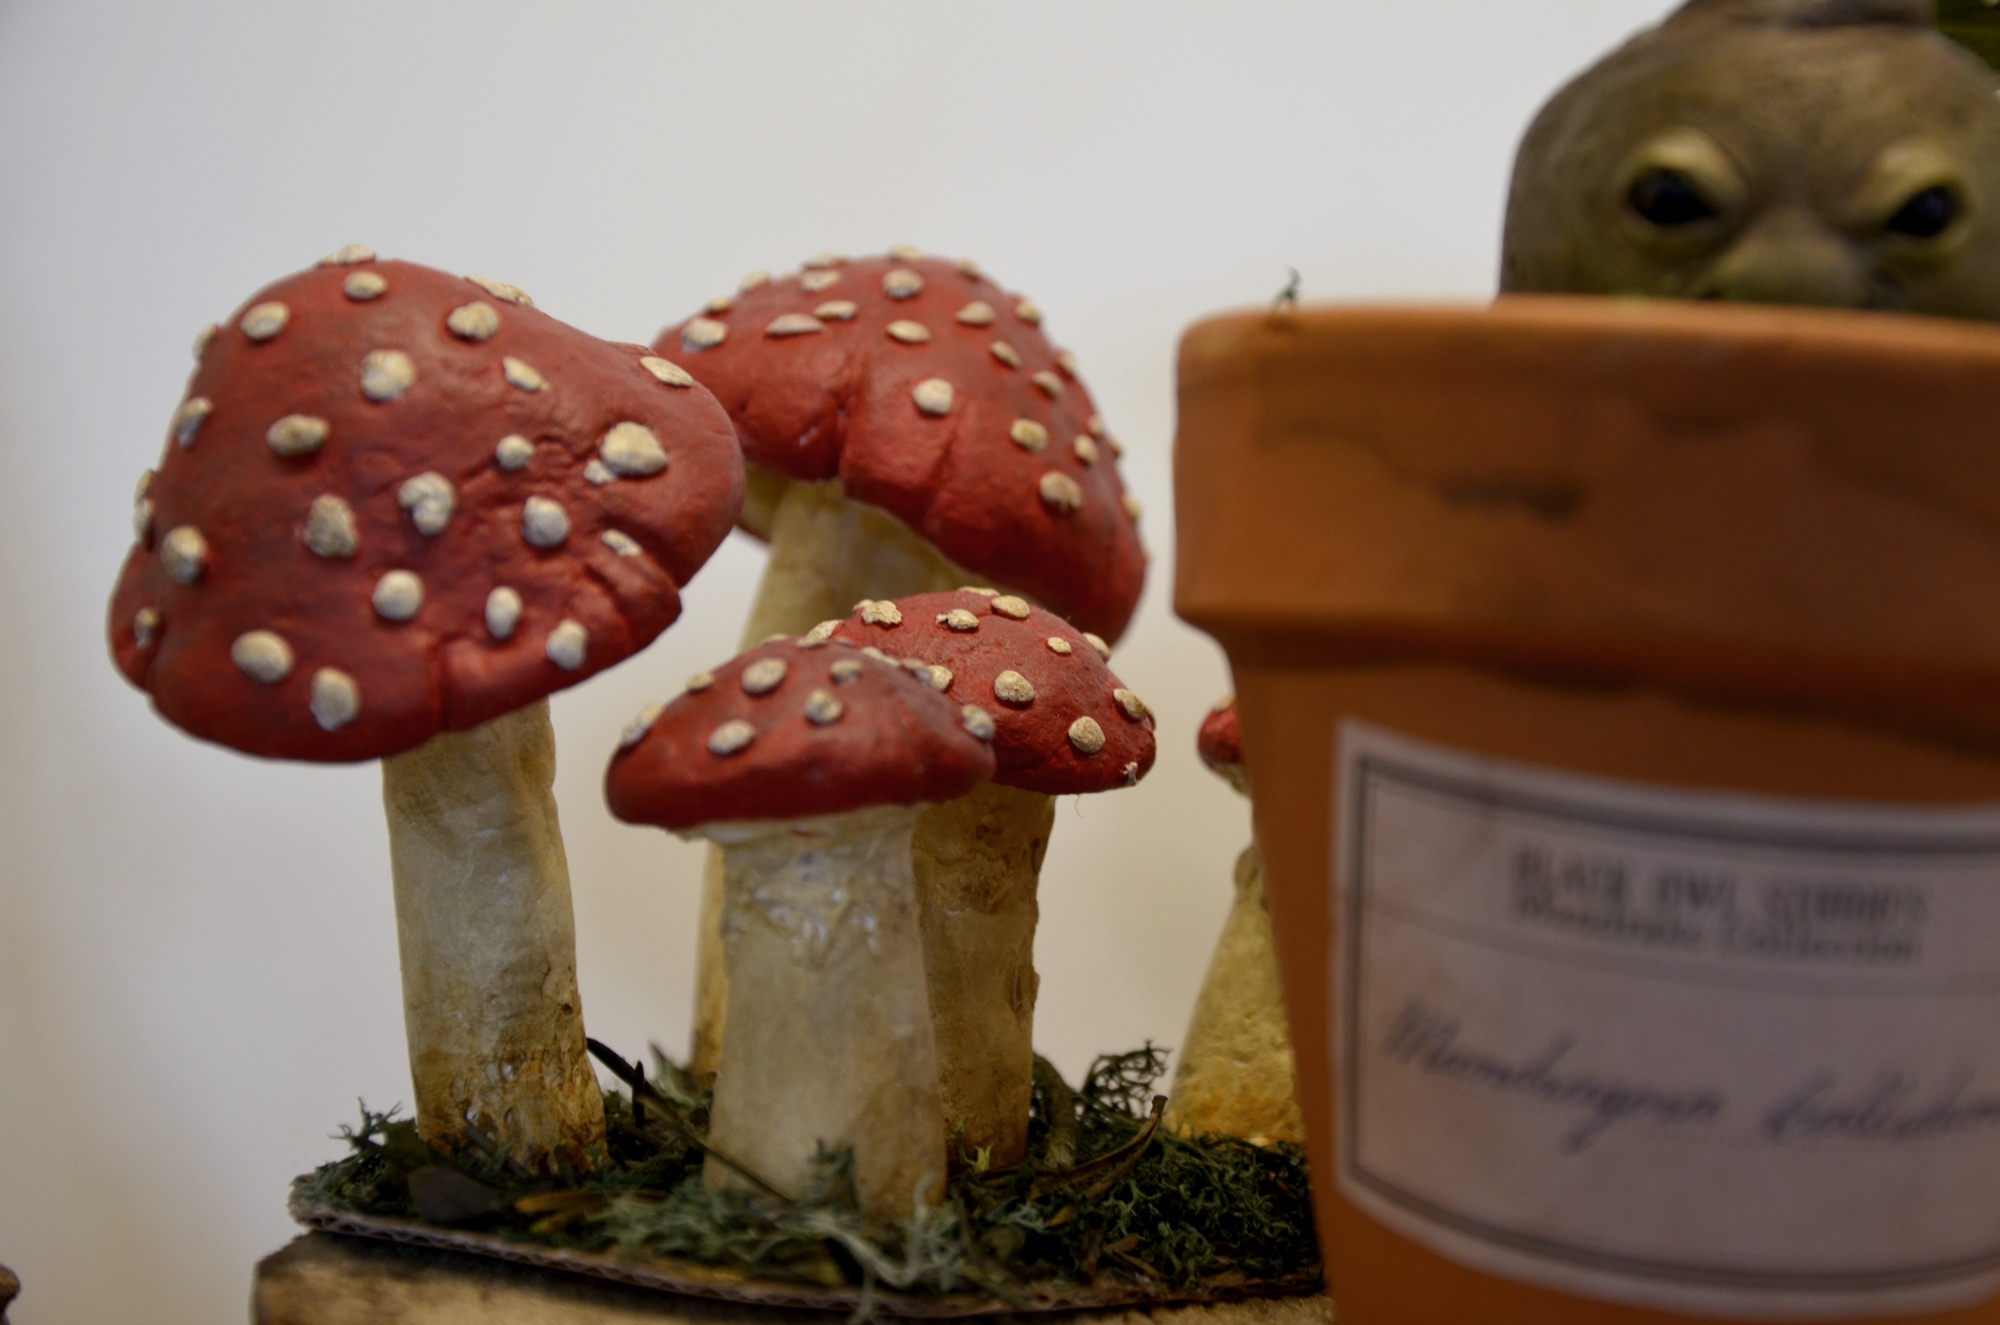
Find our mandrakes in the shop: https://www.blackowlstudio.com/en/produit/mandrake/
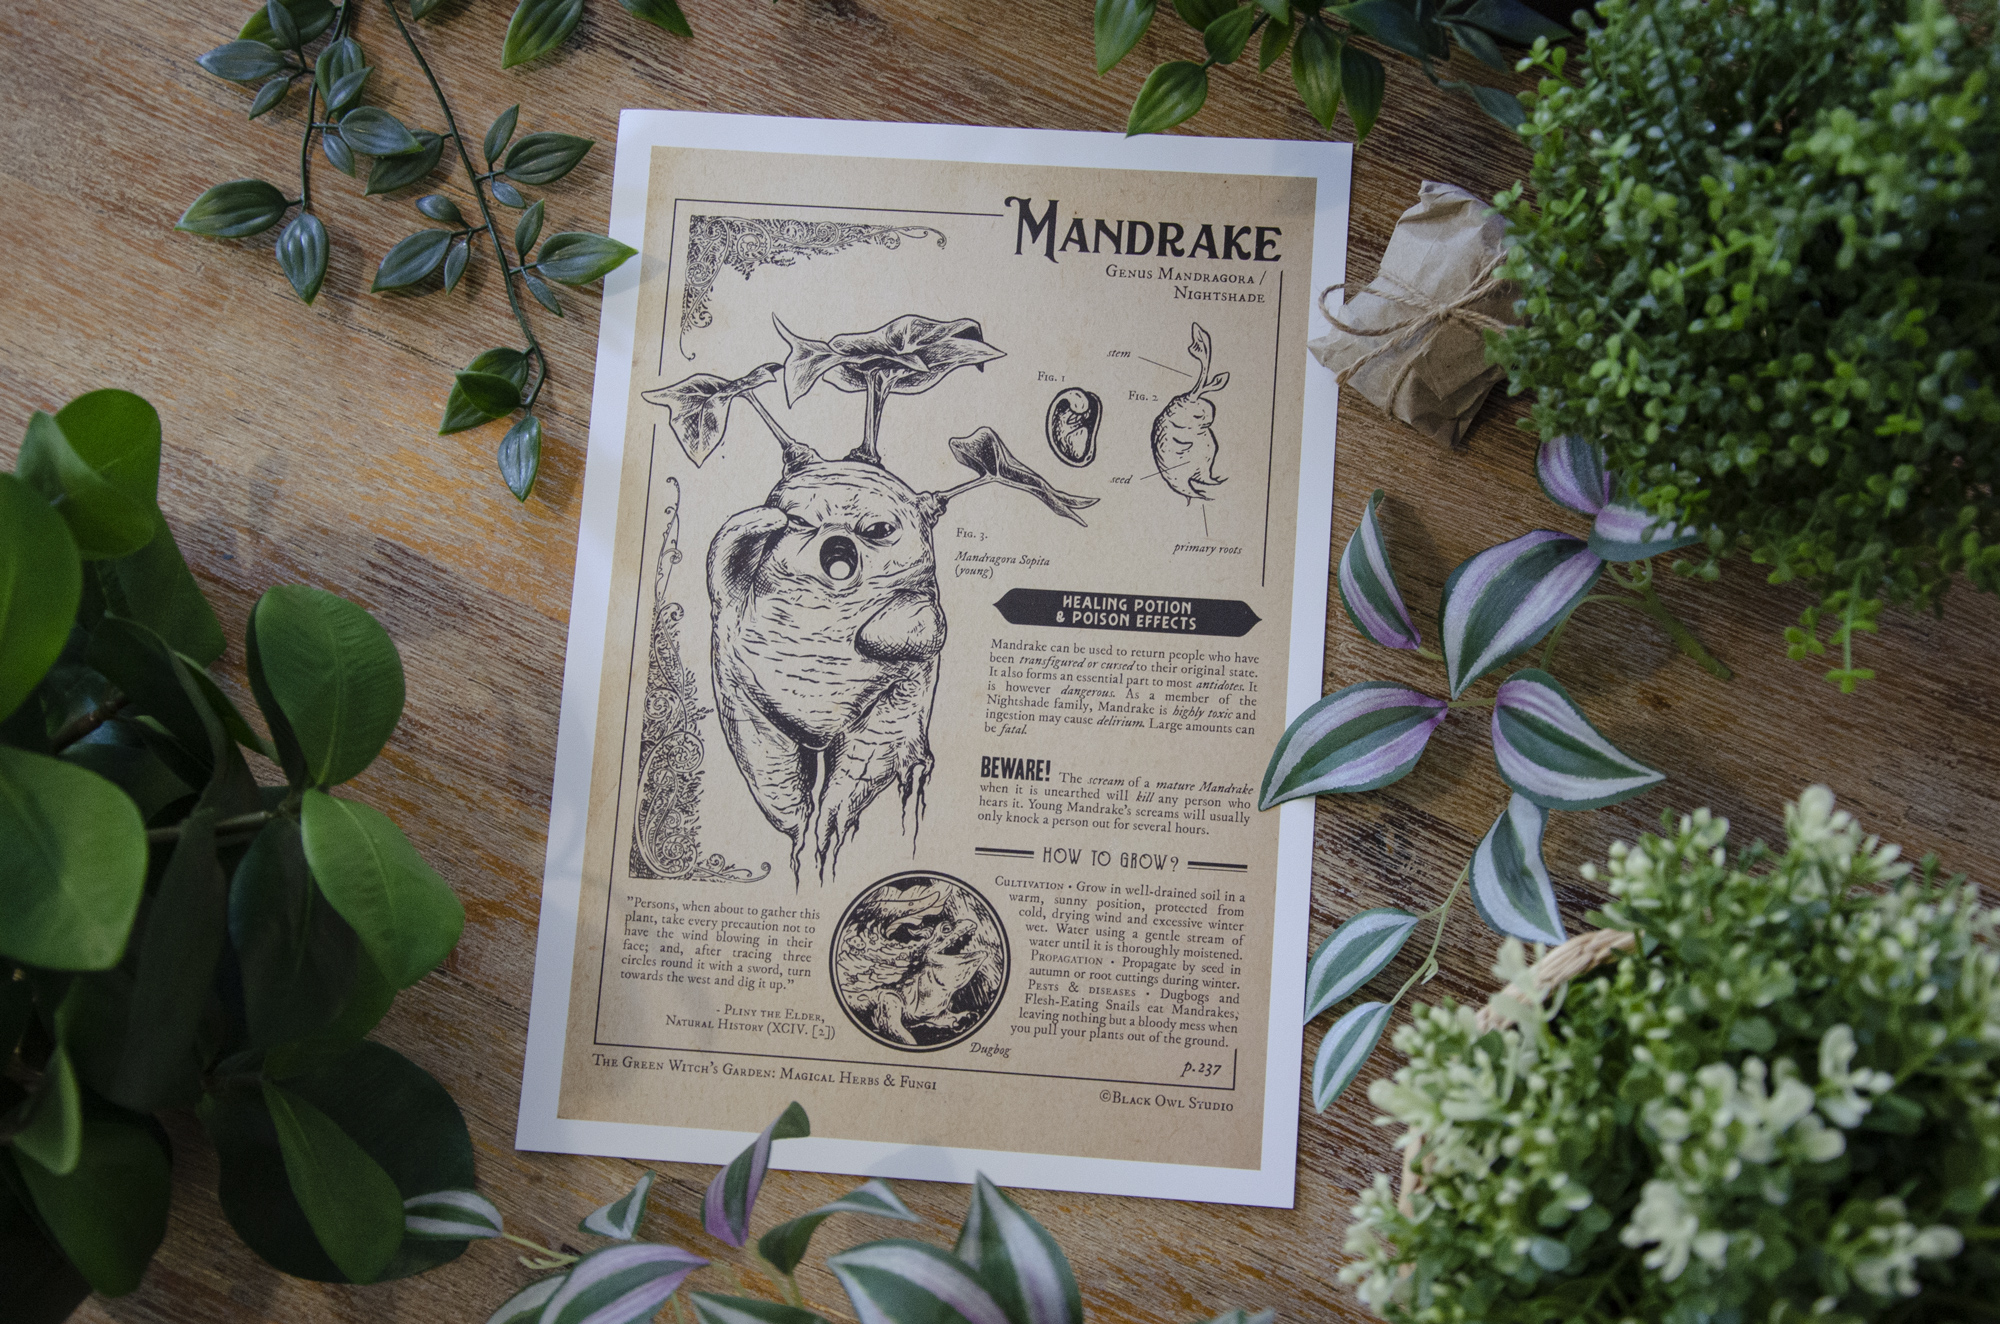
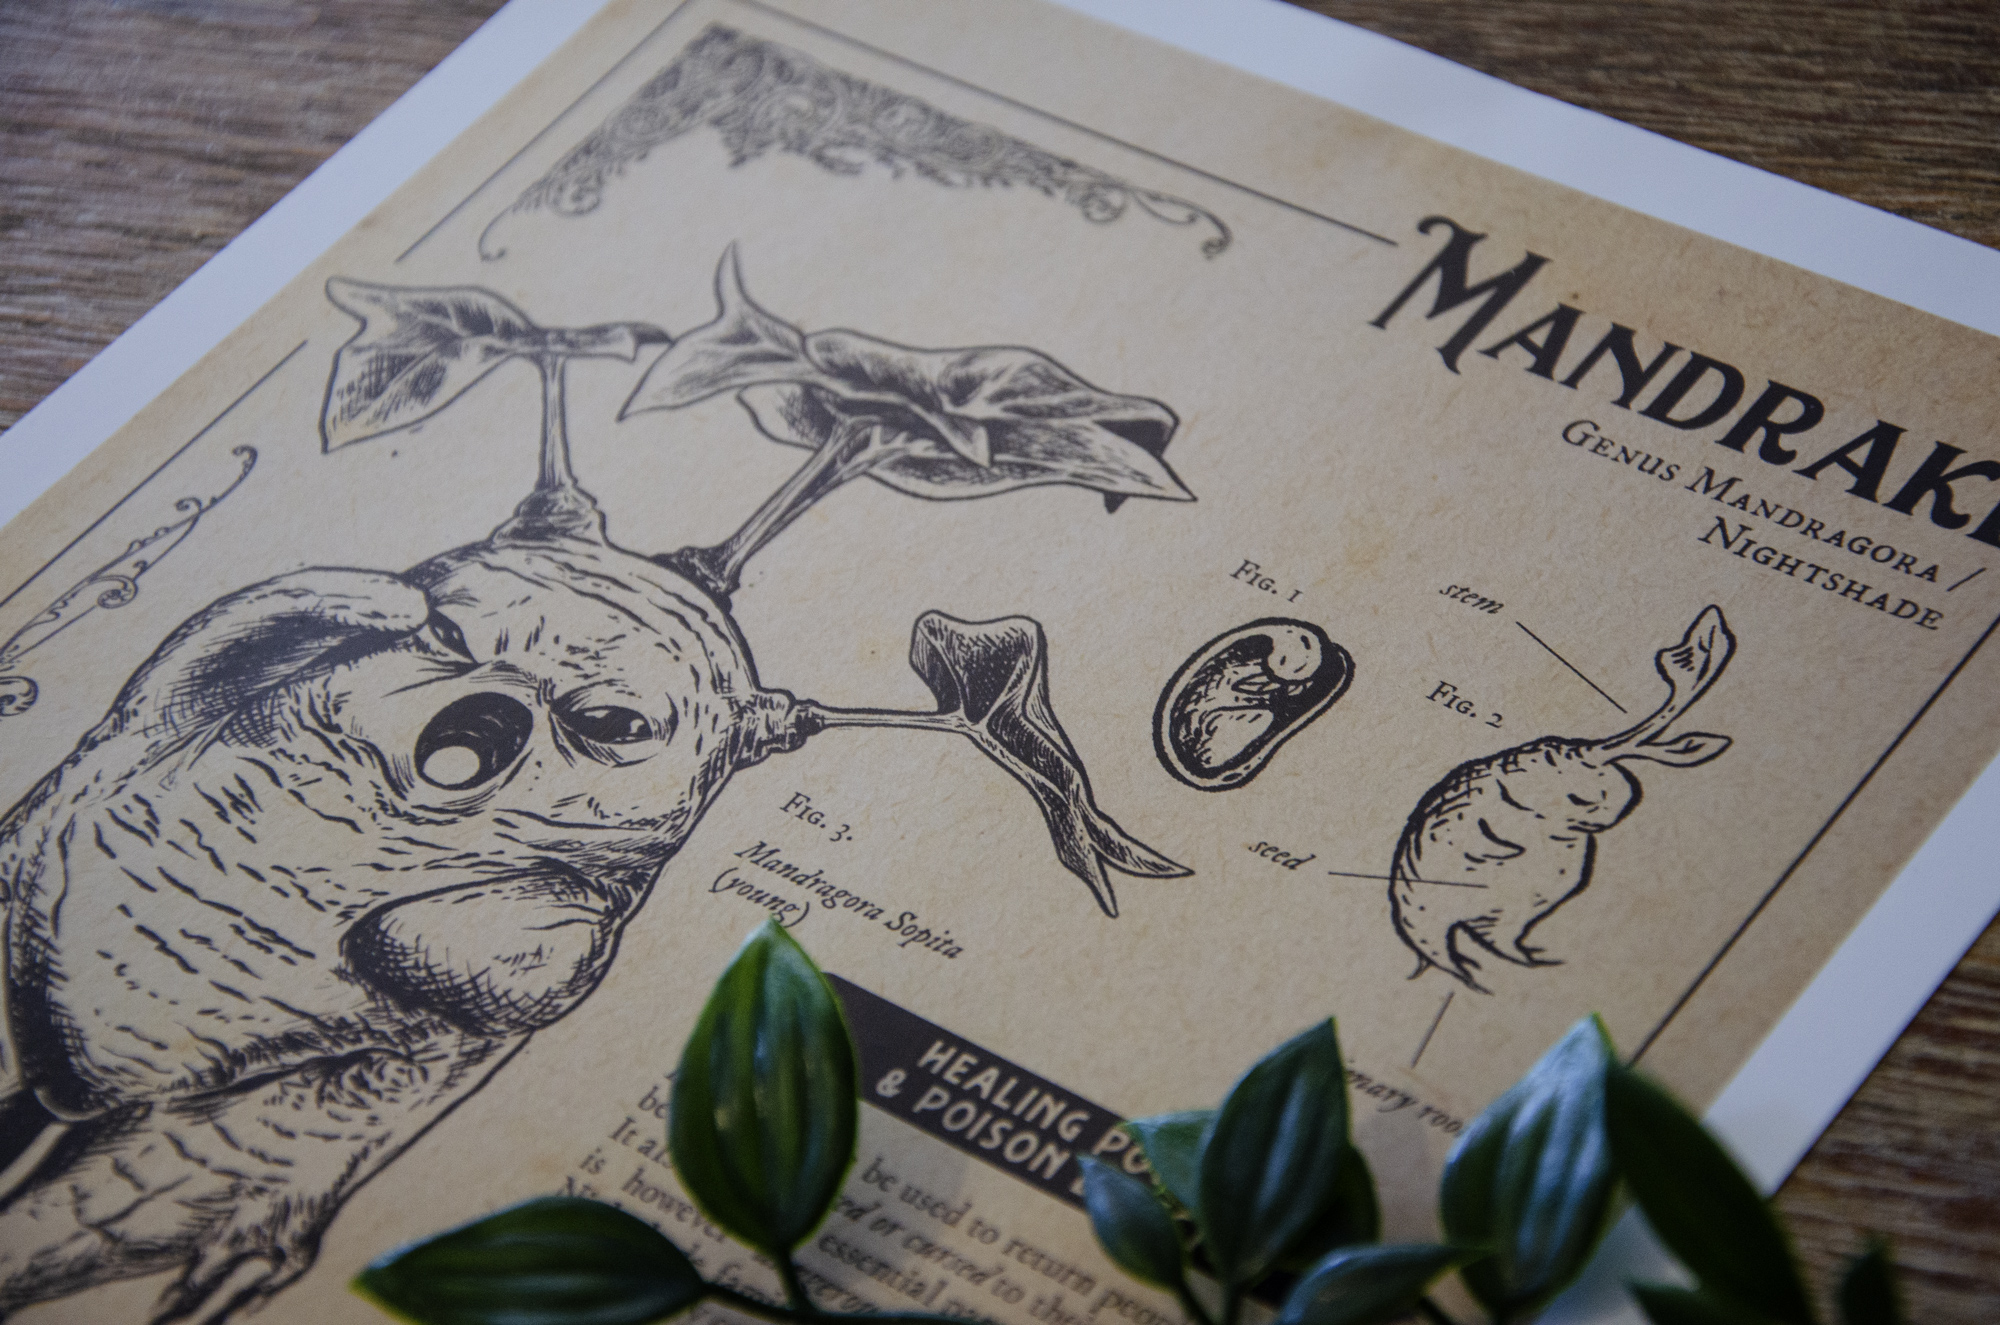
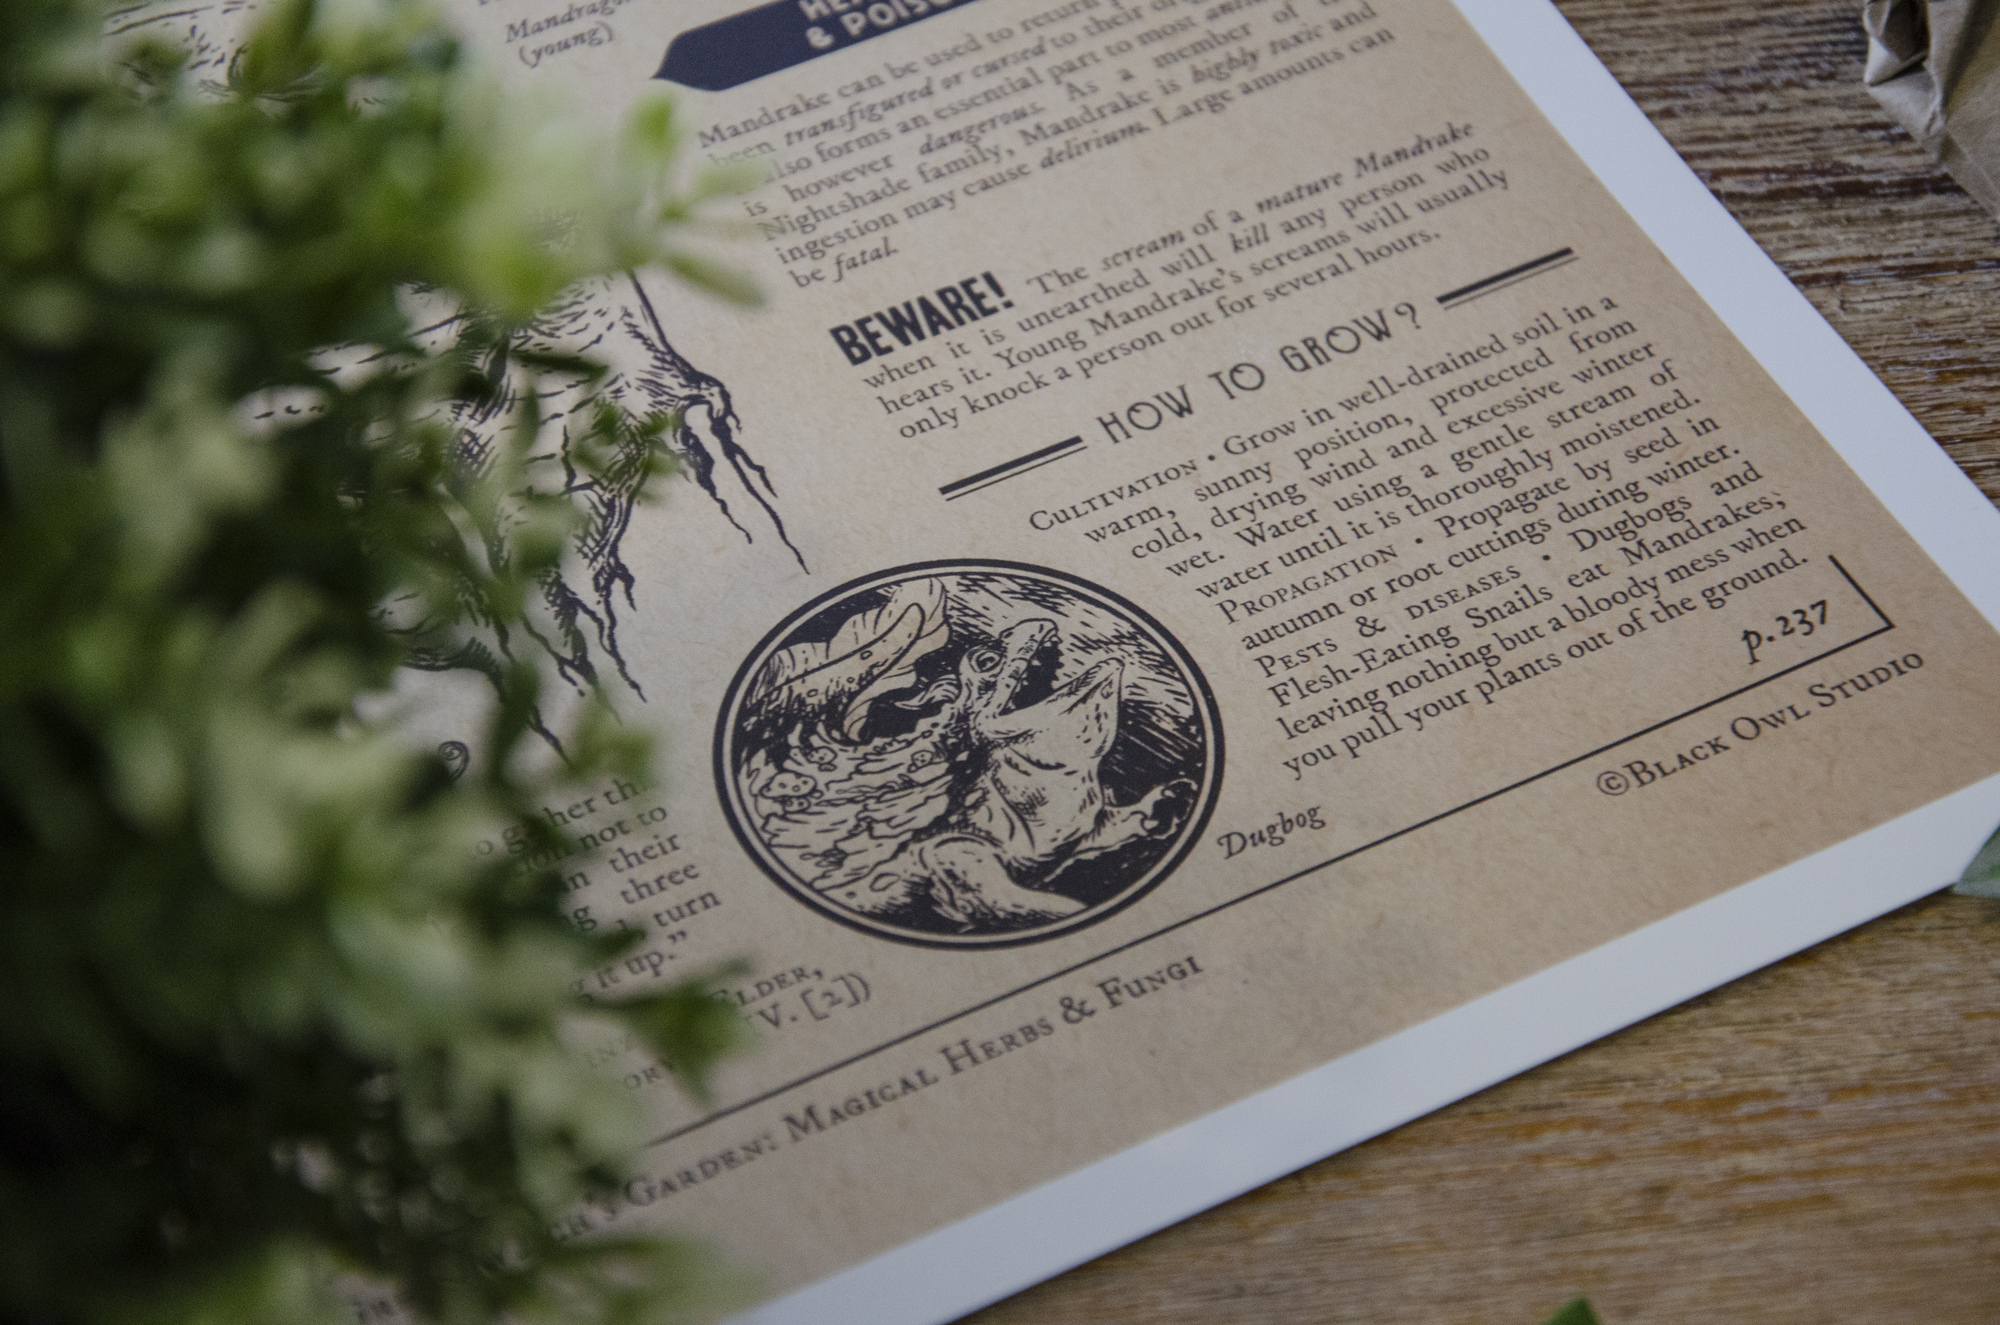
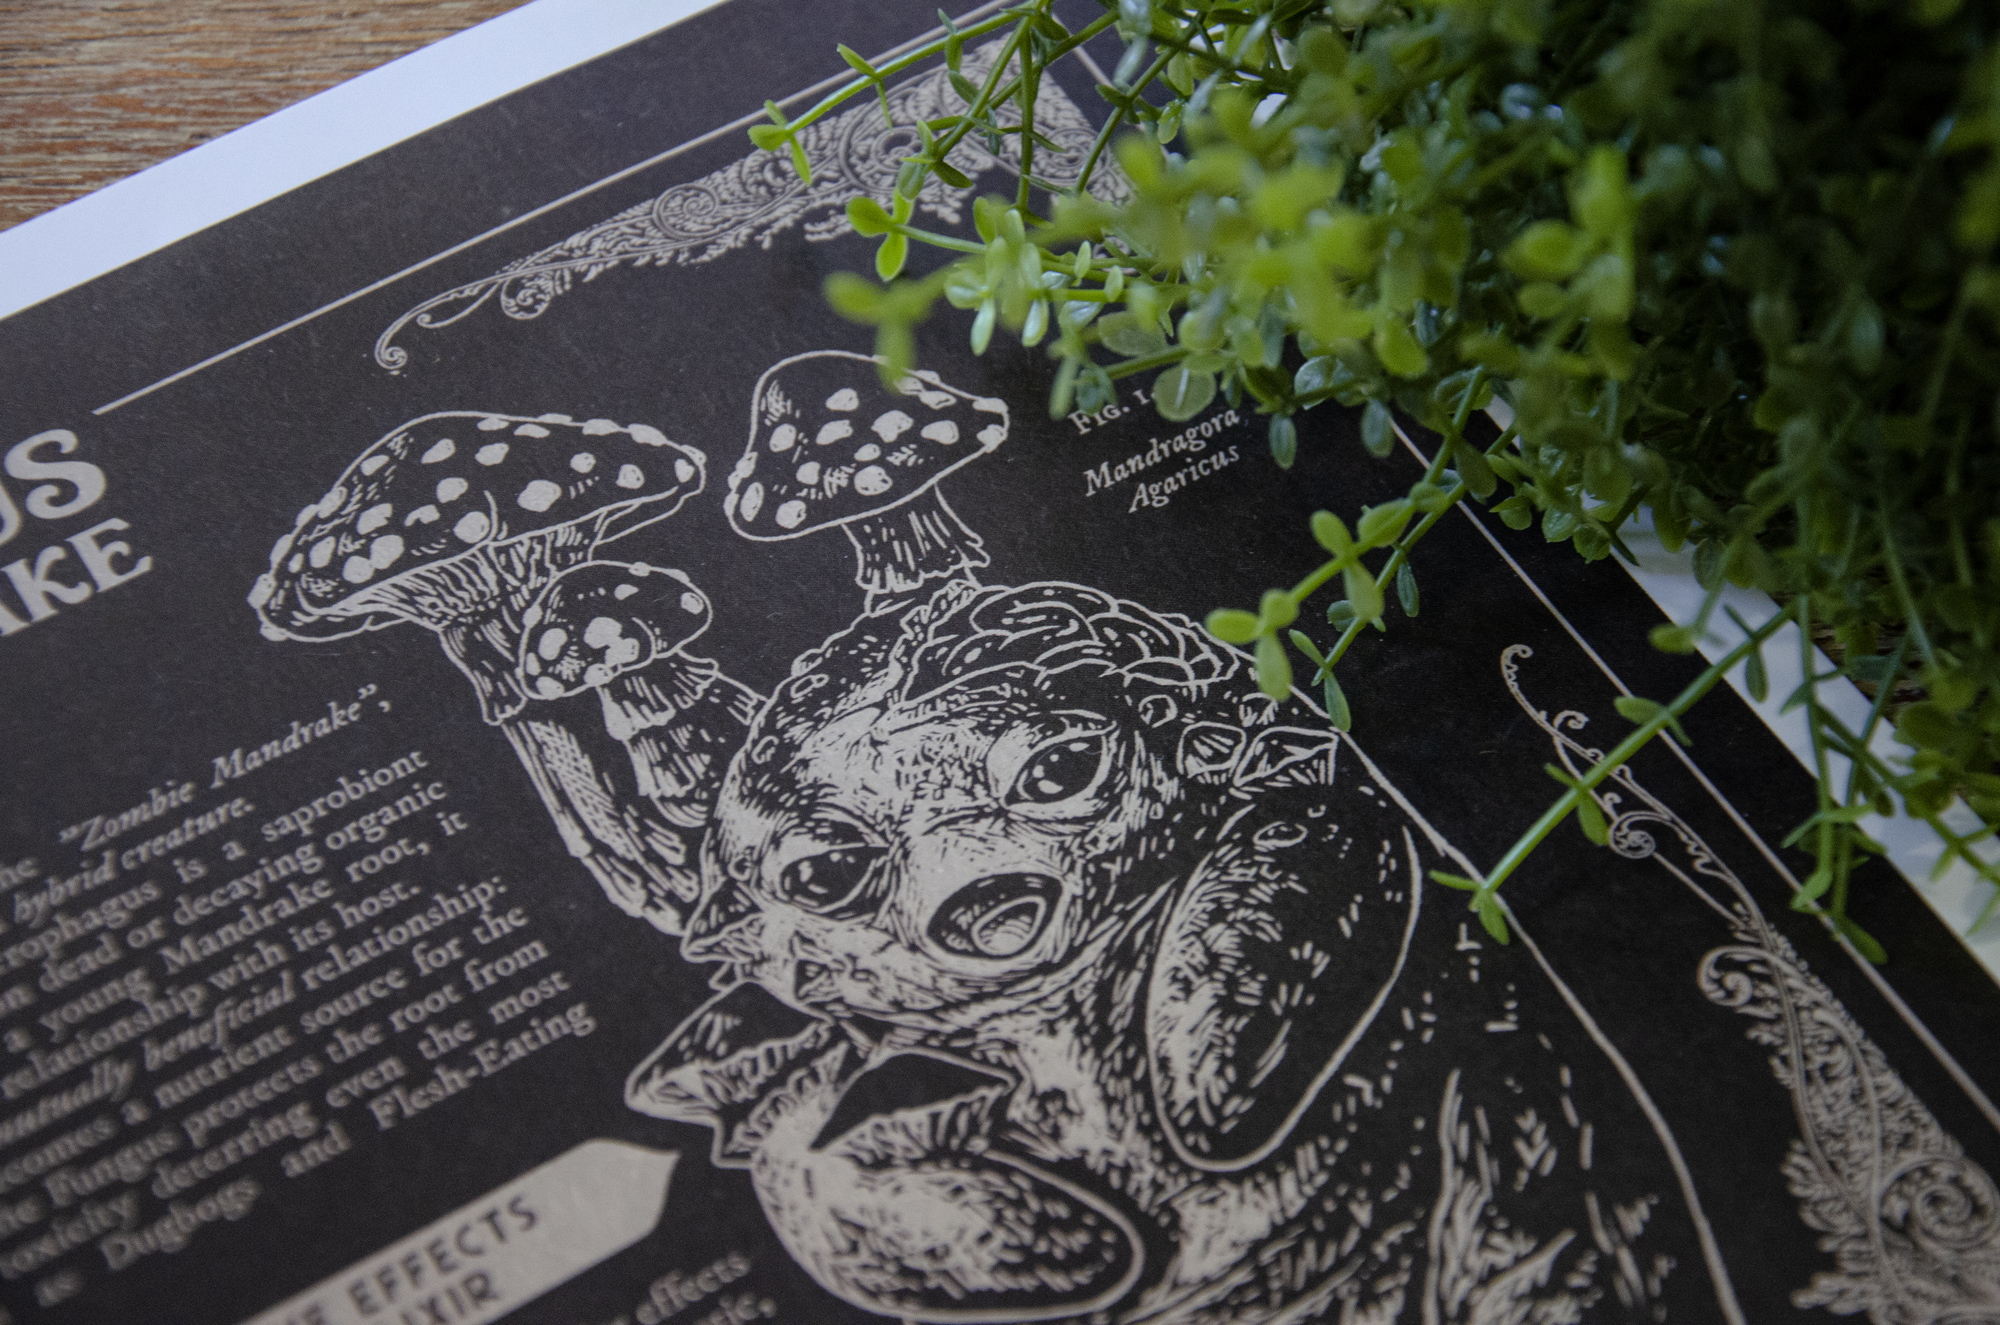
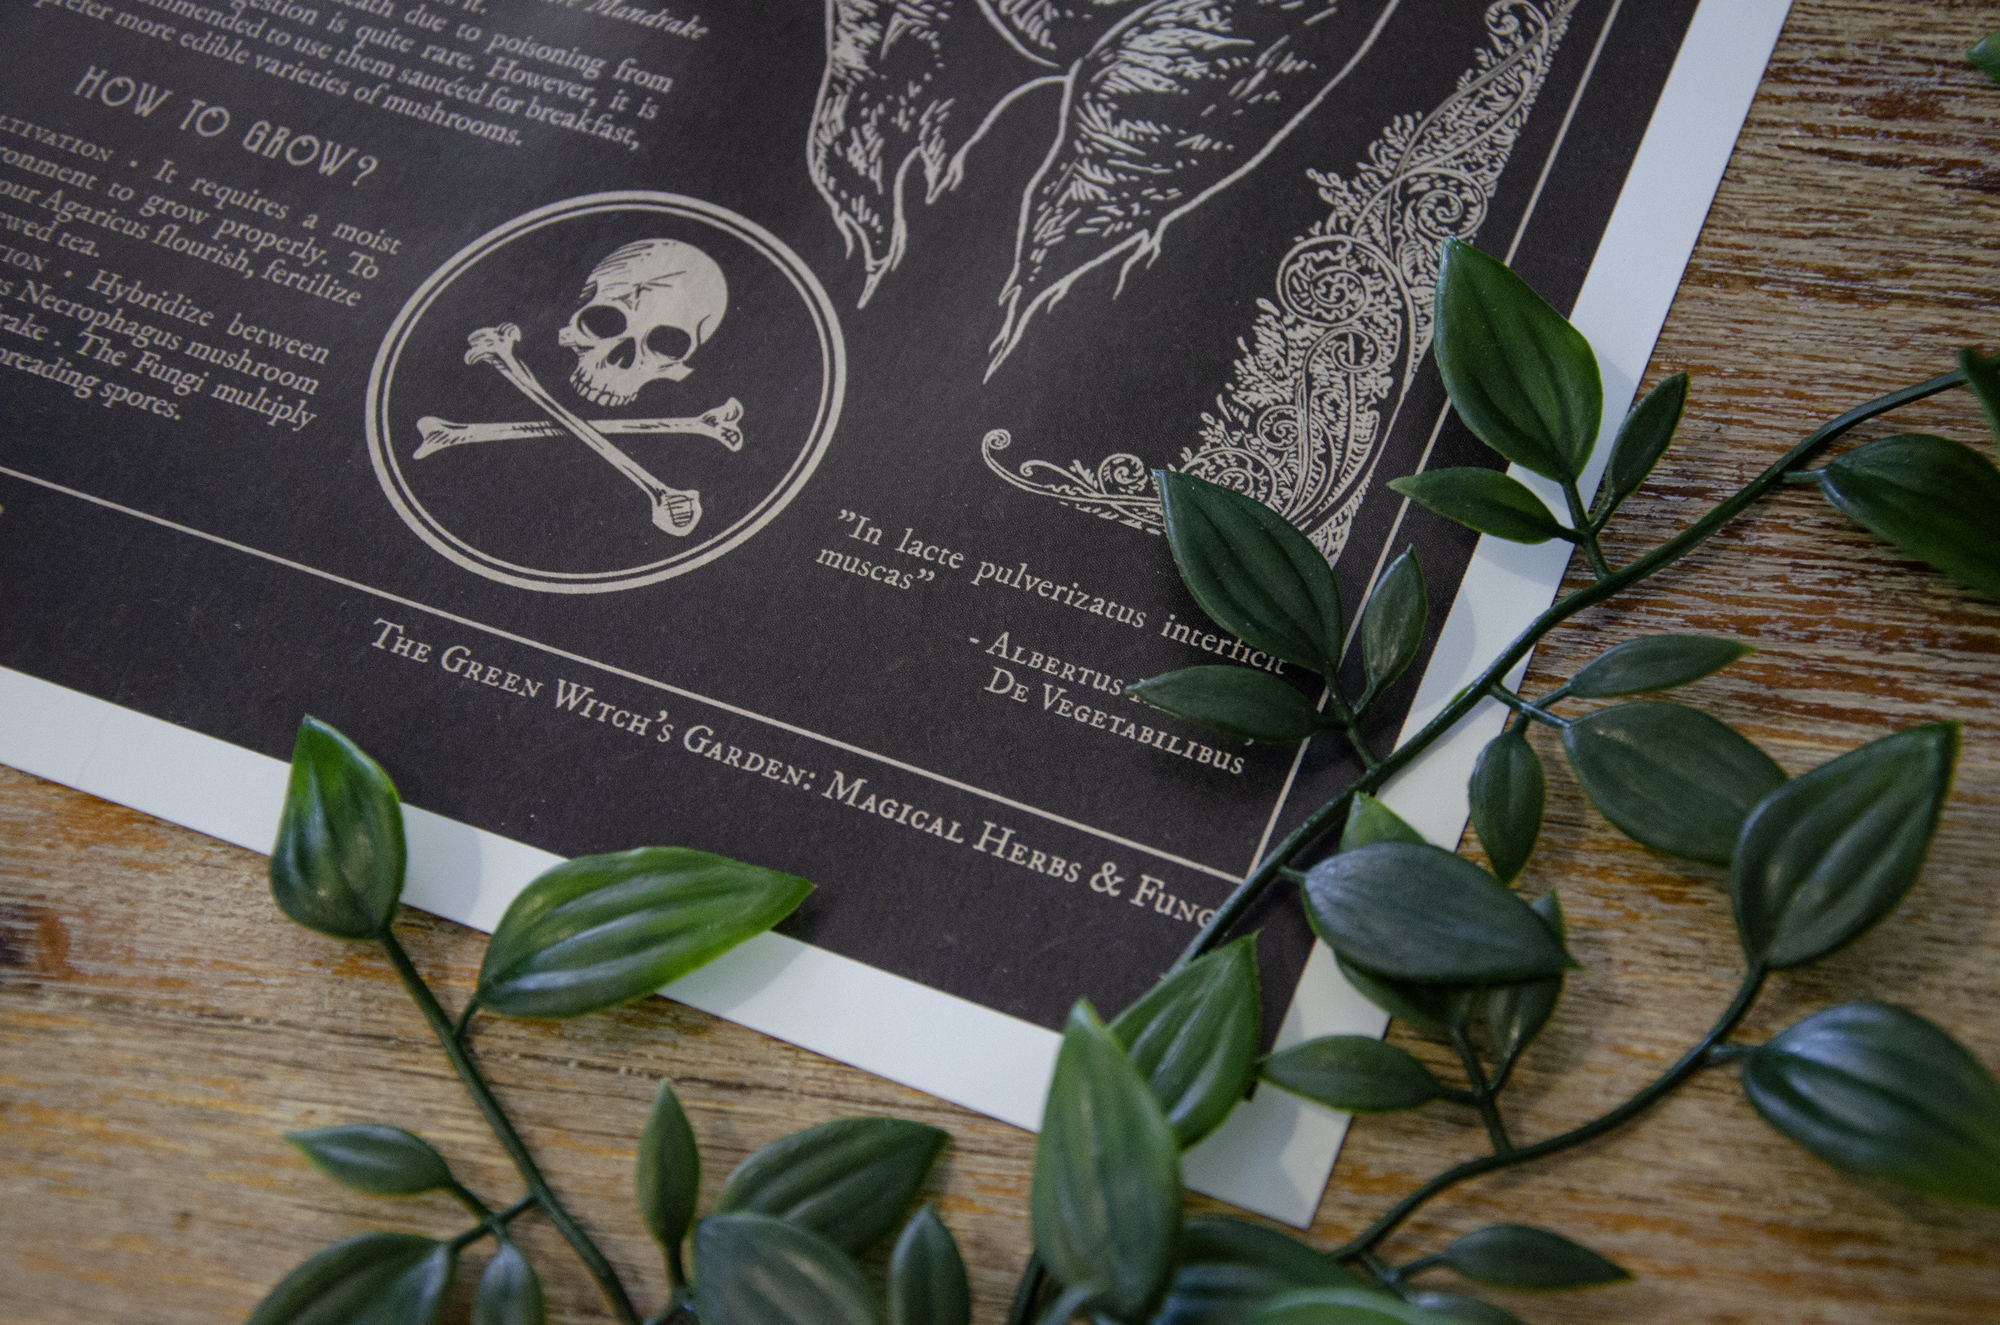
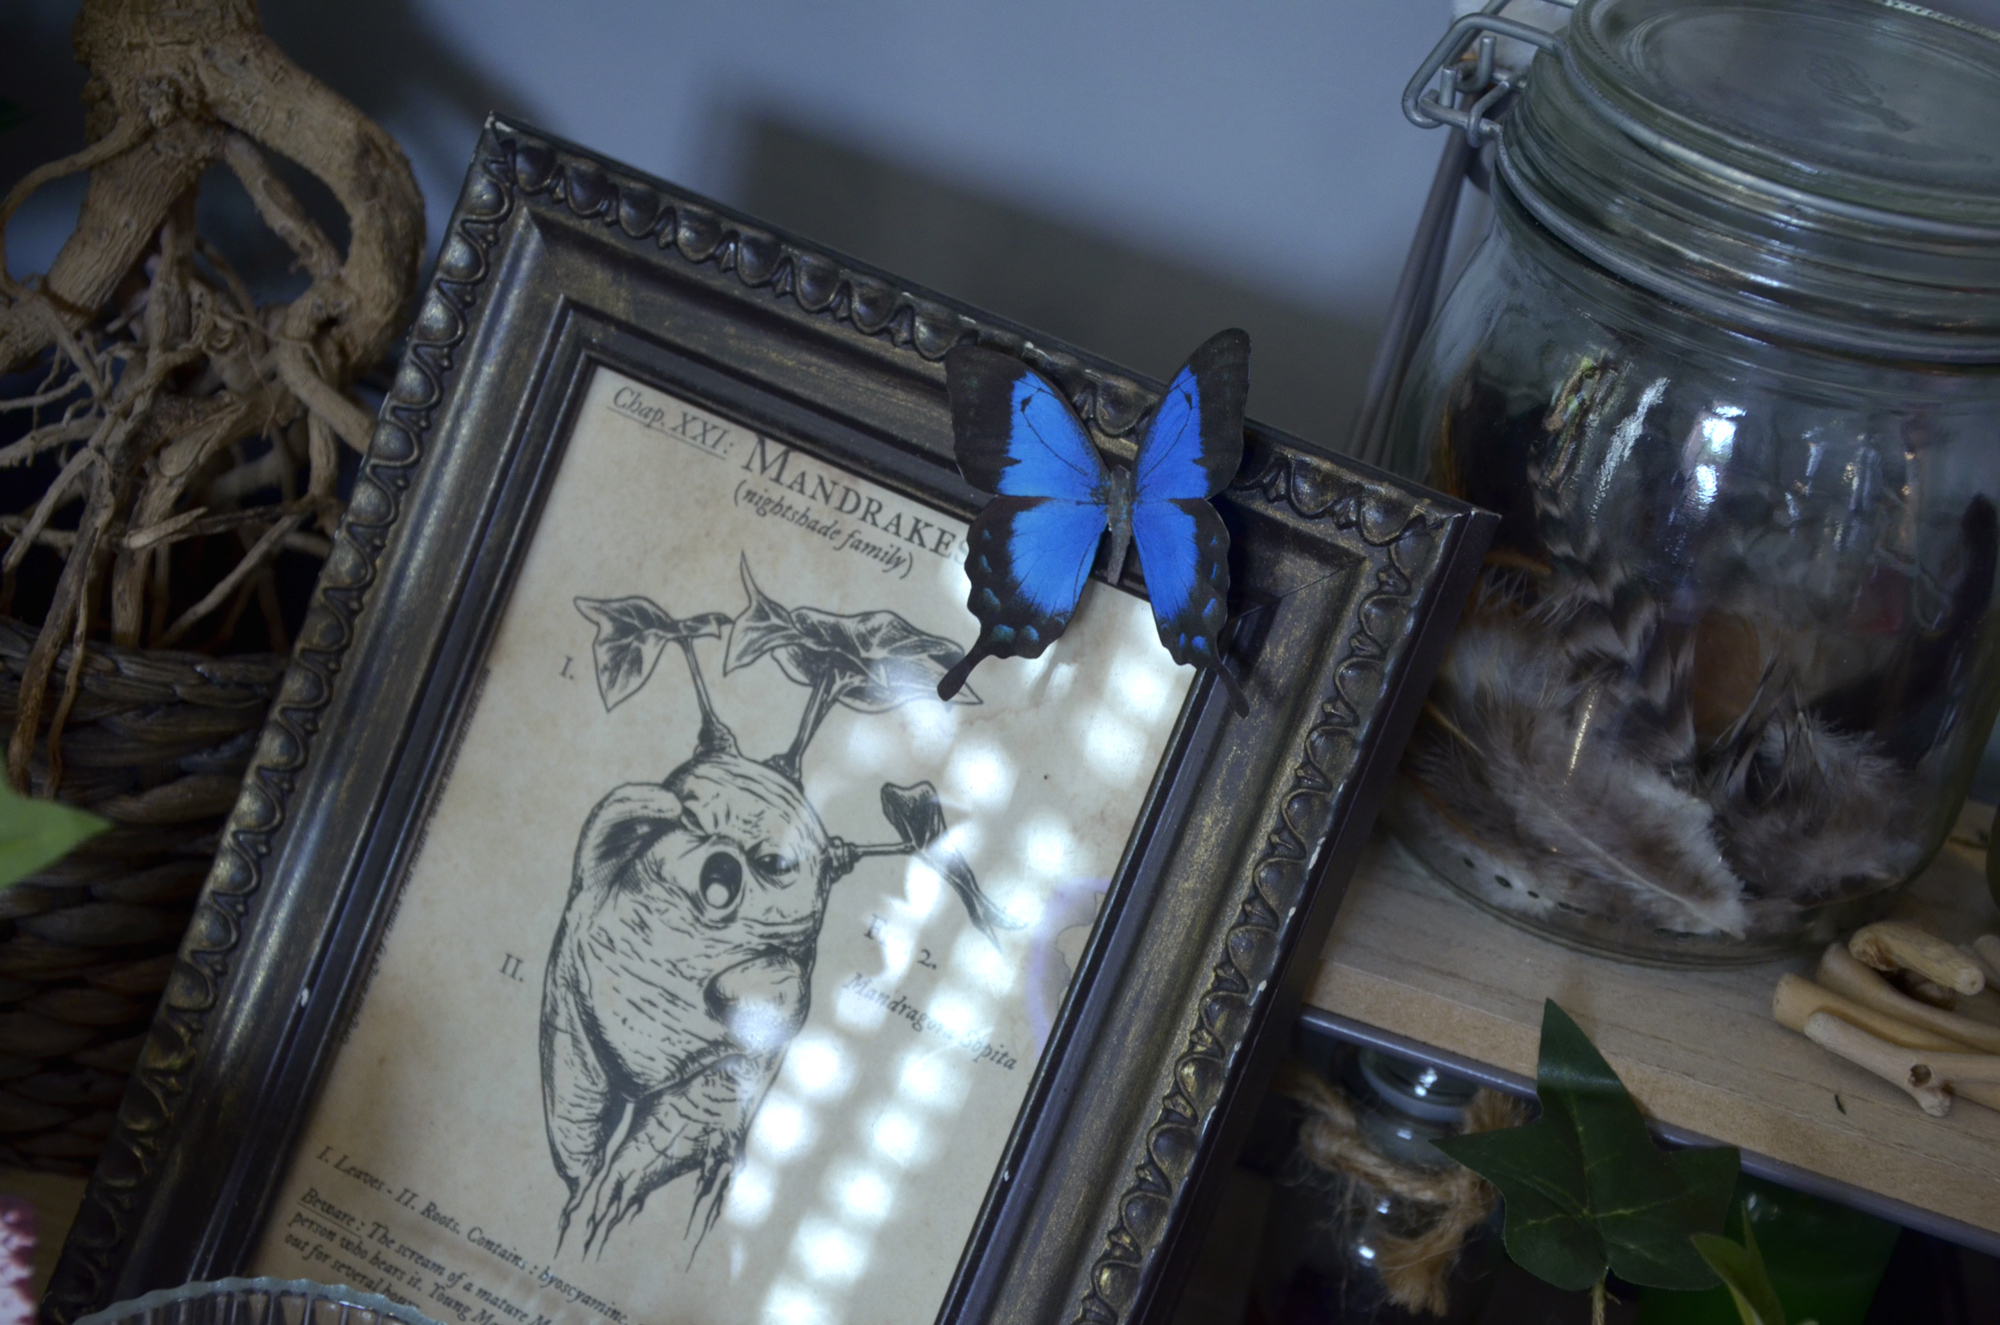
Botanical paintings
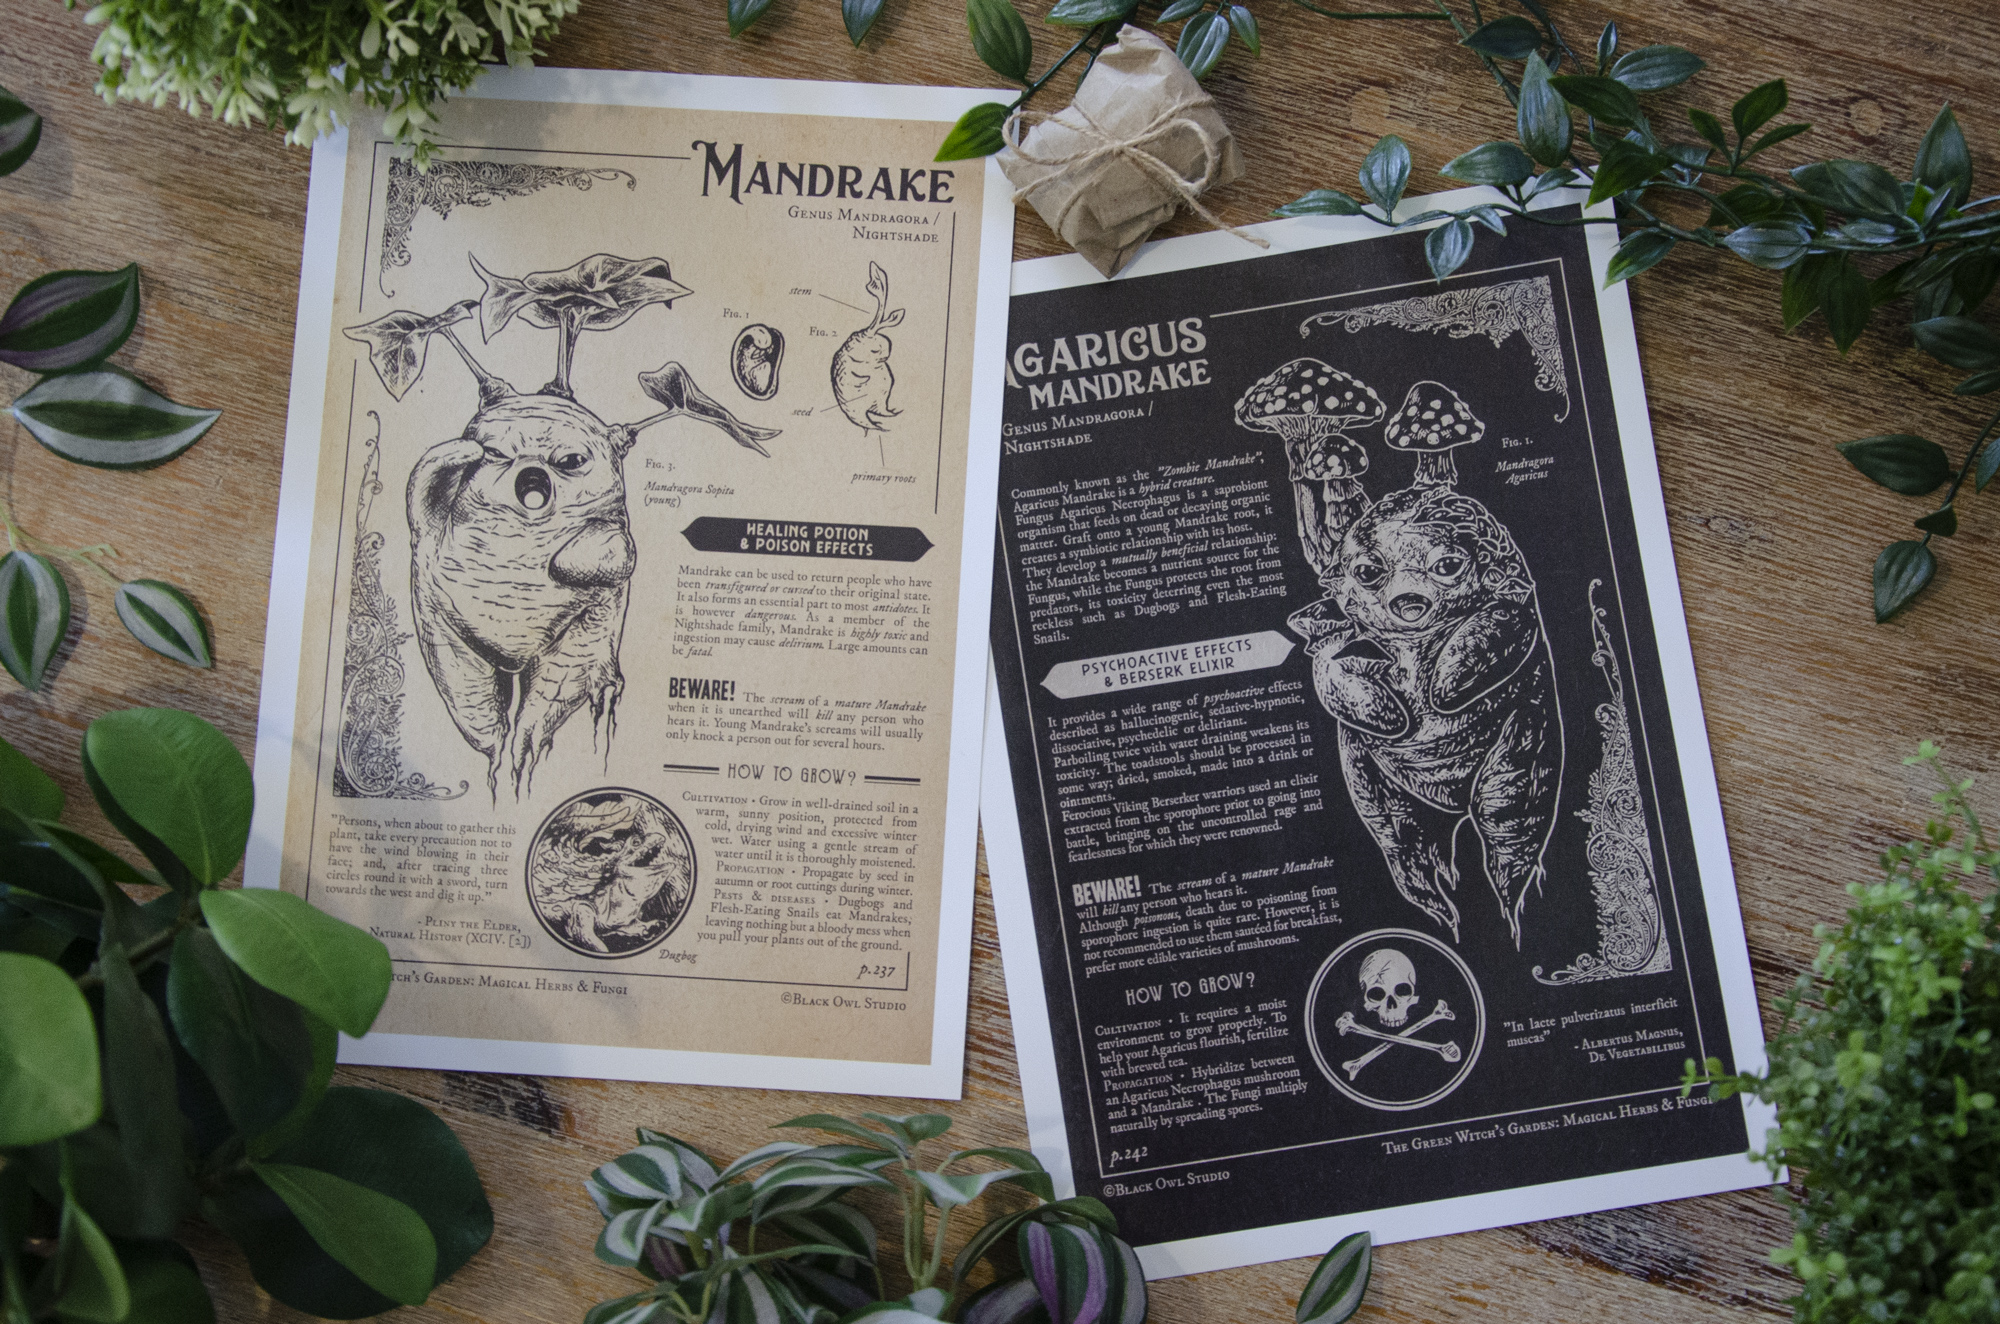
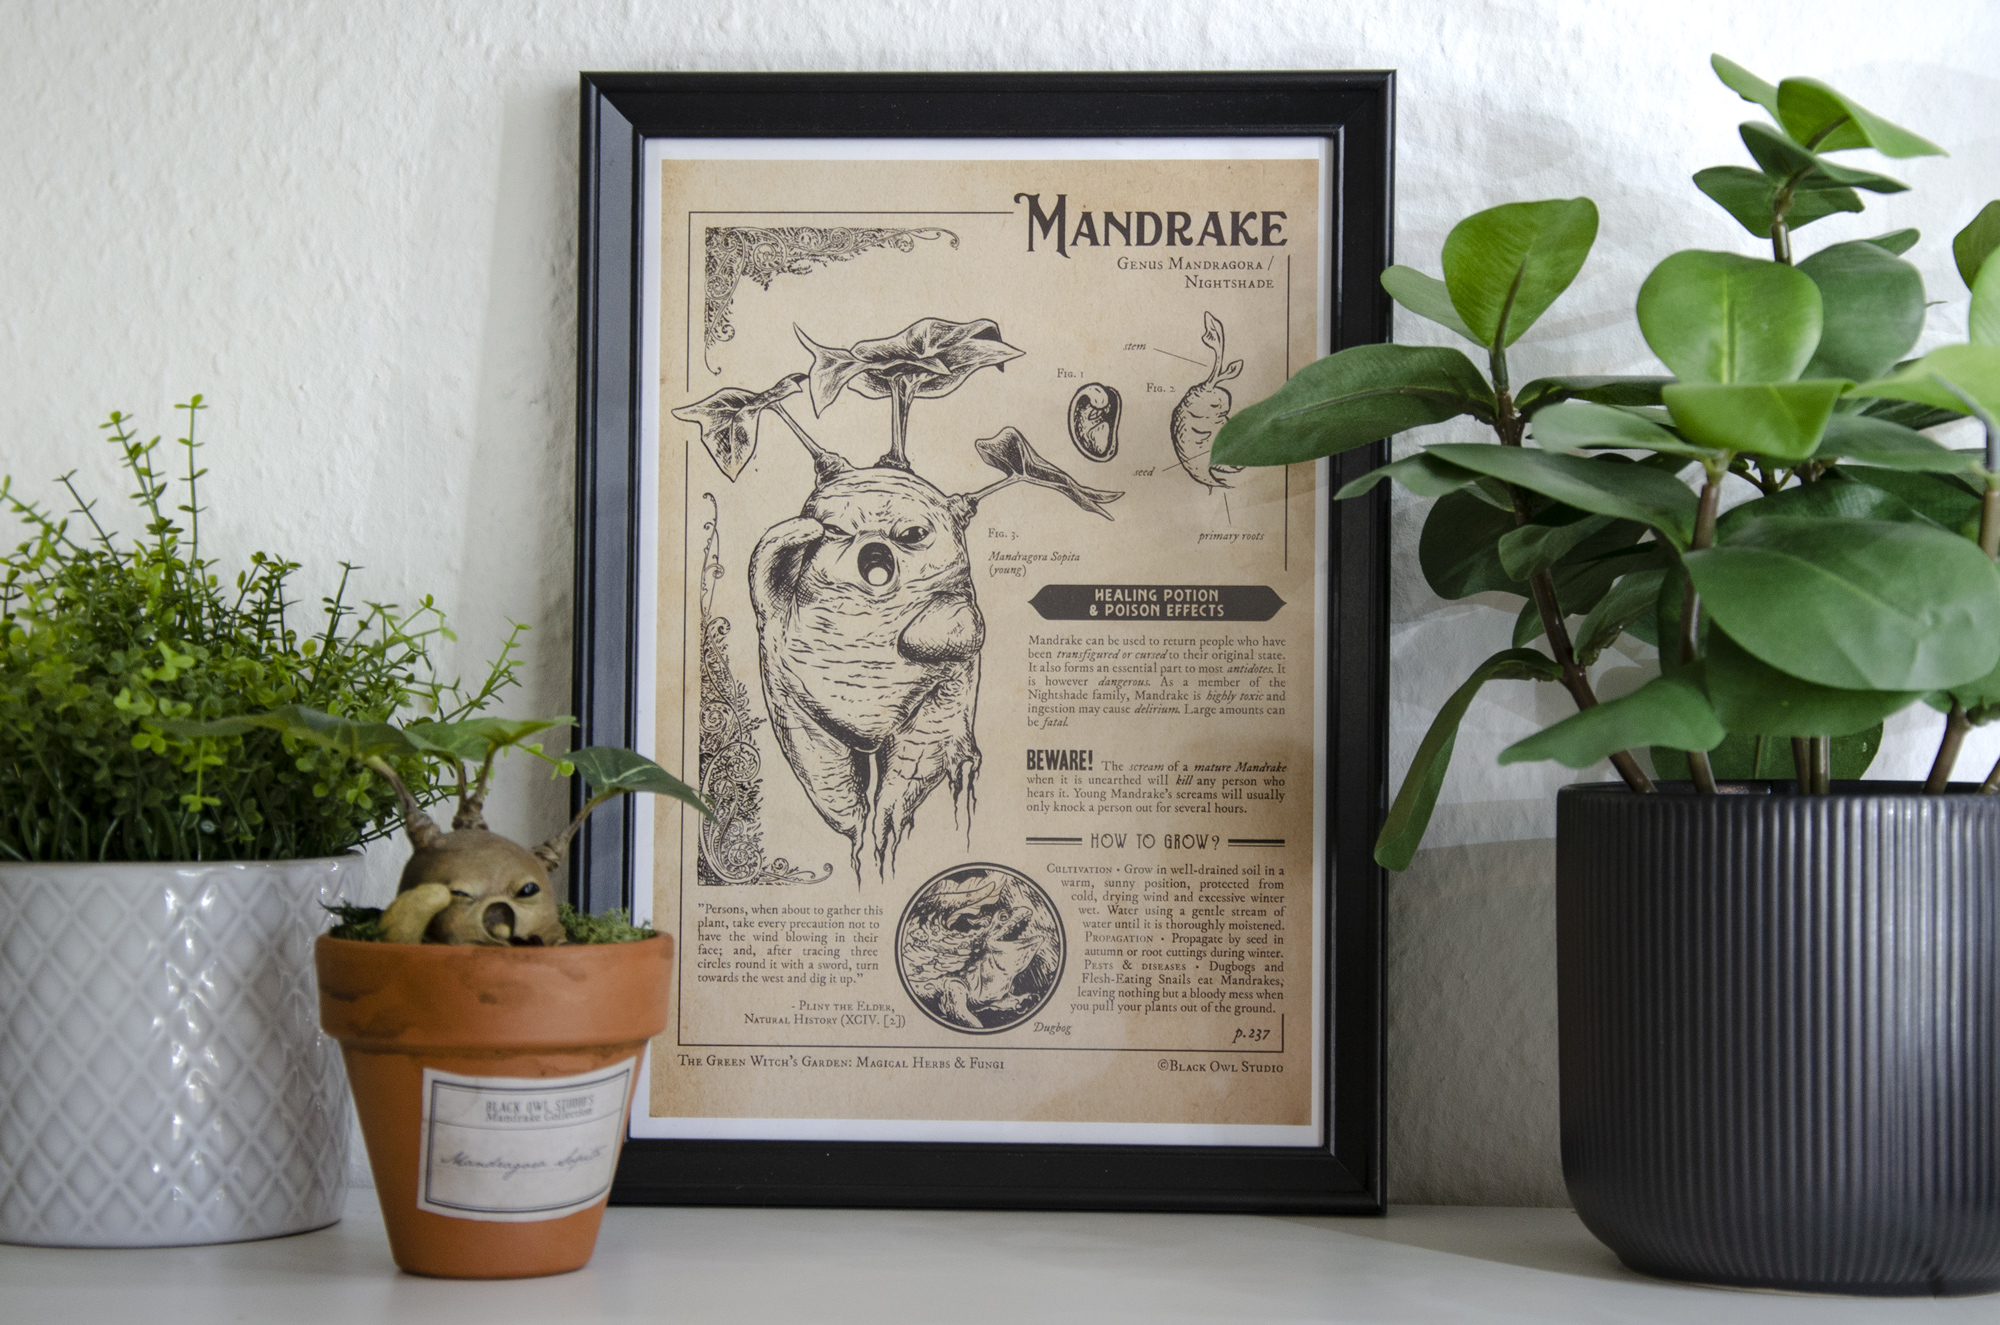
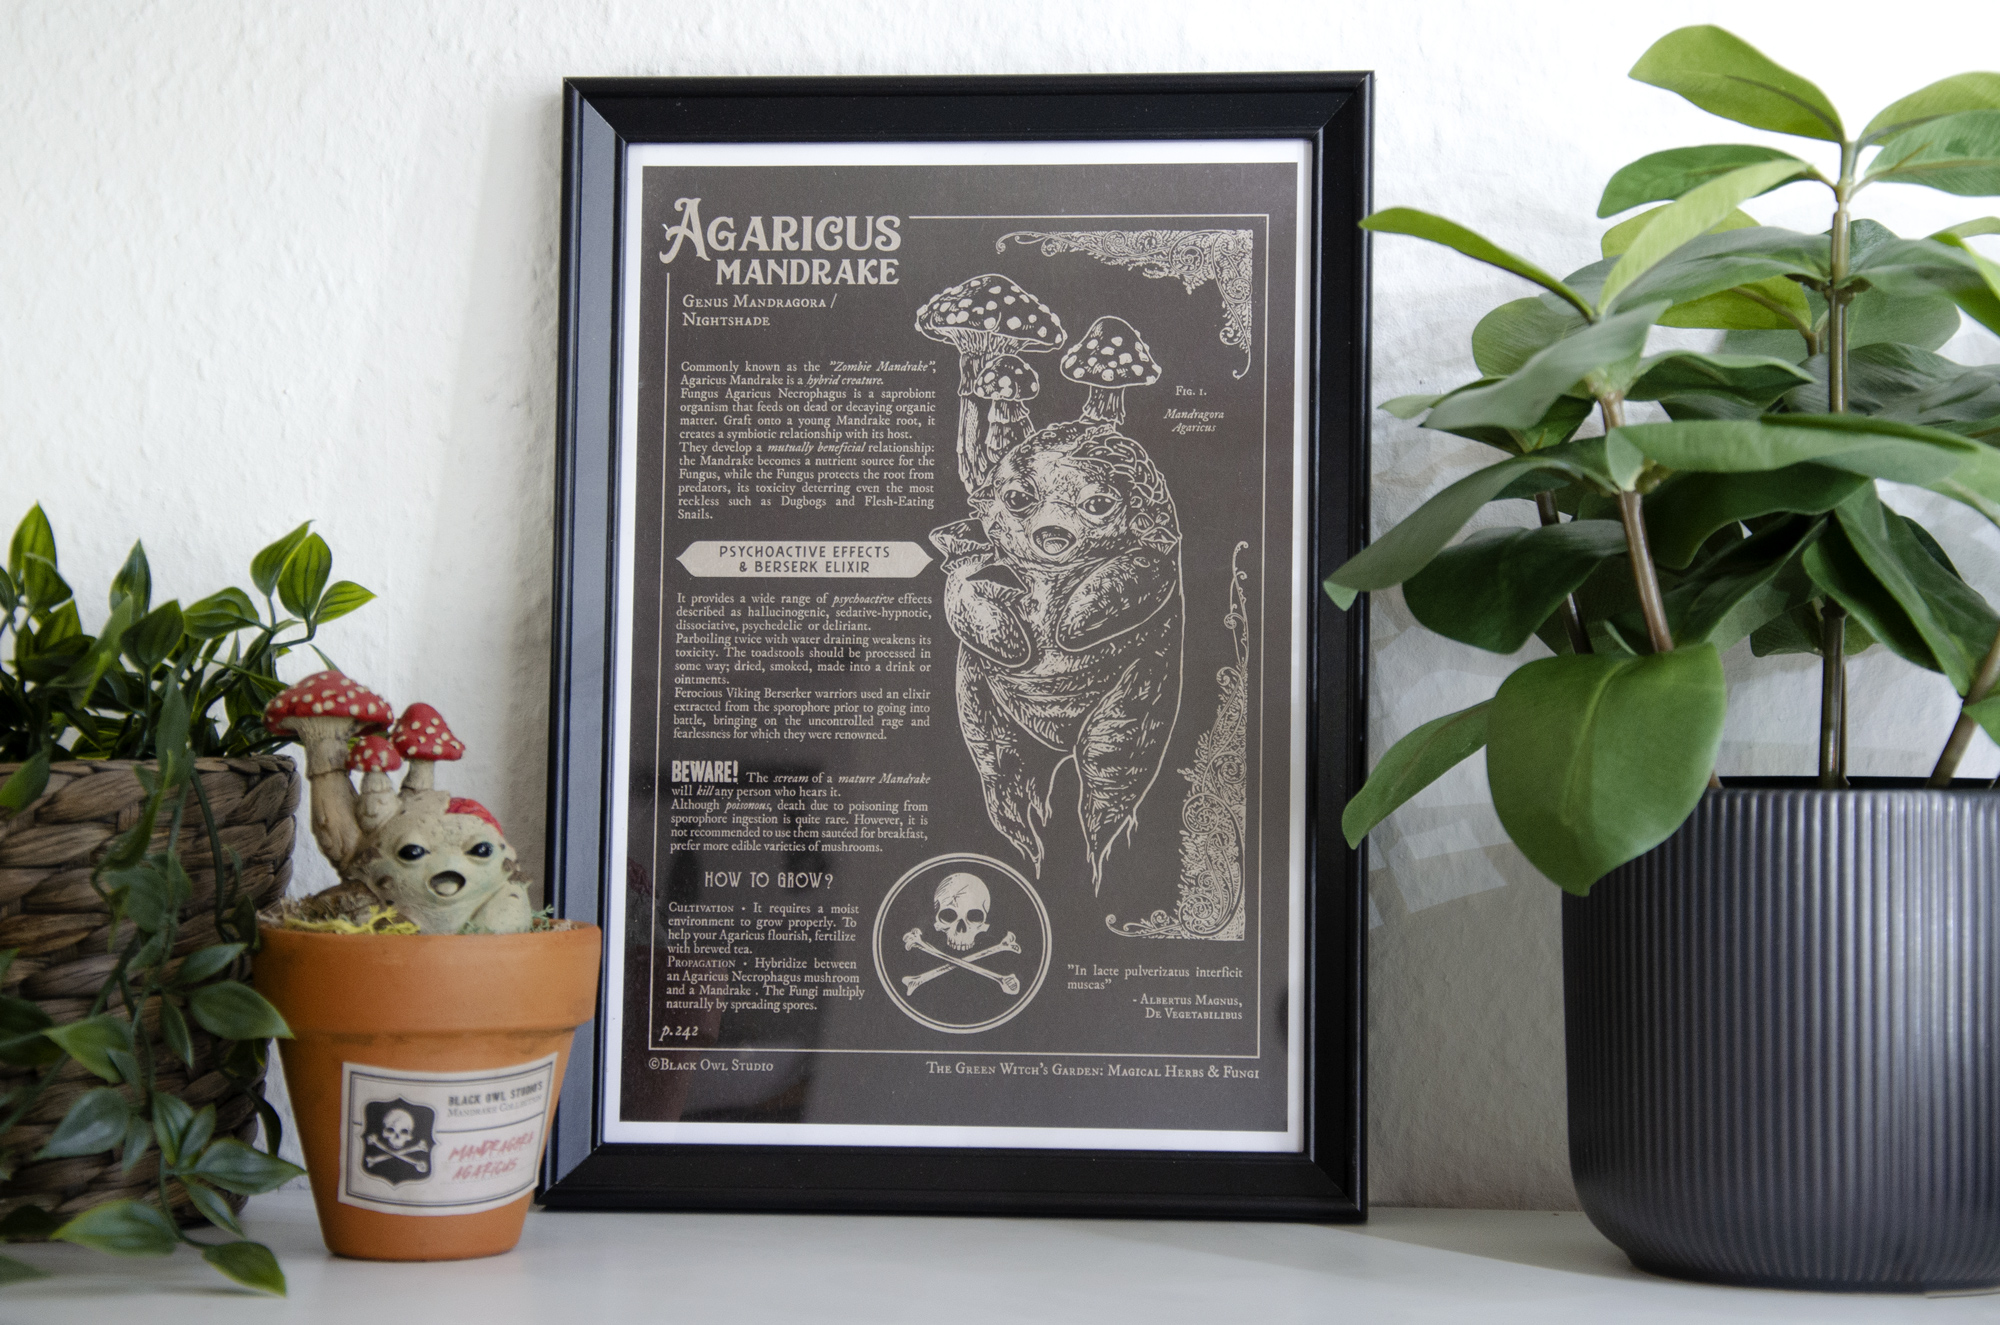
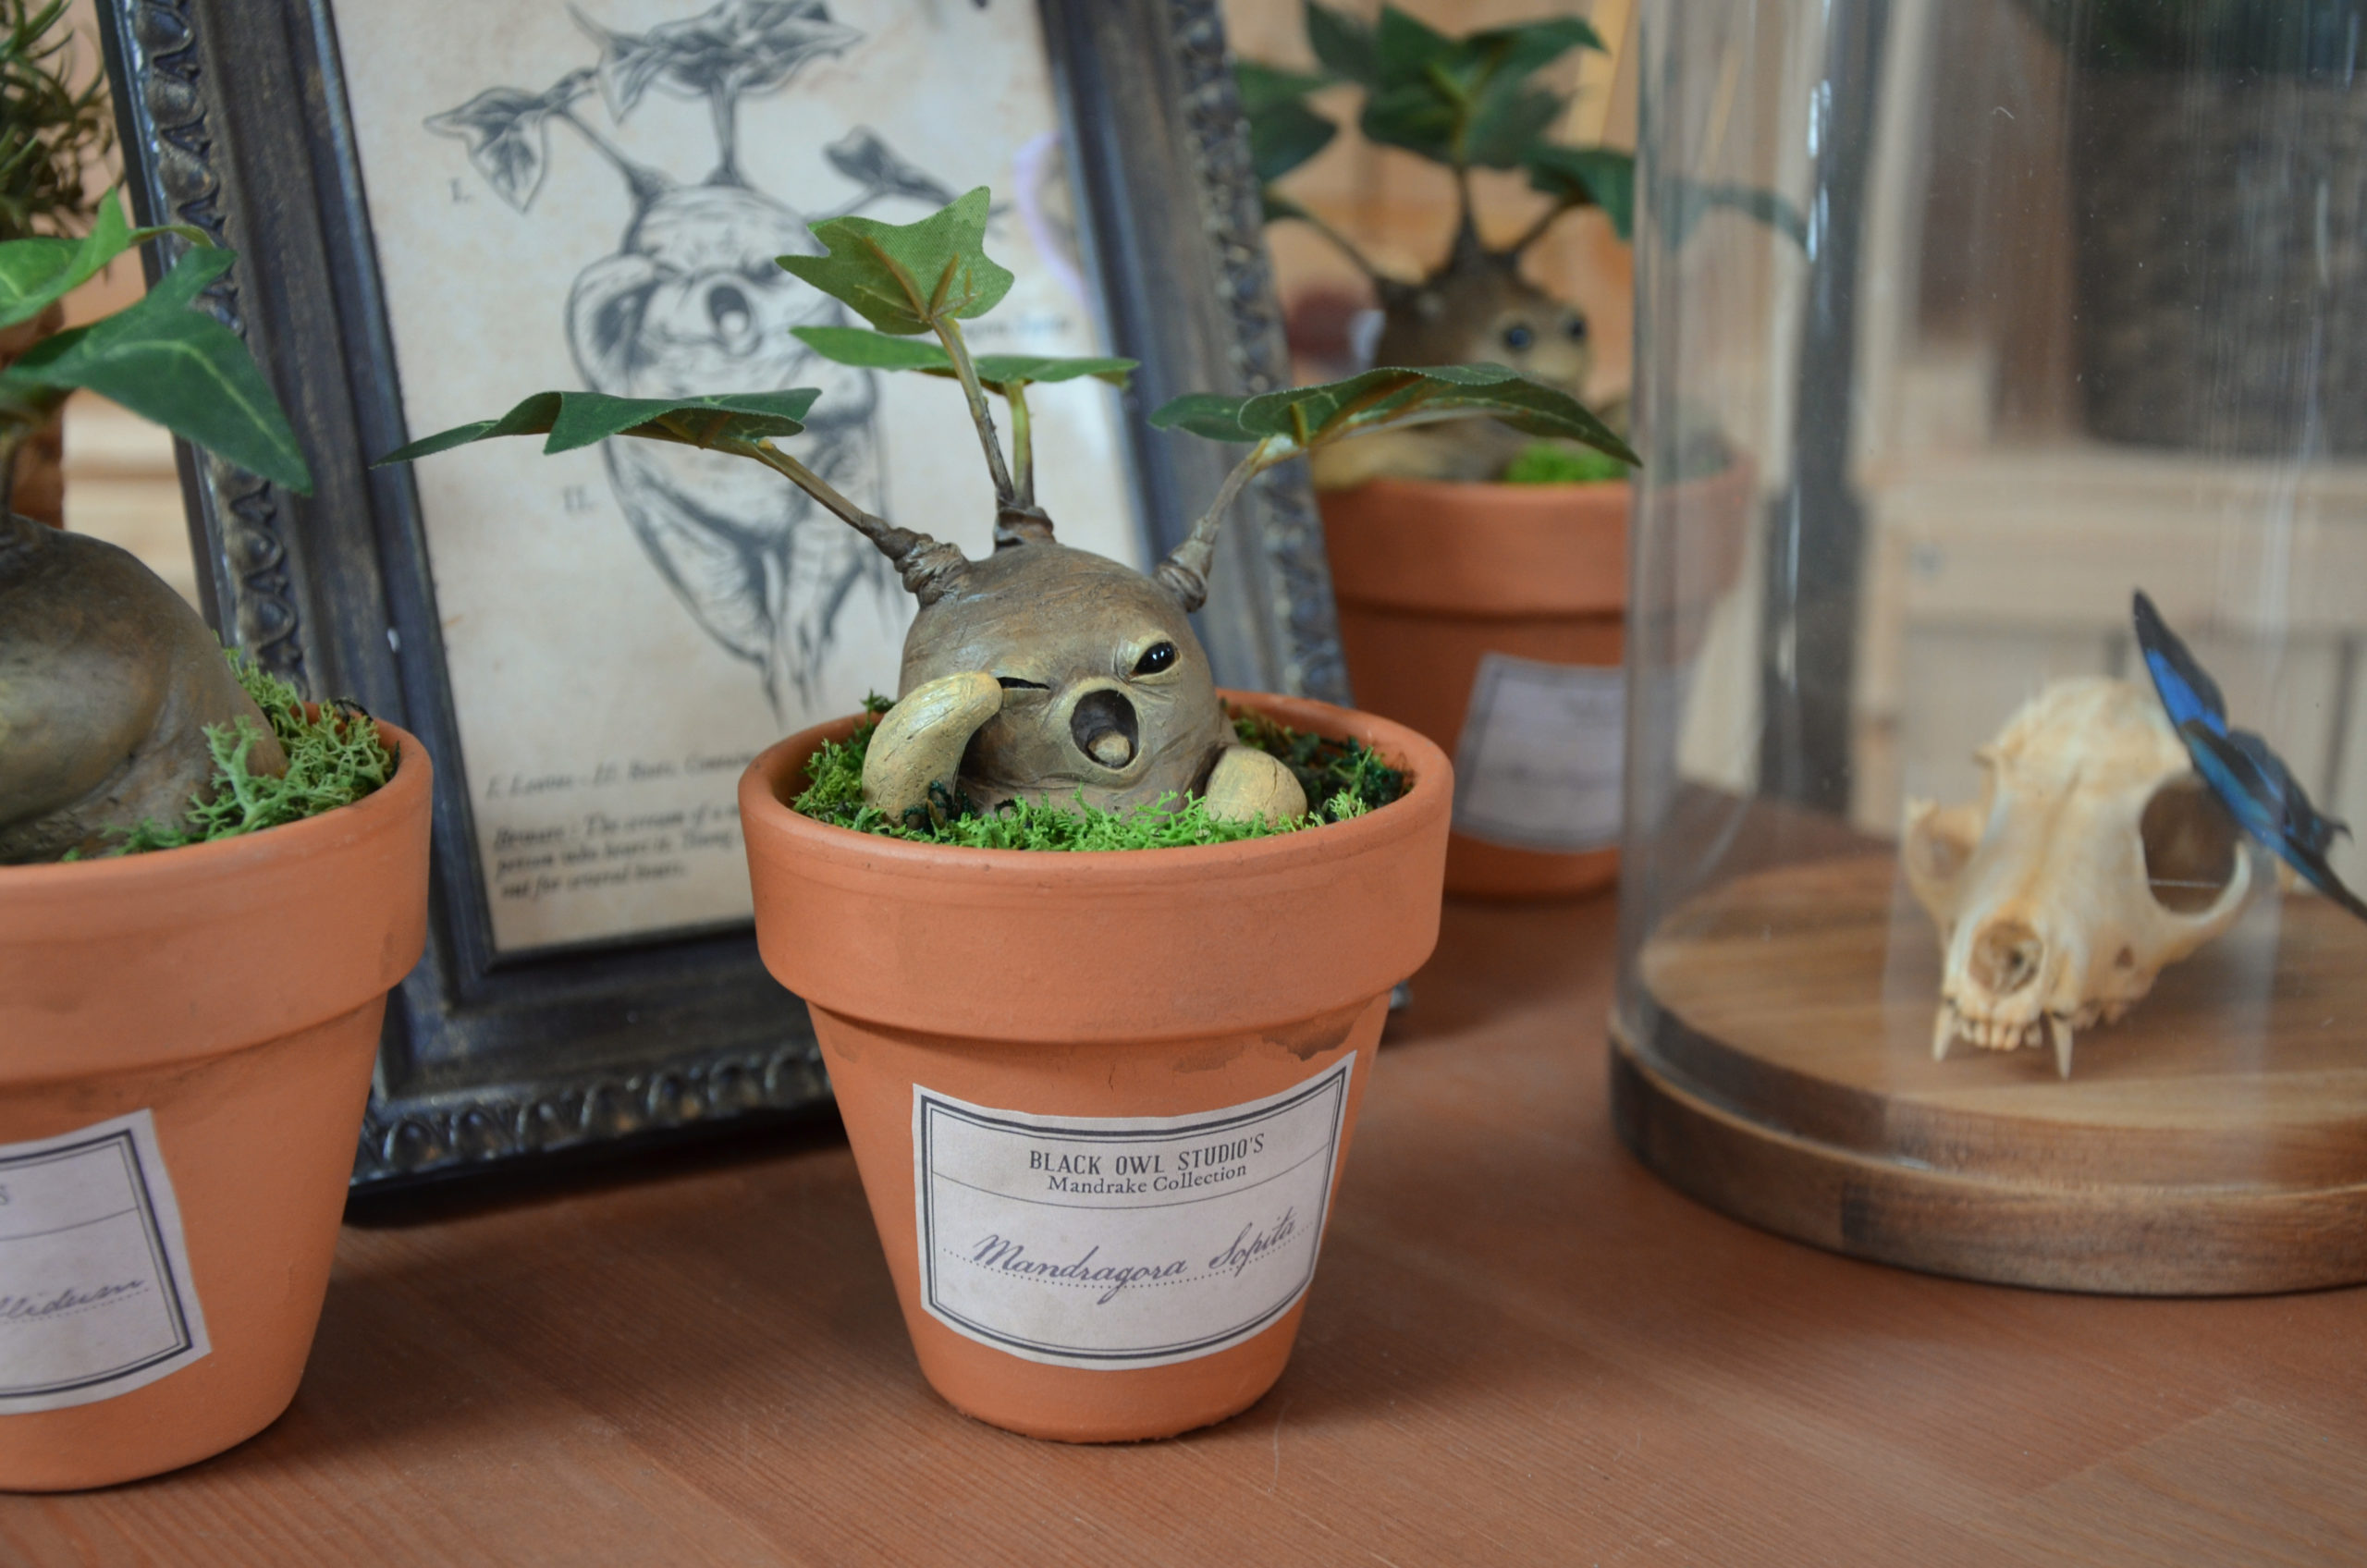
Originally created as a simple decorative element for our showcase, many of you have asked us where it is possible to obtain our mandrake illustration.
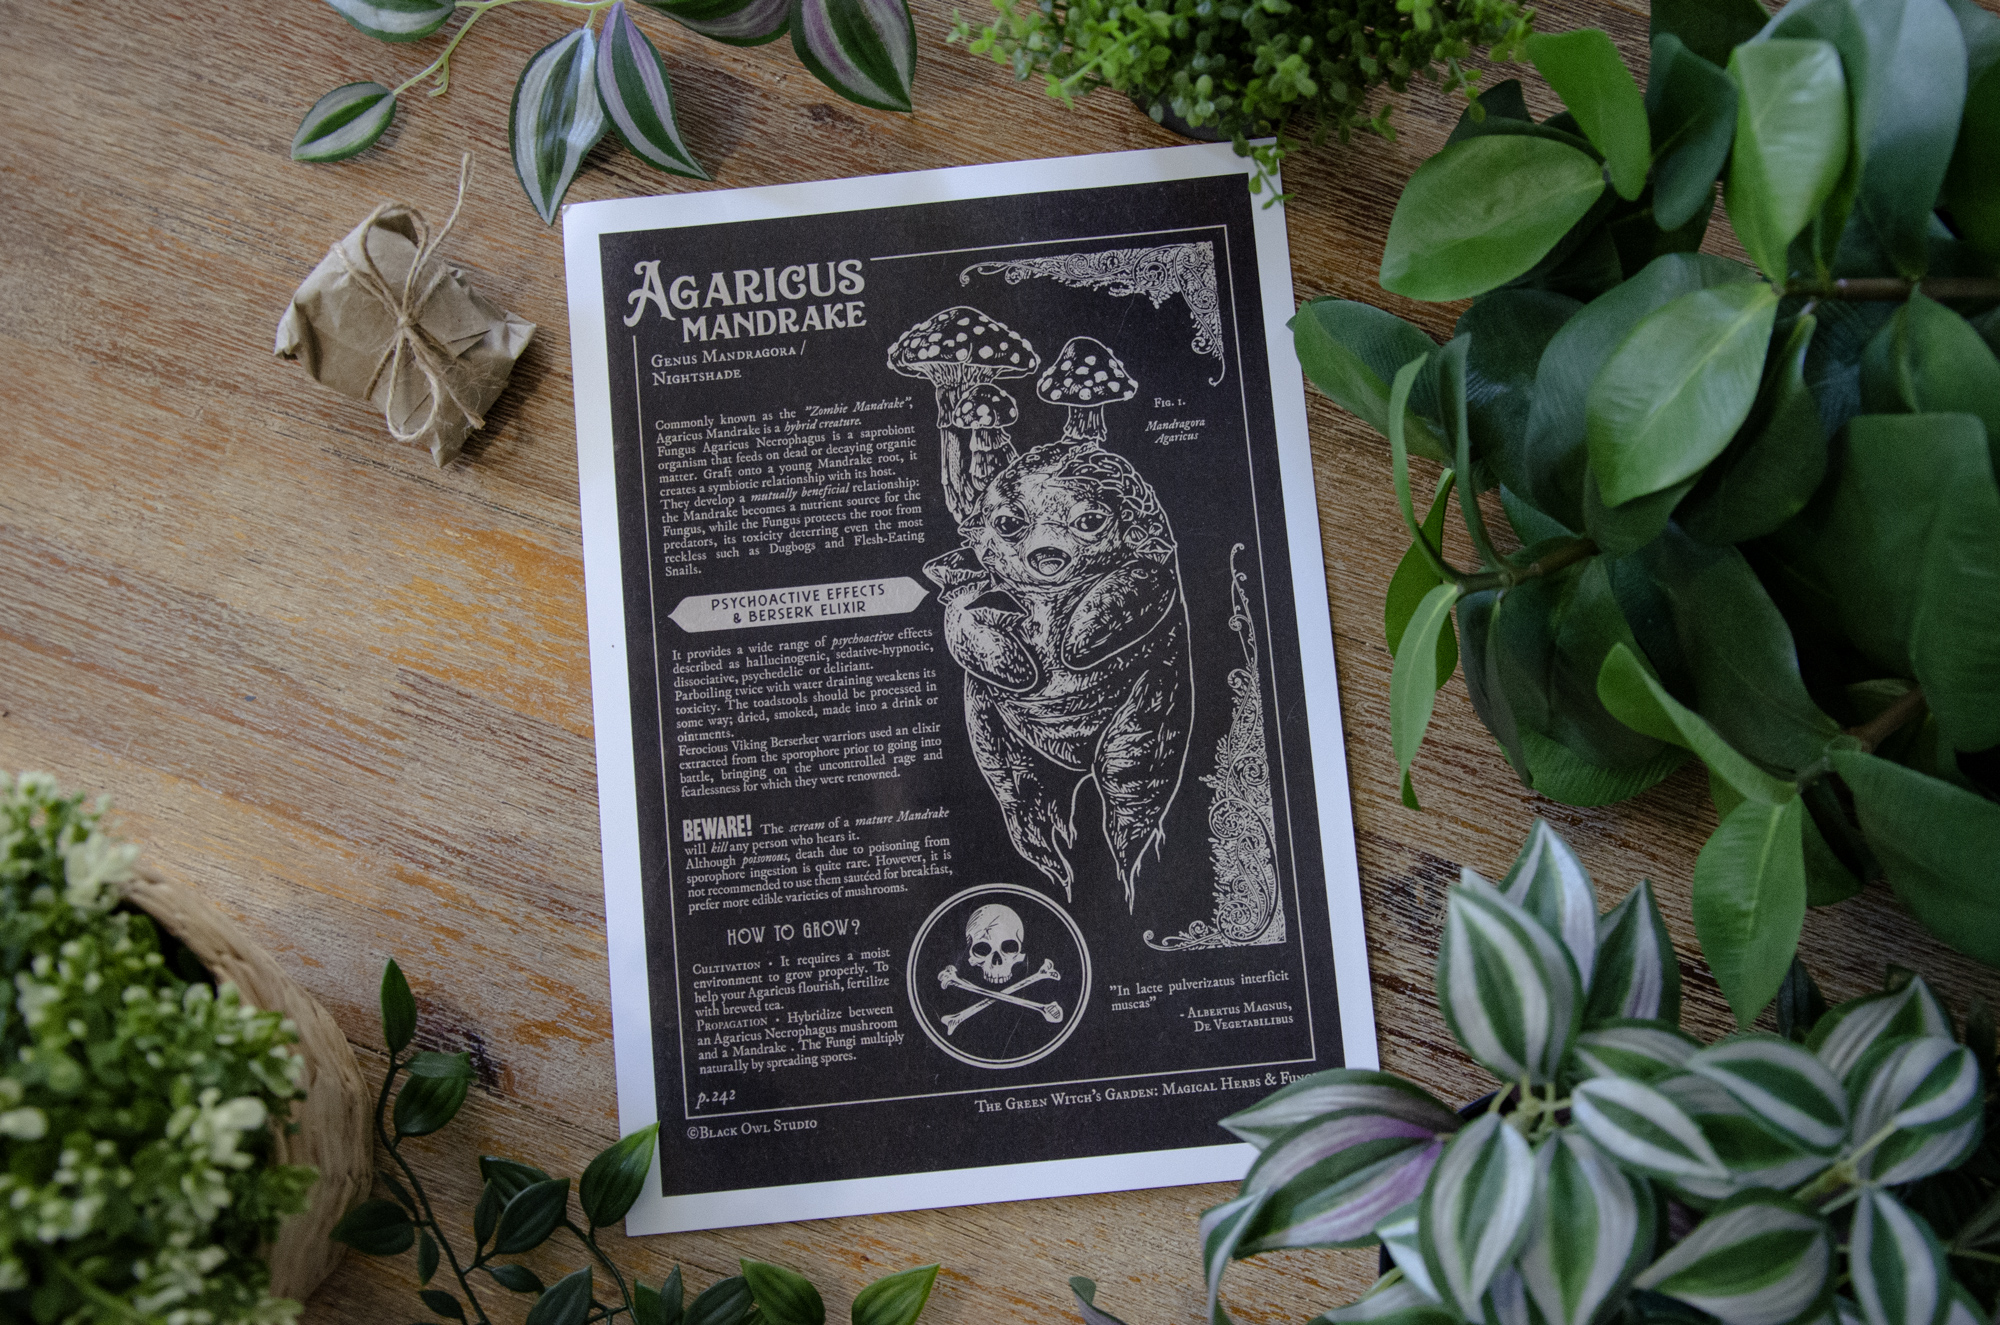
So we reworked it, for a larger, neater version with a nice layout, as if it were a page torn from an old botanical grimoire. The poster is now available on our shop, as well as a darker version for the Zombie Mandrake: https://www.blackowlstudio.com/en/produit/mandrake-zombie-agaricus/
Butterflies
After the mushrooms, I offer you here a little tutorial to make butterflies!
Material:
- Printer
- Thick paper
- Scissors (or cutter / x-acto)
- Glue
- Optional : Marker, varnish
For this you will need one or more pretty butterfly images. You will need to print them twice on thick paper (I use 300g). If the image is not perfectly symmetrical, print it once right side and once reversed.
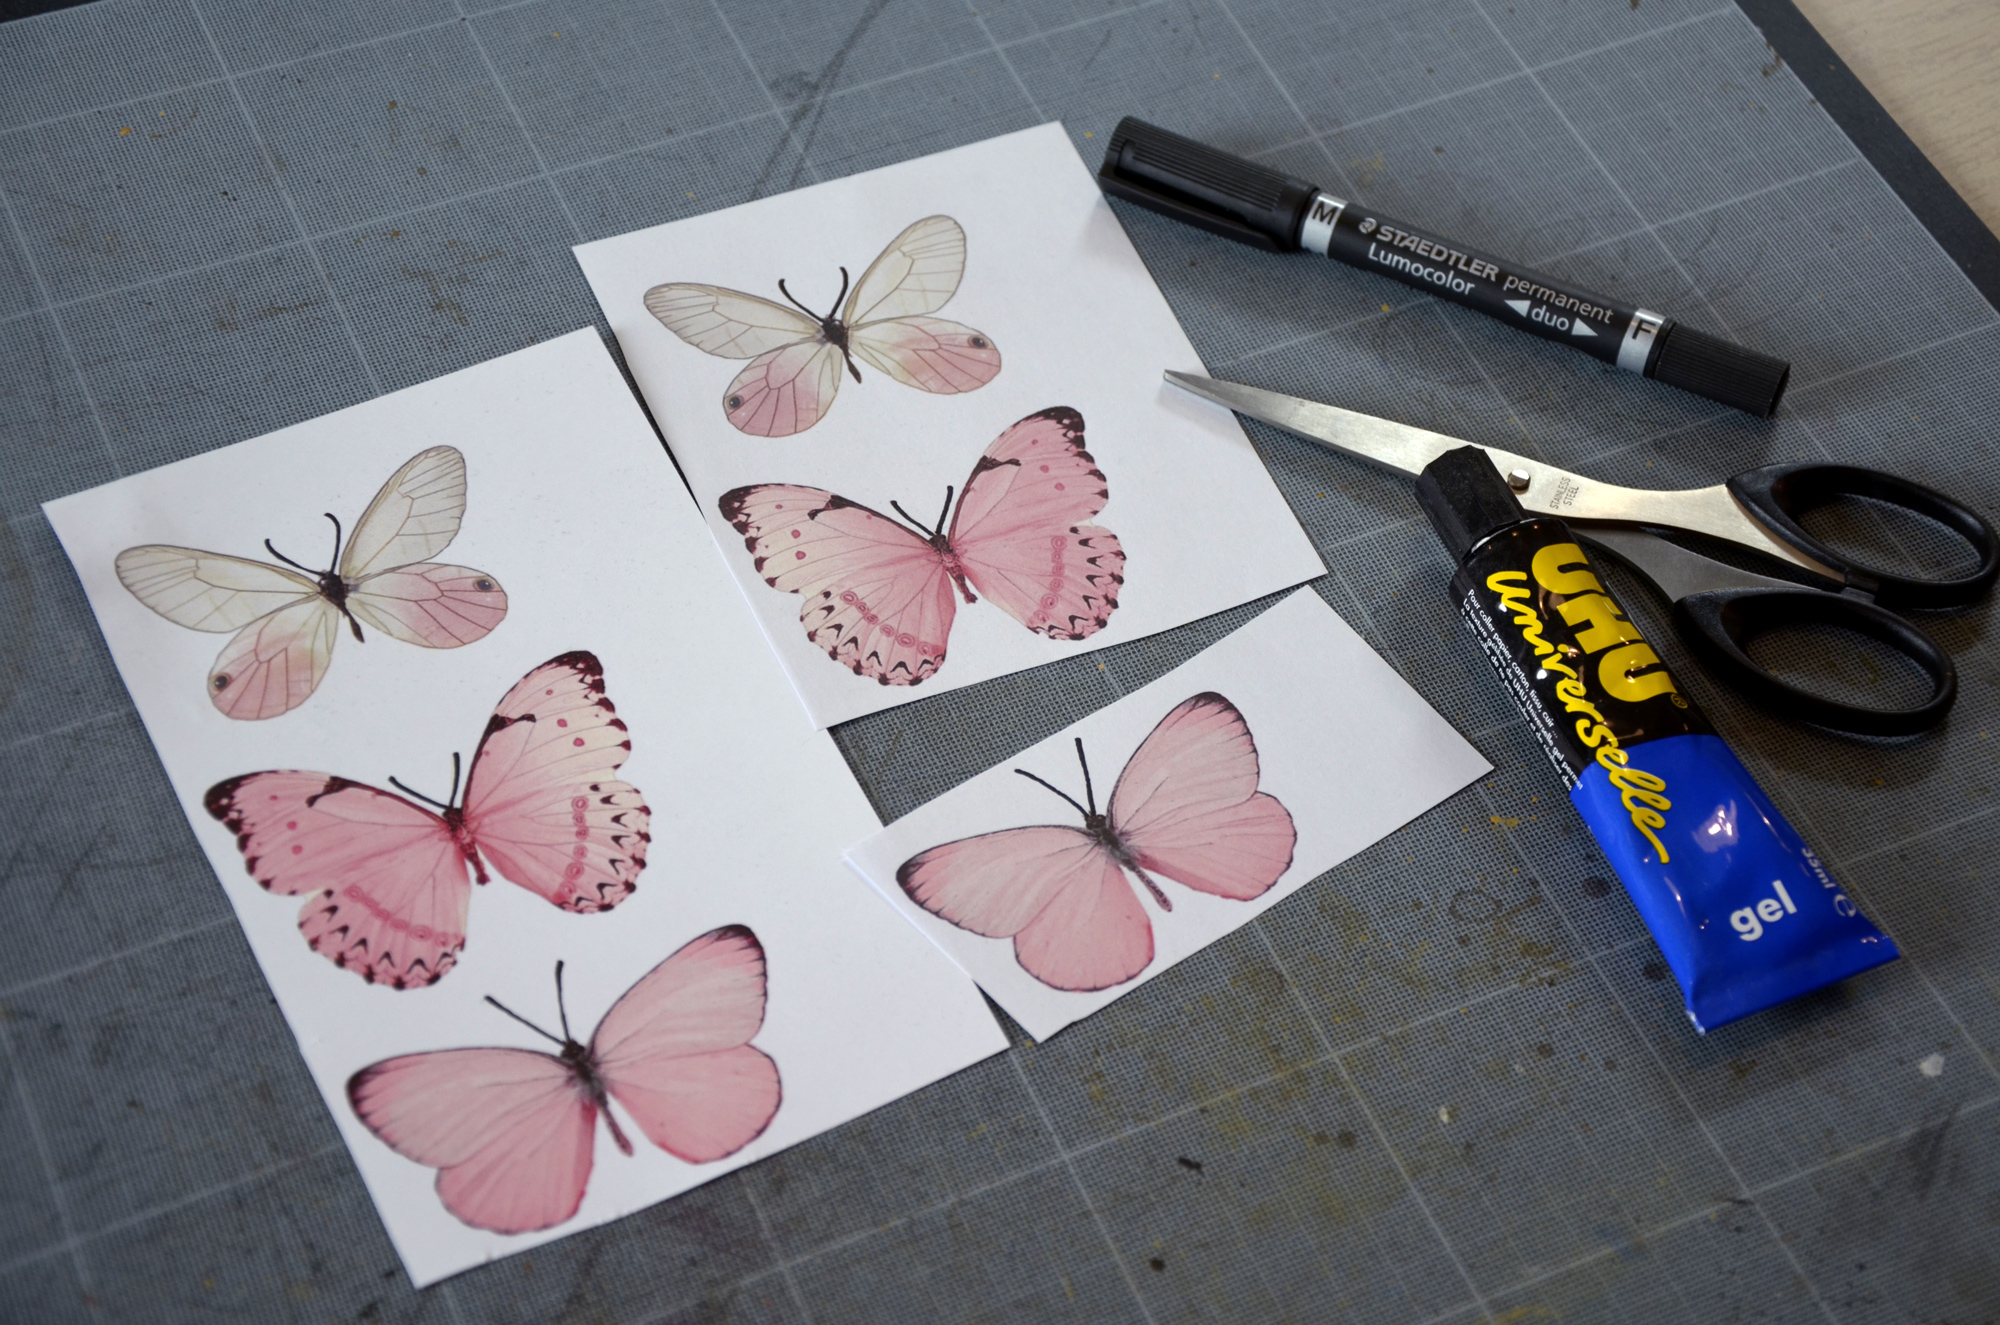
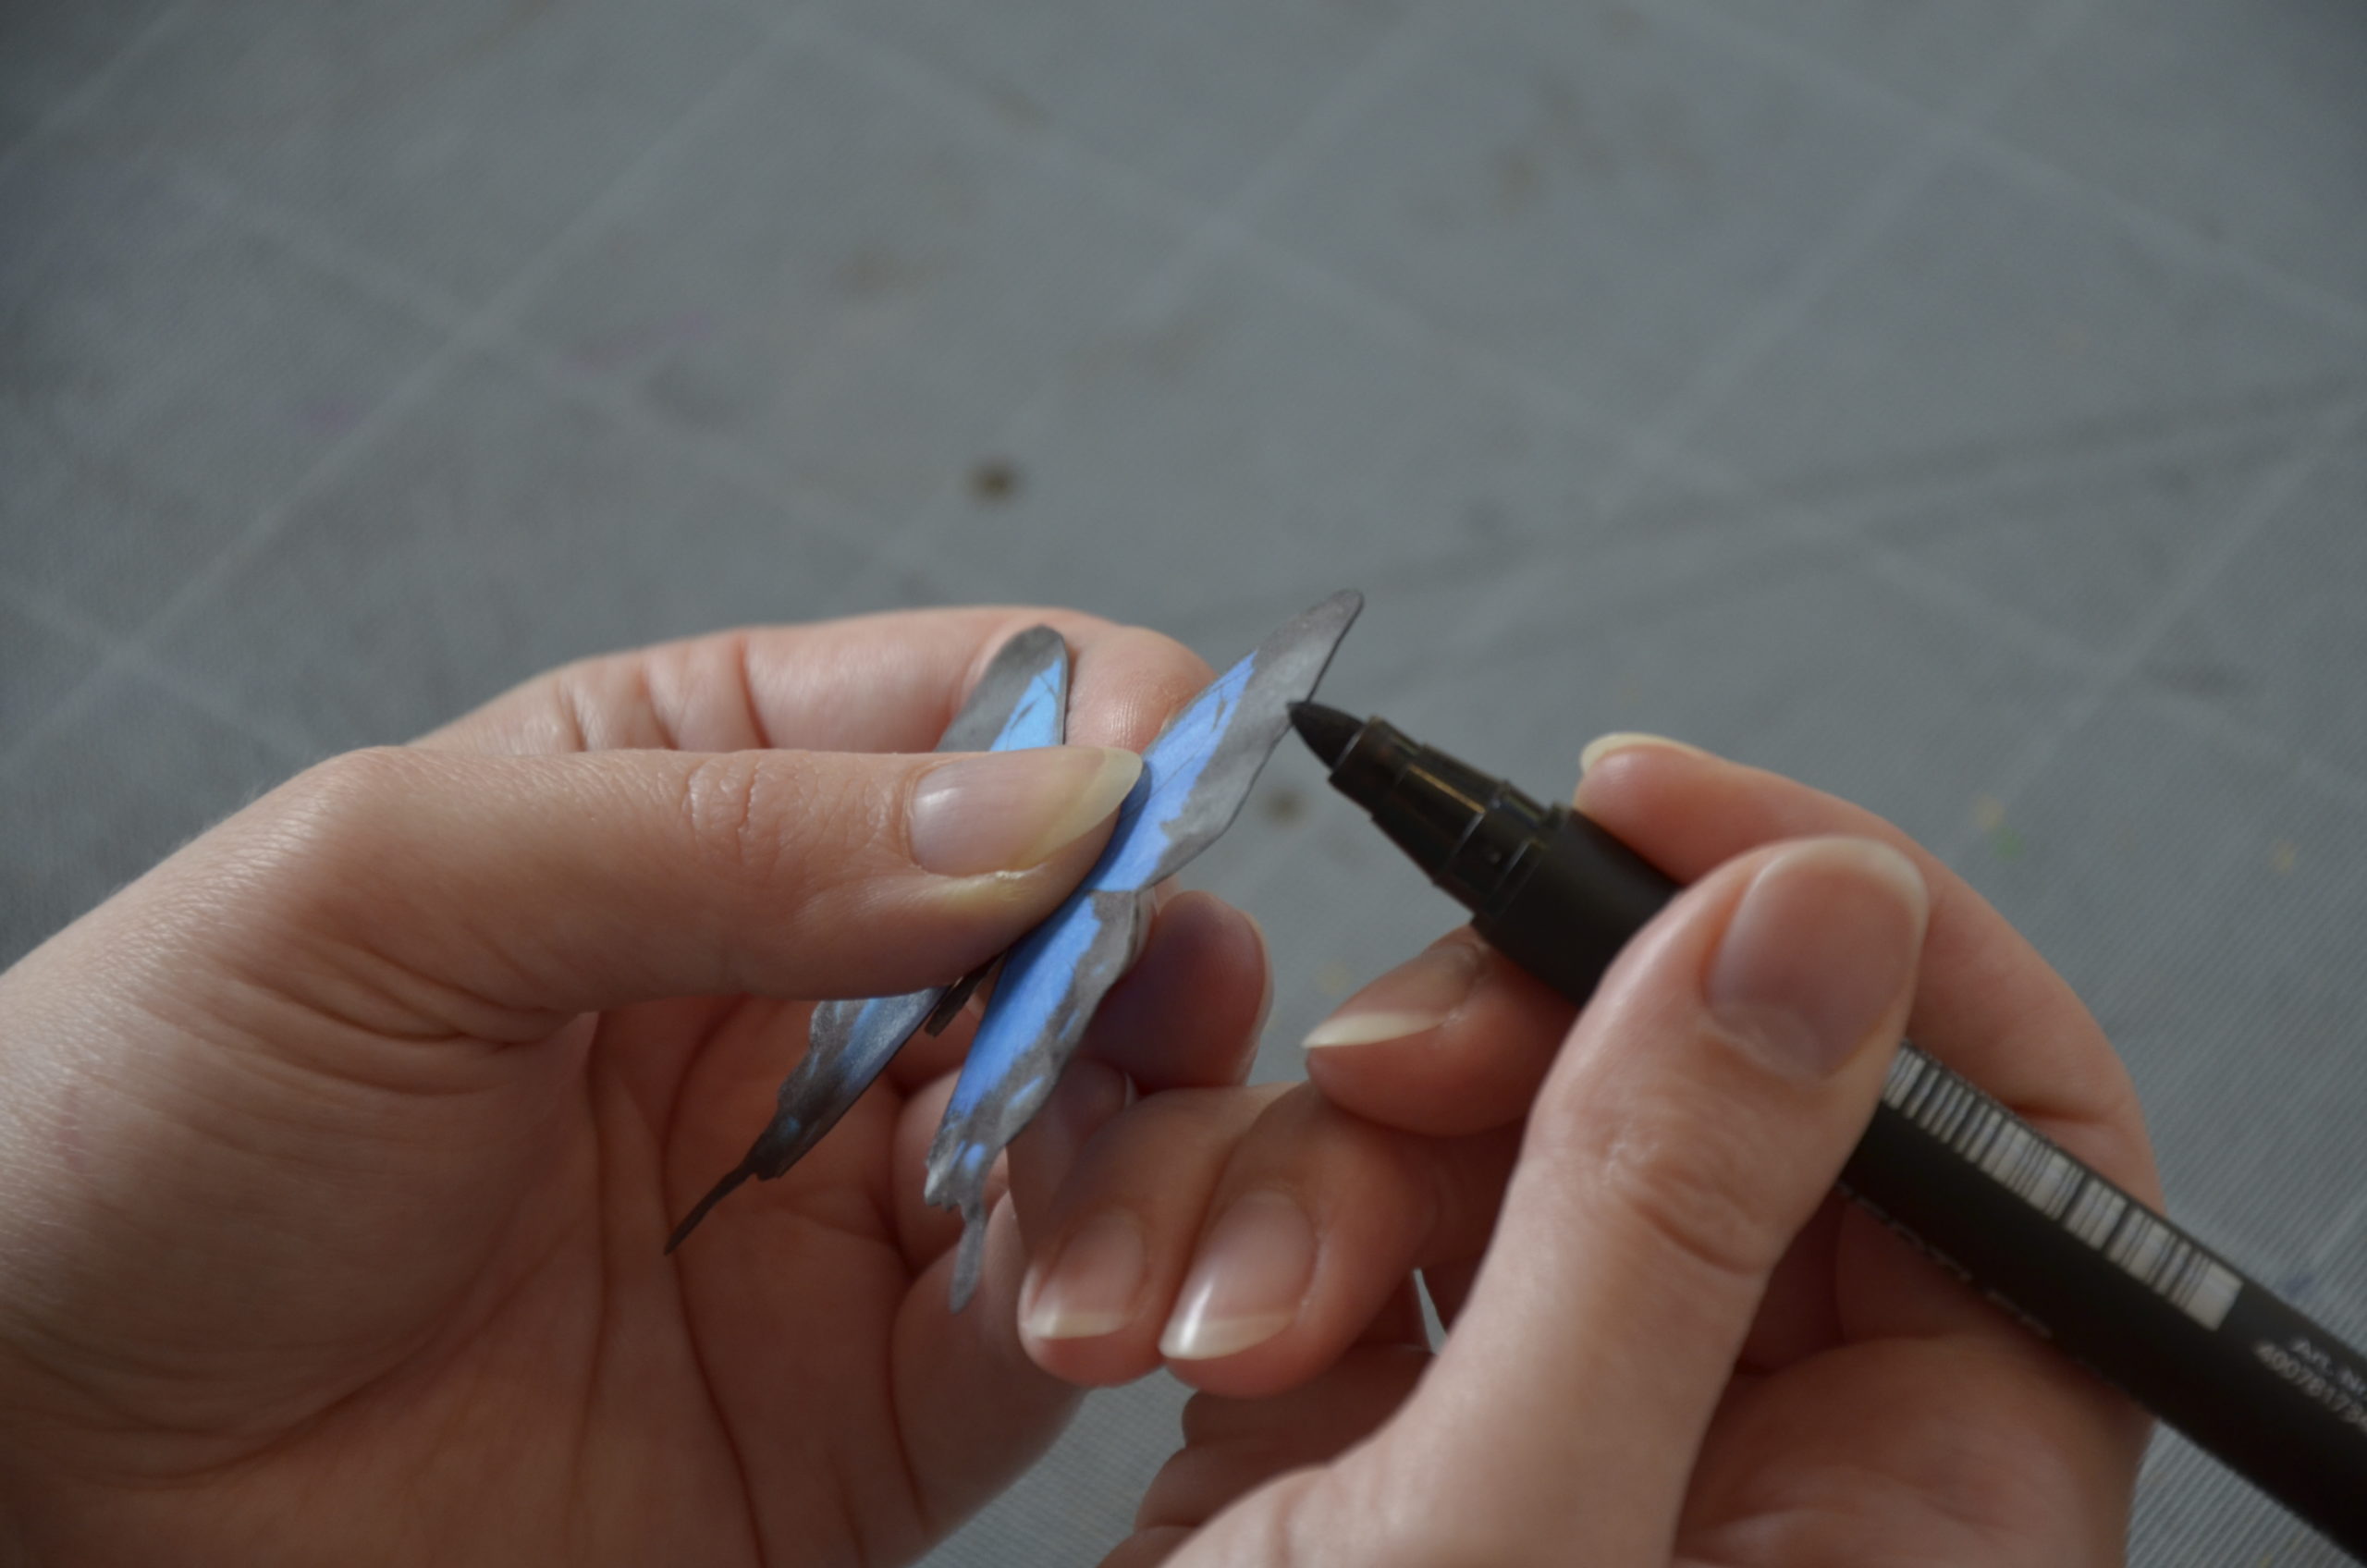
Cut out your 2 prints, then glue the front and back back to back. You can cut slightly if you see gaps between your two glued papers.
If your butterfly model has black wingtips, run a marker on the edge.
For a shinier finish, you can apply a little varnish to your butterfly.
You can now bend your butterfly and orient the wings as you wish. Use a little white Patafix to fix it to the wall, on objects… where you want!
Vials and potions
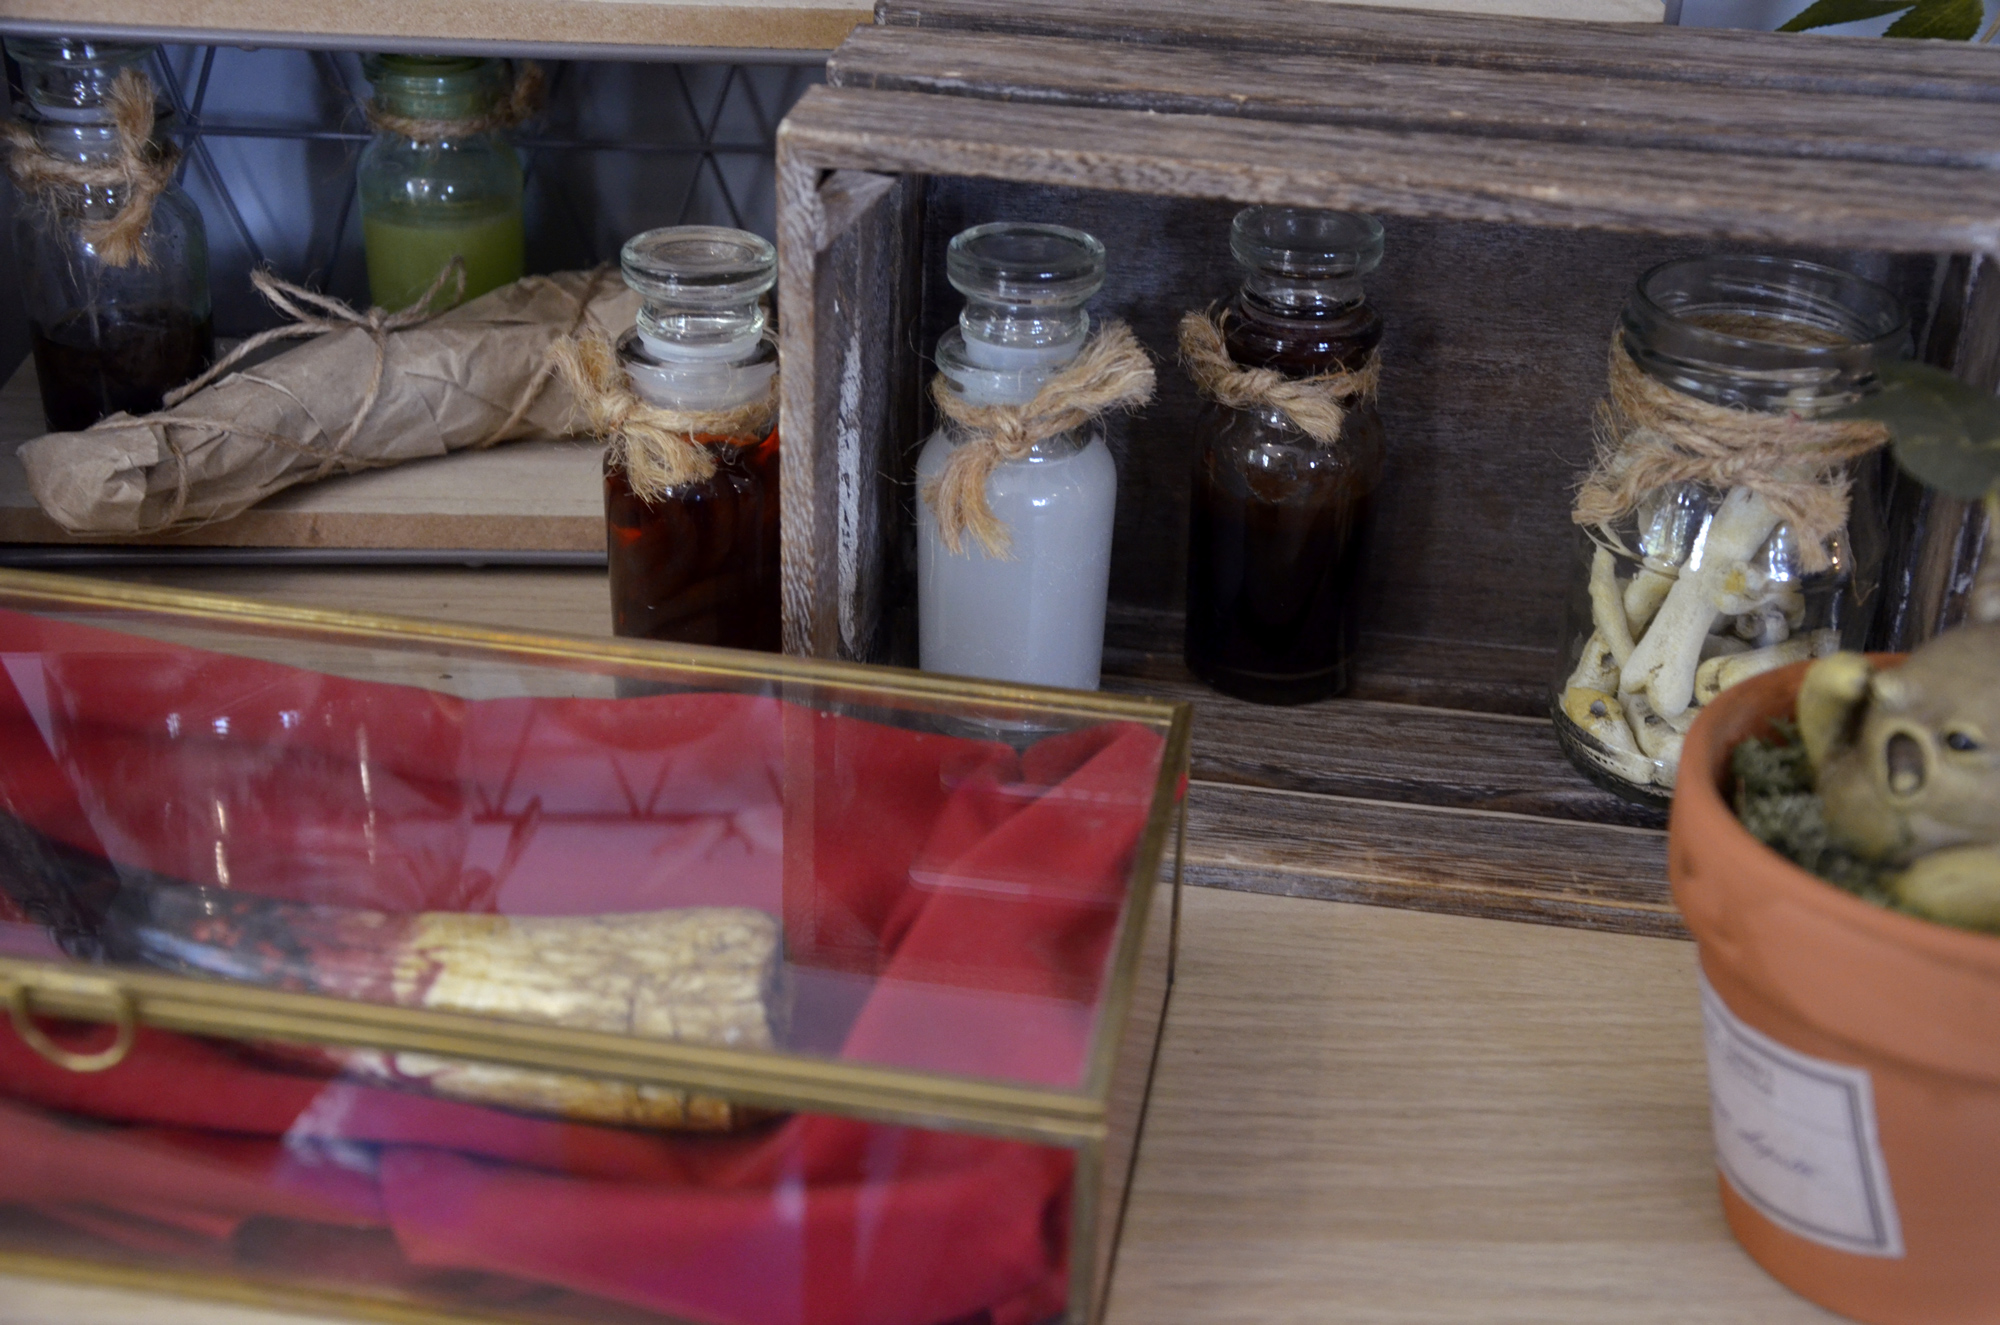
Equip yourself with a few empty vials or jars to create your own potions!
Here I offer you some examples of the renderings that I prefer, with the necessary equipment to achieve them.
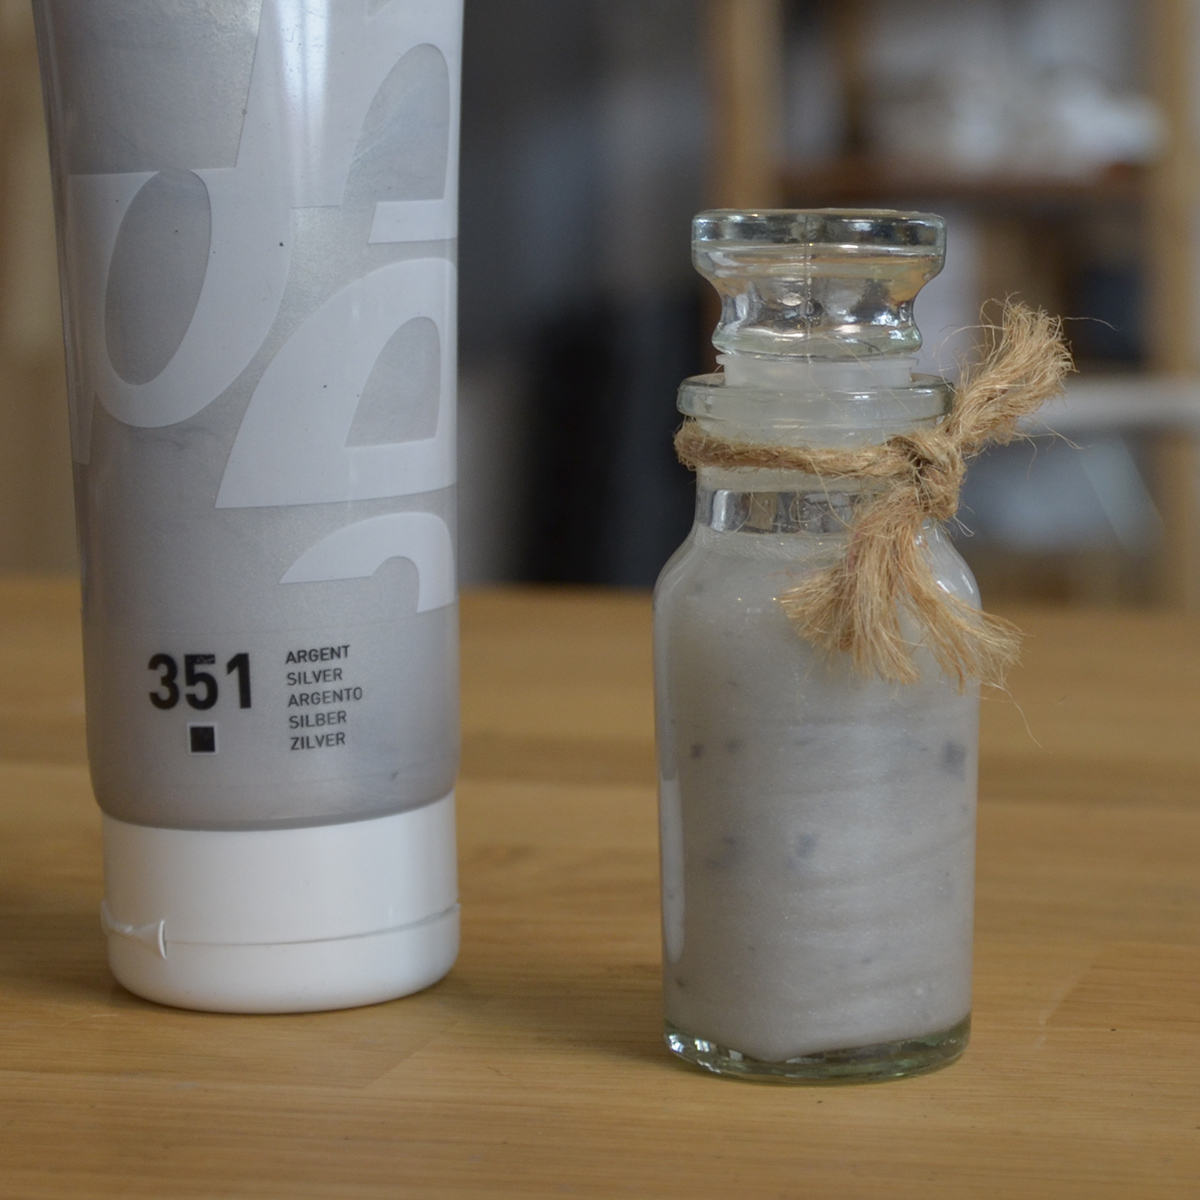
Pébéo metallic paint (n°351) and water
By shaking, we have a rather nice shiny swirling effect. Small downside, if you leave the vial without shaking it for a very long time, the paint inside tends to form small lumps. It is surely possible to replace the paint with iridescent pigments for a more durable finish. Personally, I’ve had this one for at least 3 years, it still leaves a good margin.
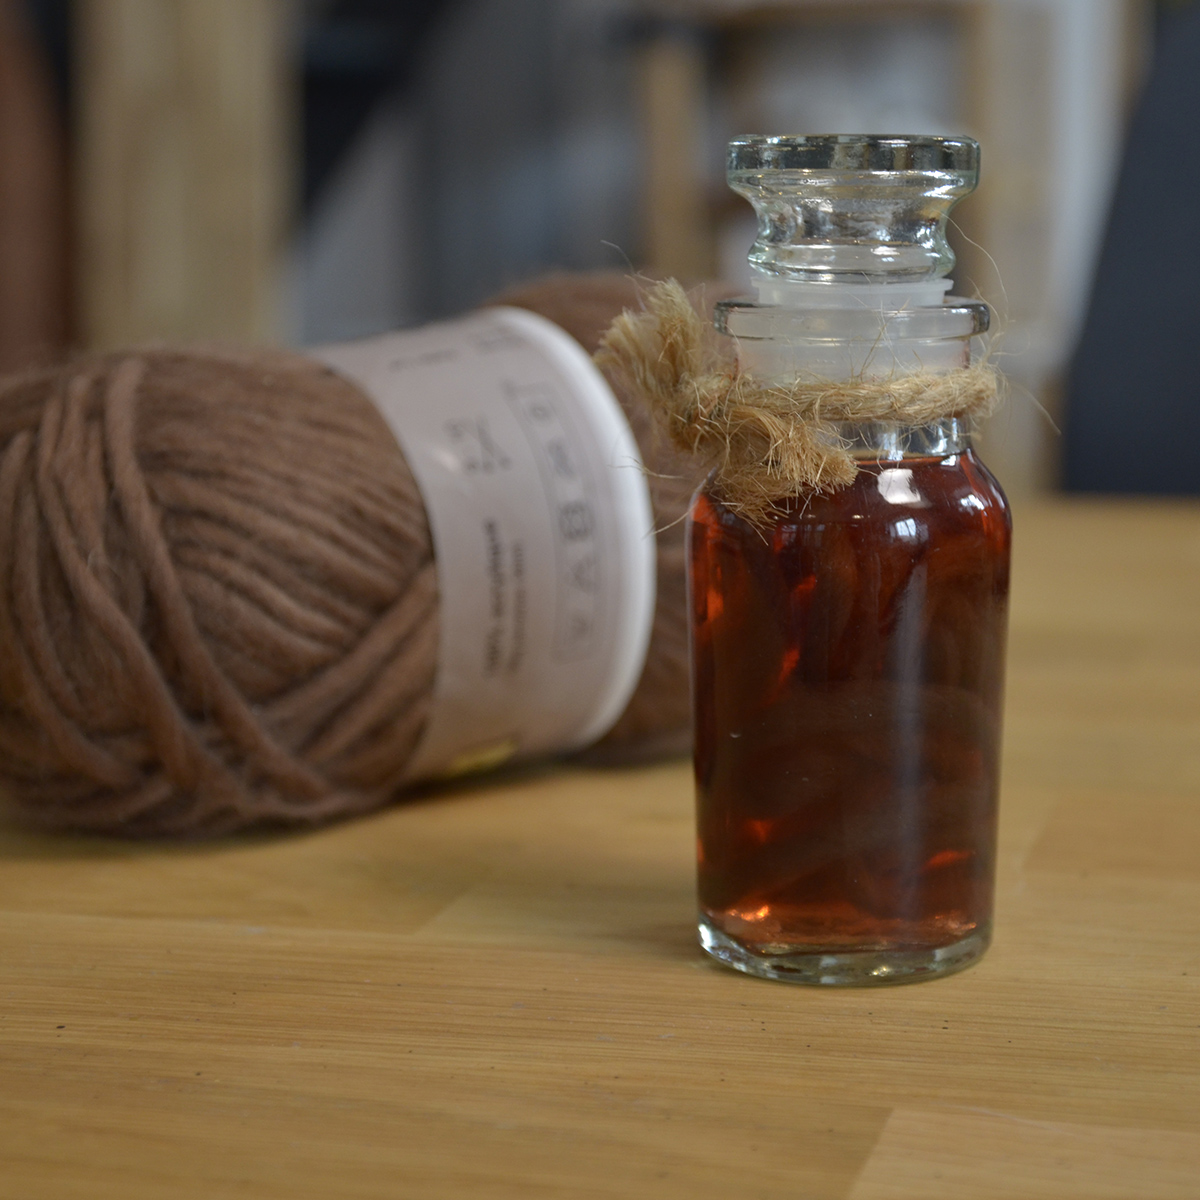
Wool, syrup and water
One of my favorites, wool dipped in colored liquid really looks like you have big, yucky worms in formalin. The syrup tends to change color slightly over time, here the grenadine syrup has turned a little yellow, which I find quite nice in the end. If you want to maintain an accurate color, opt for ink instead.
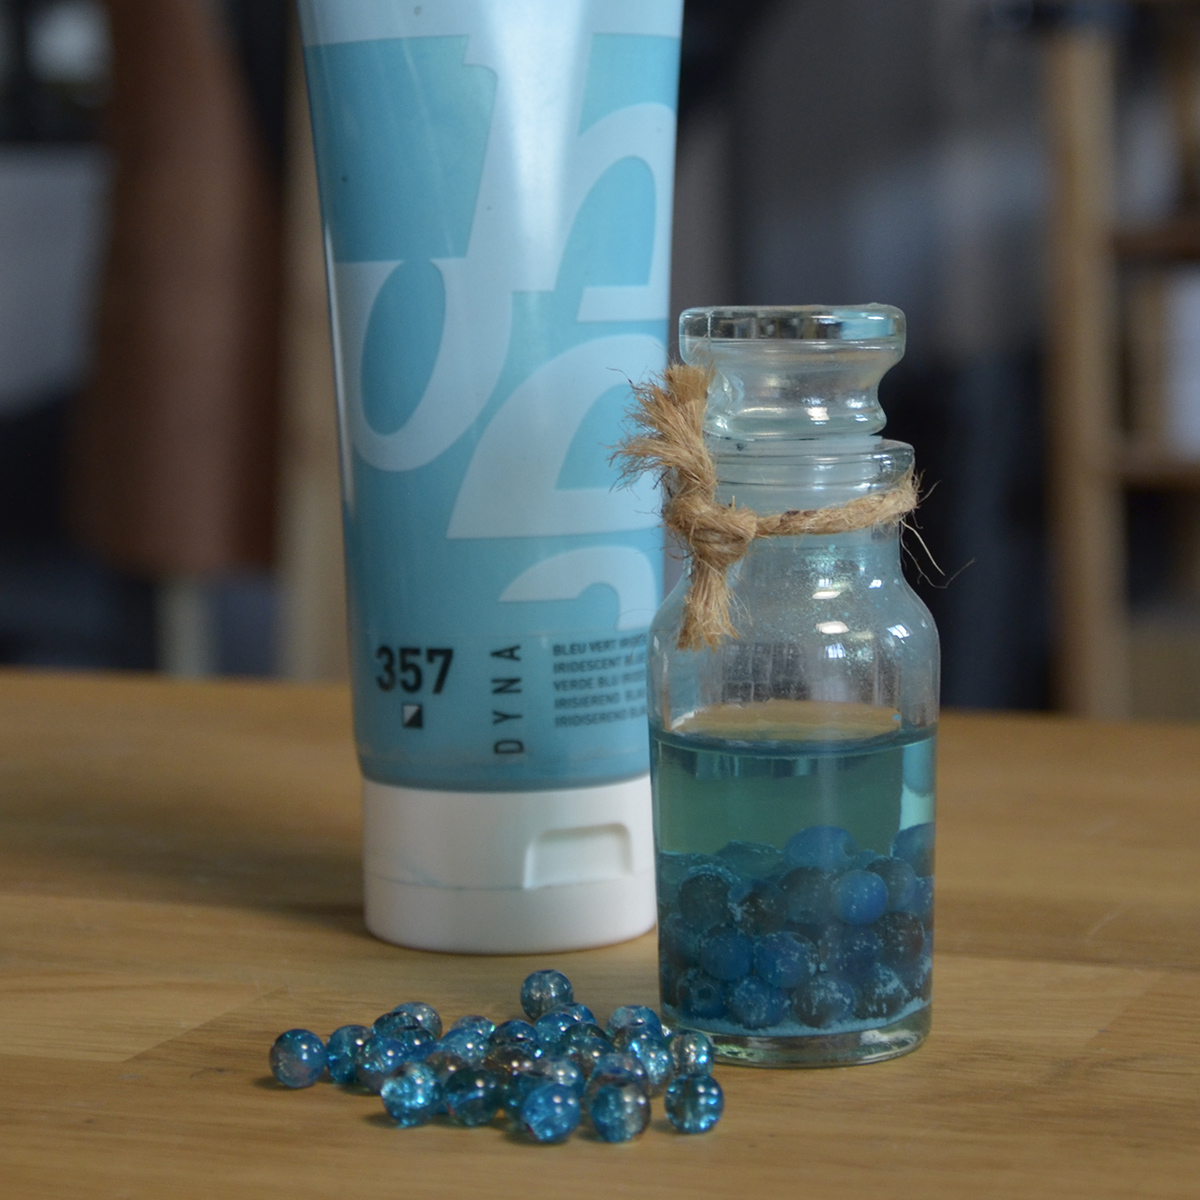
Iridescent blue Pébéo paint (n°357), pearls and water
I had blue beads available so I coordinated the color of the paint. The metallic pigments form a deposit with the pearls, if you don’t want this effect, use ink, food coloring or syrup instead of paint.

Cocoa, honey, grenadine (or cherry) syrup and a little water
This is basically a recipe for making edible fake blood. It’s pretty easy to make with ingredients you can find in your kitchen. Depending on the concentration of each ingredient, you can achieve a result that is rather red (syrup) or brown (cocoa), quite dark or lighter (if diluted with more honey and water). Depending on whether honey or water is used, the mixture will be more or less viscous or liquid.
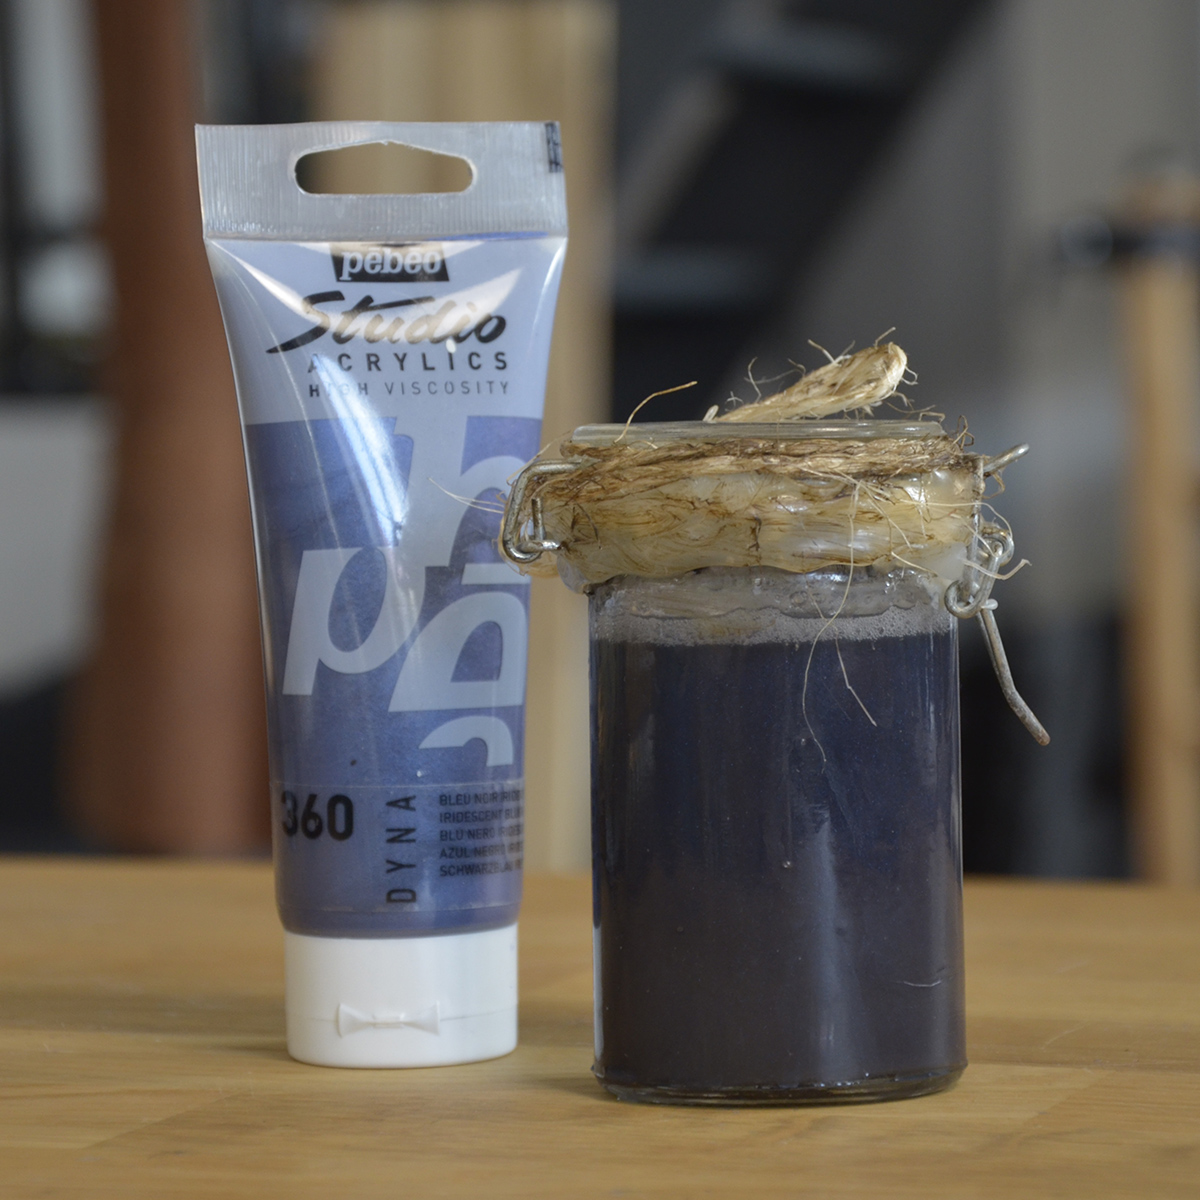
Pébéo iridescent black blue paint (n°360) and water
This paint was a nice surprise as the heavier pigments fall to the bottom of the vial leaving a whitish-grey liquid instead. By shaking the vial, the pigments mix again and the potion becomes iridescent black.
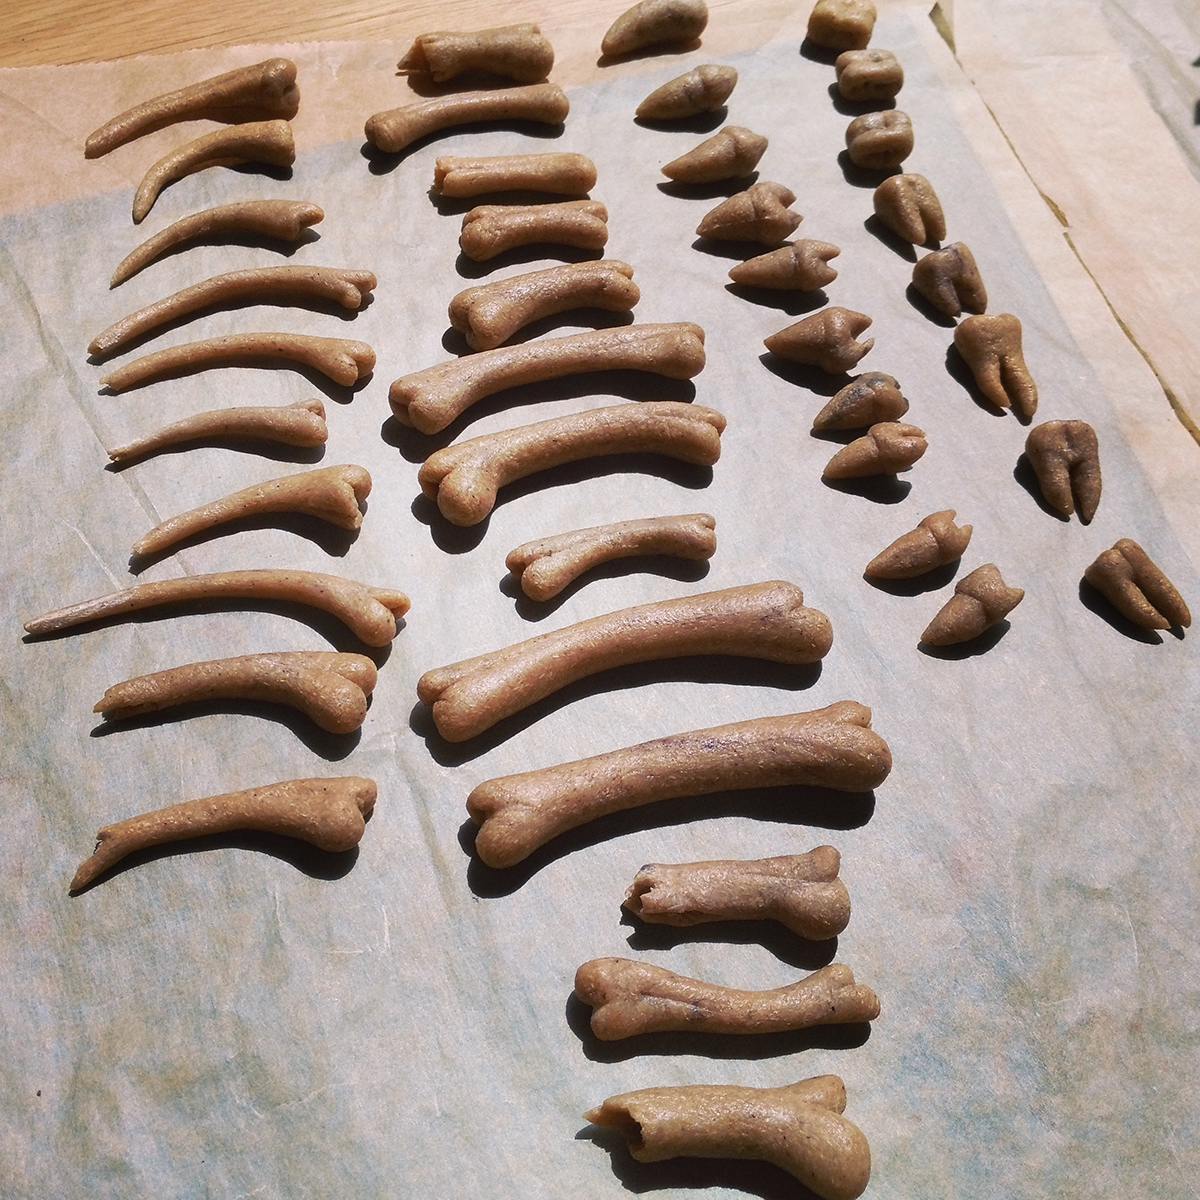

Worbla scraps and paint
You can also create small jars with feathers, dried plants and fruits, or even small bones. Here I carved ossicles and teeth with scraps of Worbla. A little white, ocher and brown paint and you’re done!
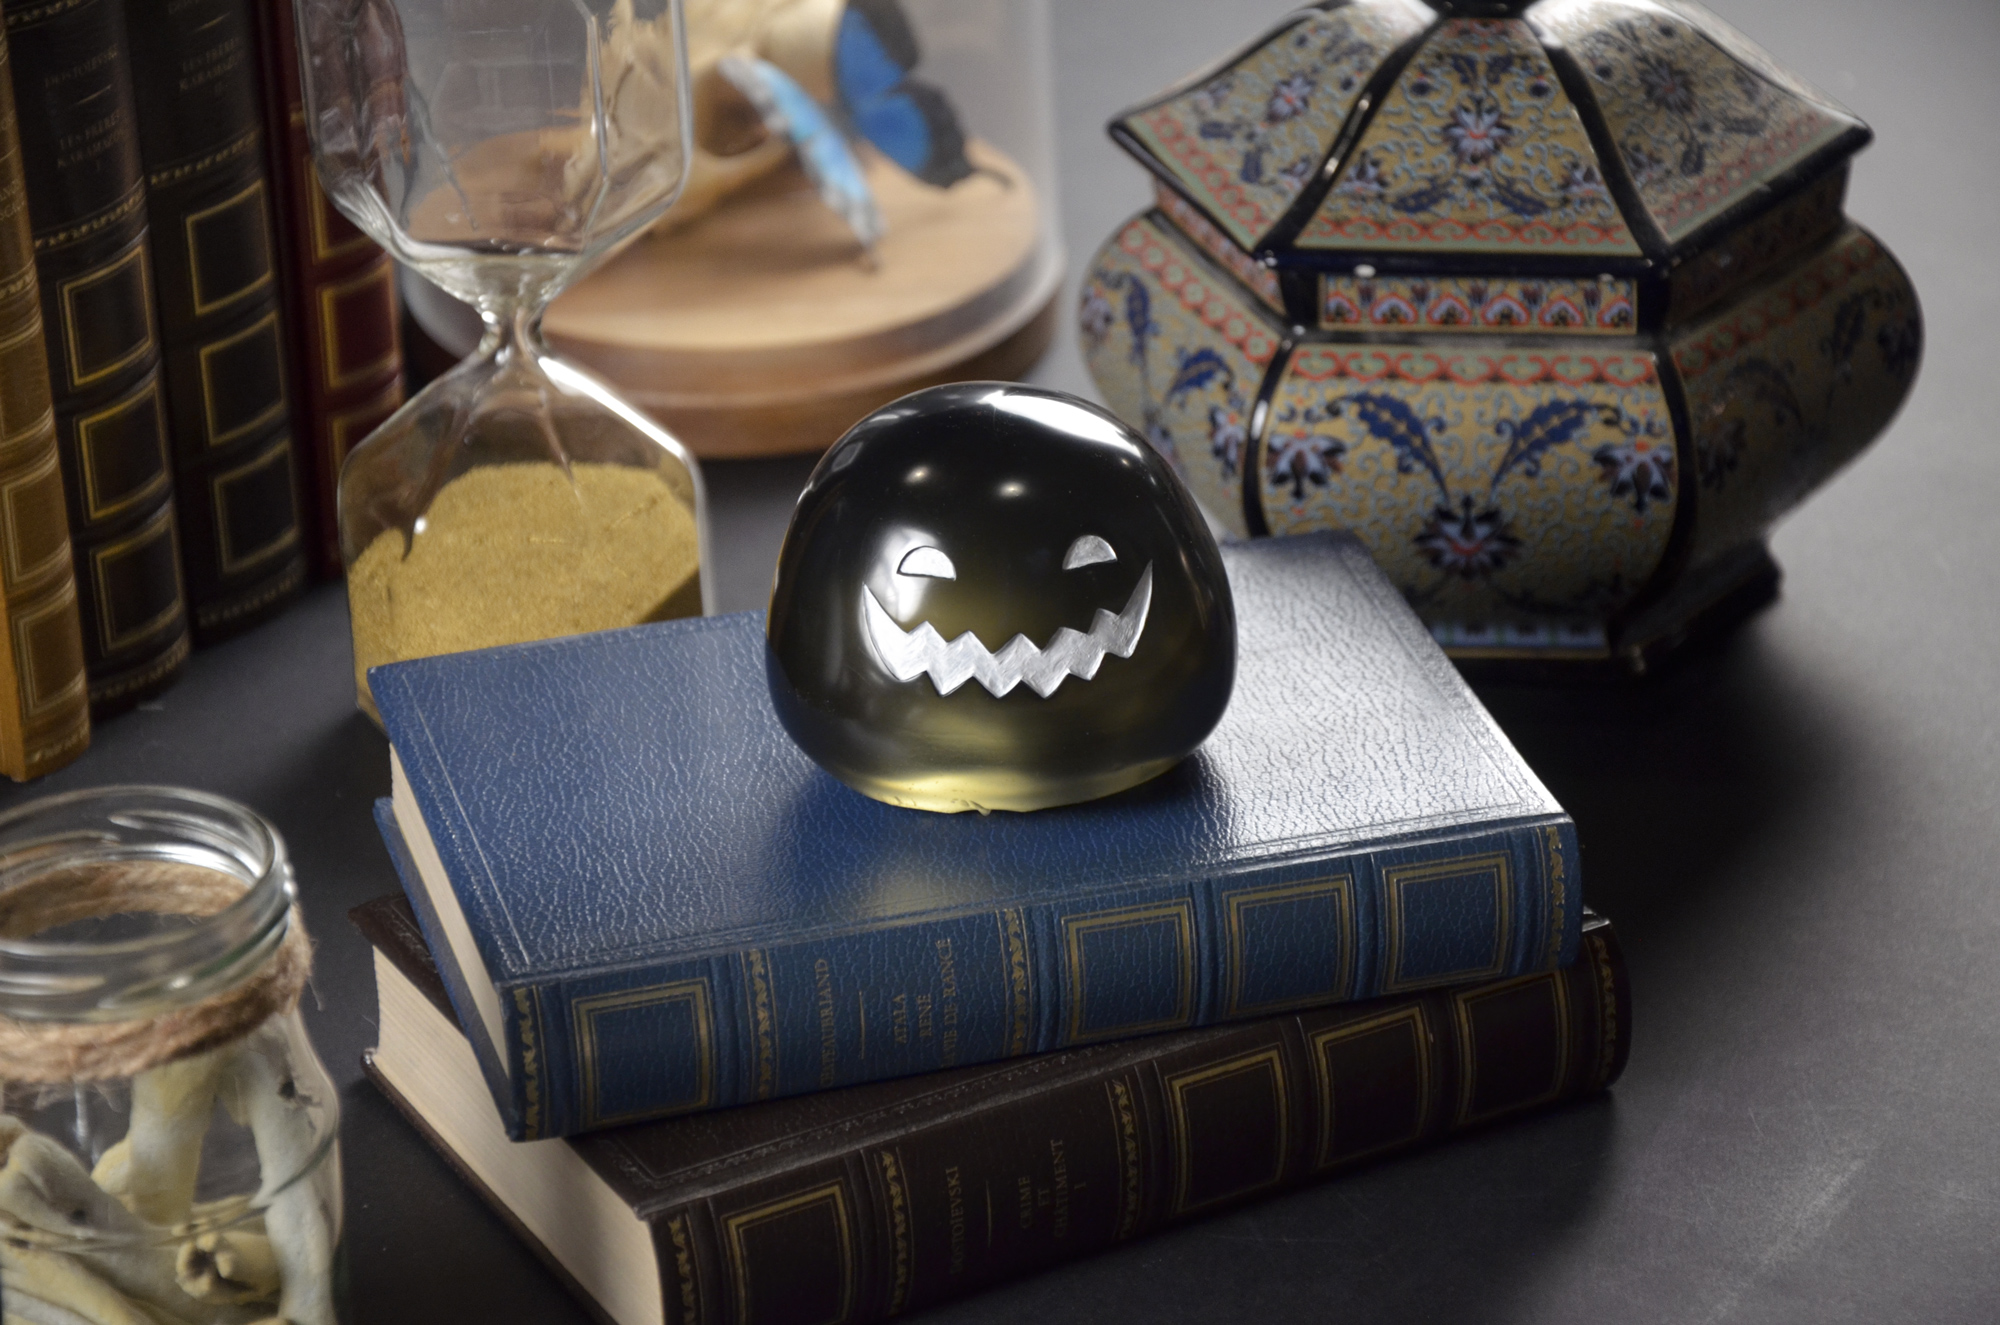
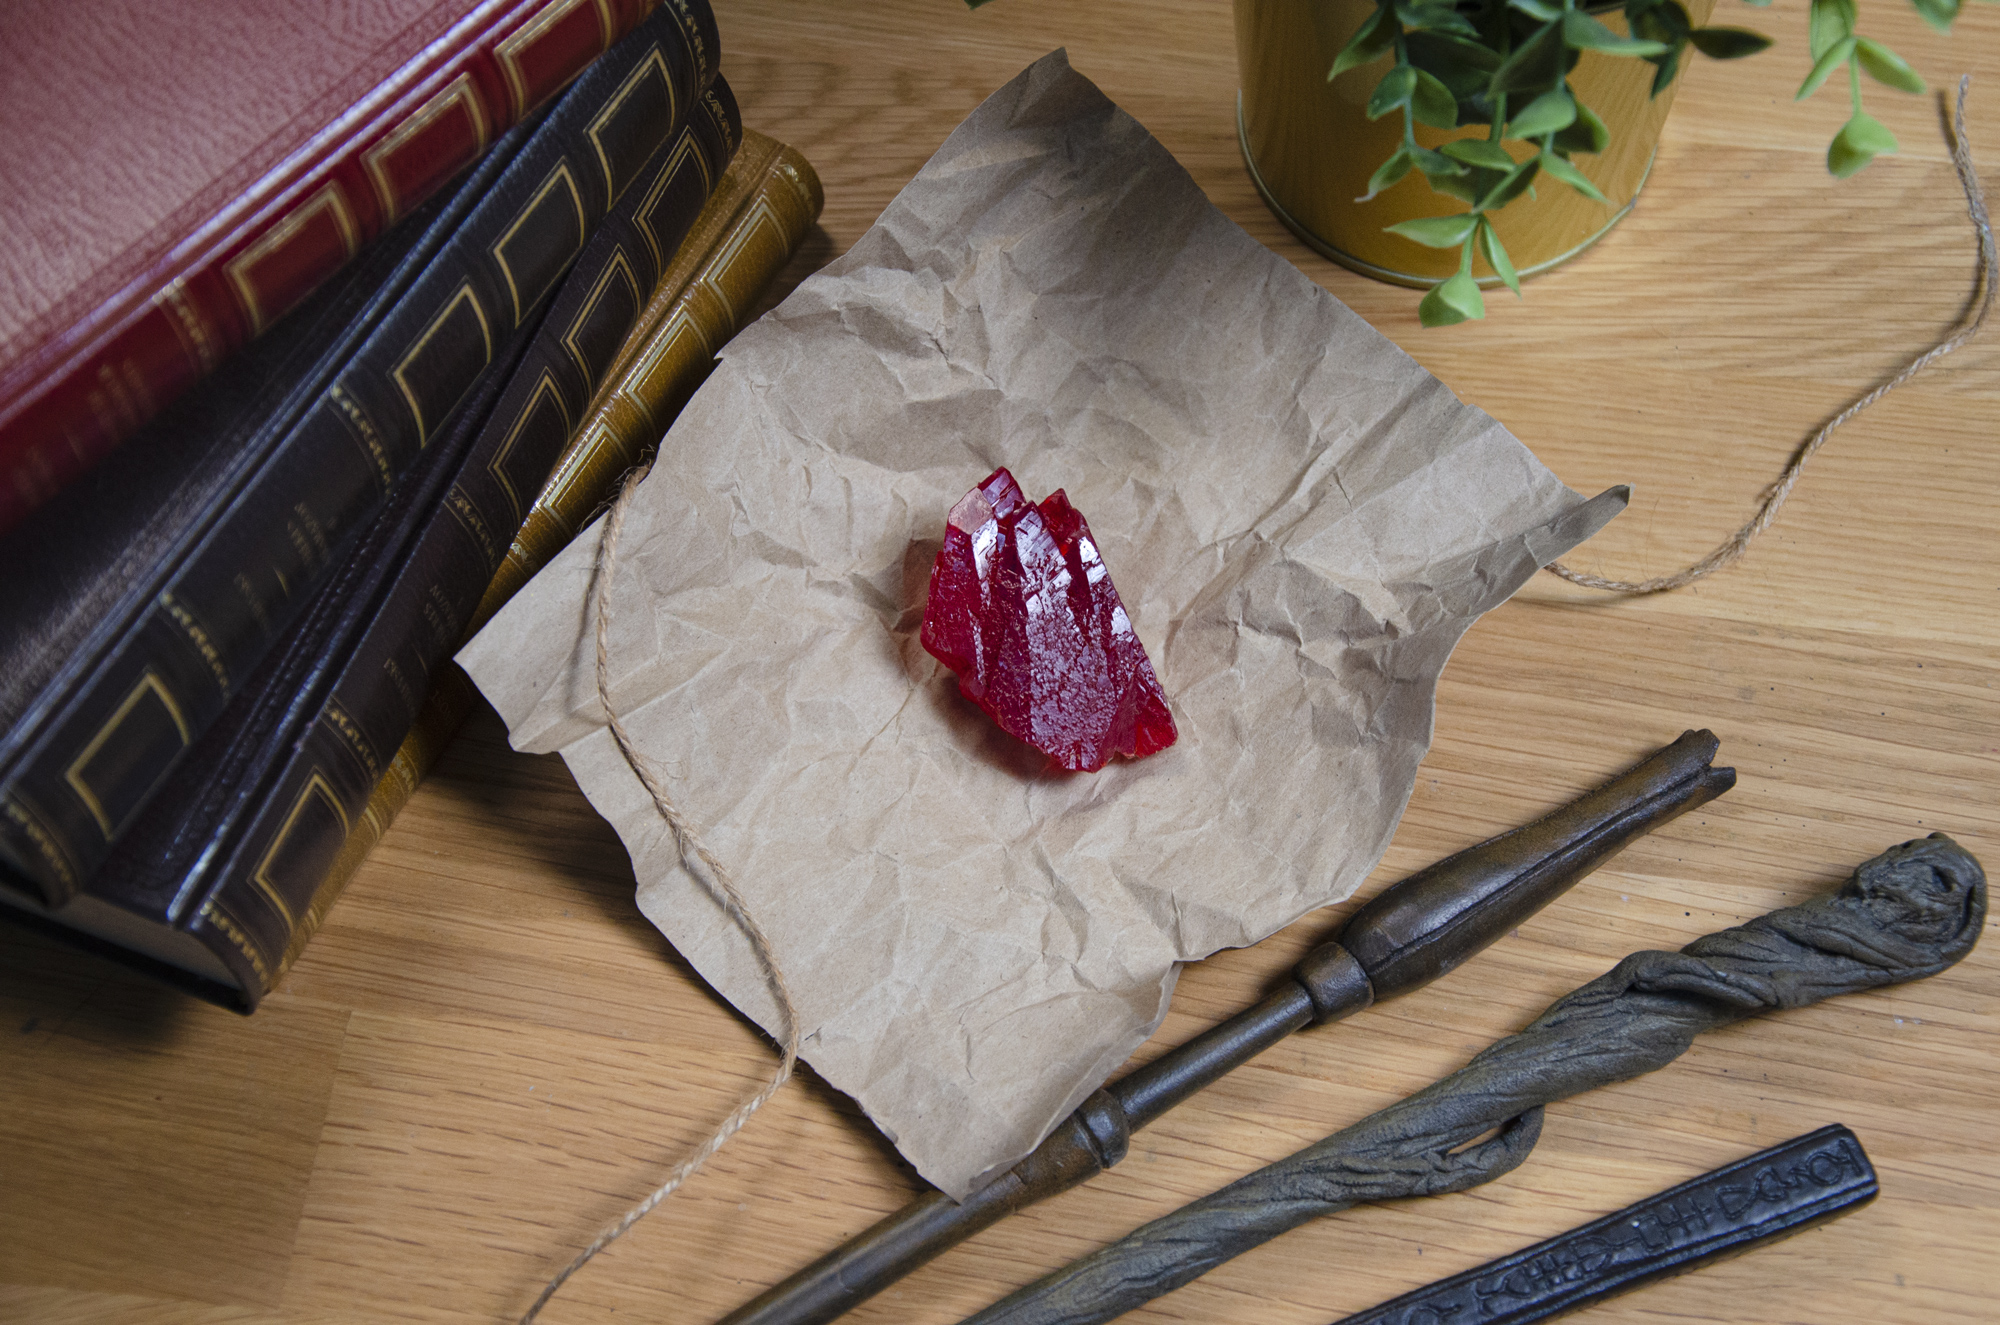
The alchemist’s corner
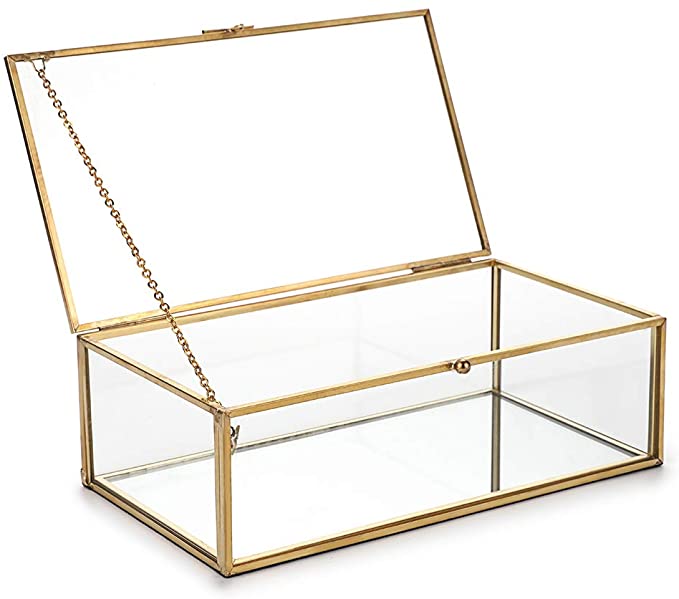
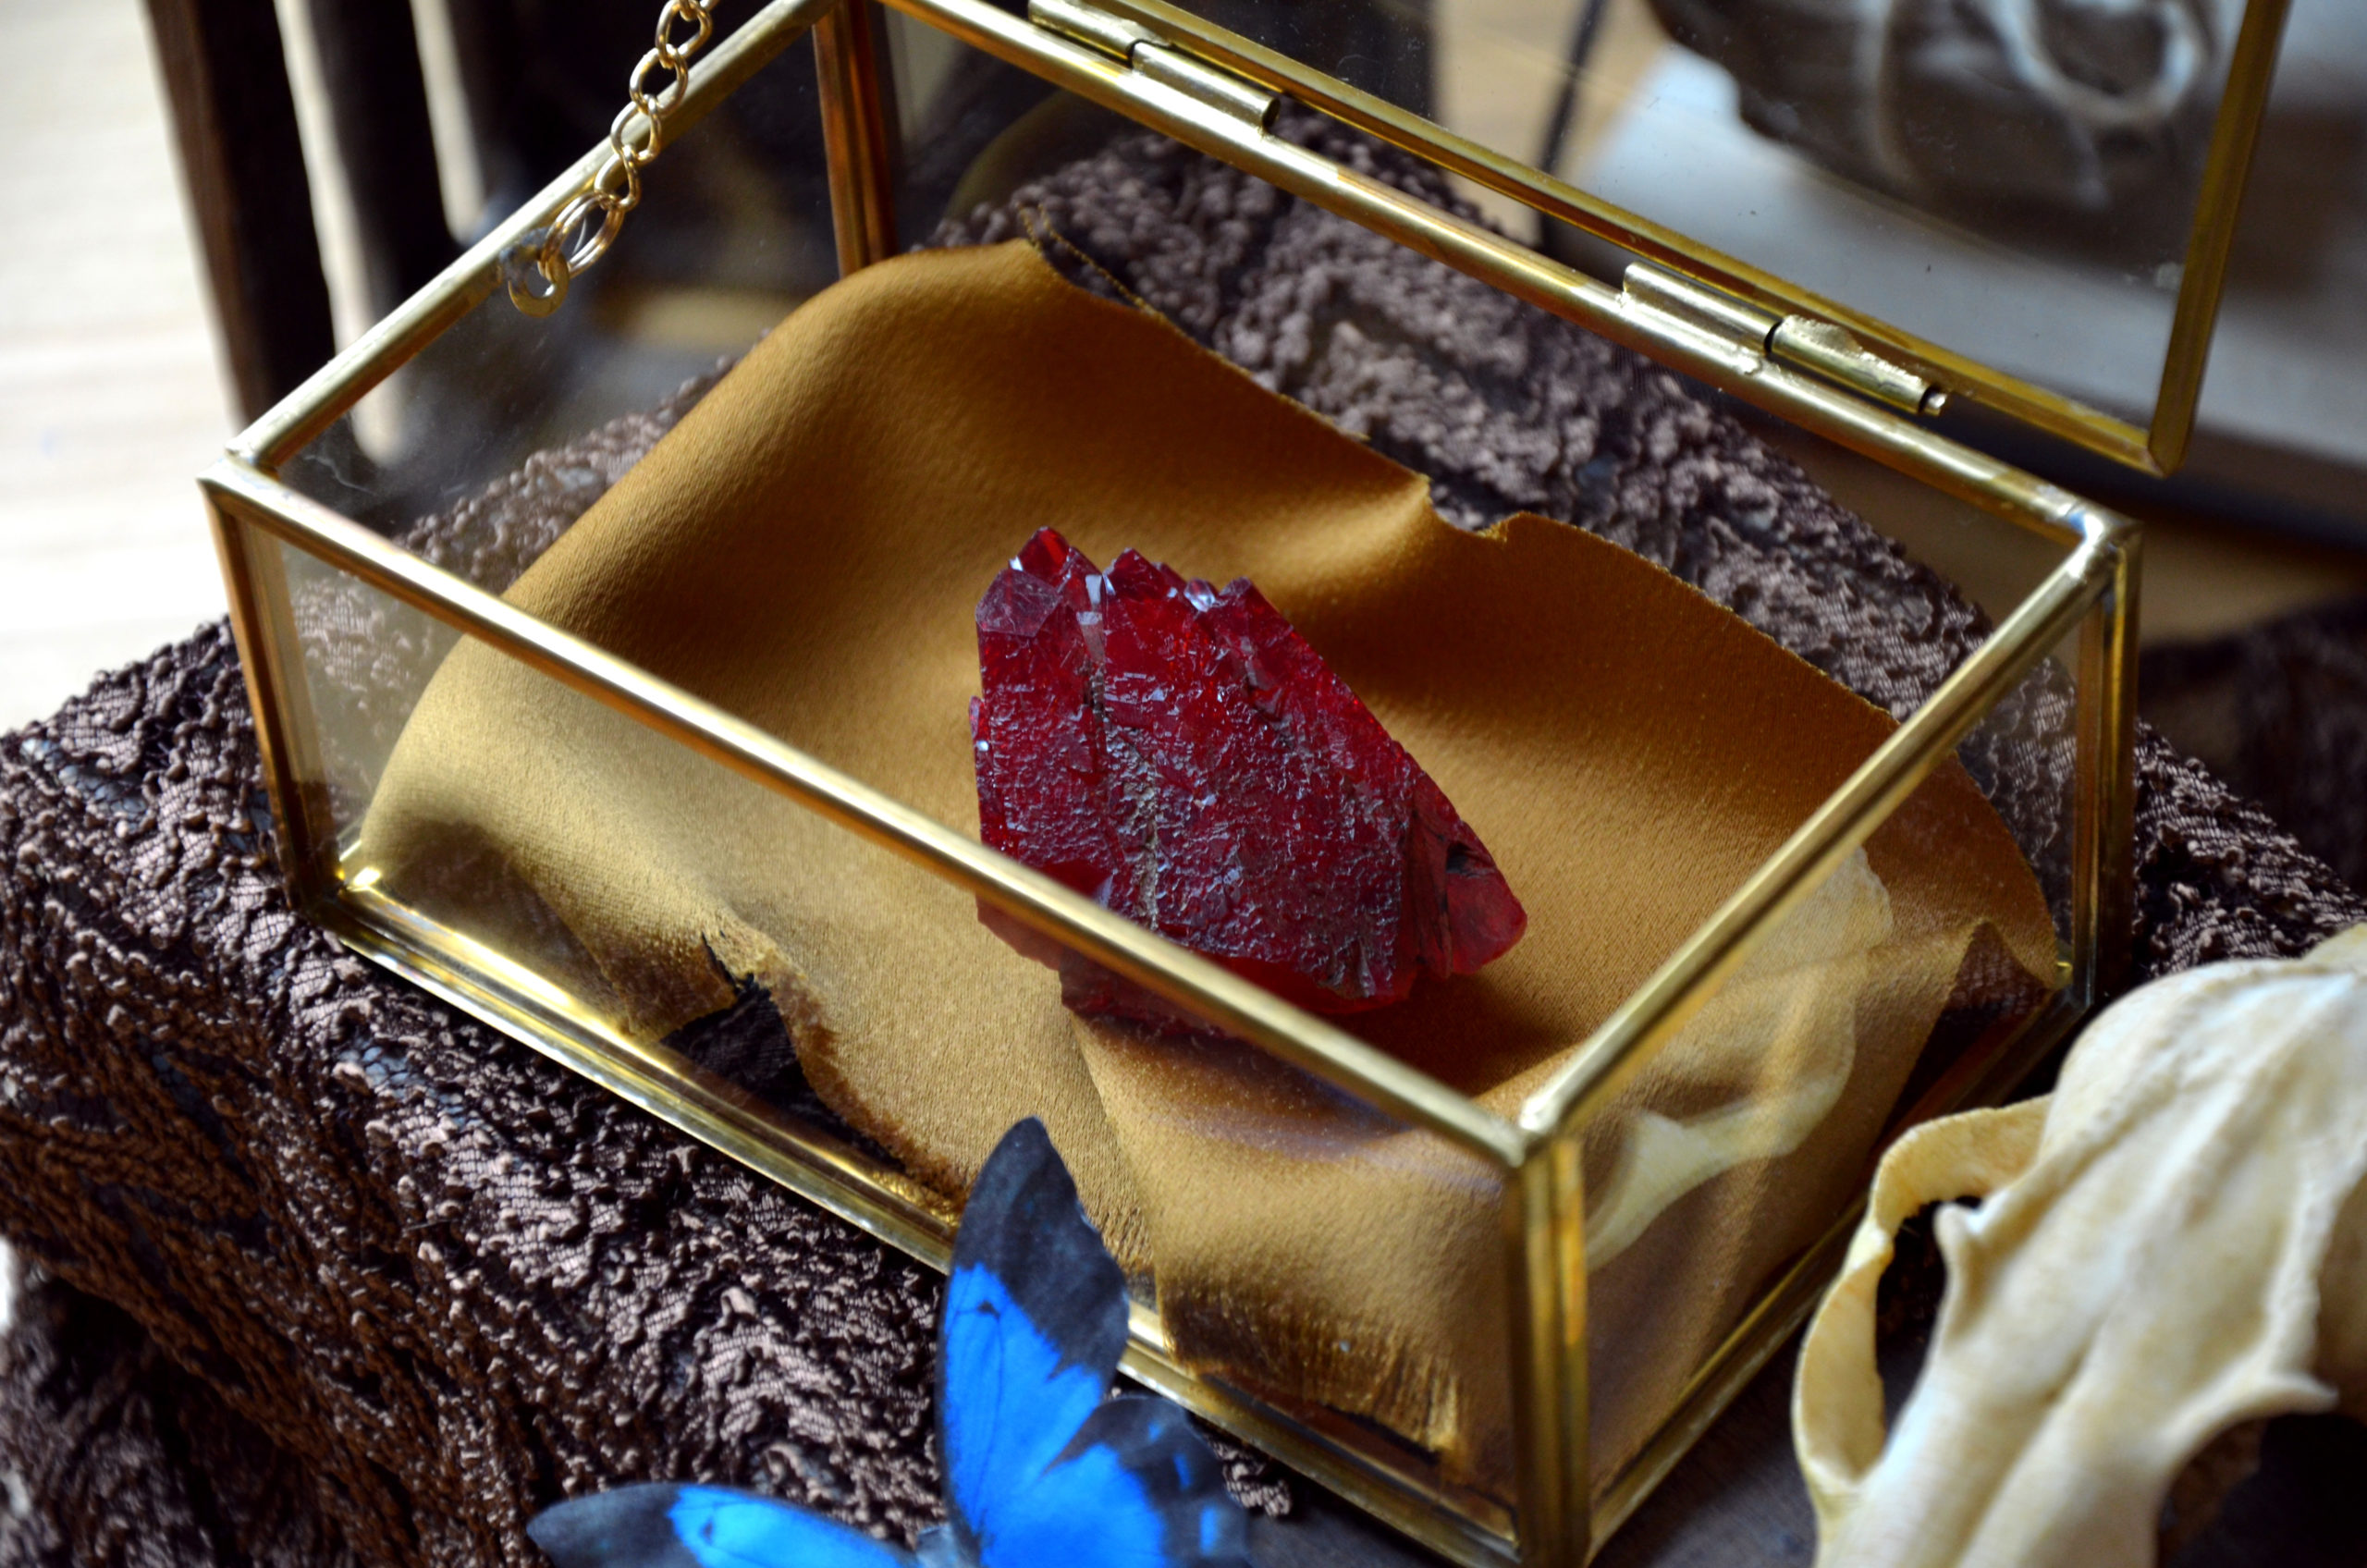
During a shopping trip, we unearthed a small glass and gold metal box. Embellished with a scrap of golden satin at the bottom, we obtain a pretty little case perfect for placing our philosopher’s stone! If you don’t have the motivation to go shopping everywhere, you can find similar ones on Amazon: https://amzn.to/3zc5tdH
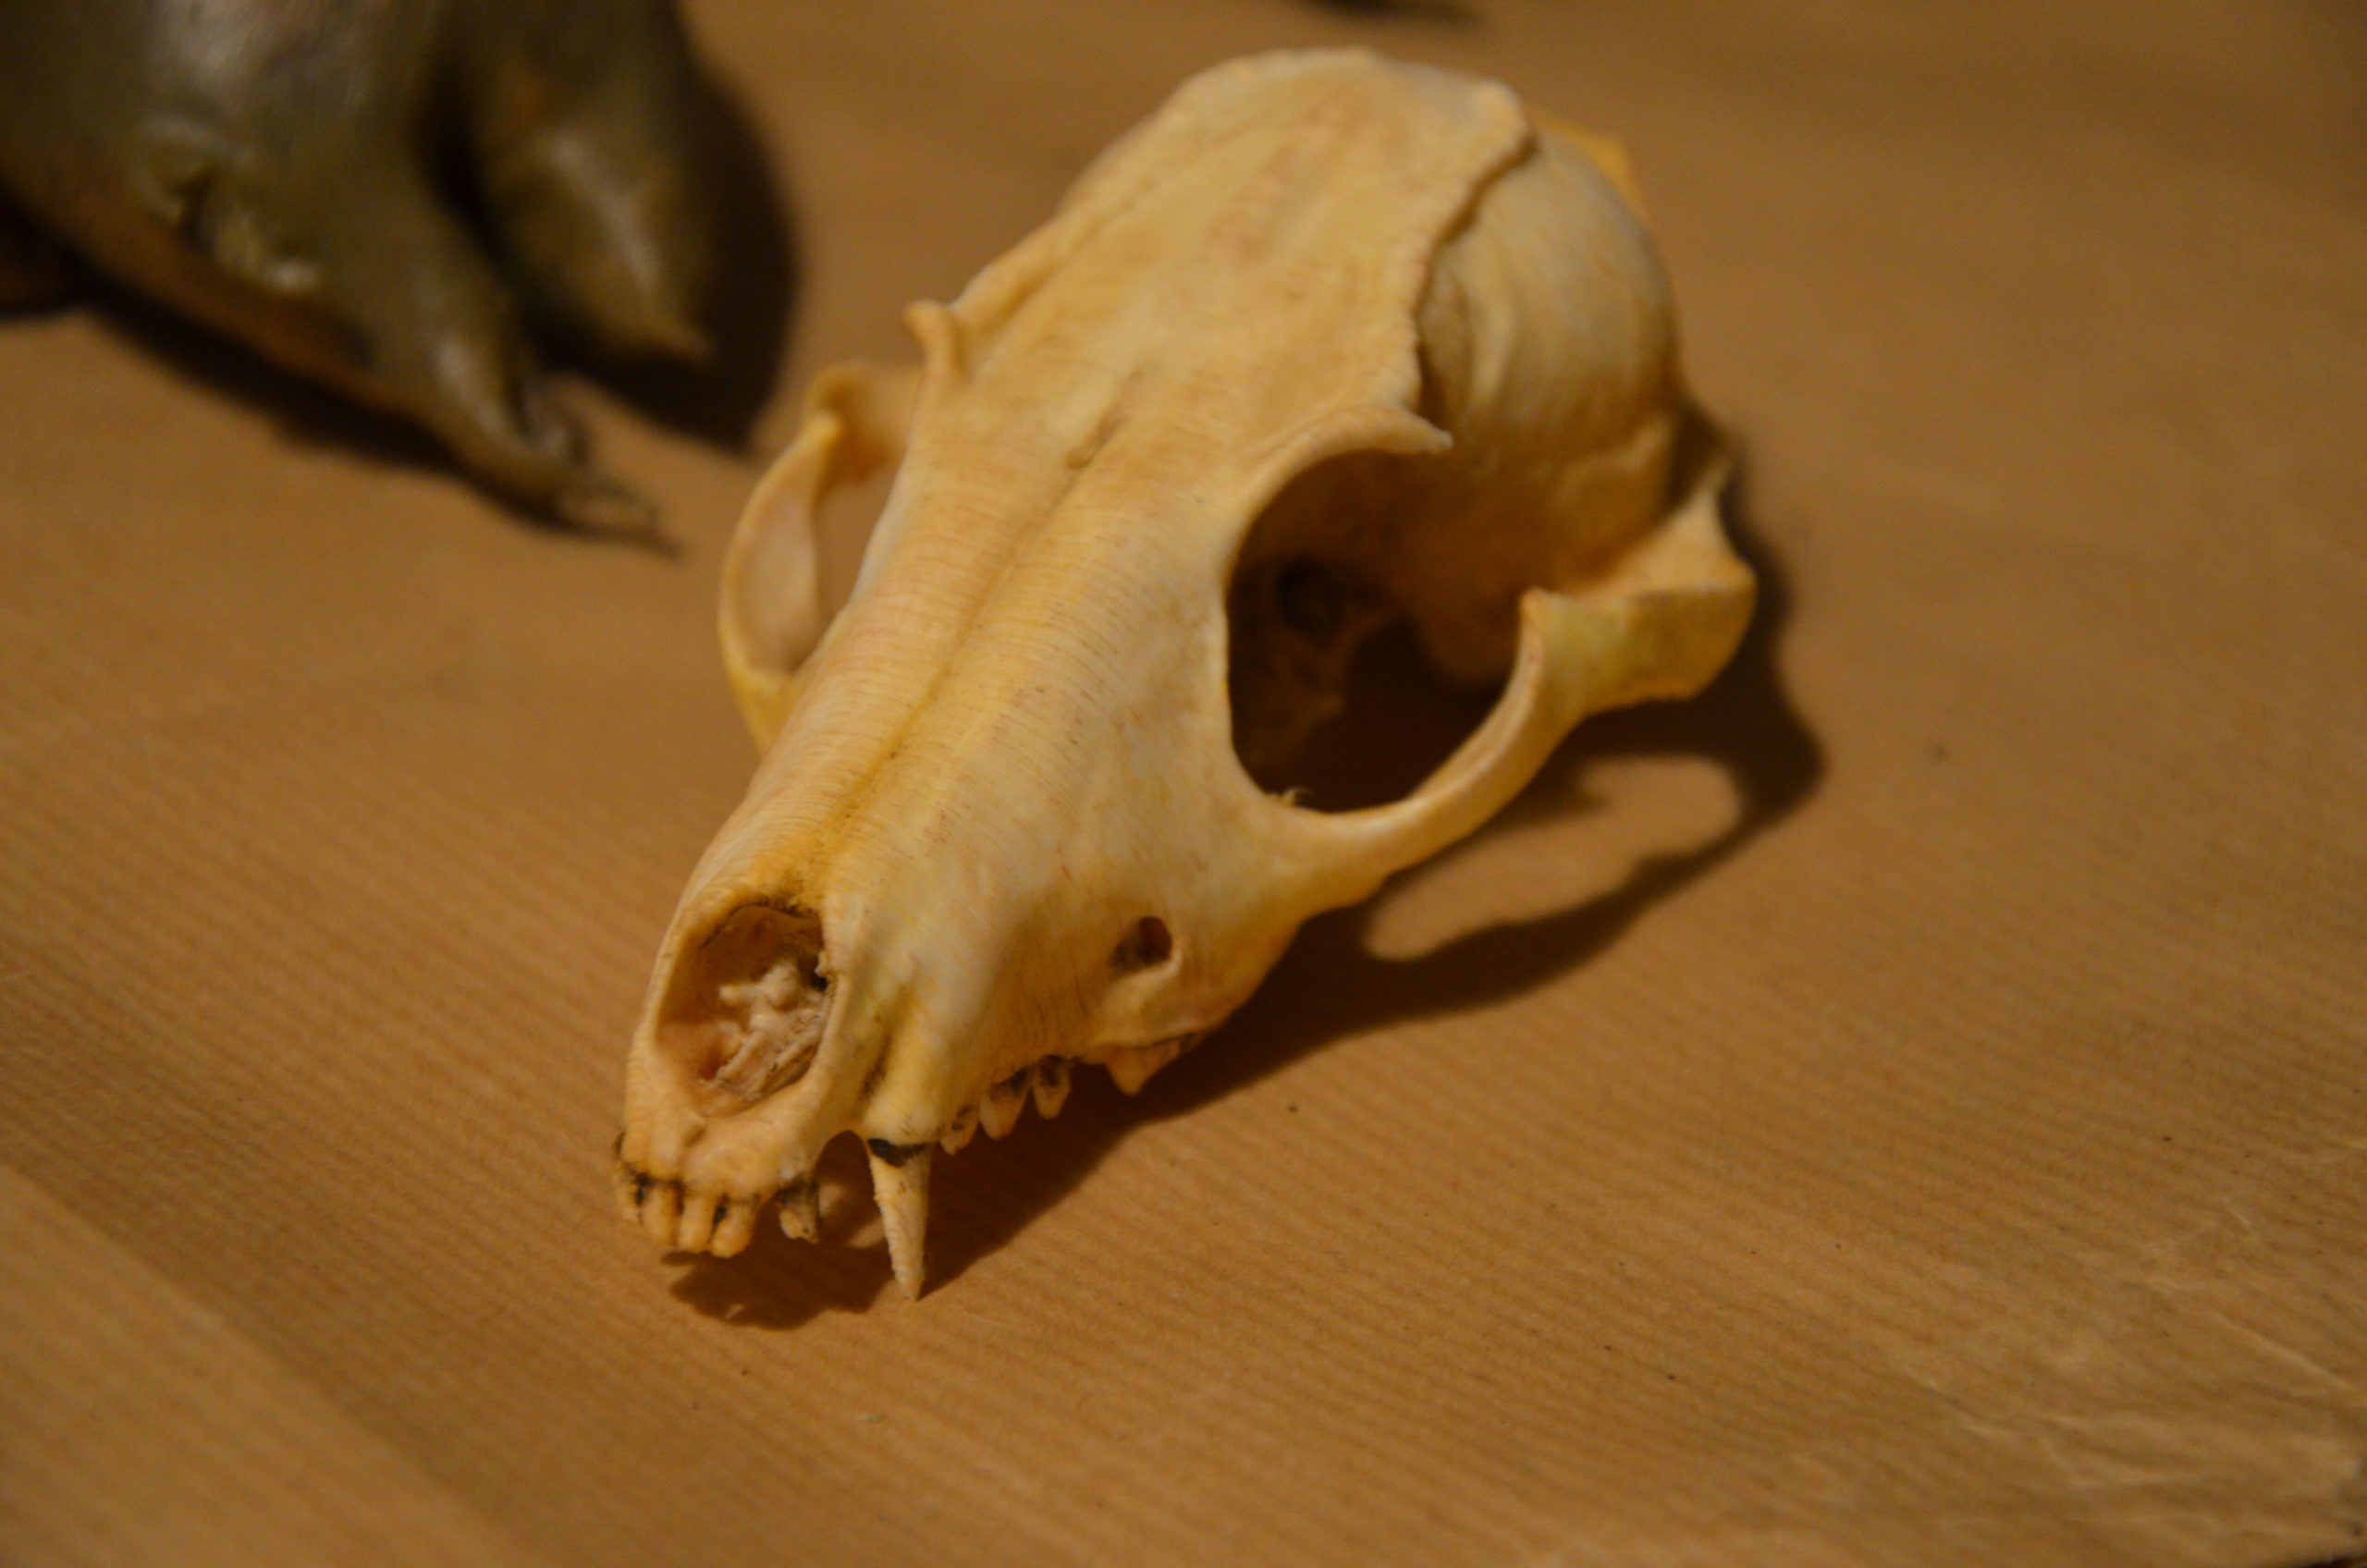
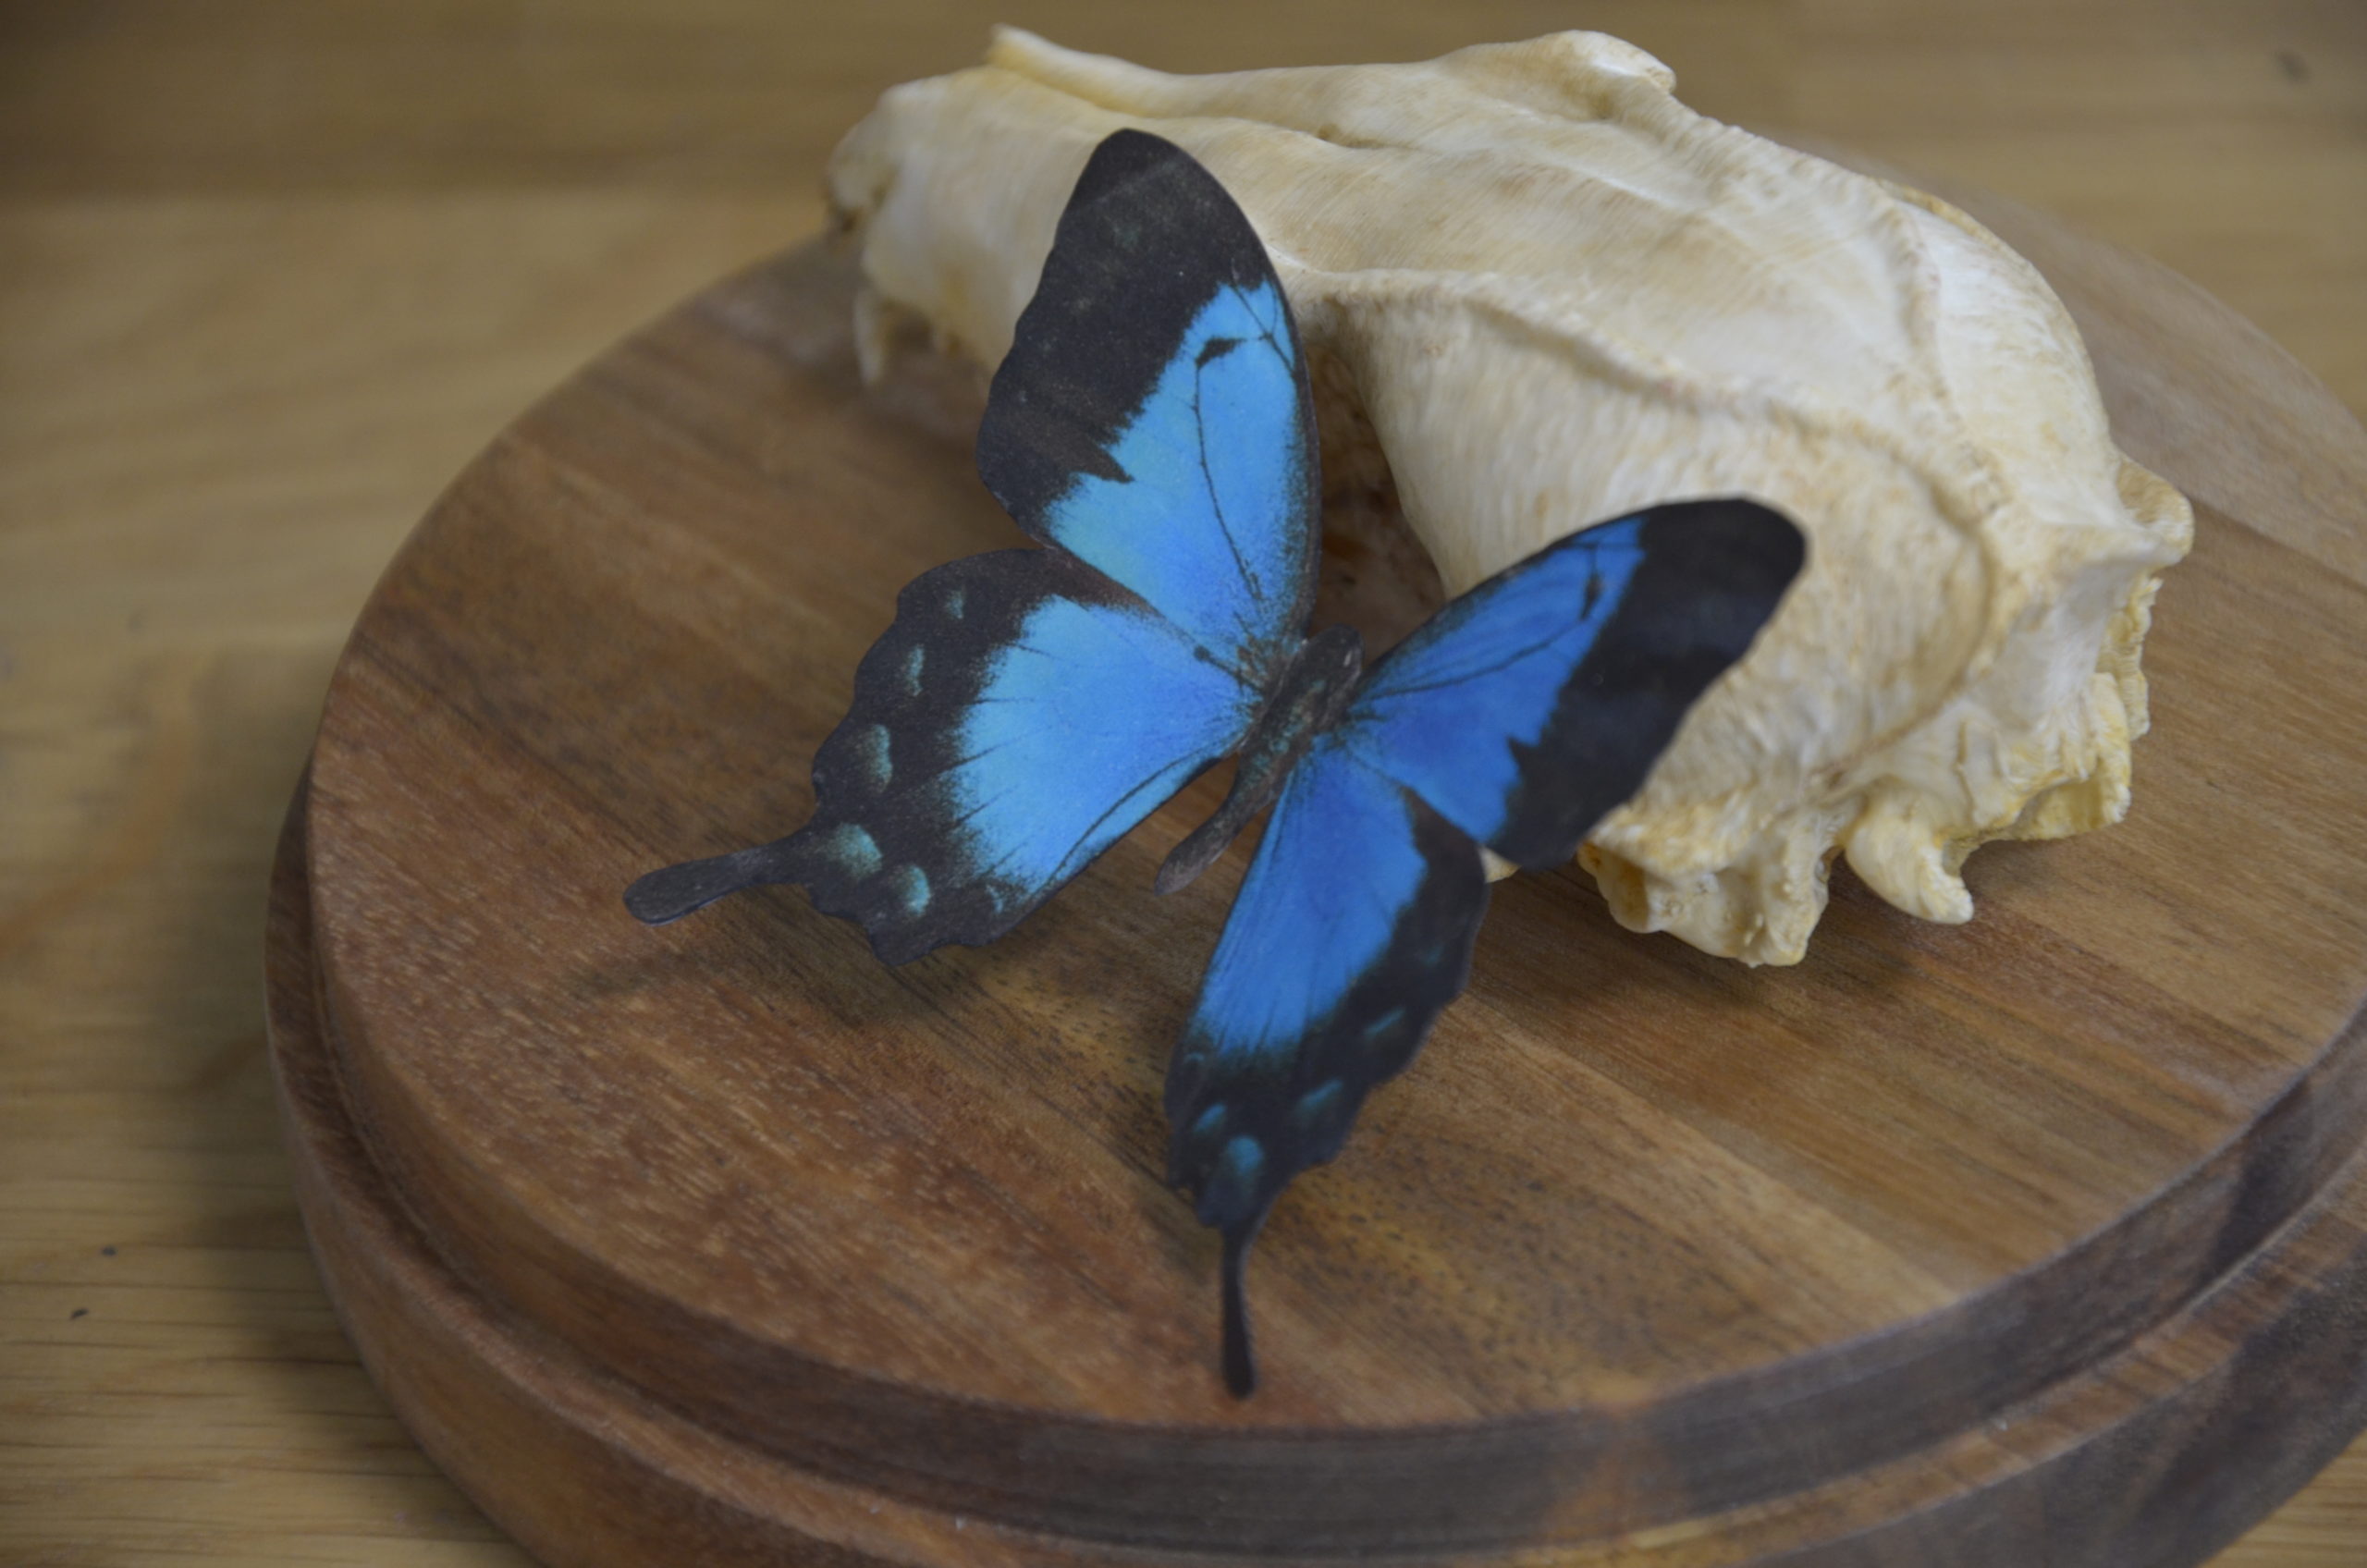
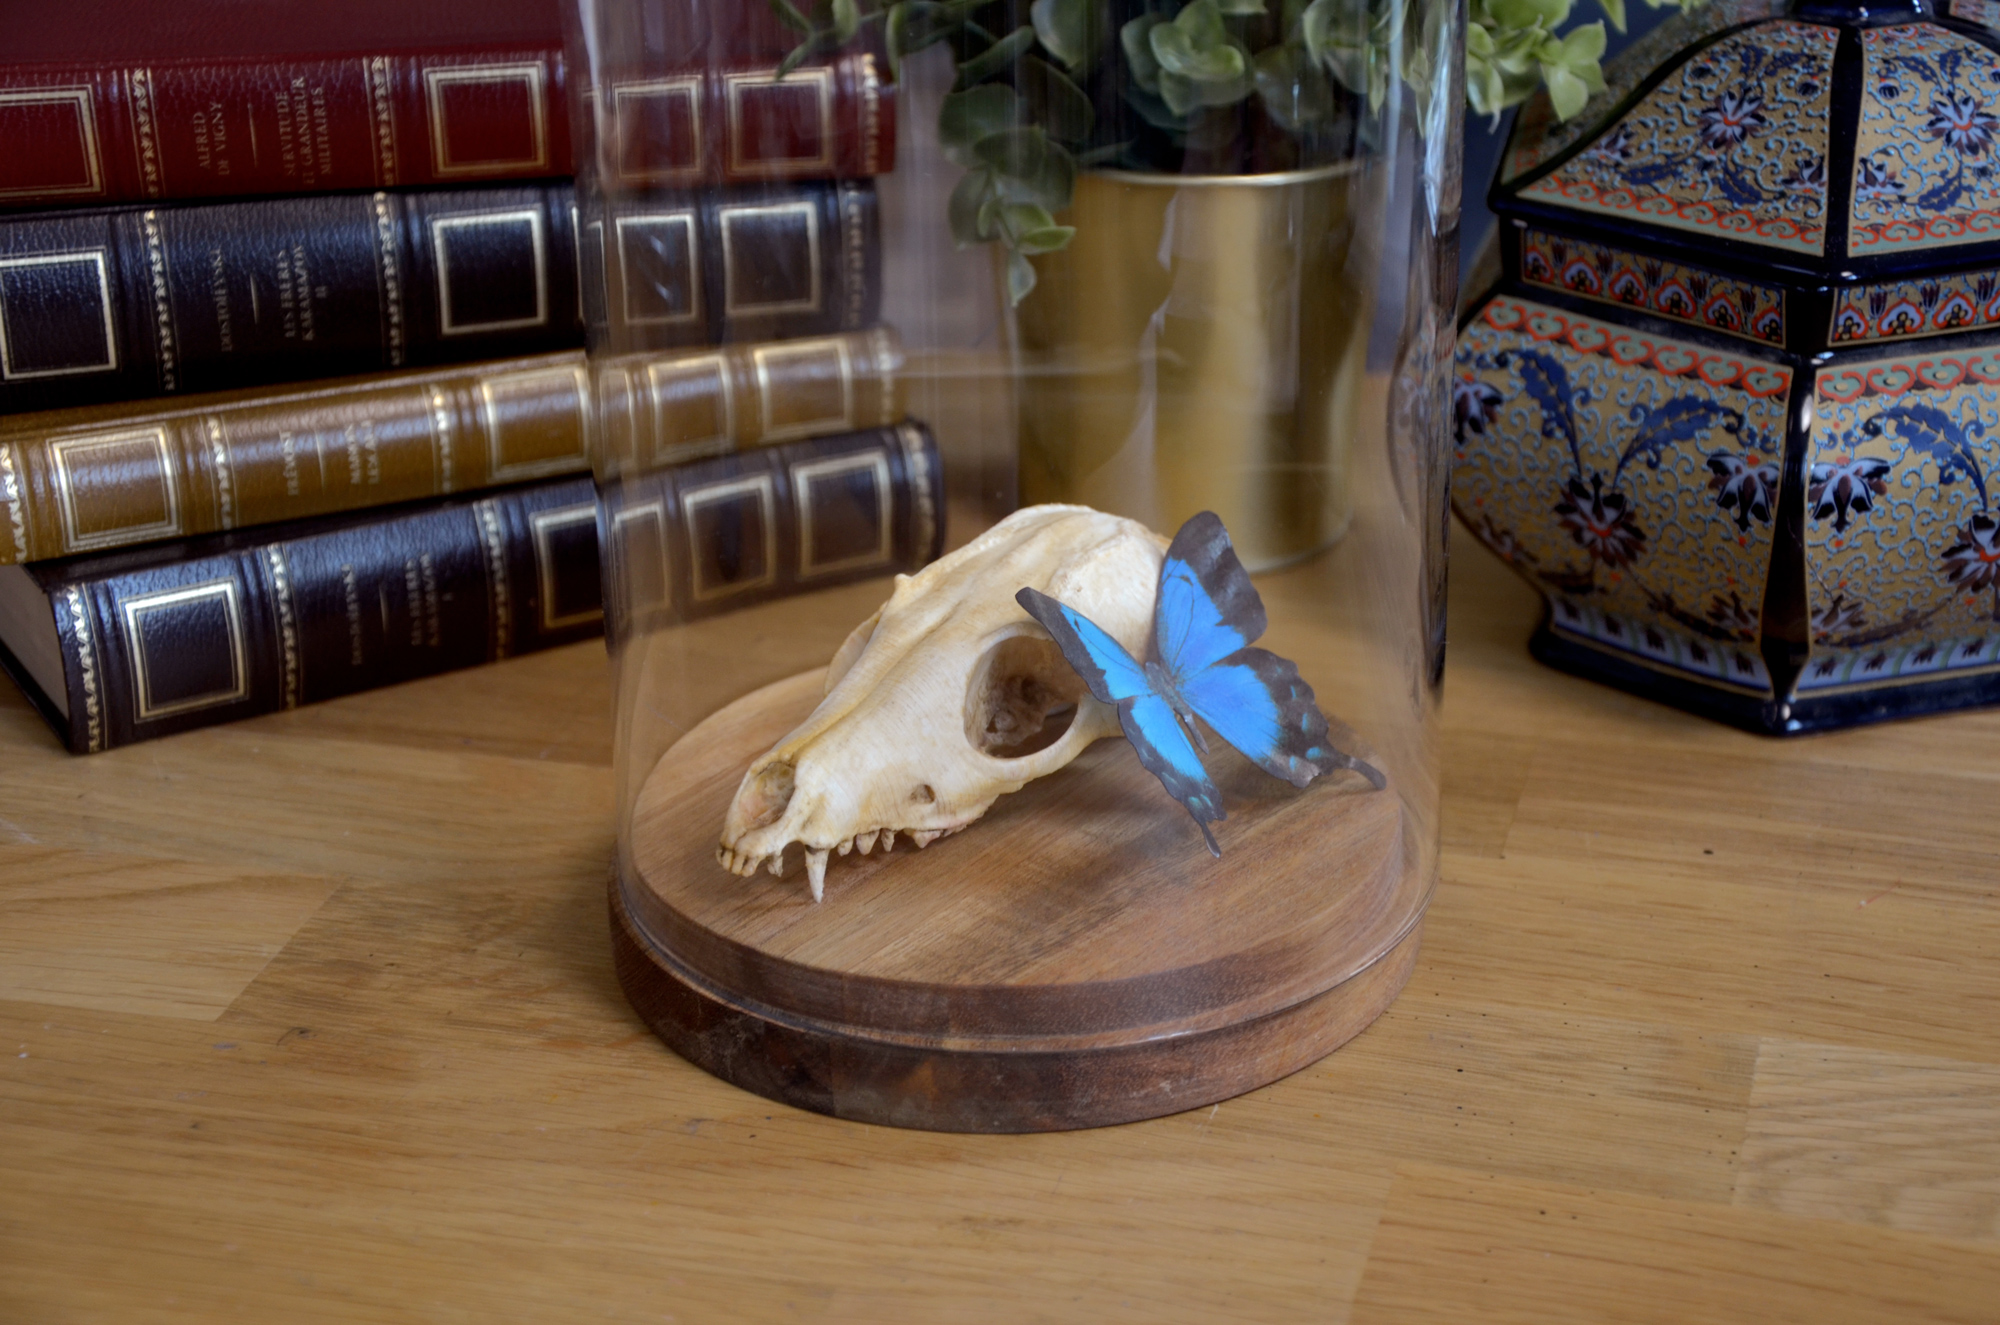
Another nice find: this glass bell from Ikea! To accompany it, we 3D printed a skull that we sanded and painted, then added a small butterfly created by us.
Add to all this a few vials as seen above, candles, a few old books, dried herbs, a pestle and a mortar, and you will have a shelf worthy of Nicolas Flamel’s office!
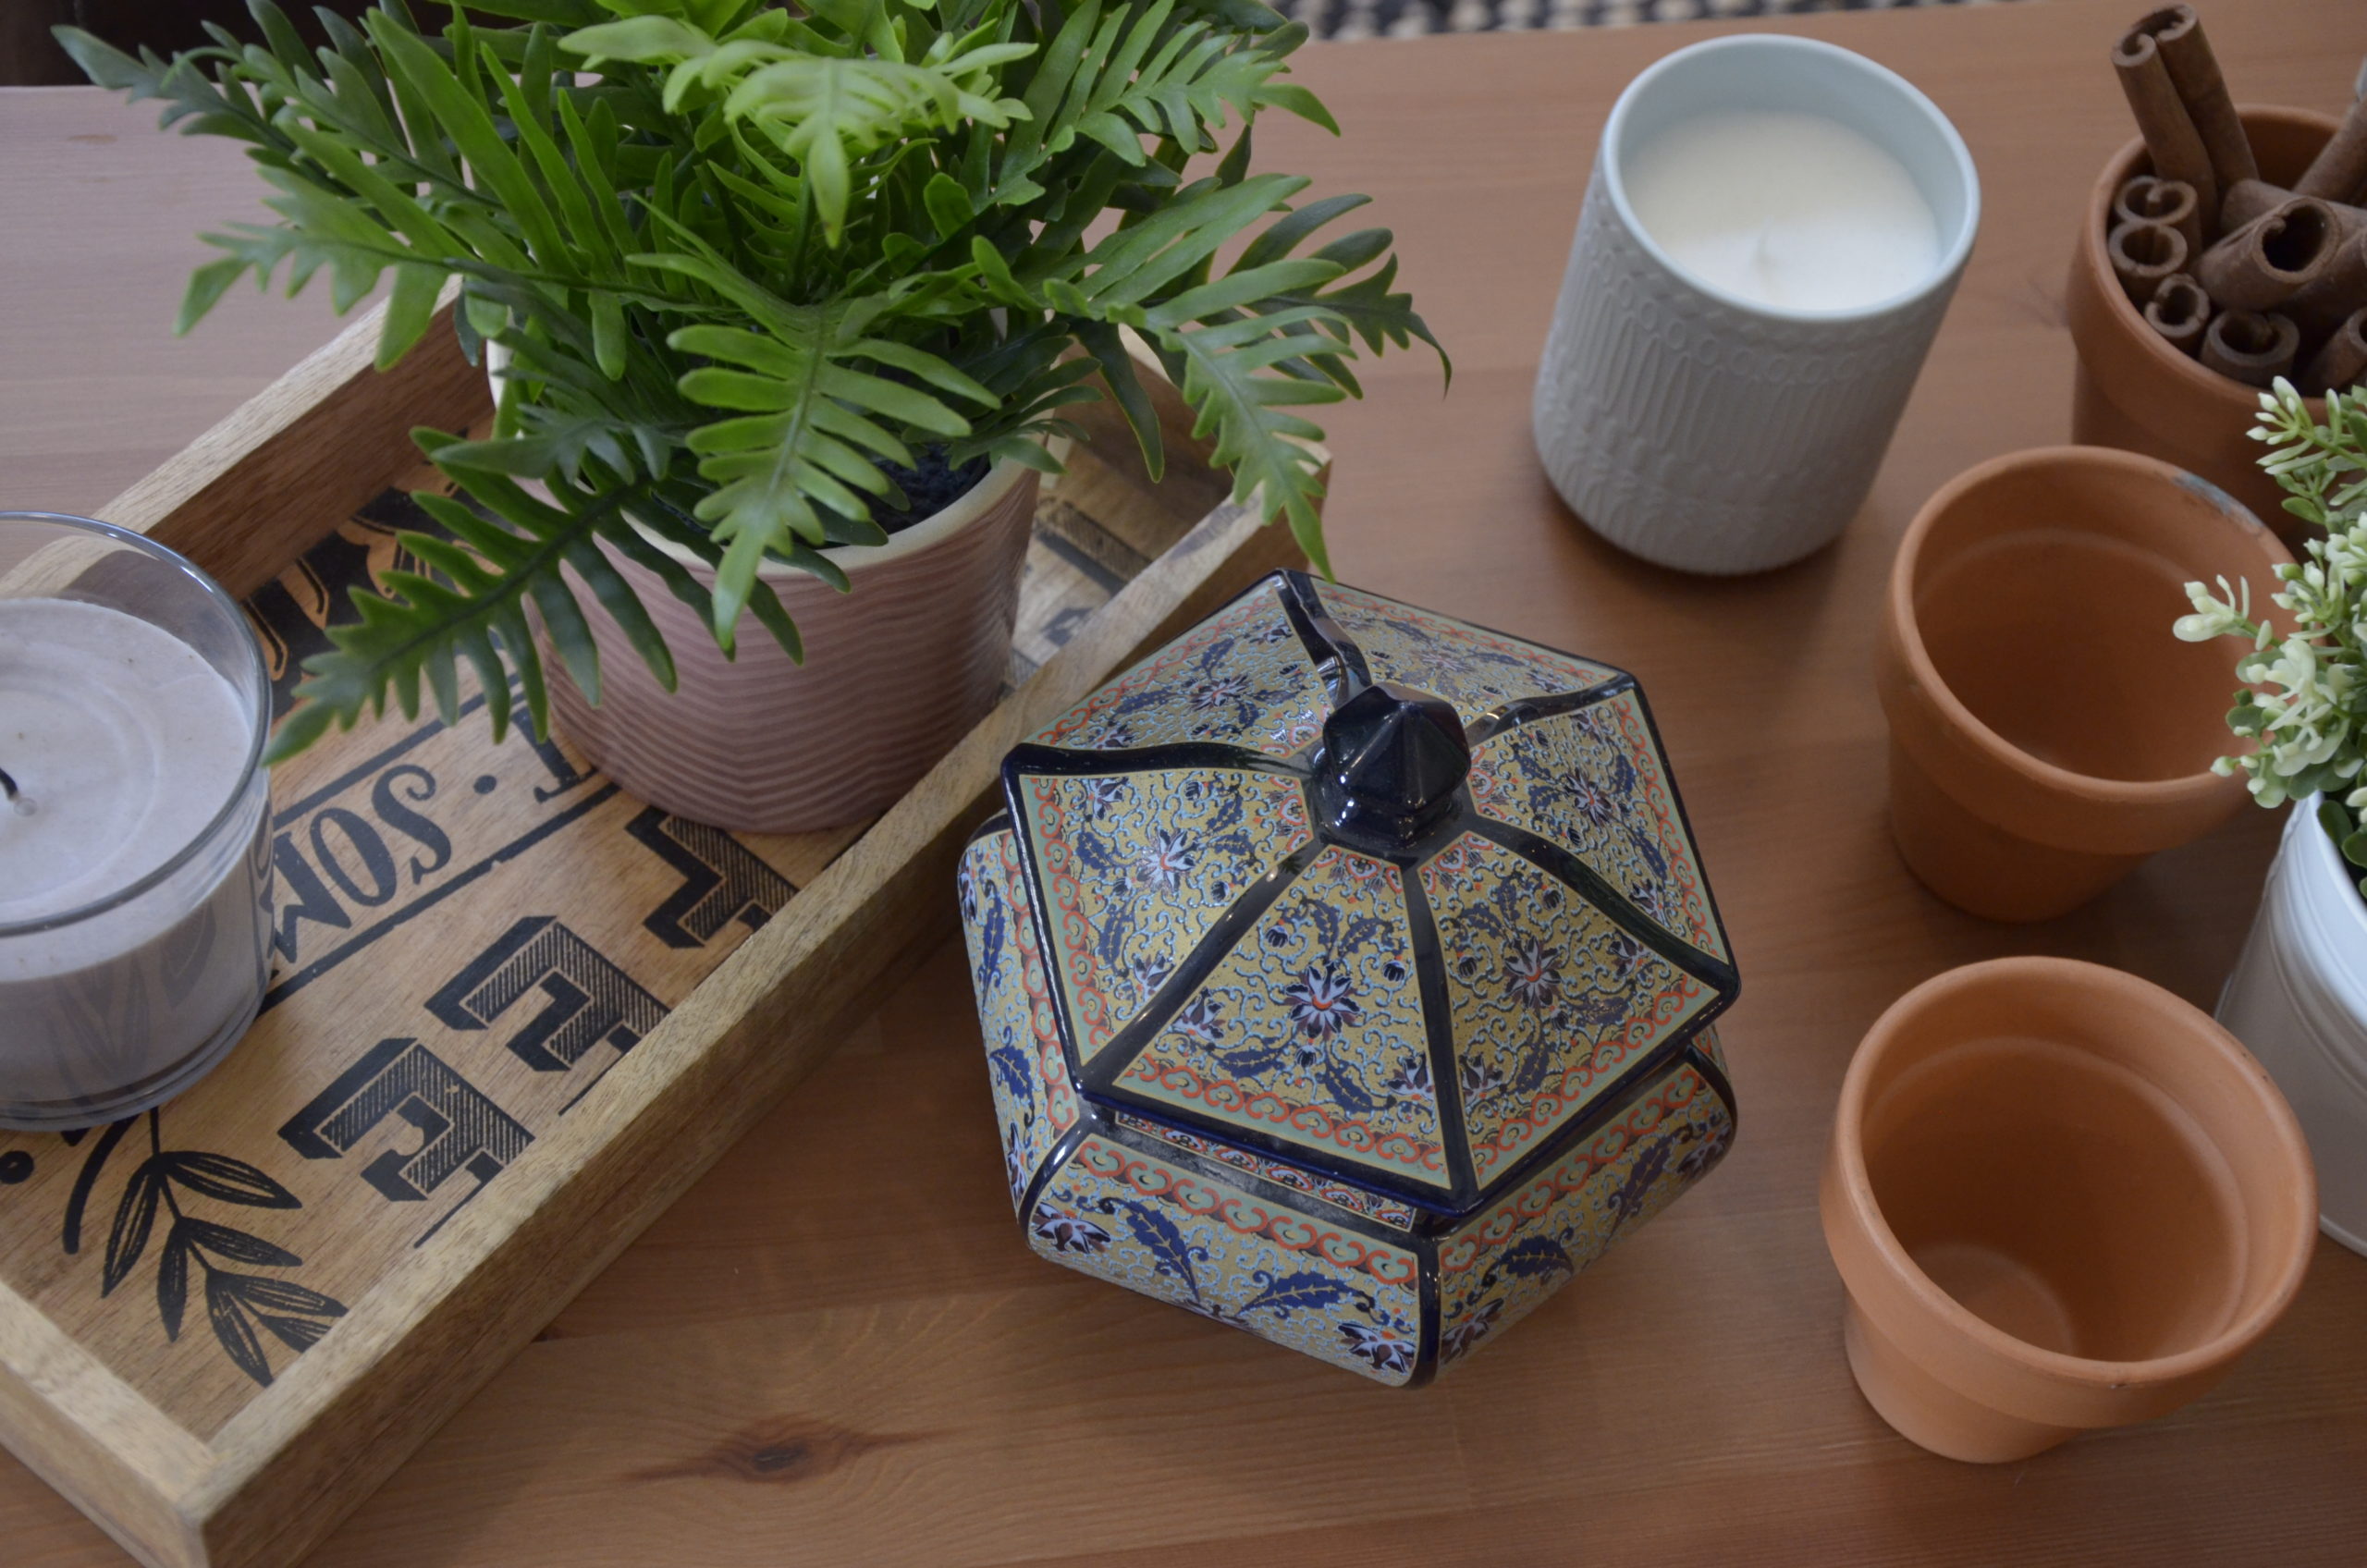
A few loose ideas
Finally, I offer you some stagings made with the elements seen in this article and some objects unearthed on random places, such as an hourglass, a small ceramic jewelry box, a fake oil lamp, or even an old withered root…
Amazon affiliate links
Comments (0)